The subtleties of the process of putty ceiling
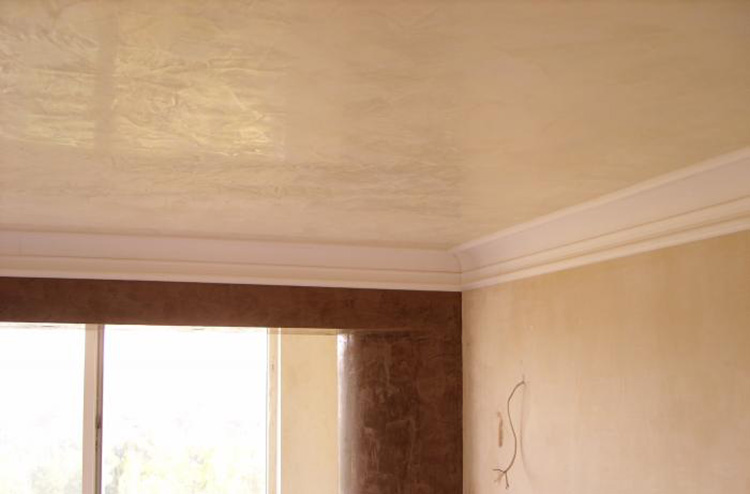
The ceiling plays a huge role in the interior design, so for its high-quality finish requires a smooth and smooth surface. The most popular way to prepare the ceiling is puttying. This process is characterized by its technological features and allows you to hide all the flaws, making the foundation ideal for subsequent construction work. In order to putty to perform correctly in order to get an effective result, you need to choose the appropriate mixture, it is also good to have certain skills.

Process features
Alignment of the ceiling putty is in great demand among the masters, as it can be done on a stone, concrete base, masonry, sheets of plasterboard and building boards.And in order for the surface to be well prepared for decorative finishing, it is necessary to putty strong, clean and hard surfaces.
Ceilings that are covered with glass, metal and plastic are considered unsuitable for alignment. It is not recommended to use a putty in rooms with high humidity, where the ceilings for a long time were under the influence of water.
This type of alignment is used in three cases, and each of them is characterized by the following features:
- Before painting the ceiling. In order to evenly distribute the layer of paint on the base, the coating must be of high quality. Therefore it is necessary to put putty correctly, observing all technologies. If even the slightest defects remain on the ceiling, the finish will be ruined. Professionals can easily cope with this task, but if construction work is done independently, then it is advisable to first learn how to do it in small and accessible areas, and then proceed to the ceiling surfaces.
- Under the wallpapering. In this case, the ceiling does not require a high-quality base; it suffices to eliminate large flaws and hide irregularities.The same applies to the preparation of the surface, which will be decorated with a stretch ceiling.
- Before applying decorative plaster. The finishing material itself is an excellent leveling agent, so with the help of putty you can only remove large cracks and pits, plaster can easily cope with the rest.
Choice of putty
Putting is considered to be a difficult process, so it must be taken seriously. Unlike walls, the ceiling is an open space and, in order to eliminate the appearance of defects on it, for finishing it is necessary to select the building material correctly. This will not only get an excellent result, but also greatly facilitate the work.
Putty mix must meet the following requirements:
- Have a homogeneous structure. You can not start finishing, if the composition has large particles. They need to either sift or mix well.
- Have an average drying speed. With rapid solidification, you may not have time to finish the work.
- Characterized by an elastic and soft structure.
- Do not have a tendency to shattering and cracking after drying.
- Ensure long service life.
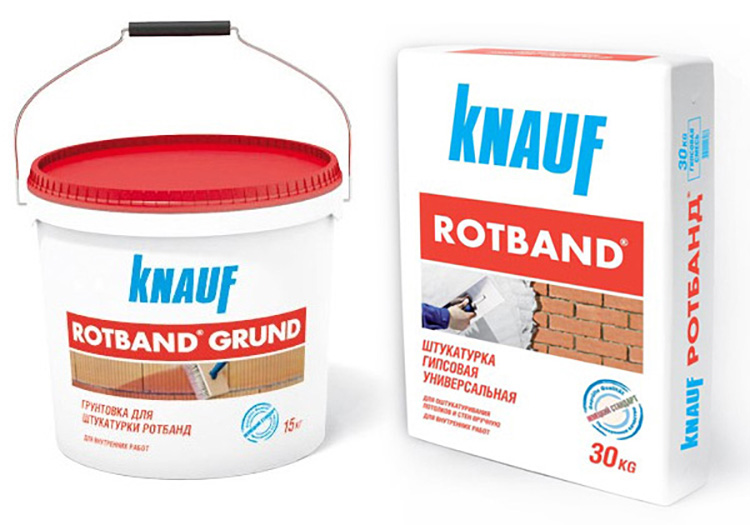
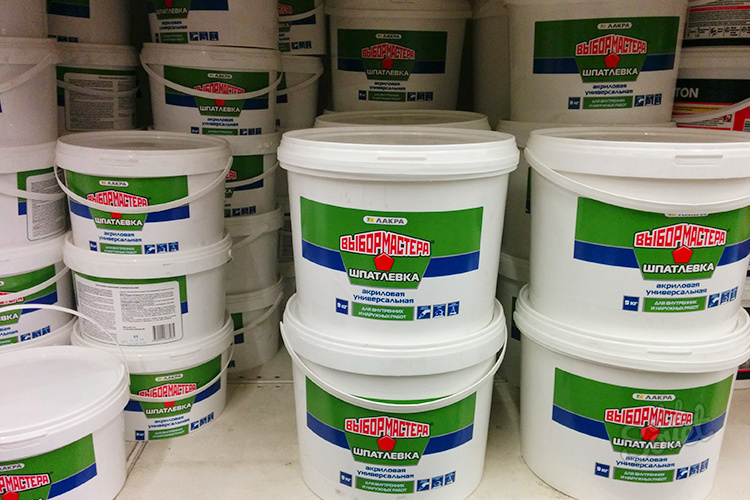
Depending on the components that make up the mixture, there are plaster, acrylic and cement putty. Products made of plaster fill cracks well and are suitable for finishing dry rooms, they should be applied with a thin layer. Cement mortars are used for leveling the ceilings in the toilet and bathroom, as they perfectly withstand high humidity.
In addition, such mixtures qualitatively close up large depressions, but their surface is difficult to grind. As a rule, cement plaster is applied as an intermediate layer, after which a decorative finish is used.
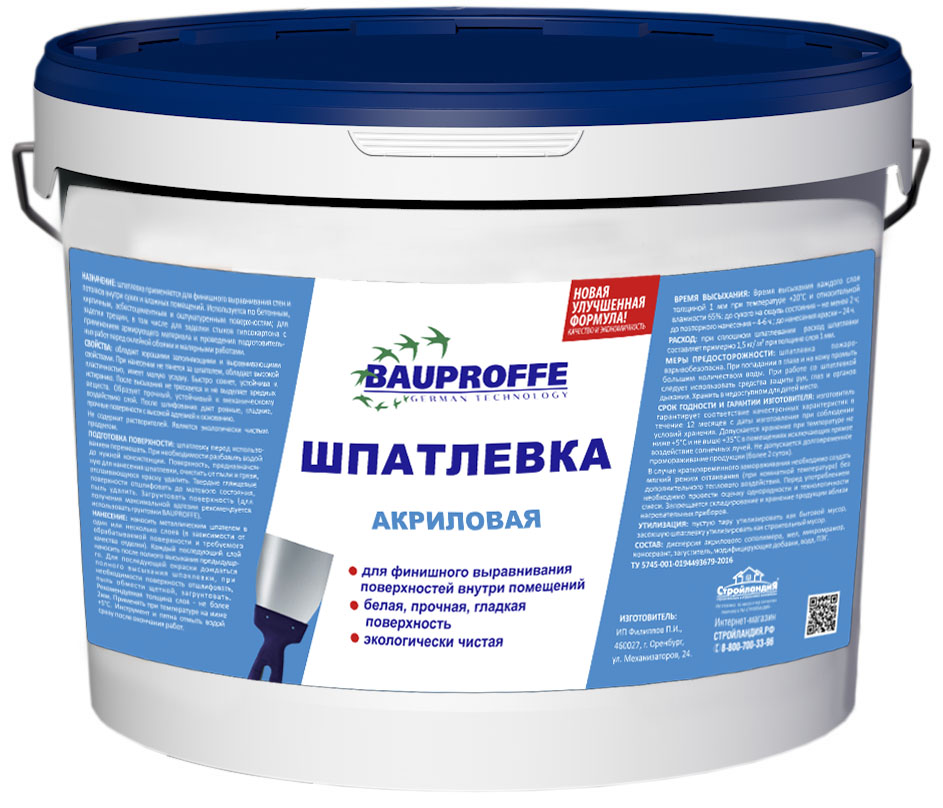
As for acrylic blends, they allow you to get a perfect and smooth ceiling. To do this, at first the surface is leveled with a starting putty, and then it is covered with a water-emulsion or latex one. Such solutions are characterized by a low drying rate, so even inexperienced craftsmen can work with them.
Putting materials also differ in their purpose, so they need to be selected for each stage of work separately. The ceiling can be processed starting, finishing and universal mixture.
The starting one is applied at the very beginning of the surface leveling, it helps to hide all visible irregularities up to 0.5 cm in size. In order to ensure good adhesion between the material and the ceiling, it is recommended to acquire a composition with large fractions. The textured layer in the finish often make the finishing mixtures, which have a soft texture and a fraction size of 0.3 mm, their fine-grained structure evens small flaws and securely fixes the primary work. If the base has minor flaws, then you can use the usual or the so-called universal mixture.
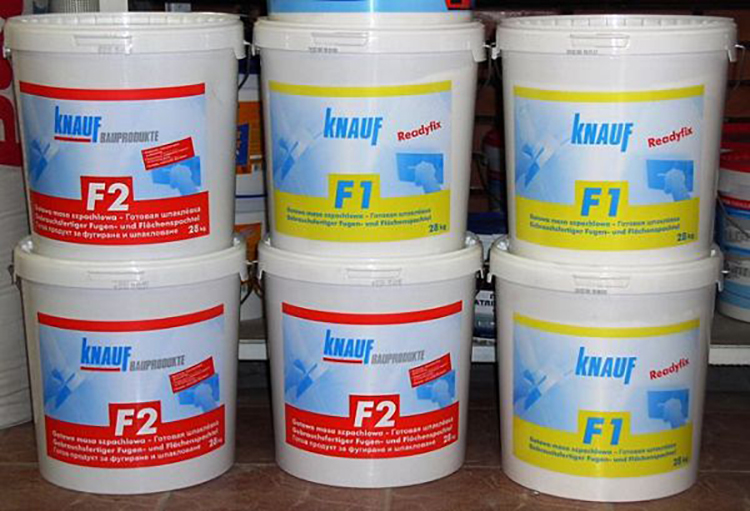
When choosing a finishing material, you must also pay attention to the fact that it is sold in a dry and pasty form. Powder products, as a rule, are inexpensive and well stored, without requiring special temperature conditions. Ready putty is characterized by high quality, but its price is high. Such mixtures are made on a vinyl or acrylic basis and have a fine fraction of up to 0.1 mm.

When purchasing putty materials, you need to take into account the surface under which you plan to level the ceiling. If the surface will be painted, then it is necessary to select finishing mixtures with a soft and plastic structure.In the case when wallpaper or decorative plaster serves as a decorative finish, universal and starter compositions based on gypsum or cement will work well.
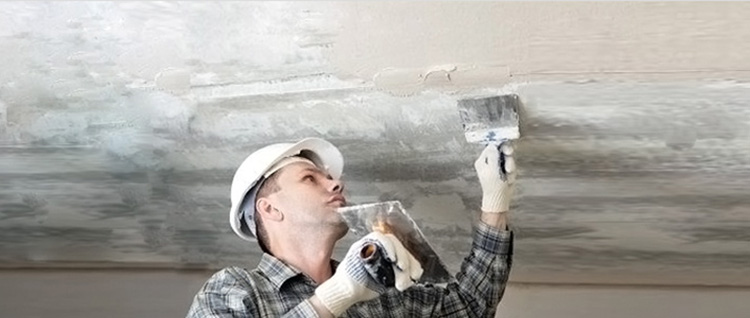
Instruments
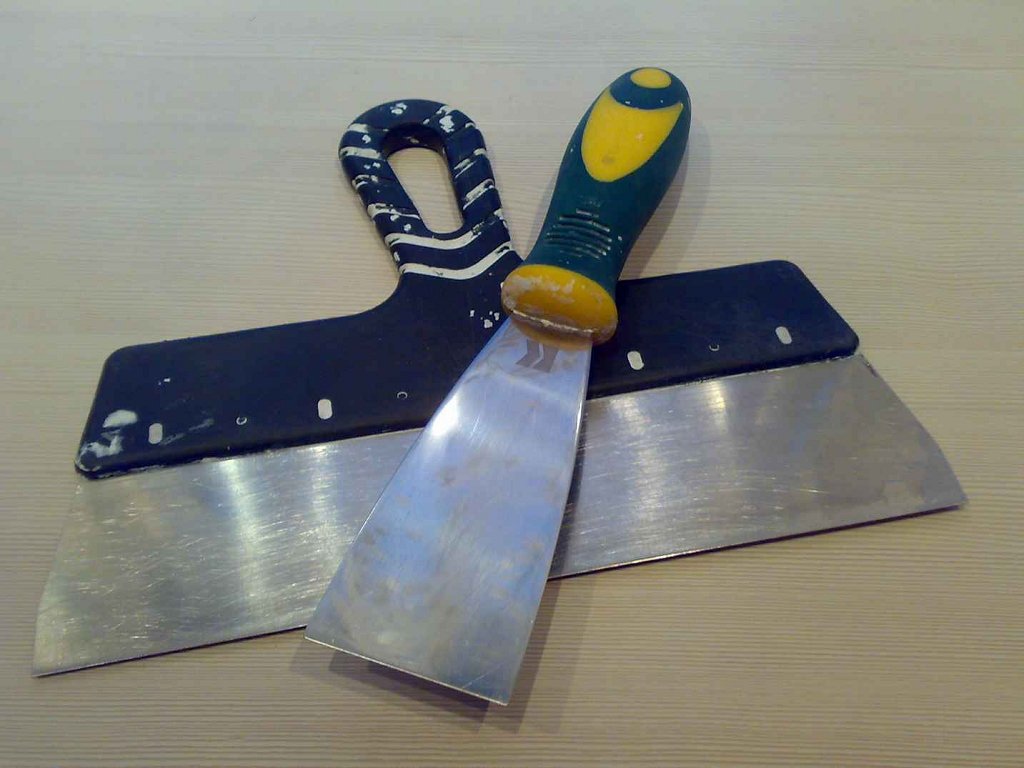
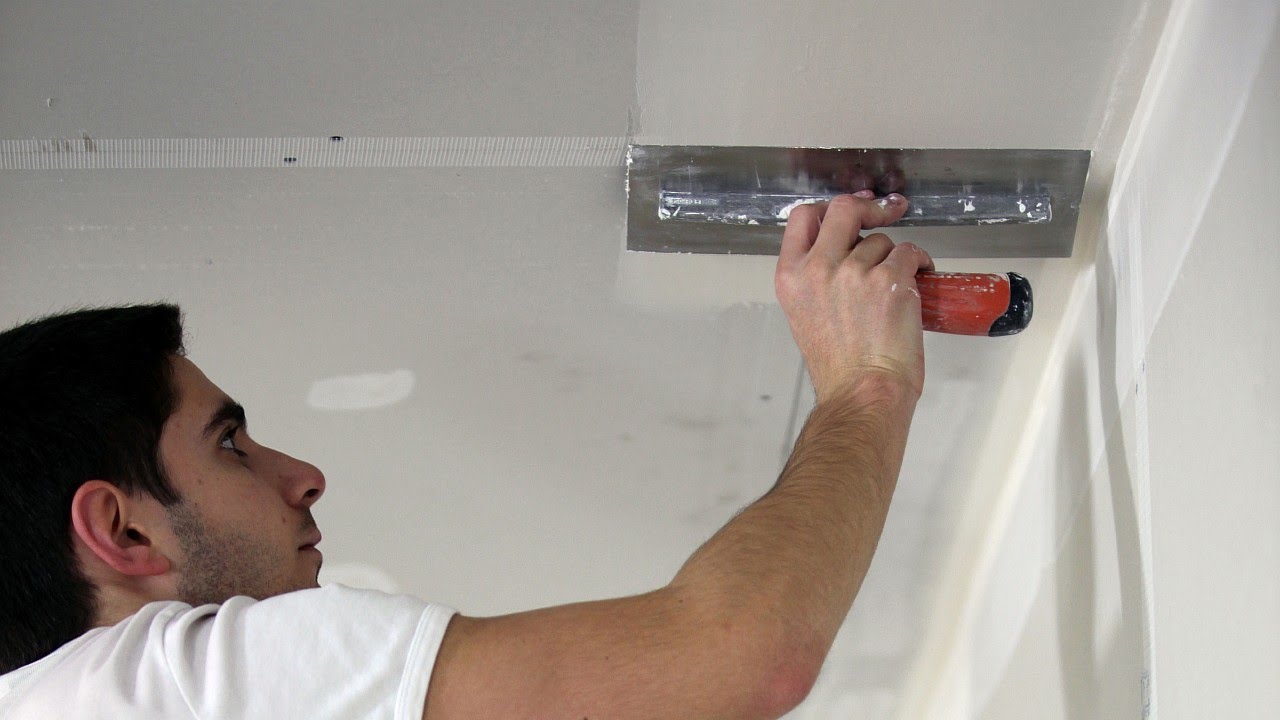
Any construction process cannot be provided without professional tools. The ceiling putty is no exception. A lot of tools are used to level the surfaces with a putty, but the most important of them is the trowel. To seal the seams, cracks and dismantle the old surface, you will need three spatulas of various sizes: 450 mm (for puttying), 30 mm (for finishing hard-to-reach places) and 80 mm (for applying the working mixture). It is advisable to purchase spatulas made of stainless steel and with a convenient cast handle.
For puttying you will need:
- Capacity. It should be voluminous and easy to use.
- Drill with a nozzle or construction mixer.
- Ladder.
- Rule
- Grinding block.
- Grater.
- Screwdriver or trowel with a screwdriver.
- Roller.
- Brush.

Preparation of the solution
After all the tools are selected, you can proceed to the preparation of finishing materials.It should be noted that it is impossible to immediately use the entire bag of putty powder, as it dries quickly and becomes unsuitable for subsequent work. Therefore, you need to dilute small portions of 3-4 kg, gradually mixing them with water. And when the solution is over, it can be re-cooked. Putty putty need to quickly, as it begins to harden after 20 minutes.
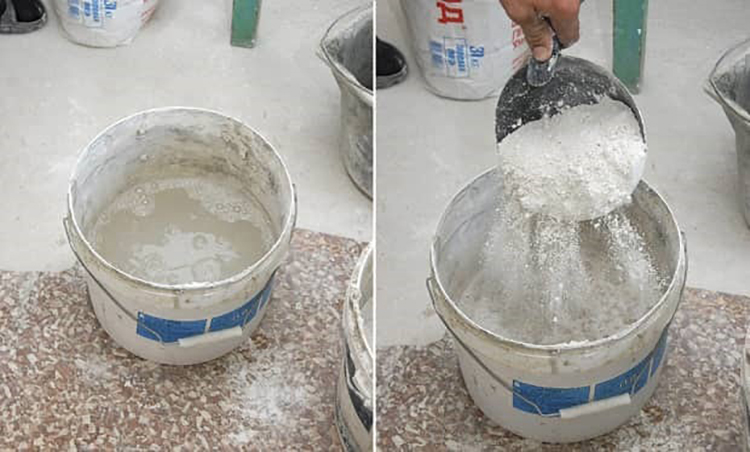
The process of preparation of the mixture is as follows:
- The packaging is opened with plaster and one portion of the powder is taken. It is recommended to use no more than 4 kg.
- Calculations are made of the exact amount of water. As a rule, 7 liters of water are taken for 10 kg of dry plaster. Thus, for 3 kg of the mixture will need about two liters of water.
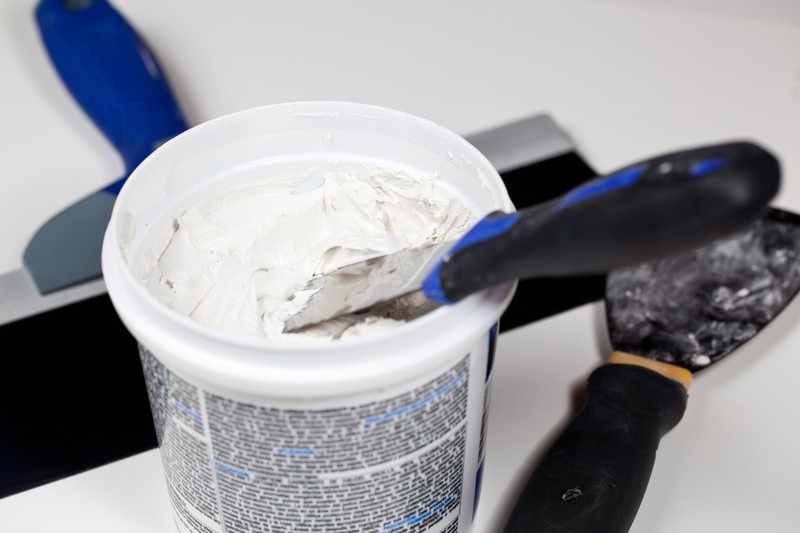
- The powder is poured into a pre-prepared container, water is poured out, and everything is mixed using a mixer. It is necessary to prepare the solution until it acquires the consistency of thick cream. On average, it takes a few minutes.
- When the solution is ready, it is left for five minutes, then re-mixed. After that, the finished putty can be used in the work.


Ceiling preparation
Decorative finishing is applied only on a well-prepared surface, and since the ceilings in the rooms may have a different structure, alignment cannot be avoided. The most common concrete ceilings, consisting of one or more floor slabs.
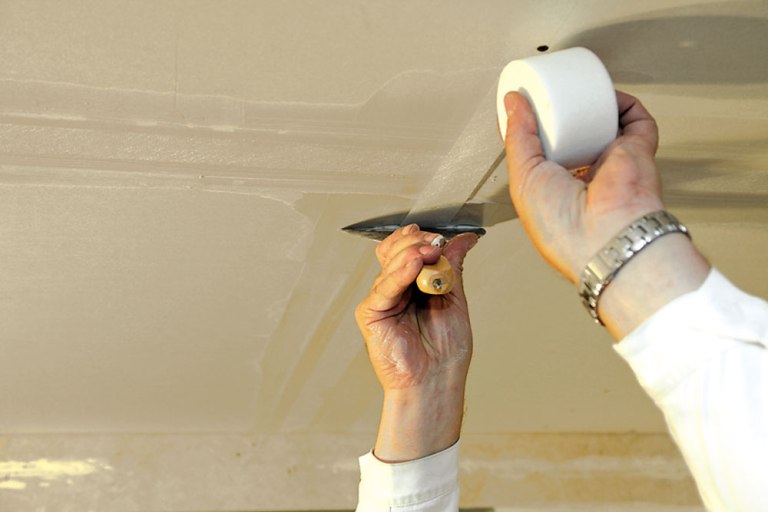
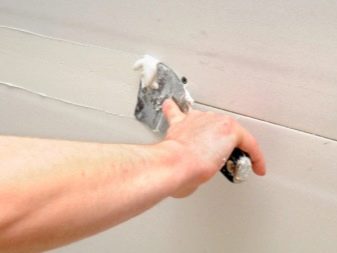
The joints between such plates must be sealed with mortar, and then putty plaster. To prevent cracks from drying on the surface of the ceiling, it is recommended to use a paint grid.
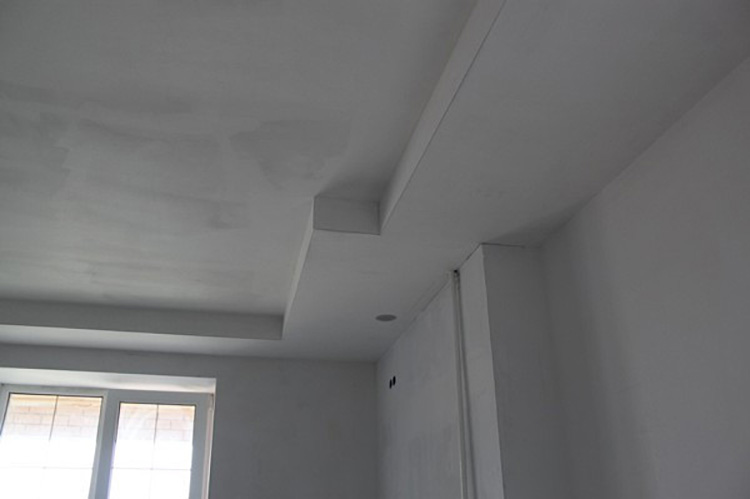
To level the ceiling it is necessary to thoroughly clean it from dust and remnants of the previous finish. In addition, the concrete surface should be primed: this is necessary so that a cohesive layer forms on the ceiling. As a primer, you can use latex solutions, they need to be applied in several layers. Then perform work with starting and finishing putty. The result is a smooth and beautiful base, and to ensure the surface smoothness, it is necessary to rub the grinding bar.
If the ceiling is presented in the form of drywall, chipboard or fiberboard, then first of all it is necessary to seal the seams between the sheets.This will eliminate bumps and improve traction with putty. Such ceilings are grounded once, while the solution is applied not only to the entire surface, but also to the seams.
In that case, if the old base of the ceiling was covered with plaster, it is cleaned with a metal spatula, then primed with an acrylic solution, and after complete drying of the surface putty putty.
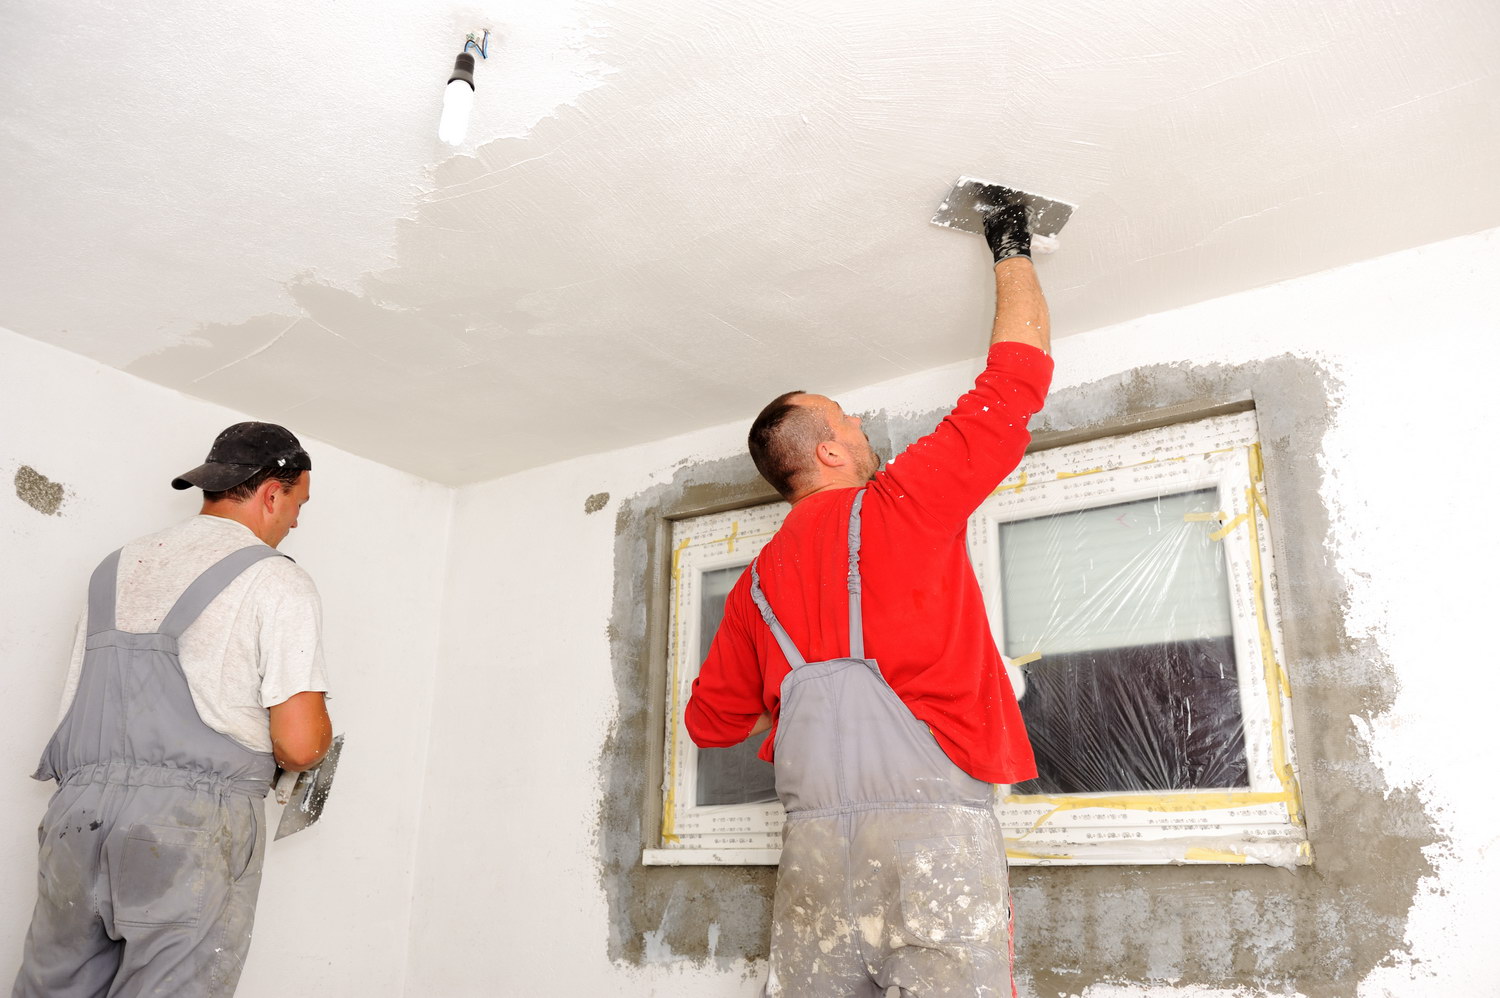
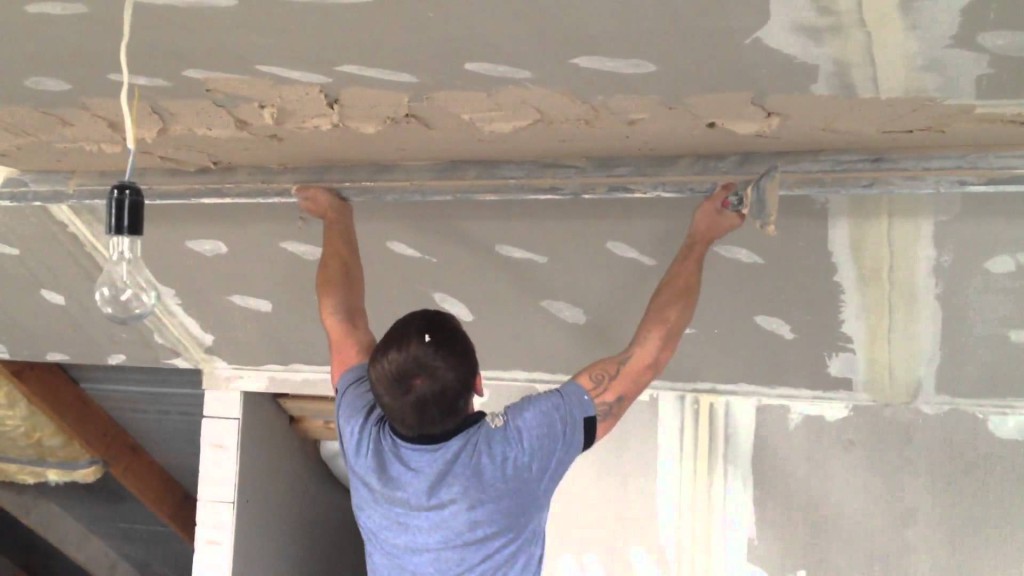
Surface puttying
Plaster ceilings can be both with the help of masters and with their own hands. Independently such works are carried out, as a rule, in the case when budget repairs are planned. Although this process is considered difficult, it is quite possible to cope with it.
Putting putty occurs in stages and is as follows:
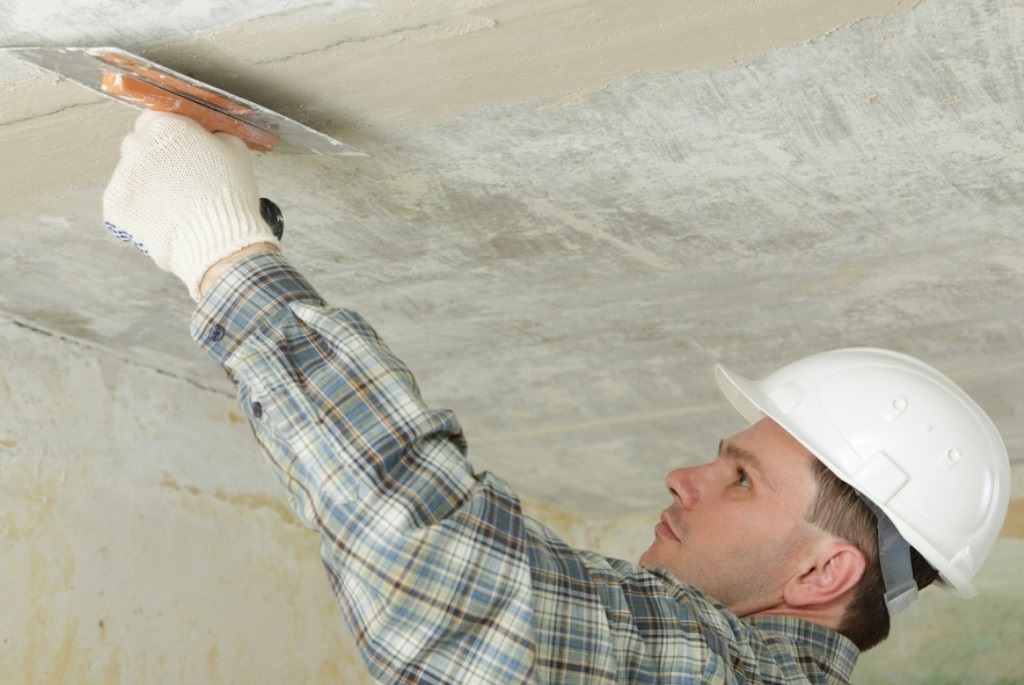
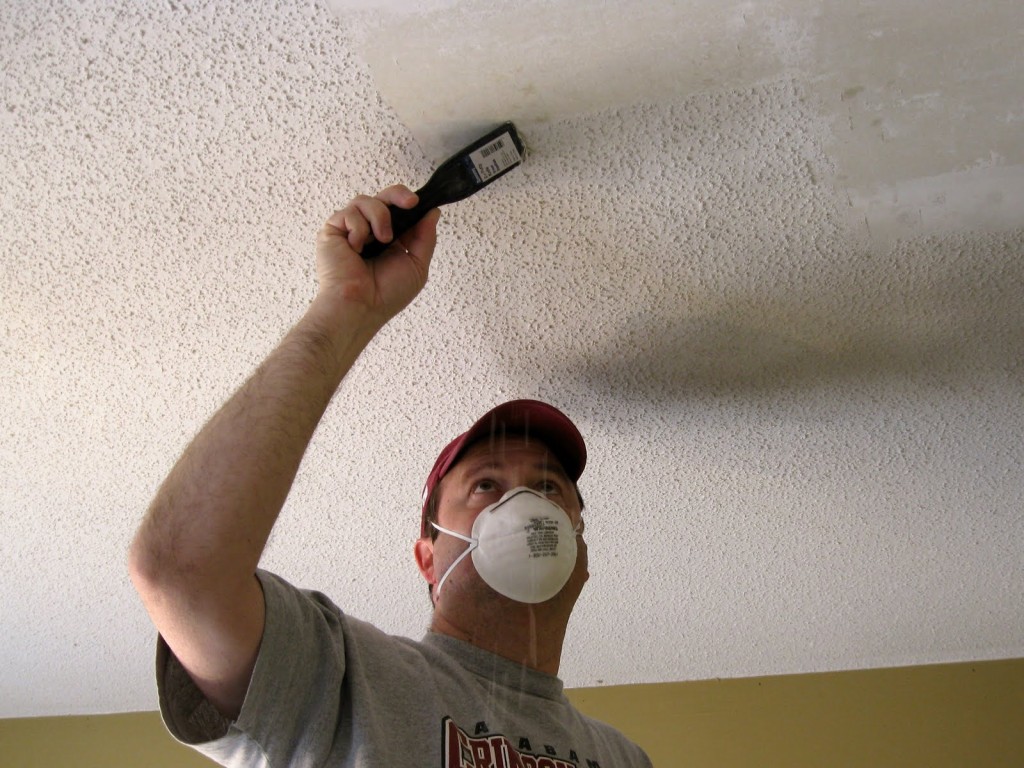
- First preparing the surface. To do this, you need to clear the concrete ceiling of the old finish, if it is in paint, it should be removed. Splicing seams and joints should be smoothly covered, and then treated with a primer.

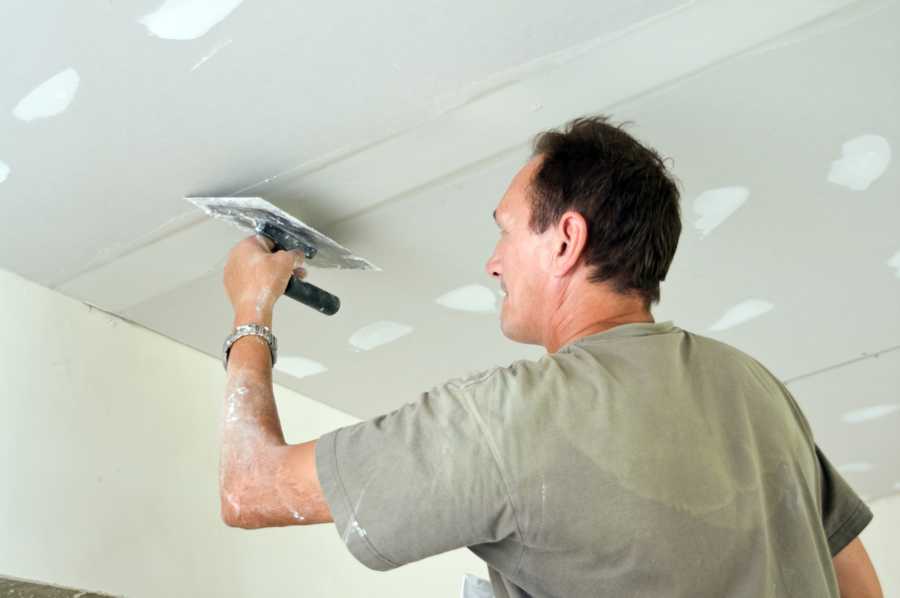
- The first stage of puttying is carried out, the main task of which is the elimination of irregularities. To obtain the maximum effect, the technology of applying the mixtures must be correctly performed.Work begins from the outer wall and continues towards the center of the ceiling.
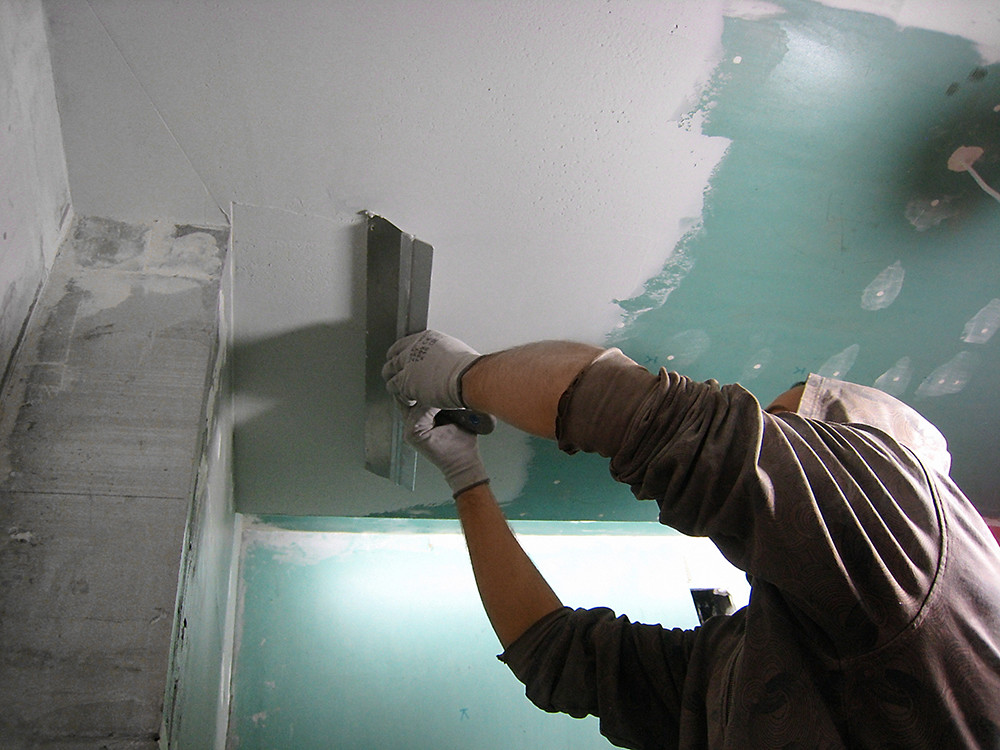
It is impossible to allow the appearance of overflows and large differences in the layers, therefore, leveling movements must be done quickly. Otherwise, the mixture will dry out and the surface will become uneven. Usually put one layer, its thickness should not exceed 10 mm.
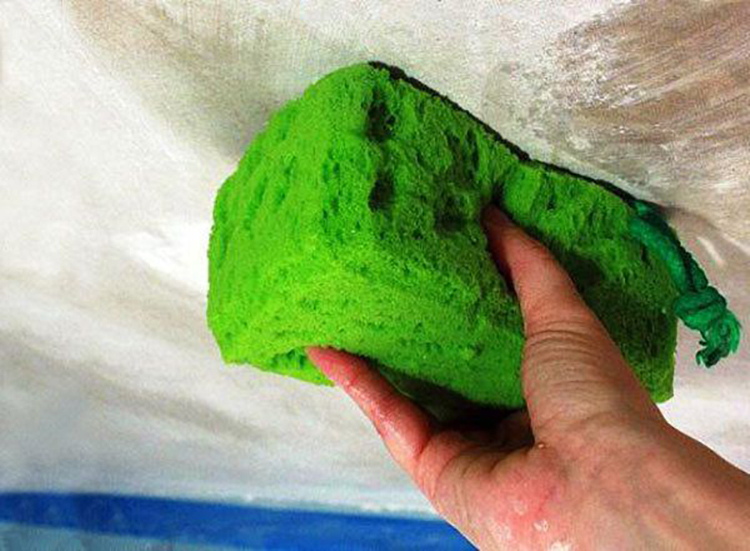
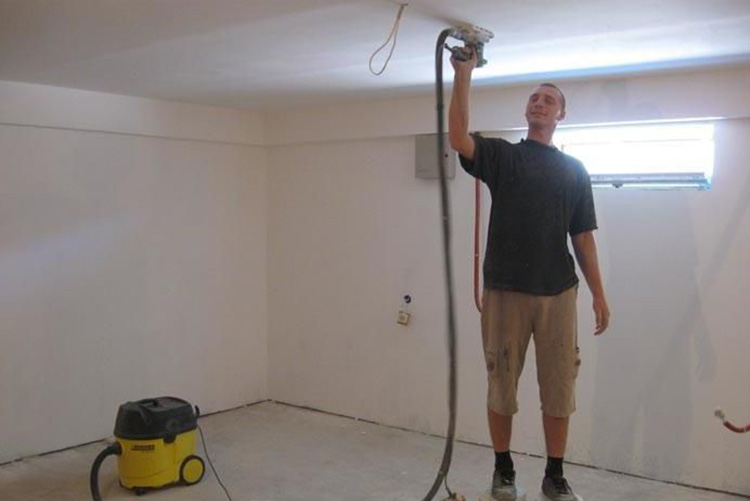
- When the work with the starting putty is completed, a check is made for the absence of bumps and large differences: if the ceiling is smooth, then you can proceed to the next stage, which is called polishing. Excess building material is scraped off over the entire surface, starting from the ceiling plinth. Sanding is carried out using emery paper, then the surface is coated with a finishing layer, which also needs to be well sanded with a laid-on mesh with a fine structure.
- At the final stage, the ceiling is checked again, after which the base is coated with a primer. Acrylic solution can be applied only after the surface is completely dry.

Useful tips
Spackling the ceiling can be done by everyone, but for beginners it is best to start working with polymer blends, their consistency allows you to evenly level the layers of material and leaves no irregularities.In addition, polymer putty does not dry as quickly as acrylic, so in the process of finishing the ceiling can not be in a hurry.
Level the ceiling only after priming, it will reliably protect the base from cracking and prolong the service life of the finishing material.

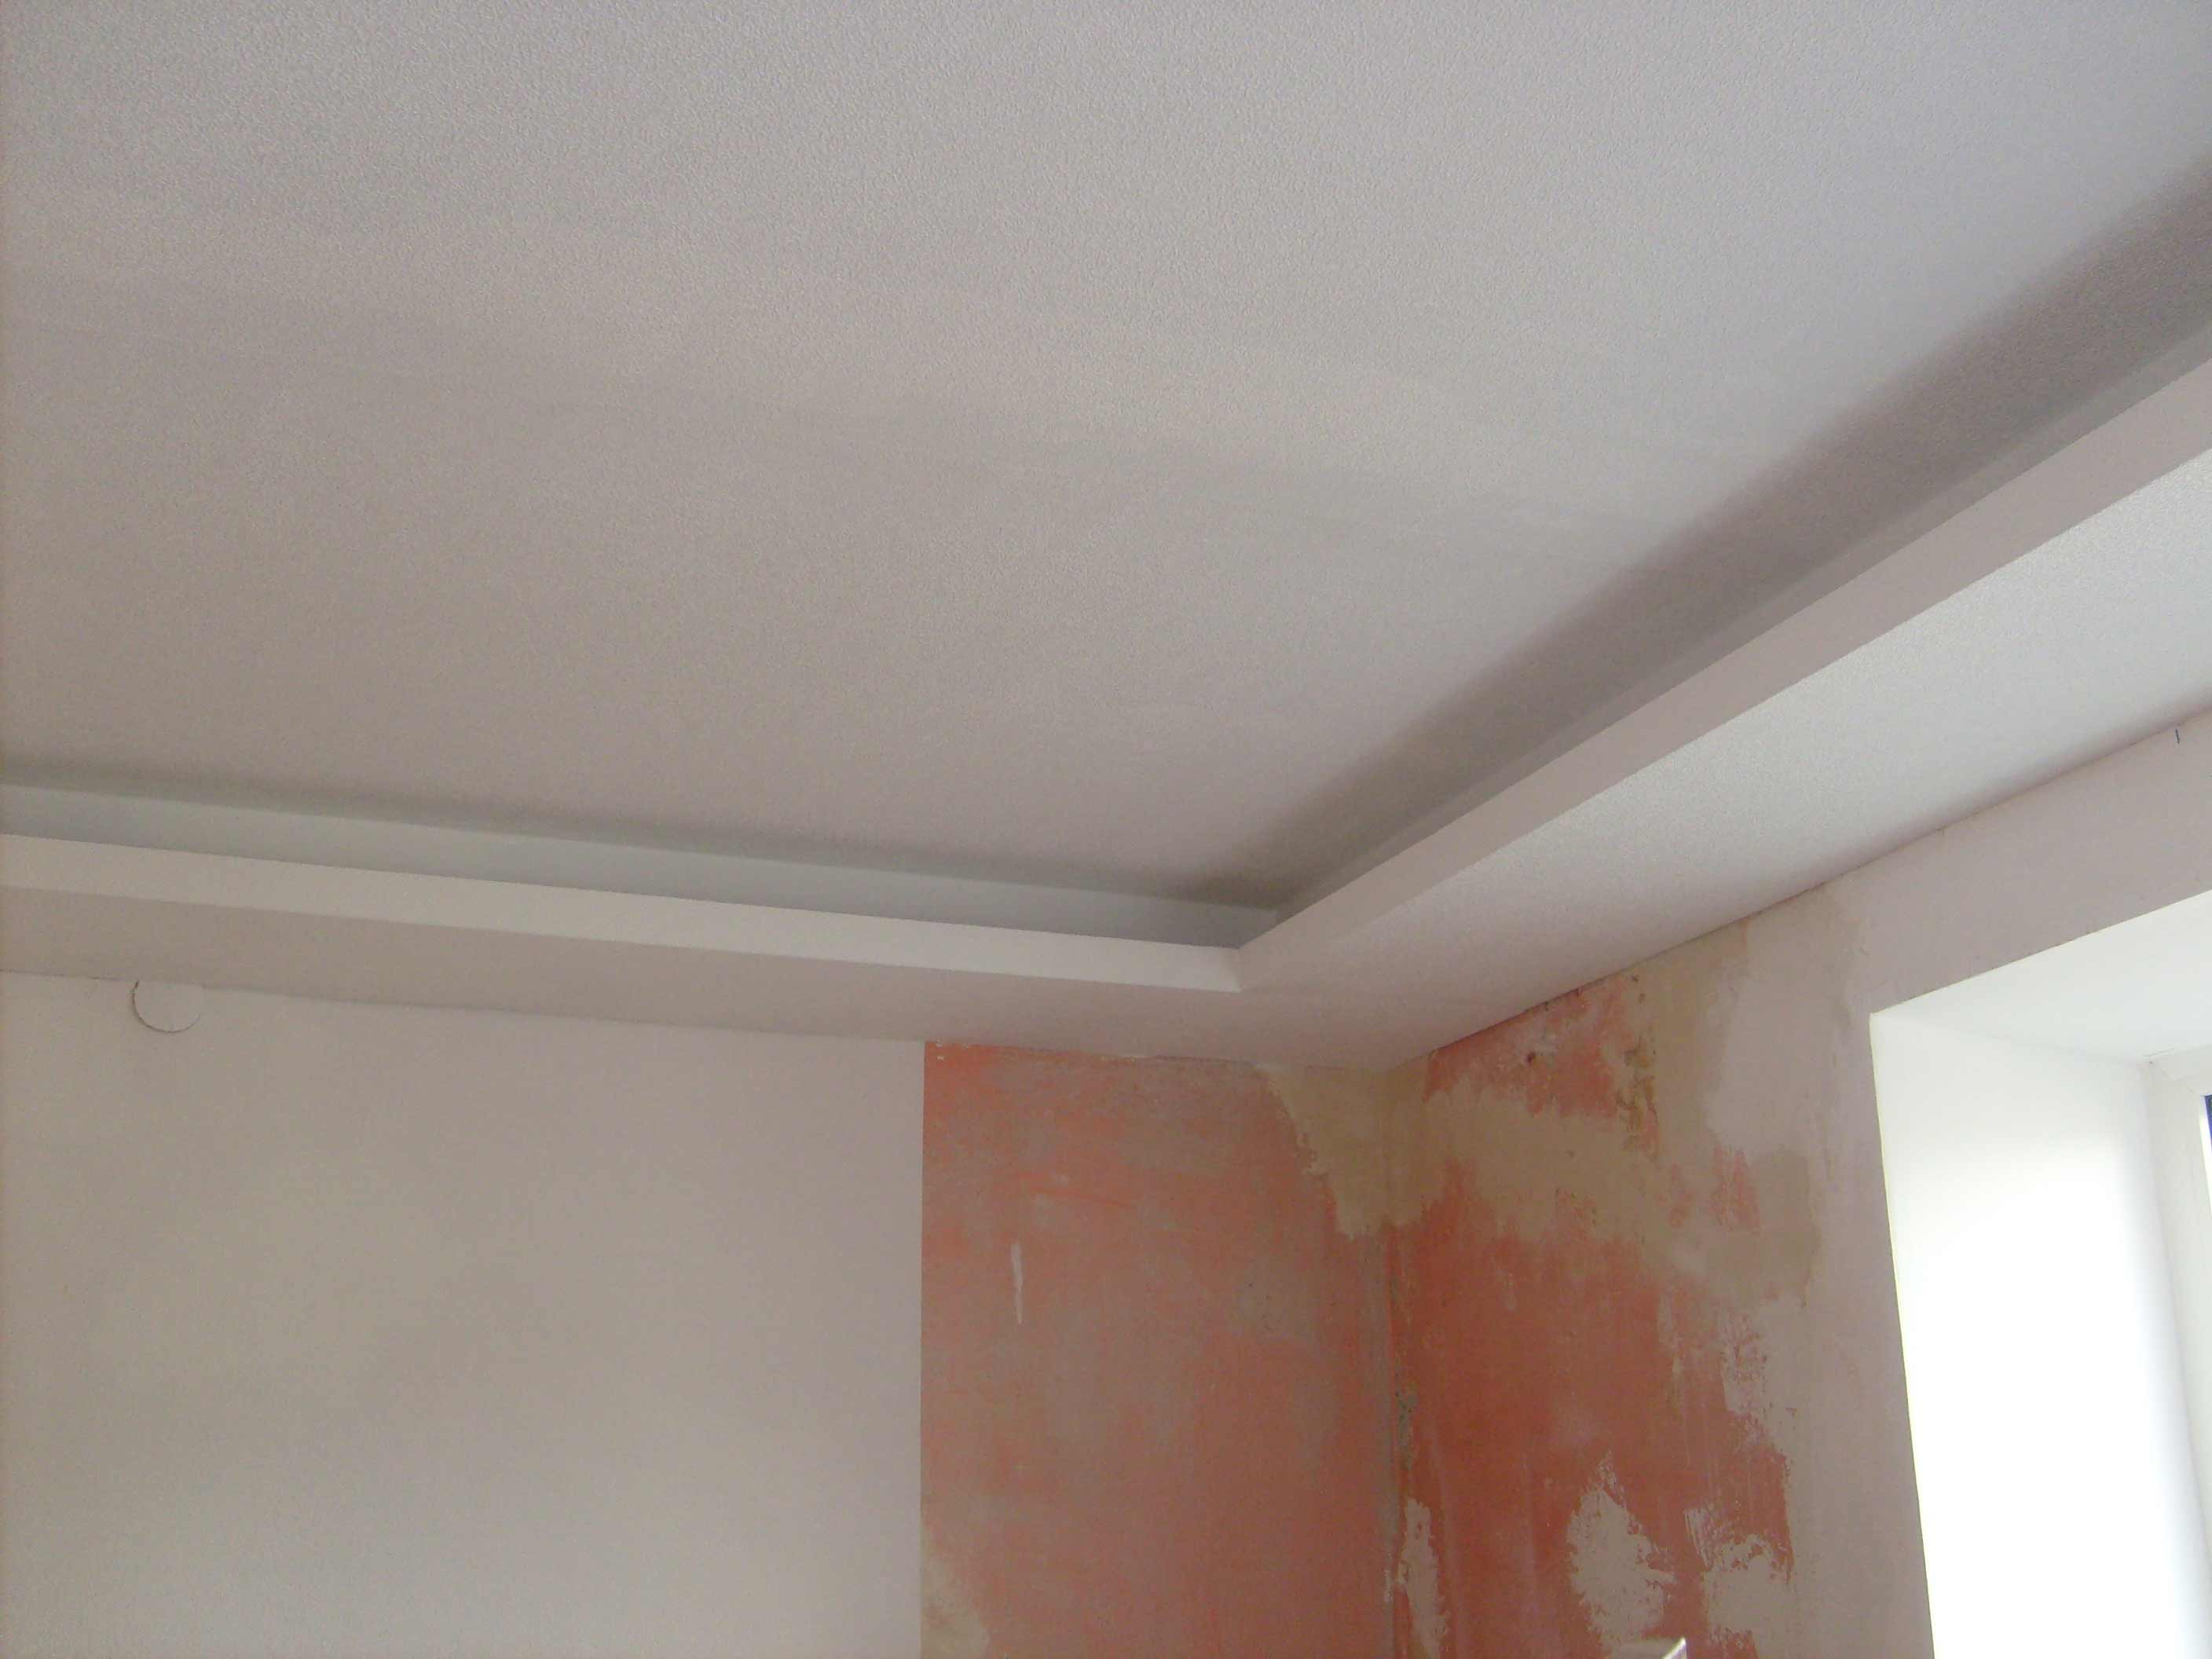
It is possible to use both ready, and dry mix. With the help of finishing putty, you can make decorations with patterns and add special paints that will give the ceiling a brighter white color. The first layer is applied vertically, and the second horizontally. The leveling of the surface should be carried out indoors, avoiding the appearance of a draft.
How to putty the ceiling, see the following video.


