How to fasten the eurolining?
When planning the decoration of the inner and outer surface of the walls, you can use different materials, each of which has its own advantages and disadvantages. The easiest to install and not too expensive will be lining. This material allows you to create a beautiful view of the surface, despite any problems of the surfaces of the walls, which will be completely hidden behind it.
Special features
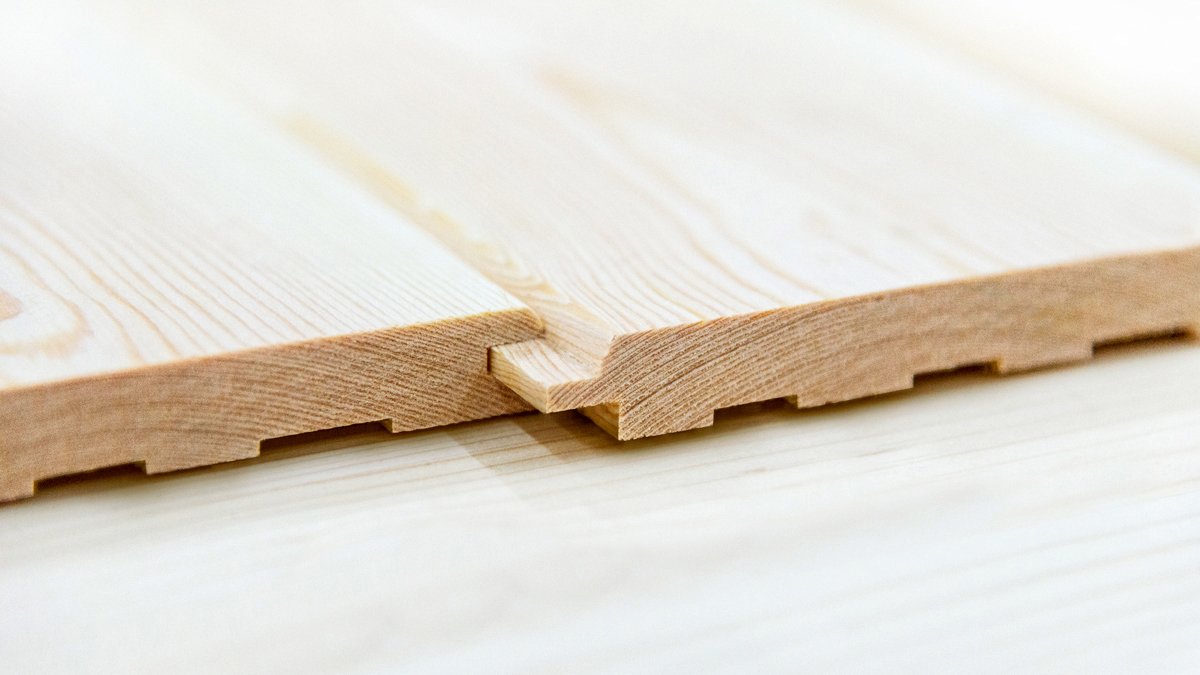
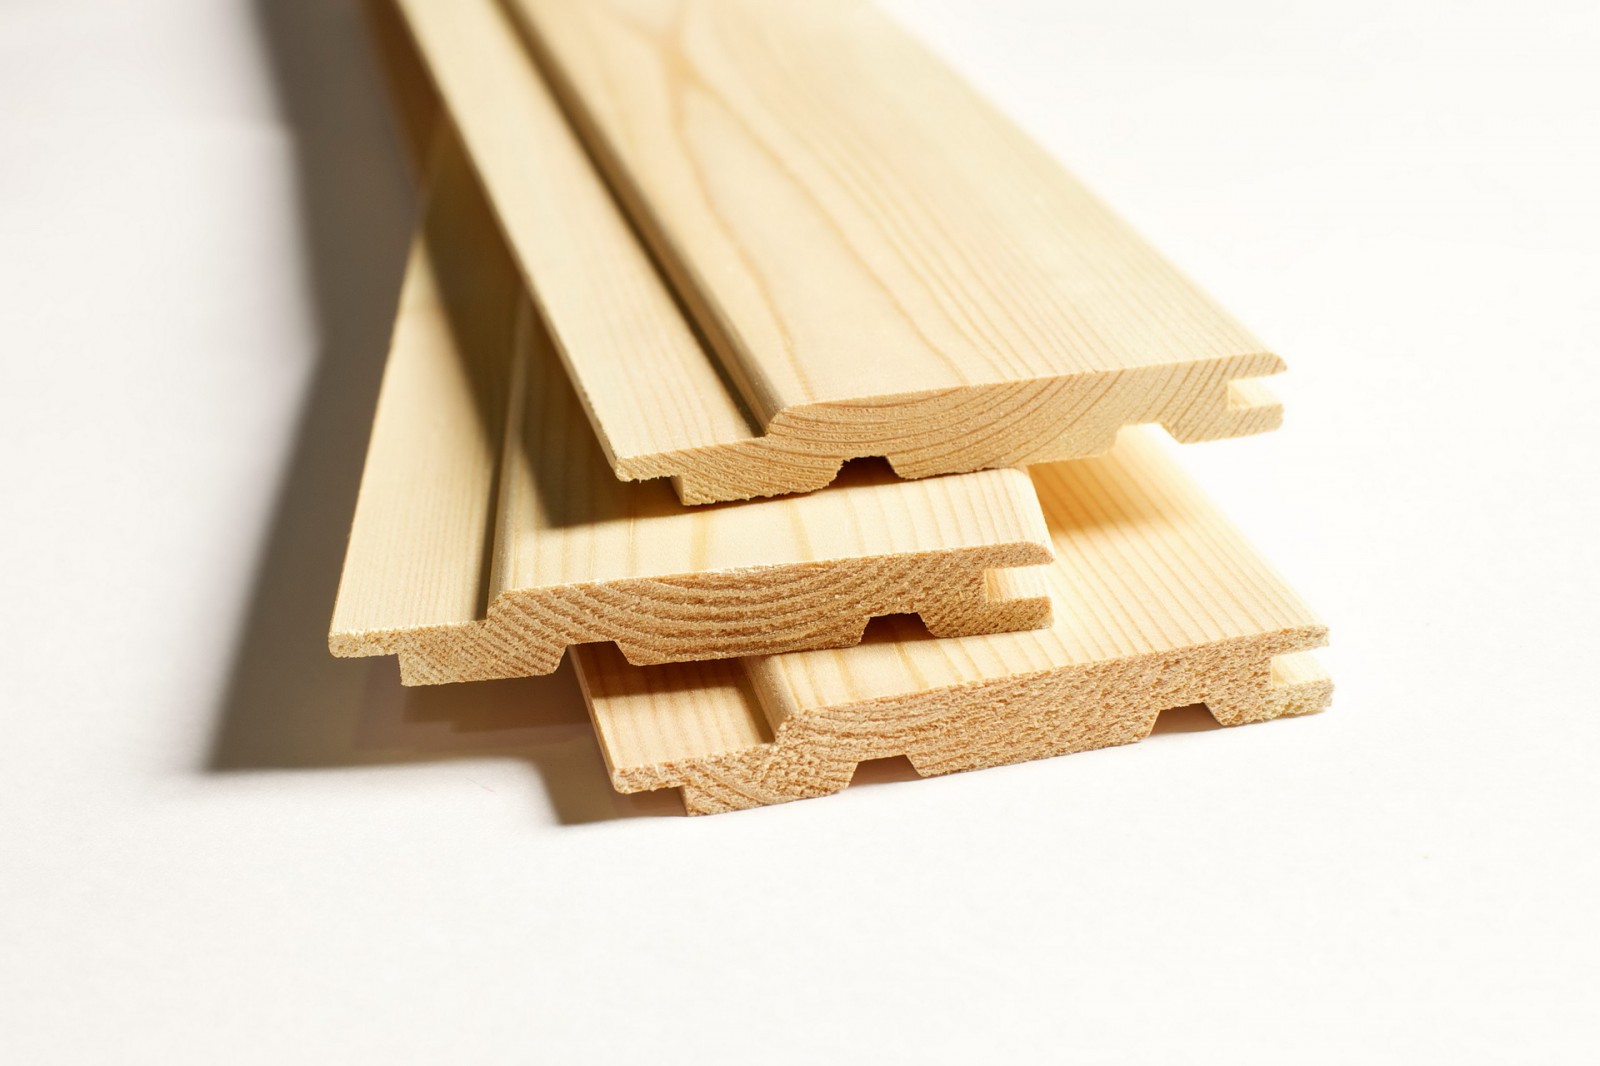
Lining is a more modern variation of ordinary wooden lining, but with a number of advantages. Accuracy in the size of this material is as high as possible, so it is possible to correctly calculate the quantity required for work. Unlike wood, eurolining is not afraid of moisture, and it does not change its properties under its influence.In addition, modern material has a much more convenient mounting system, which allows you to easily and quickly cope with the installation.
Lining has a special grooves from each edgewhich help this material to breathe, especially in conditions with a changeable climate and high humidity. In addition, in such grooves it is convenient to lay the wiring or any wires that need to be hidden. In this case, it is very important to carefully check the insulation of all the wires that will fit behind the eurolining.

The advantages of this finishing material include:
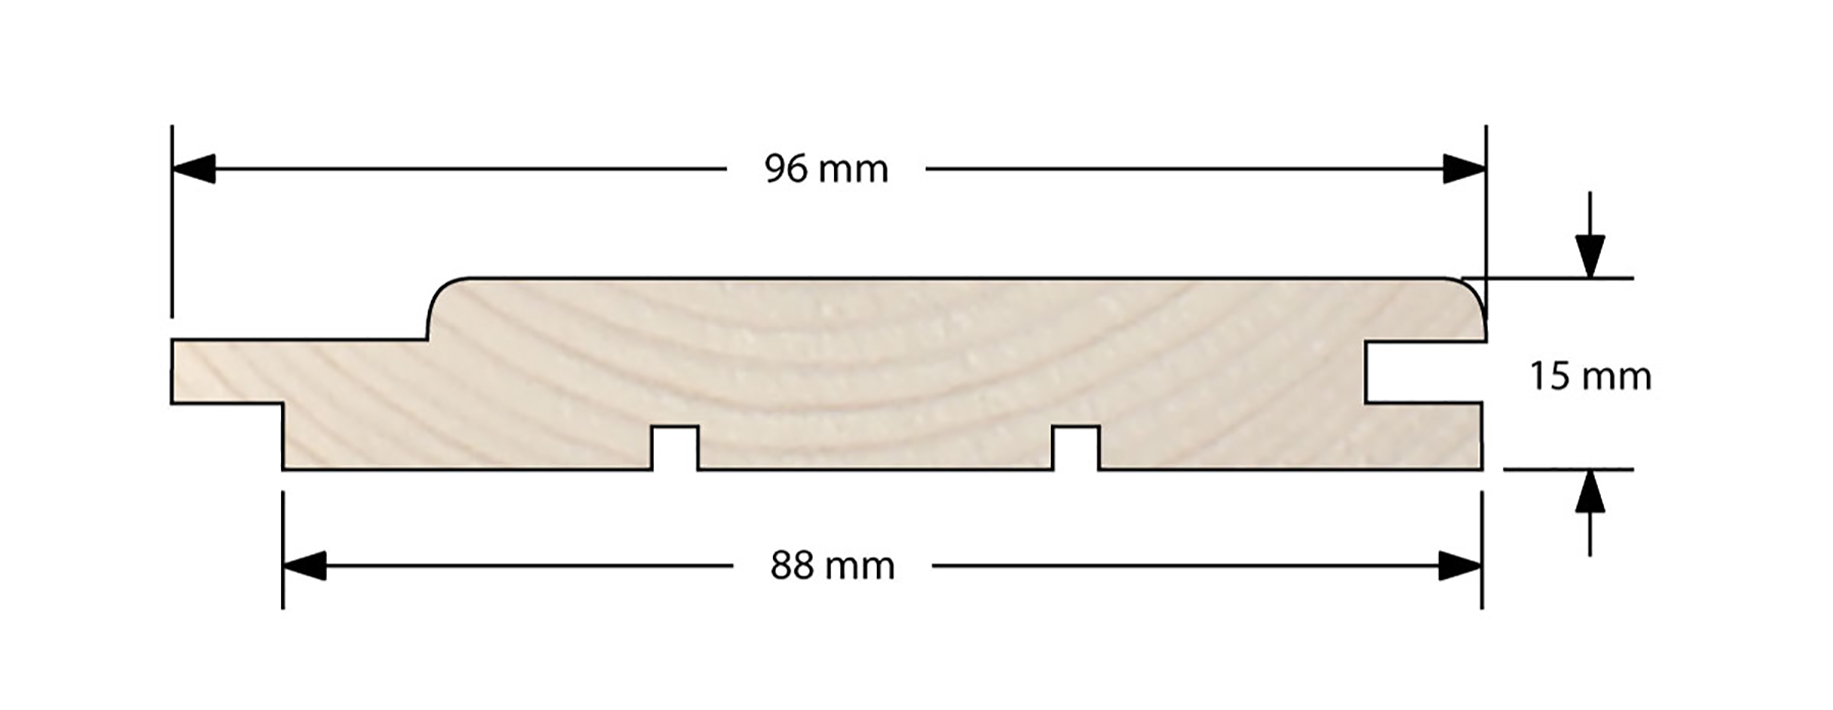
- stable dimensions of each blade;
- preliminary antiseptic surface treatment;
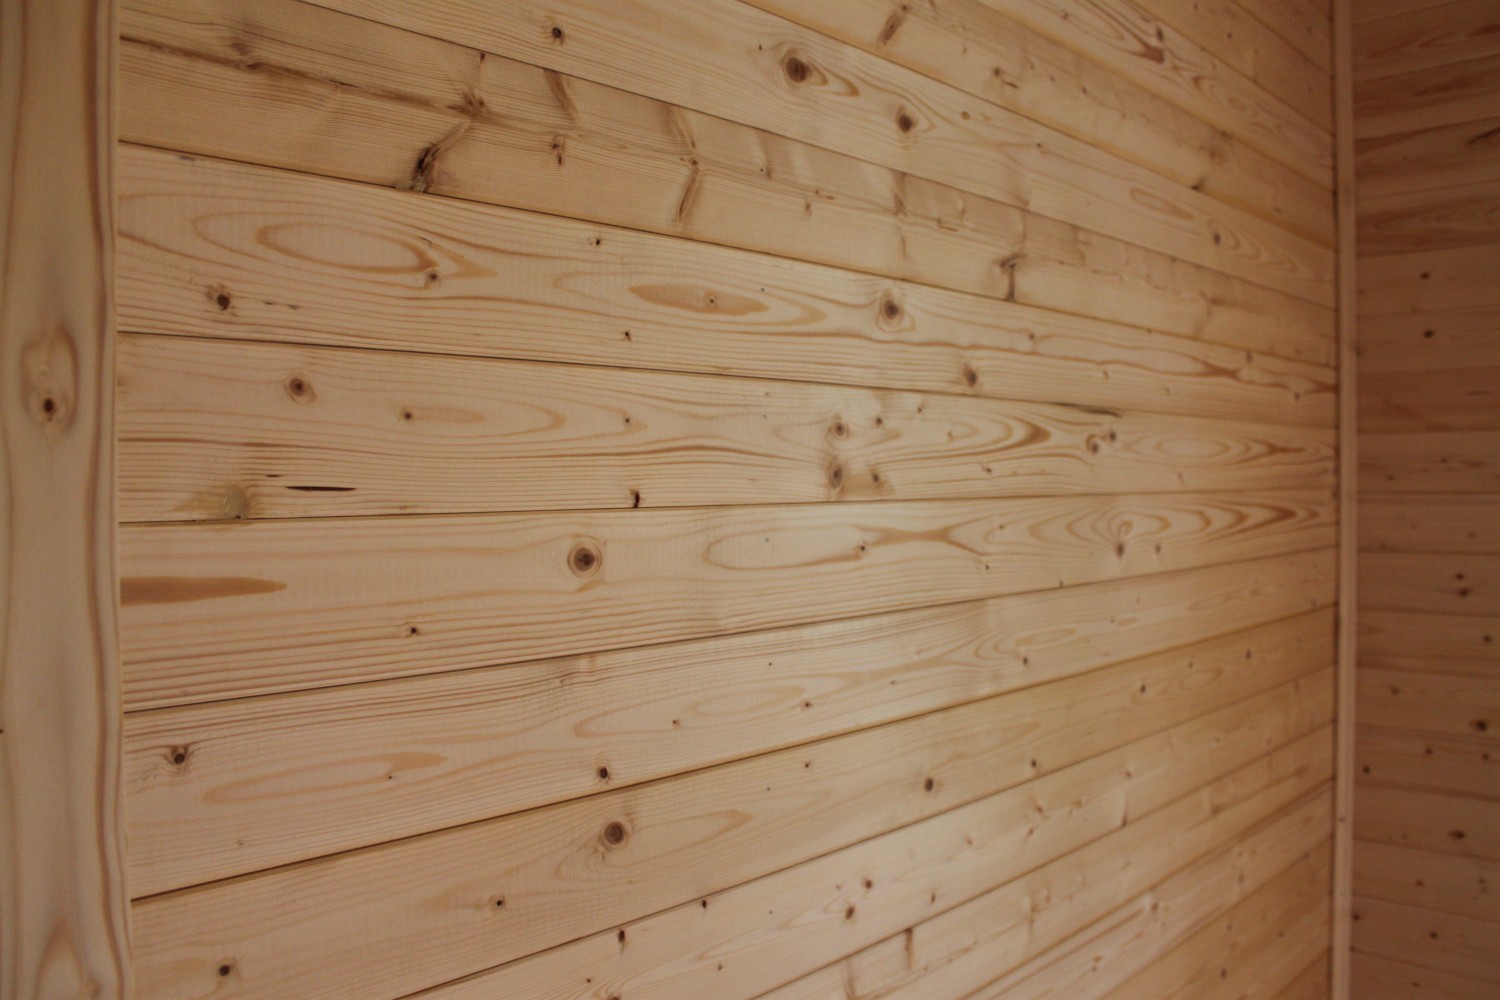
- smooth surface, without significant roughness;
- relatively simple way of mounting on a wall or ceiling surface.
All this allows with high accuracy to calculate the amount of material needed for the work, the lack of additional strips and a small amount of construction waste.
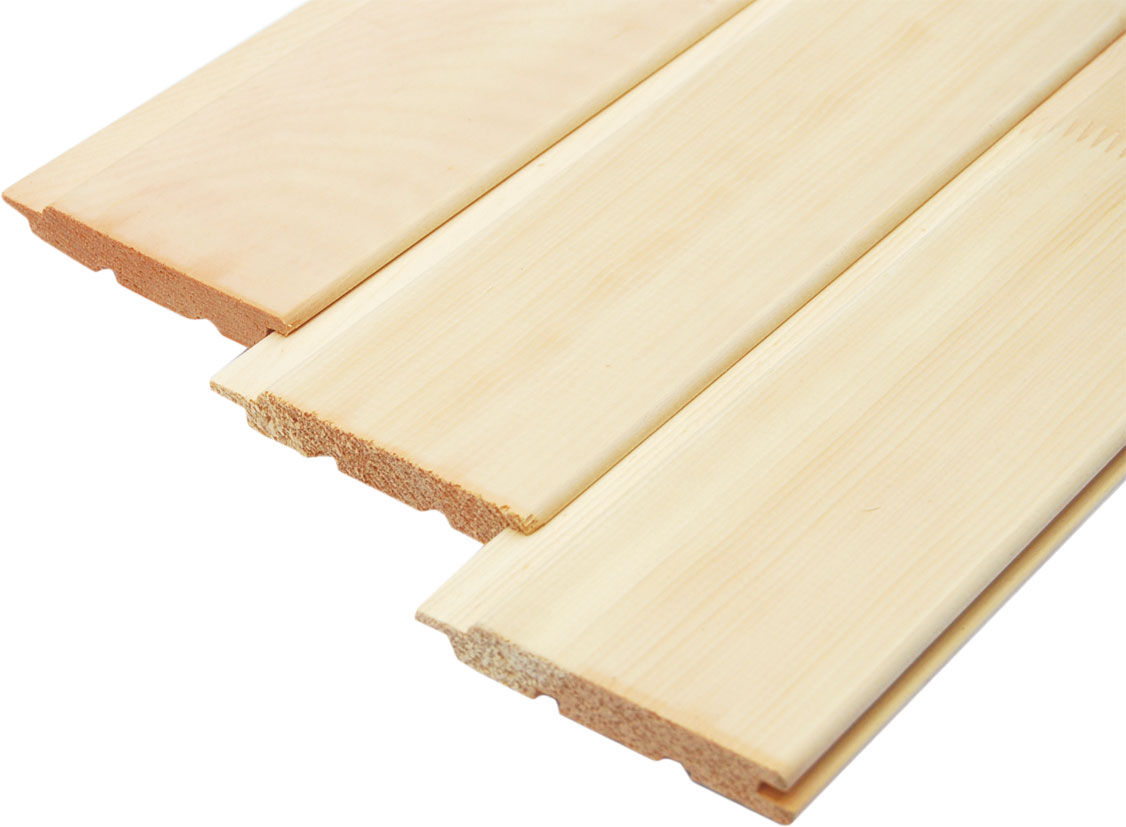
The material itself is created according to European standards and patterns.It has good characteristics for use both indoors and outdoors.The material is environmentally friendly, because it can be used in any premises.
It is possible to fix the eurolining using self-tapping screws, staples, nails, dowels and clamps.
Tools and materials
In order for the installation of eurolining to be fast and of high quality, one cannot do without a certain set of tools.
Among them must be:
- perforator;
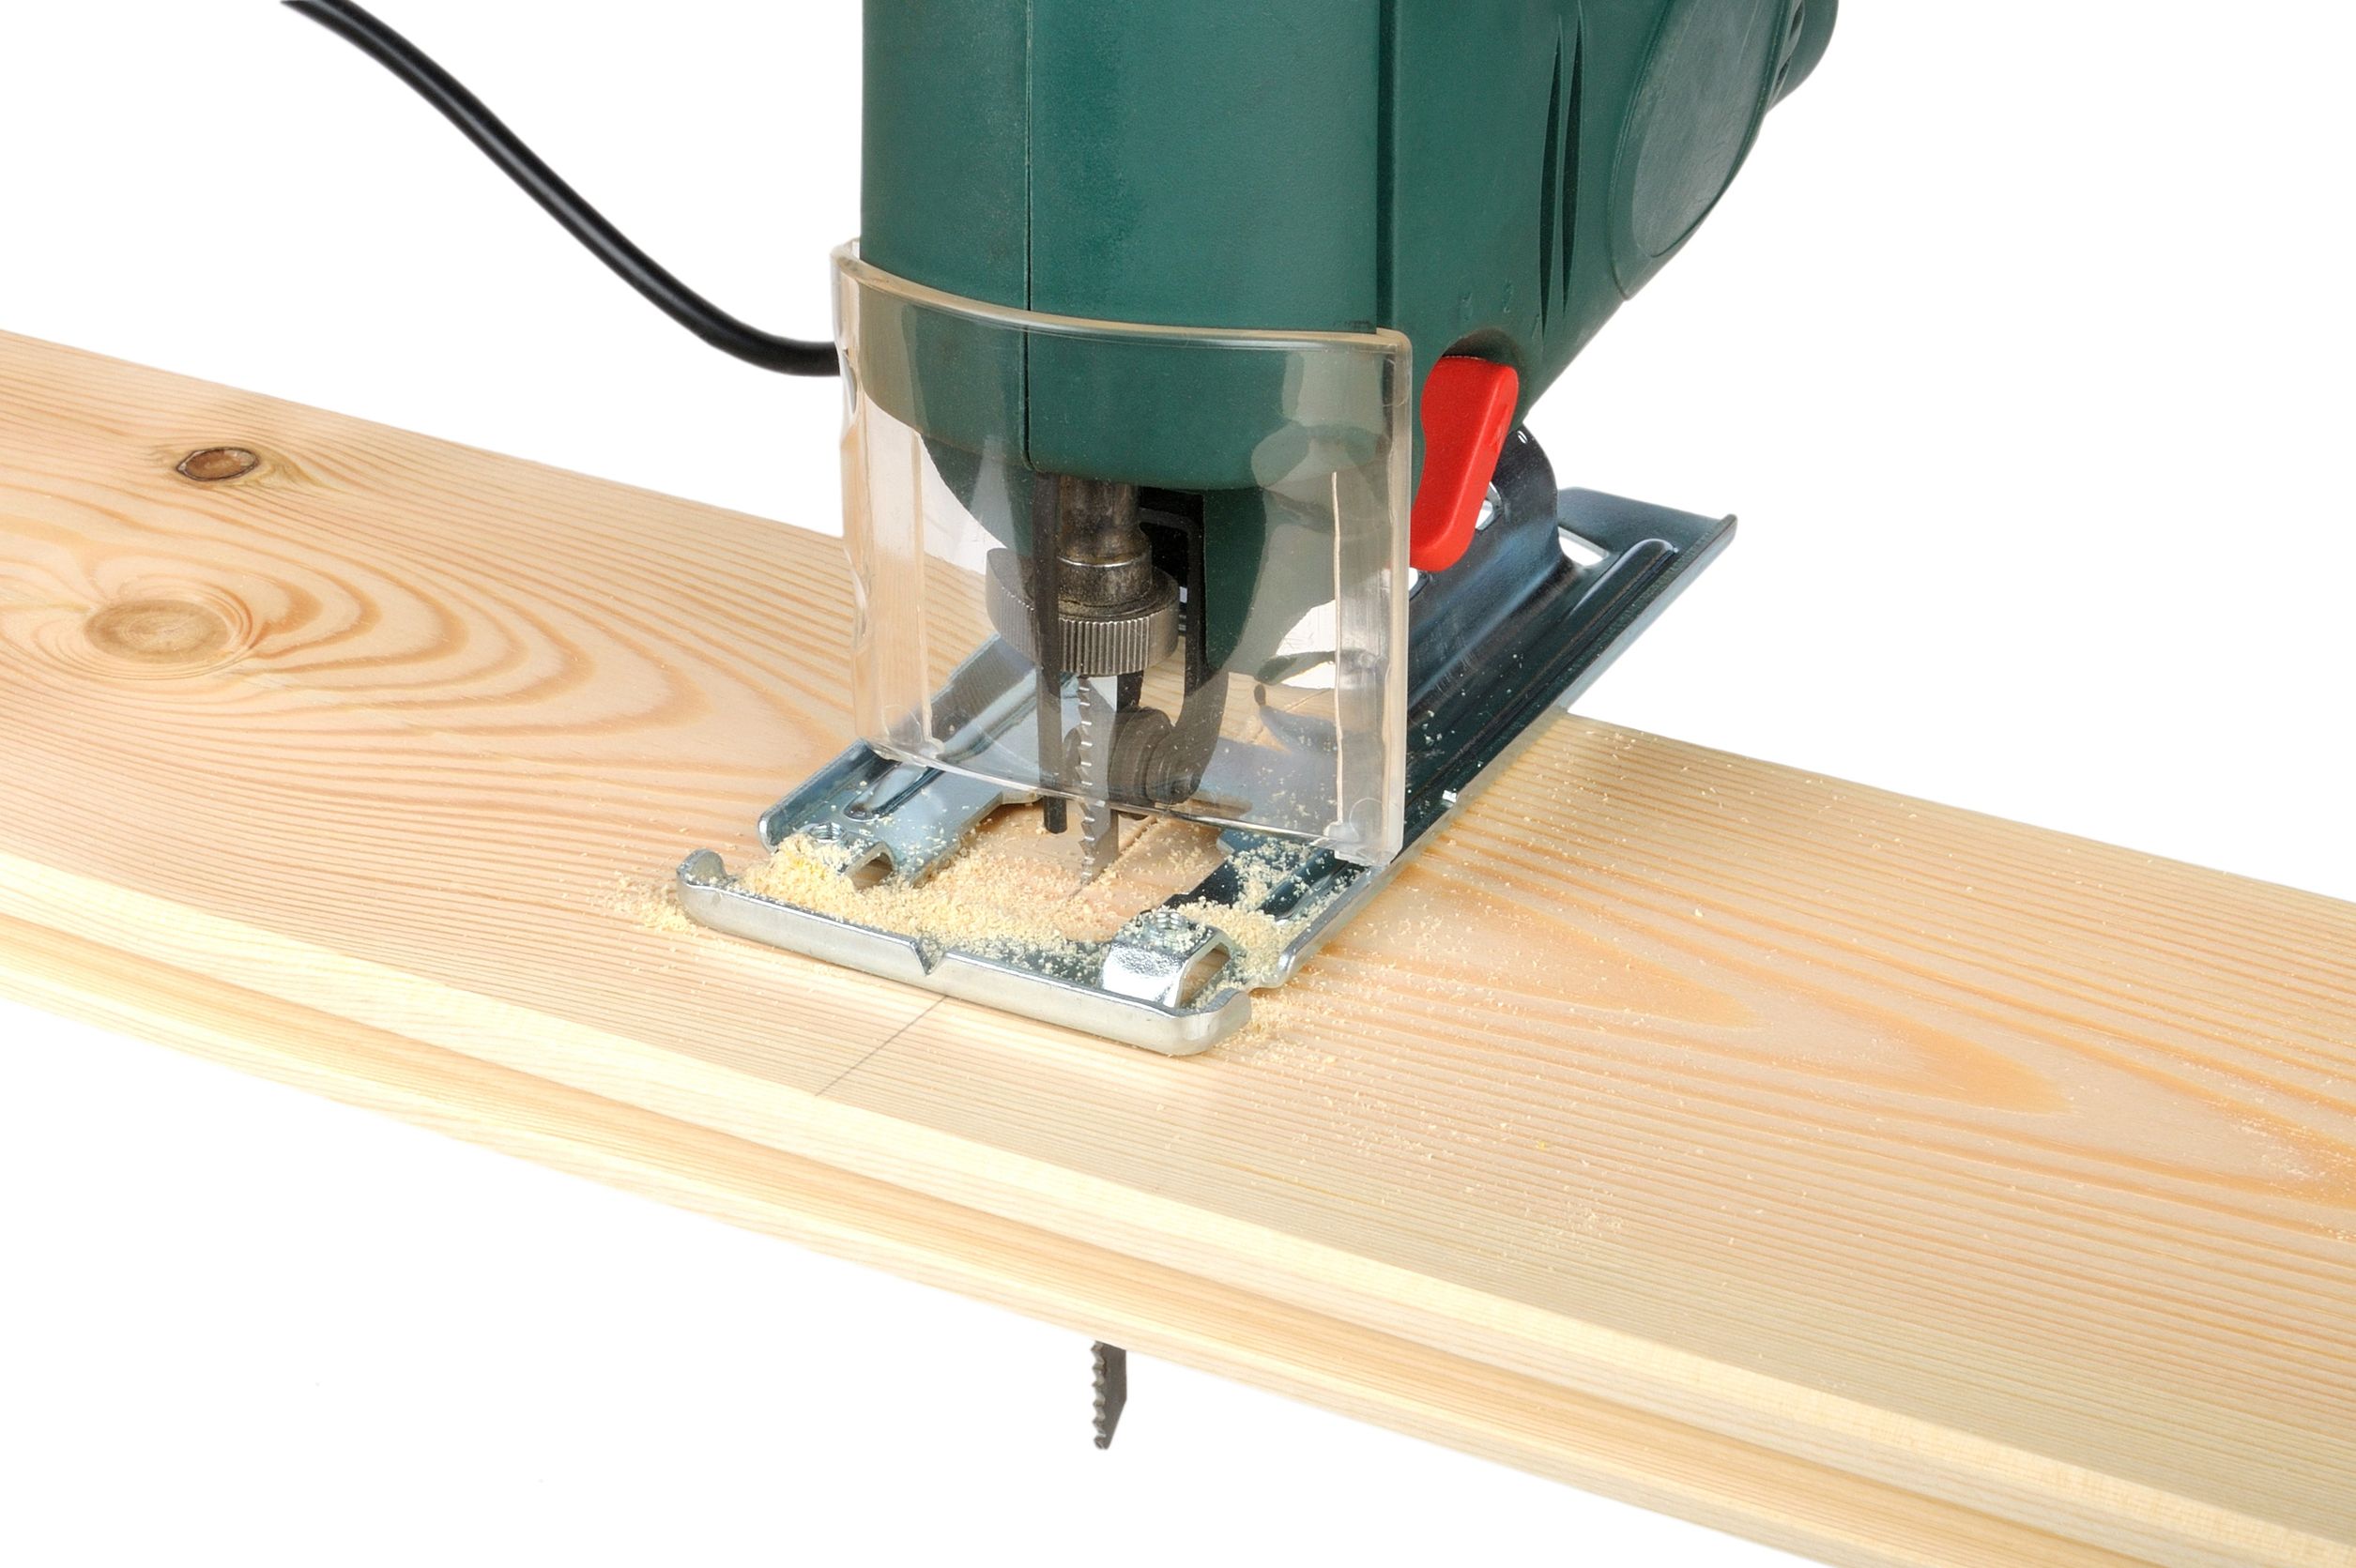
- jigsaw, better if it is electric;
- drill;
- hammer;
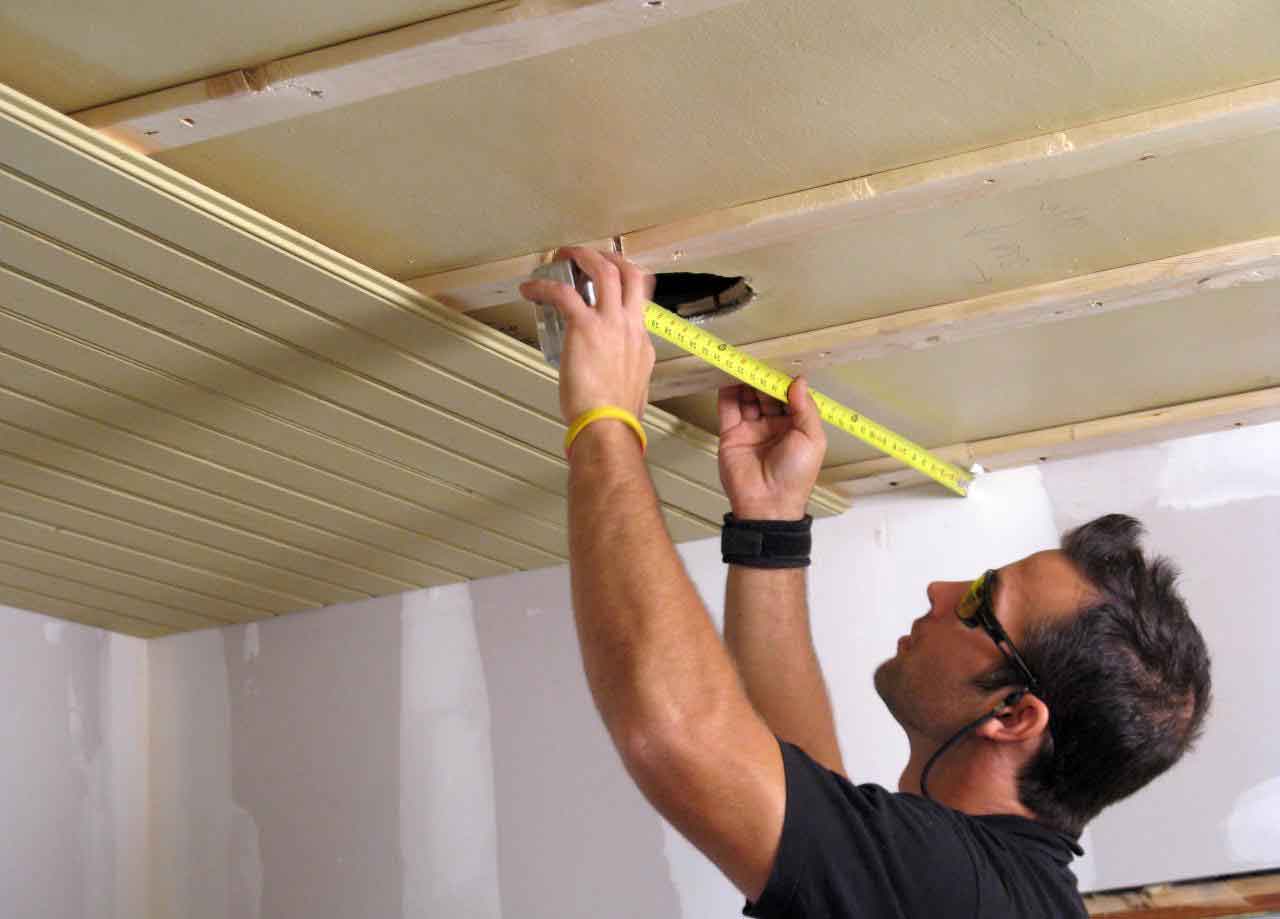
- line and level;
- a plumb testing thread;
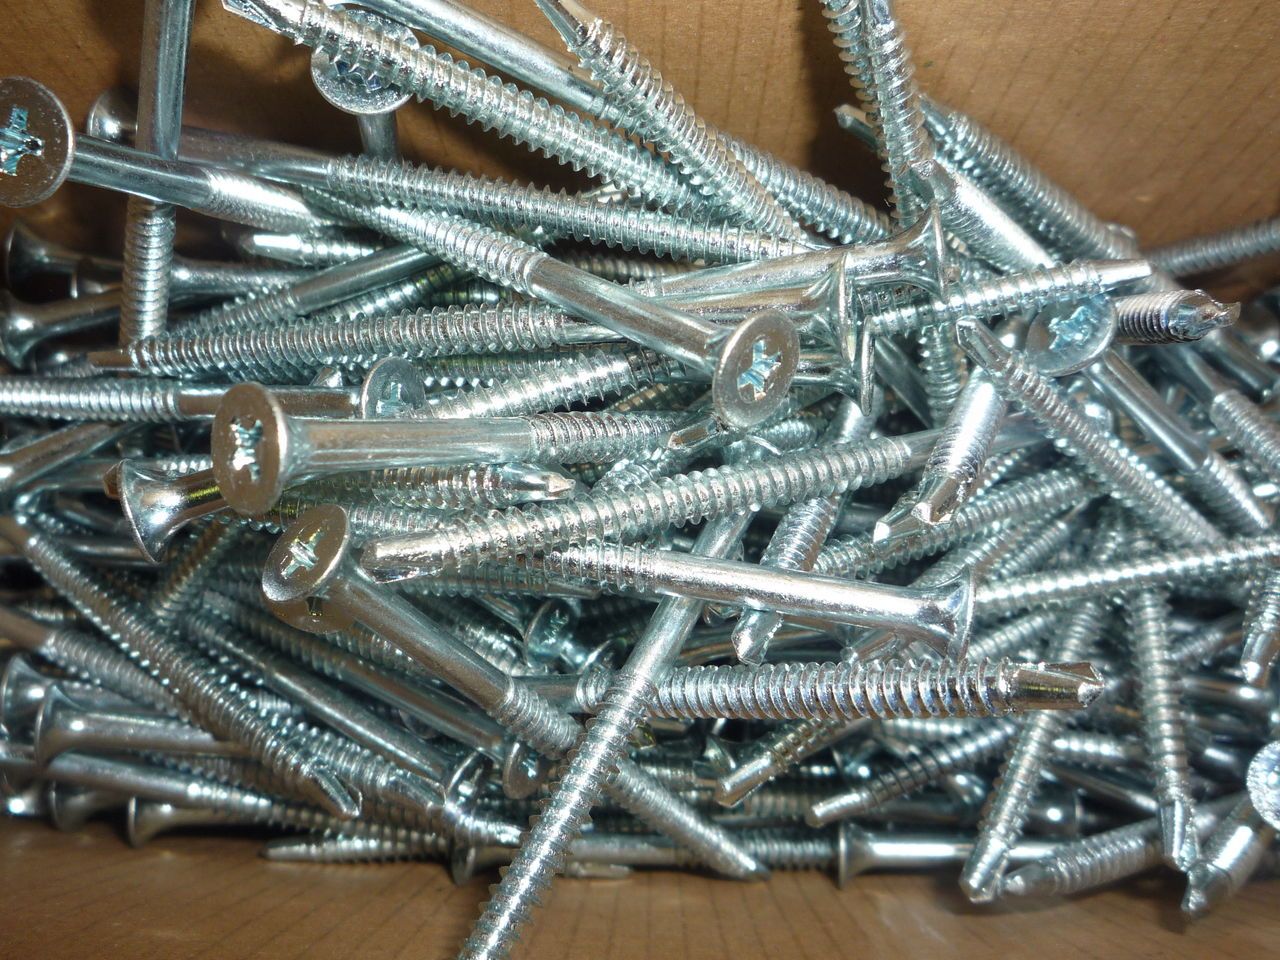
- self-tapping screws that are suitable for woodworking;
- klyymery.

Using a perforator, it will be possible to prepare holes for dowels, which will include screws during screwing the board. With a jigsaw, you can cut off the necessary pieces of material, especially if there are windows or other non-specific projections on the wall. For greater efficiency and fast pace of work is better to use jigsaw.
Drill is needed in order to mount on the wall wooden slats or metal profilein which the eurolining will be driven. You can hammer dowel-nails with a hammer, if they are used in work, or tap the slats so that they sit completely in place without forming gaps or uneven seams.It is necessary to work with such a task carefully so as not to spoil the edges of each rail. The ruler is necessary to conduct a smooth line of cutting material to minimize inaccuracies. In addition, sometimes you have to upholster a wall with windows, switches and other additional elements that need to be bypassed on both sides. With the help of the level, guides for lining up are lined up. The result of the finished laying on the wall depends on their evenness.
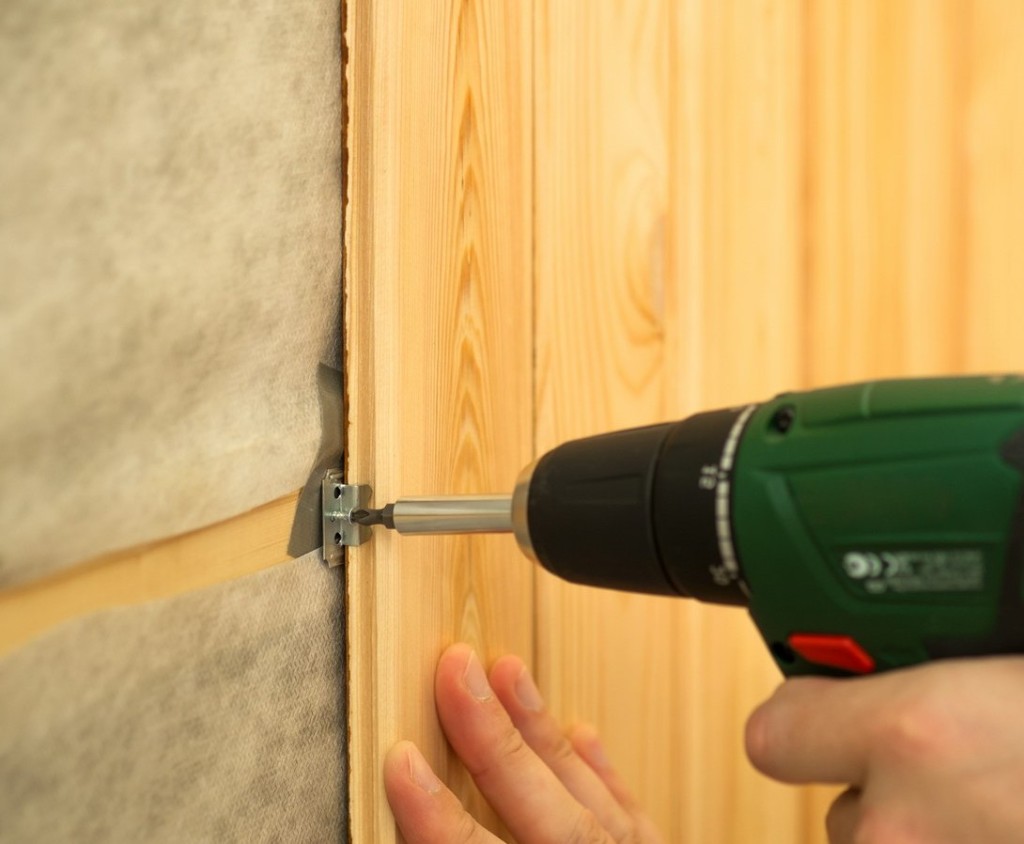
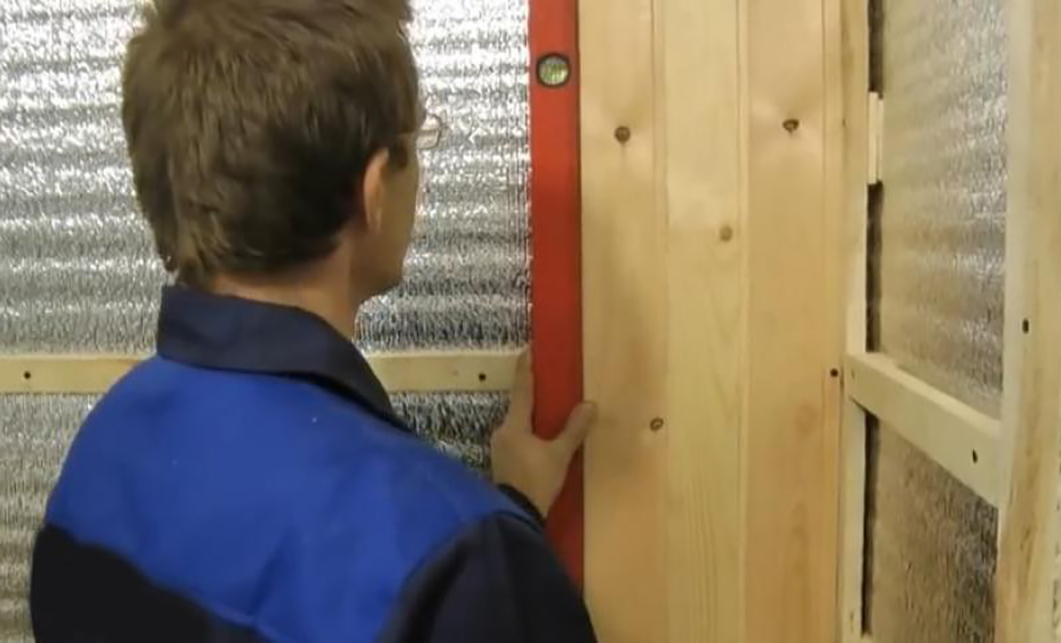
When part of the lining is installed, you need to check it with a plumb with a thread, if everything is fine, then you need to continue to work, if there are strong deviations, you need to get rid of them. The very fastening of the boards to the guides is done with screws. Their size is selected taking into account the thickness of the eurolining and the distance to the wall.
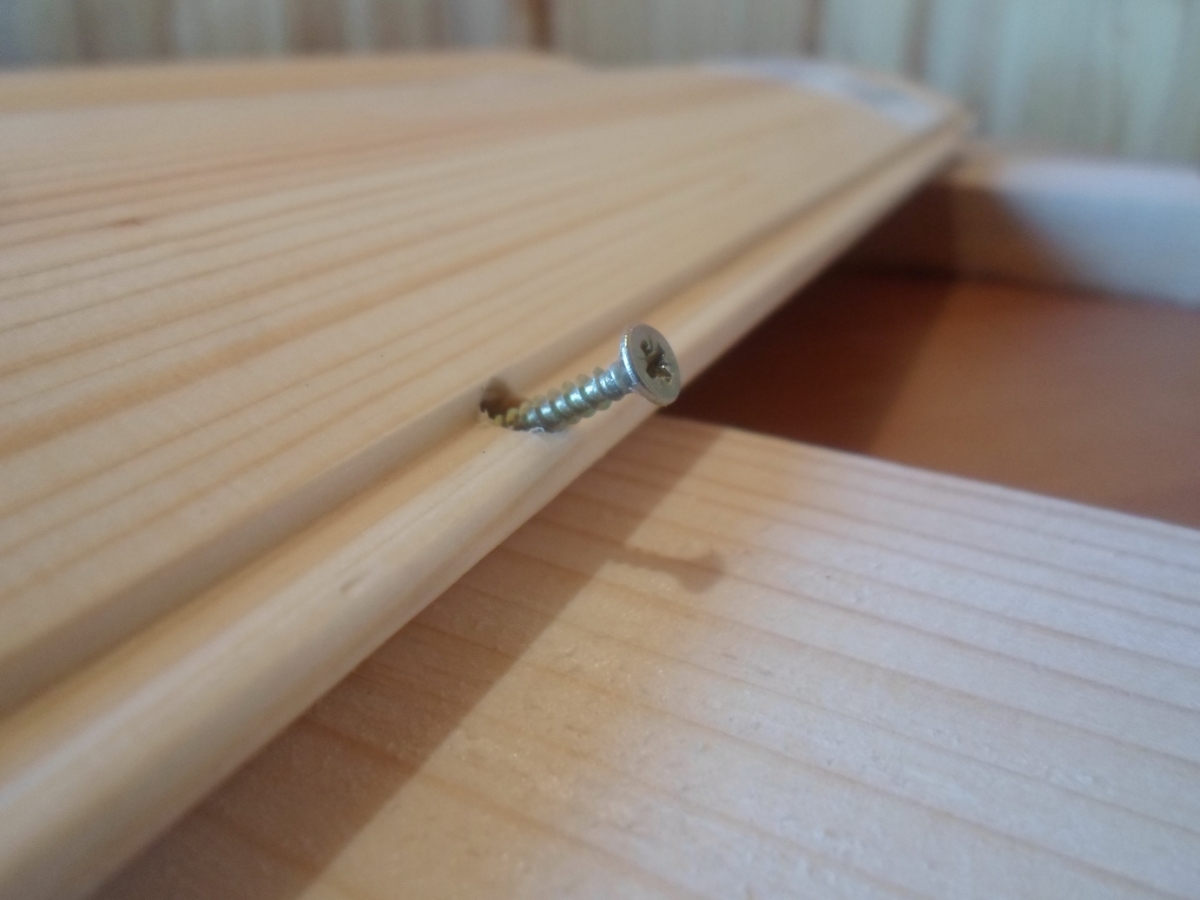
This is not the only hardware that can fix the boards, well suited for the work of nails, which should be quite thin and have a small hat.

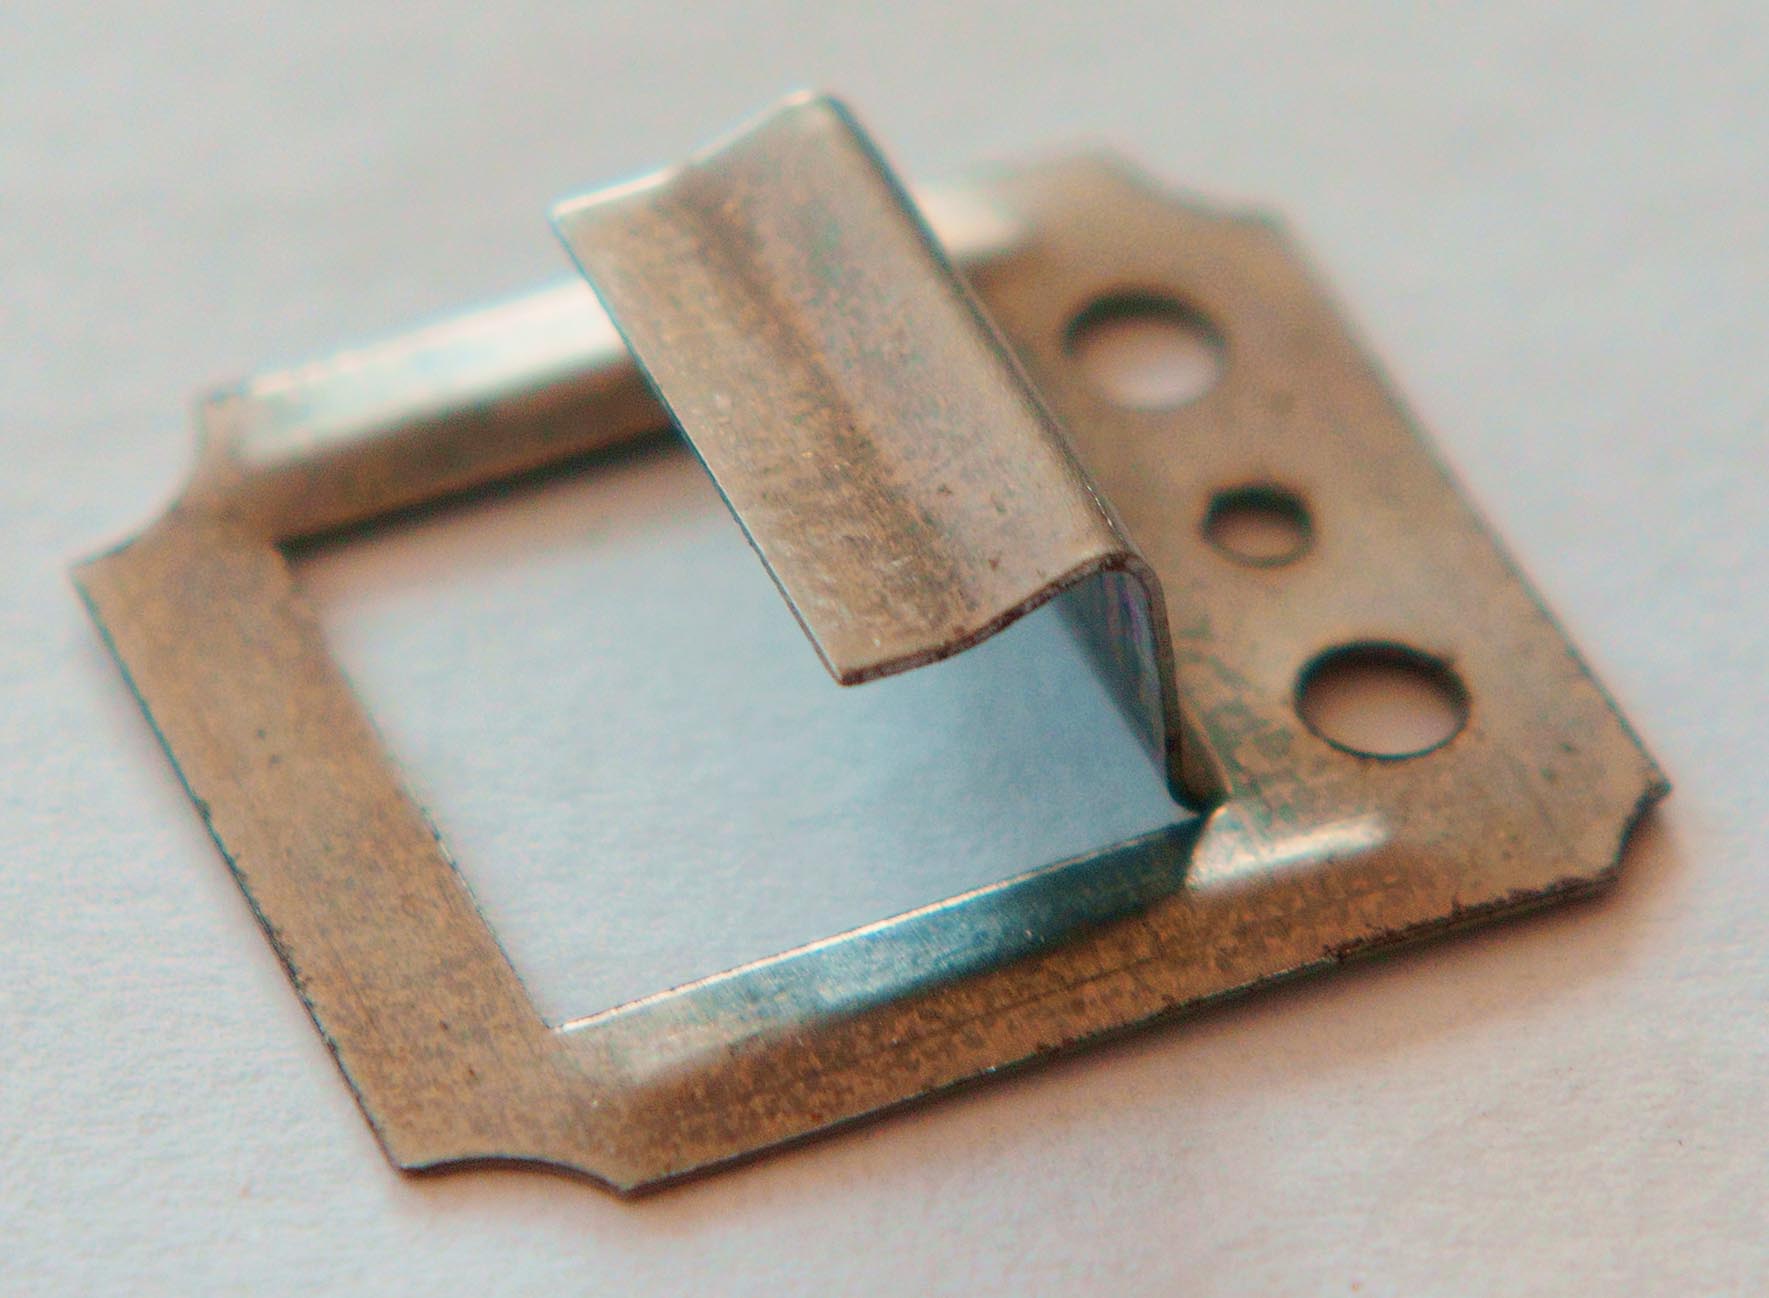
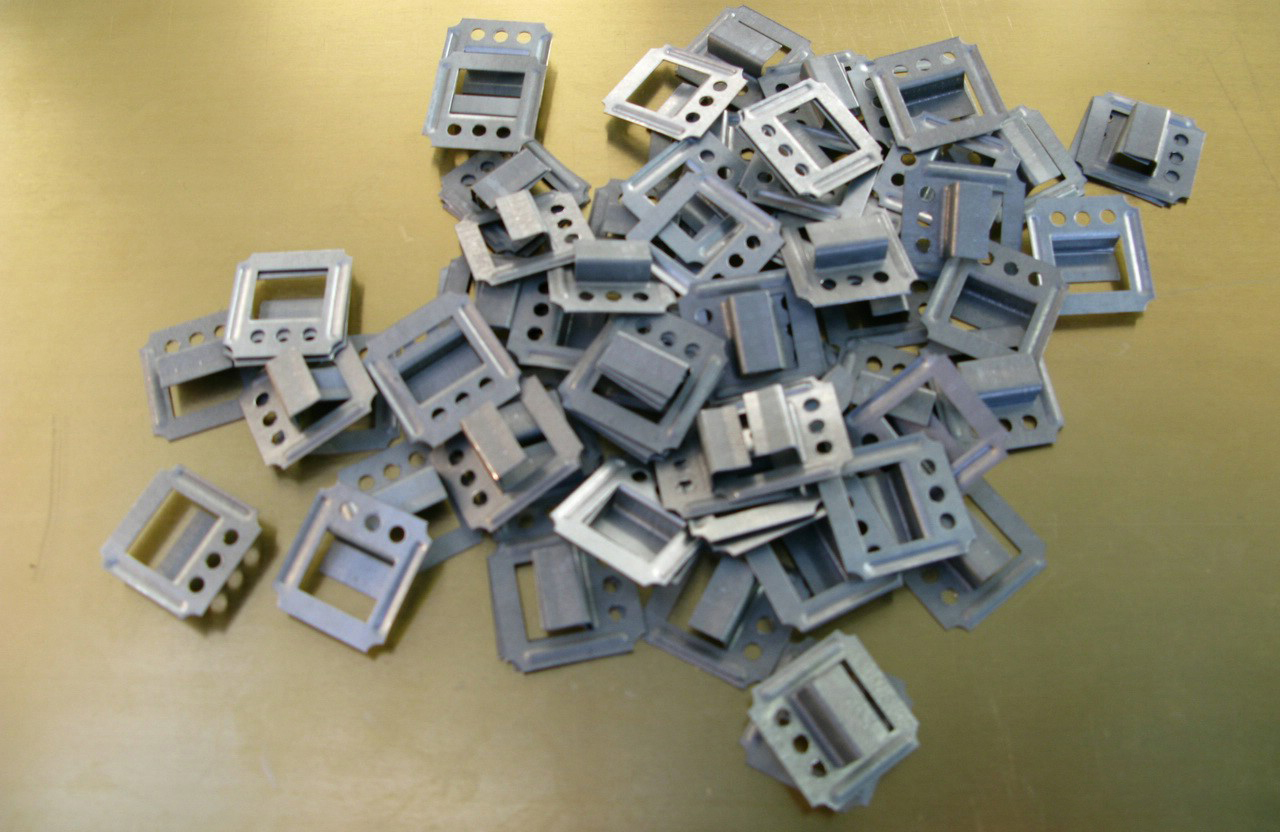
One of the mounting options is klyaymerwhich is a small bracket into which the paneling is driven. With the help of a Kleimer, you can fasten one board to the crate and install a second one on top of it, which will fit into the groove of the already fixed part.Such fastening turns out reliable because each detail fastens to the strong basis. When planning the installation of eurolining, it is best to initially determine the method of installation and purchase only the necessary materials. If the procedure is to be the first time, then you can try each of the methods in a small area and determine for yourself the most convenient option of fastening materials, in accordance with which it will be necessary to select tools.

Installation
Laying eurolining - it is simple if you know all the nuances and patterns that will have to face in the course of work. In order for a new material to appear on the wall and decorate it, rather than spoil it, it is important to do everything without undue haste. Even a beginner can do the work with his own hands, but you need to properly prepare, gather the necessary tools and materials, and find basic information on the installation of the wall paneling.
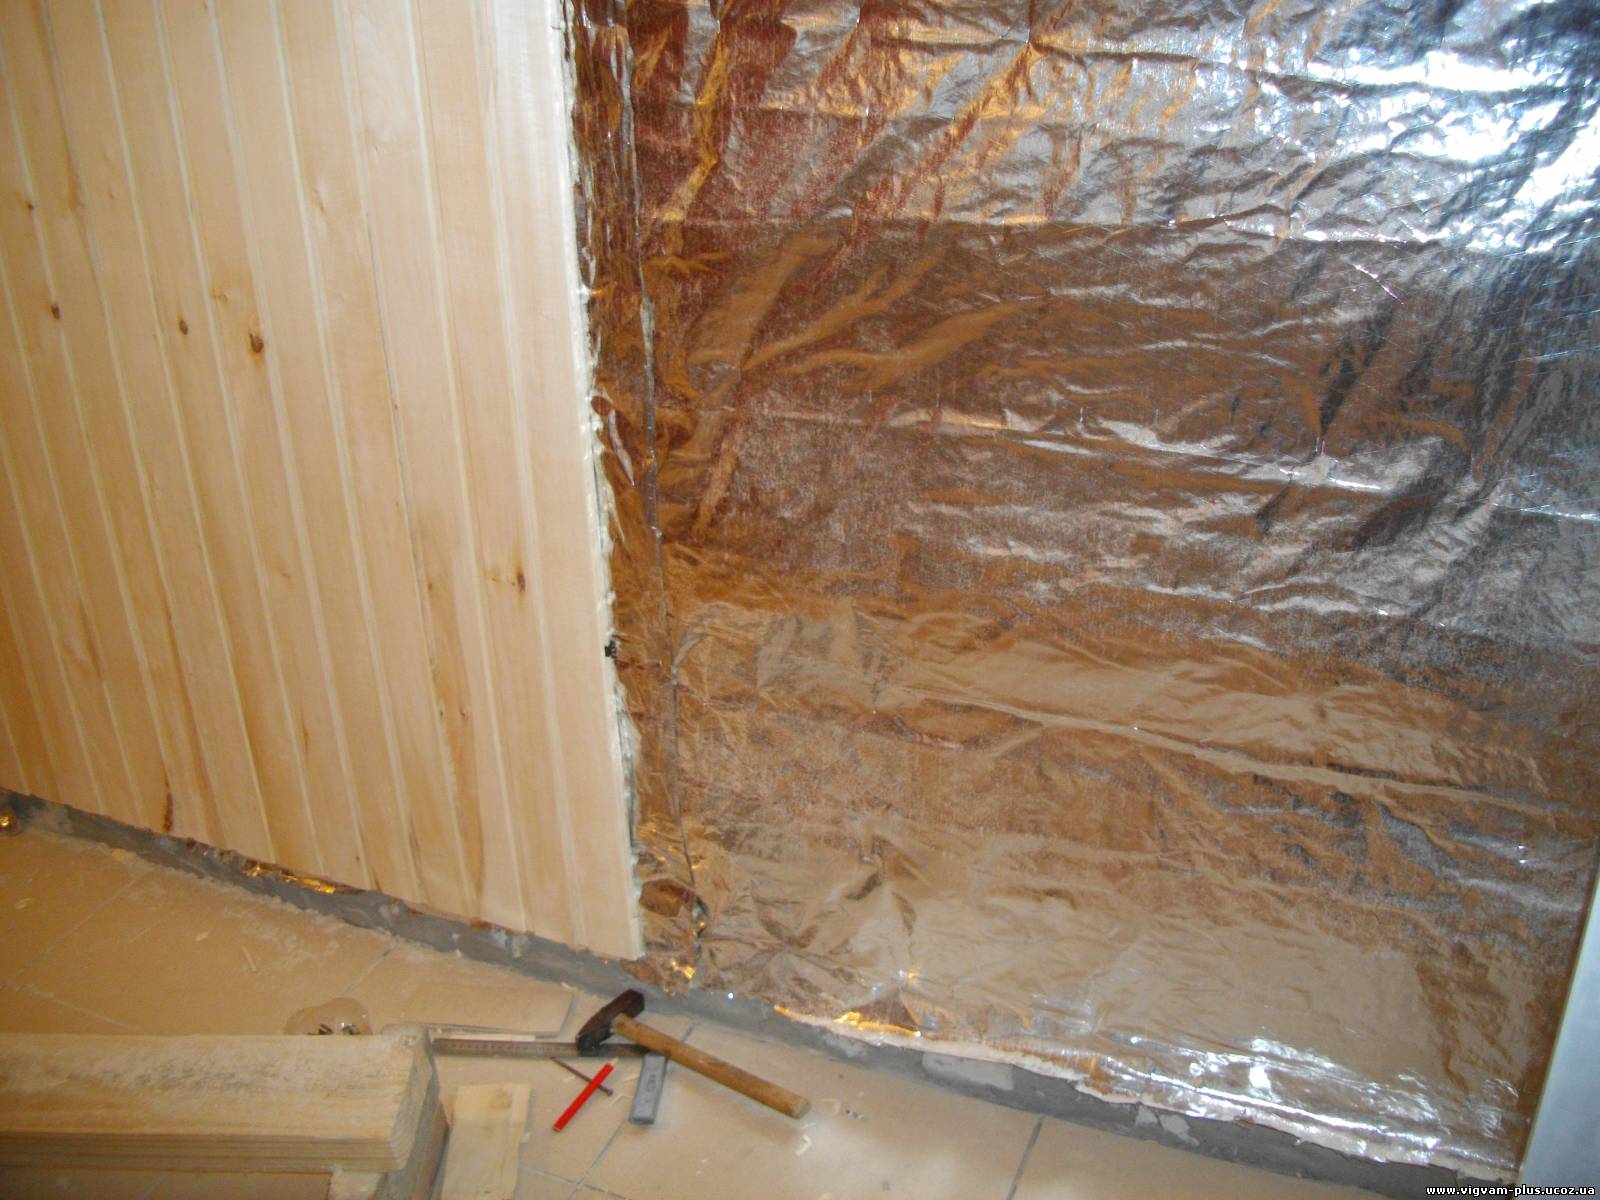
The lining with this material can be made both on the surface of the wall, and on the sheathing of wood or metal profiles. Without crates usually laying is made on brick and concrete walls,which are separated from the external material using roll insulation. Most favorably interacts with the lining insulation from cork, polystyrene foam and foam.
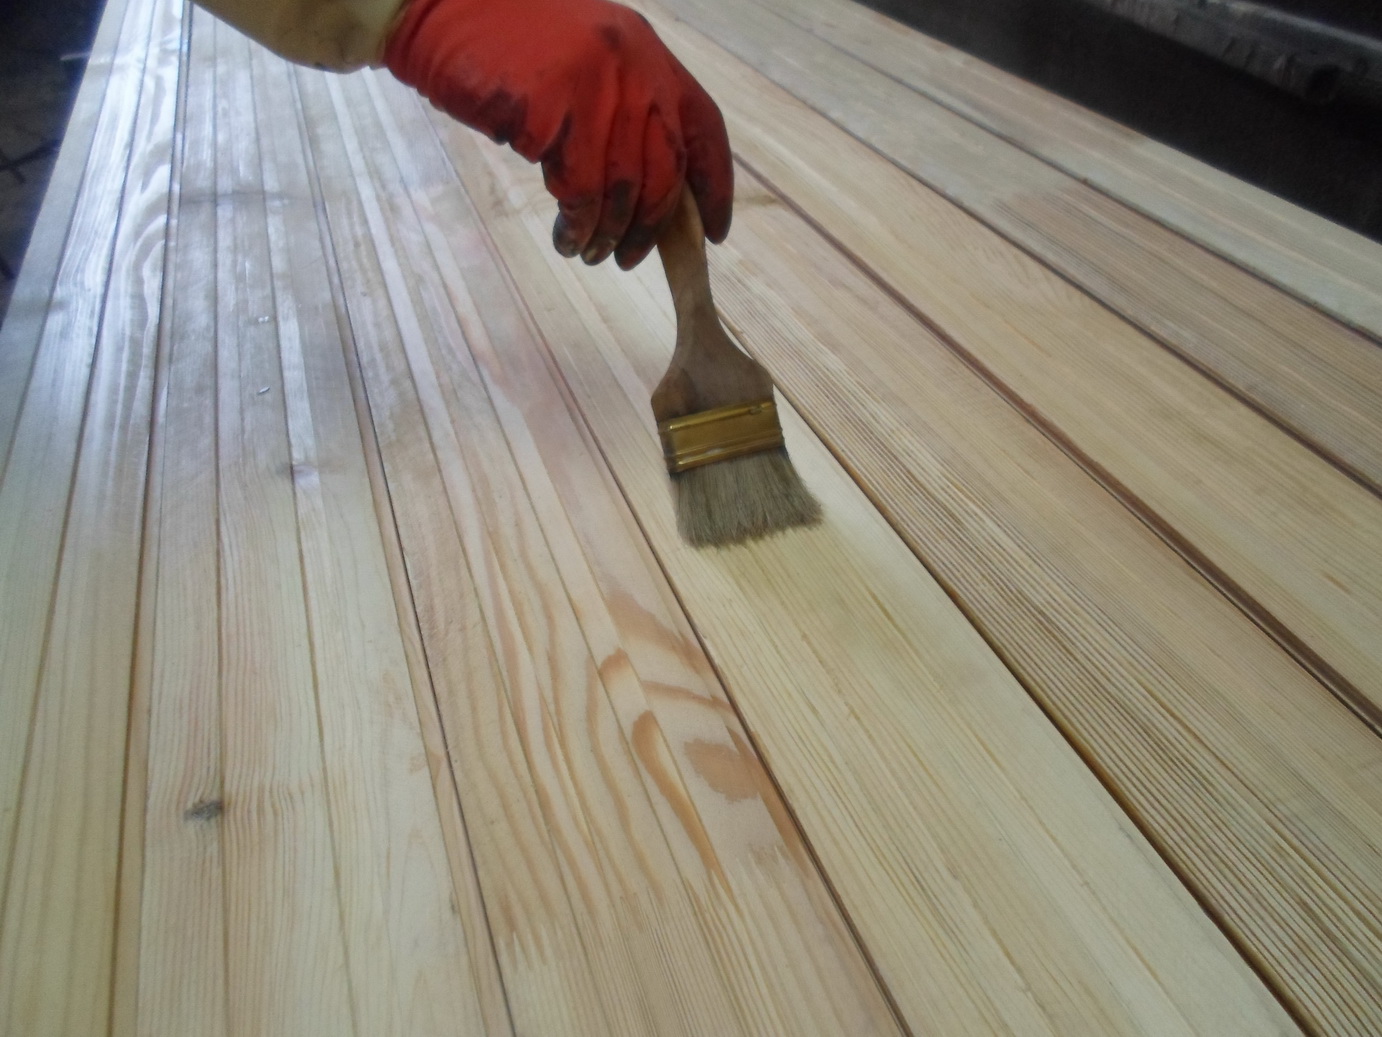
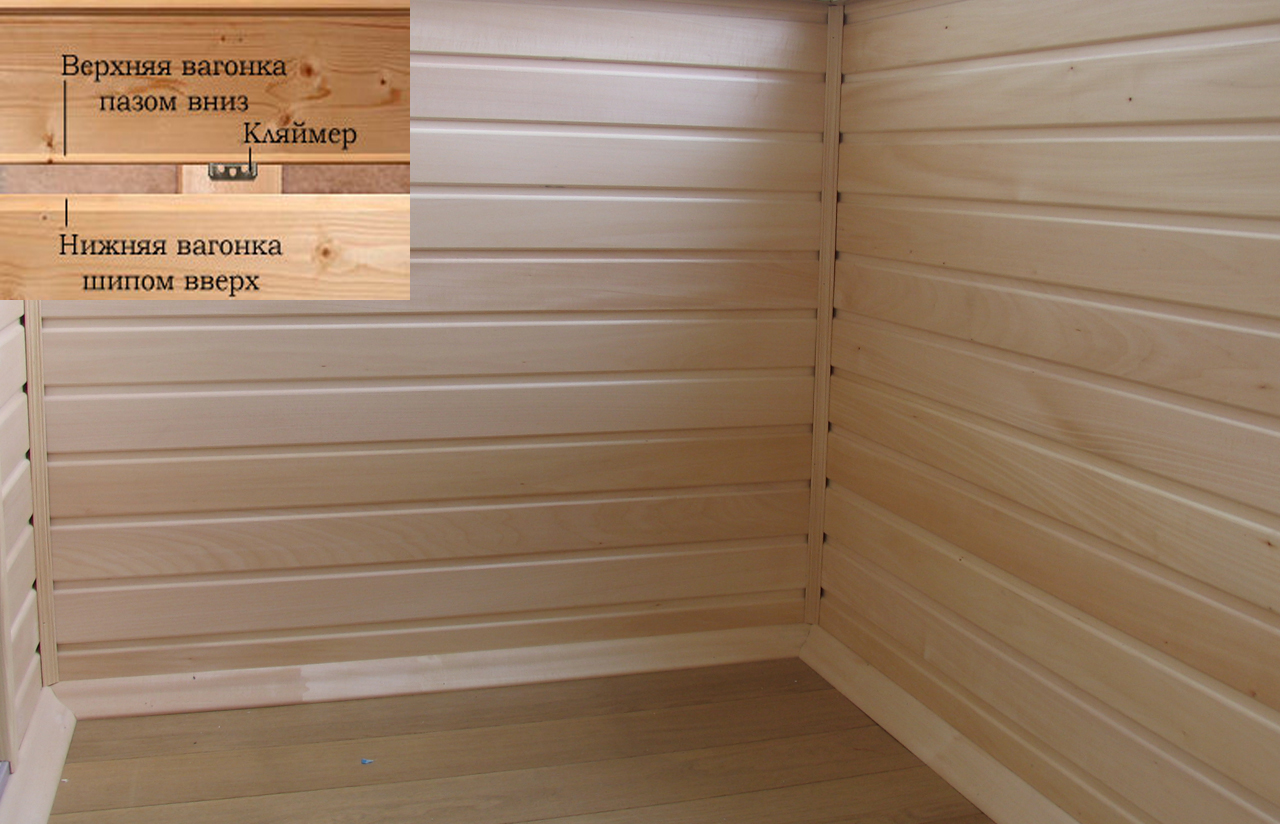
Before facing material will be established on a wall, it needs to be processed an antiseptic. To avoid deformation from moisture, it is necessary to level its level, having sustained all the eurolining in the room where it will be laid. When installing adjacent panels, it is necessary to make small gaps, while the spike that connects the component parts is placed at the top, which will help avoid the formation of condensate. In addition, a vapor barrier film is used for work, which must be made of high-quality polyethylene, which is placed on top of the roll insulation.
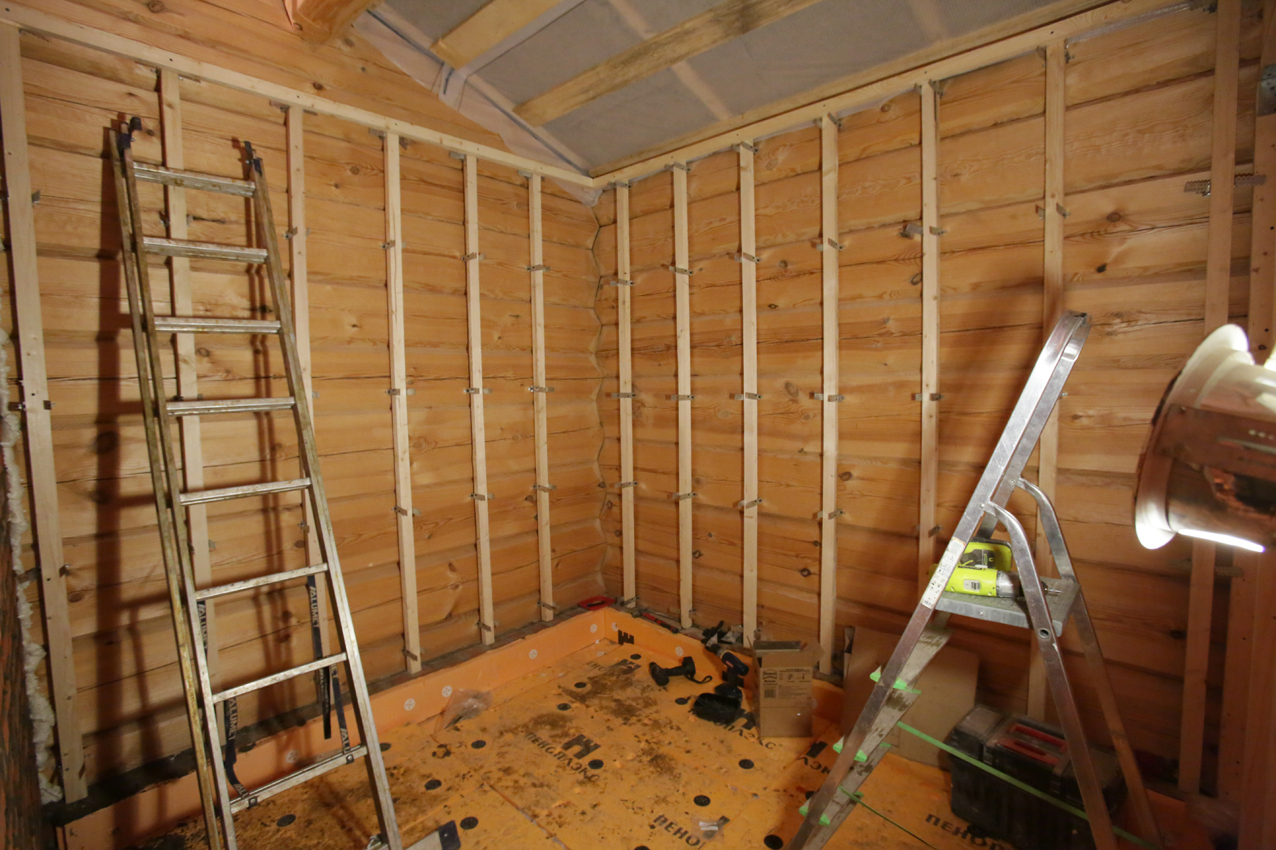
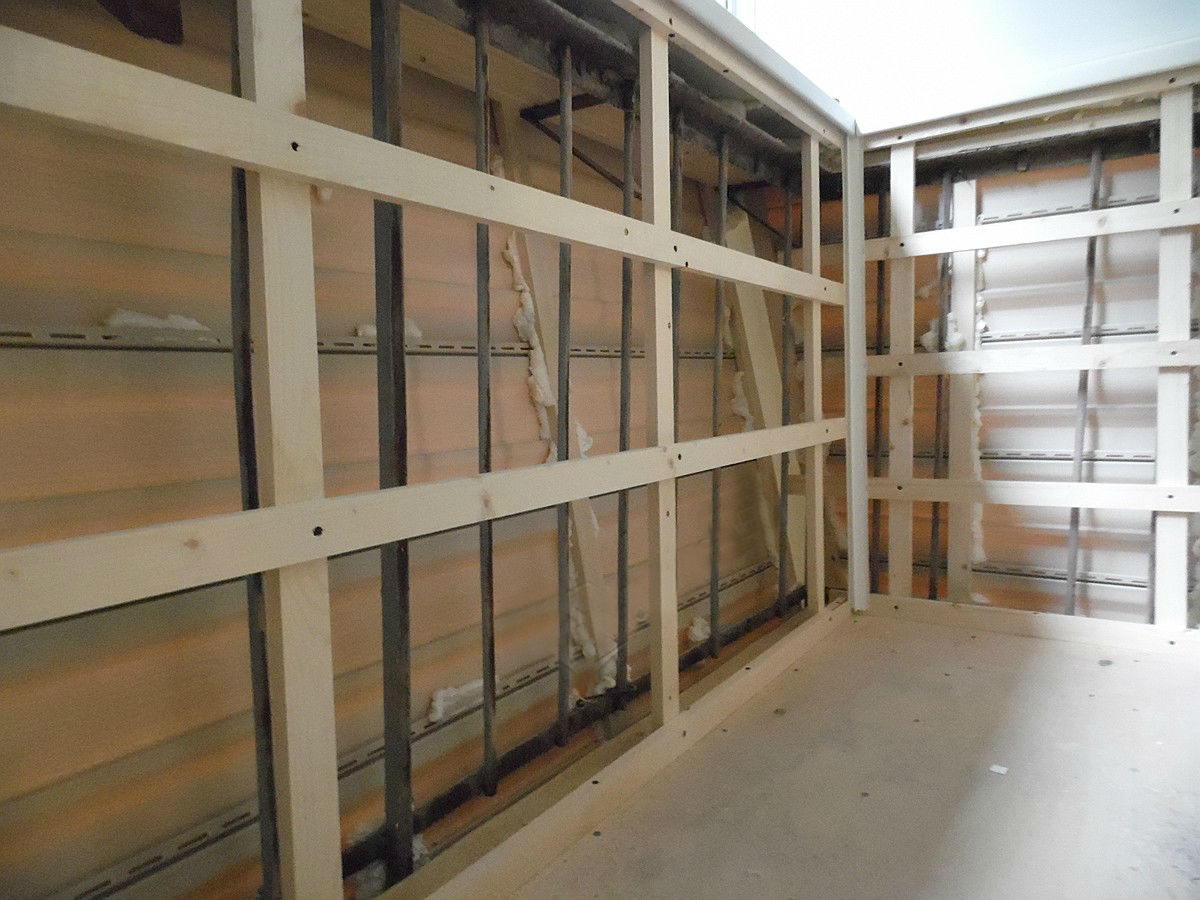
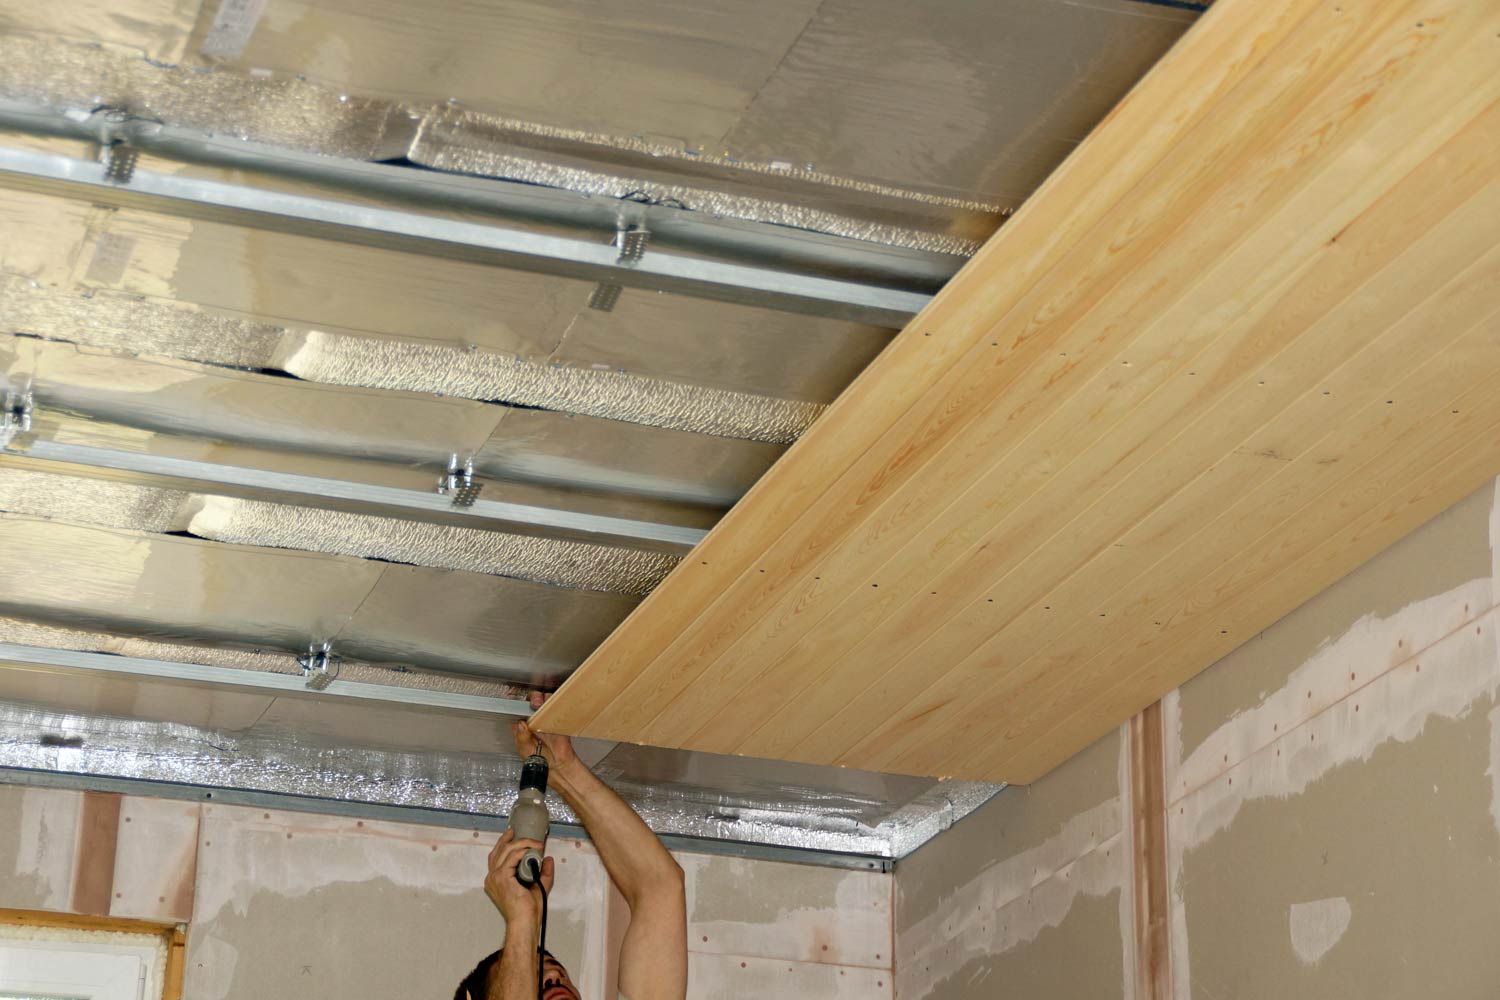
Fastening of eurolining on uneven or wooden walls is carried out with the help of the installation of sheathing. Despite the great laboriousness of the work, this option has its advantage, the boards can breathe. Finishing inside the house can touch the walls in any of the rooms, it can also be used for a balcony. Sheathing Euro lining and ceiling can be, if there is such a need.
For works with walls and ceiling, it is necessary to divide the surface on which the boards should be installed., in rectangular areas, so that it is easier to determine the principle of laying material. It is important to prepare fixing materials in the required quantity. About thirty clamps are usually used per square meter, but it is better to purchase them with a small margin. It is very important to look at the quality of these elements, they should not be damaged, uneven, and the thickness should not exceed one millimeter, in addition, the clamps must necessarily have a coating against corrosion.
Installation of lining is made from the lower corner where there are neither windows, nor doors. If the room is small, you need a horizontal tilt of the boards when laying, which visually lengthens the room, if the ceilings are low, then the material should be laid vertically. In that case, apart from the walls, work will be carried out on the floor, laying of the flooring or plinth, then the wall paneling will be dialed from top to bottom, and if the work will be done from the ceiling, then you should move in the opposite direction.
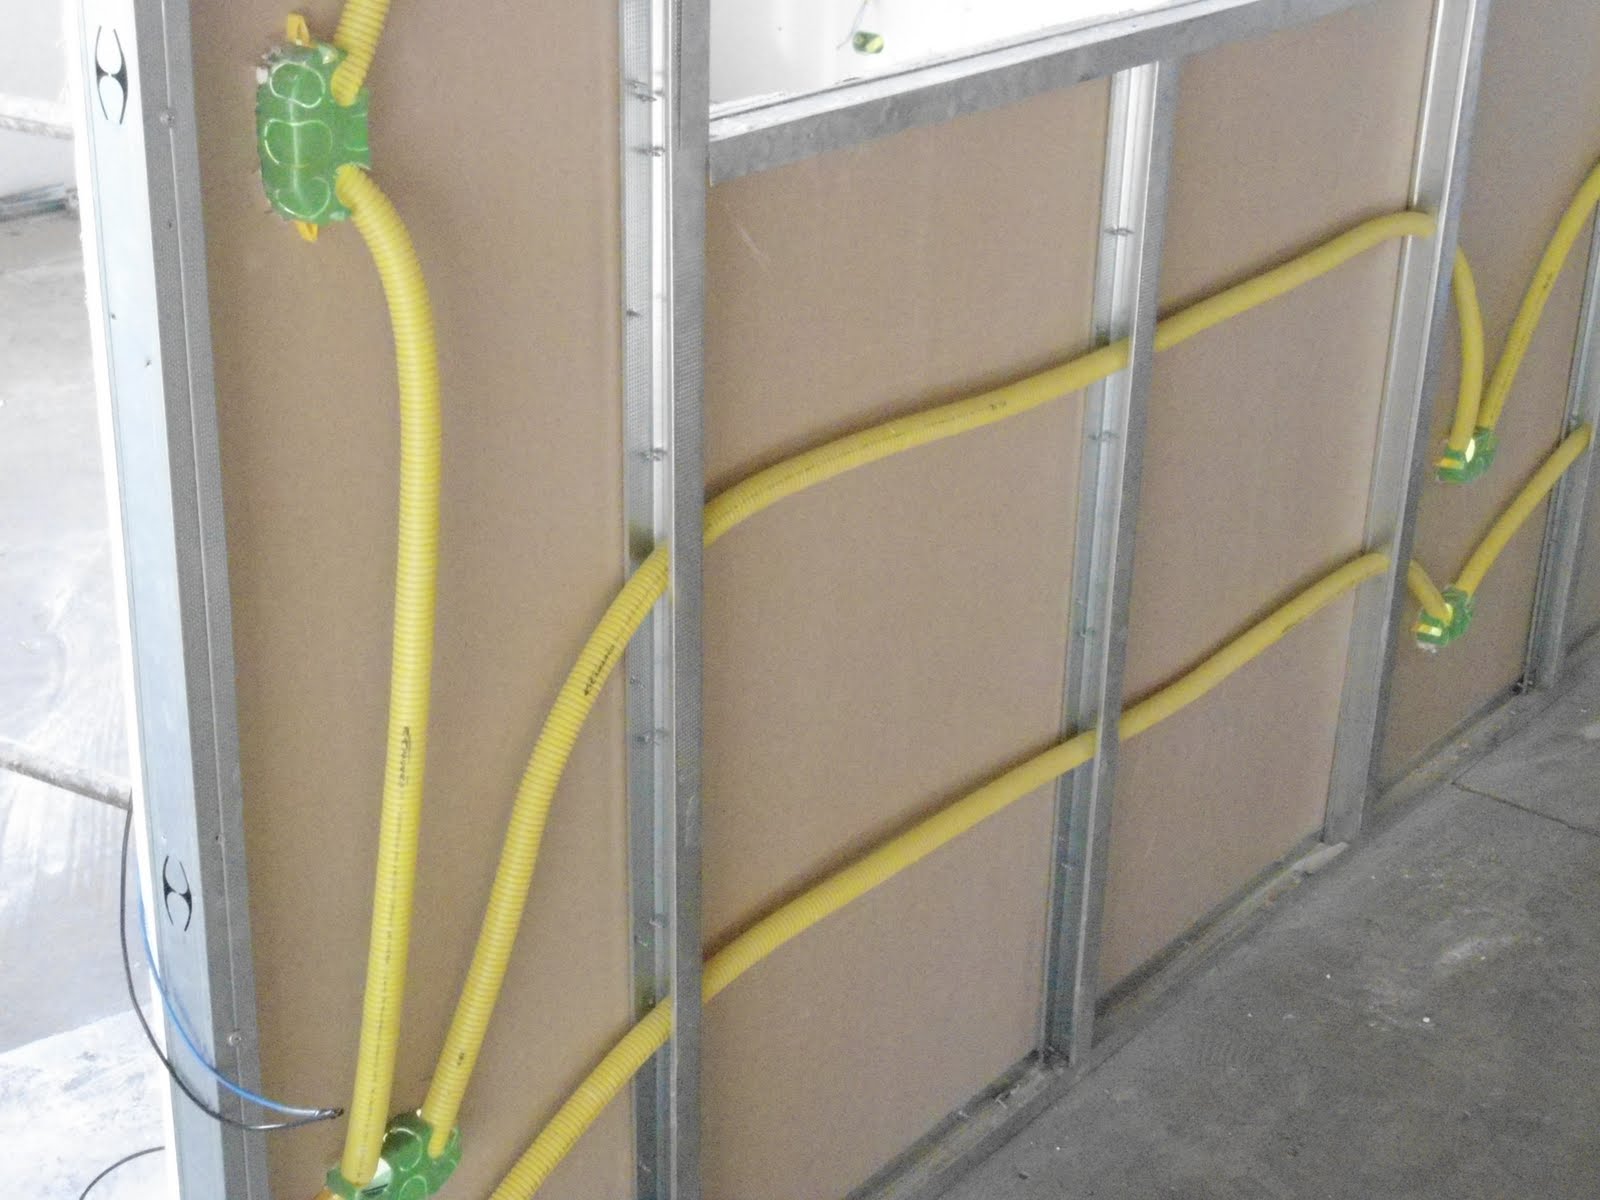
Work on the finish wall with eurolining must begin with the installation of wiringif need be.All wires should be placed in corrugations that are resistant to flame. After this procedure, you need to make the material itself and leave it for a day for acclimatization, at this time taking care of fasteners. Often, preference is given to one type or another by the manufacturer, and it indicates this information in the instructions.
When everything is ready for work, it is necessary to determine the direction of the laying of the board, There are various ways in which it can be laid on the wall:
- horizontally;
- vertically;
- fit diagonally;
- have a combined type of styling.
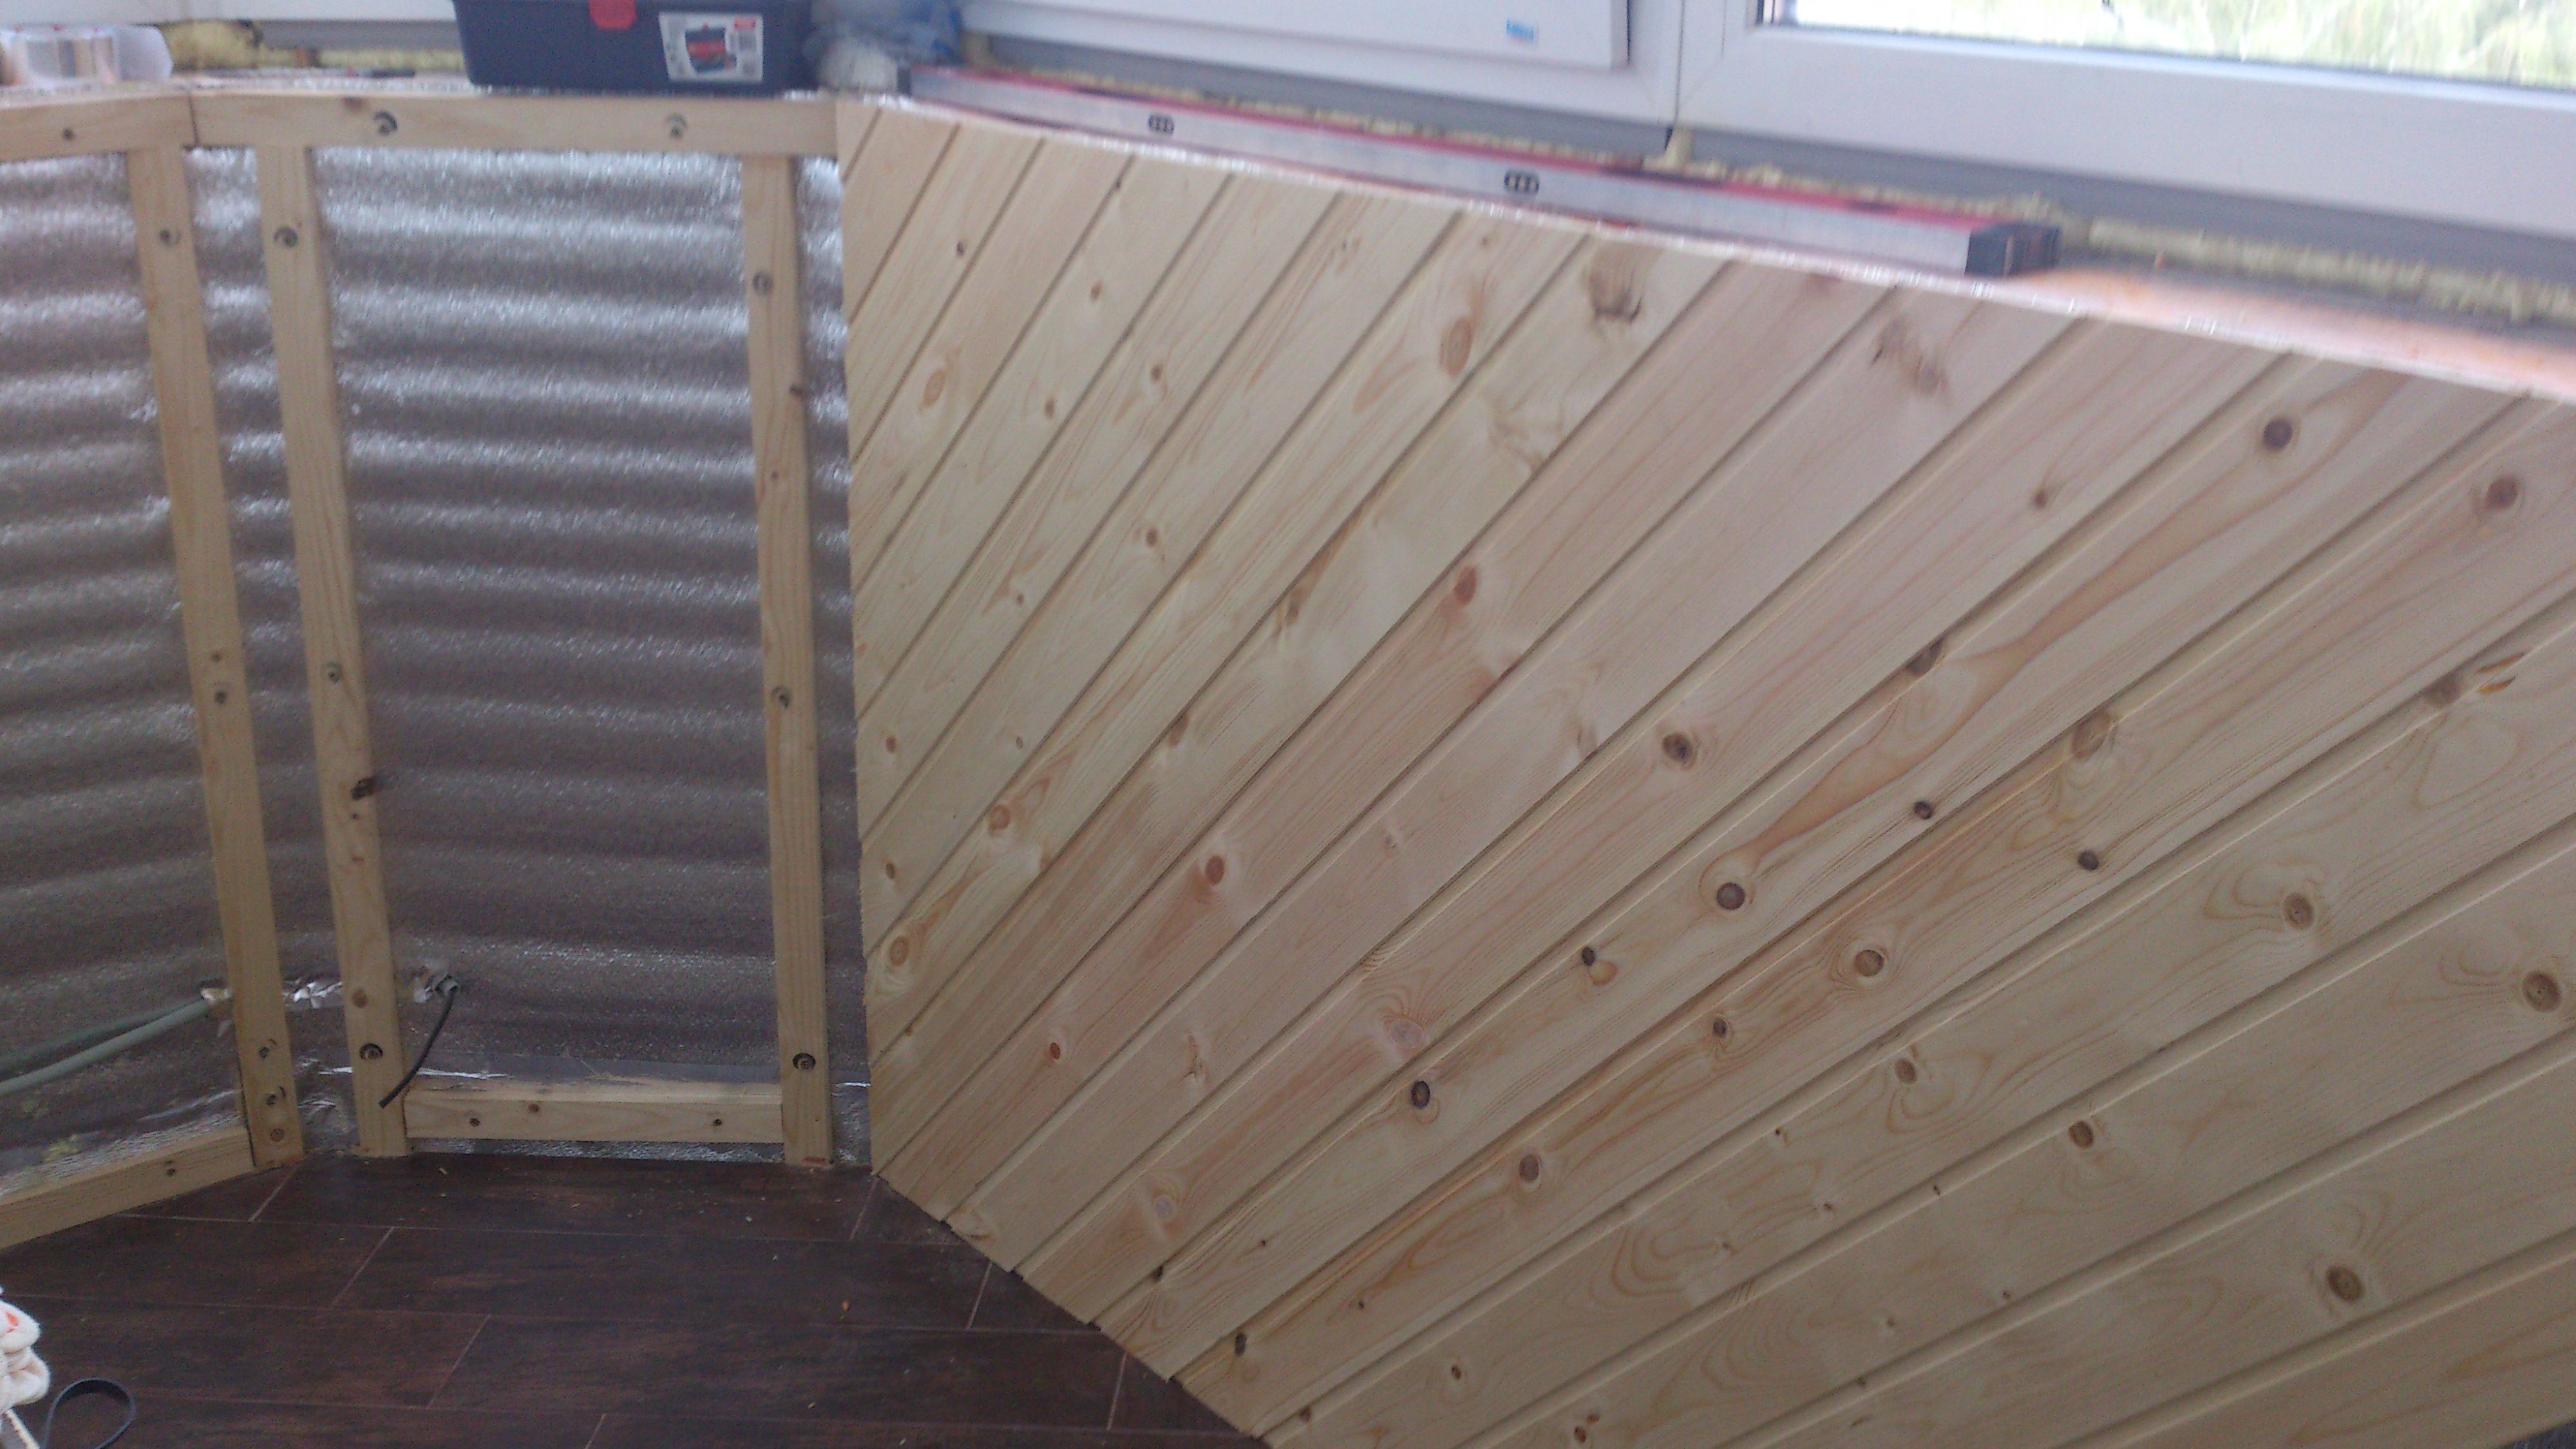
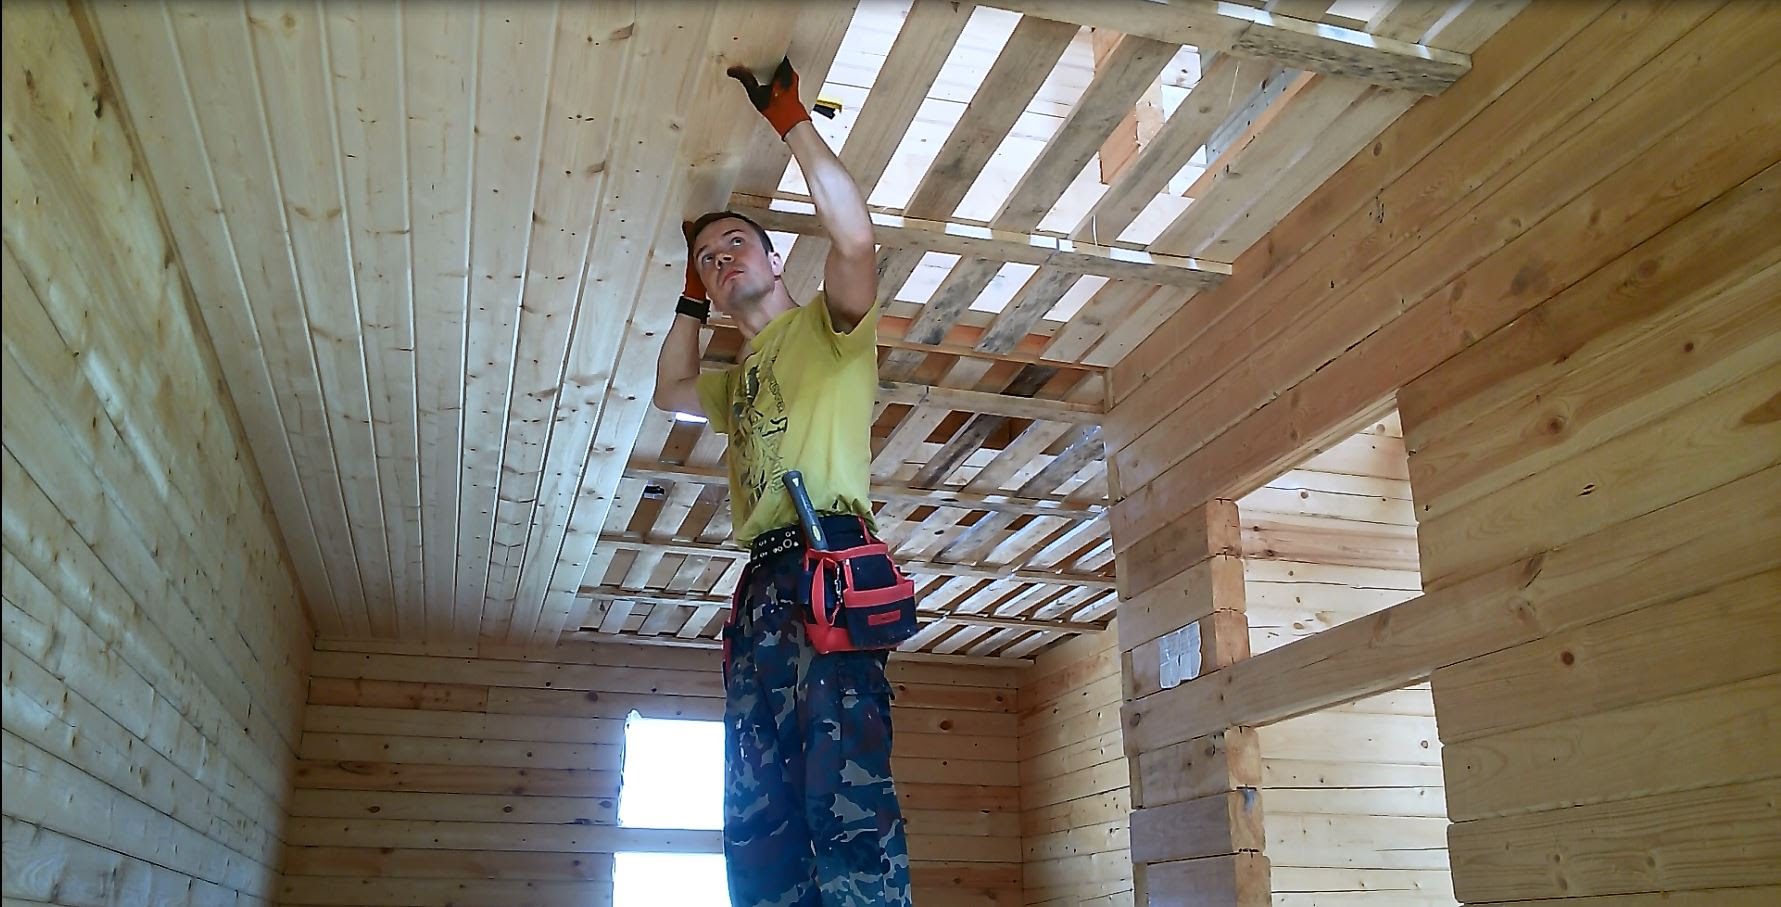
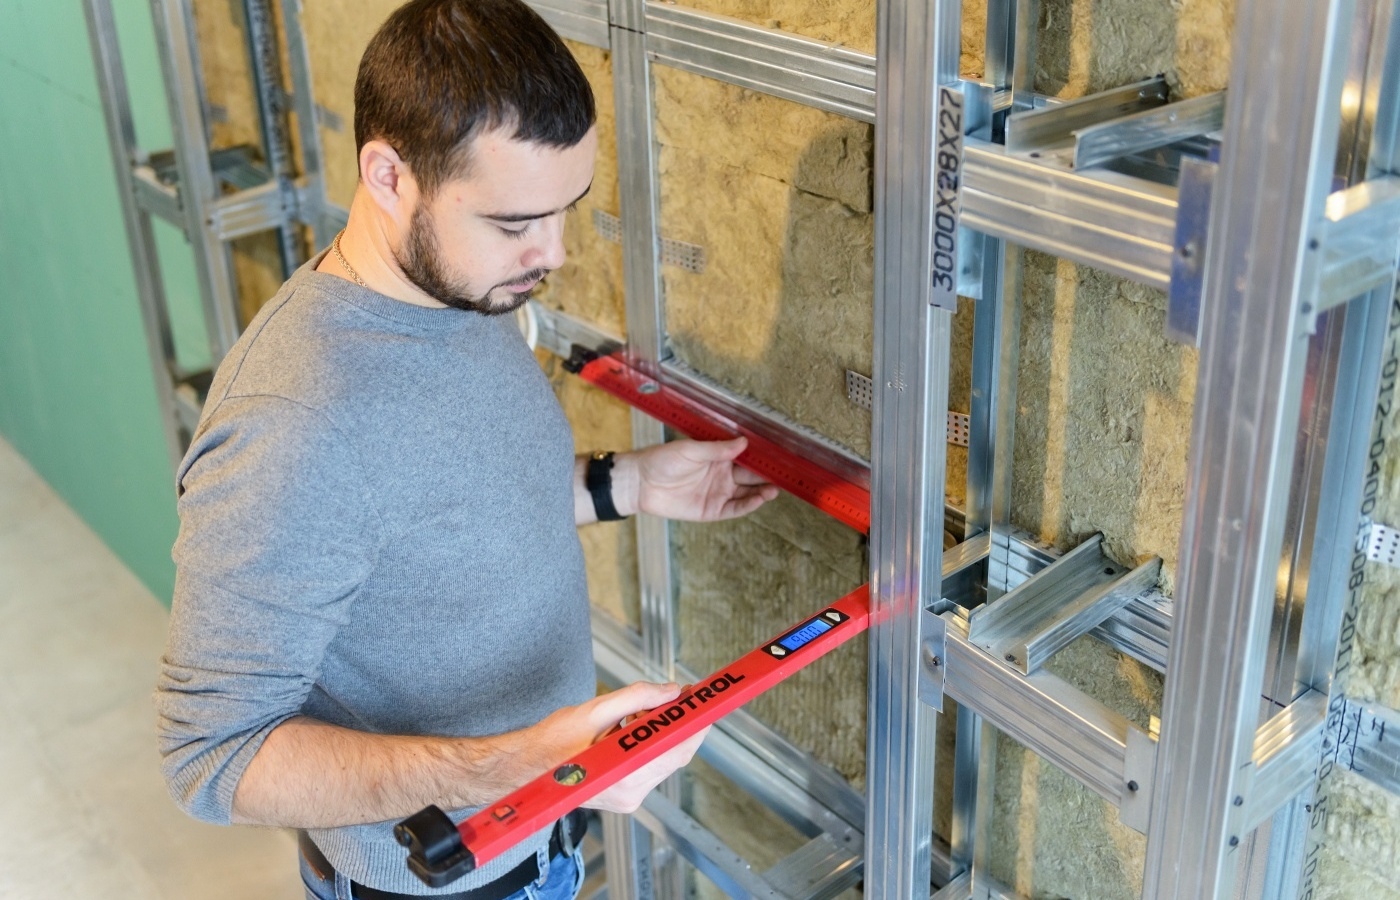
When the plan is formed, you need to start real actions. The first item will be the creation of crates. It can be assembled both from wooden boards and from metal profiles, which is less common. If a tree was chosen as a material, it should be saturated with protective agents in order to increase the service life of the whole structure.
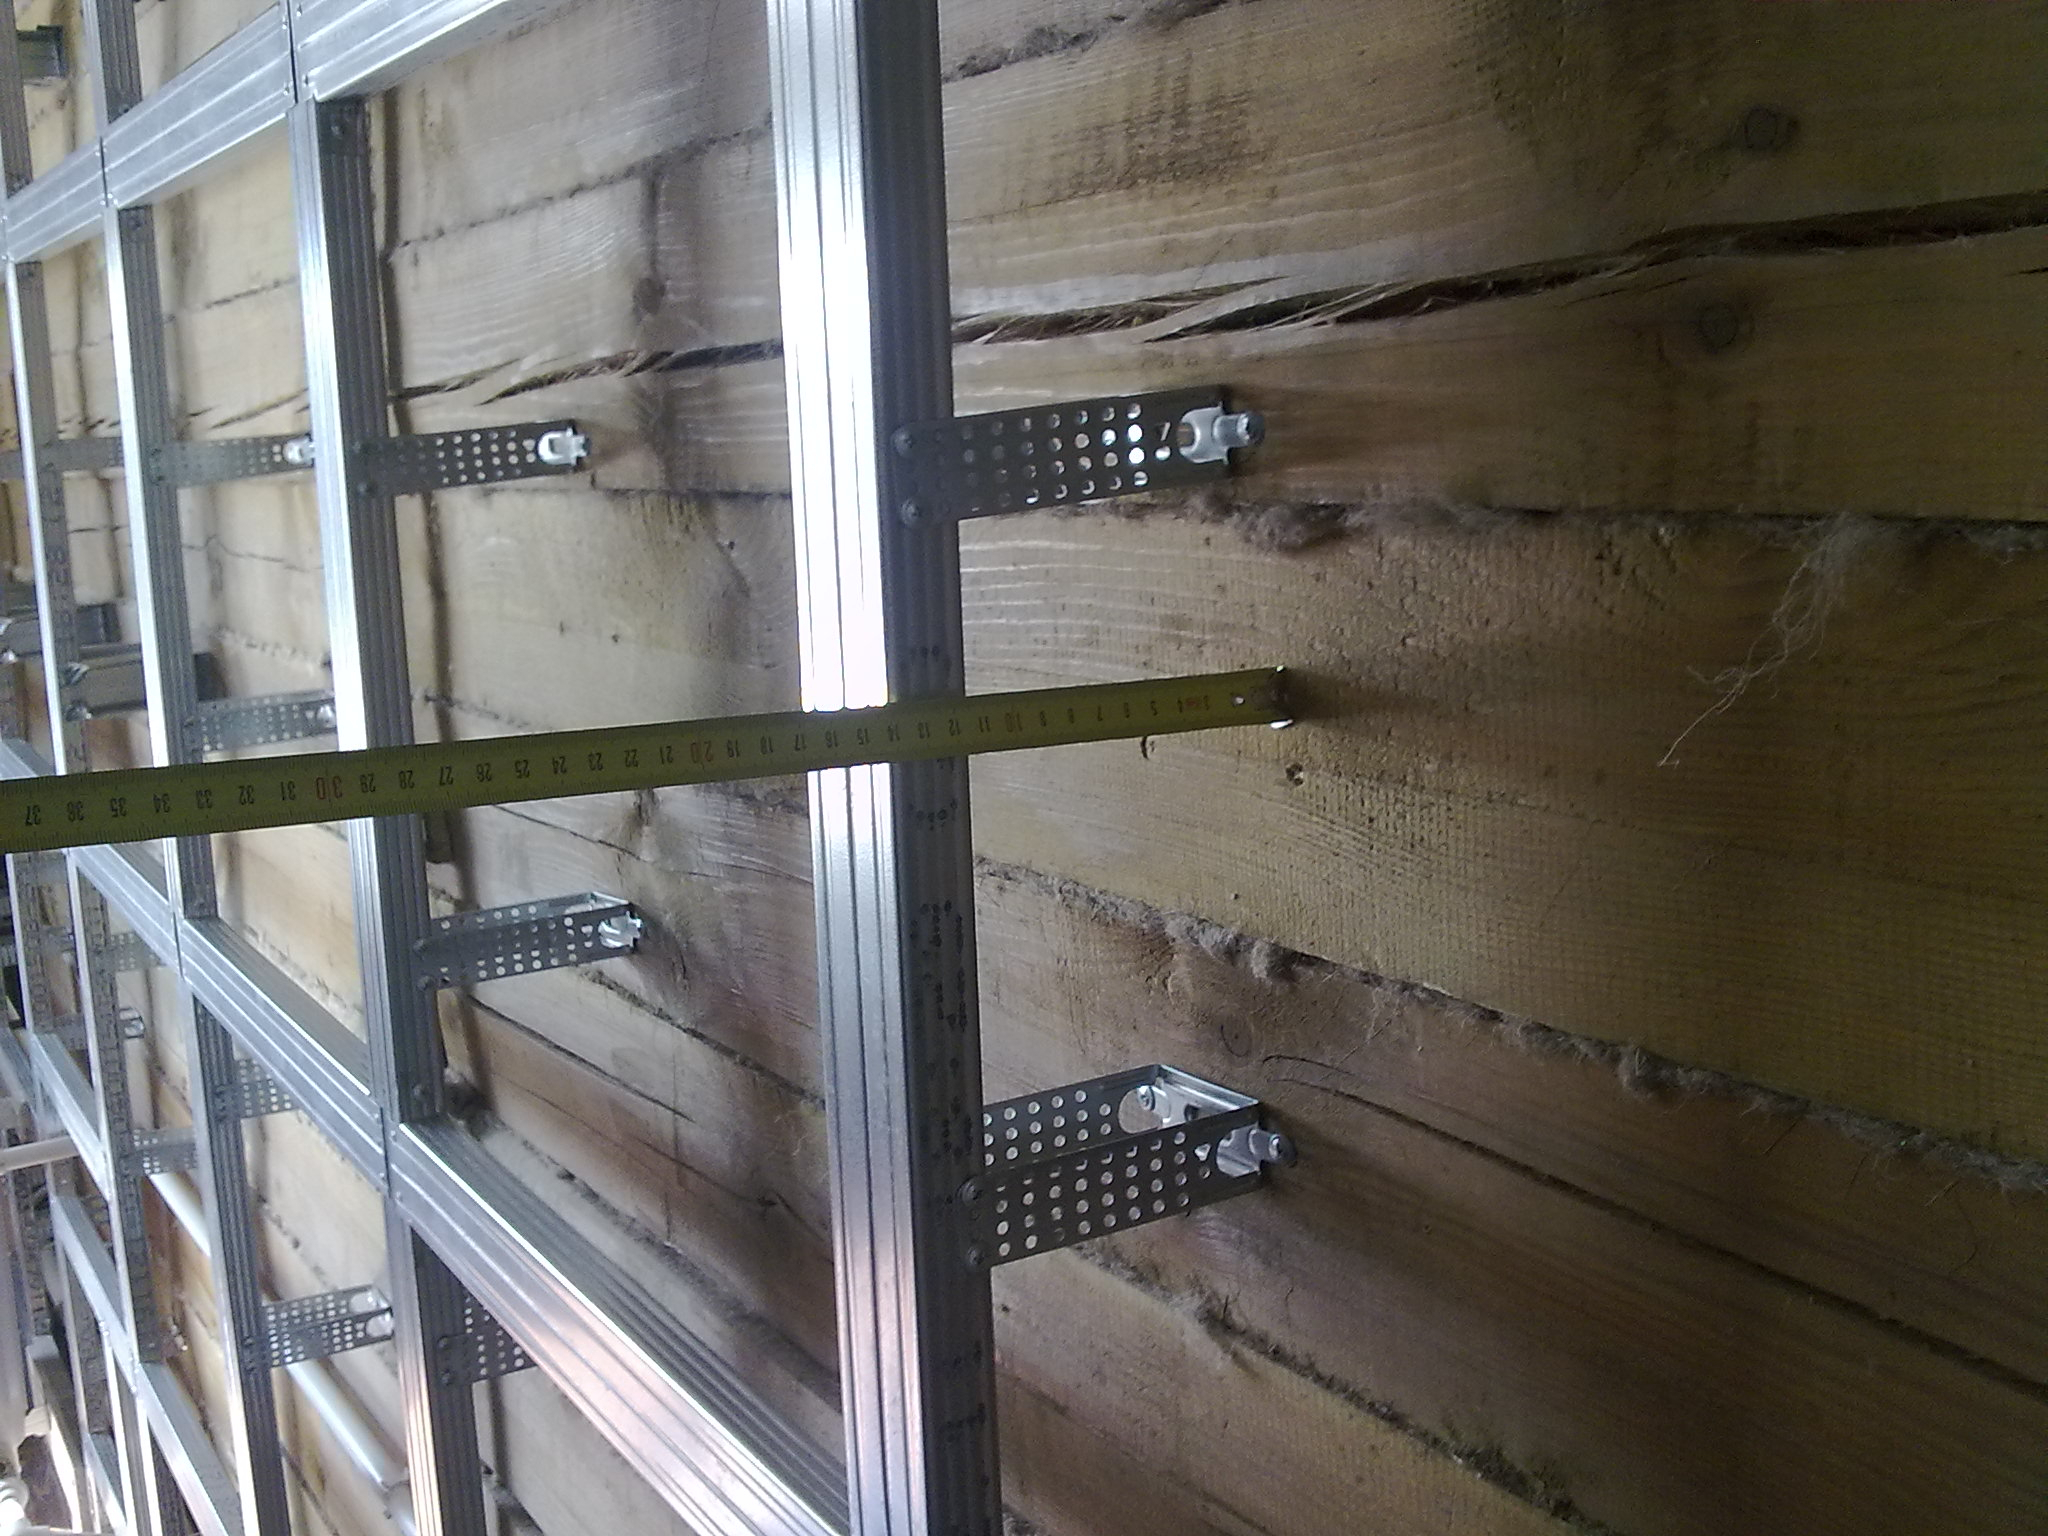
It is necessary to fasten each log of crates not more than 80 cm apart., from the bottom up or in the opposite direction. Before you start trimming Eurodist, you need to check the crates with a level.This is the most important stage on which all future results depend. The location of the batten depends on the type of mounting boards. If they are arranged vertically, the boards for fastening must be nailed in the horizontal direction and vice versa.
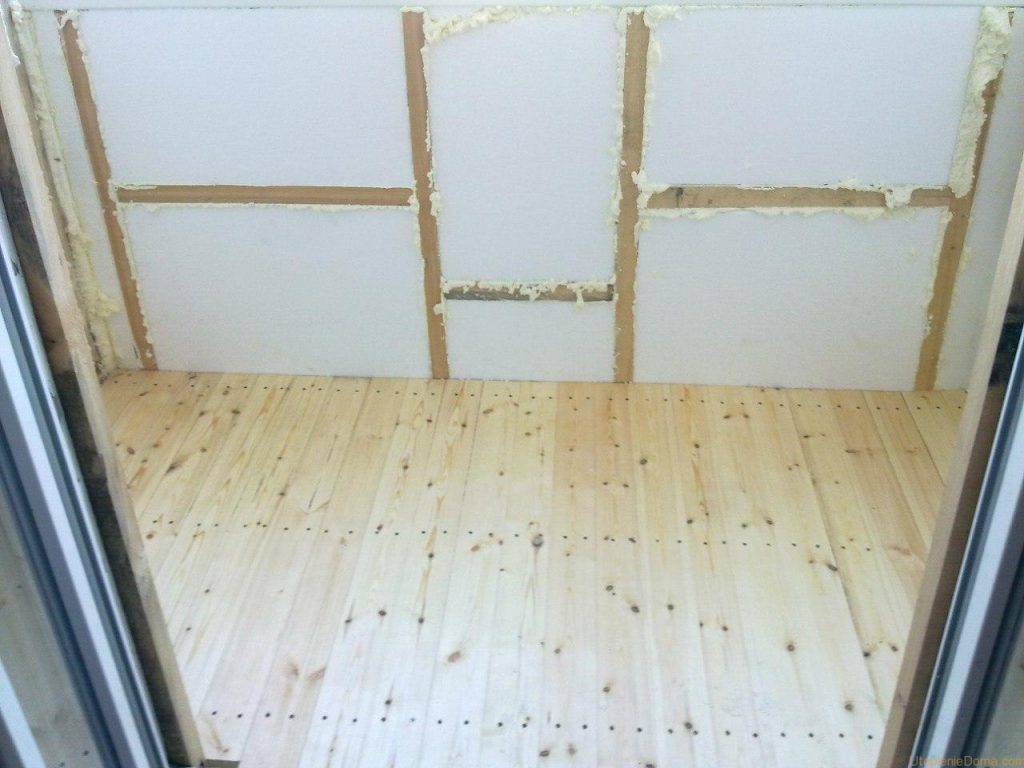
If there is a need to make the room warmer, then immediately after the installation of the batten, it is necessary to lay a heater between it, and then fix the lining boards. For rooms with high humidity, you need to choose not just a heater, but also a protective film for it, so that the contents are not affected by water. When everything is ready, it is possible to fix eurolining.

For this process you can use:
- nails;
- self-tapping screws;
- klyymery.
The latter are considered the most suitable option, since they are not visible after installation, unlike all previous versions. Usually they are made from a material that does not rust and does not deteriorate, therefore, klyaymery can be used in any premises. The cost of such elements is much higher than the rest, but the result is much better.

If the walls are smooth, then the crate is not necessary, but not on any surface you can easily lay the boards, because you can mount them on the OSB plate, which is firmly fixed to the wall, floor or ceiling. Such a base will simultaneously serve as a heater.

Tips
When planning the lining of a separate wall or an entire room with eurolining, it is important to know not only the basic requirements, but also small, but important nuances that will help in the work and make the result much better.
When making calculations of the material that will be needed in the work, it is important to use the correct parameters. If the actual width of the board is taken for the calculation, then in the final result the error will be more than five percent. This is due to the grooves, which are partly in the previous board, which reduces the work surface.
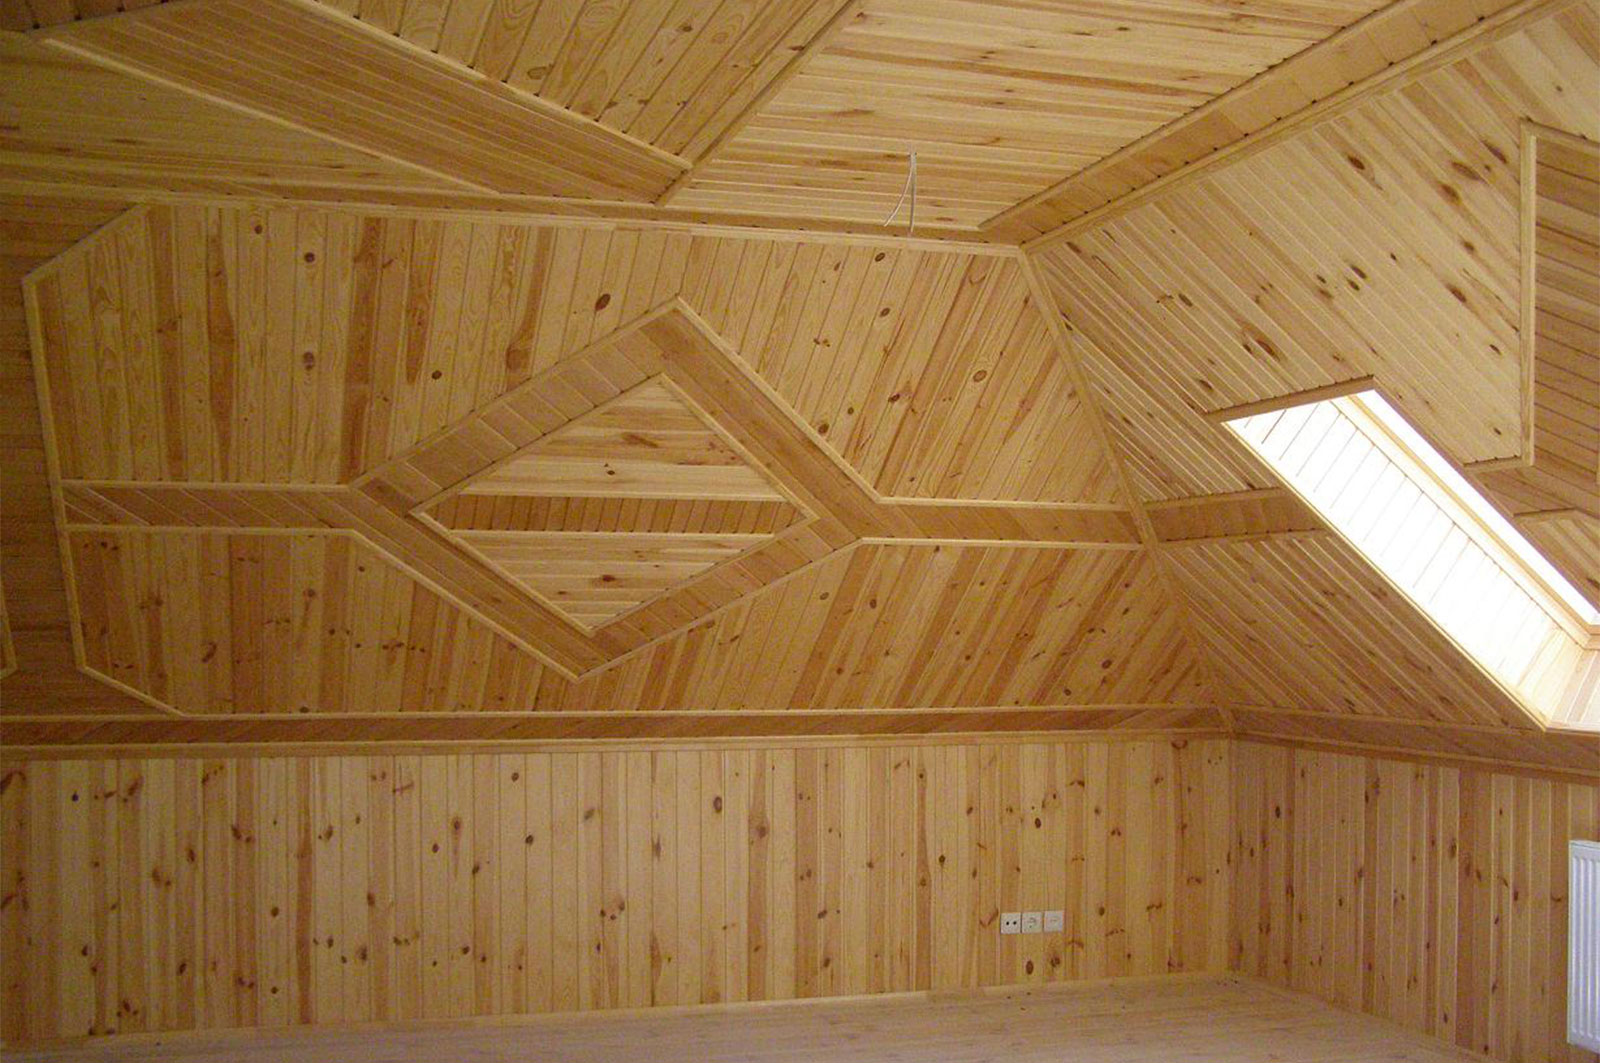
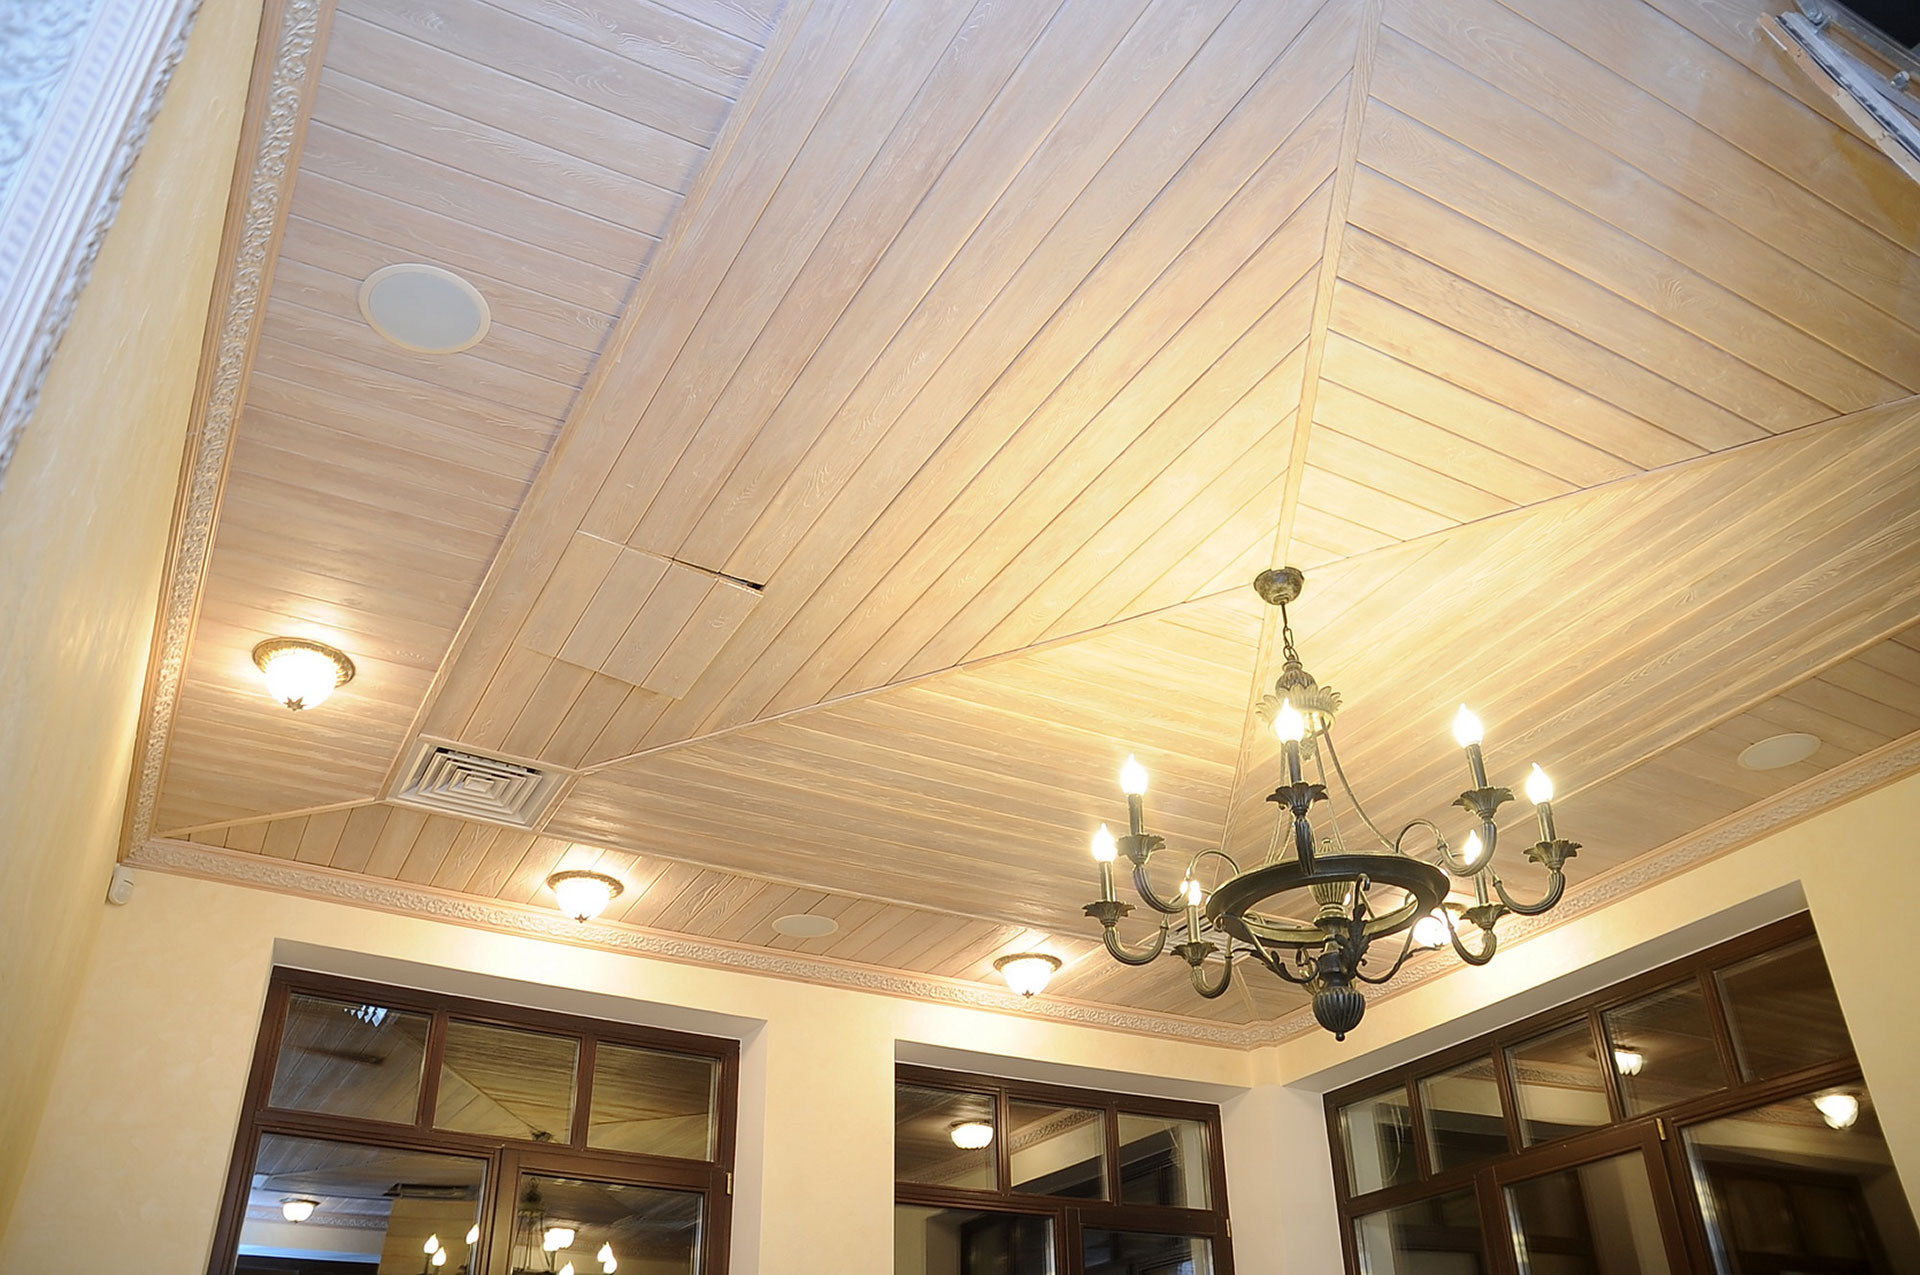
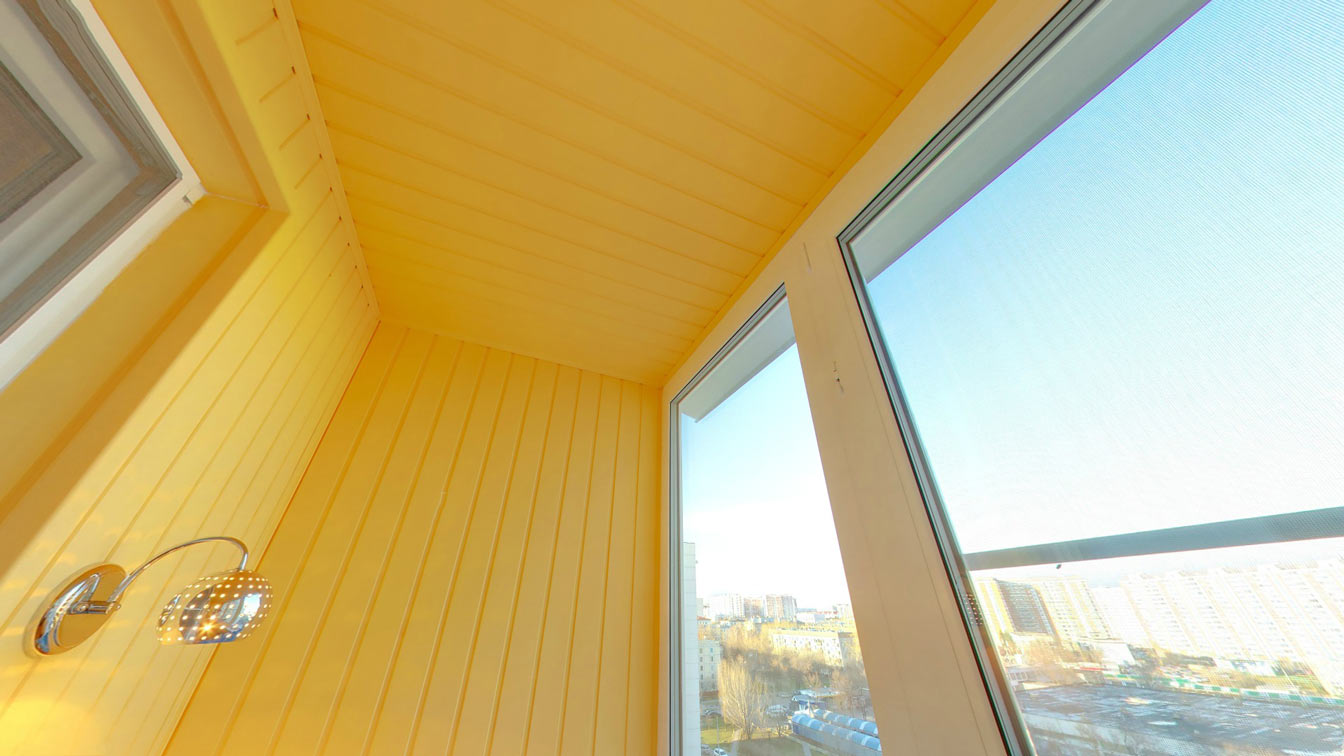
If the room in which the eurolining will be installed, has small dimensions, then this material on the ceiling should lie along the window, in addition, you can use a combined masonry, making a pattern or combination on the ceiling surface.
While fixing the wall panel it is also important to be careful, if the installation goes in a horizontal direction, then the spike should be placed at the top, but not on the reverse side. Do not forget that the level you need to constantly check the correctness of the material. If it is laid correctly, then the room will have even corners and the correct form,that visually expand it.
The finished material after laying can be painted in any color., if necessary. Sunlight from the eurolines under the natural wood can fill the room, or the space will receive a new breath and ease when staining in light colors. Proper selection of the type of installation, the appropriate color solution will be able to make any room with eurolining comfortable.
Beautiful examples
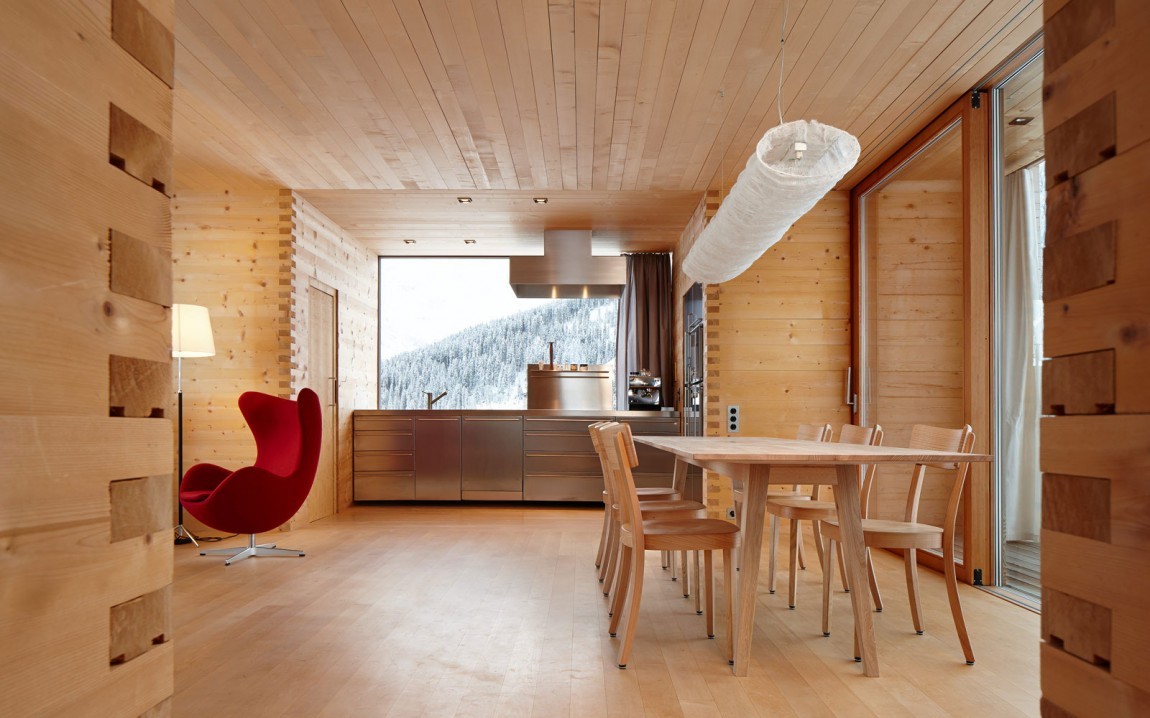
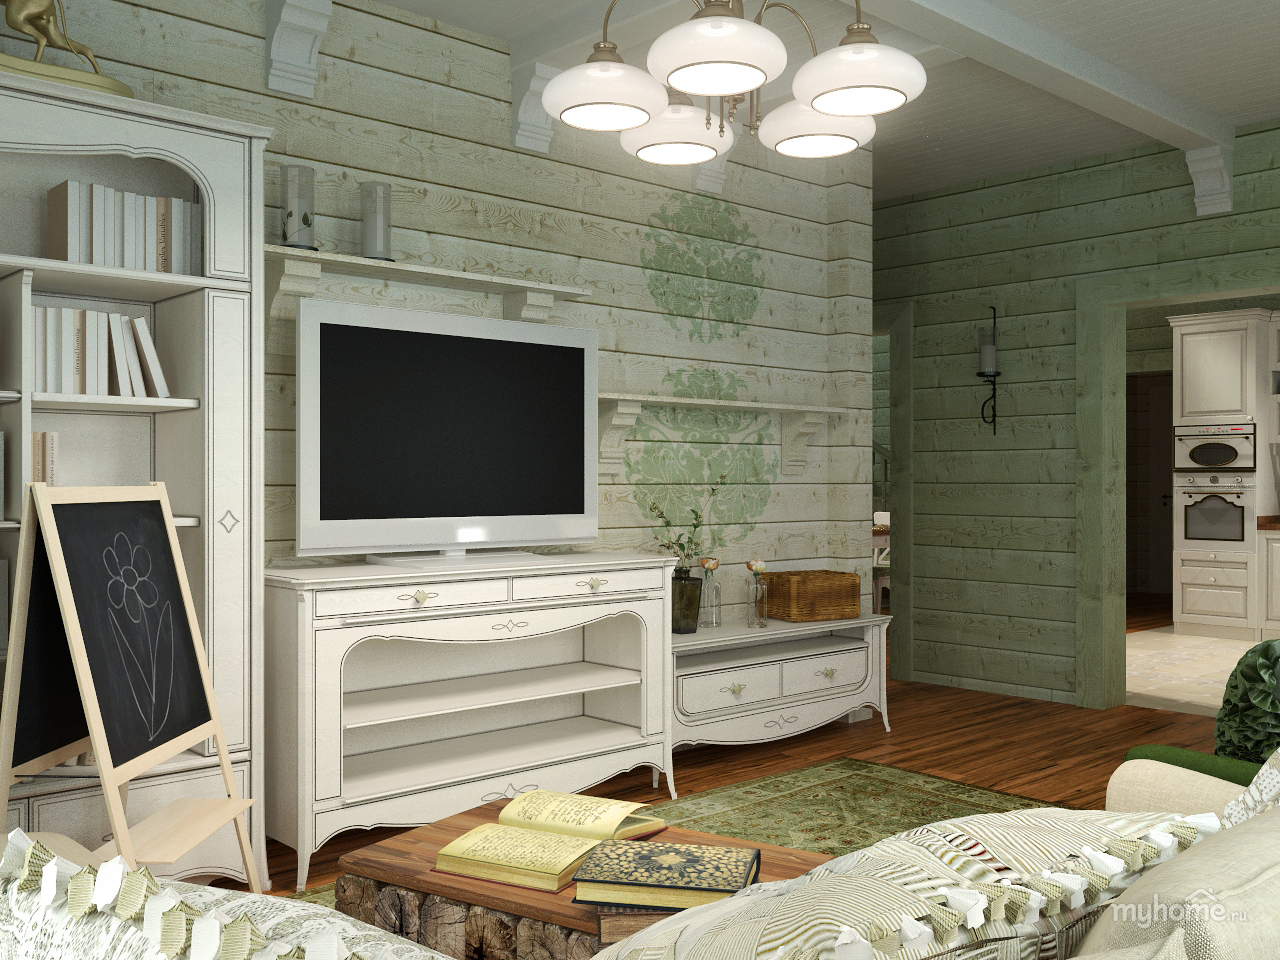
The rooms in which this material can be used are quite different, their design options are also quite different. It is important to use only the required amount of material in order not to burden the room with a uniform material. If you can not get away from this, then with the help of toning the walls in different shades, you can remove some tension that may arise from the room, completely upholstered with wood.
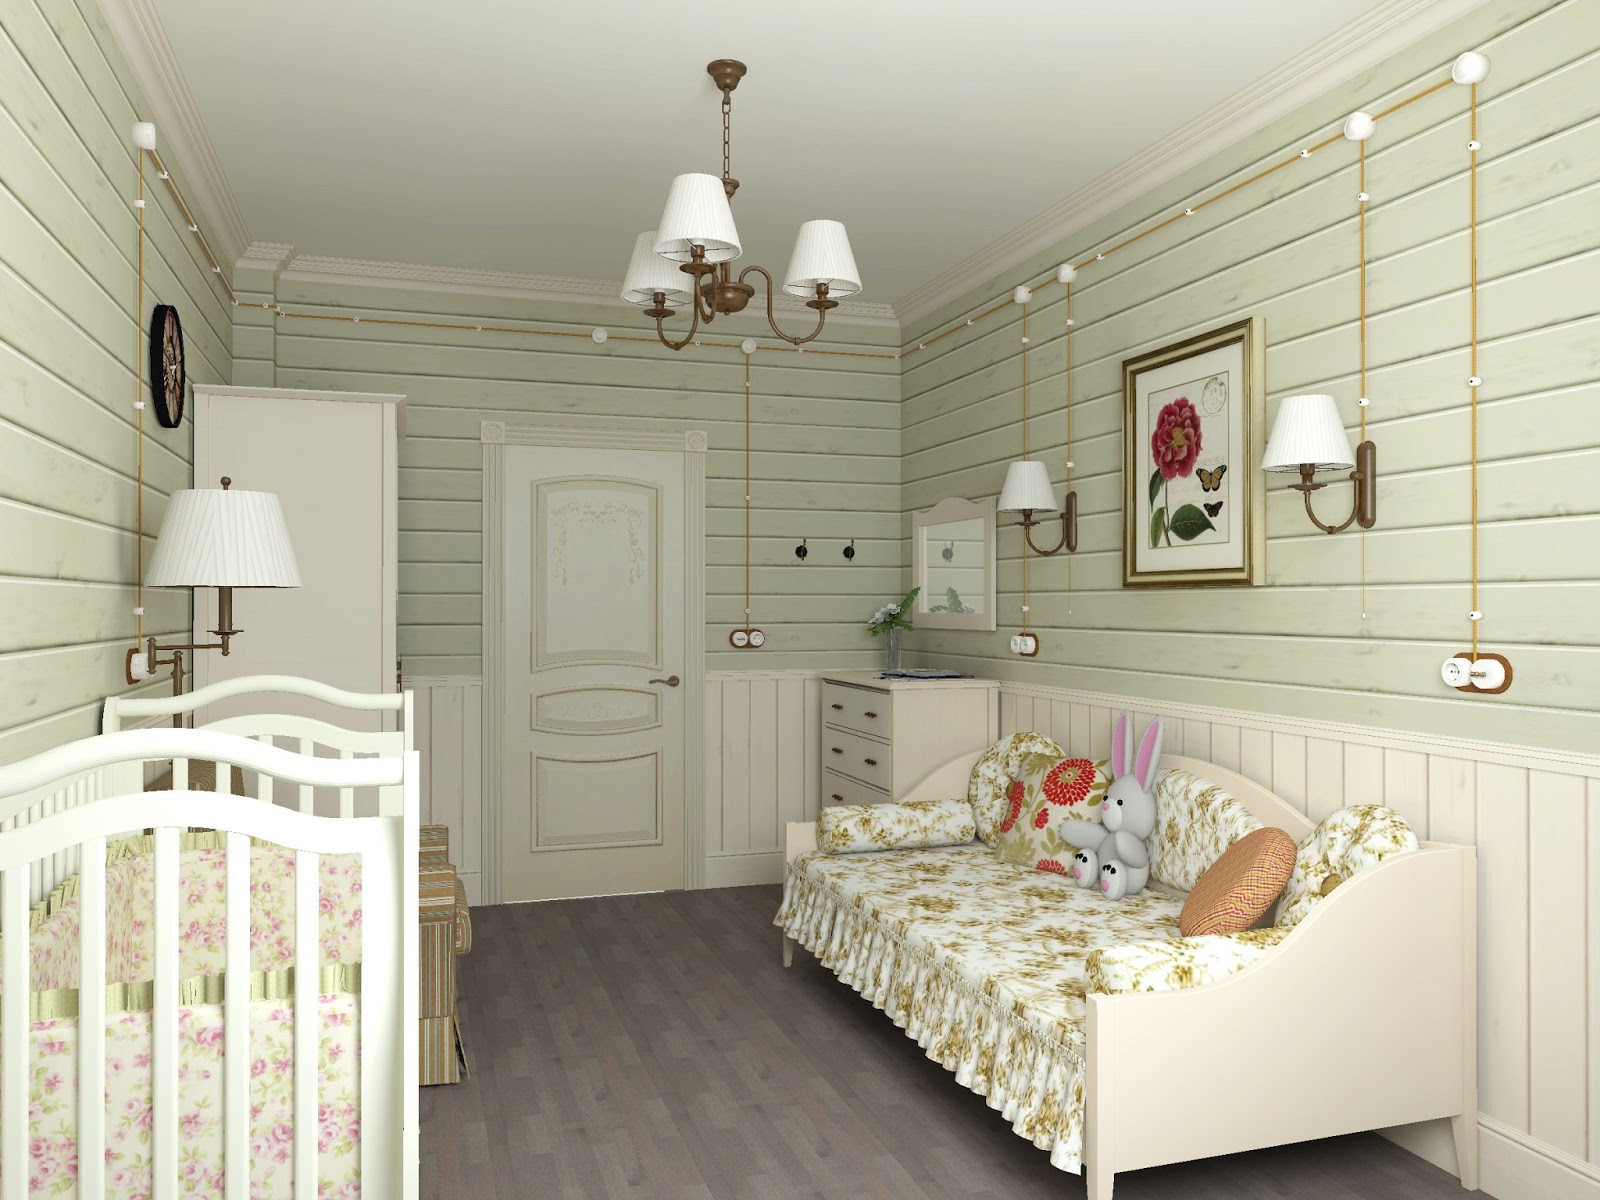
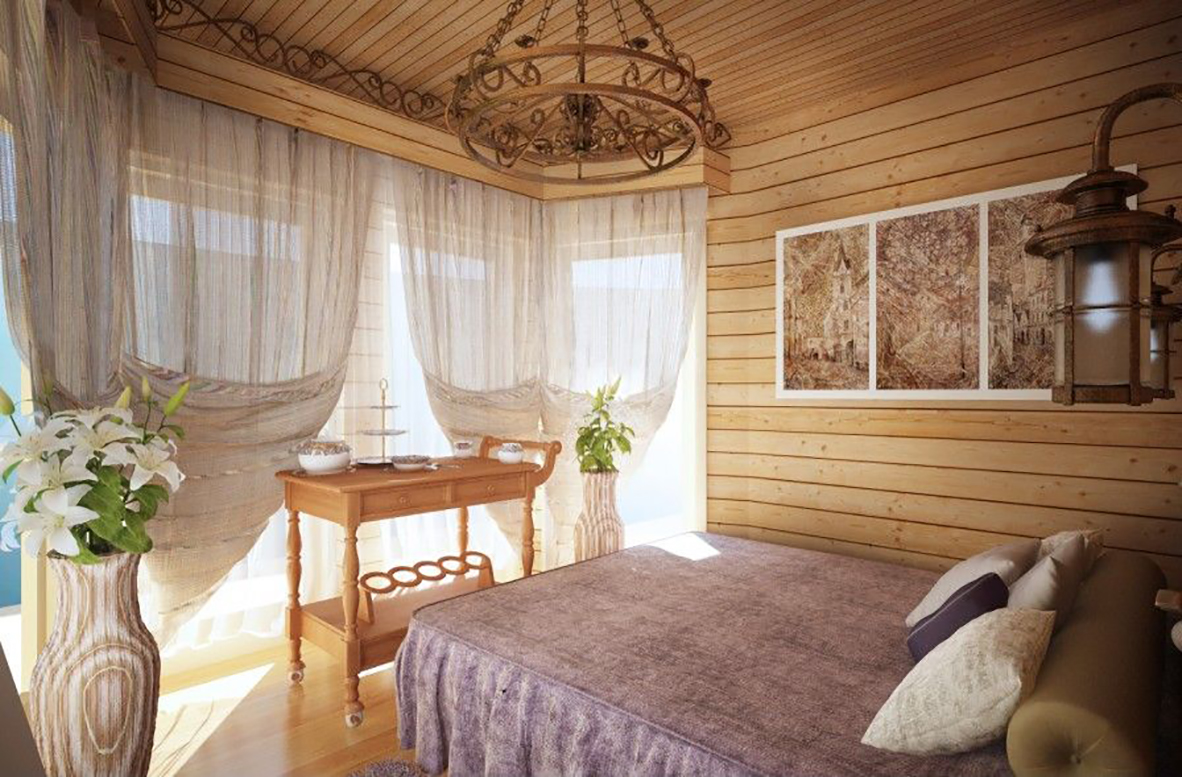
In the bedroom, eurolining helps to create a warm atmosphere, and the transition of boards from the wall to the ceiling blurs the borders of the room, away from the usual corners that remain invisible, although they are present in the room. The use of soft colors in textiles helps make the room light and airy.
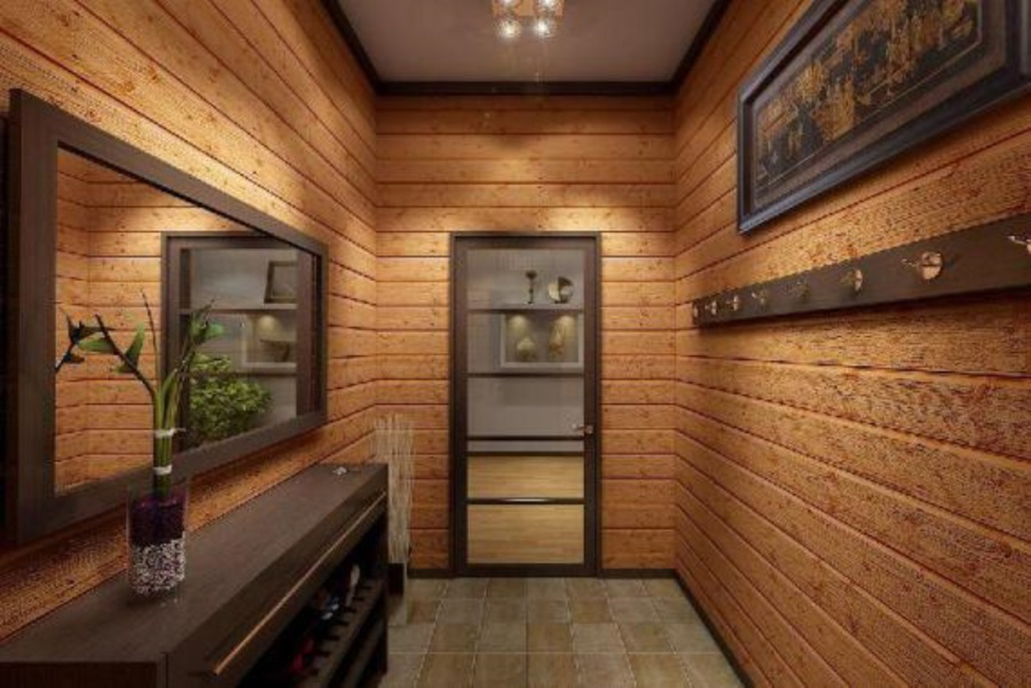
For hallways, it is typical to use horizontal laying of the board, which visually lengthens the space, which is very necessary in small-sized apartments, where corridors and hallways have very small dimensions.
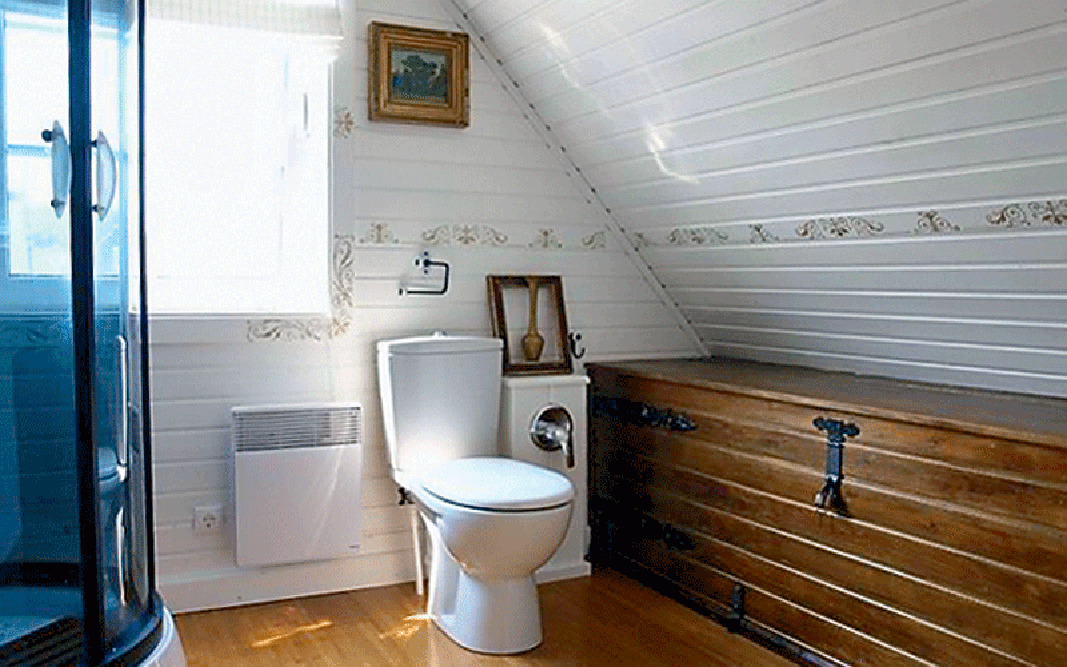
You can even use the wall paneling in the bathroom, where there is often not enough space, and it is difficult to find a good covering for the walls so that it is both beautiful and functional. Bright colors add space, while accents of darker and lighter woody color add zest to the interior.
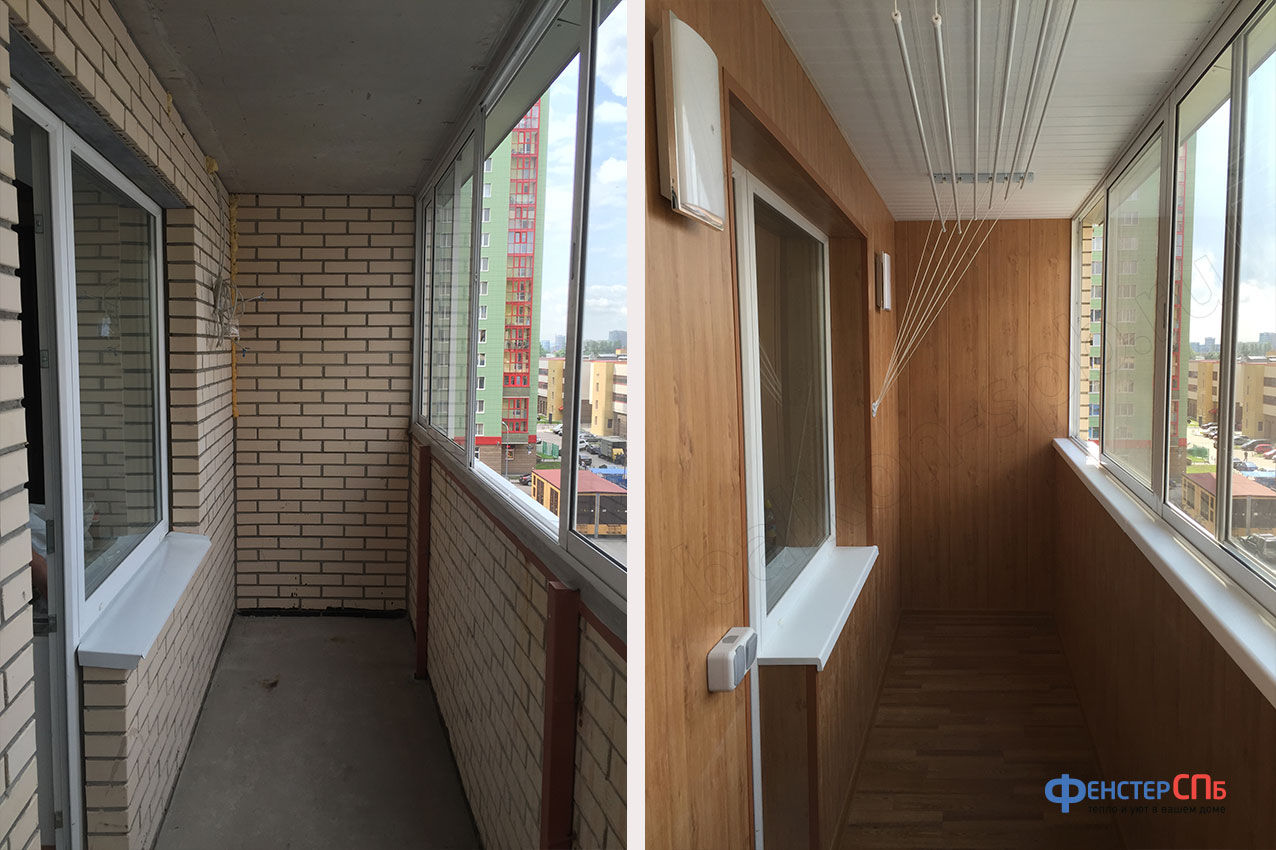
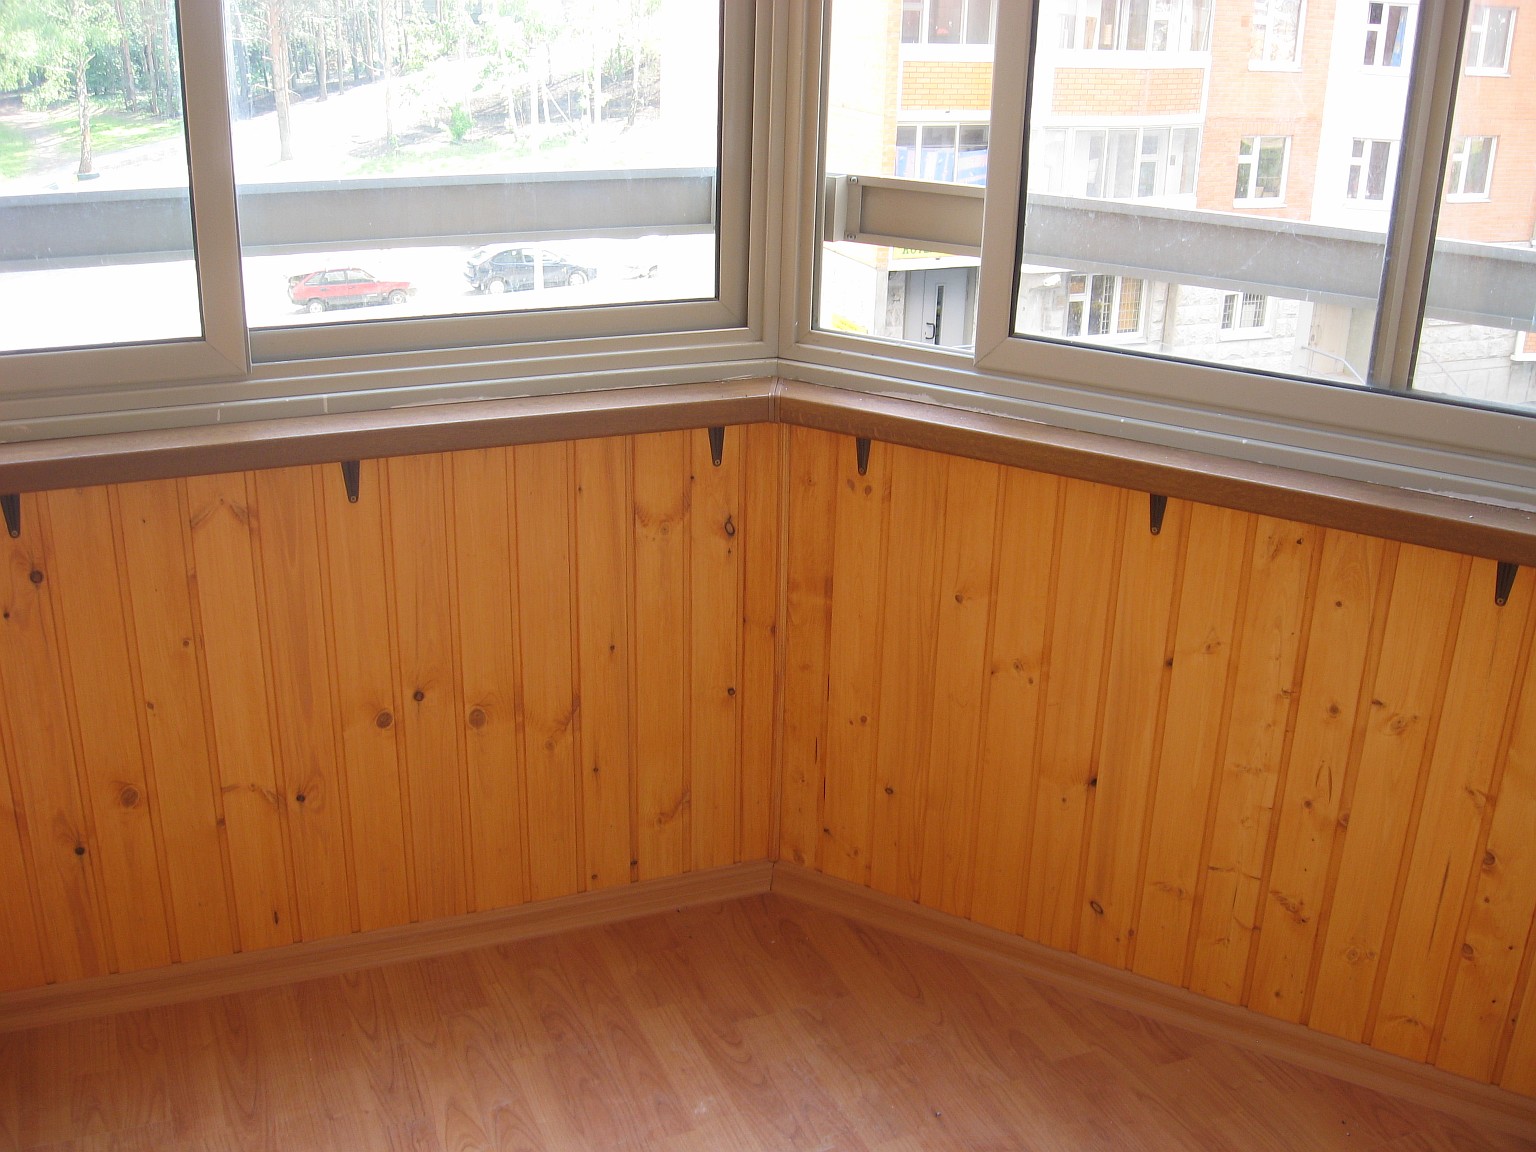
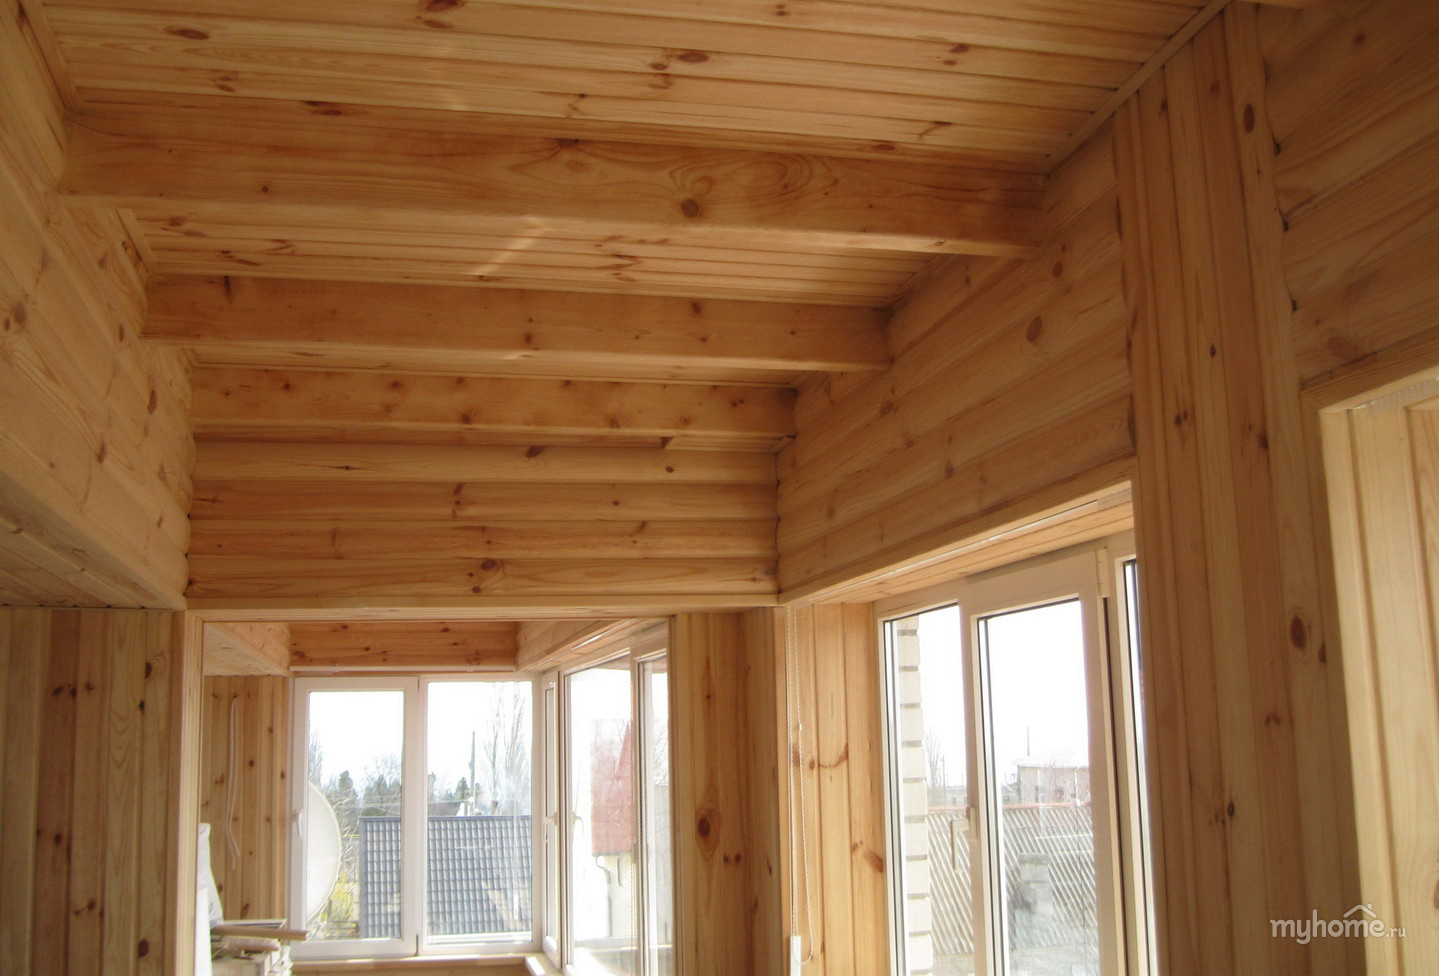
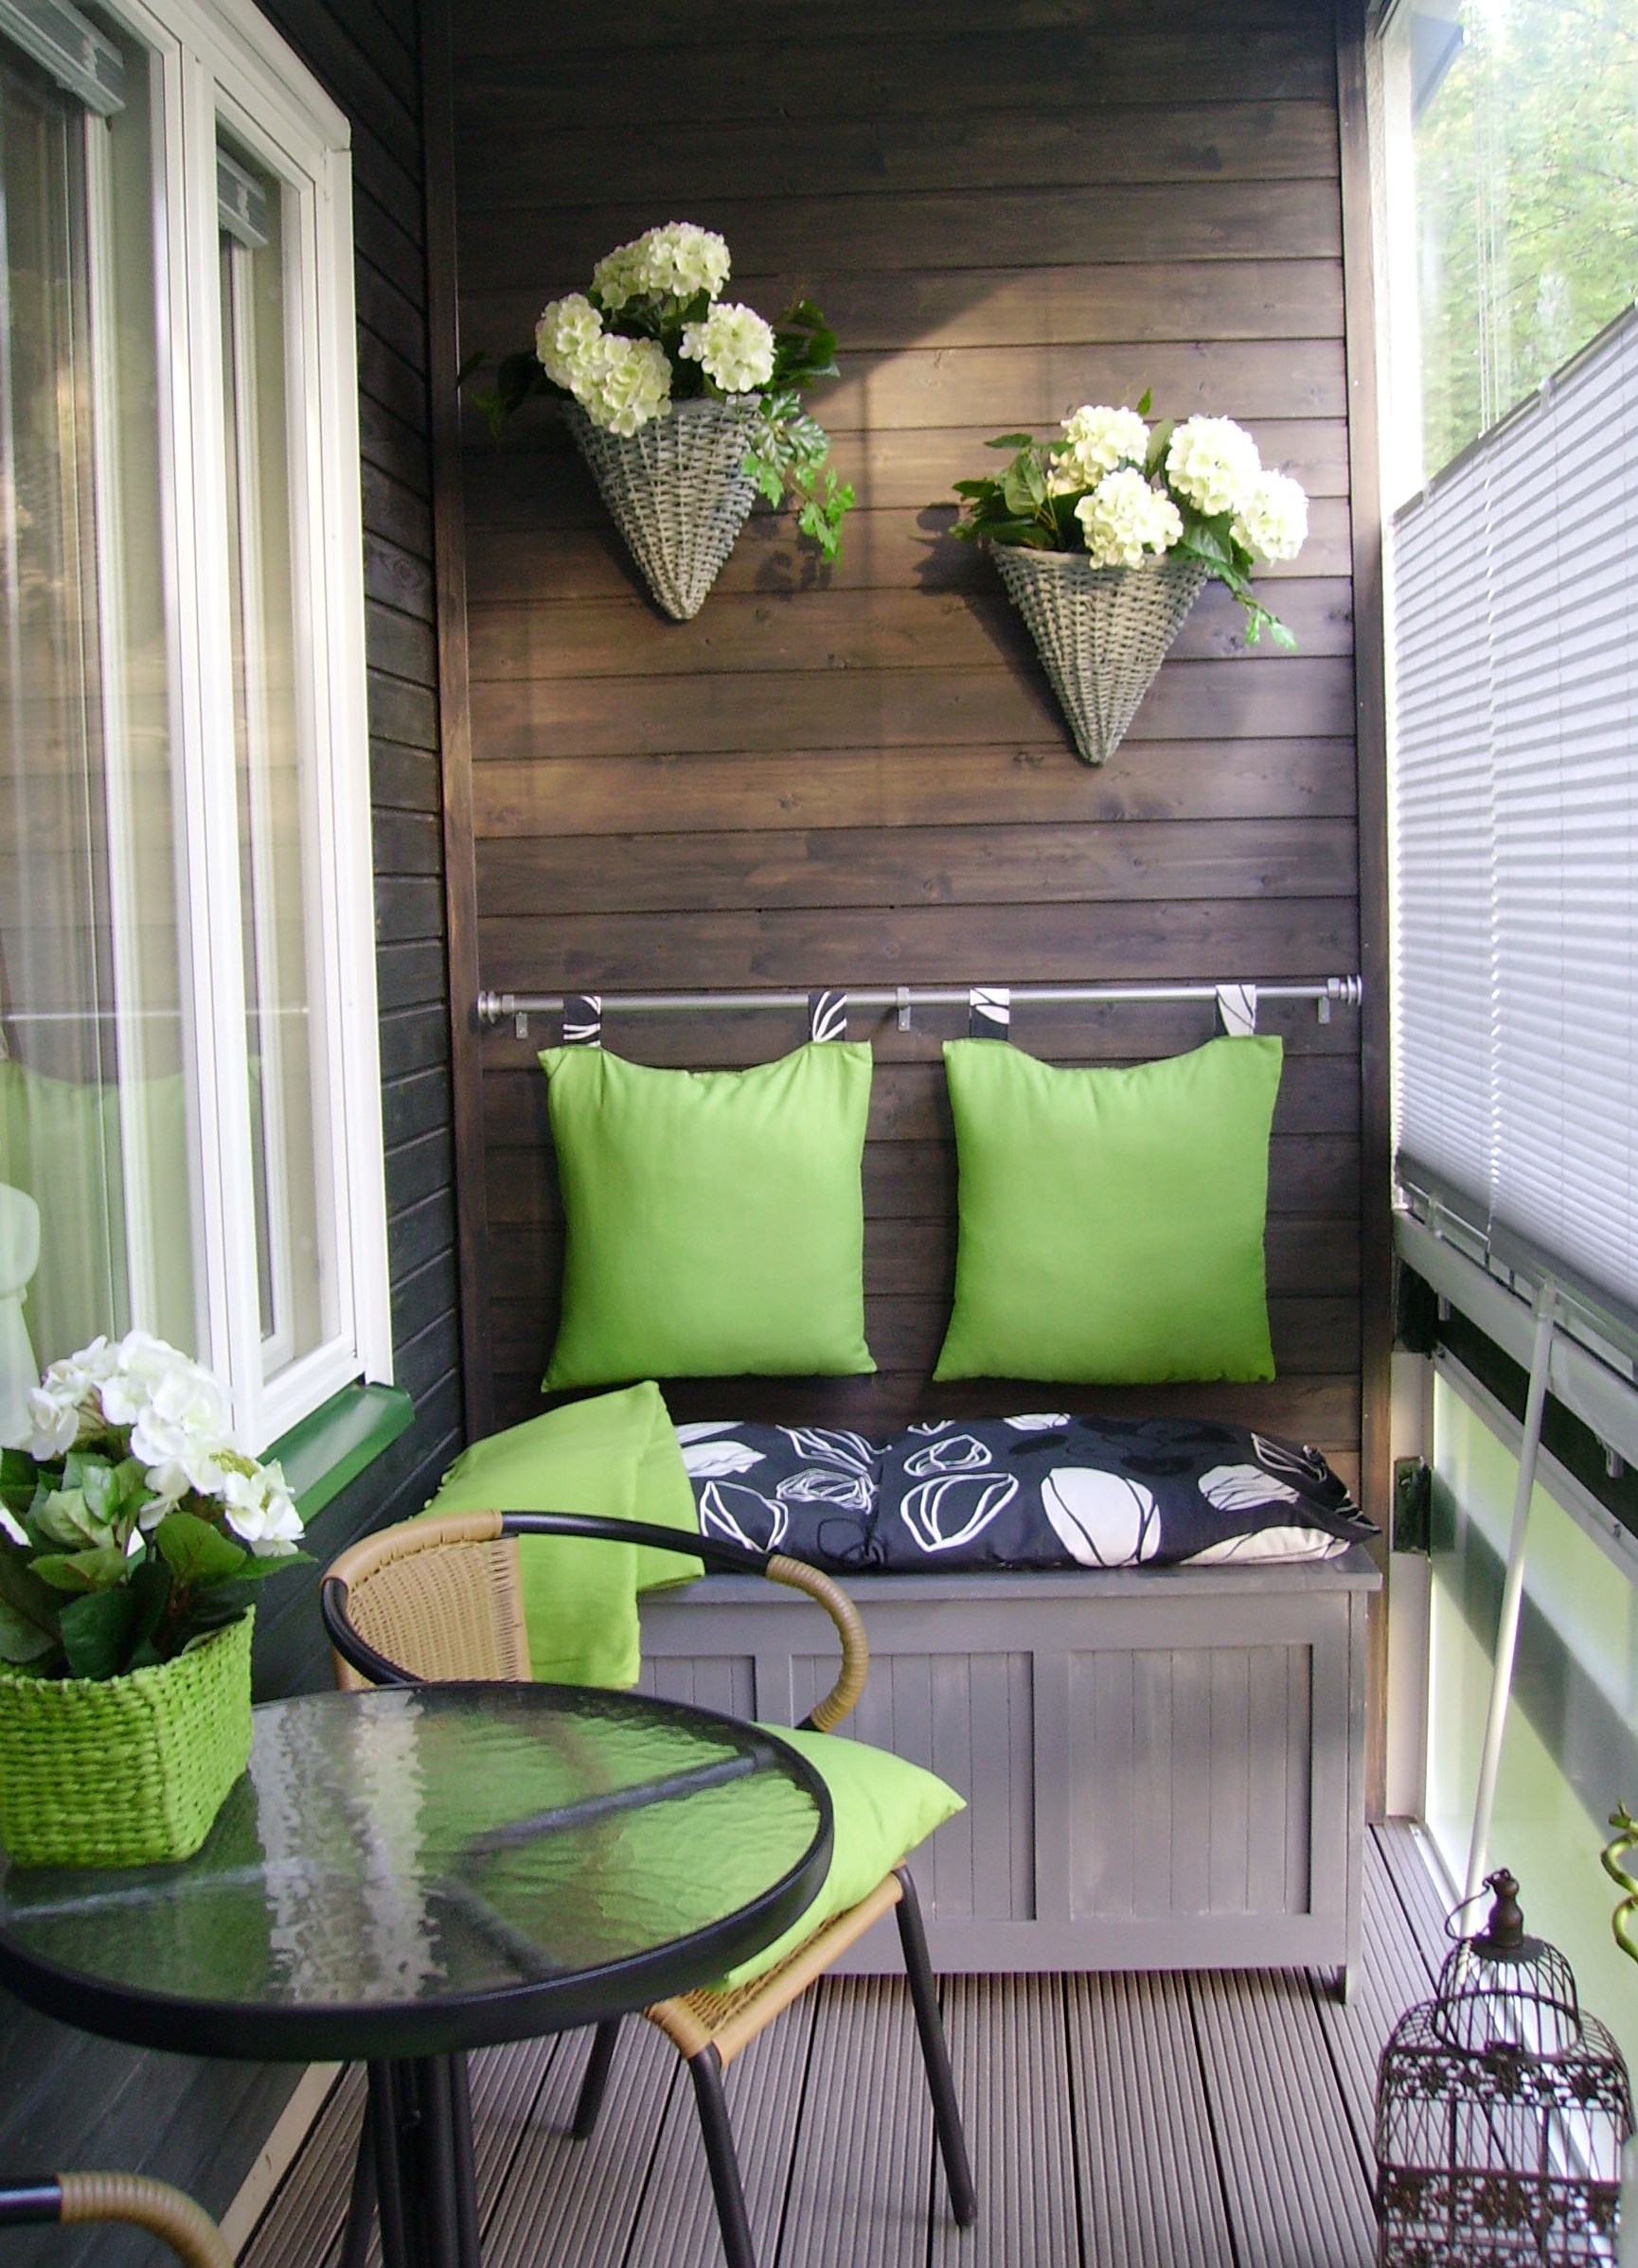
The balcony sheathed with the help of euro-railings has a very neat appearance, and the imitation of wood gives the impression of a natural decoration of the room. Due to the horizontal arrangement of the boards, the room seems large, despite its standard modest size. It is important that the materials imitating wood are used in the decoration of the entire balcony, and the floor and ceiling continue the line defined by the walls of this small room. On such a balcony, it will be nice to relax by setting up an armchair and a small coffee table, and devote a little time to yourself.

How to fix the wall paneling, see the next video.


