Step-by-step instructions for making a porch of wood with your own hands
In pursuit of the desire to expand the area, most owners of private houses solve this problem with the help of an extension of various structures. Mostly owners tend to have an open veranda. In our country, wood, as is known, is the most common and affordable building material. The veranda of the timber is the most pragmatic type of construction, which is not only used for its intended purpose, but also serves as a hallway or dining room. Based on this, in this article we will consider the step-by-step production of a wood porch.

Selection of necessary materials
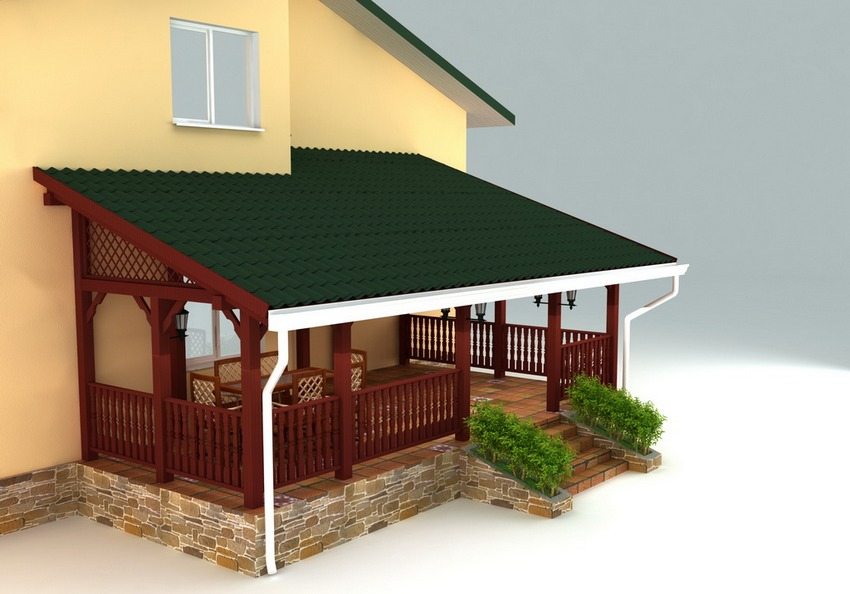
Summer two-storey house can be equipped with a veranda.It is best to make it from a minibus. The bay window can significantly expand the dacha space. The instruction is presented below.
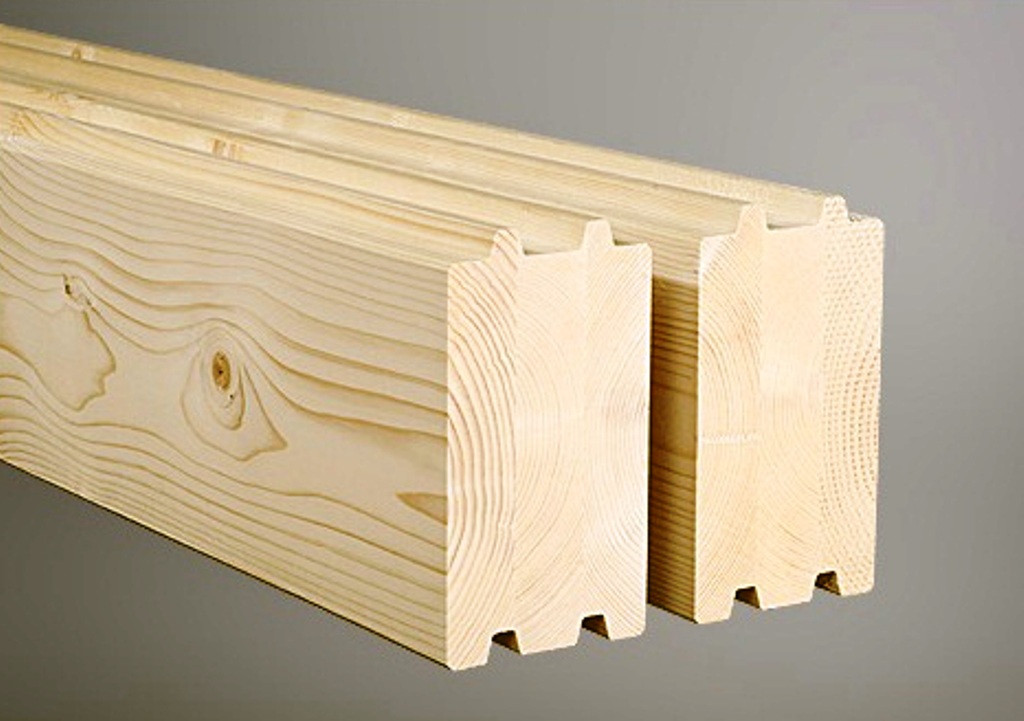
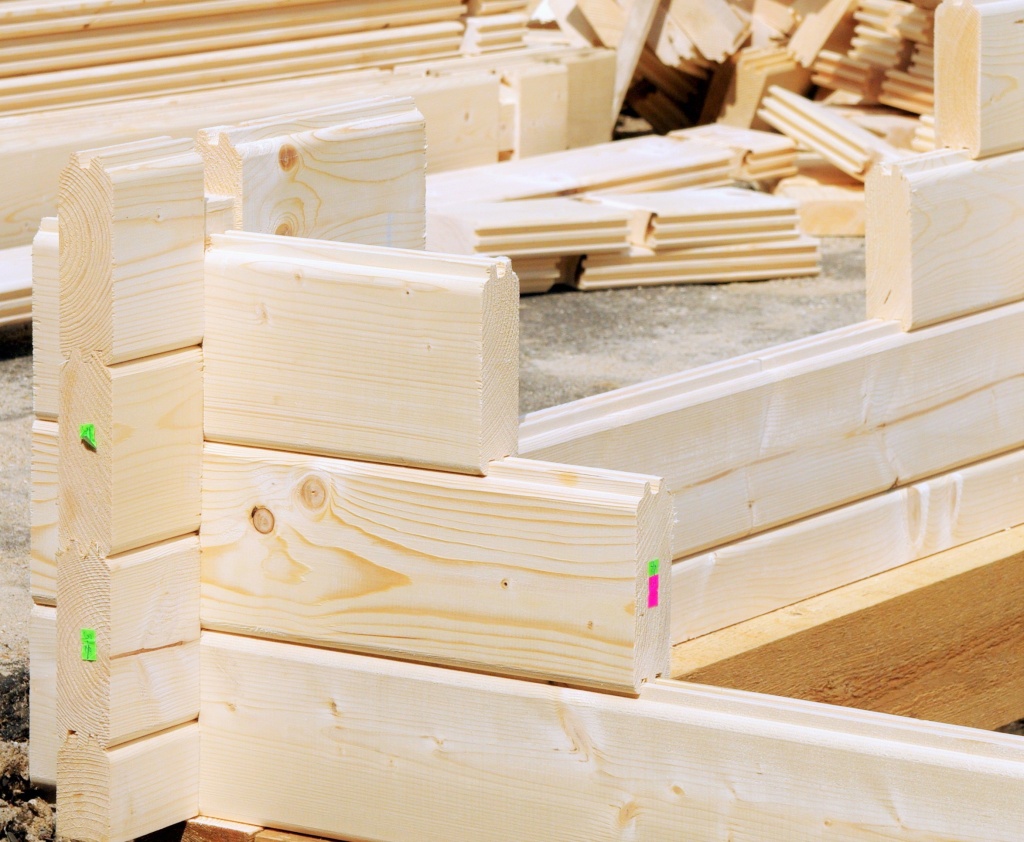
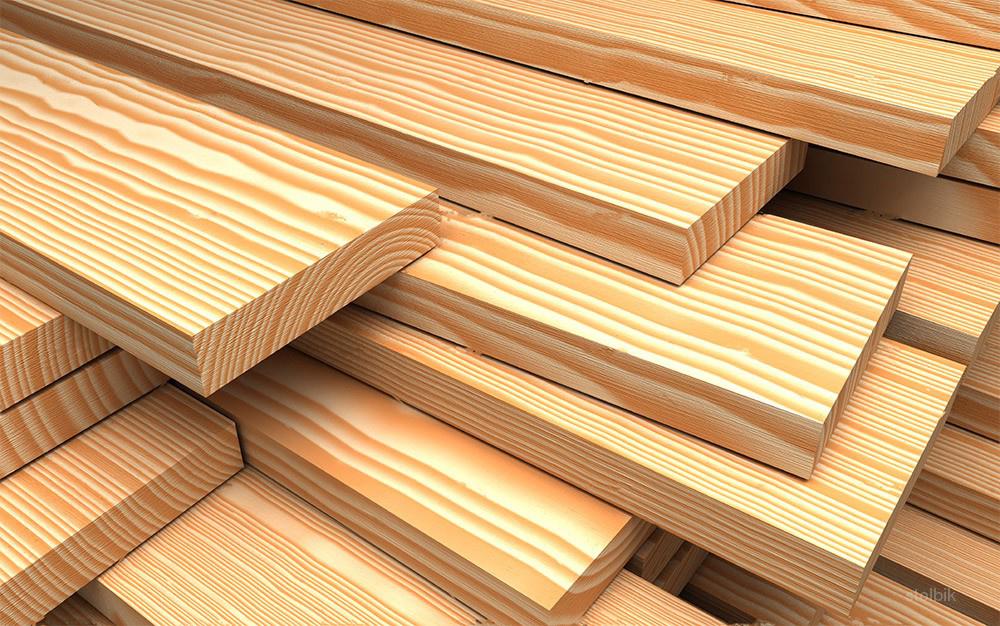
Before you start drafting an extension, you need to select the appropriate materials. The best option for the construction is parallel bars: it is easier to work with them, visually the veranda will look more solid, the construction will be stable and durable, safe, in terms of ecology, and durable.
For parallel bars it is worth preparing the following materials in advance:
- protective impregnation and antiseptic agents;
- fasteners for wood;
- concrete, crushed stone, reinforcement and sand (for the foundation);
- waterproofing materials;
- SSP roof lathing;
- doors and windows;
- roofing material;
- Tools: screwdriver, hammer, ax, shovel and level.


All materials from wood must be treated with protective impregnation prior to installation, as the finished structure is much more difficult to handle.
Drafting extension
Before the start of construction work it is advisable to think in detail about the project. This will allow in the future to avoid all sorts of mistakes and plan the right amount of material.You can prepare the project yourself by making a sketch, or choose ready-made solutions on the Internet. Also in the process of drawing up, you must specify the sequence of stages of work that will be most optimal.
It will be important to choose the location of the future veranda. It is mainly built from the end of the house, while the front door is indoors. As a rule, the length of the veranda coincides with the size of the walls of the house, its width is approximately 2-3 meters. After determining the length and width, the total area of the veranda is calculated.

Foundation building
The foundation for the veranda will have to be built separately from the main foundation of the house (provided that the house is finished) and connect it with it using special fasteners. Depending on the mass of the designed structure and its size, preference is given to one of the types of foundation: simple columnar for stable soil and durable tape for wet or loose soil.
- Pillar foundation - the most budget and simple version in terms of physical effort. The foundation consists of several individual rectangular supports.Each support is a set of pillars located horizontally within the selected perimeter. Under the pillars, pits with a depth of up to one meter are dug in advance, into which sand and crushed stone about 15 cm thick are poured, followed by tamping. Then the concrete is poured and the pillars are installed in such a way that their upper edge coincides with the height of the foundation of the house.
- Strip foundation - more laborious than the previous one, but with greater strength. To begin with, it is necessary to make a marking with ribbons on the inside of the foundation. Then they dig a trench into which formwork is being installed - a wooden form for filling with concrete. Before pouring, it is advisable to prepare a cushion of rubble and sand for the future foundation. Next, pour concrete about 10 cm high. After the layer hardens, pour the second layer to the required height.

When pouring the foundation, the shrinkage of the veranda is taken into account. It is recommended not to link it with the main foundation of the house: the mass of the veranda is much smaller, therefore, with further shrinkage, the house will pull it along.
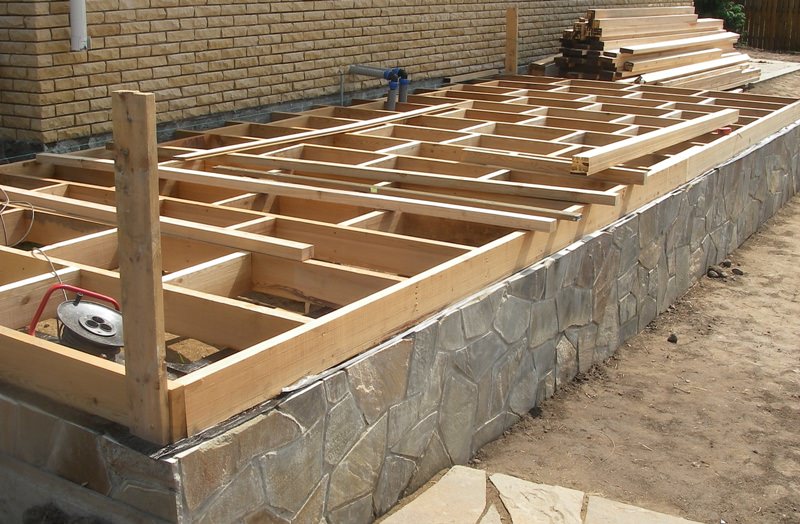
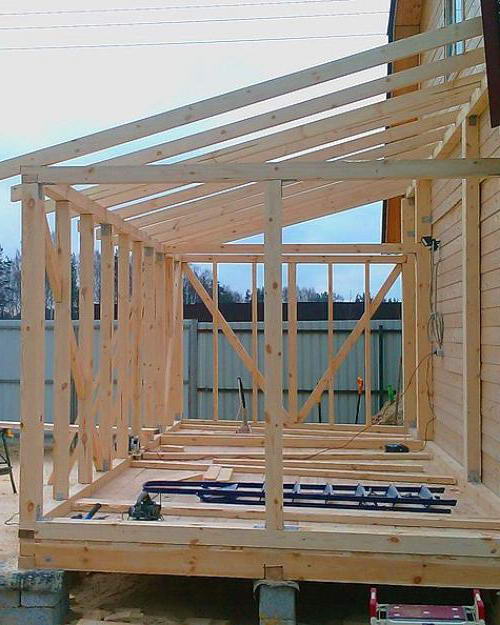
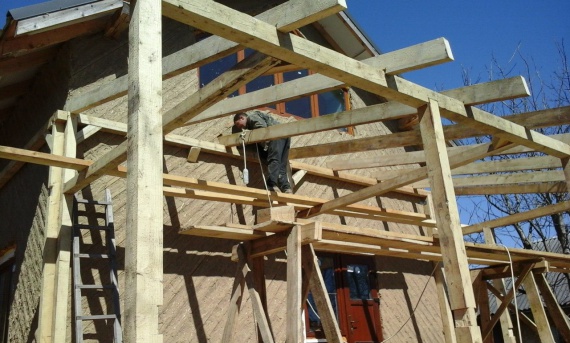
Making the frame structure
Installation of the frame of the building is made on the already completed foundation. In this case, the frame of wood, its installation is surprisingly quick and easy. The construction requires bars with a cross section of 150 mm by 150 mm on the bottom trim and bars with a cross section of 100 mm by 100 mm for racks and rail supports.
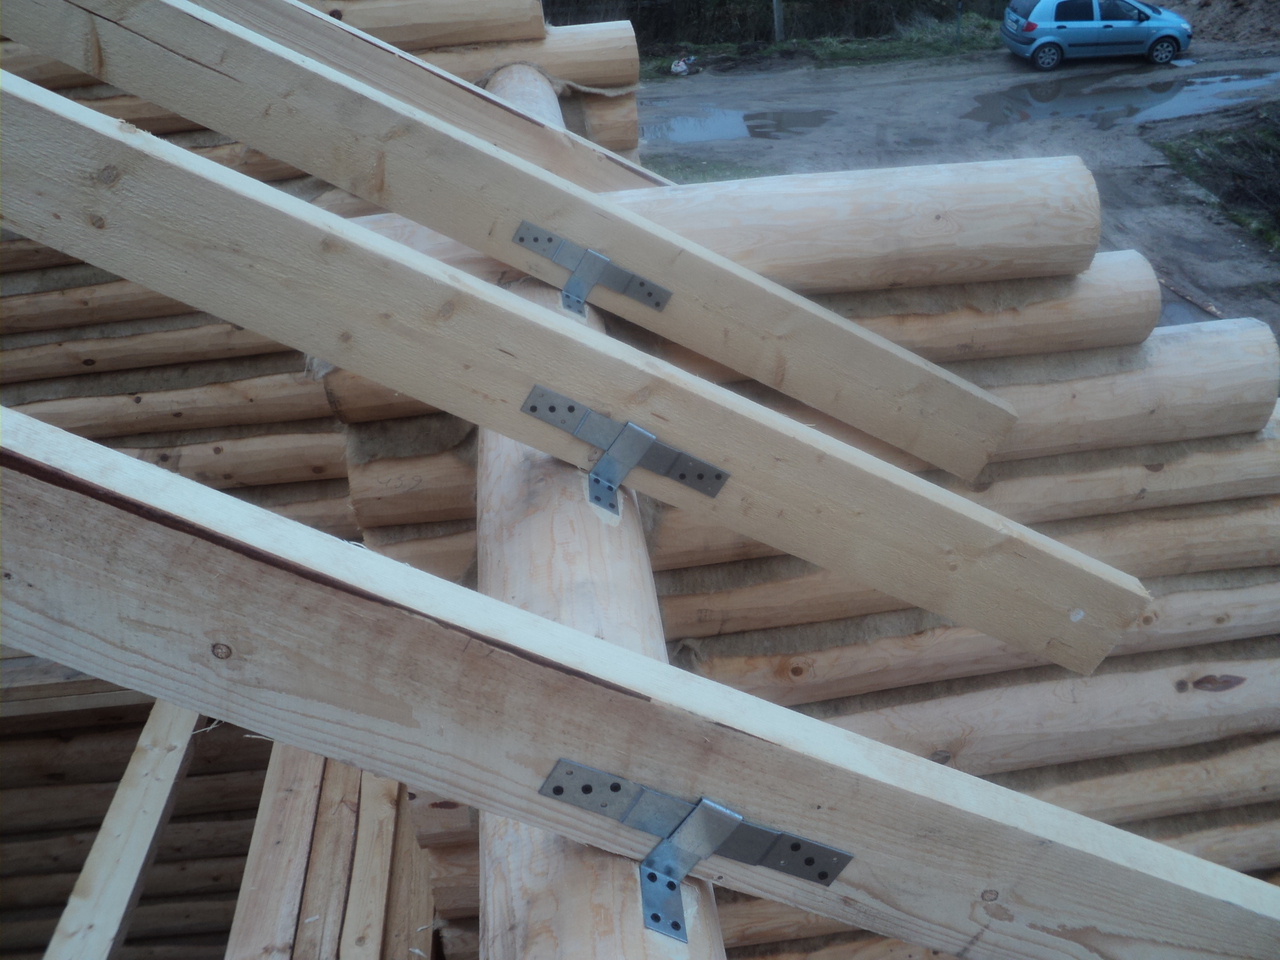
Bars with a cross section of 150 mm by 150 mm are laid on the foundation, which is pre-laid with roofing material. With the size of the future veranda more than six meters, the strapping elements will need to be spliced. At the ends of the transverse edge mark the gash in the middle of the thickness of the timber. This will be the length of the notch into which the protrusion of another object is inserted. Saw the timber on the marking, using a manual or mechanical tool: a hacksaw or a portable saw. Next, connect the recess with a protrusion along or at an angle. For stronger fixation, two nails are driven in.
In order to avoid displacement of the structure frame relative to the foundation base, reinforcement pieces of steel 200-250 mm long are inserted on the upper part of the pillars or tape.
Before laying the strapping, holes are drilled at the exit points of the steel rods, after which the bars are laid on the pins that are bent flush with the rest of the surface.At the end of the work of a bar trim on the floor of the veranda around the perimeter, the cross bars with the same section are laid in the same order, where recesses about one meter long are cut out and cut in advance, and additionally fastened with nails.
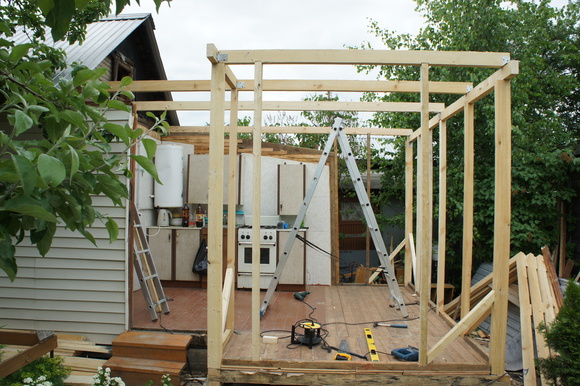
Supporting the roof of a wooden veranda requires the installation of several vertical bars along the side that is parallel to the wall of the house. The metric area is chosen as follows: the height of the roof from the floor of the veranda is not less than two meters, and the slope of the roof from the main frame of the building is observed. Racks should first be planed with an electric planer: this will give them a neater appearance and will make future processing and finishing easier. Fixed rack to the strapping screws with reinforced steel corners. The upper part of the end of the bars attached to the strapping of the veranda, which is a part of the frame, which serves as increasing the durability of the design of the veranda. On the upper part of the veranda, the strapping is made of 100 mm by 100 mm planed boards. The assembly is carried out on the ground part by part, then installed on the ends of the uprights and fixed. If there is a need to verify the perpendicularity of the vertical elements - use a plumb or building level.
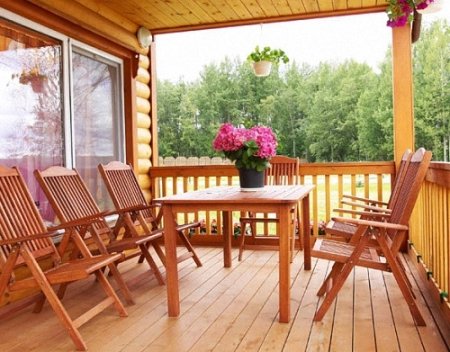
Installation of a floor of a verandah
Special attention is paid to the selection of the necessary material, namely its operational properties associated with the influence of humidity and sudden temperature fluctuations on it. In this case, larch is most suitable.
The advantages of this material:
- resistance to moisture, fungus, mold and pests;
- beautiful wood texture;
- ease of protective and decorative processing.
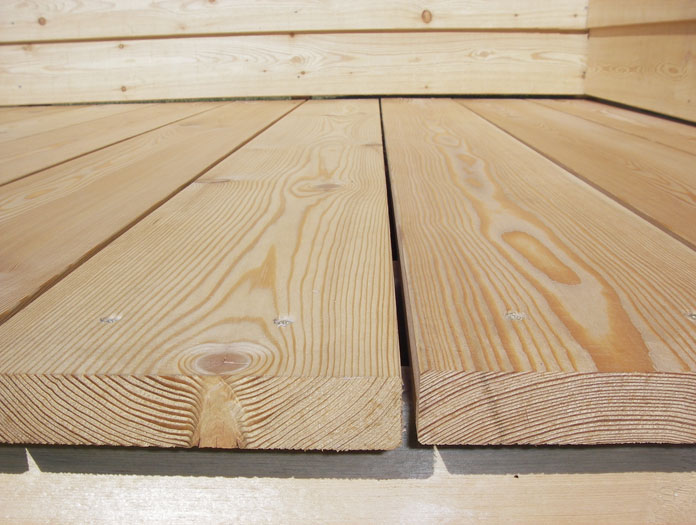
In addition to larch, such artificial floor material as decking is often used.
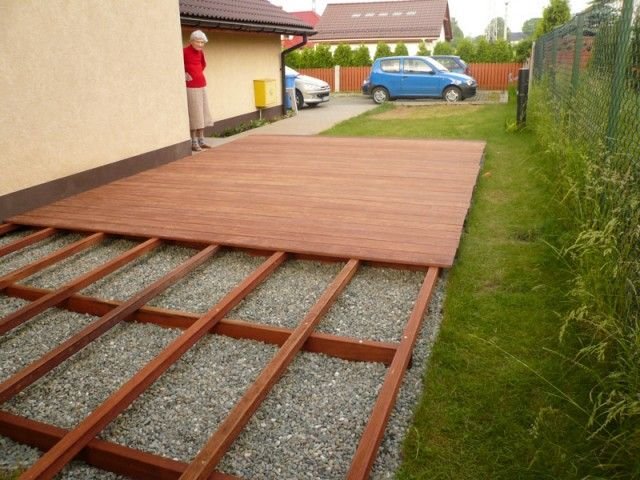
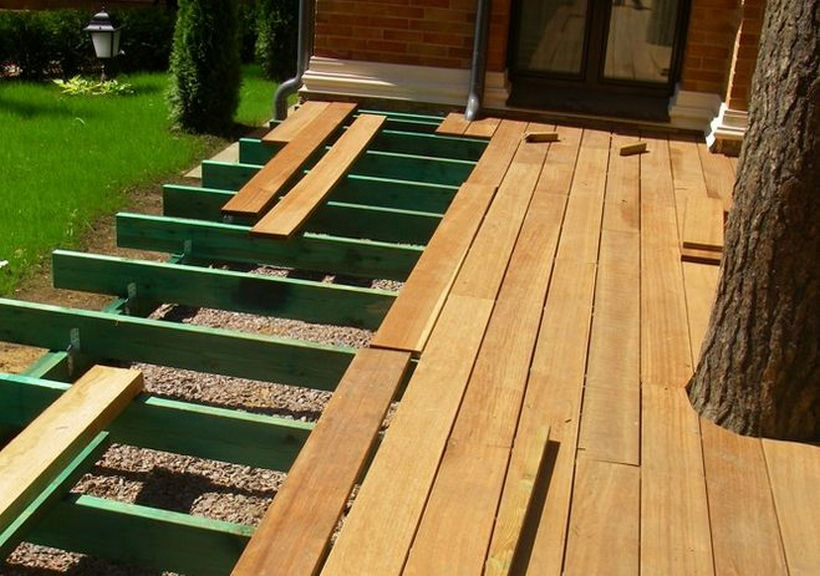
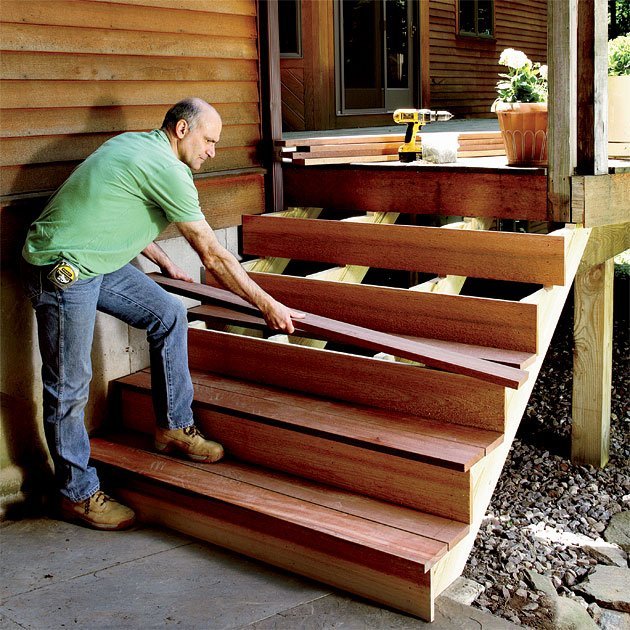
The floor on the veranda spread out of the boards in one row. Boards lay on the logs, located in the middle of the two rims of the bottom trim. Lags and boards are successively treated with antiseptic agents. Next, paint or varnish is applied on top. The upper step of the porch visually continues the floor. For decorativeness, floorboards are not laid directly in a row, but at a slight angle. With this method of flooring requires a little more. Another original way is considered to be laying from the center diagonally. This type requires an error-free installation, which can be done with a miter saw.
Pine and spruce floorboards are not the most suitable option for a veranda. When deciding to use these types of floorboards, treat the lumber several times with an antiseptic composition that will protect the wood structure from rotting and damage by pests.
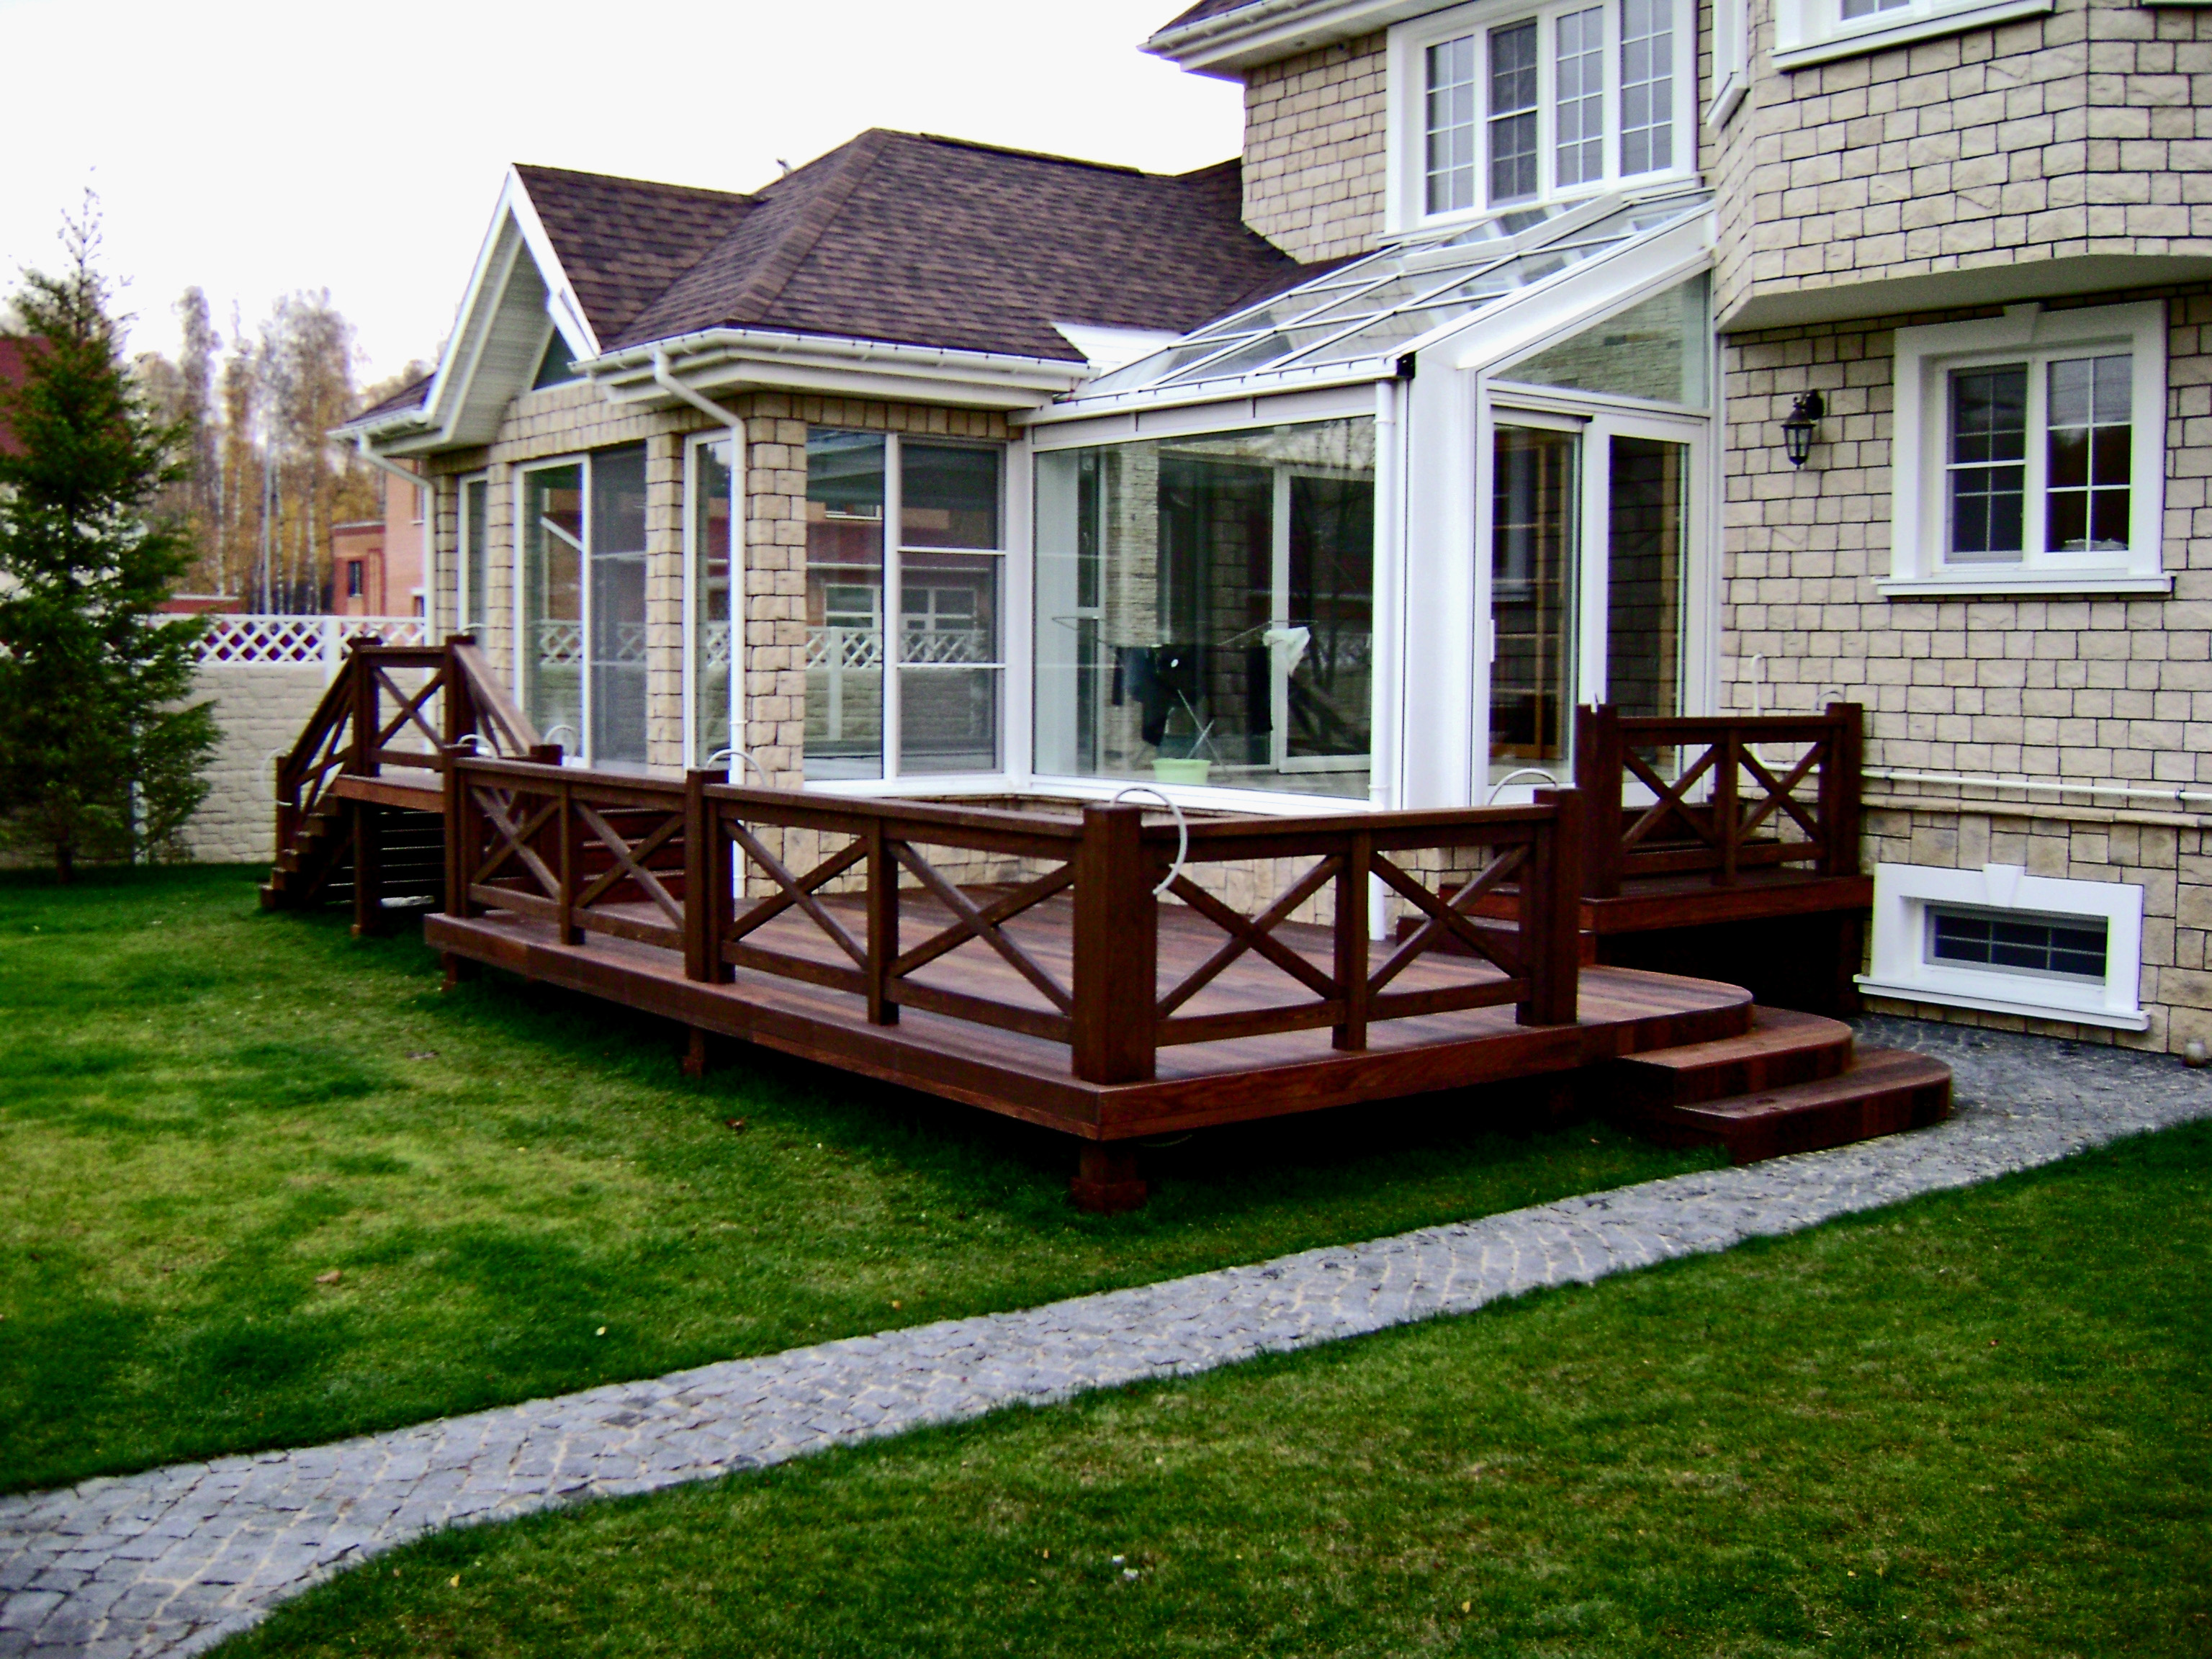
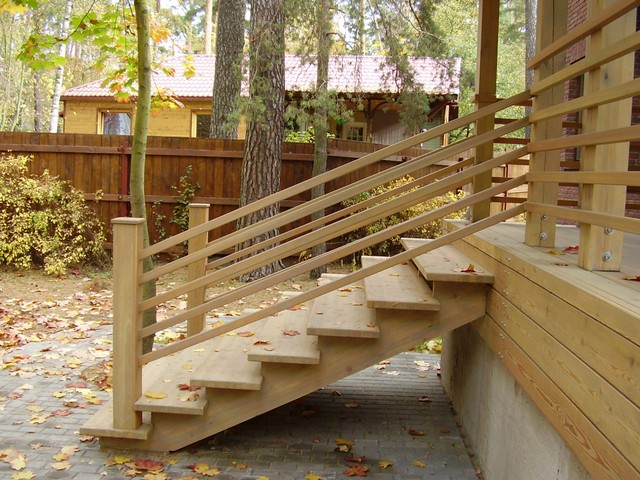
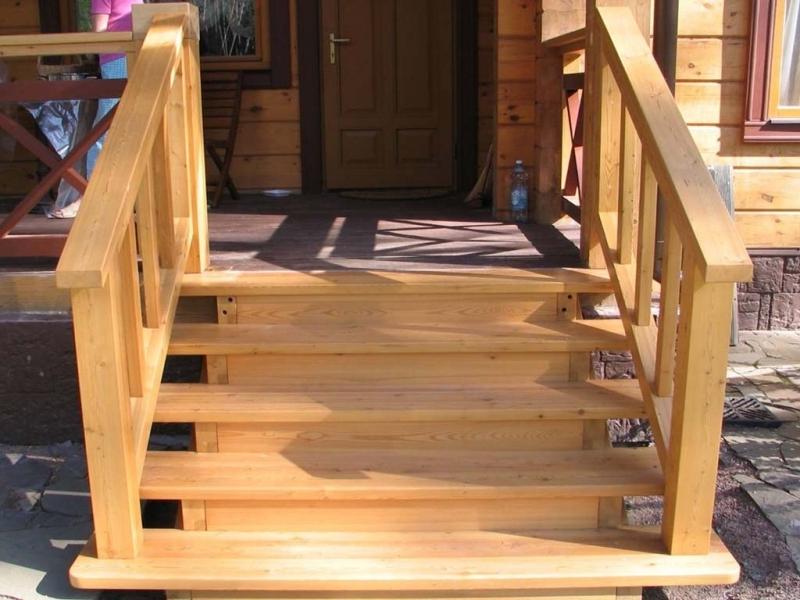
Construction of the stairs occurs after completion of work with the floor.
The upper level is built on the same level as the floor of the veranda. Then, fragments of a straight ladder are attached to two bowstrings at an angle. It is necessary that the lower stage is flush with the ground, and its ends are tight to the previously stretched string, after which they are fixed with nails. Further installation of inserts is required. They are cut in a pattern that resembles the outlines of the side boards, and also attached to the string. The risers and the supporting board must be located between the inserts.
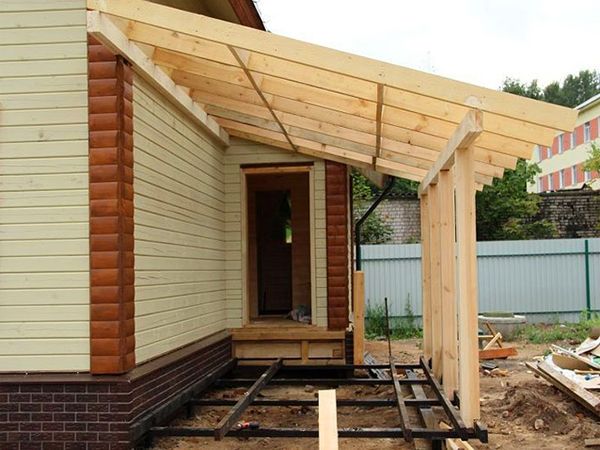
Roof construction
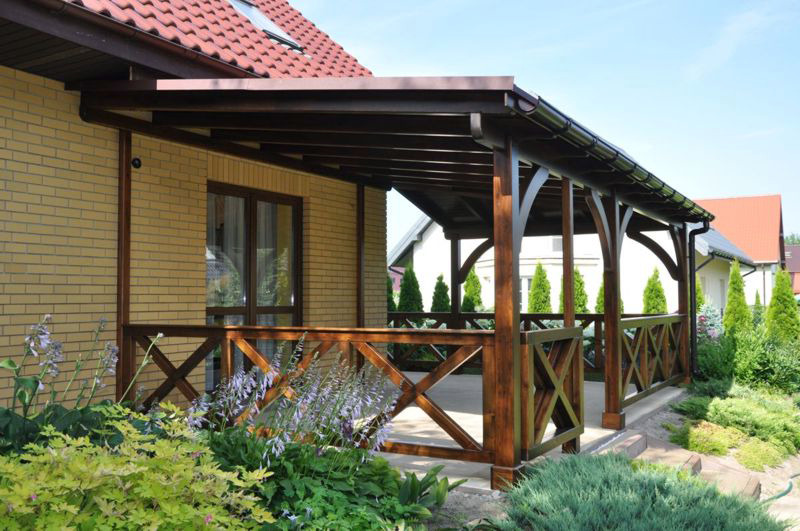
Rafters and roofing material - the basic elements for constructing the roof of the veranda. The roof is preferable to choose the same as the house. Ideally, it will be identical in color and material: so the roof will look more harmonious.The best choice is plastic slate, corrugated sheet, galvanized sheet metal or slate. In the process of fastening materials are selected for a particular roof. For example, for corrugated board used screw with a press washer having a similar roof color.

It’s best to build a mono-skate roof — it's simple and fast. Mounted at an angle to avoid water retention on the surface of the roof. Connect the roof and wall of the house with the help of special metal slats, which also have a protective function.
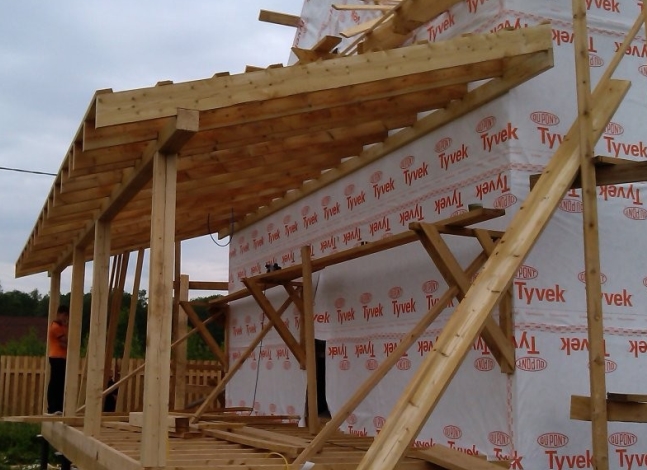
The roof is constructed as follows:
- on the upper trim set the mauerlat - a design that serves as the basis for fixing the rafters;
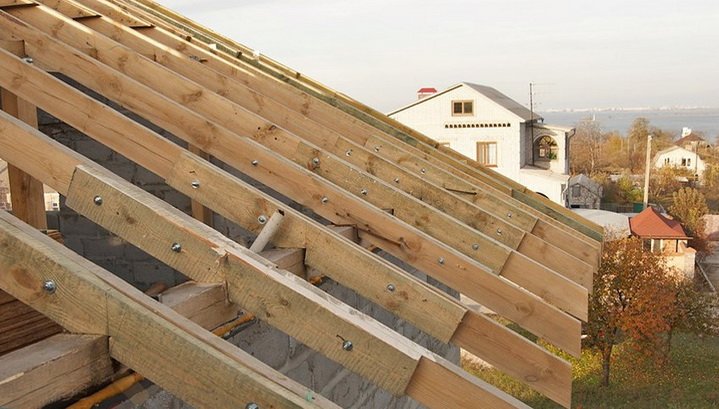
- rafters mounted at an angle to the wall of the house, the distance between them depends on the size of the veranda and the weight of the roof;
- the battens of the sheathing are installed to the rafters strictly perpendicularly;
- lay heat and waterproofing;
- make installation of the roof.
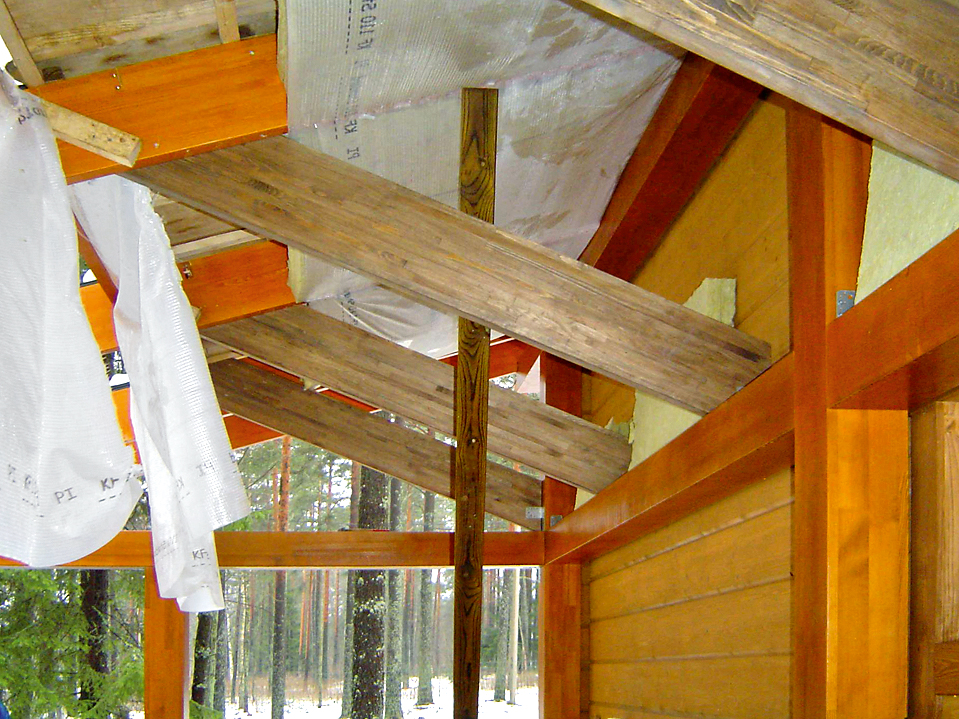
Do not neglect the ventilation. During construction, it is necessary to leave barely visible holes so that the air can flow freely.
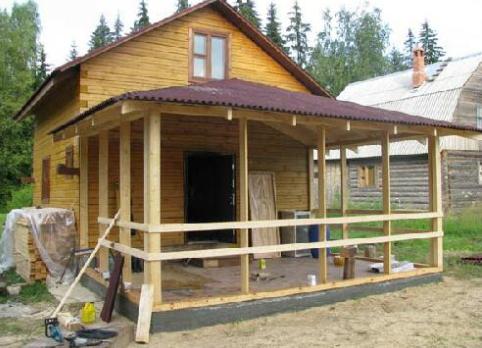
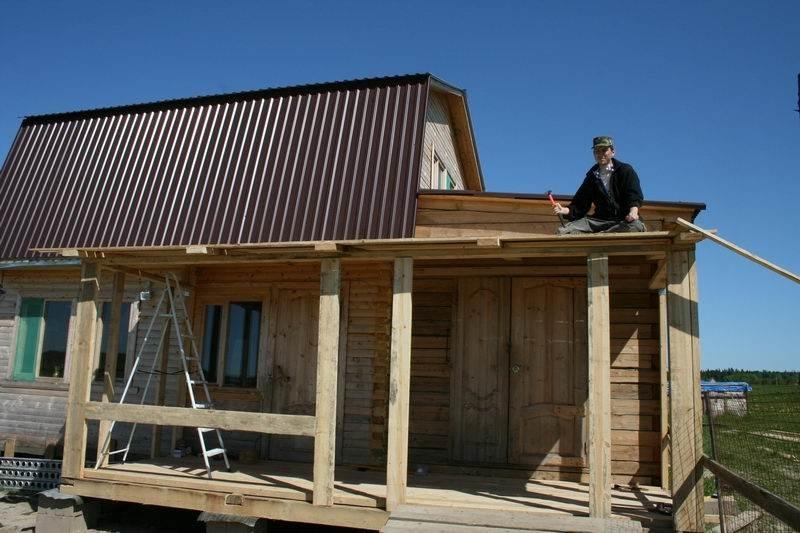
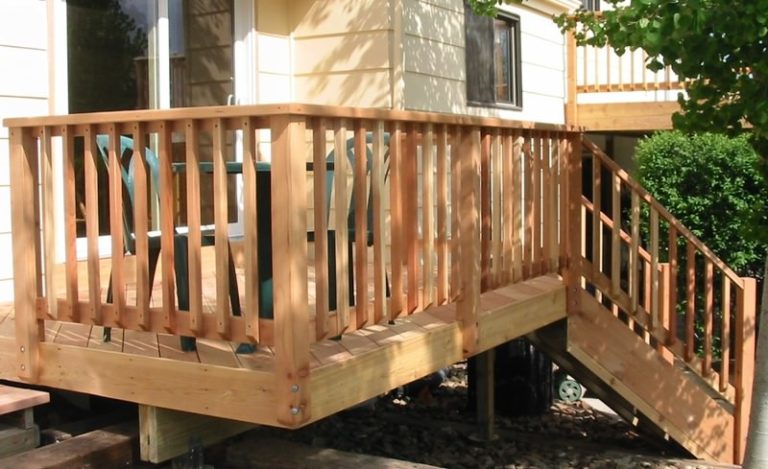
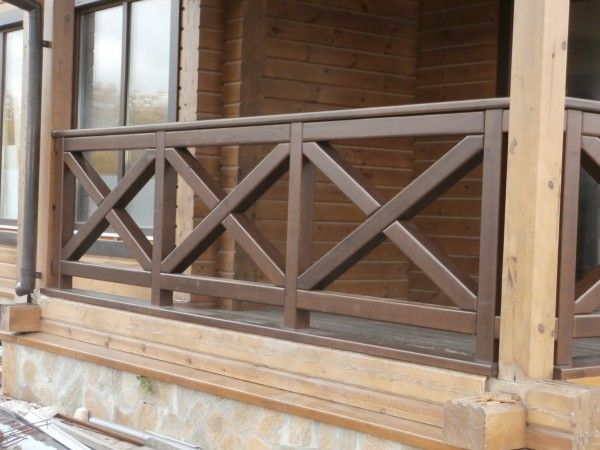
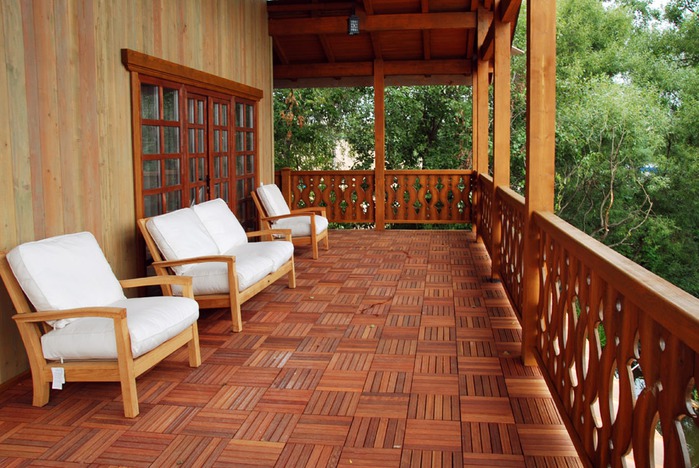
Installation of railings and finishing work
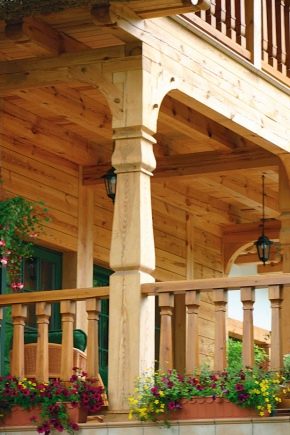
The protection of people from falling and restricting the internal space of the veranda will servewooden railing. They are made of planed bars or profiled metal. To begin with, determine the height of the future fence - the standard height is one meter. They establish supports, the distance between which depends on the weight and the type of construction; when overhanging the railings, they also perform support for the roof. After that mount the railings themselves. Balusters will give an interesting and unusual look to the railing.

After installing the basic elements of the veranda, you can decorate the walls at will. siding, clapboard or other materials. Upon completion of the installation of the fence, it is necessary to process the wood using wood stain, mordant or oil-based paint to help protect and prepare the veranda for direct use. You can attach a wooden porch with your own hands to a brick house, for example, with an attic.
See how to make a veranda with your own hands, see the following video.


