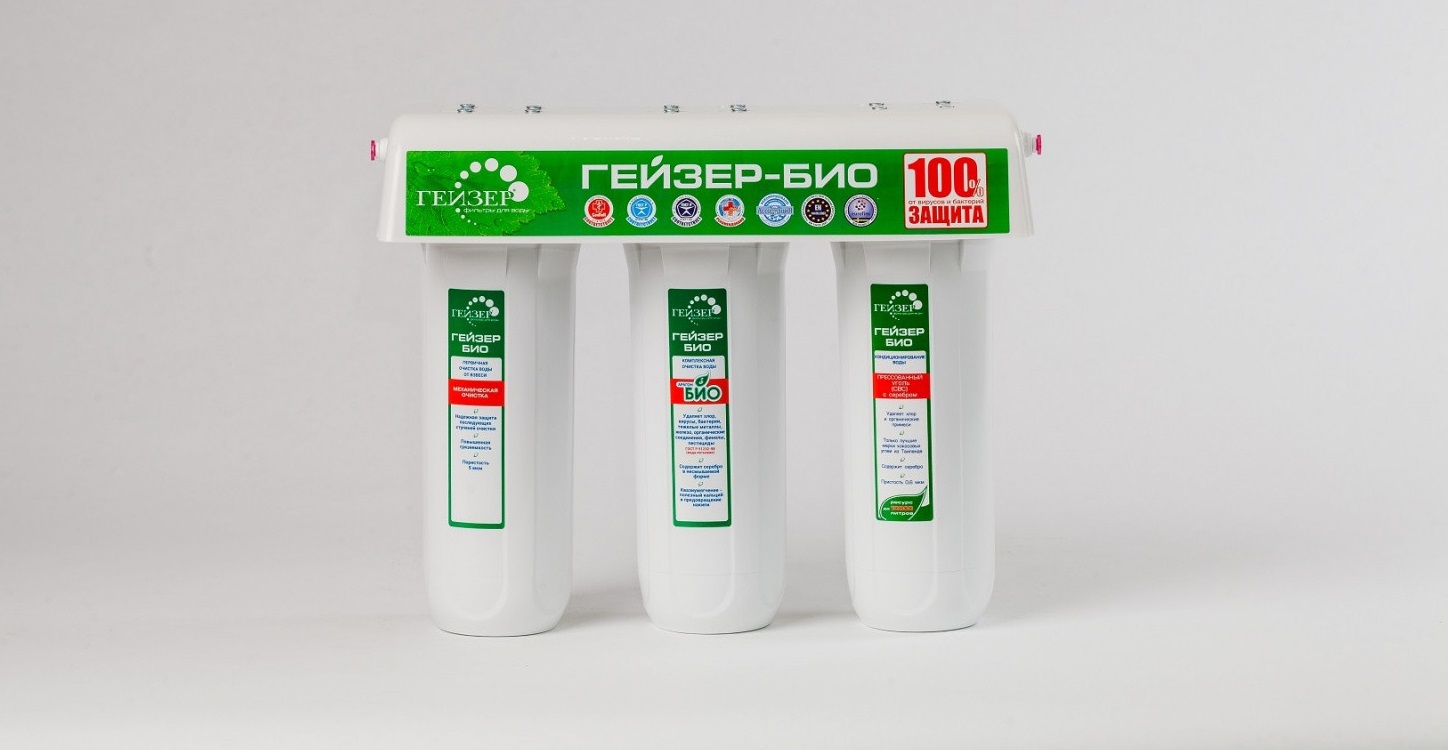
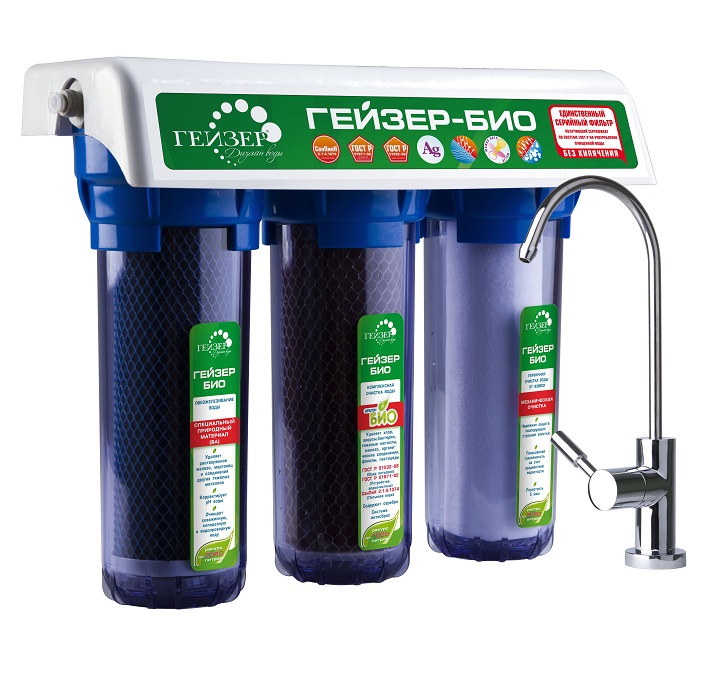
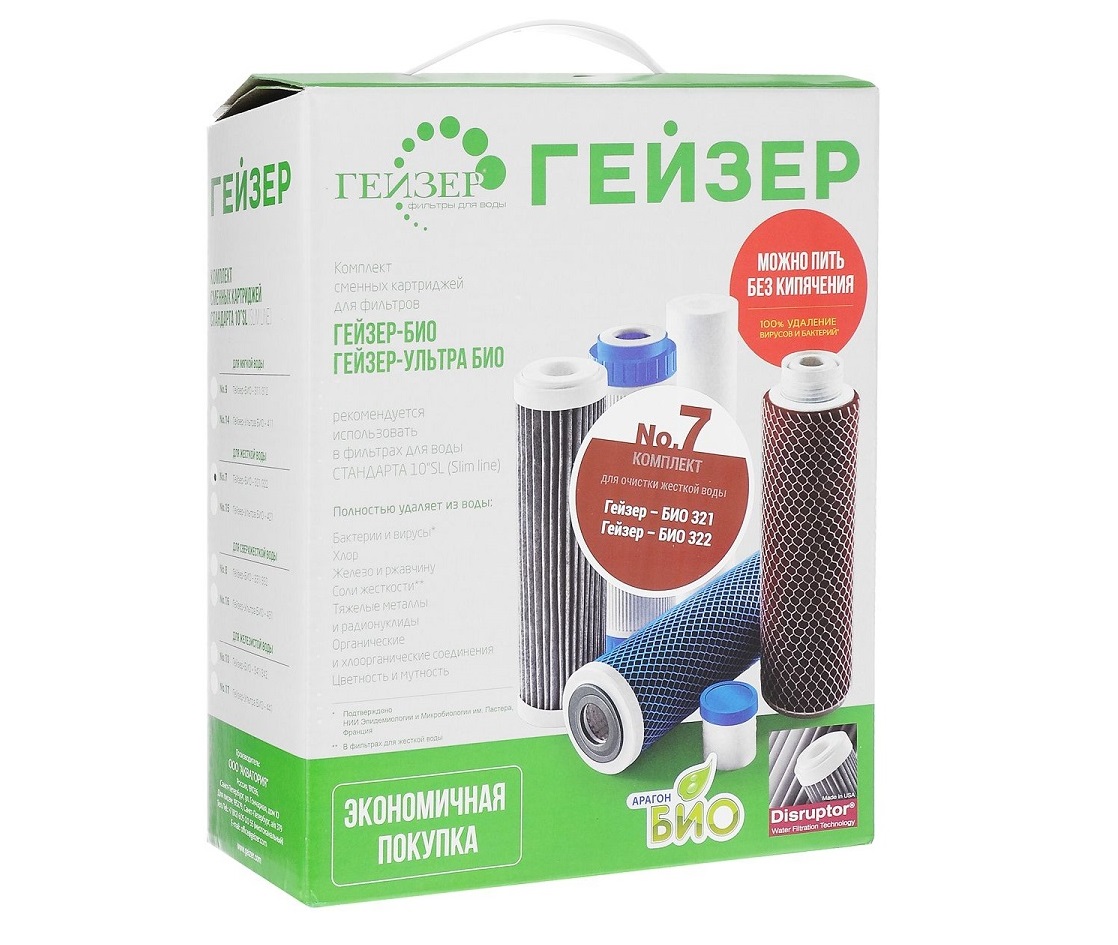
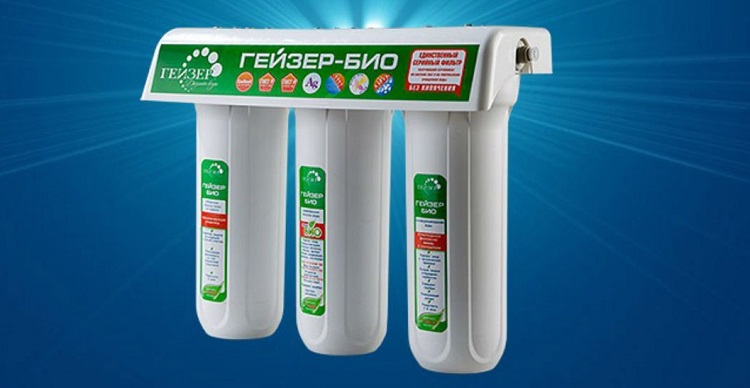
Filter "Geyser Bio 321": characteristics and application instructions
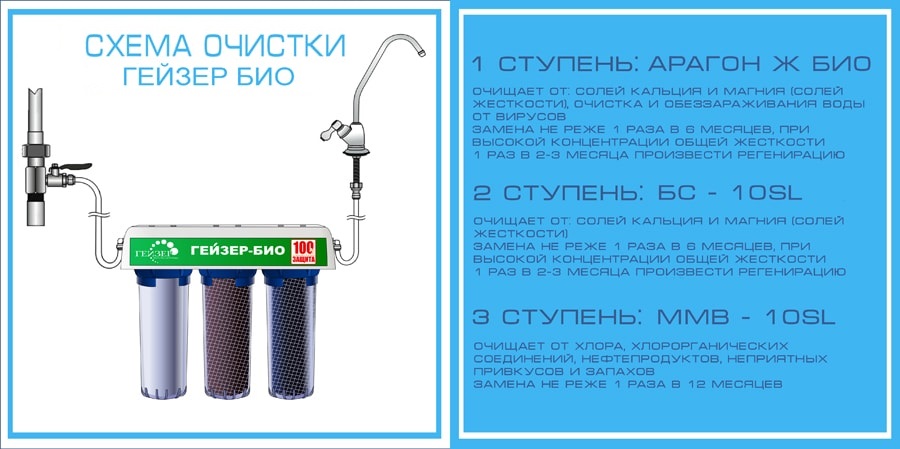
Geyser Bio filtering systems are a new technical development, which is a unique invention in the domestic market in this area, with a certificate of compliance with the requirements of GOST R. Devices clean water from chlorine, hazardous suspensions and microelements, bacteria, viruses, heavy metals, carbonate hardness. Thanks to a complete set of replaceable cartridges of the standard Slim Line 10, the running water passes 3-step cleaning.
It is possible to consume such liquid without preliminary boiling.
Special features
Among the advantages of filtering devices of the “Geyser Bio” series it is worth noting:
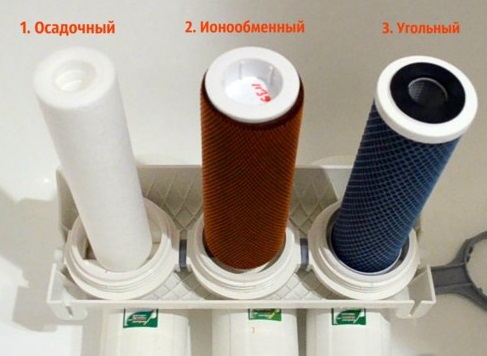
- three phases of purification;
- the presence in the composition of silver and ion exchange resin;
- the softening of the liquid and the removal from it of all components dangerous to humans (heavy metals, salts, dissolved gases);
- improving the taste, color and olfactory qualities of water;
- enrichment with aragonite;
- the "antisbros" function - prevents small inclusions from entering the treated water;
- pressure in the running cycle is 1.5-7 atmospheres;
- ease of installation;
- availability of self-replacement indicator;
- average cartridge life is 12-18 months;
- filtration rate - 3 liters per minute;
- equipping with high quality fittings that prevent leakage;
- Efficiency - 7000 liters of purified liquid;
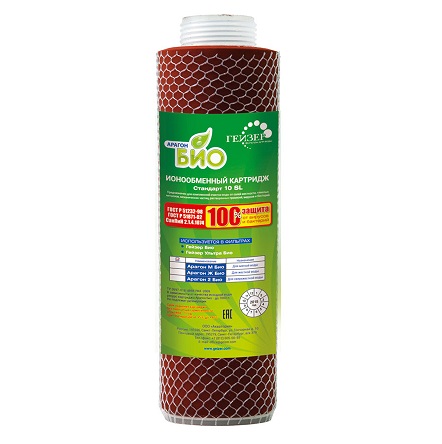
- the presence of the cartridge "Aragon Bio", the biocidal component of which disinfects water from virus-bearing microbes.
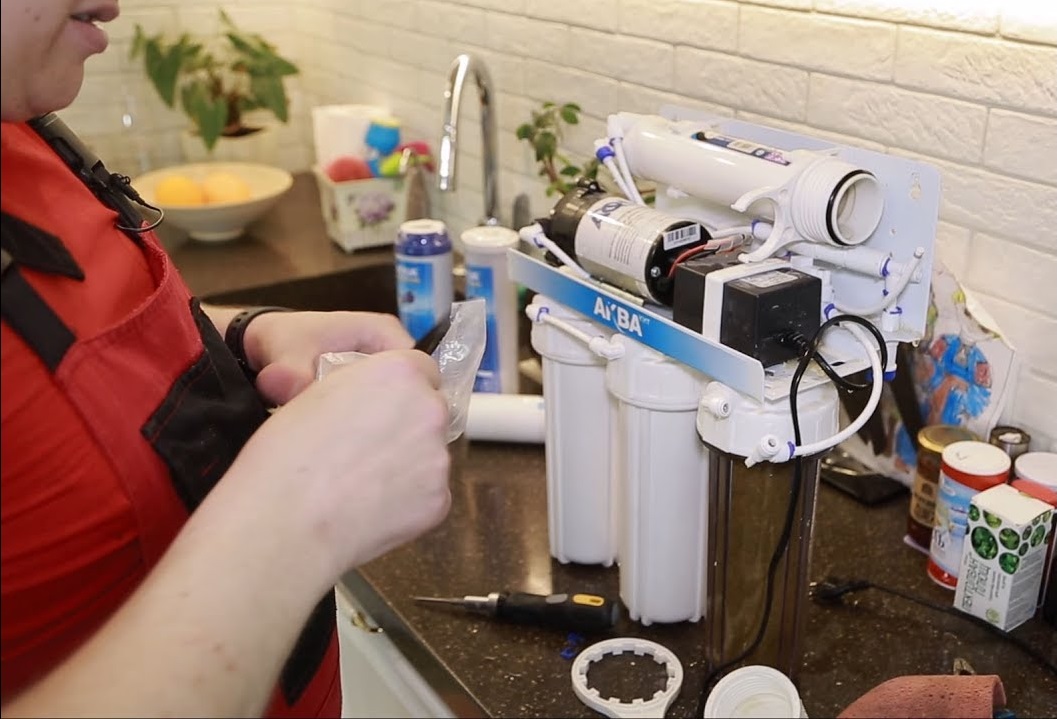
Equipment
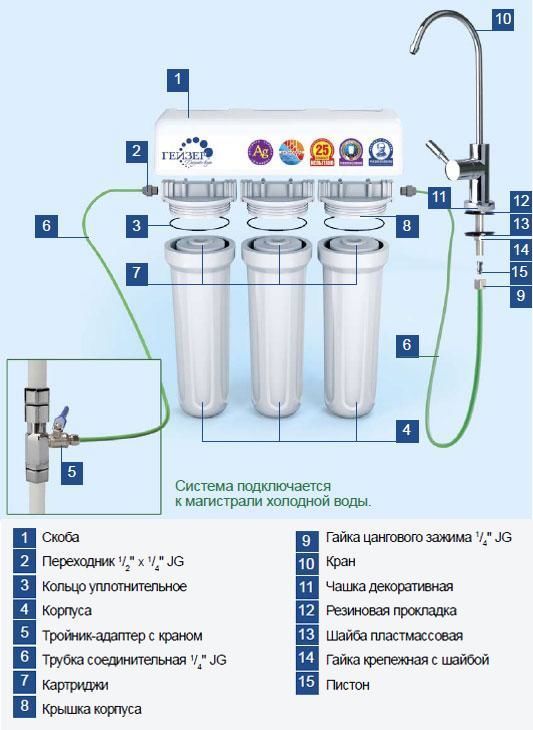
Filtering system "Geyser Bio 321", positioned as a filter for hard water, provides for the presence in the kit:
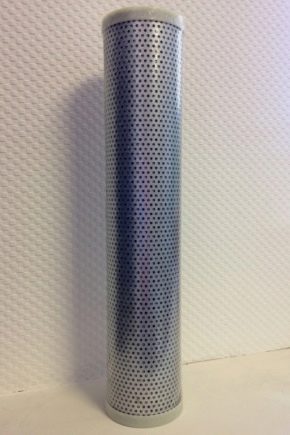
- three attached cartridges - polypropylene in 5 microns for mechanical cleaning, biocidal "Aragon Bio" and a bacteriostatic cartridge IIM;
- faucet for treated water number 6;
- decorative cup;
- two keys (for the case and bottom plug);
- rubberized gasket;
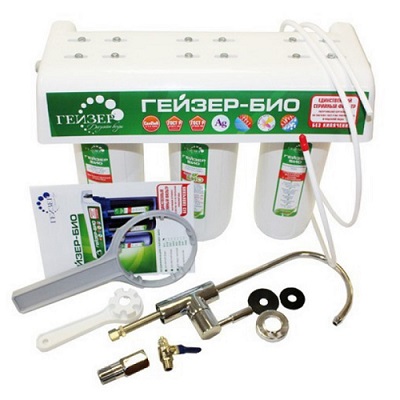
- adapter adapter with a crane;
- plastic washers;
- piston;
- tube ¼ to connect;
- nuts with washer for fasteners;
- nuts ¼ clamp collet;
- instructions.

Replaceable cartridges are suitable for almost all models of the Geyser Bio system, and some (for example, a carbon fiber cartridge IIM) can be combined with cleaning systems and other brands, so you do not have to spend money to buy additional filters.
In addition to the Geyser Bio 321 filter system, you can purchase a UV lamp with an antiseptic effect, a UV membrane for ultra-fine cleaning (removes all particles larger than 0.01 µm), an SFE and Aragon 2 Bio cartridges, and a Disraptor .
Installation
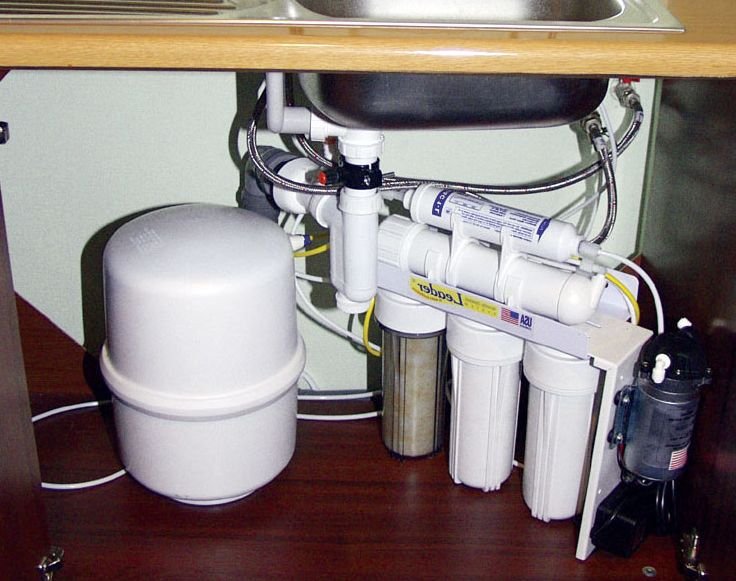
Filters "Geyser Bio 321" are used for kitchen areas. Due to its small dimensions (31x39x14 cm), the system is easily integrated into the cabinet above the sink. This type of accommodation is ideal, as the filter will be located in close proximity to the water supply.
Connection of the filtration system can be carried out only by certified specialists.
Before starting the installation, turn off the cold water supply and open the nearest faucet that follows the water shutoff point in order to relieve pressure.
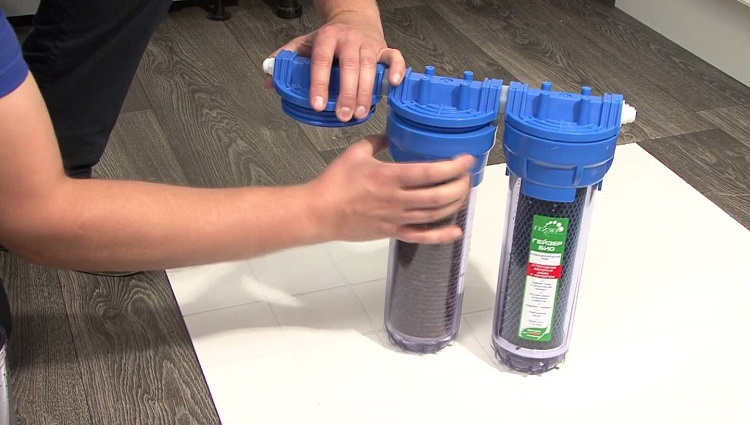
Before installation, make sure that the filter flasks are well tightened (if not enough - pull up).
Finding a vertical sticker in the middle of the instrument case does not guarantee 100% tightness, since its position may change during the tightening of the thread on the flask.

Further installation of the system is carried out according to the instructions.
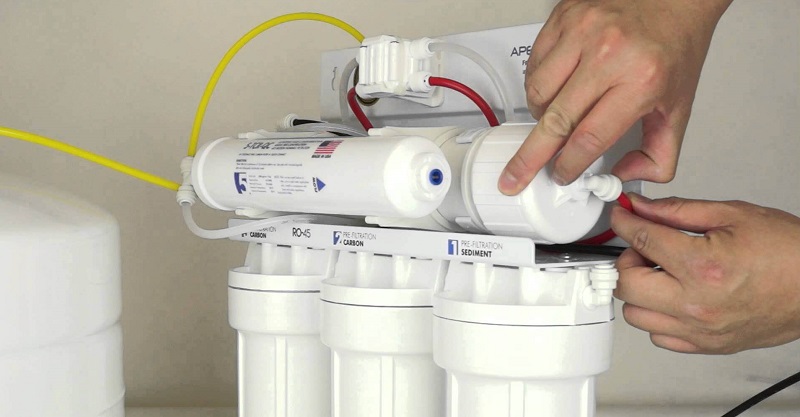
To connect to the cold-water highway, you must use a kit of parts that comes in a set with a filter. Cut the tube in half so that parts can be connected to the inlet and outlet of the filter. The entrance is on flask No. 1, and the output is on flask No. 3.
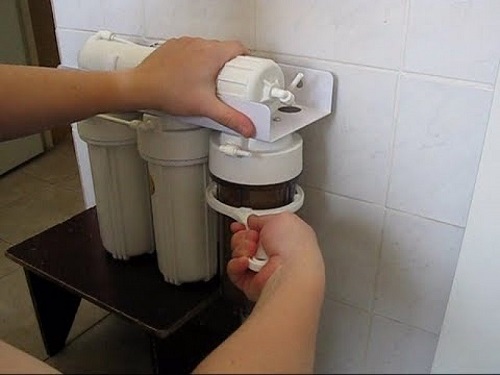
Remove the transport plugs from the filter itself. To do this, press the edge of the screwdriver on the plastic ring in the slot, then remove the plug. Then the filter is attached to the wall or to any other place that is convenient for its use.
To replace the parts of the system did not cause inconvenience, the filter recommends mounting not less than 15 centimeters from the floor level.
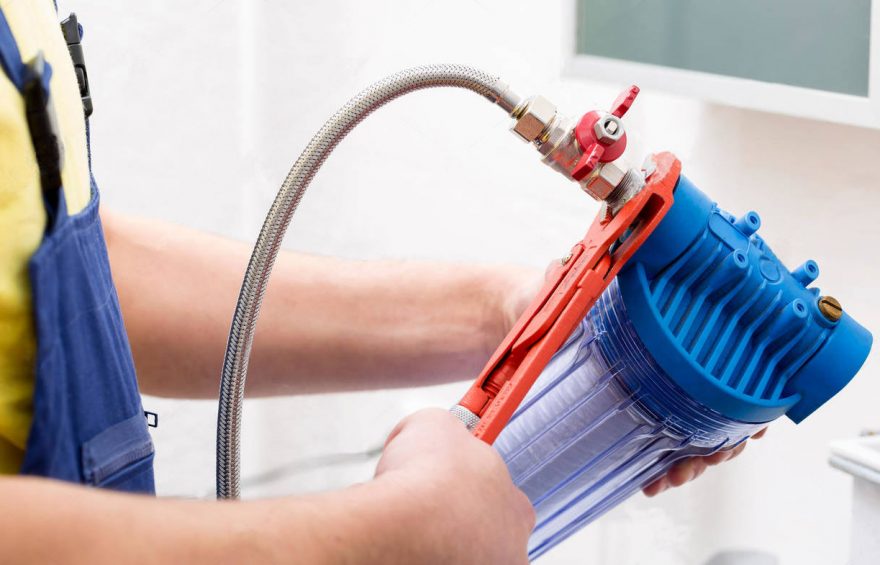
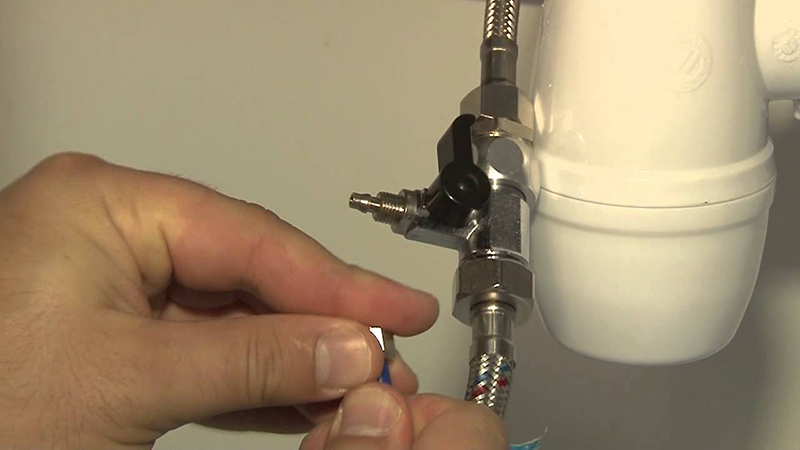
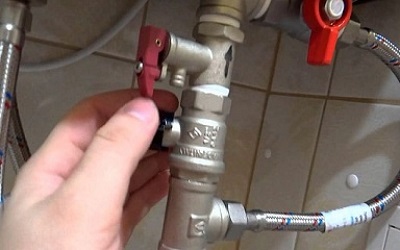
In order to connect the system to the water supply, you must perform the following steps:
- turn off the water;
- install the adapter into the cold-water pipe and check the tightness of the parts;
- a stopcock is installed in the adapter; it is responsible for the water supply; in this case, the connections must be tightened and sealed;
- insert the plastic pipe into the body of the fitting, and then as tightly as possible into the crane fitting;
- tighten the nut.
In order to connect the tap of filtered water, you must:
- using a drill, make a hole in the sink that will be 1.2 cm in diameter;
- assemble the crane in compliance with the assembly steps (the crane itself, the washer, rubberized gasket, plastic and then a metal ring, a fitting);
- install a tap at the sink;
- insert a plastic tube into the fitting;
- insert the piston into the tube;
- wrap the fitting on the faucet.
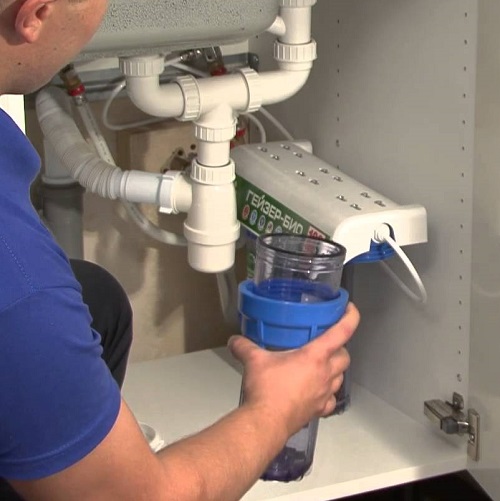
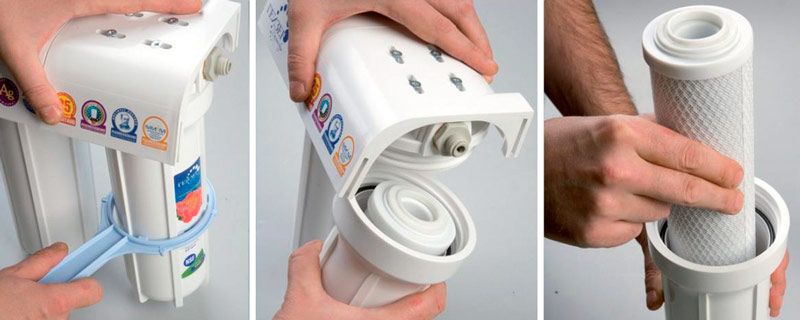
Replacement
Once the life of the cartridges is over, they need to be replaced. The design of the system allows for the replacement of each cartridge separately. Thanks to the plastic quick coupling, this can be done easily and quickly. The instruction that comes with the filtration system is extremely simple, so you can replace the cartridges yourself, without the help of specialists. In the set with the filter are plastic keys that allow you to easily remove the flask,and after replacing parts put it back.
For the replacement of cartridges of any stage of cleaning, it is necessary to perform 3 main steps:
- temporarily shut off the water supply;
- open a tap for treated water to relieve system pressure;
- use the key from the kit to unscrew the flask, to assess the degree of wear of the sealing ring (replace if necessary);
- replace the required cartridge.
To replace the mineralizer, unscrew the flask with a key and take out the “Aragon-M Bio” cartridge. Drain the water. Then use the key to unscrew the cap for the bottom and remove the dispenser. Remove the “B” insert from the cartridge and move it to the replaceable cartridge. In a replaceable dispenser, it is necessary to remove the cap and put it upside down with the open side. Insert the bottom cap as tightly as possible.
Assemble the filter in reverse order and rinse it thoroughly.
To clean the softening cartridge, unscrew the other filter housing with a key. Put it upright and wait for all the water to drain. After removing the body cap, it is necessary to pour 2 tablespoons of saline solution inside (the necessary consistency is obtained by dissolving 100 grams of non-iodized salt in a liter of water).During the procedure, due to the air coming out of the resin, the latter may leak to the top.
Then the cartridge is installed in the housing and filled with the whole salt solution. (It will take about 0.5 liters). Leave at 9 o'clock. Then remove the cartridge, wait until the remaining solution is drained, and again pour 2, 5 liters of saline into it. Close the cap on the cartridge and place it in the housing again.
Assemble the filter parts in reverse order. Rinse with water until salty taste disappears (about three minutes).
It is necessary to carefully use the saline solution and not to allow it to hit the eye mucosa, as this will lead to painful sensations.
If this happens, wash your eyes thoroughly.
Operation Tips
In order to maintain the housing of the Aragon Bio cartridge in working condition, it must be moistened. If the filter breaks for more than 30 days, you must make sure that there is water in it, otherwise it may crack.
Before using the filter, rinse well. This procedure is performed after replacing the cartridges and a long interruption in use (more than 6 days).
Reviews
Customer reviews filter systems "Geyser Bio" vary widely. Some users are satisfied with the quality of water treatment, its taste characteristics, ease of installation and the cost of the product.
However, a small part of the audience writes on Internet forums that scale and sand are not removed from the water, the keys are not suitable for the flask, cartridges quickly fail, poor quality flasks some time after the start of operation, they give a leak.
On how to make a water filter for yourself, you can learn from the video below.


