Step-by-step instructions for installing windowsills
Installing a new window or replacing an old window sill with your own hands is one of the most important moments when installing a window opening. Even the most beautiful and modern window design will not look complete without this element. In addition to the beautiful appearance, the window sill protects the window opening from mechanical loads, and also helps to keep the heat indoors. That is what determines the features of its installation.
Special features
Installation of the window sill, as a rule, completes the installation of the window, and it is made after the slopes are installed. This easy-to-make construction, consisting of a small flat piece of board or PVC, has several functions at once.
- Protective. Properly installed sill acts as a barrier to cold outside air, and also does not allow heat to leak into the cracks under the window. Of course, the window frame correctly installed by the masters and without it copes well with this function, so the owners are most often interested in the following function.
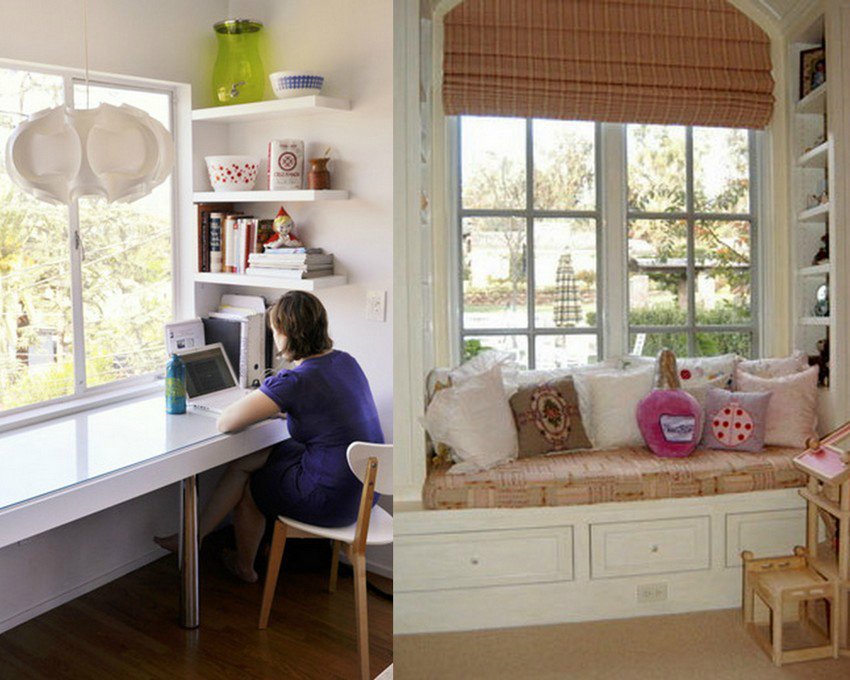
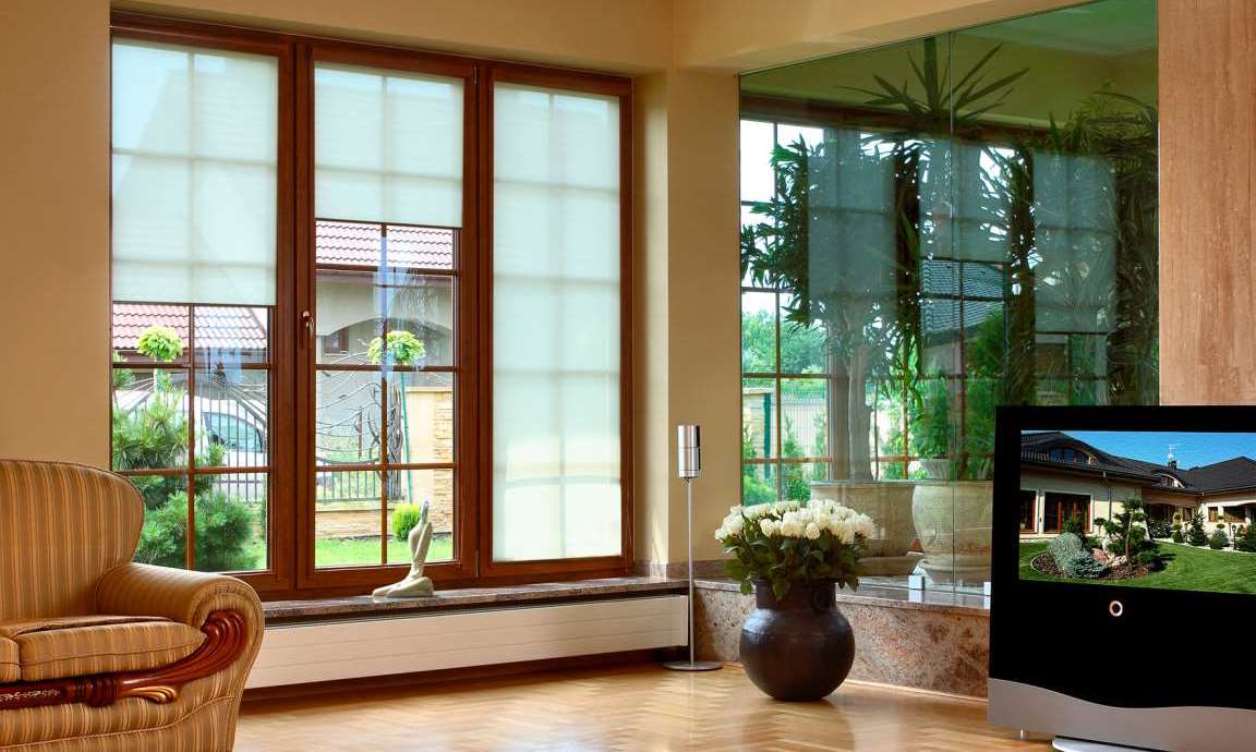
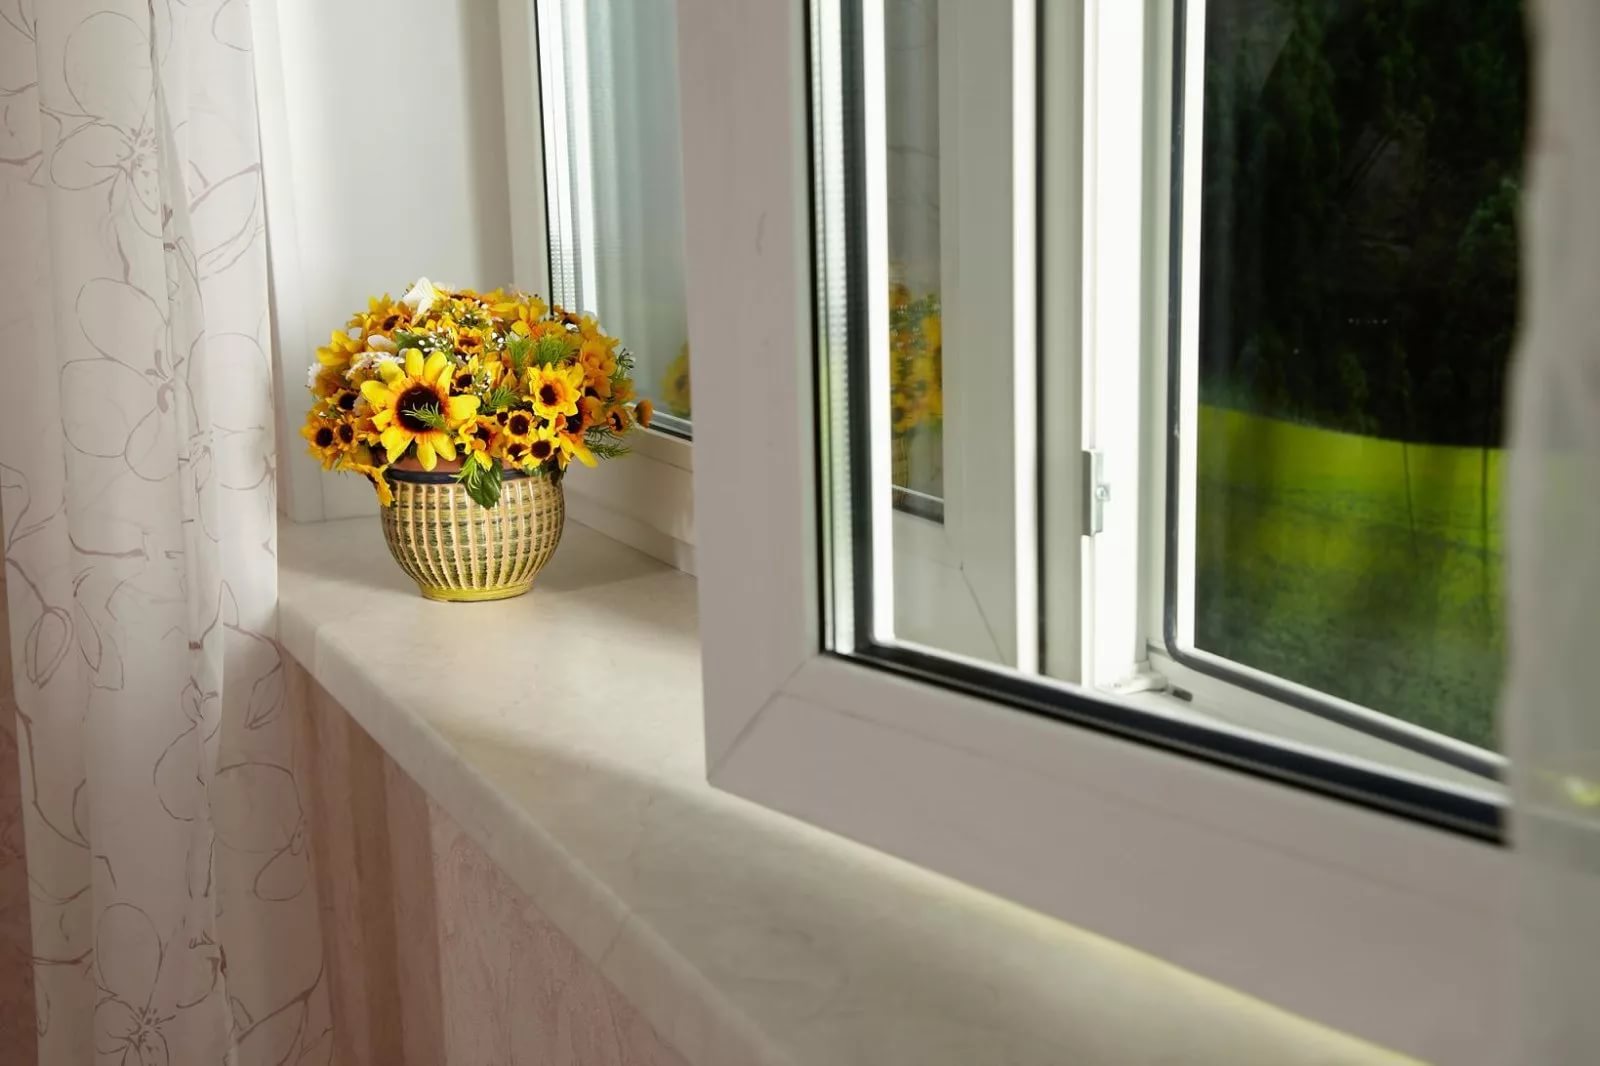
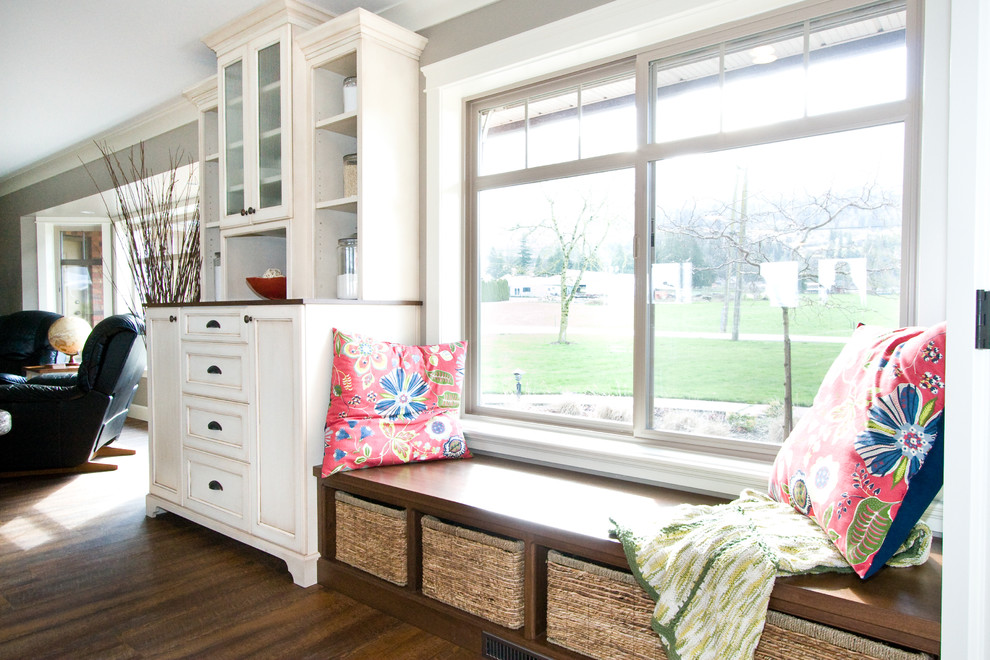
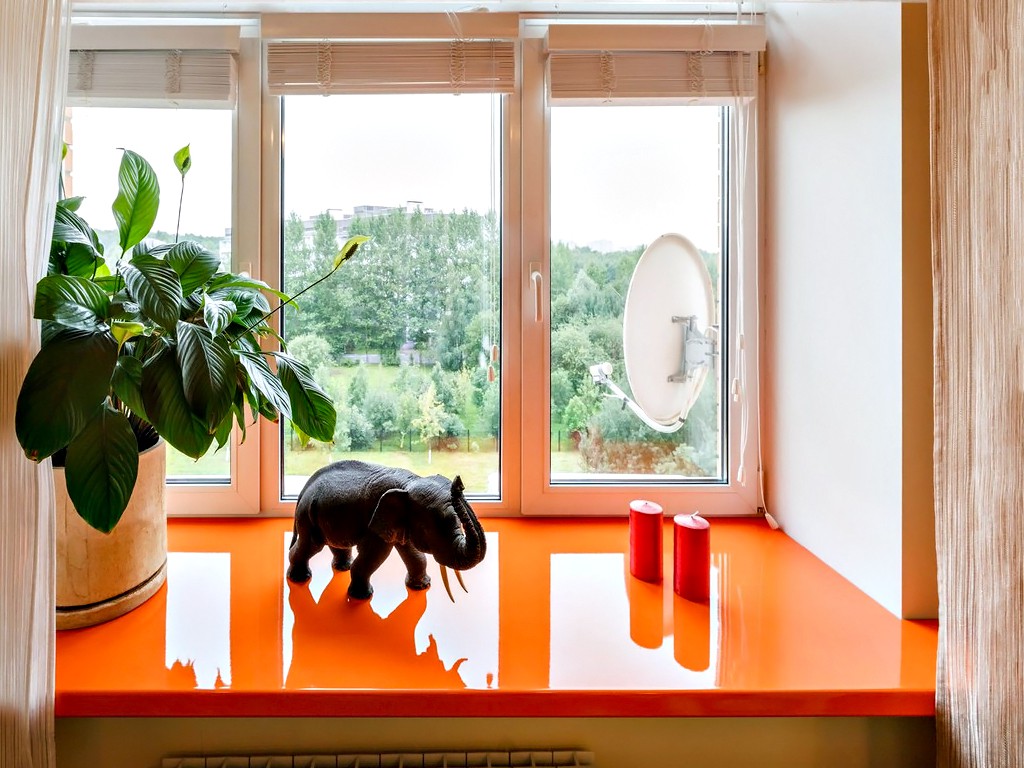
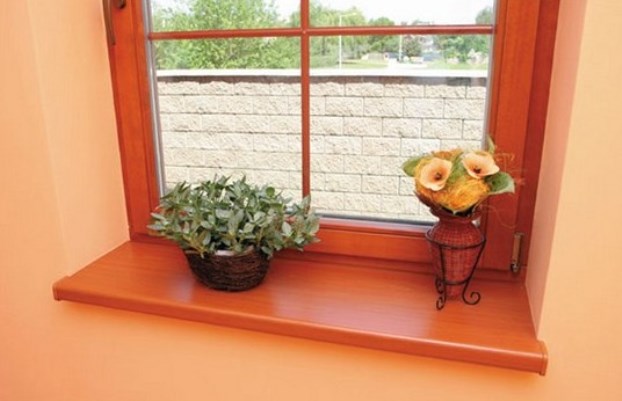
- Decorative. Window sills made of various natural and artificial materials can serve as a real decoration of the room. They connect walls, windows and batteries into a single ensemble, and the various decorations and fresh flowers installed on it delight the eye of all the guests. In addition, on the windowsill, you can organize a small workspace, a dining area, and even equip a small area for a pet.

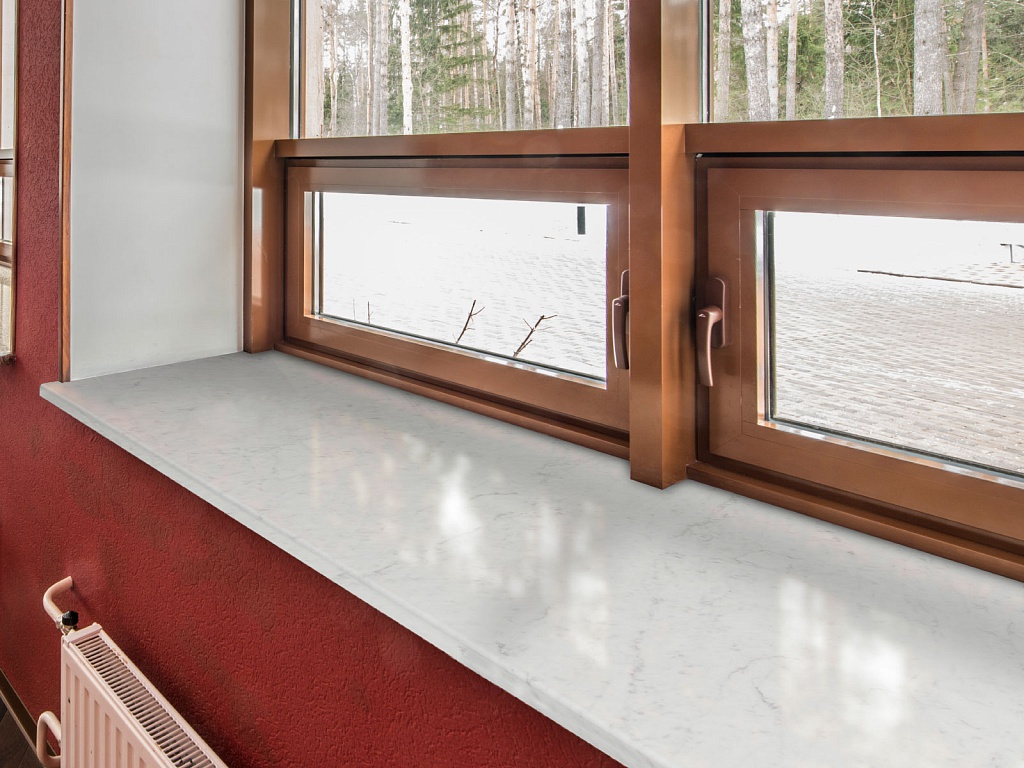
- Heat redistribution function inside the room. The part of the sub-window surface protruding beyond the wall serves as a kind of “springboard” for hot air rising from the battery. Based on it, the heat flow is directed inside the room, and does not rise strictly vertically to the surface of the ceiling.

The main thing is not to overdo it with the width of the window sill, otherwise the window glass will not get any heat at all, which can lead to the formation of condensate.It is enough to equip a projection of 5–6 centimeters.

Technical requirements
When choosing the size, material and design of the subwindow construction, it should be remembered that it must meet certain requirements. To date, a separate GOST for the installation of window sills does not exist. Nevertheless, the basic requirements for heat transfer, sound insulation and seam stability can be studied in standard 30971-2002.
If we summarize everything listed in it, it can be noted that this window element should have the following characteristics:
- strength. Since the window sill must easily withstand the load of a person sitting on it or household items;
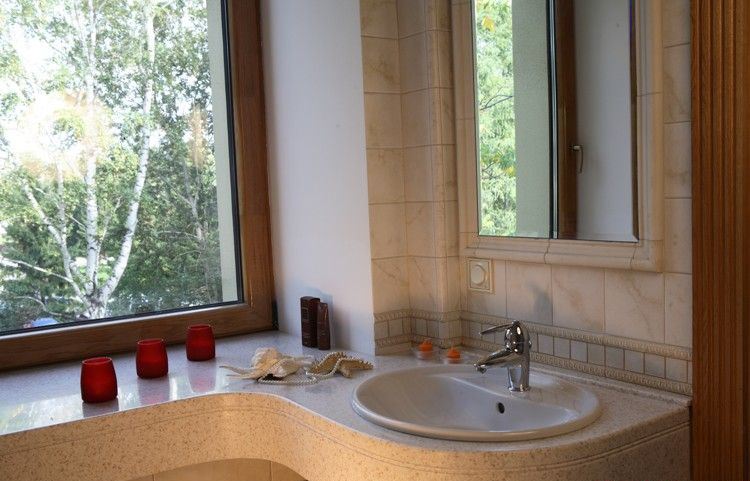
- moisture resistance. This characteristic is especially important for products installed in rooms with high humidity (baths, saunas and swimming pools);
- resistance to environmental influences. The surface of the material should not deteriorate from detergents or fade and shrink under direct sunlight.


Many window manufacturers offer in their services the manufacture and installation of a window sill, suitable to the entire window construction. And most often they have the necessary characteristics.The main questions begin to arise when the height of the subwindow surface above the floor level is selected. Since there are no standards for this, each owner relies on his own preferences. However, there are a number of recommendations to make this parameter optimal.
In determining the height of the window sill should be considered the growth of people living in the room and the placement of radiators.
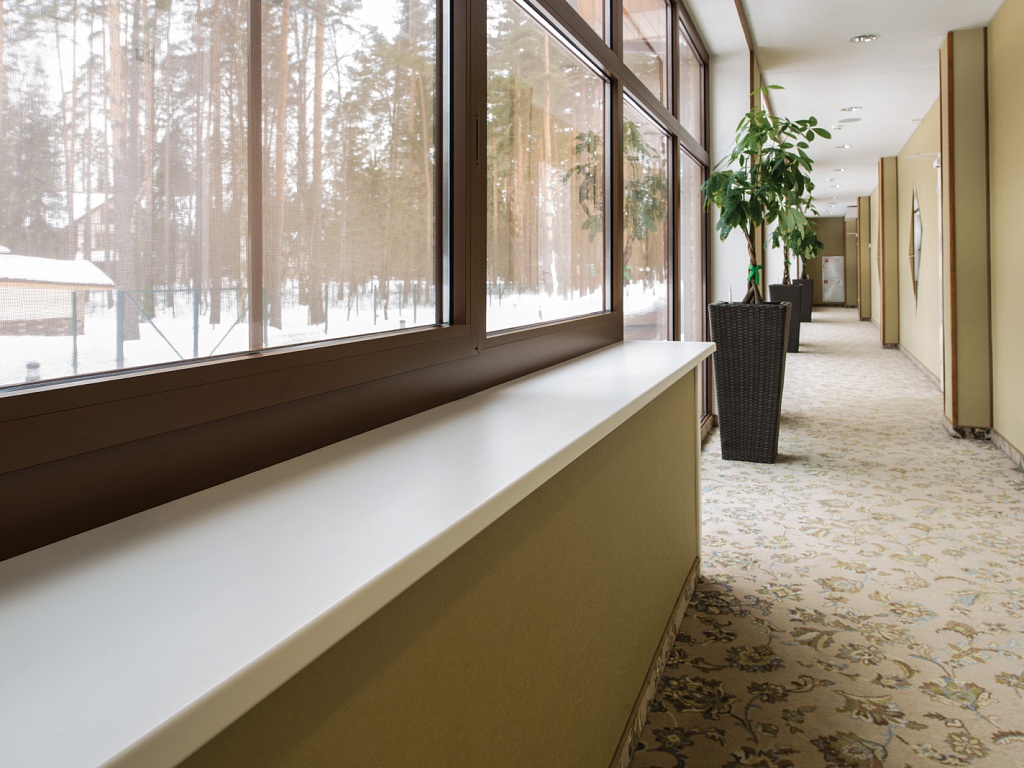
When buying a new building or repairing secondary housing, it is desirable to consider the future location of the furniture. The height of the structure located in the living room often depends on the view from the window. If there is a beautiful landscape or a picture of the city, it makes sense to understate the level to 25–40 cm. If an unaesthetic courtyard is wanted to be hidden, then the level can be raised to 80 cm.

The windows in the bedroom are usually not too large to keep warm, and are almost always curtained with curtains, so the appearance of the window sills does not play a special role. Usually it is raised to the level of 90 cm from the floor in the adult bedroom and 70 cm in the nursery, since children need as much natural sunlight as possible.


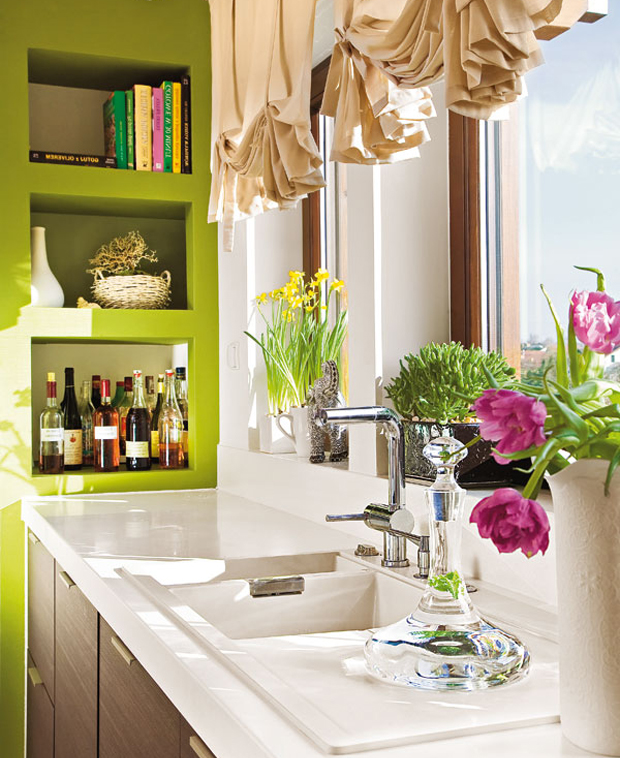
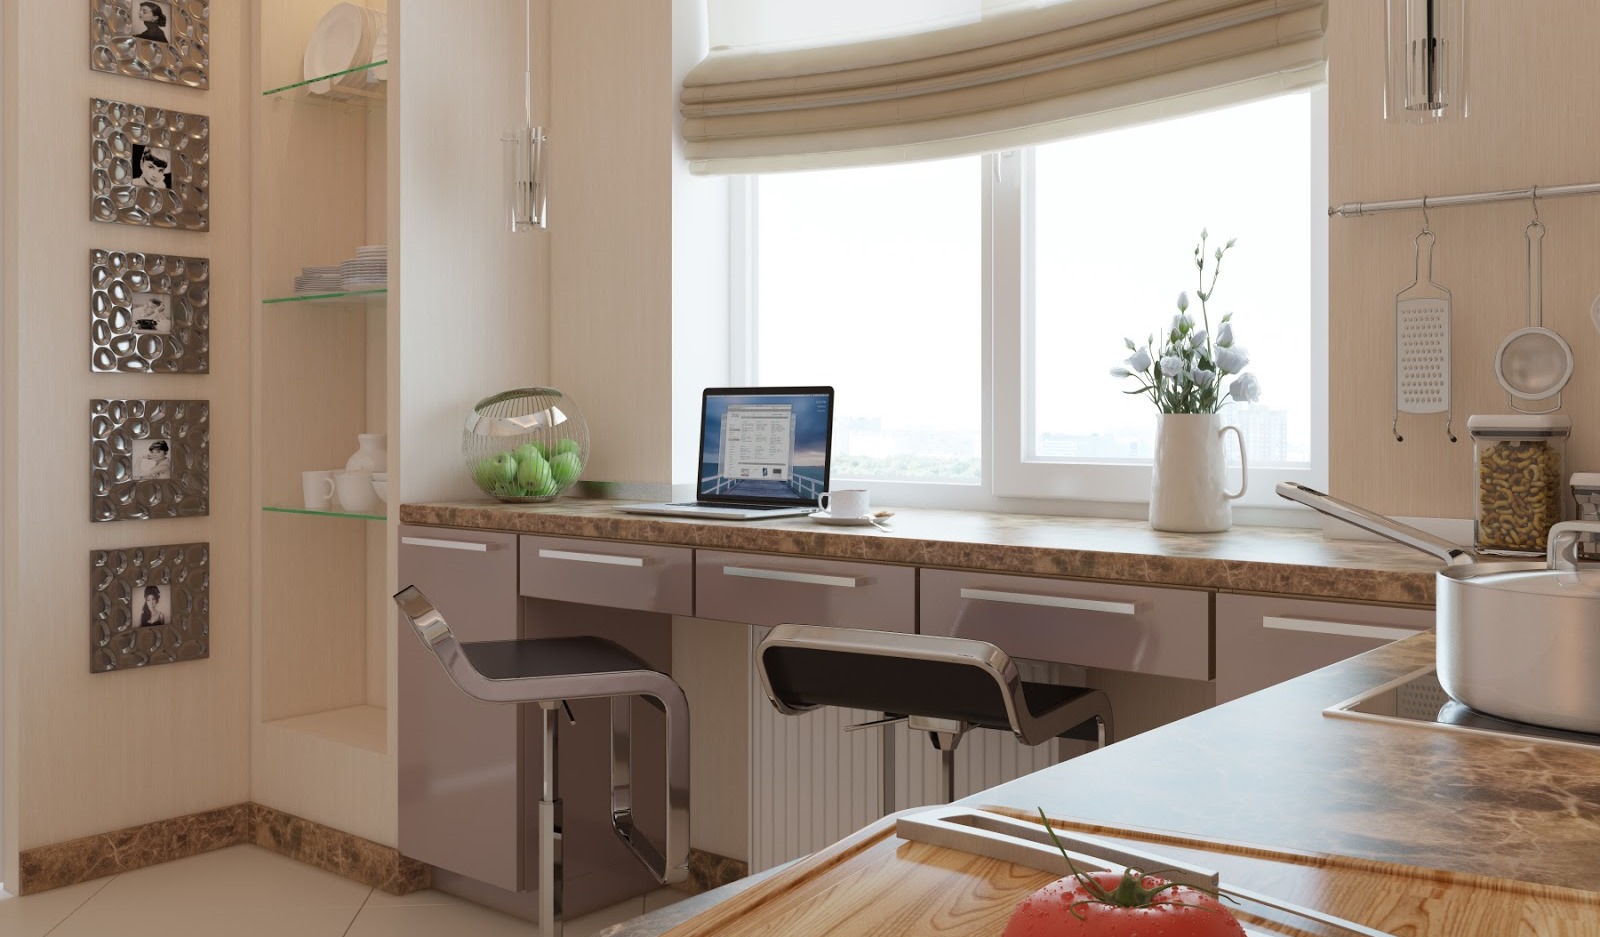
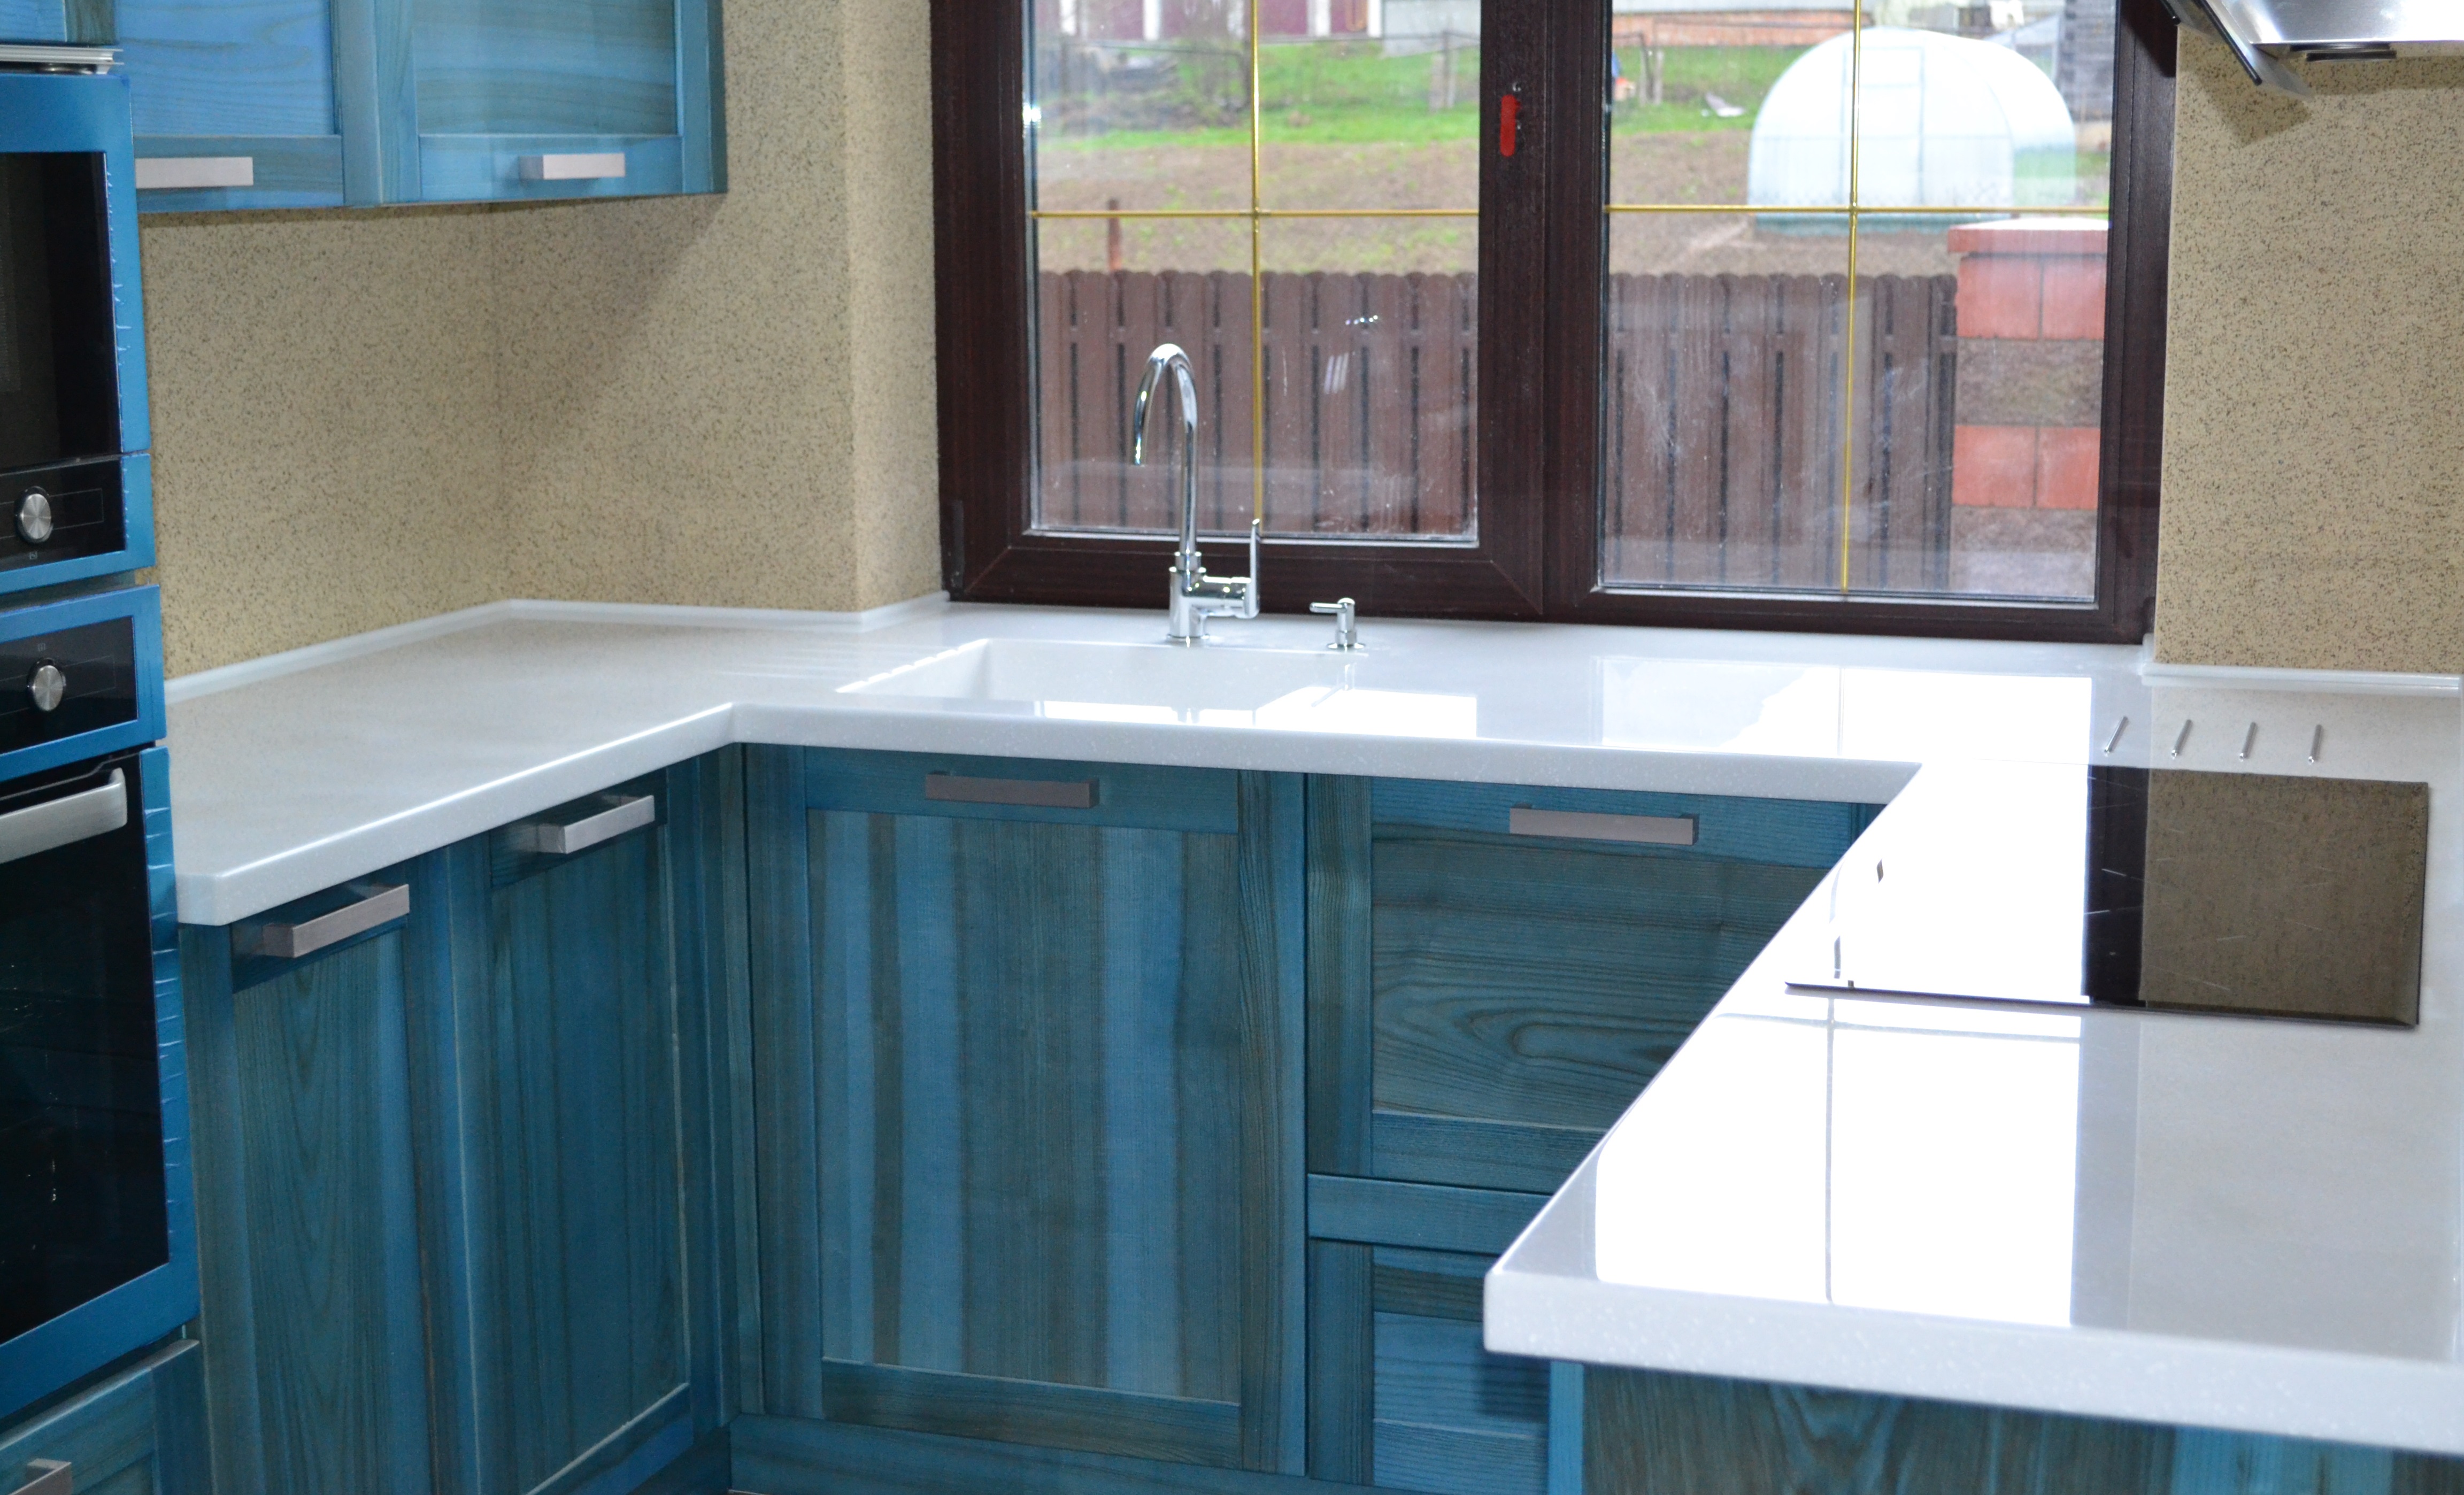
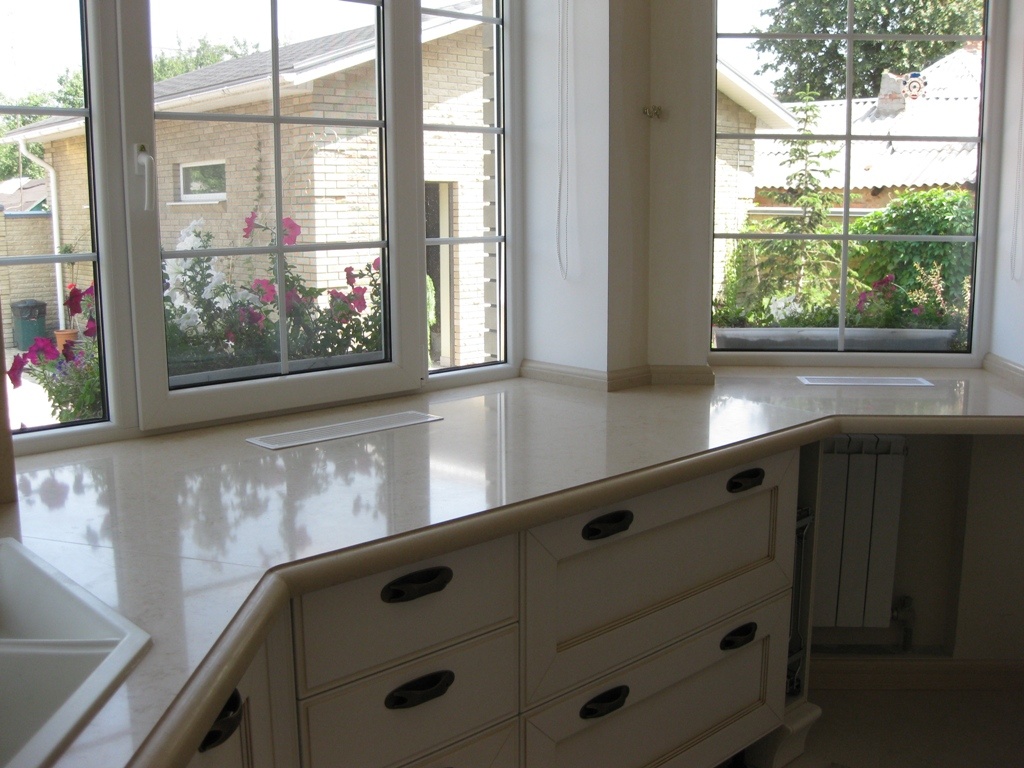
For the kitchen, a large role is played by the width of the window sill, which can be used for utilitarian purposes. Its height is best compared with the height of the working kitchen surface.
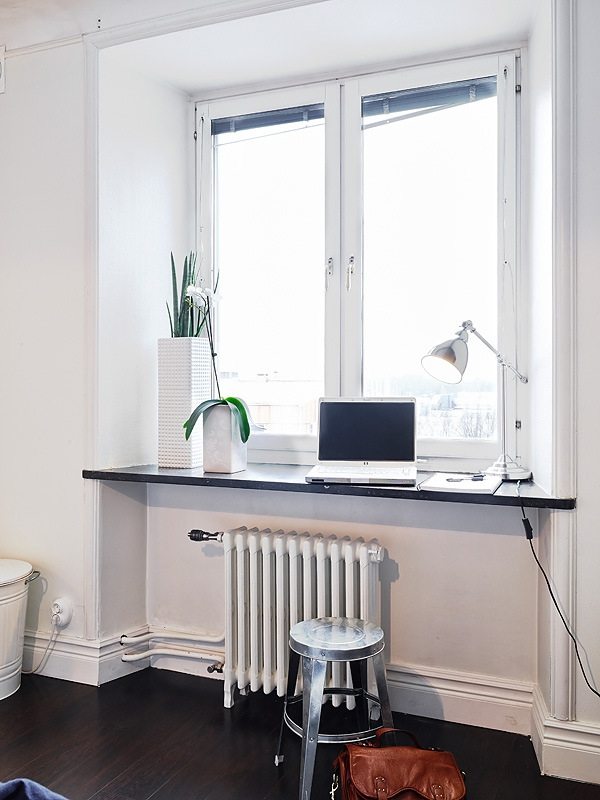
In the office in the first place stands the illumination of the room. The lower the product is installed, the longer the room will be lit by a natural source. On average, the height is 60–65 cm.

Kinds
The most advantageous option is to manufacture the window frame and window sill from the same material. Such an ensemble looks thoughtful and complete. But, despite the popularity of this option, the design under the window can be made of virtually any material. The main thing is that it should be of high quality, beautiful and accessible to the customer.
PVC
The most popular material in the modern construction market is polyvinyl chloride. The design with emptiness inside and rigid internal edges is one of the warmest and quite strong. With its low cost, PVC products can be of almost any color and with any pattern. They are not afraid of cold and moisture, and will last as much as the windows of this material, so you do not have to separately dismantle and change them
It is not worth saving, buying absolutely cheap plastic, as it will quickly burn out and deform under the influence of direct sunlight.
Acrylic-based plastic
Install such window sills in a house or apartment will be more expensive than PVC window sills, about 3-4 times. Nevertheless, such a price is fully justified due to the fact that acrylic is not at all afraid of high temperatures, unlike ordinary plastic. By installing such a product in the kitchen, you can safely put hot pots and pans on it, without fear of spoiling the beautiful glossy surface. Acrylic surface allows you to choose from a large number of colors and will last several times longer.
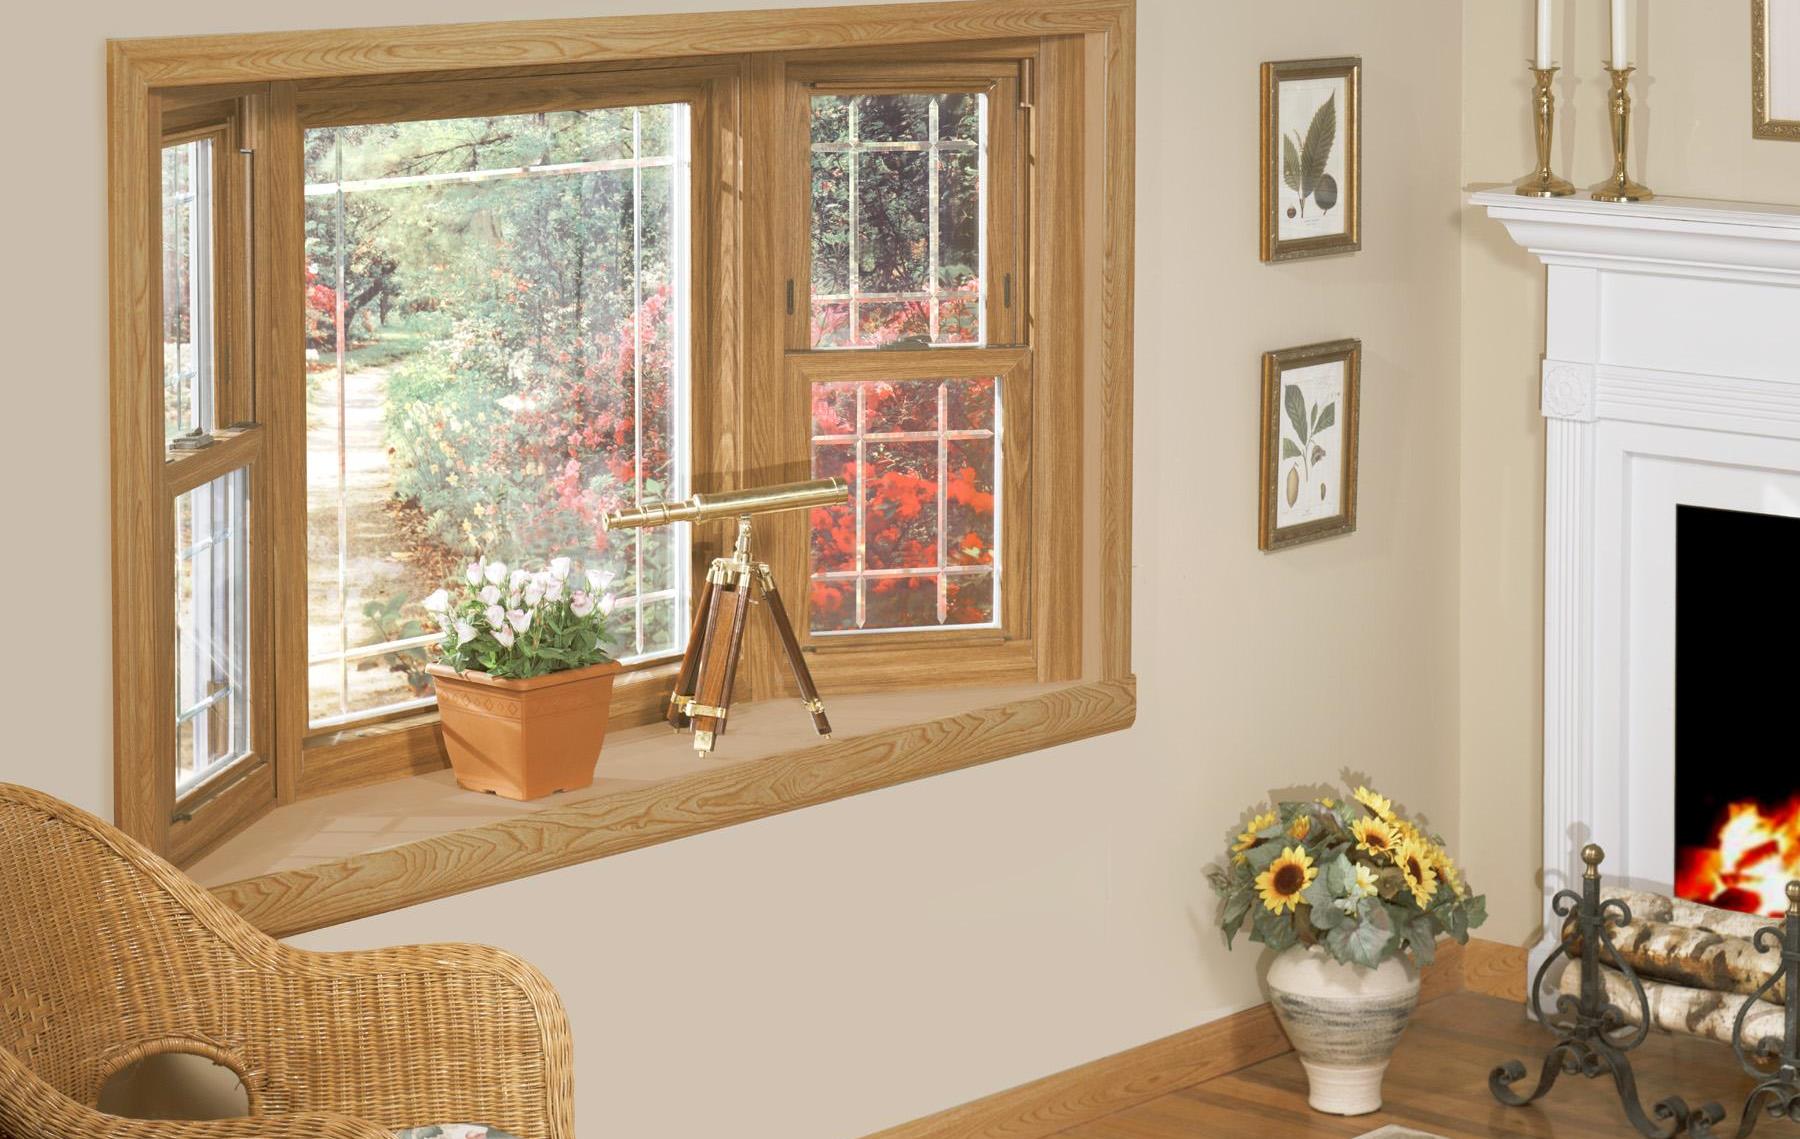
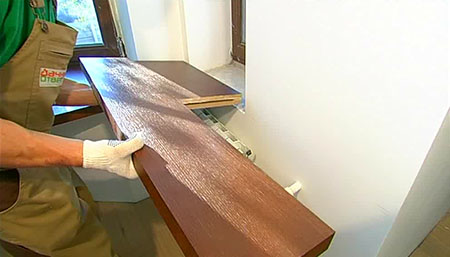
Tree
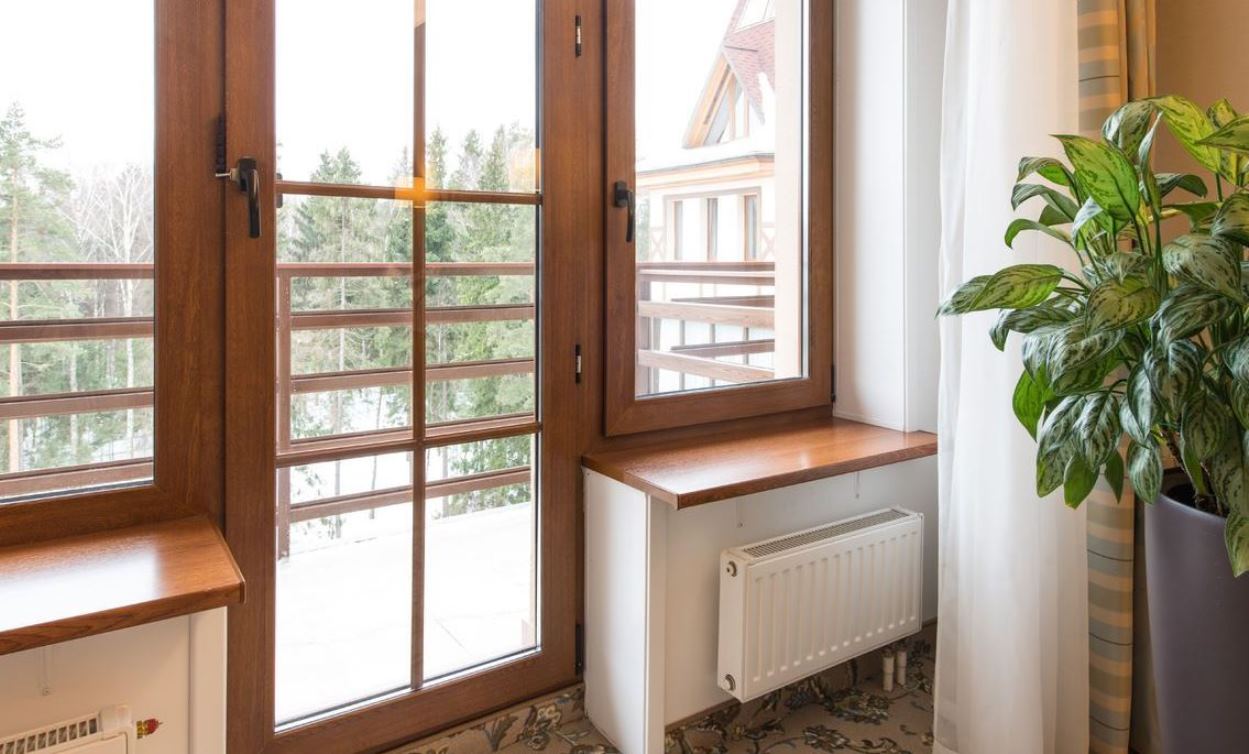
Installing a wooden window sill is most often done in conjunction with the installation of a wooden frame. The budget option may be a pine or linden. Tree species are impregnated with special protective equipment and coated with varnish. The high prices are distinguished by elite yew or golden oak species, mounted in luxurious suburban mansions. The combination of a plastic window with a wooden window sill will look especially good if the frame itself is laminated to the type of wood of which the window sill consists.
Chipboard and MDF
Such window sills will look great in combination with furniture from the same material.MDF, unlike DSP, is more expensive, but has a greater resistance to moisture. Experts recommend using this material to replace old wooden or plastic window sills, which does not hit the wallet a lot and is easily done with your own hands.

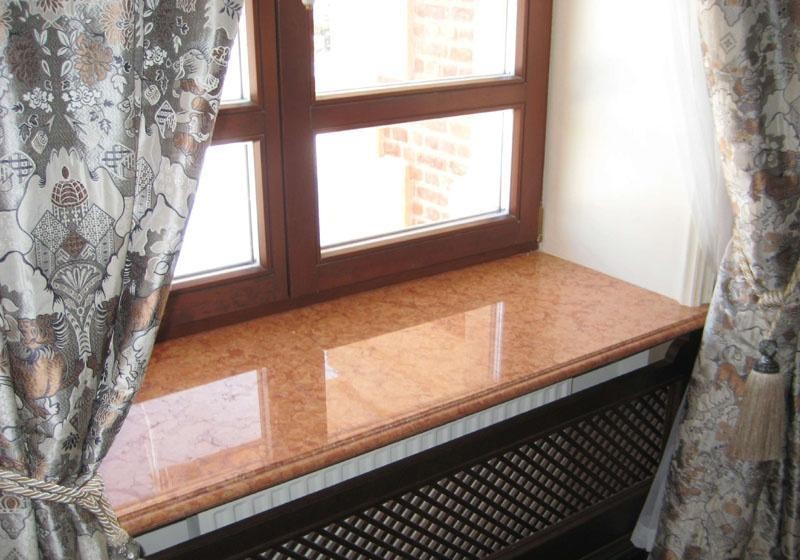
Natural and artificial stone
Of course, the stone window sill of real marble or granite in modern design looks amazing. In addition to its high cost and complexity of installation, this material is quite fragile and unpredictable. On a light stone, traces of dishes and scratches from cleaning products are easily left.
The whole plate can be broken by a light blow that accidentally hits a critical voltage point. An excellent alternative is a product made of artificial stone. It is not only cheaper, but also more resistant to mechanical and chemical influences. Such a window sill is more likely to be replaced because it wants something new, and not because it deteriorates, because the lifespan of, for example, porcelain stoneware starts at 50–70 years.
How to install?
All types of subwindow structures are mounted according to the general principle.Since plastic windows with plastic window sills are the most popular option, the algorithm of works is made up of their example.
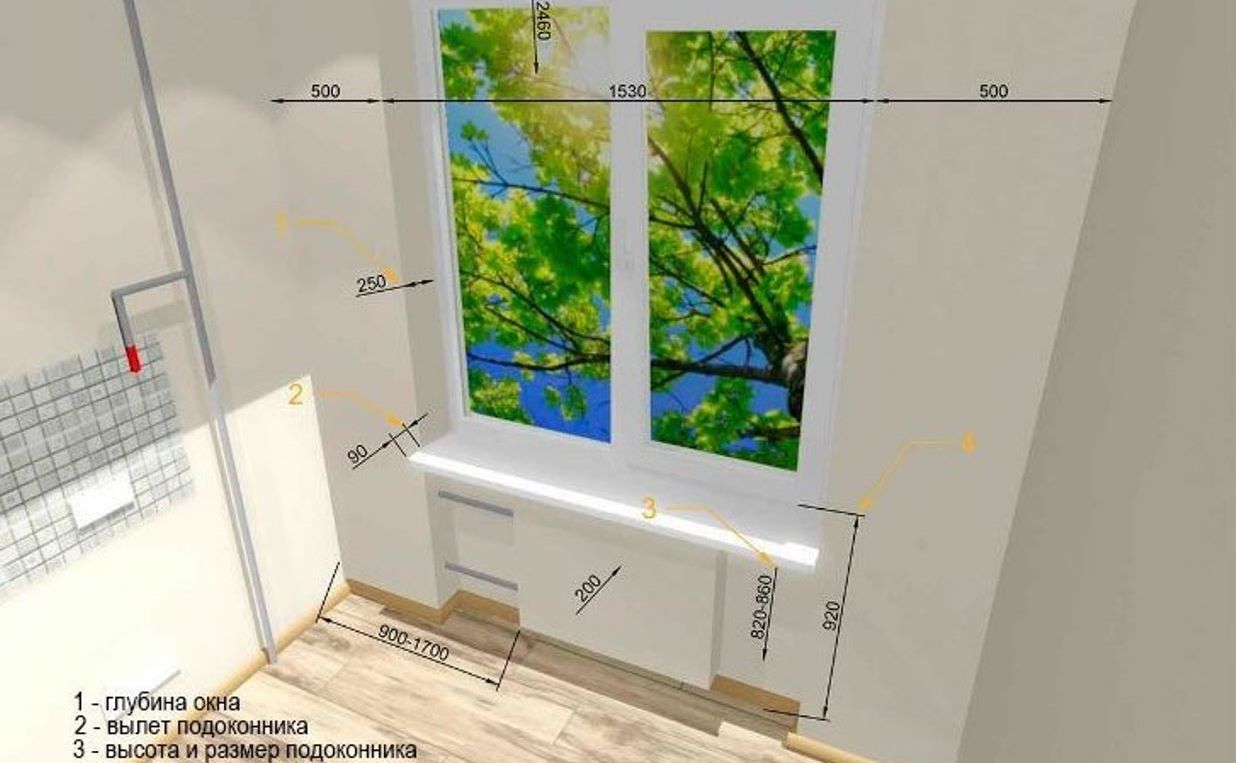
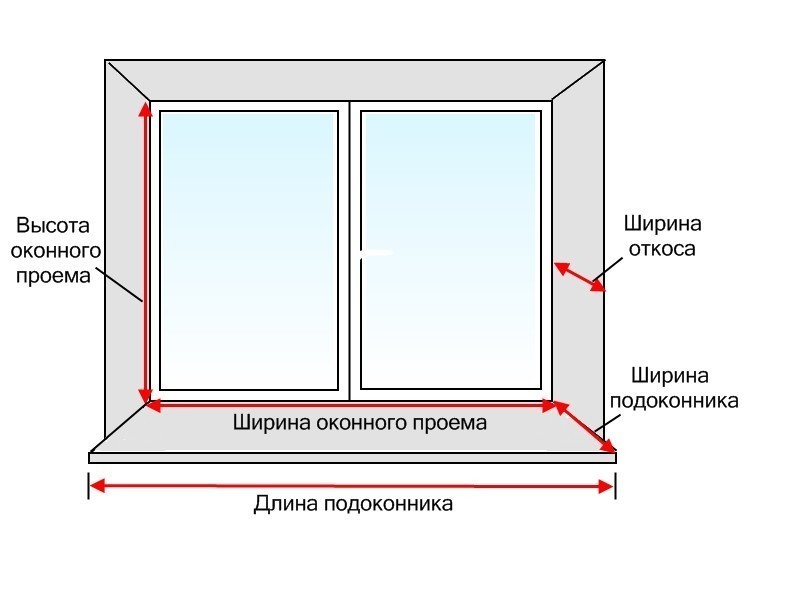
Measurement, purchase and disassembly
The first thing to do is to measure correctly all the necessary values. HTo determine the length of the sill board, you need to measure the width of the window opening in the place closest to the space of the room. This value is added 1-2 cm on both sides to hide the raw edges of the slopes. Then the width of the wall to the window is measured and several centimeters are added to the size to deepen the product into a special window groove.
The value obtained is the width to install flush with the wall. In the event that the window sill protrudes, it is necessary to add another 6–8 cm to the resulting value, and the length of the lugs will be added to the resulting length.
In accordance with the measurements, the material is bought and the window sill is made with its own hands or a finished version is ordered from the master.
The old window sill is dismantled before measurements, the surface is leveled and cleaned from debris and dust.

Installation
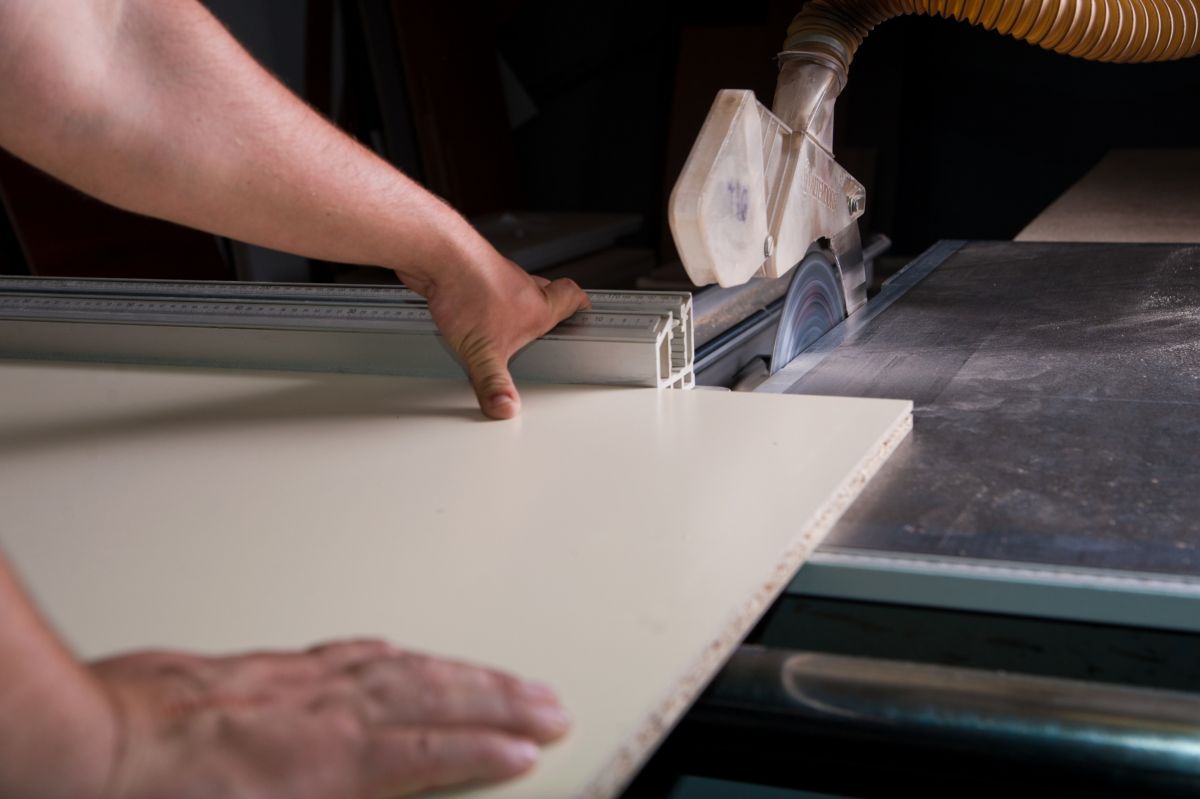
Before installation, you must try on the future sill and, if necessary, make the final fit. You can cut MDF, chipboard and wood with an ordinary electric jigsaw, and for plastic and stone, you will need a Bulgarian.
Using a perforator in the walls, small grooves are made, where the edges of the window sill will enter. After working with a perforator, fine dust may remain on the surface, so it must again be cleaned and dried.
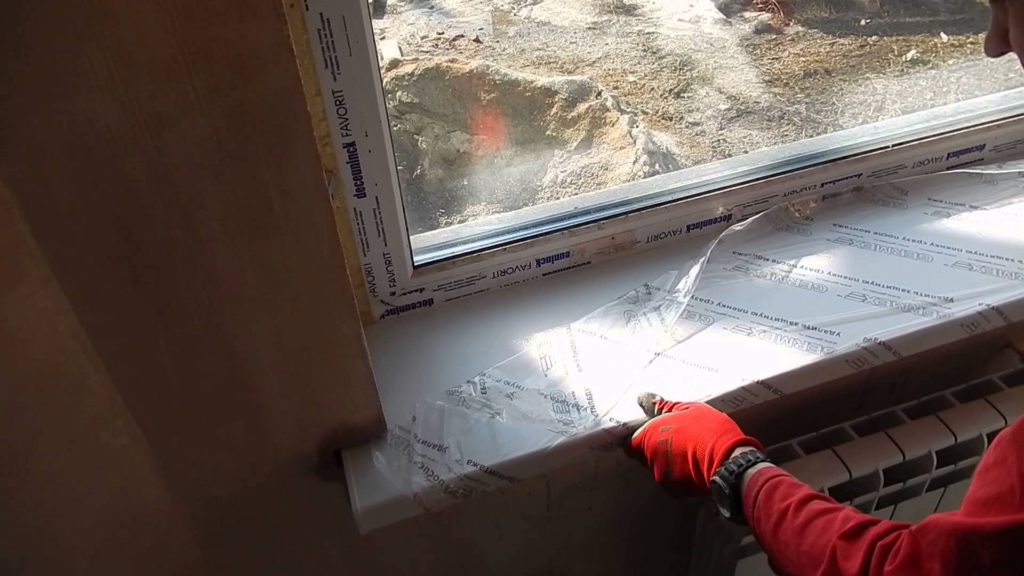
Polyethylene films are removed from the acquired window-sill at the points of contact with the slopes and the window, it is inserted into the groove of the window profile and the resulting grooves in the walls.
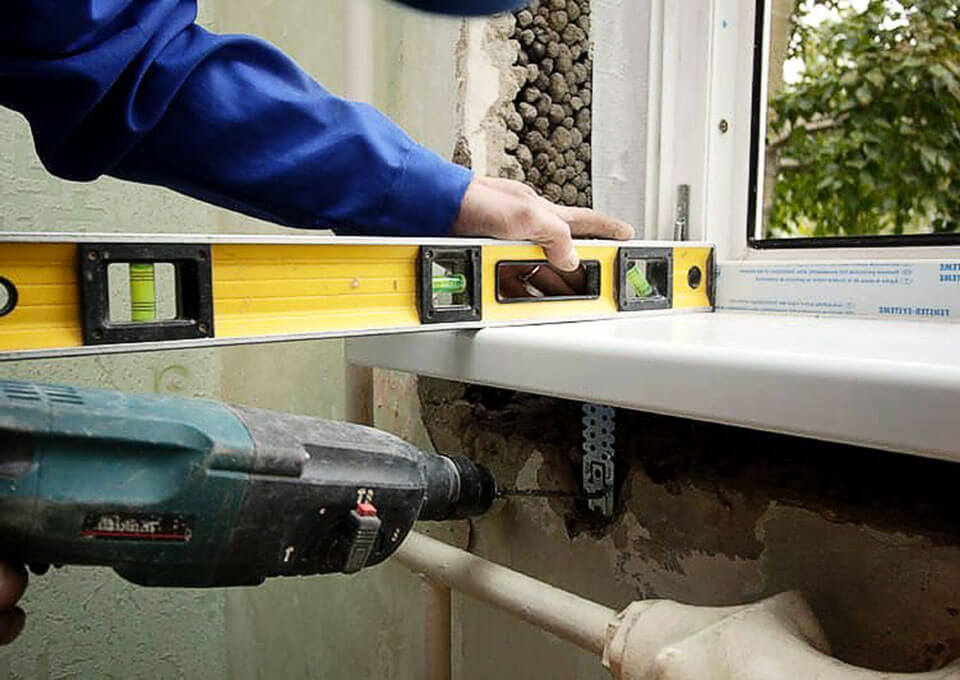
Wooden wedges are placed under the installed window board, starting from the edges and moving towards the middle. Such substrates should not protrude beyond the edge of the wall; the distance between adjacent wedges should not exceed 40 cm. The horizontality of the installed window sill is checked by level and, if necessary, corrected by additional lining of wooden wedges.
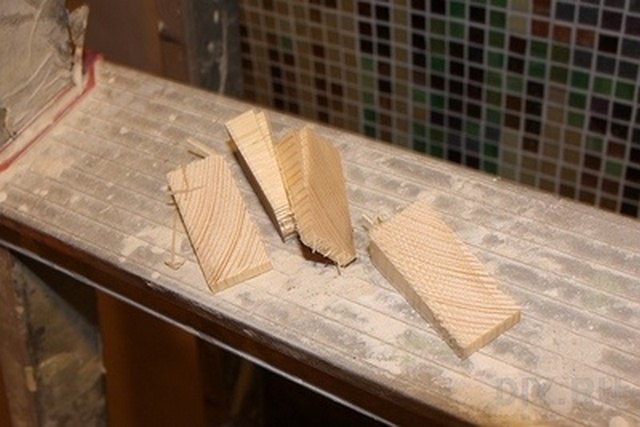
Ideally, the board should have a small (0.2 cm) slope towards the room. This will avoid the accumulation of moisture near the frame and the appearance of fungus and mold on the windowsill.
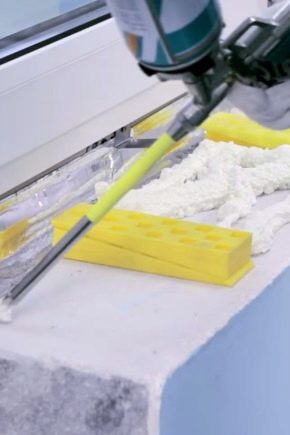
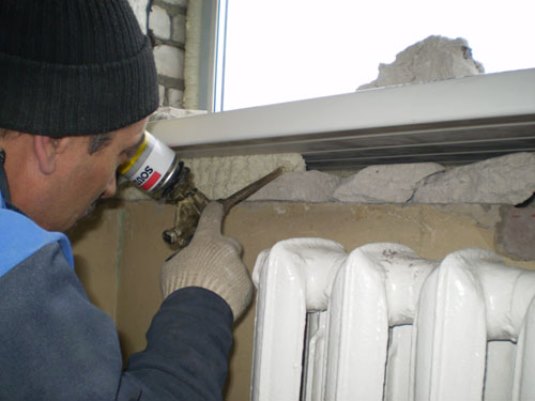
A large (about 20 kg) load is placed on the leveled product, so that by accidental contact it does not disturb the angle of inclination, and the space between the wedges is filled with professional mounting foam from a special pistol. Additionally, the board can be fixed to the window profile using conventional screws.
Foam, trapped on the wall or the front surface of the sill, you must immediately remove with a damp cloth, as the frozen foam can only be removed with a special solvent, which also can damage the surface of the product. After a day, waiting for the foam to dry completely, you can take off the load and trim its excess. At the ends of the sill are installed decorative protective plates, the protective film is completely removed.

The walls and slopes are returned to a neat appearance with plaster, after which they are decorated with any decorative coating.
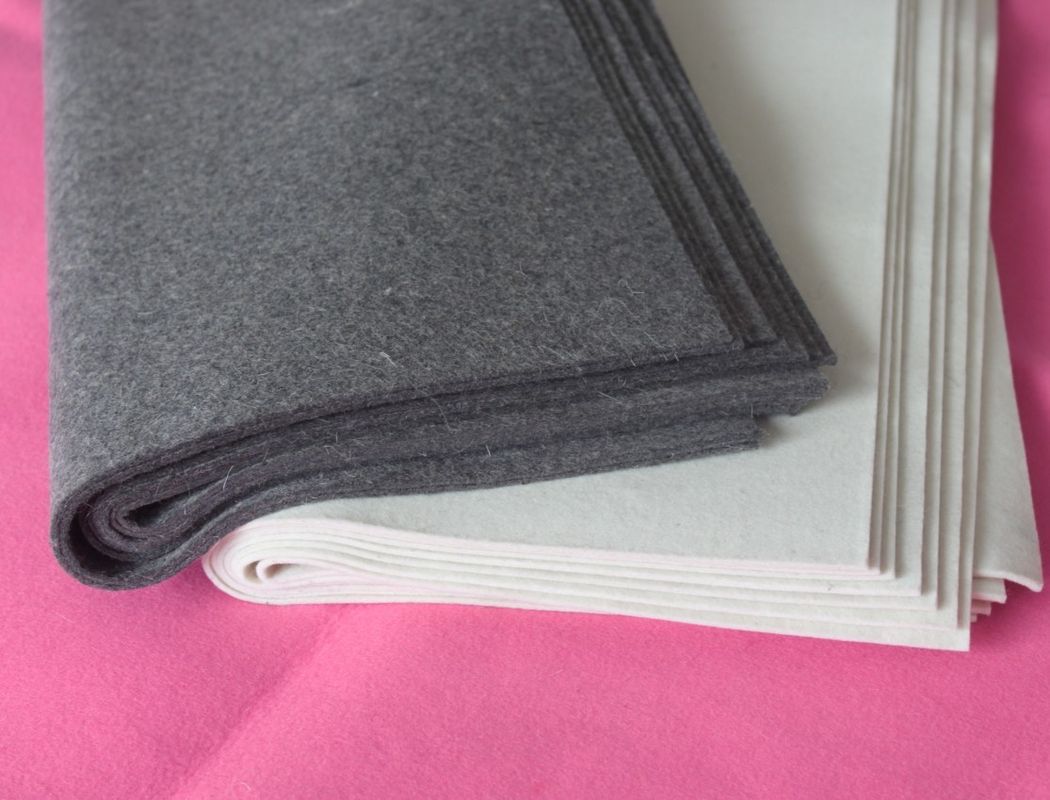
To install a wooden window sill, you must additionally purchase thick felt and treat it with an antiseptic. It is attached with the help of Drani to the inside of the sill board. The same felt before installation protects the ends of the window sills of natural and artificial stone.These are all differences in the algorithm of work with window sills from different materials.

You will learn more about the nuances of mounting window sills by watching the following video.
Tips and tricks
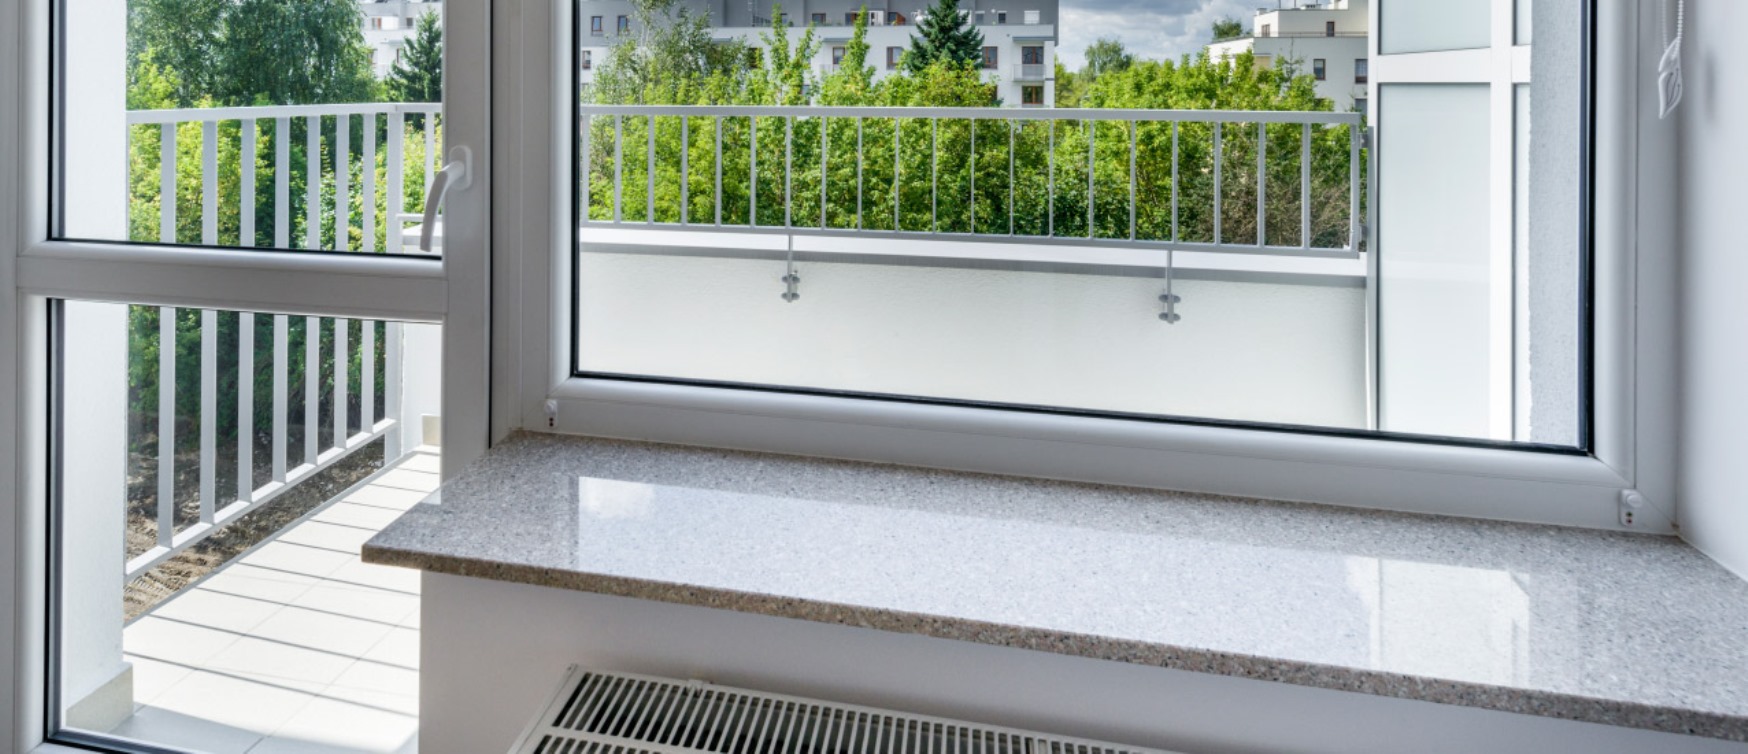
Installation of a window sill is possible not only indoors, but also on the glazed balcony or loggia. Since the thickness of the balcony wall is minimal, such a window sill is mounted on special metal brackets attached with anchors to the parapet. This allows you to turn the window sill from a decorative element into a piece of furniture. On it you can arrange seedlings in the spring and summer, and in the winter to set various trinkets, lovely heart. Often, to save space in small city apartments, the window sill is used instead of the desktop in the nursery. During the day, this allows for maximum use of natural light, and in the evening you can light a small lamp located on the same sill board.


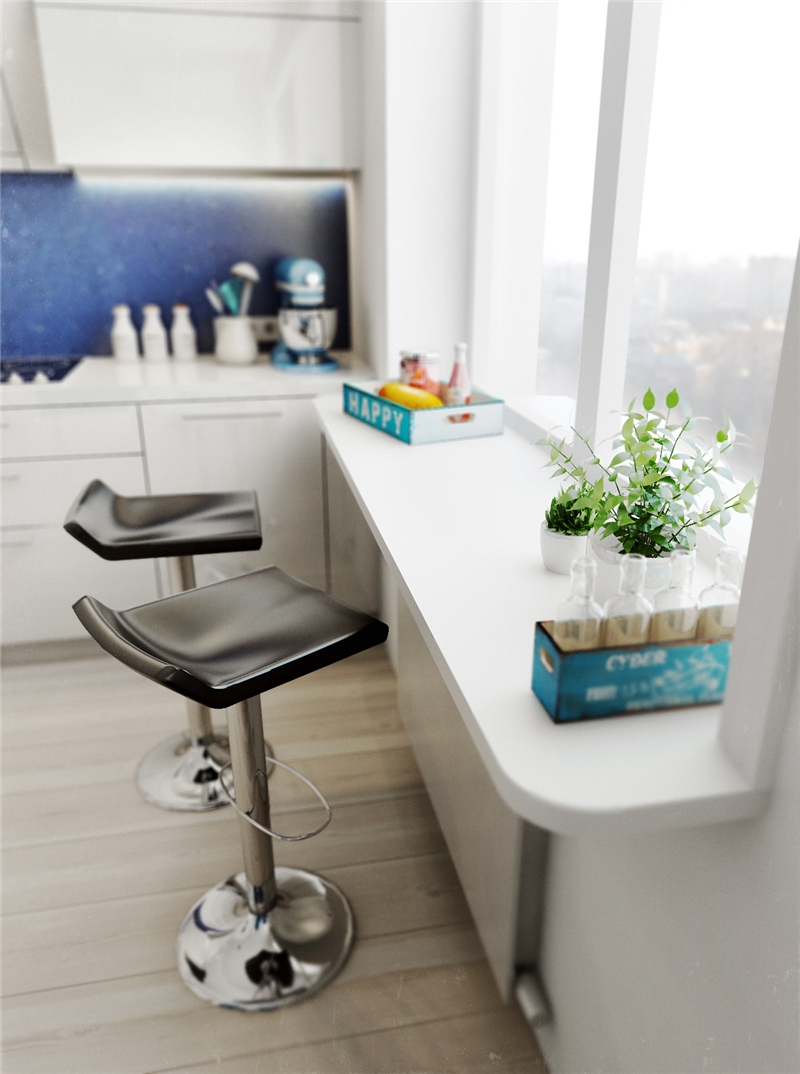
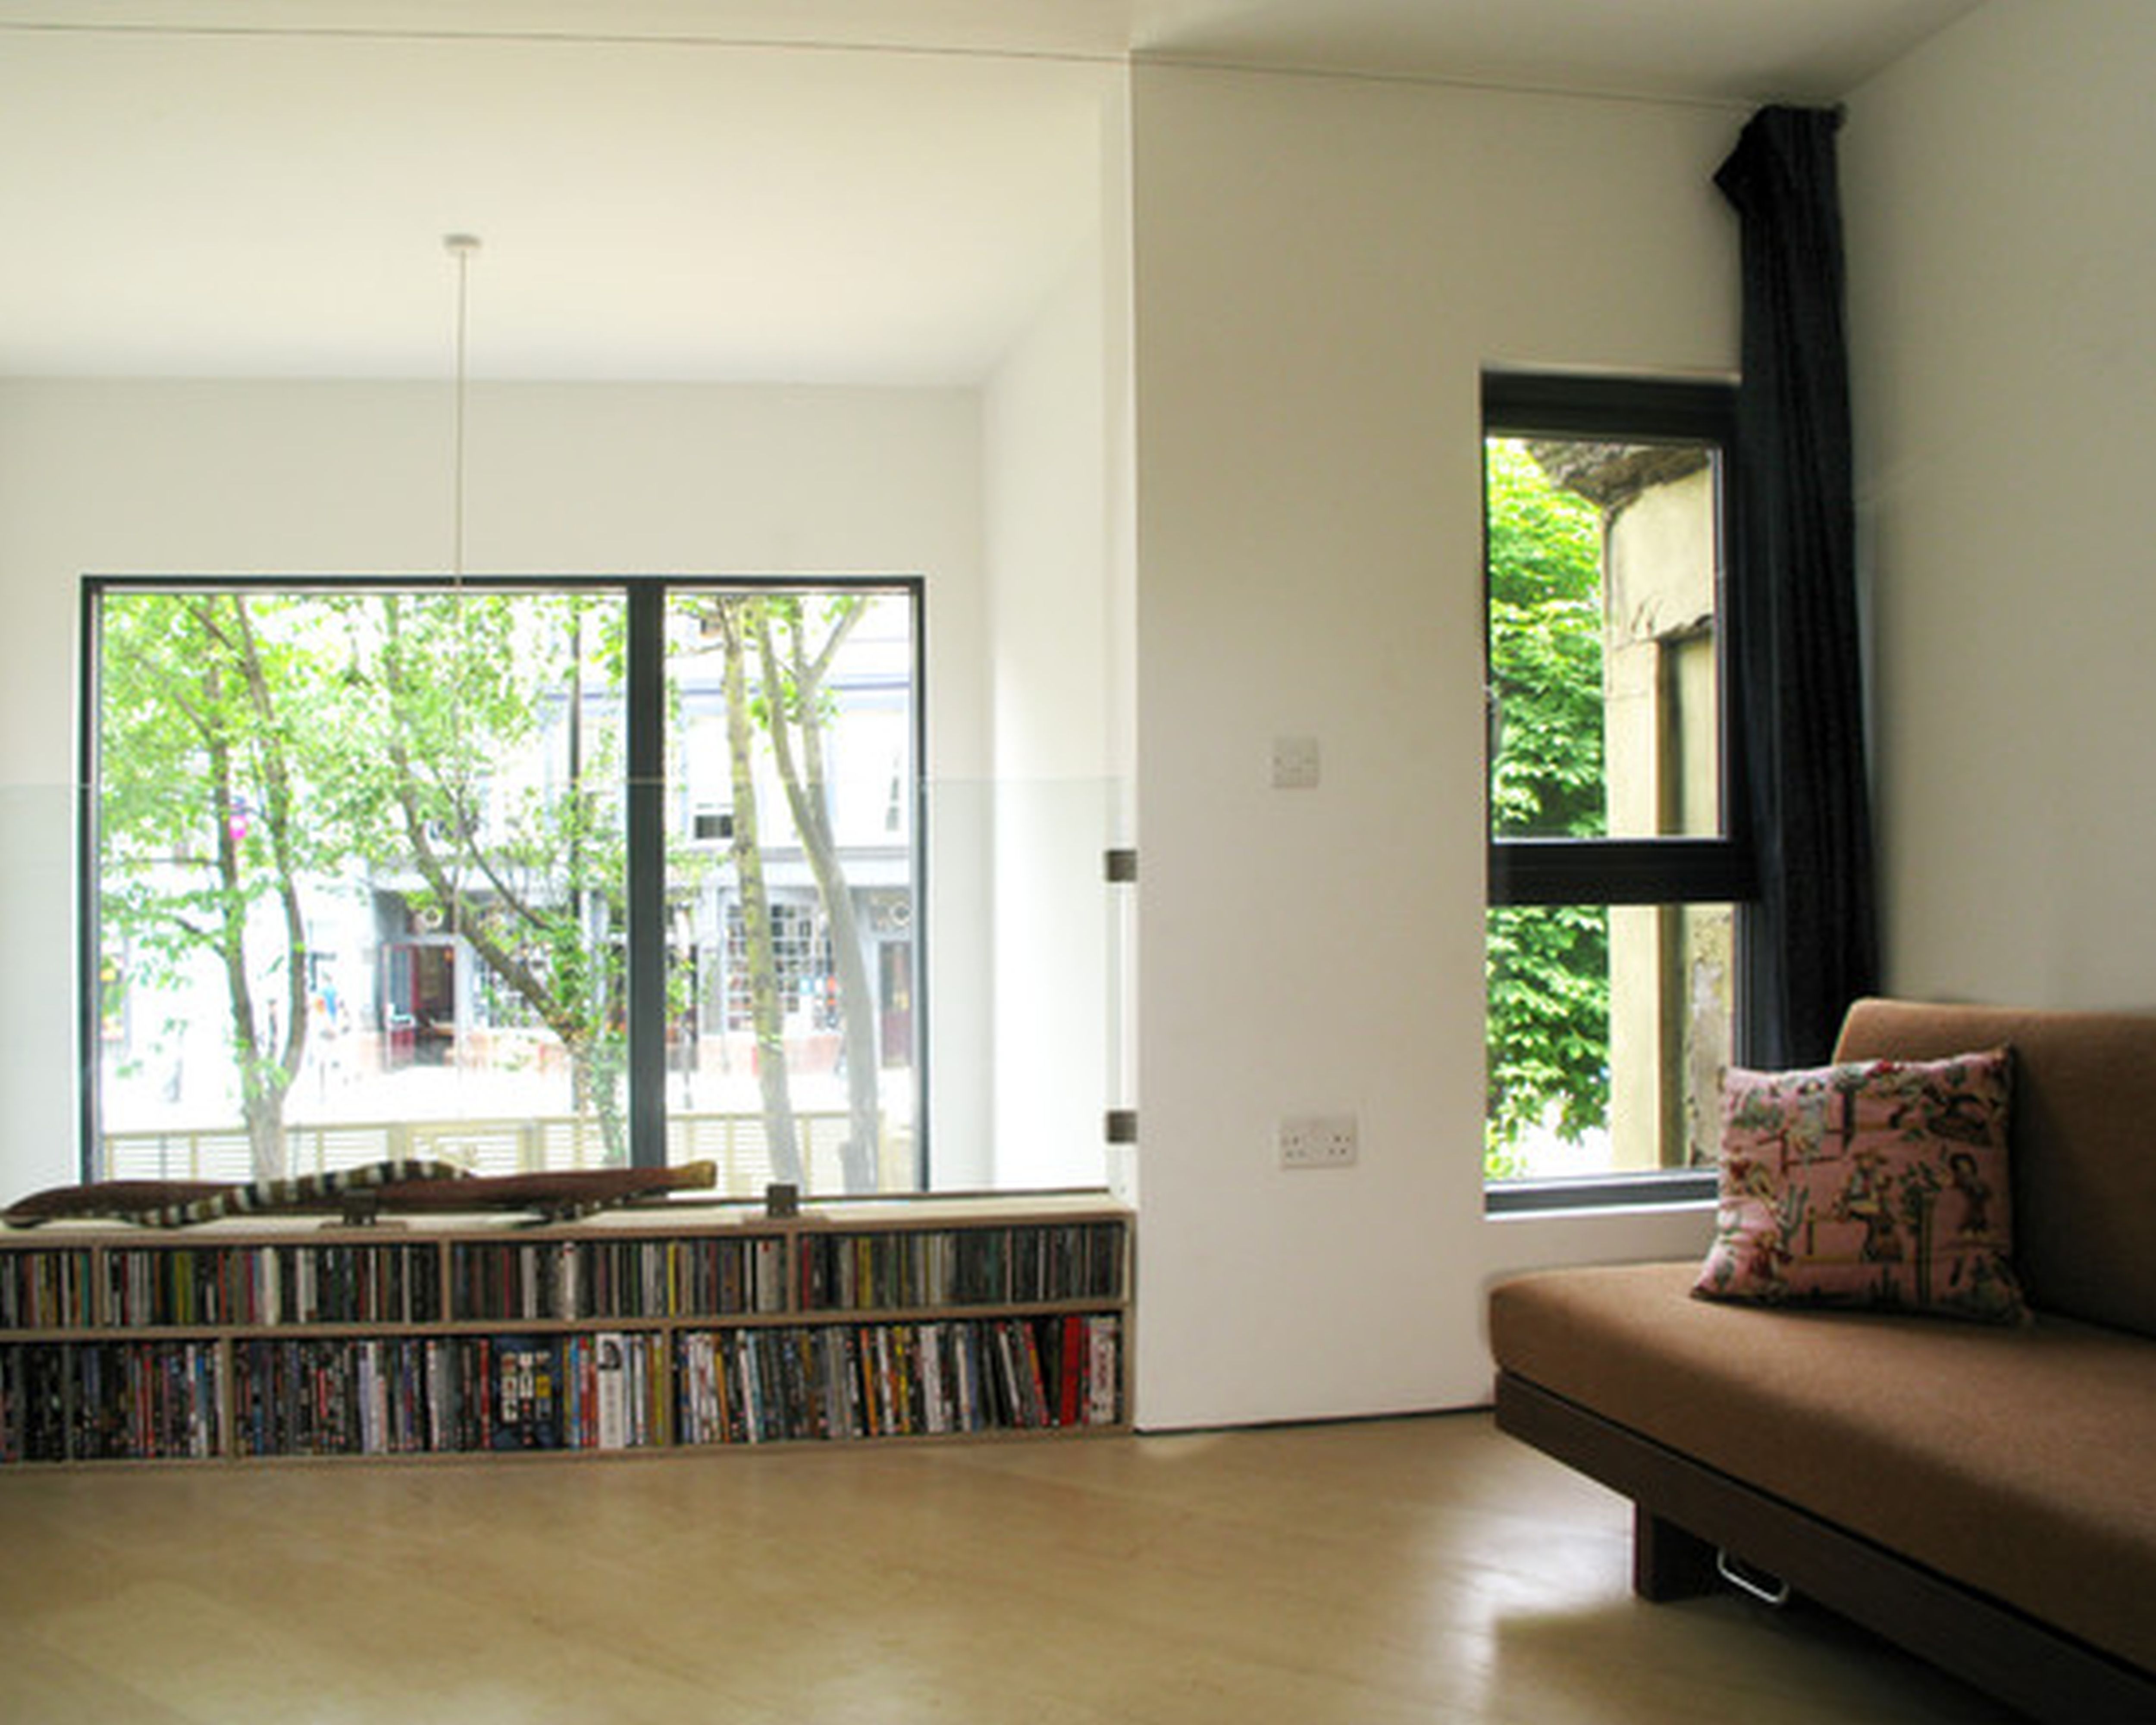
An interesting option is the kitchen window sill, which is a continuation of the tabletop. Thus, it is possible not only to increase the usable area, but also to equip a place that resembles a small bar counter, even in the smallest kitchenette.Window sills can serve as a substitute for bookshelves, cozy armchairs or a winter greenhouse. It is enough just to lay a fluffy rug on it with bright pillows or put your favorite flowers in pots. Owners of large country houses can lower the windowsill to the floor itself, thereby turning the walls of their home into wide bright windows. This option is especially successful when you can see a beautiful garden, a section of forest or a descent to a pond outside the house.

Making the window sill functional or turning it into an interesting design solution is quite simple. The main thing is to choose suitable sizes and materials, to correctly install it, following a certain algorithm, with your own efforts. And a huge number of ready-made options and services on the construction market will allow you to buy a ready-made option in the event that carrying out installation with your own hands seems to be quite a difficult task.