How to perform waterproofing shower?

Planning to make repairs in the bathroom, do not forget about waterproofing this room. If a person does not know how to produce it independently, he can simply turn to specialists. But it’s not so difficult to get acquainted in detail with the basic rules of this procedure and organize it yourself.
What is needed?
Shower waterproofing is a very complex process consisting of several stages. In the shower room a high level of humidity, moreover, on an ongoing basis. As you know, moisture is a source for mold and fungi. It can spread to other rooms in the house or apartment.
In order for the room to comply with sanitary standards, it is necessary to isolate the shower room so that the increased humidity does not spread to other rooms. It is very important to make a waterproofing in the shower, where there is no pan. After all, the water that falls on the floor can easily get into other rooms, as well as to the neighbors. This can provoke a conflict. Therefore, waterproofing works should be given special attention.

Device
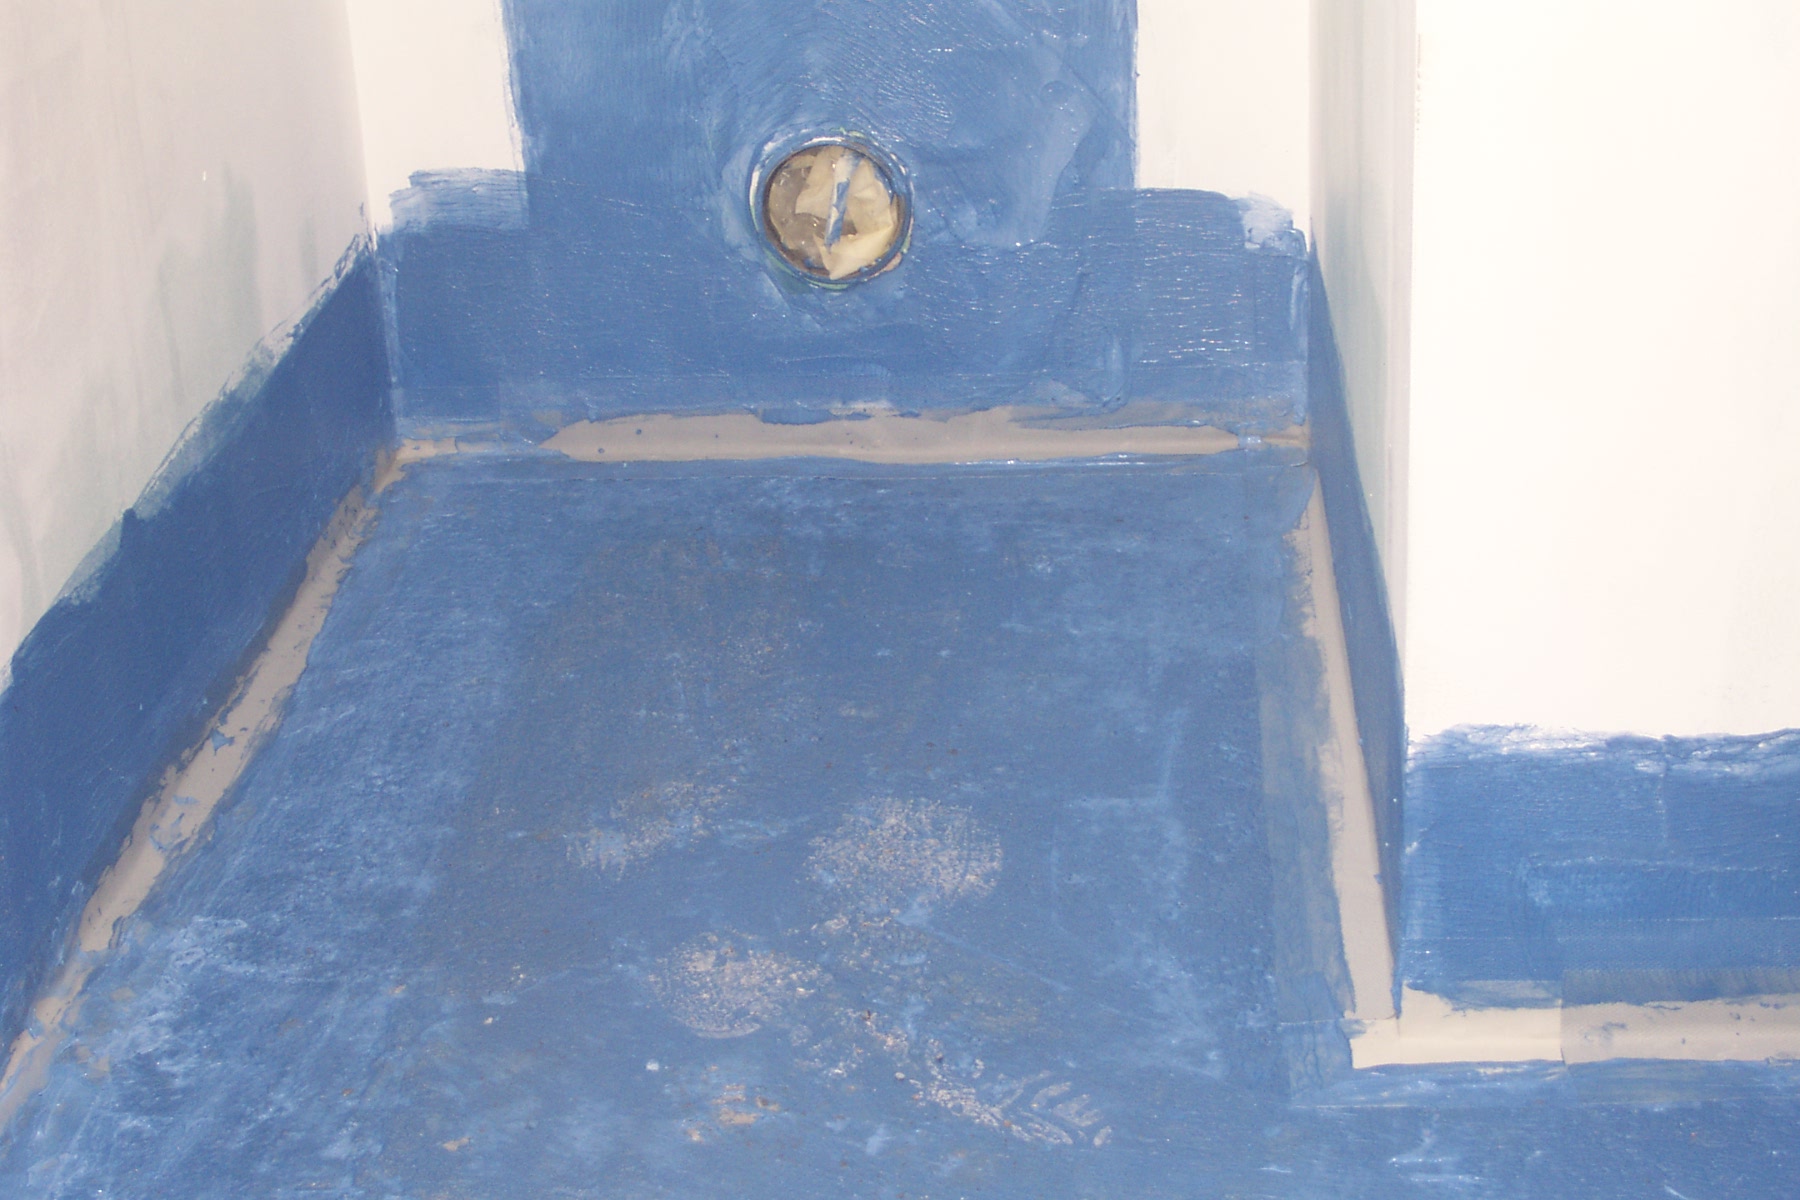
In the shower room there are many areas that are exposed to moisture. They should be given as much attention as possible when waterproofing the room. This is primarily:
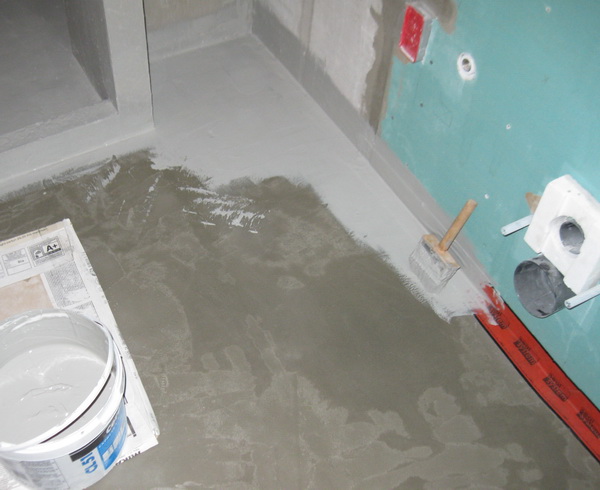
- the floor where the water flows, especially if it then seeps into the concrete slab of the cabin itself;
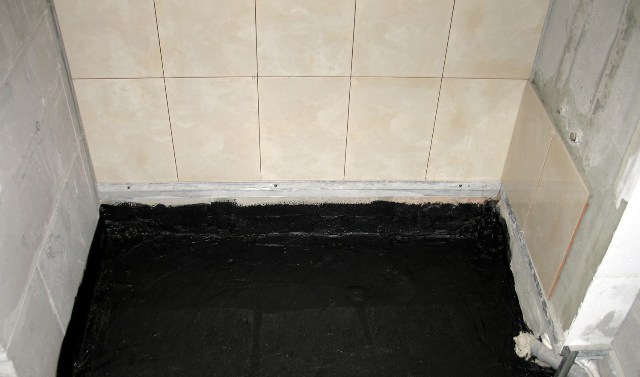
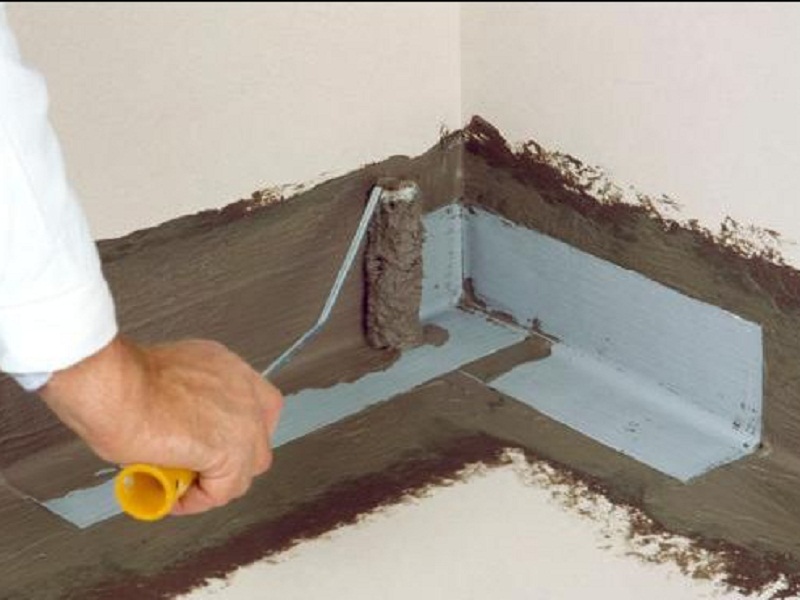
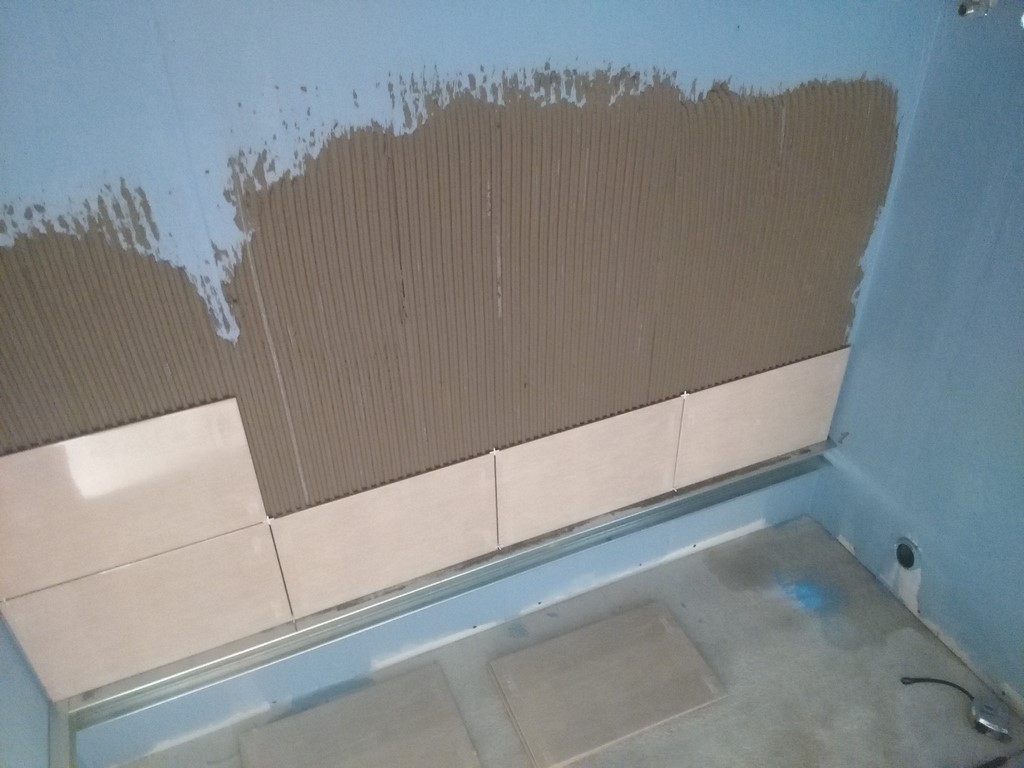
- the lower parts of the walls, because they get the most liquid;
- the whole area around the sink, as well as the risers and pipes;
- joints between floor and walls.
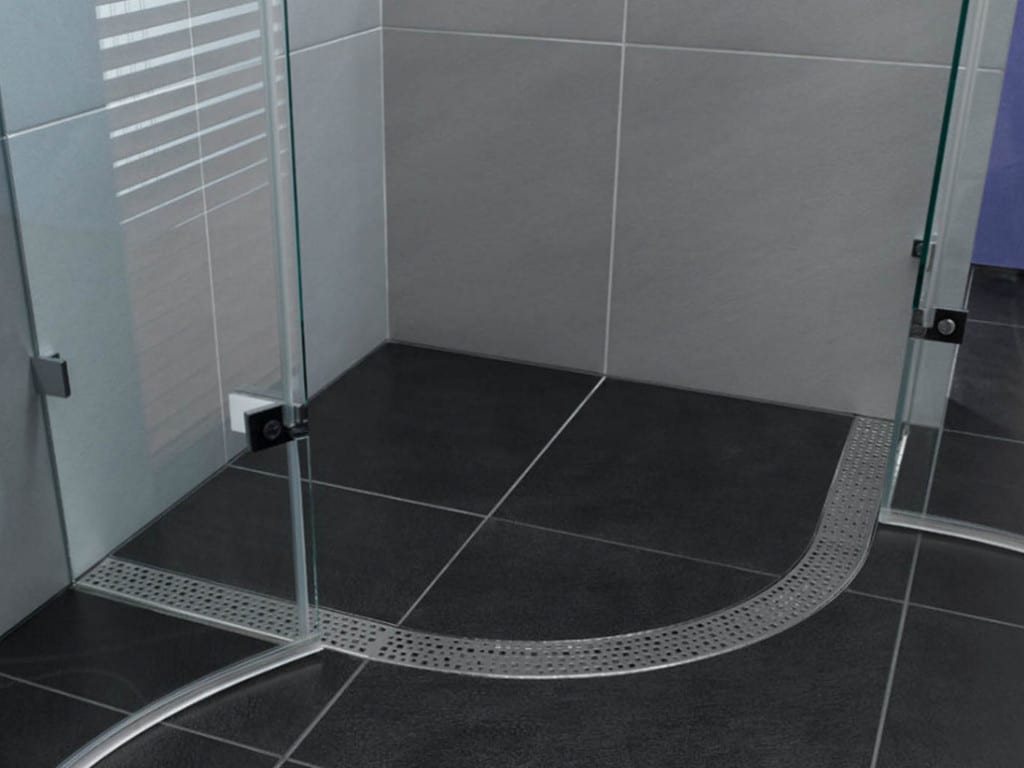
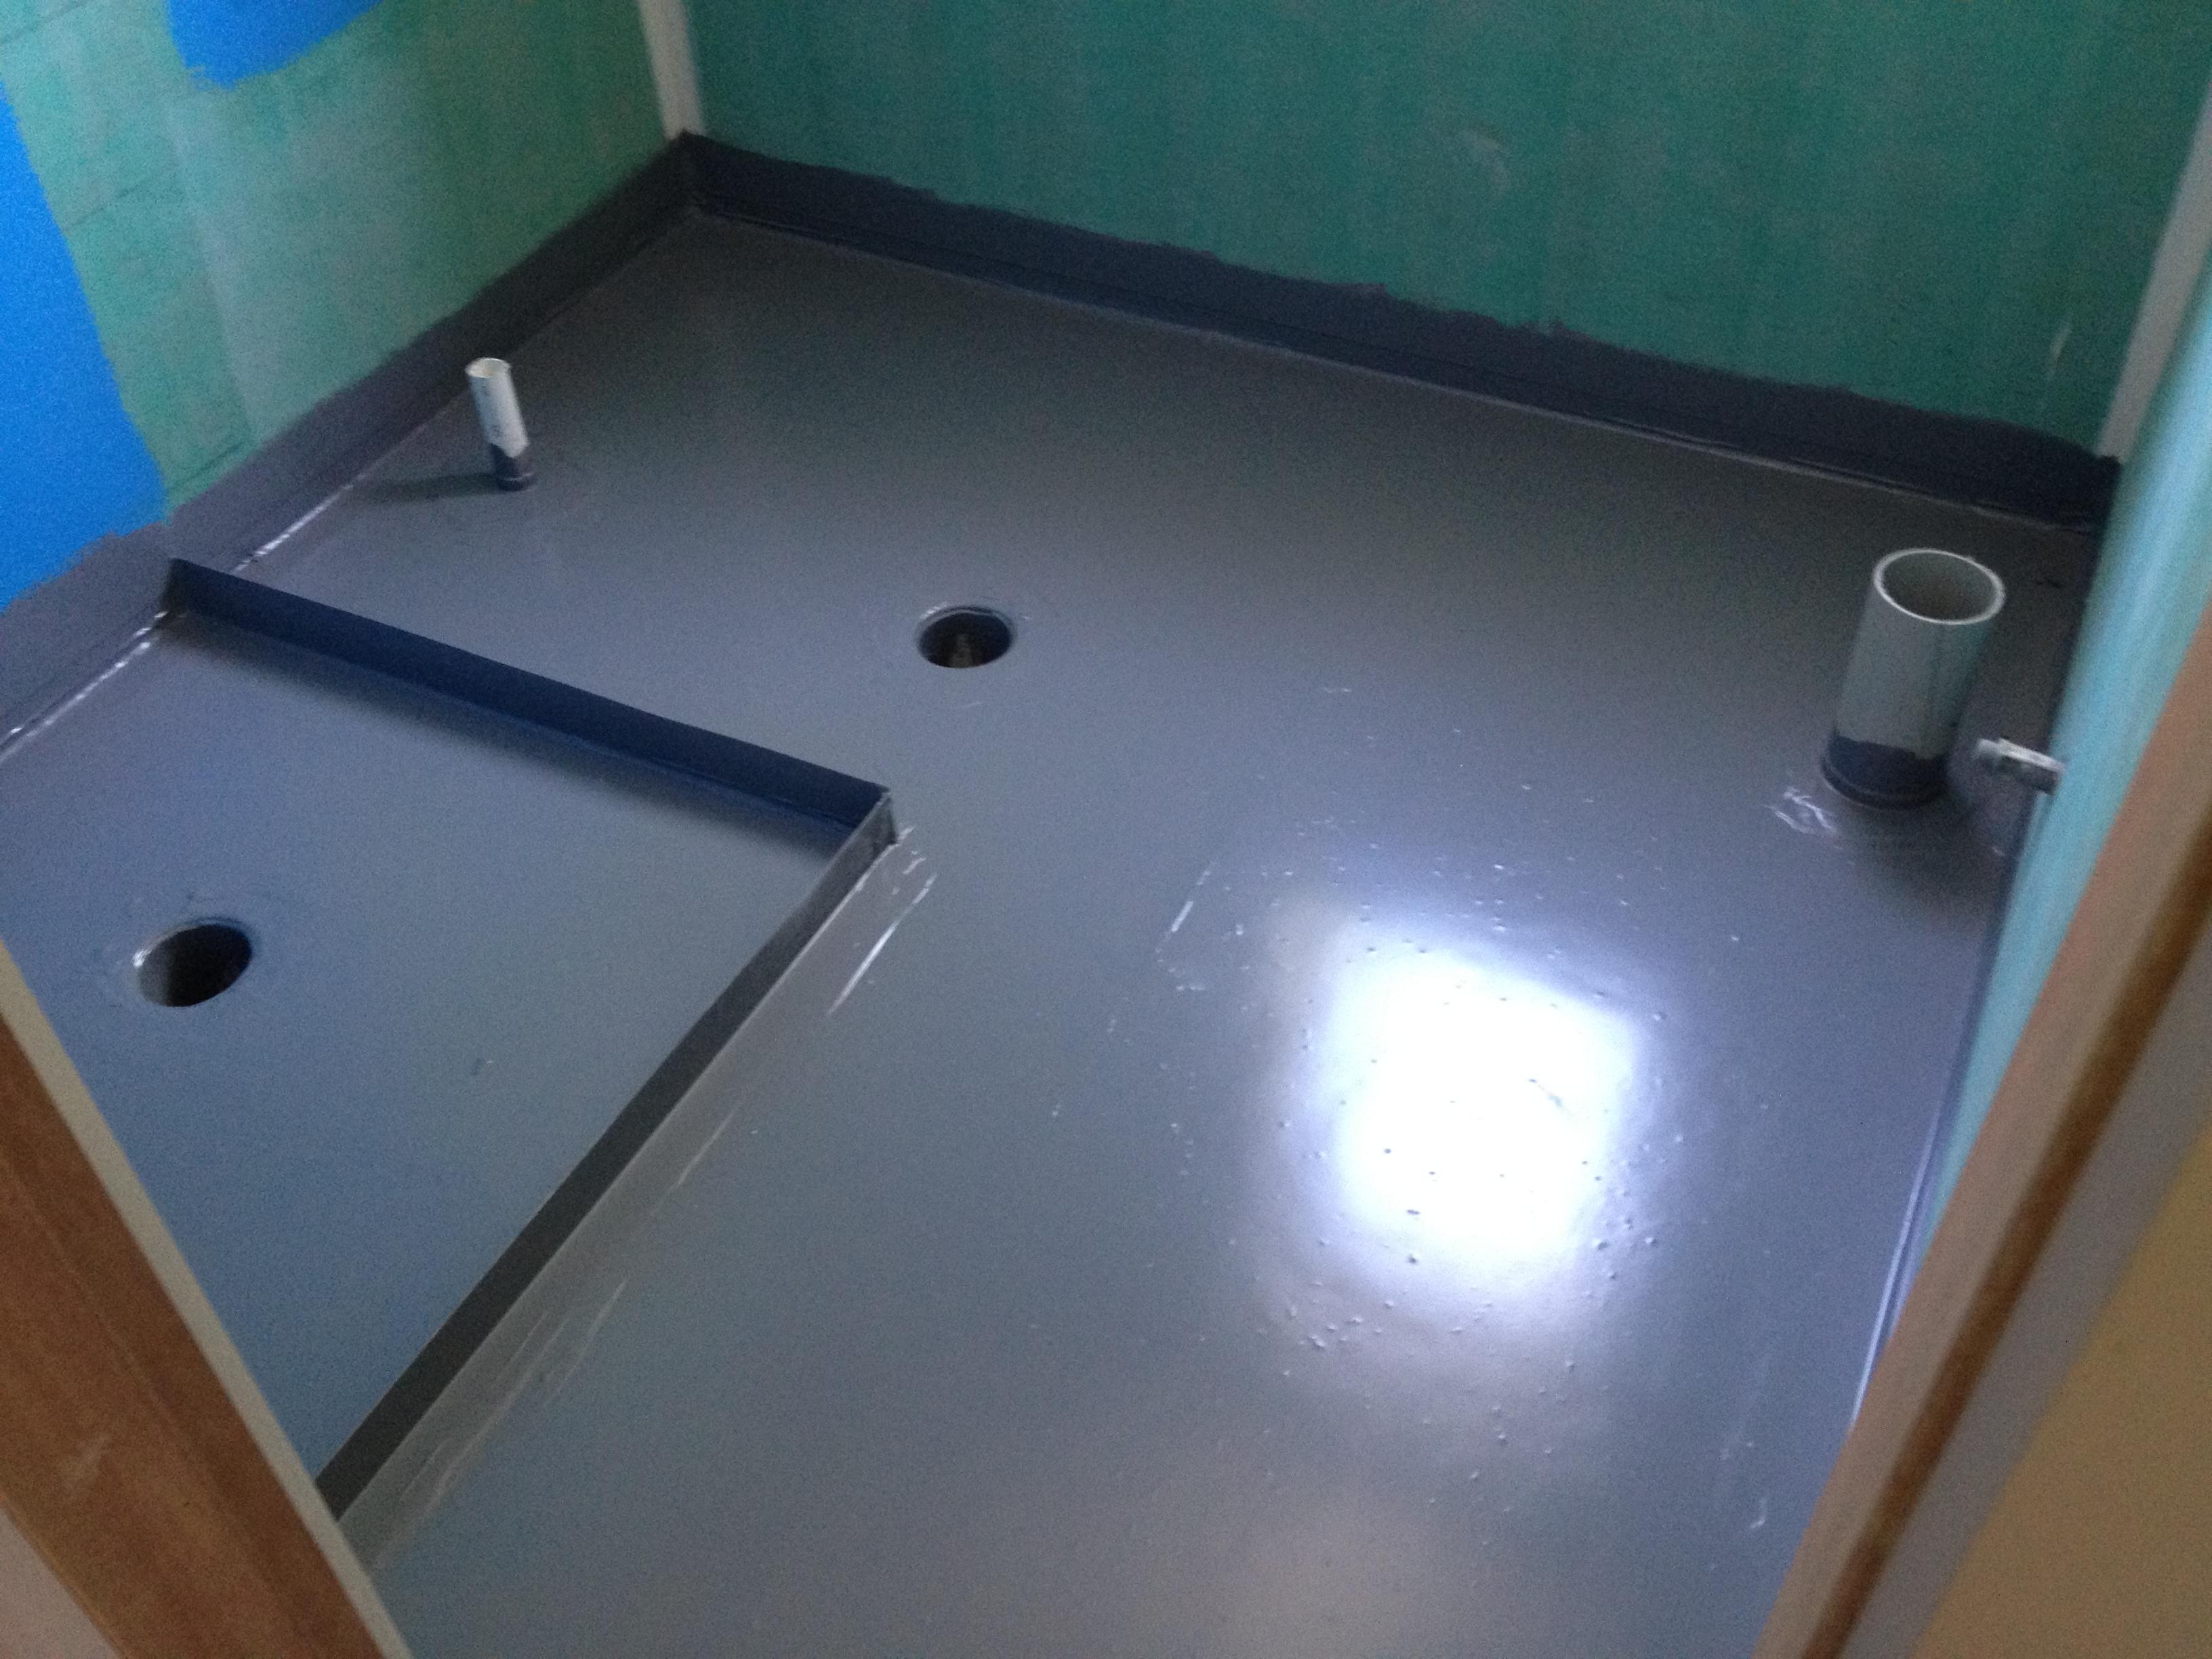
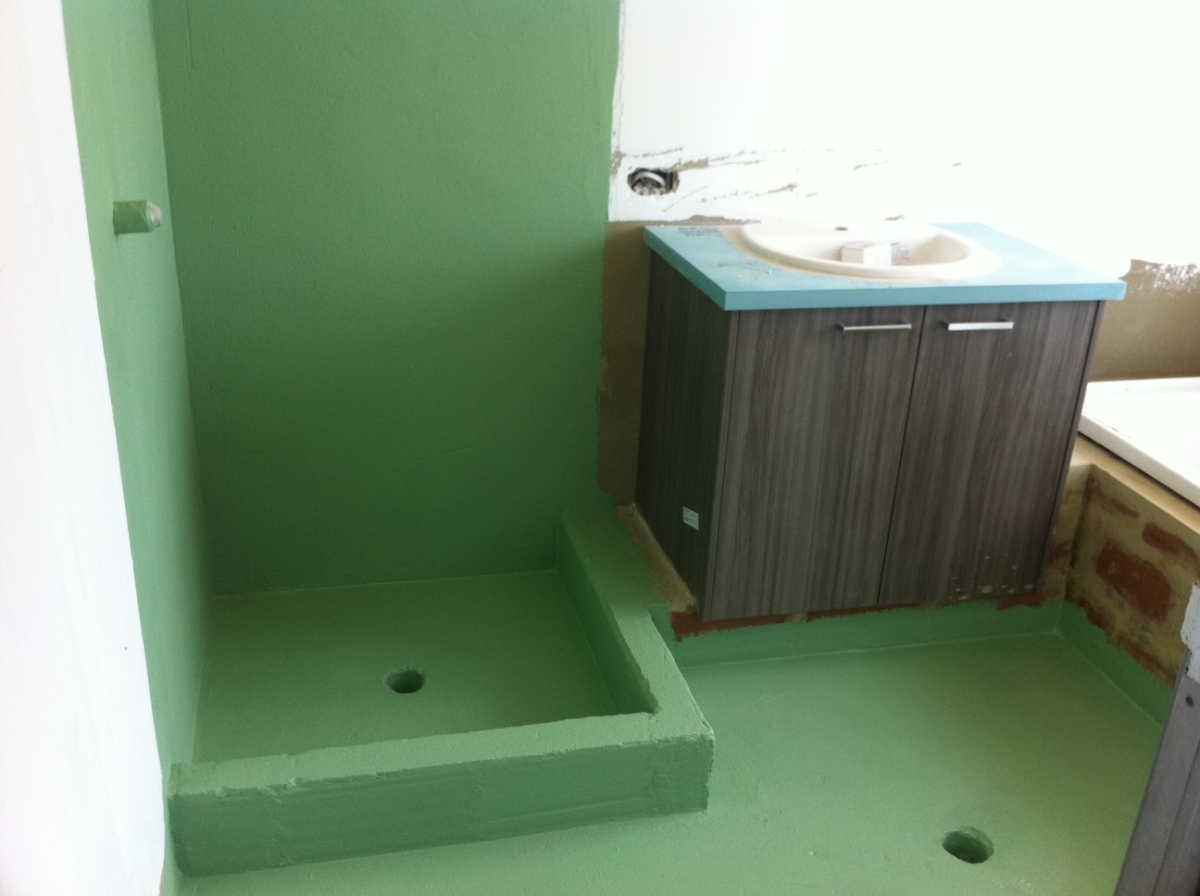
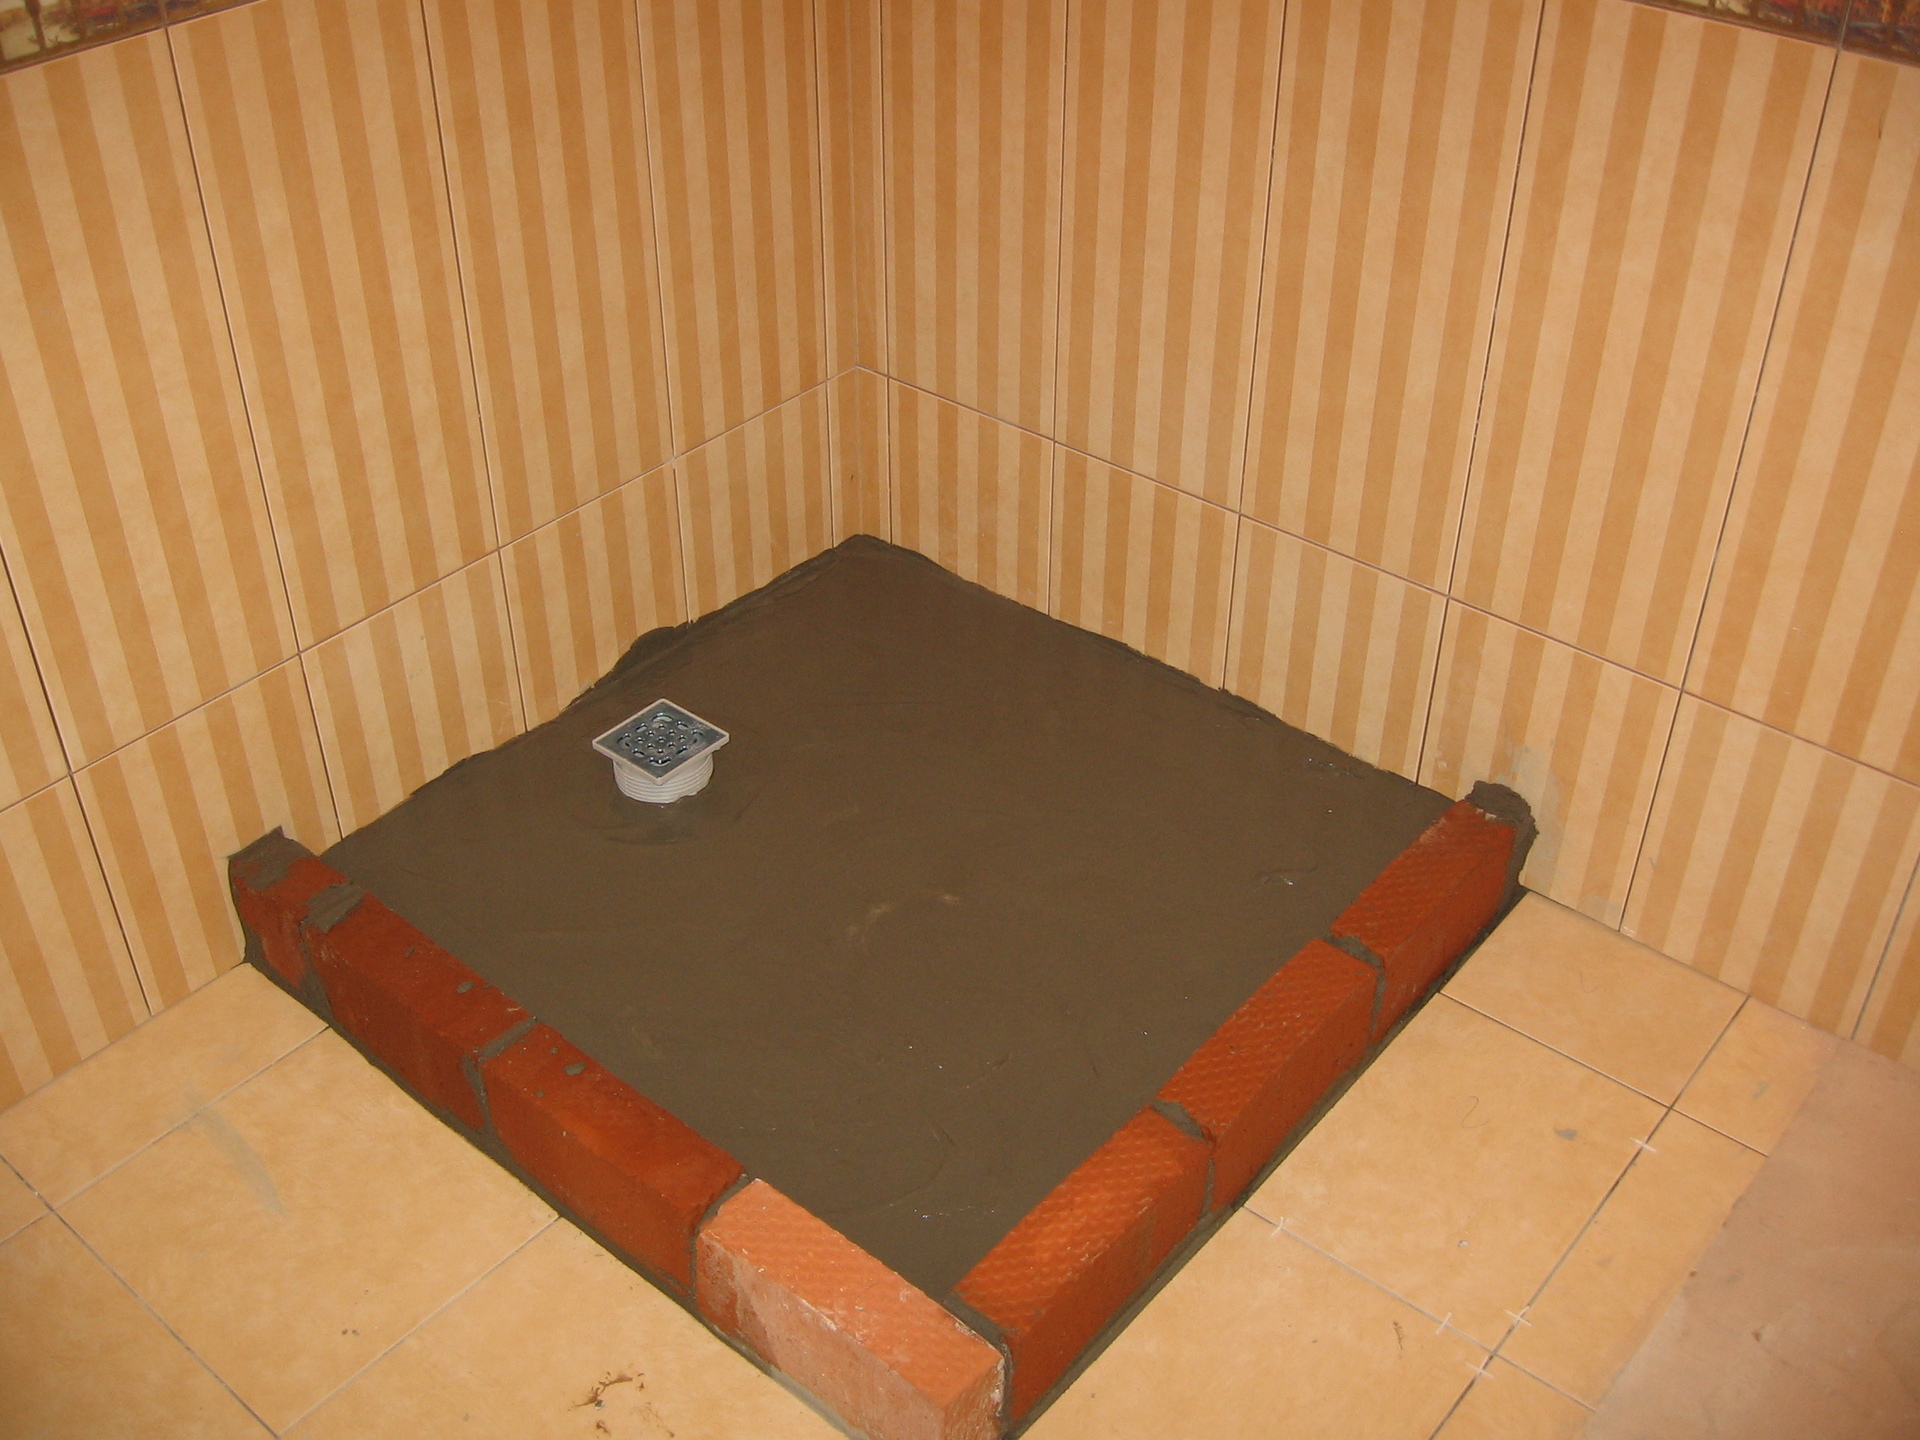
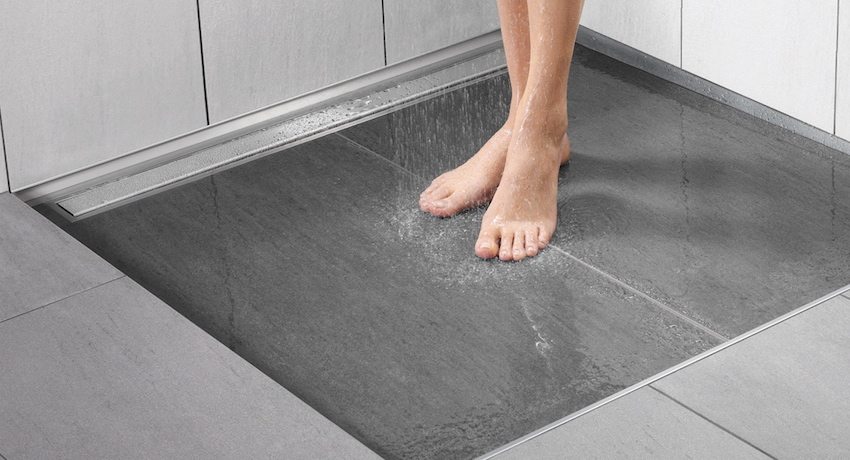
Shower without a tray is a small separate corner in the bathroom. It is the conclusion of the water supply, as well as the hole for the outflow of water in the floor. The floor in such a shower is on the same level with the whole room.
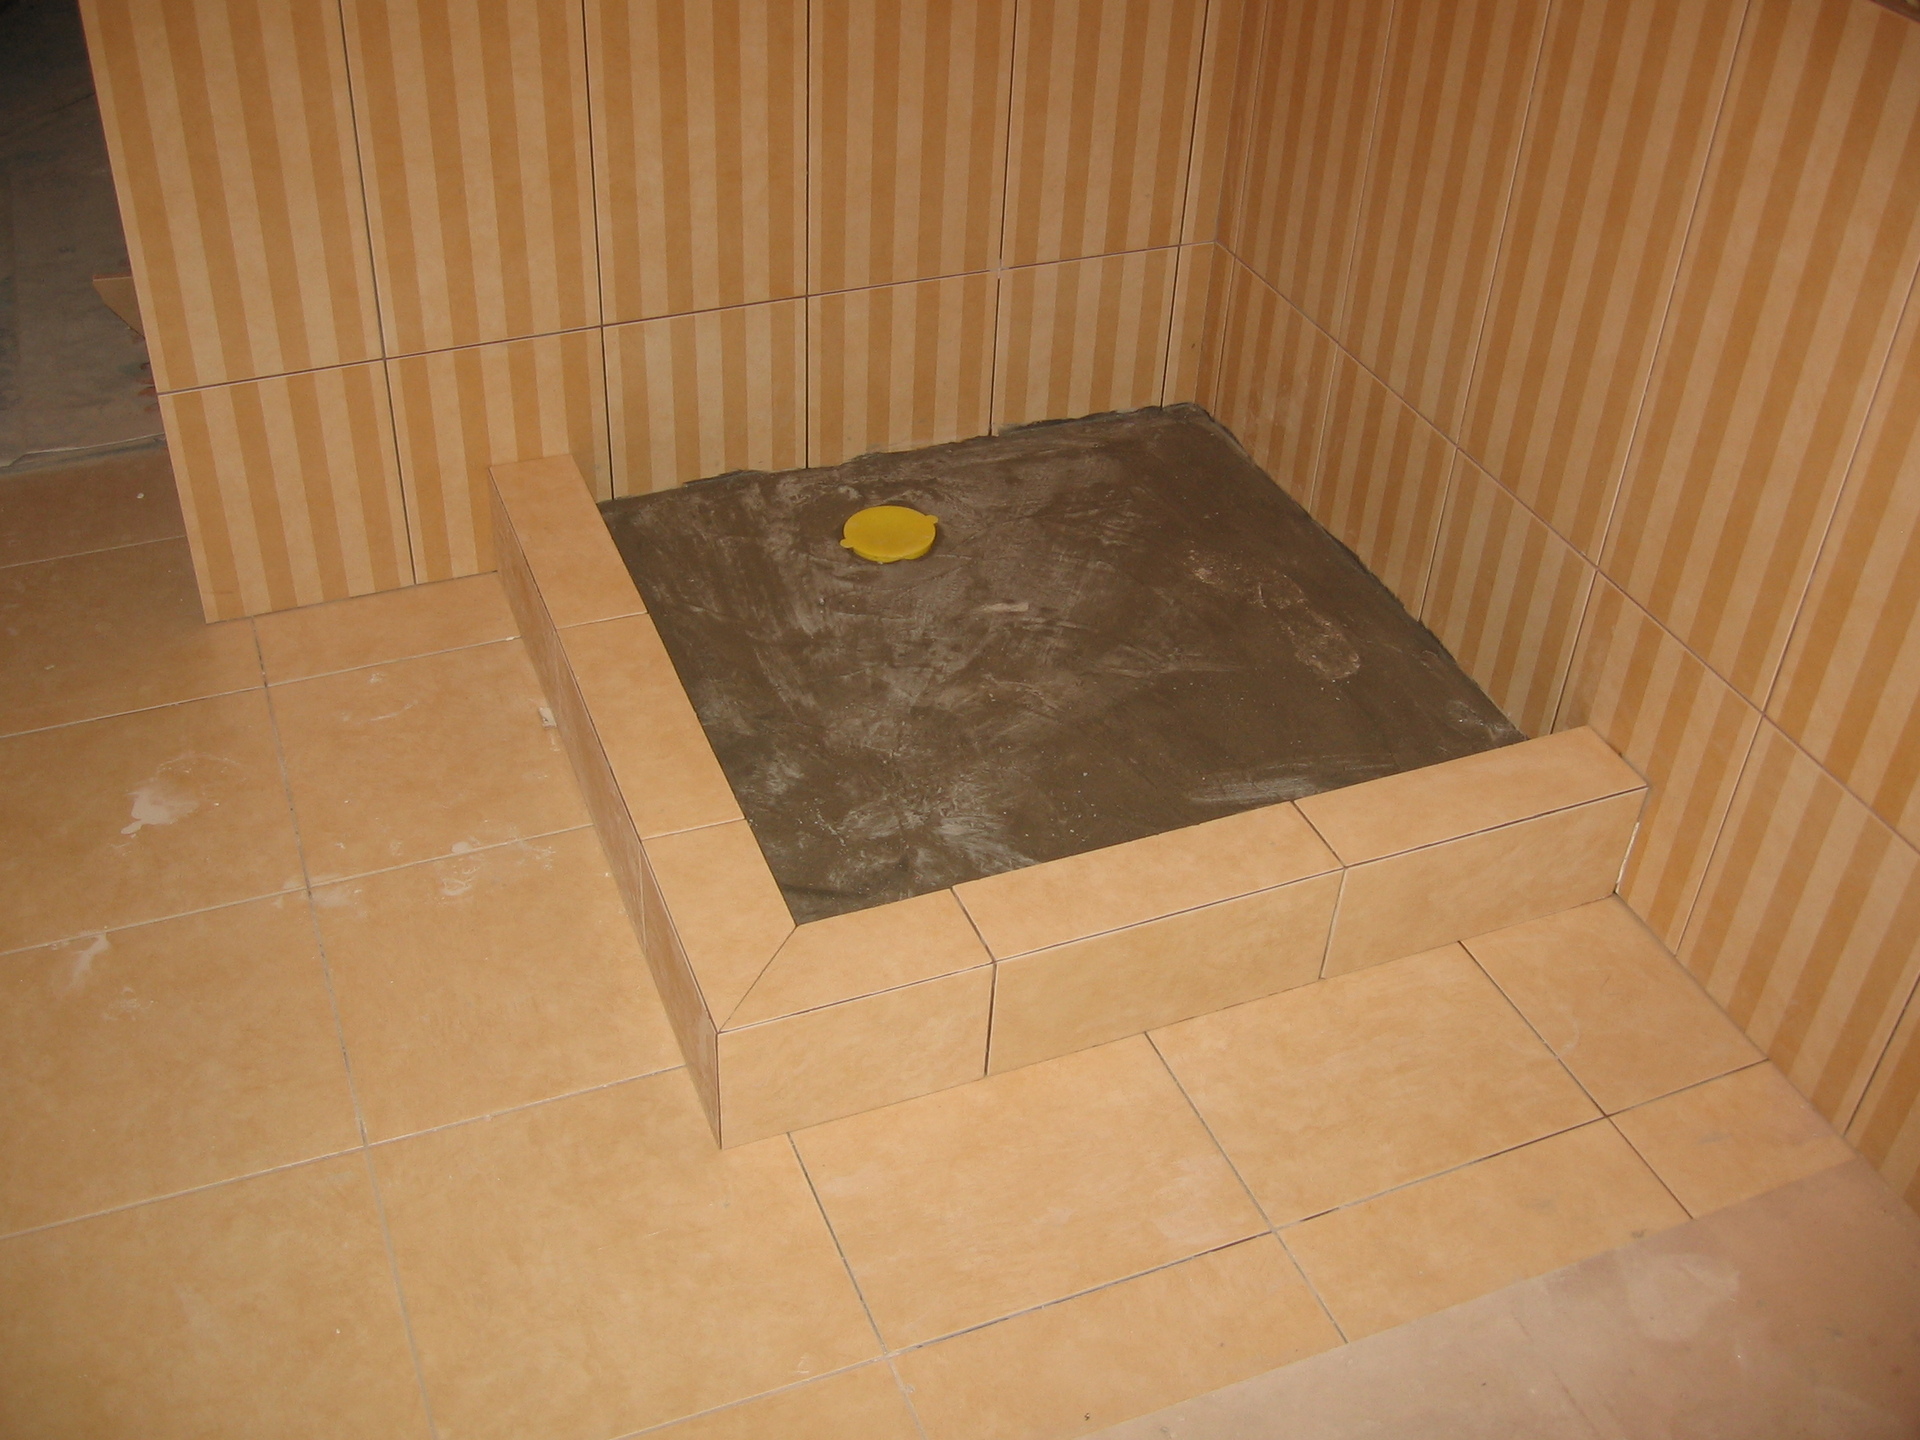
In order for water not to disperse throughout the room, this zone should be separated by a small threshold, the height of which should be up to 5–10 cm.
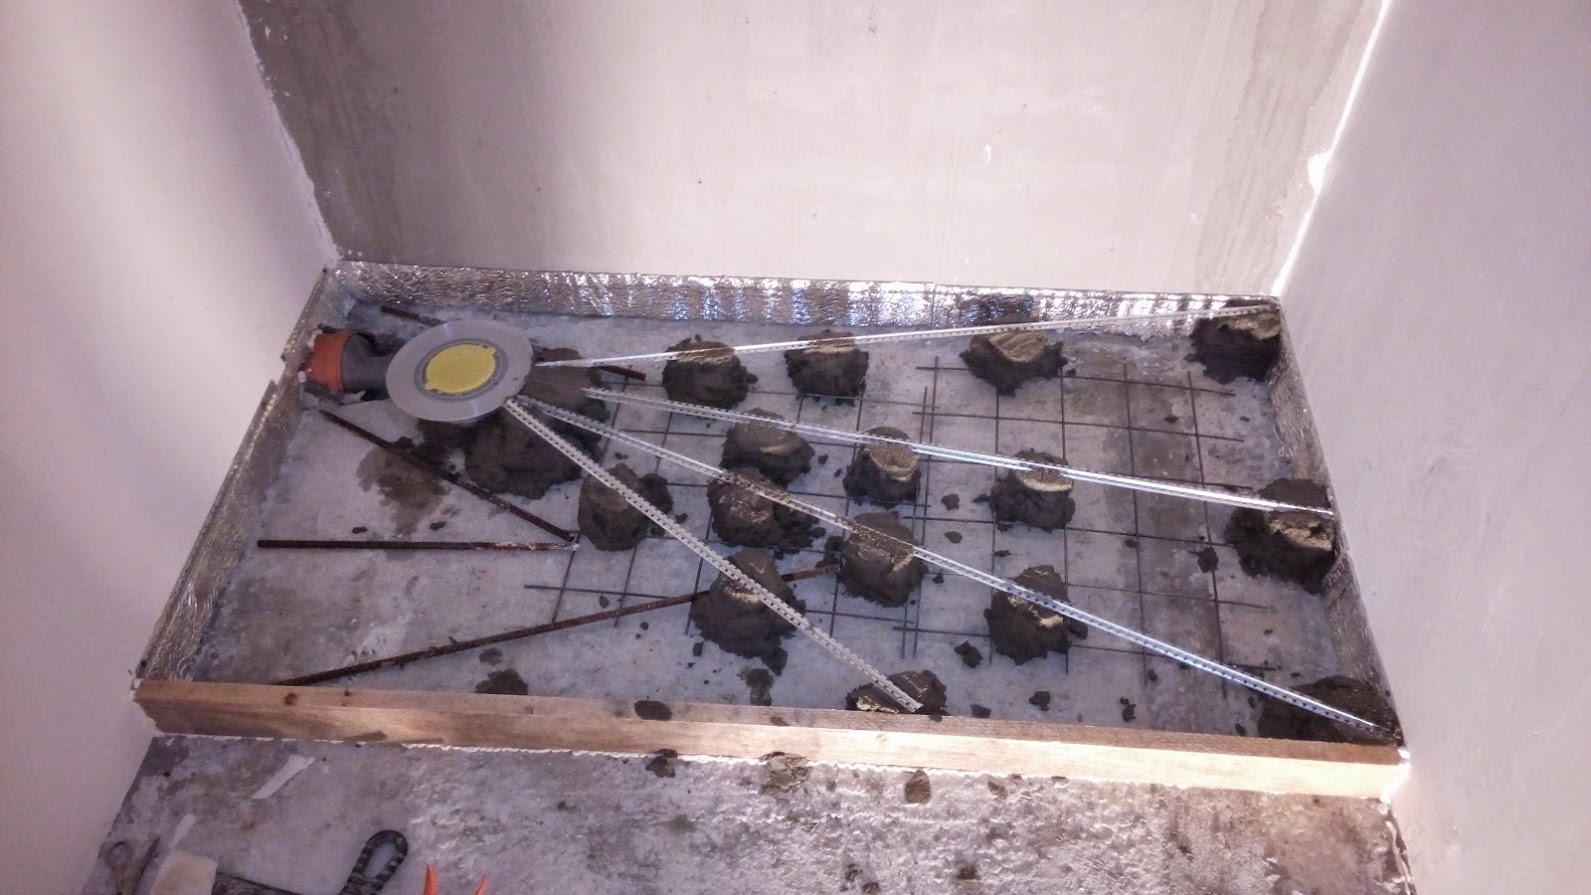
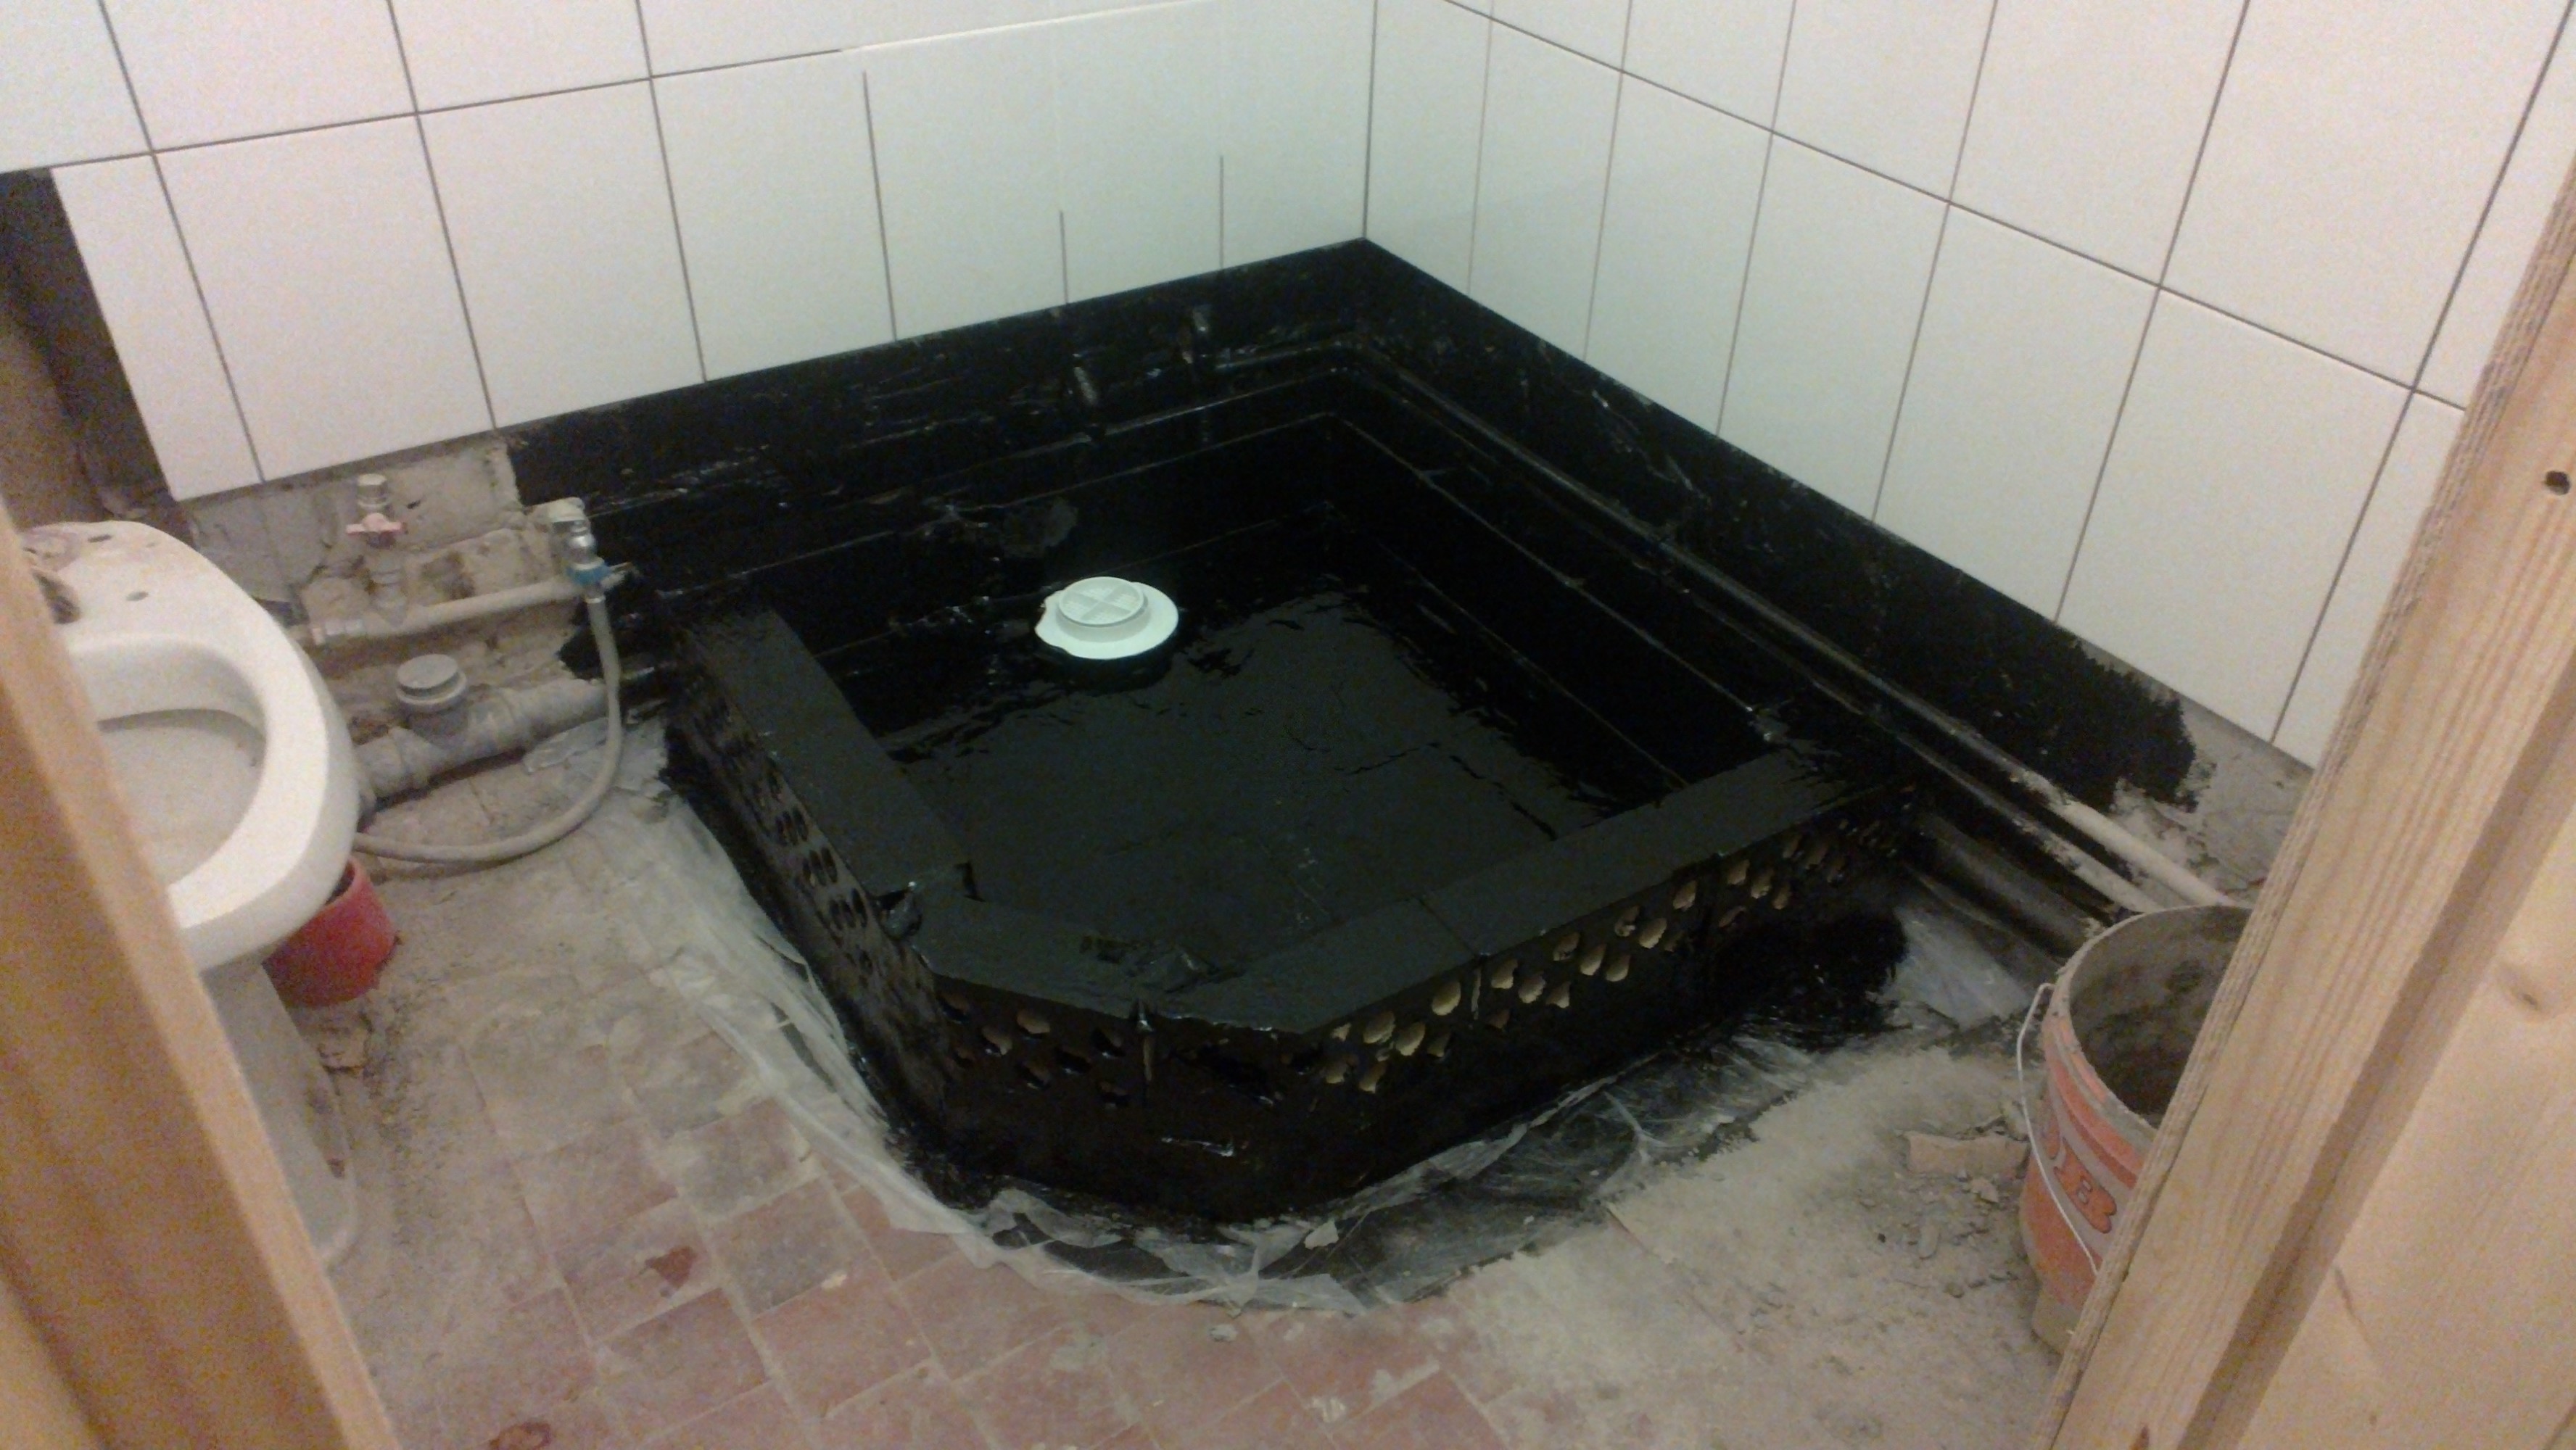
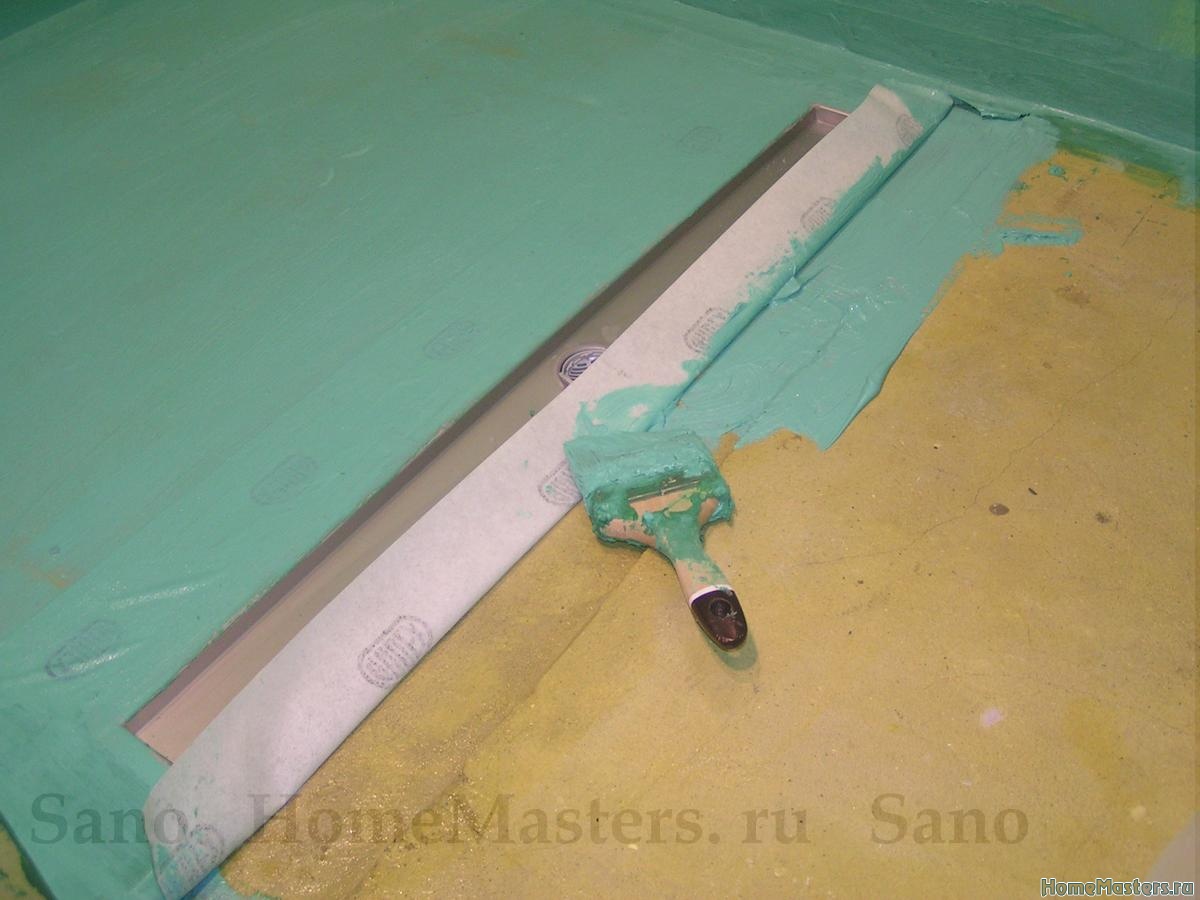
In such a shower you need to do everything right, because the slightest mistake will make waterproofing unsuccessful. It is very important to pay attention to the waterproofing of the drain. The drain construction must be placed in the floor screed, where the groove is made. The rest of the space must be filled with concrete. In order to check whether the waterproofing is properly made, you need to pour some water into the siphon.


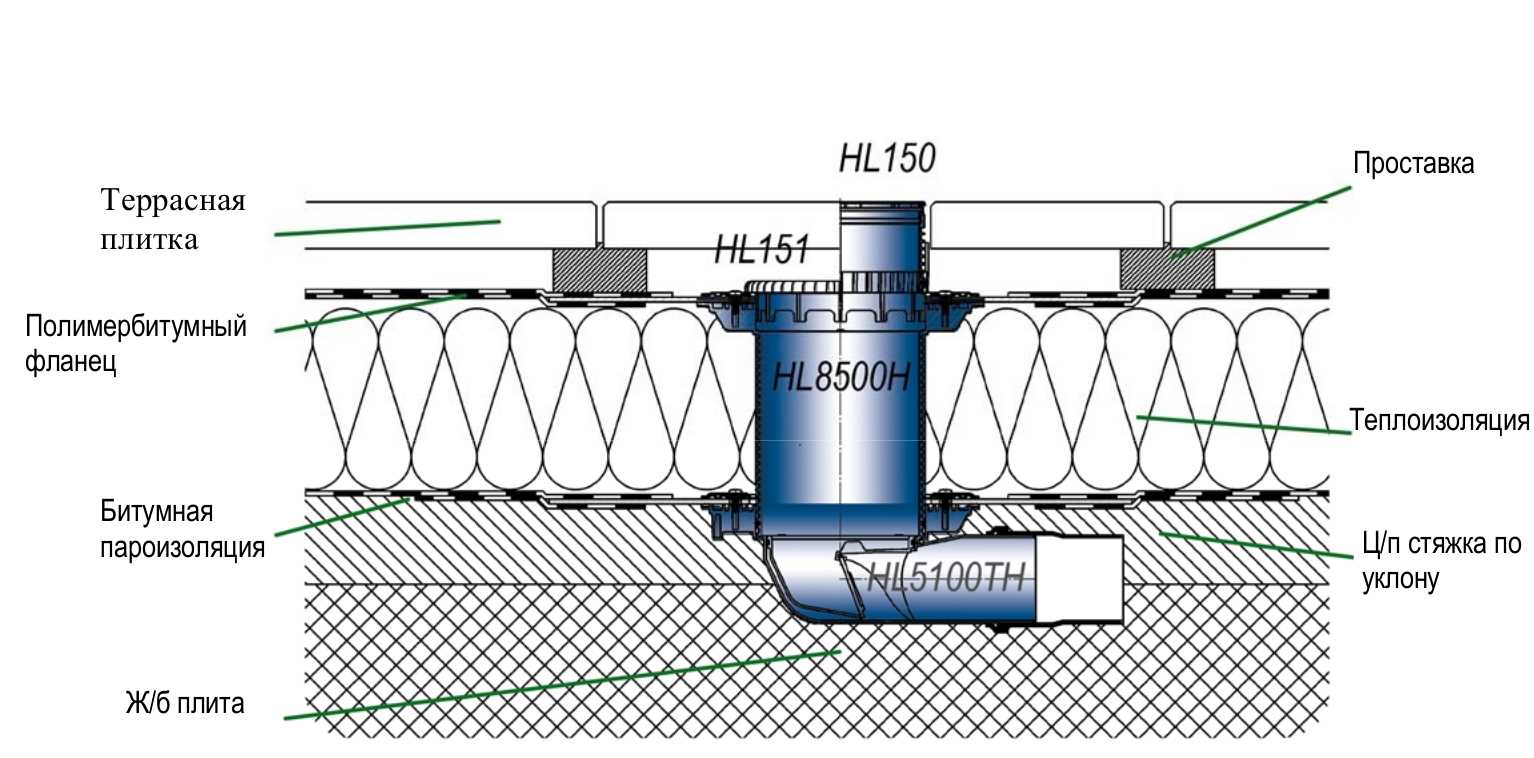
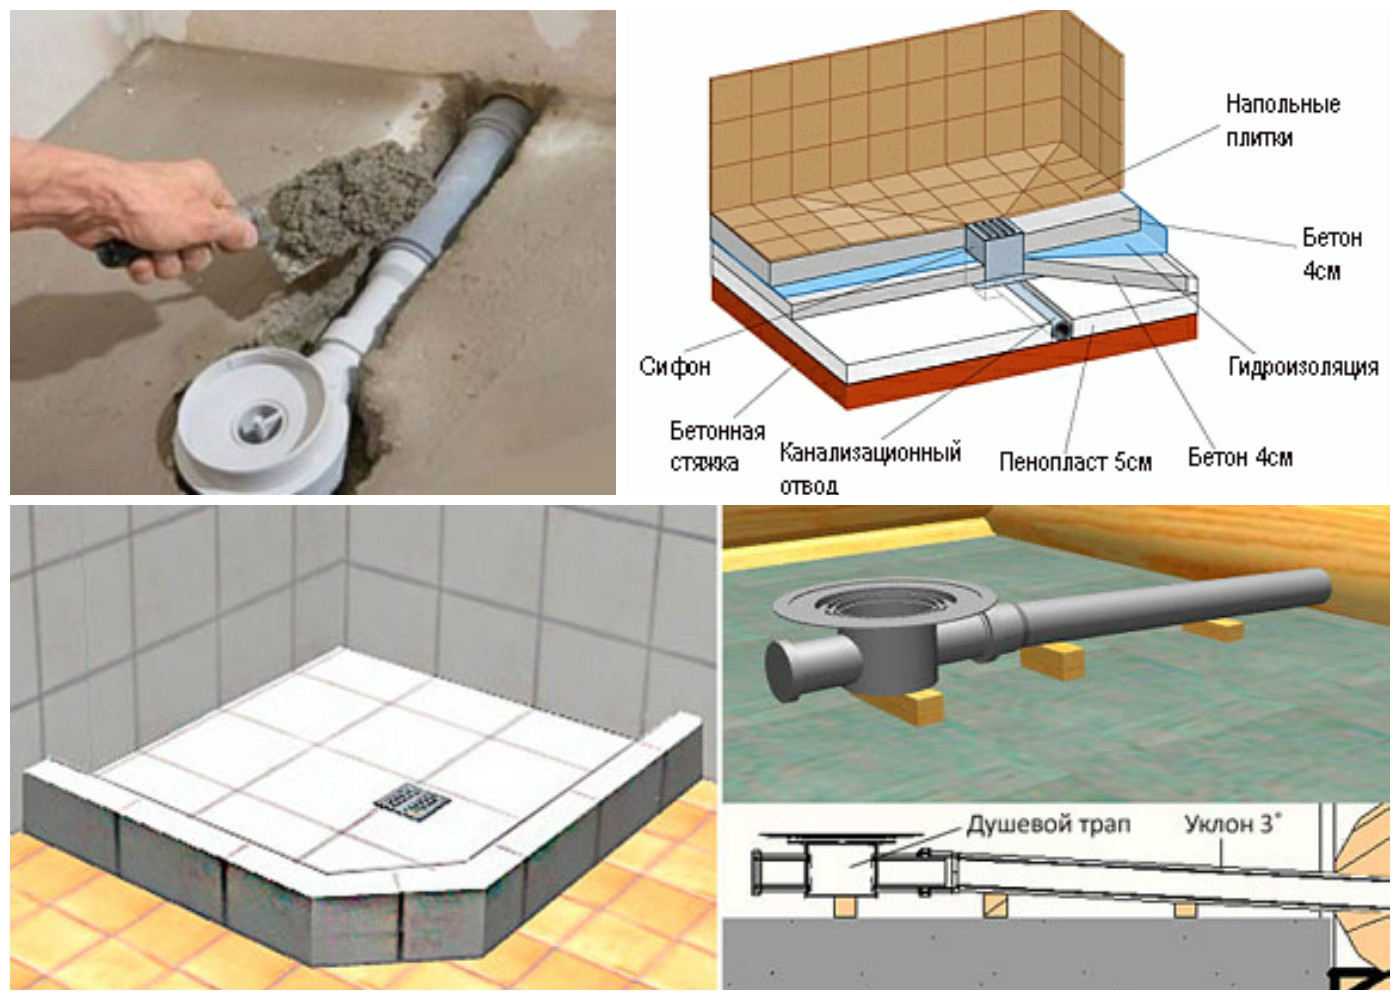
In the shower cabin without a pallet, a drainage ladder must be installed. His device consists of the following elements:
- enclosures that have a vertical or oblique release;
- small decorative lattice;
- a siphon that prevents unpleasant odors from penetrating the shower room through a sewer or decorative grate.
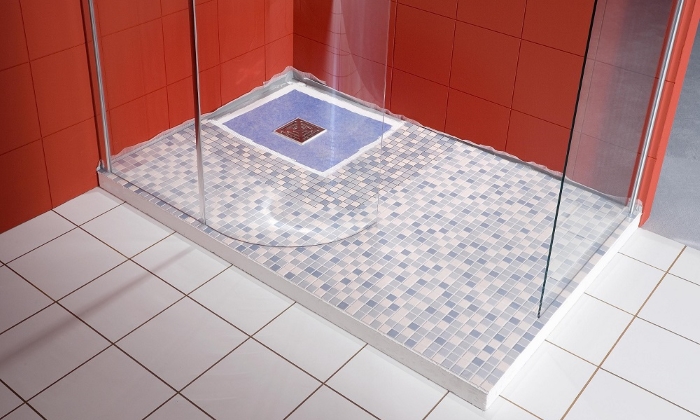
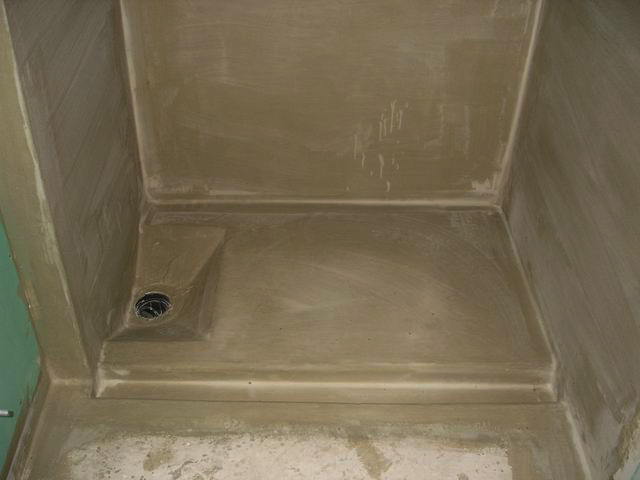
If the ladder is in the center of the shower, then the slope is made to the center from each side. And after that, the grating of the ladder, which has dimensions of 10 x 10 cm, is mounted. When mounting the water ladder, it is necessary to take into account the inclination of the floor. It should be tilted evenly towards the drain and be at an angle. Not more than three percent.This is done so that no puddles form.
Also, the ladder may be in the corner of the floor shower. This is a less common option. In this case, it must be covered with tiles. It uses the linear grating of the ladder, which can be hidden. Paul is done with a bias of up to two percent.
To make a waterproofing of a shower cabin in the wooden house or apartment, it is possible to apply any available materials.
Kinds
It turns out that the insulation can be: coating, roll, penetrating, polymer-cement or sheet. All these options should be considered in more detail.
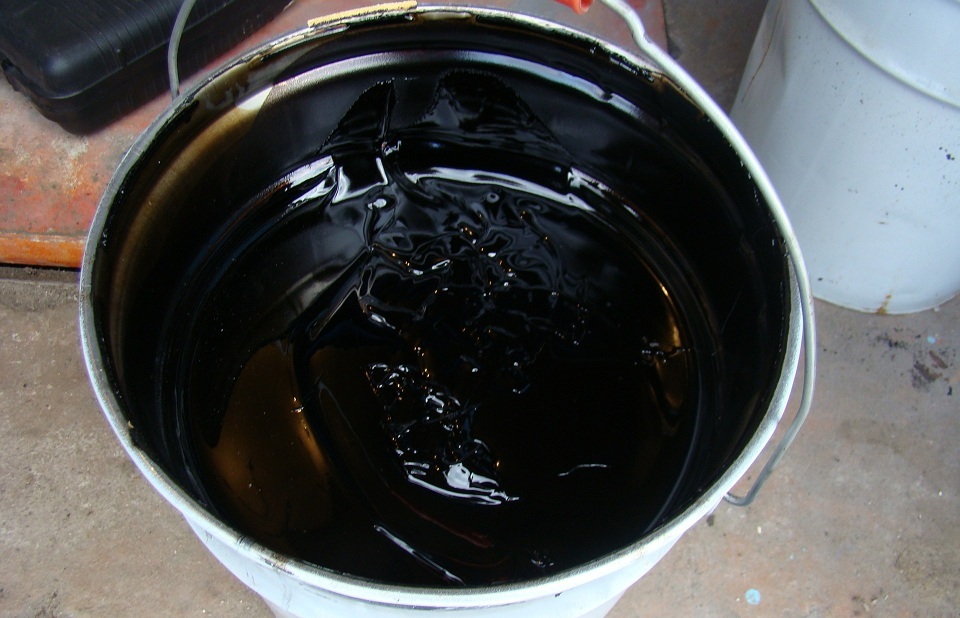
Coating
This variant of insulation is a wet material, which as a result of application freezes and does not allow moisture to penetrate inside. It consists of bitumen with the addition of rubber or polymer. It has excellent elasticity, as well as a high level of adhesion. May serve a very long time.
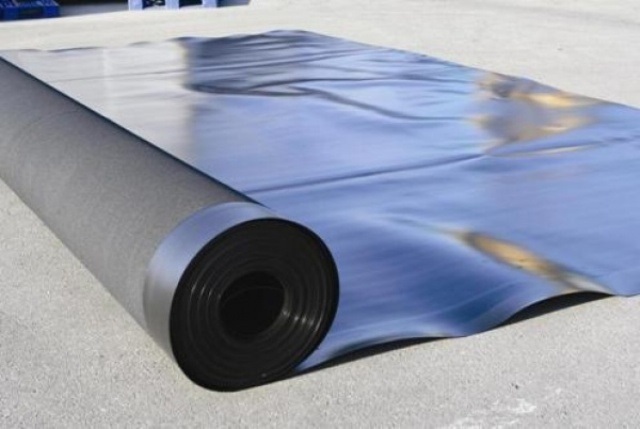
Roll
One of the oldest and most reliable methods of insulation. The essence of its use is that it fits over a rigid base. Most often fiberglass or bitumen is used. These materials can also be fusing.In this case, a special glue is used to fix the insulation. Self-adhesive materials also exist.
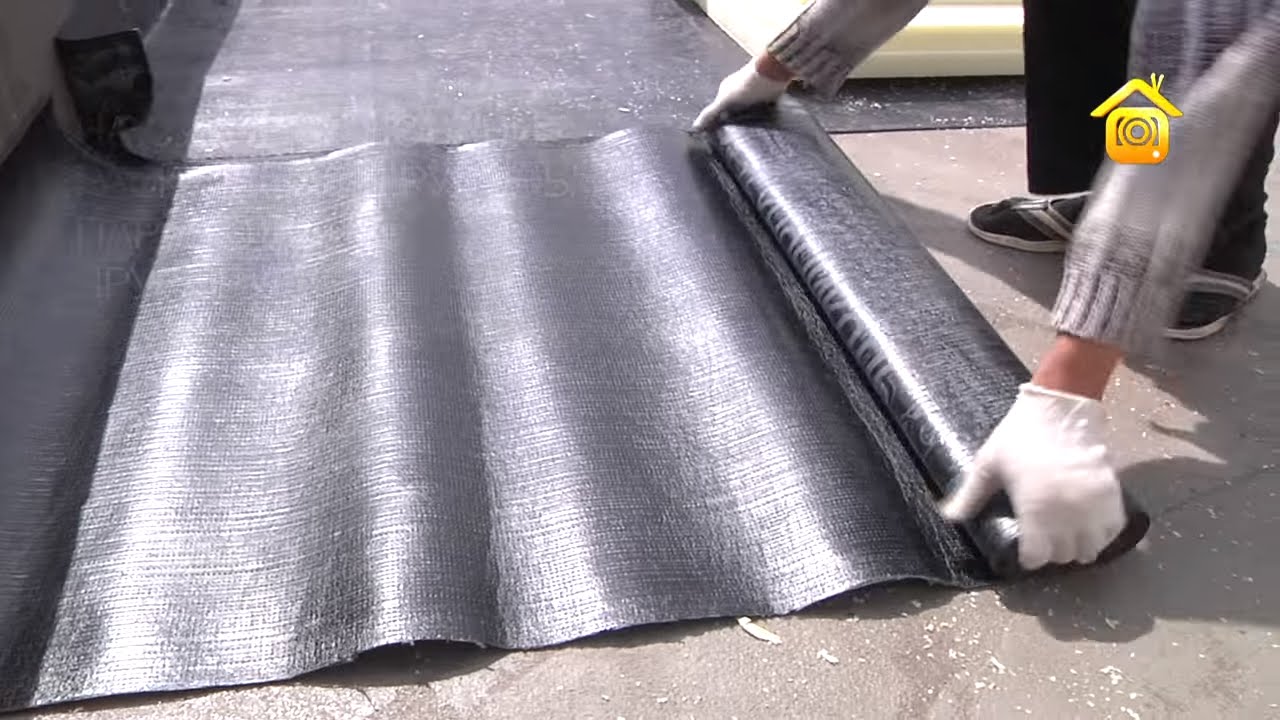
For their application it is necessary to use a gas burner. Their advantage is not very high price and ease of installation. But it is important to understand that this option is short-lived.
Polymer cement
Such material is often used to form the base of the pallet. Also applicable when installing a heated floor. In some cases, this material can be used to create an insulation layer in so-called wet zones. This mixture is diluted with water.
Penetrating
Such waterproofing well permeates the base. It repels moisture from the material and creates a protective layer. After drying of the penetrating mastic, the insulation layer becomes very durable and waterproof.


How to do?
If a person decided to do repairs with his own hands, then it is necessary to approach this issue very responsibly. In order to properly conduct waterproofing in the shower, you need to first determine the wet areas of the room. This term refers to those places where the water falls most often. They need to be isolated with special care.Waterproofing can be done in different ways.

Roll
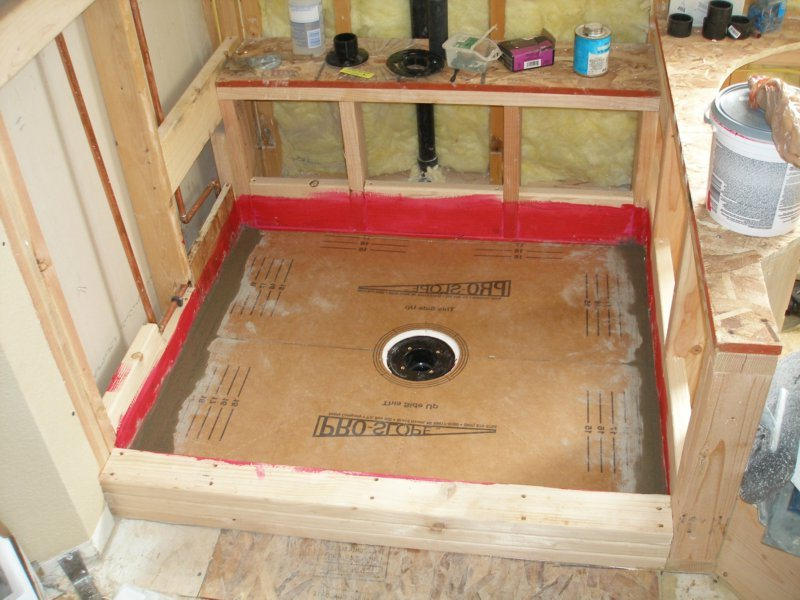
- The first and most important step is the installation of the drain.
- Then comes the preparation of the base. To do this, the surface is leveled with a cement screed. As soon as the solution hardens, bitumen mastic can be applied on top of it. Next roll out roll waterproofing, pre-cut into pieces of the required size.
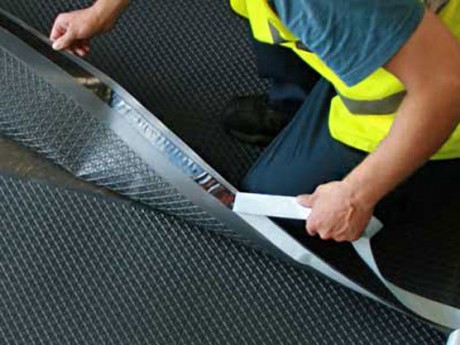
- Strips of rolled insulation are stacked on top of each other with an overlap of 10–15 cm, and also on walls - up to 20 cm. In order for the material transfer to be correct, it is rounded off with cement mortar. If in the shower room for an improvised pallet we used fusing insulation, then we should bypass all the formed joints with a gas torch.
- If the installation is done using self-adhesive roll insulation, the edges of the strips should be pressed very closely to each other.
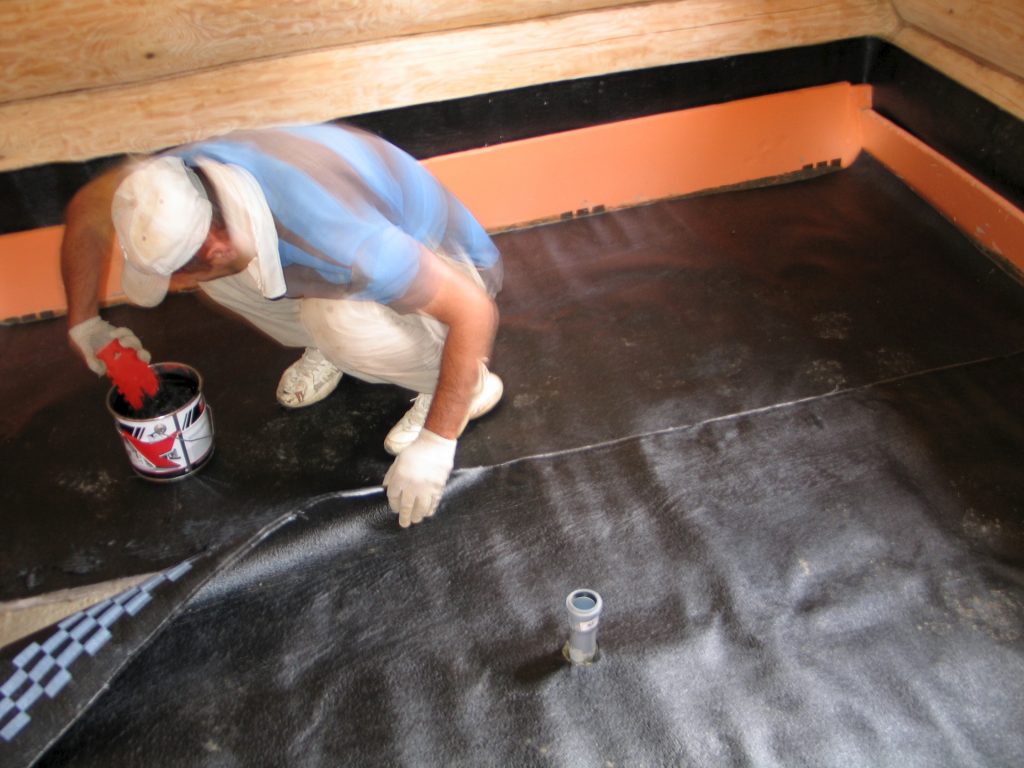
- Before this, the overlaps are spread with special glue. The second layer of insulation is laid in the other direction and the whole process repeats.
- Then you need to check so well glued each layer. If it has bubbles, they need to be very carefully cut and spread with mastic.Next, the bubbles tightly pressed to the base and soldered by the burner. How many layers there will be is determined by each owner himself, however, less than two cannot be laid.
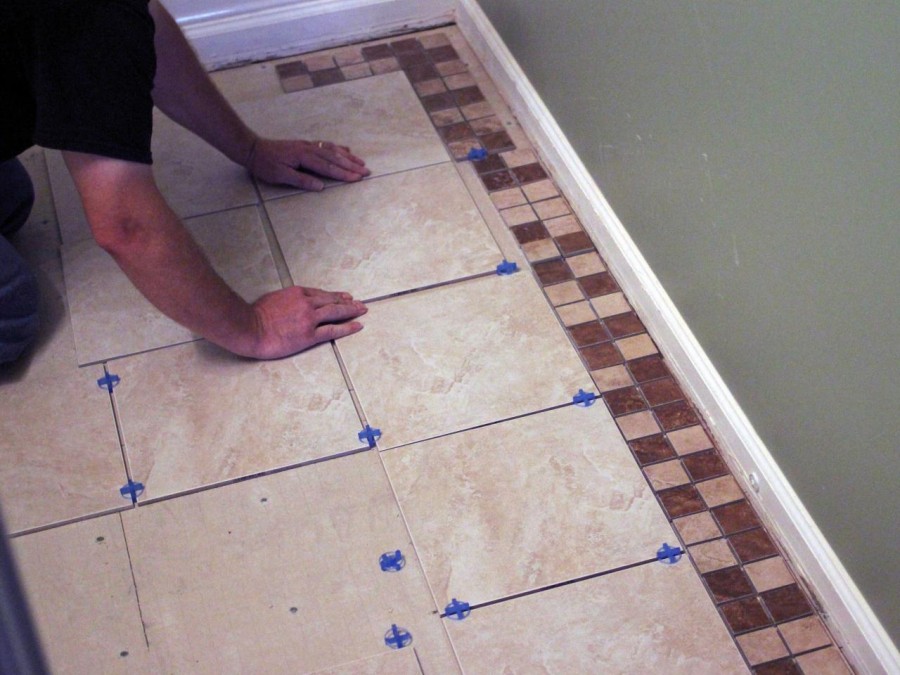
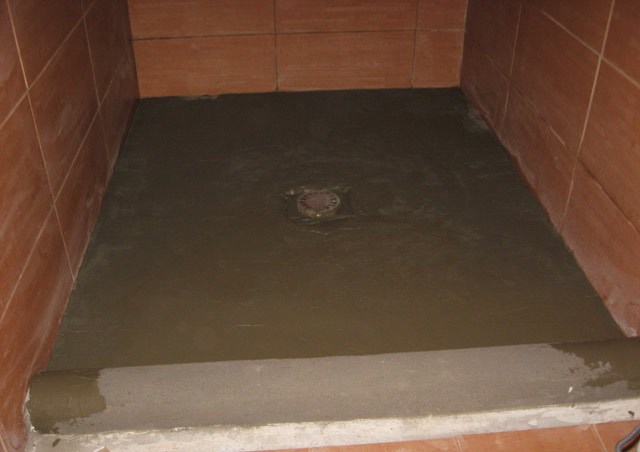
- In order to protect and level this multi-layer coating, a cement screed is poured in from above, and only then a tile is laid.
Coating
For insulation of shower can be used as a bitumen-rubber, and bitumen-polymer mastic. They are easily applied to the surface, and independent work with them does not require any preparation.
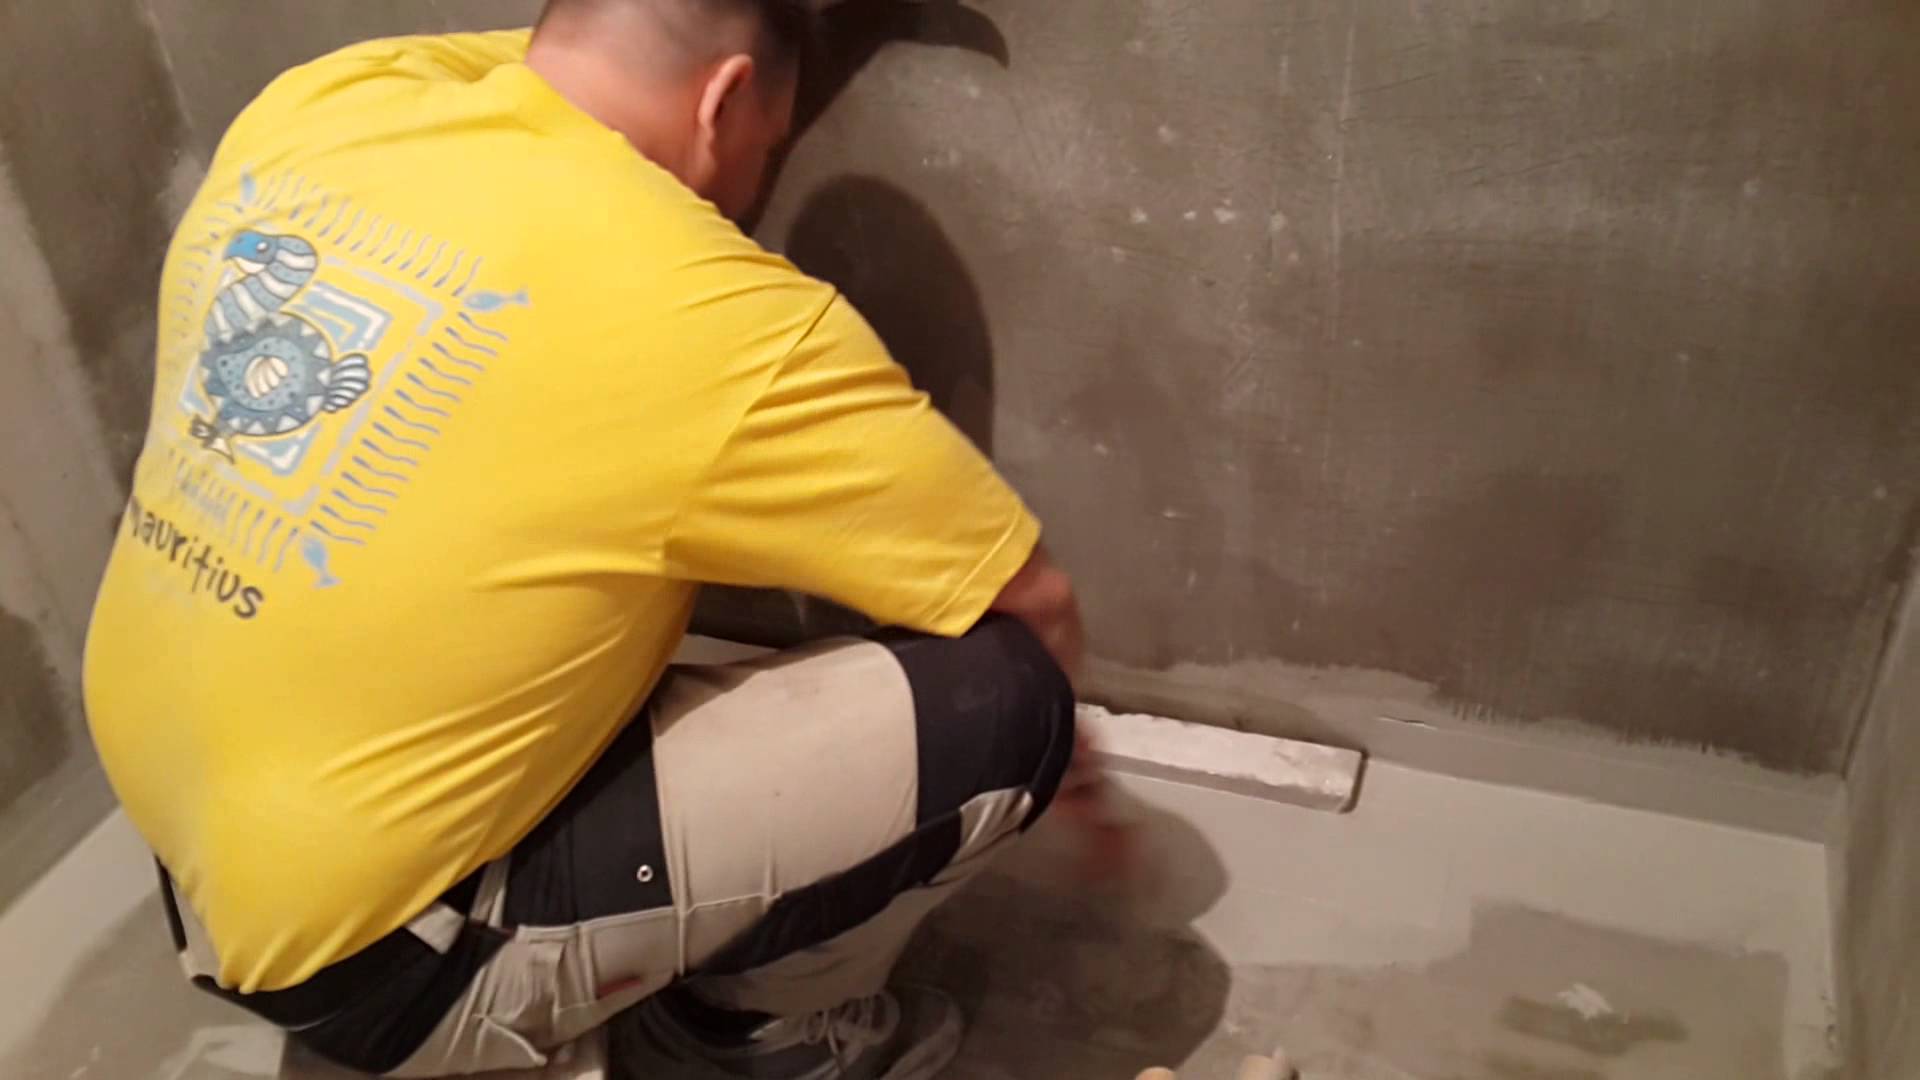
First you need to level the base with a cement screed. After it dries, the surface must be cleaned and applied primer, and only then begin to work with the mastic.
It is applied with an ordinary brush with a layer up to 4 mm thick. It will be correct to apply a coating waterproofing on the floor and on the surface of pipes, as well as to process the walls. When the composition is completely polymerized, a moisture resistant layer should form. On top of it is laid cement screed to protect against various damage. When the solution is completely dry, you can start the finishing work.
Polymer cement
You can also waterproof the shower and polymer-cement compositions. They have very high adhesion and excellent elasticity. The technology of insulation works is very similar with the application of coating materials. Therefore, all unnecessary steps can be omitted.
Penetrating
This insulation penetrates deep into the structure of the concrete base. Therefore, the insulation layer is not on the surface, but inside the concrete. That is, the concrete itself becomes a waterproofing element.
This method of laying is one of the easiest to do on your own. The mixture will be sufficient to dilute to a homogeneous mass and apply with a brush on the previously cleaned surface. All cracks and seams are sealed with an insulating compound, and then they are coated with polymer mastic.

Tips
Deciding to make waterproofing in the room, do not neglect the advice of experts. After all, if a person does this for the first time, and even independently, he will hardly avoid mistakes. Here are some basic tips:
- you should know that in the shower without a pallet the floor level must be at least 10 cm lower than the floors throughout the apartment;
- in order to isolate the seams in the corners and at the joints, you must use a sealant that has moisture-resistant properties or an elastic tape with the same properties;
- it is necessary to take care of good ventilation of the room, which can make the humidity minimal;
- materials should not be applied with random motions, but even and parallel to one of the walls;
- the second layer is applied in the same way, only perpendicular to the first;
- if the shower tray is factory-made, then it should be put in place and places of junction with the wall, fluff resistant with waterproof sealant; the remaining joints are sealed with rubber gaskets.
As can be seen from the above, properly perform waterproofing shower with your own hands will not be difficult. It is only necessary to listen to the advice of experts and accurately perform all the steps, as well as to choose the right insulation materials.
Their choice depends primarily on the financial capabilities of the owners, as well as on how the room is arranged.
Details on how to properly waterproof the shower, see the video below.


