Waterproofing a bathroom under the tile: which is better?
Probably every person in his life faced with such a thing as repair. It can be both capital in the whole house or apartment, and cosmetic, when minor changes are made in the decoration of the ceiling, walls or floor. But if the renovation concerns the bathroom, then in this case it is better to resort to the capital option and do everything on the conscience, since this room is most susceptible to the negative influences of external conditions.
There is always high humidity, strong temperature drops, water, which often falls on all surfaces of the bathroom, the formation of condensate. When substandard or improper repairs can cause many problems. Therefore, in order to avoid them, it is recommended to make a full waterproofing of the room before proceeding to the finishing.
Special features
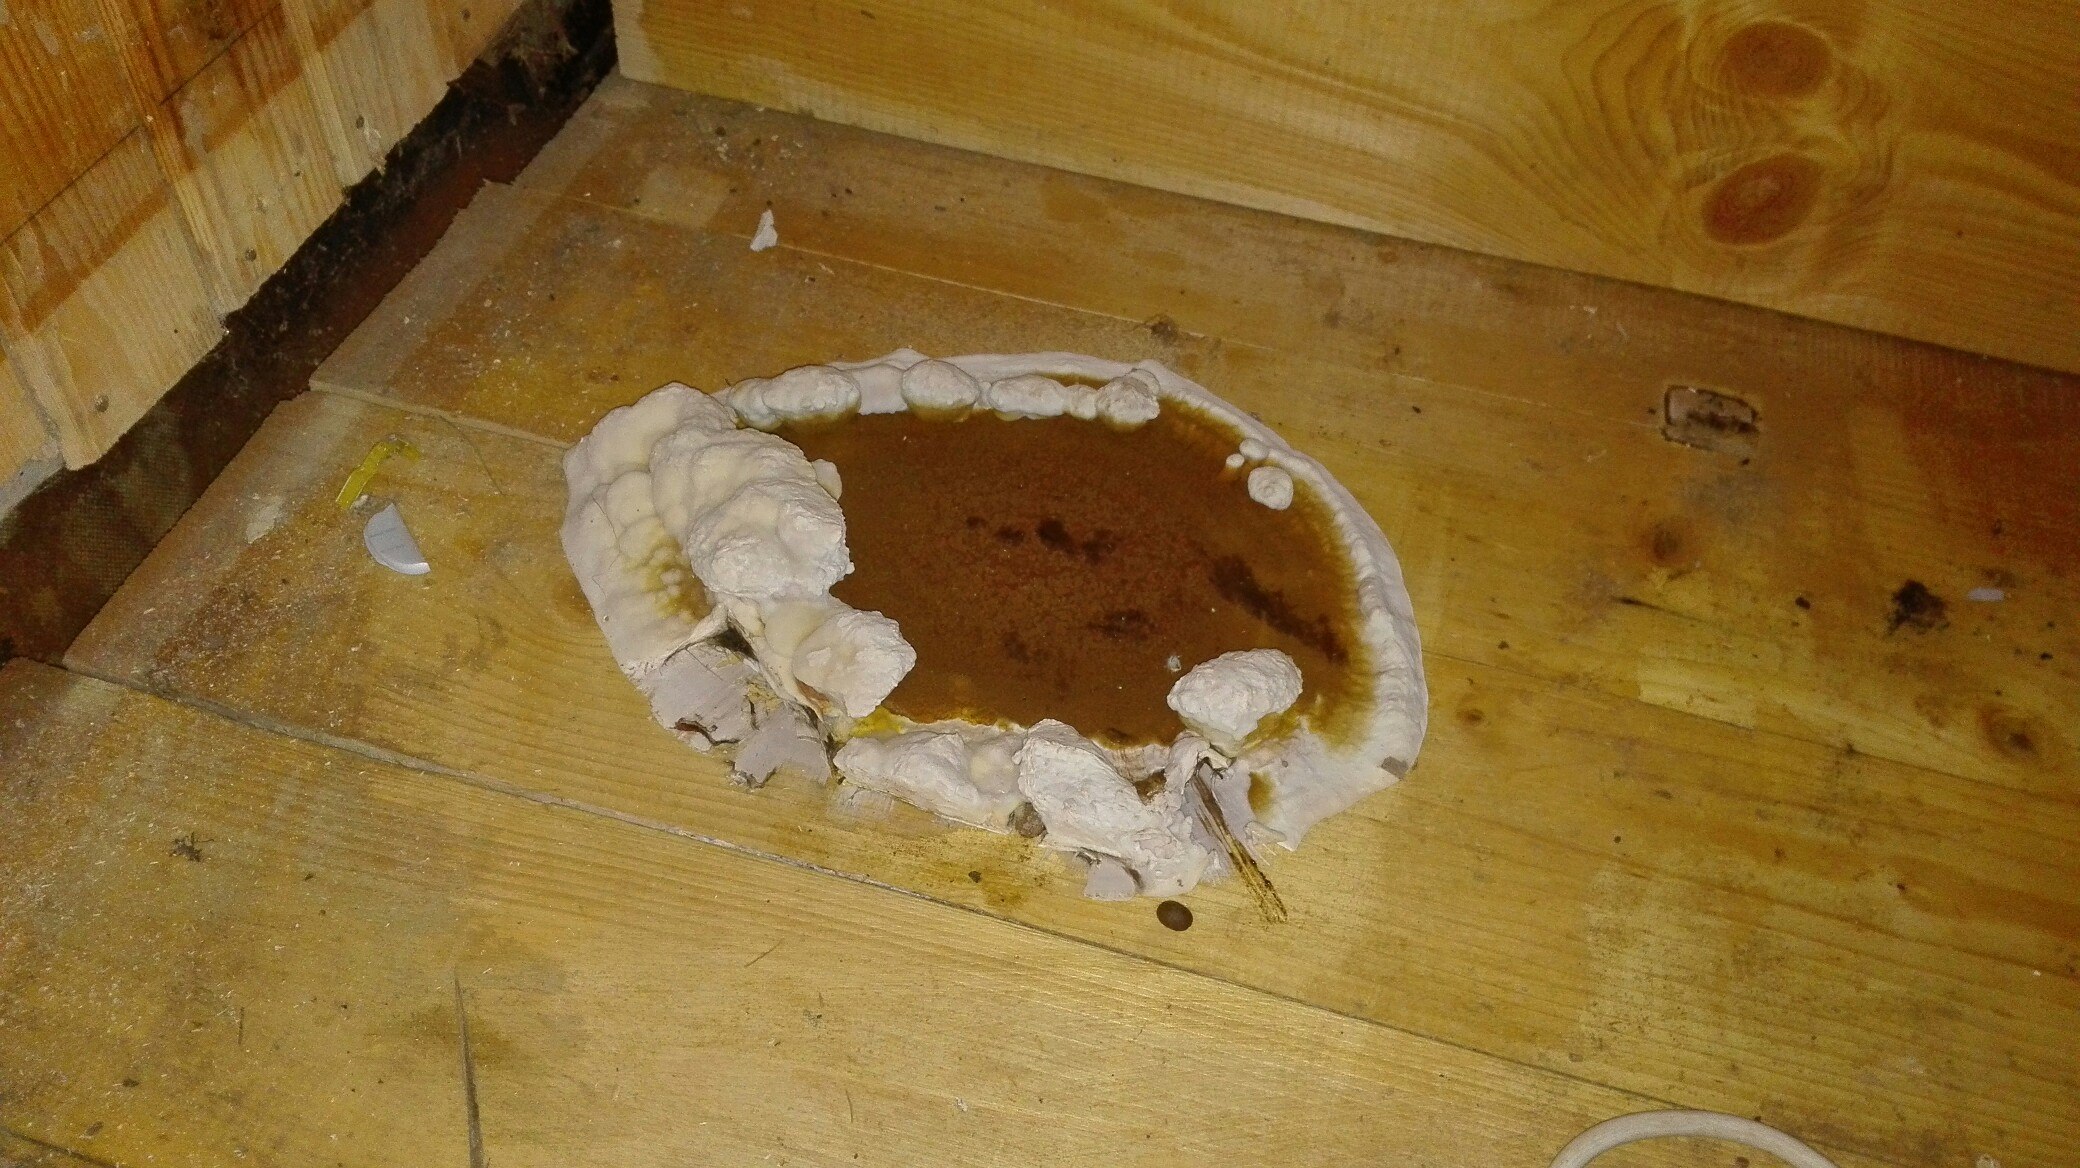
Moisture tends to penetrate everywhere, even into the smallest holes and crevices. A waterproofing is precisely in order to prevent such penetration. In the complete absence of the waterproofing layer, mold and fungus can appear, which will lead to a deterioration in the appearance of the finish, its destruction, and may even cause various diseases in the occupants.
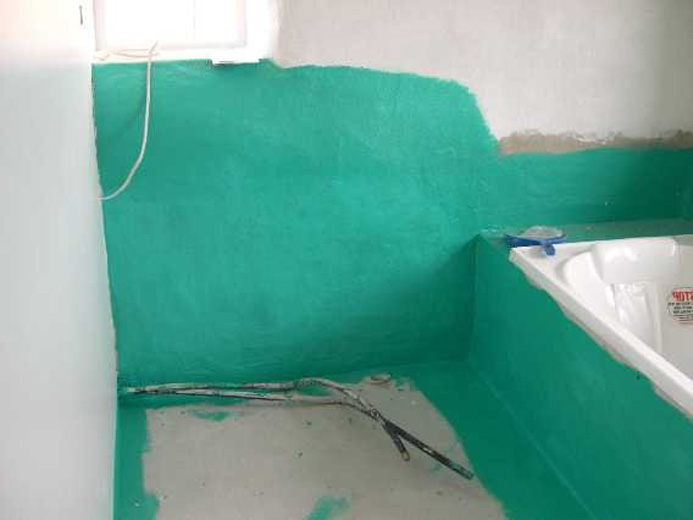
It is best to perform complex waterproofing facilities - from floor to ceiling. The waterproofing ceiling will prevent water from entering and even flooding from above. Waterproofing the floor will help save the neighbors from the bottom of flooding. Processing the walls is needed to protect them from moisture under the finish, there did not appear fungal compounds and the walls did not begin to crack. The gaps that occur in the walls of the bathroom, allow the admission of cold air, which adversely affects the finishing of the room, as well as the health of the residents of an apartment or house.
Thus, the walls must be protected from moisture, if not completely, then at least where water periodically falls on them.
The following parameters are optimal:
- 50 cm from both sides of the shell, as well as upwards from it;
- 0.5 meters on the sides of the bath, upward preferably to the entire height of the wall.

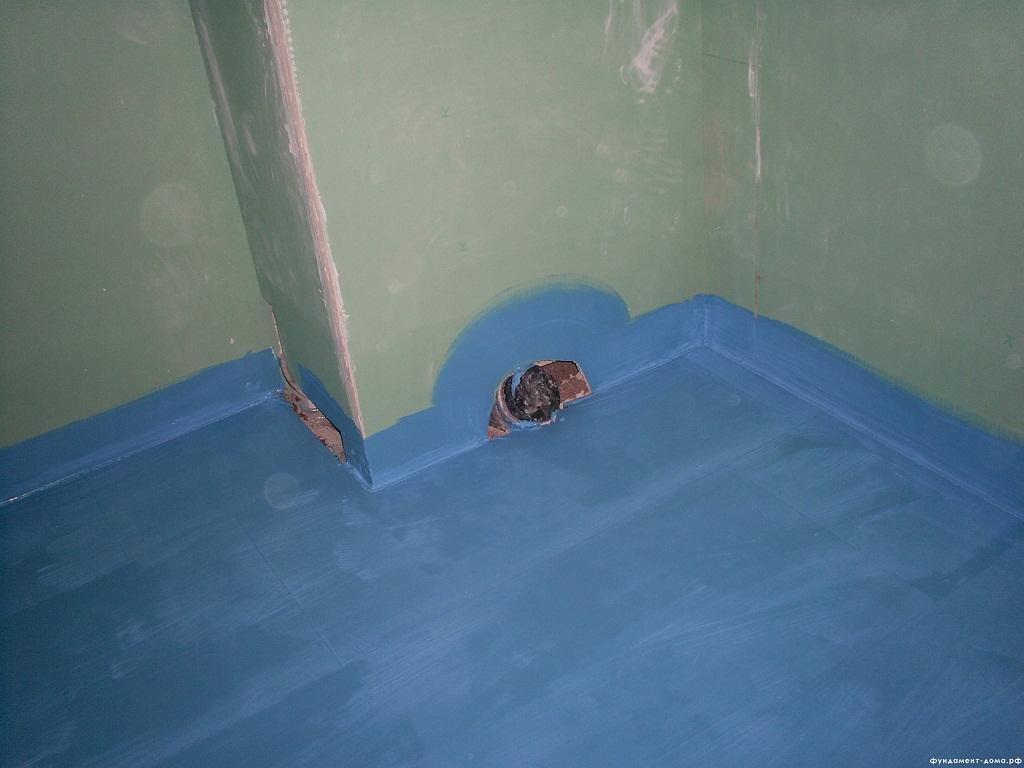
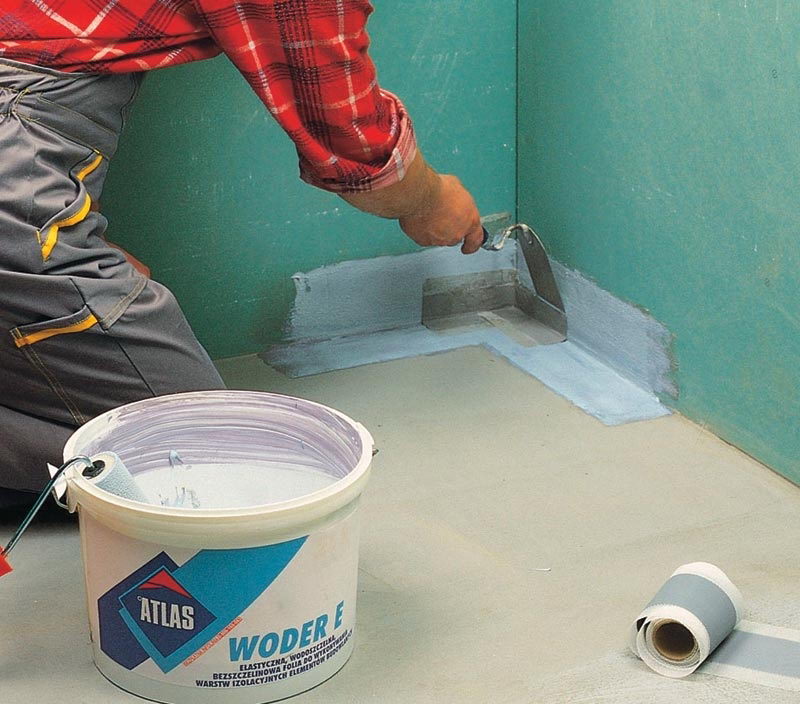
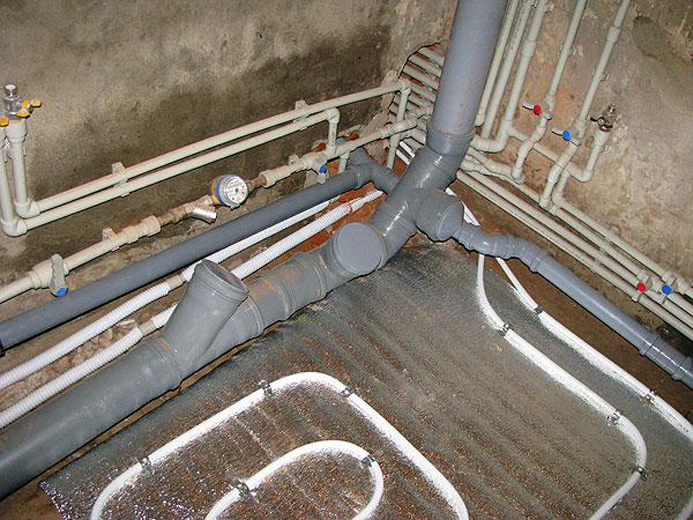
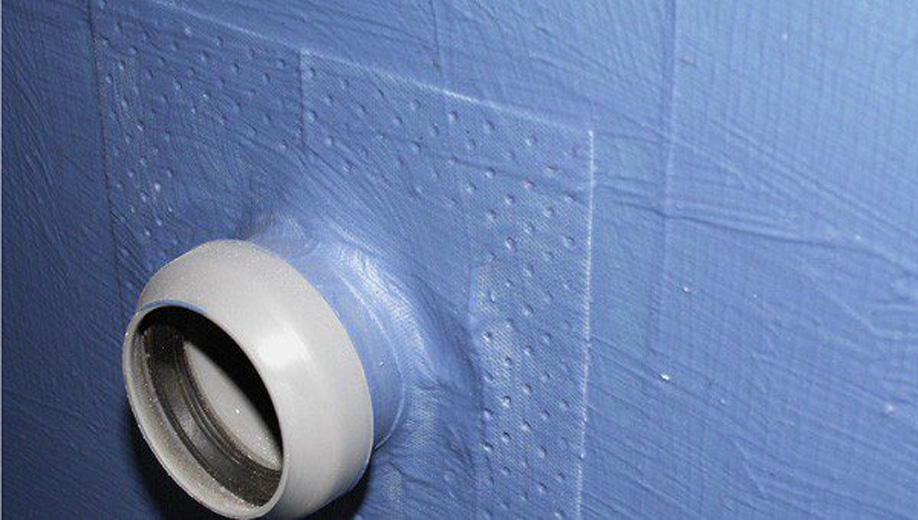
Also very vulnerable places in the bathroom are the corners and baseboards. Therefore at the device of a waterproofing of a floor it is necessary to capture simultaneously walls. A distance of 30 cm will be optimal. You should also carefully waterproof the places where the supply of communications takes place.
Kinds
Today there are many types and methods of waterproofing both external and internal parts of the premises. In order to choose the right materials for waterproofing a bathroom, it is necessary first to thoroughly study all possible materials, and there are plenty of them today.
It is possible to distinguish the following types:
- coating waterproofing;
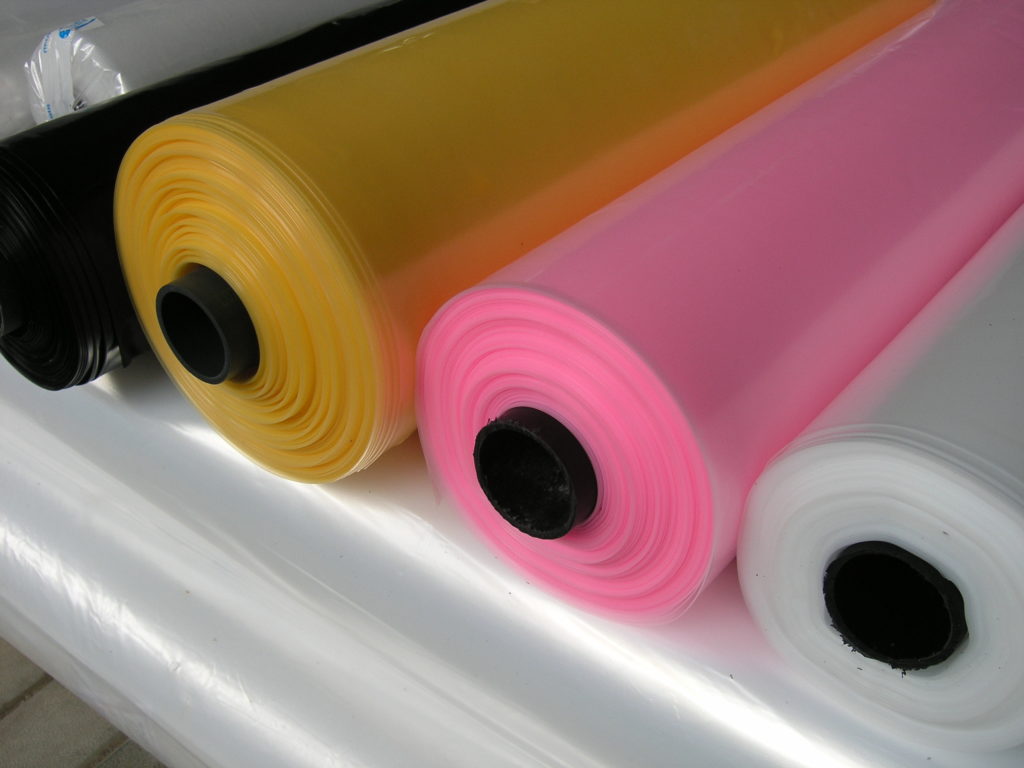
- pasting, which include roll, film and bitumen;
- impregnating;
- special types of plaster;
- waterproof paints;
- special rubber based compounds.

To oppose the water in such a room, all of the above options are well suited. But it is necessary to consider that it is impossible to apply a polyethylene film. It does not allow steam, which often accumulates in the room, therefore it will become ineffective and could harm the decoration of the room.
Careful attention should be paid to the joining of the floor and walls, the bath and the walls. Special cords, bundles and ribbons are well suited here. They are made from special formulations that prevent microorganisms and bacteria from appearing. They are very durable.
It should be noted that if the house is built of wood concrete slabs, then waterproofing the bathroom is simply necessary. Wood concrete is a material that has a very low moisture resistance. Therefore, it often forms mold and fungus, and it can also begin to self-destruct. In this it is very similar to a tree.


For waterproofing of this kind of premises are suitable several types of materials:
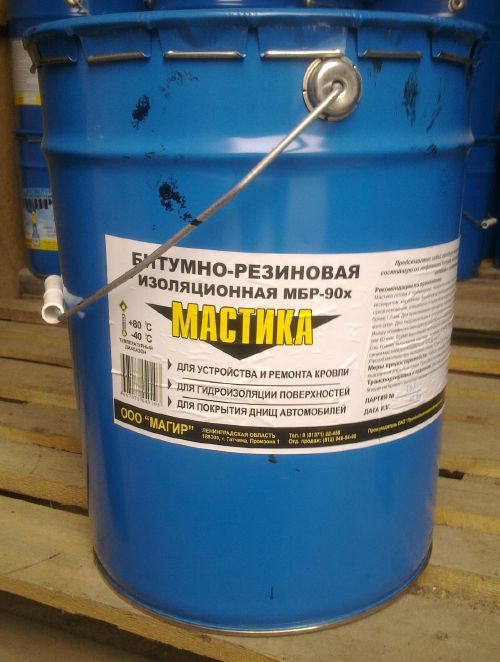
- Mastics with the addition of polymers and bitumen. Differ in simplicity of drawing, high efficiency. They are very durable. Such material is universal and suitable for a variety of premises. Therefore, it is very popular and in demand.
- Impregnating compositions. It should be applied with a roller or brush, as they are liquid. They are convenient to use, they are durable, and also strengthen the building material itself.
- Membrane materials.Membranes should be very carefully selected, as they have many varieties. You need to buy only those options that are designed for waterproofing indoors. In addition, it is better to prefer not too dense types, since such films are more elastic.
- Expanding cement. Such a material is capable of filling cracks, cracks and holes in any coating, as it tends to increase during solidification.
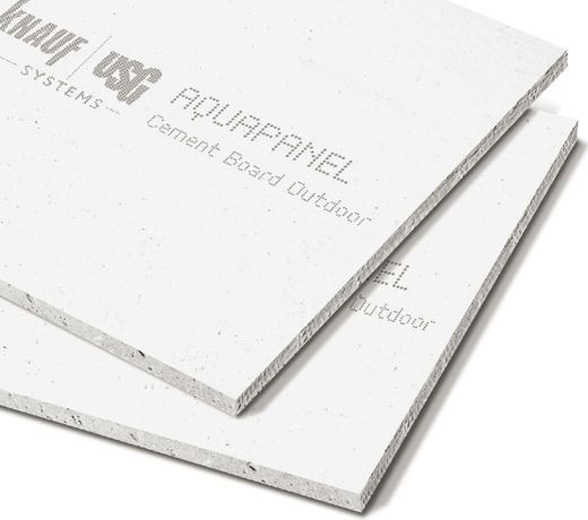
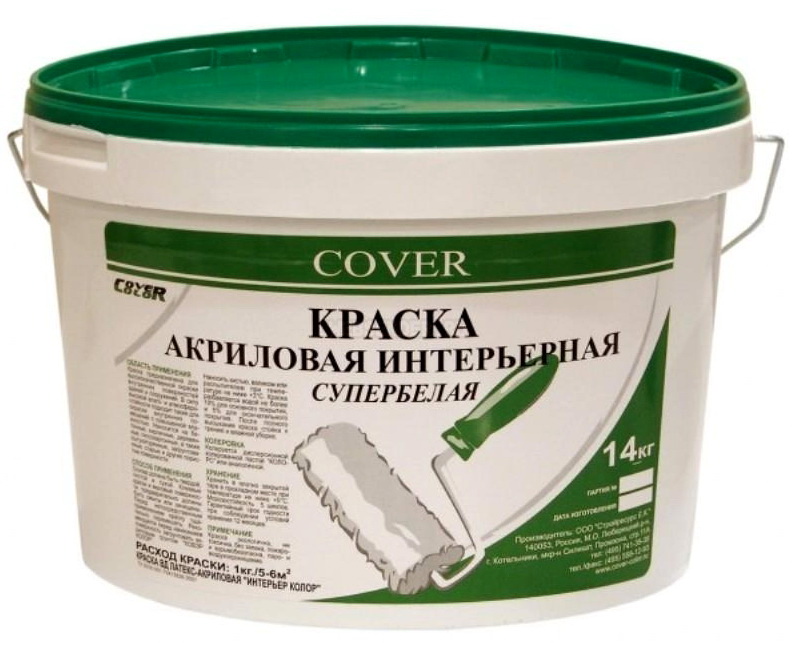
- Latex coating. Necessary when finishing surfaces with aquapanels. Helps maintain the result of waterproofing.

Coating and impregnating compositions are very well suited for waterproofing under tiles. They are easy to apply on their own, without the help of professionals, which will help save money.

Recently, finishing panels have become increasingly popular.that do not miss the water. They are also called aquapanels, they are based on synthetic latex, as well as waterproofing membranes. It is very convenient to use them. And also they will serve not one decade. Probably the only drawback of such a waterproofing material is its rather highthe cost.
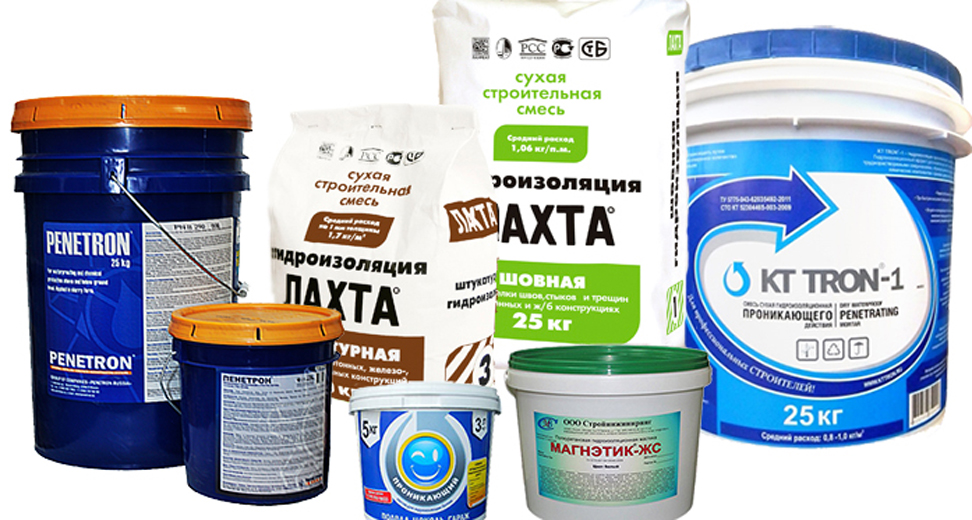
Manufacturers
In the Russian construction market there are many manufacturers of waterproofing. Among the most popular are the following:
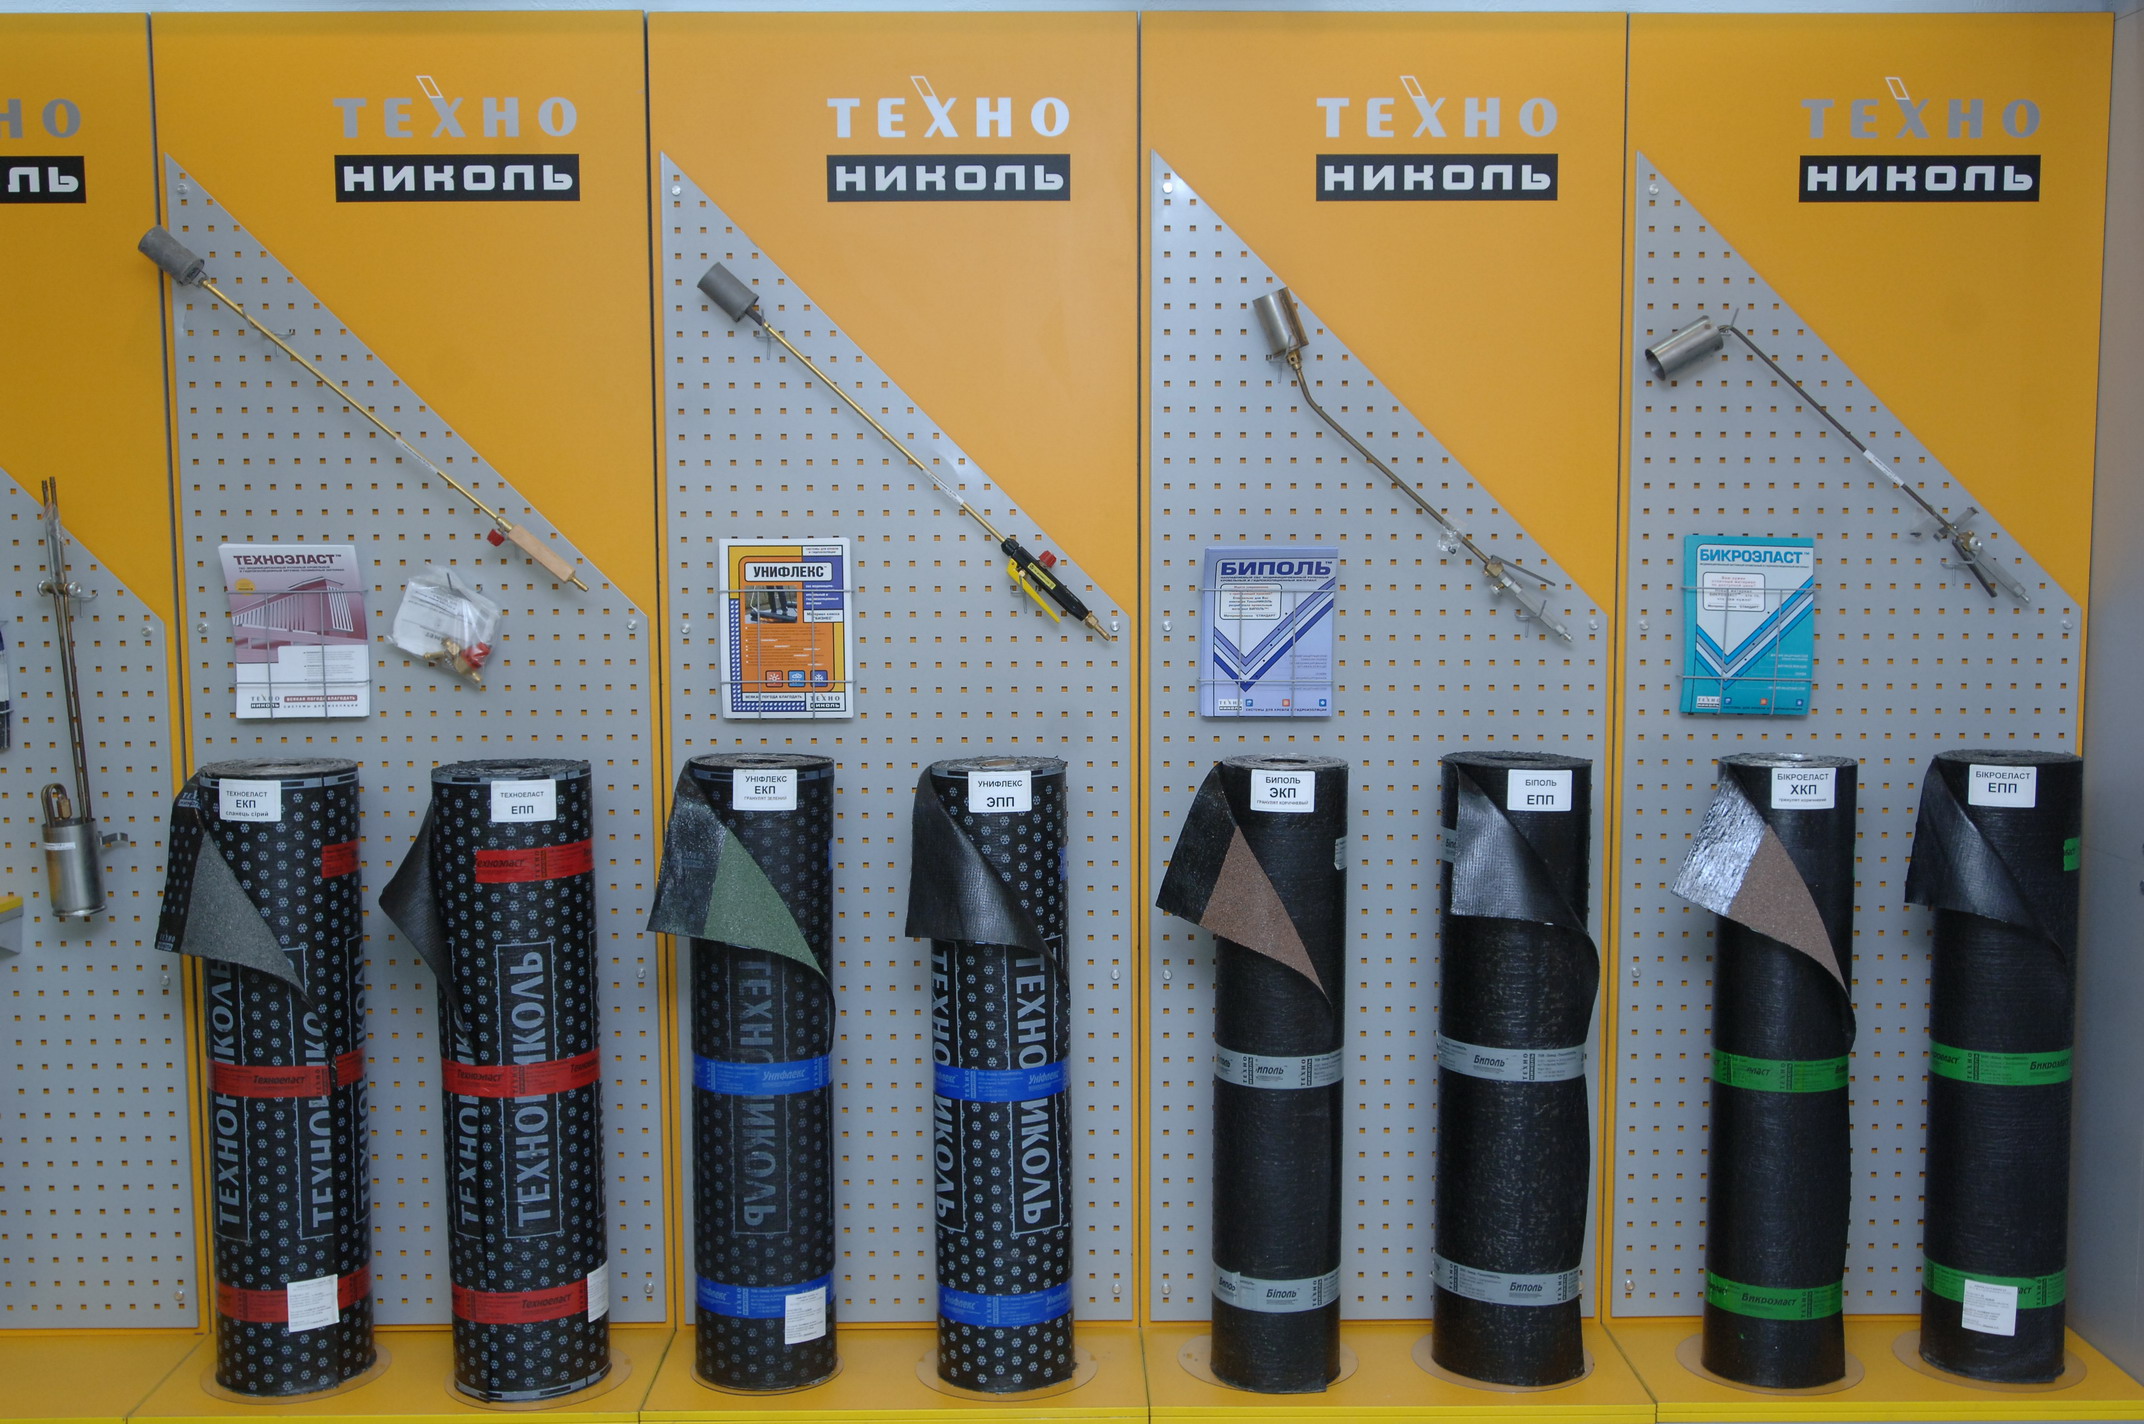
- TechnoNIKOL Corporation - domestic company that produces various types of waterproofing materials;
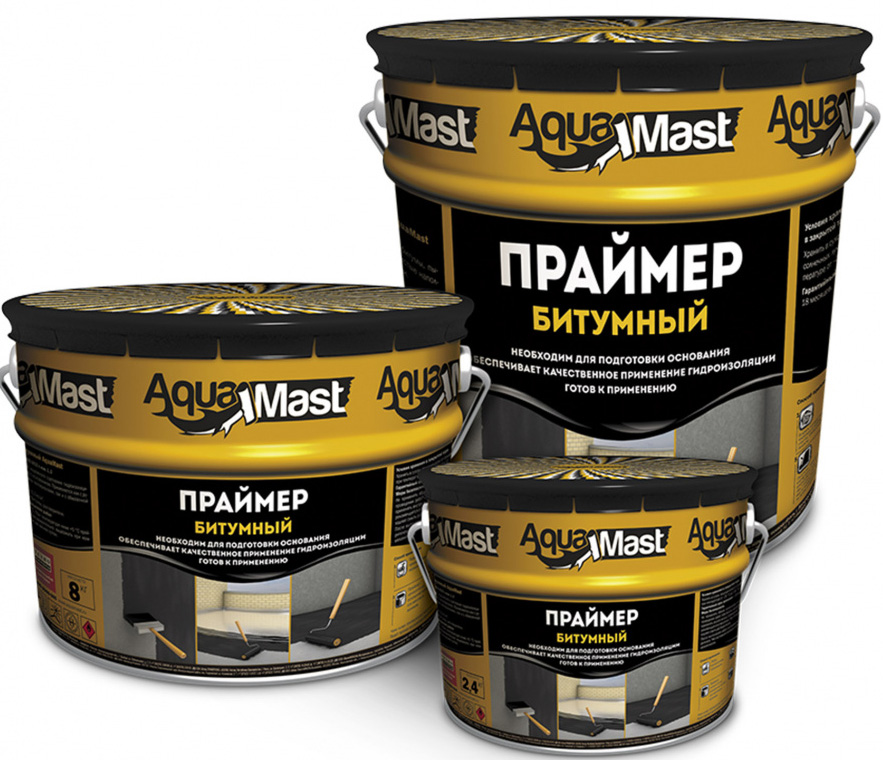
- Aquamast Company engaged in the production and supply of bitumen waterproofing;
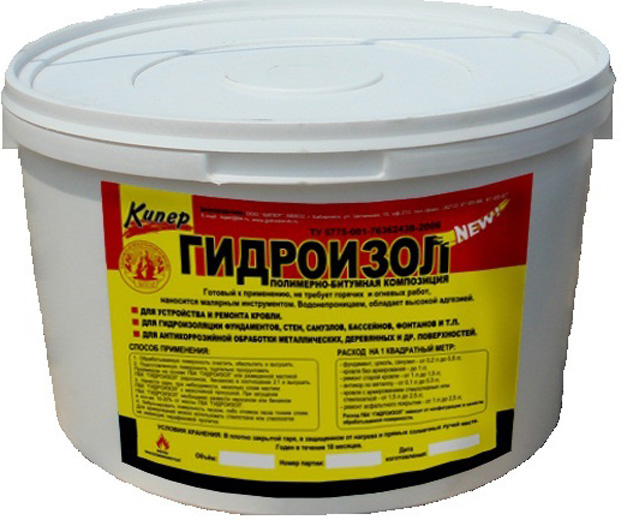
- "Gidroizol" also has a wide range of waterproofing products;
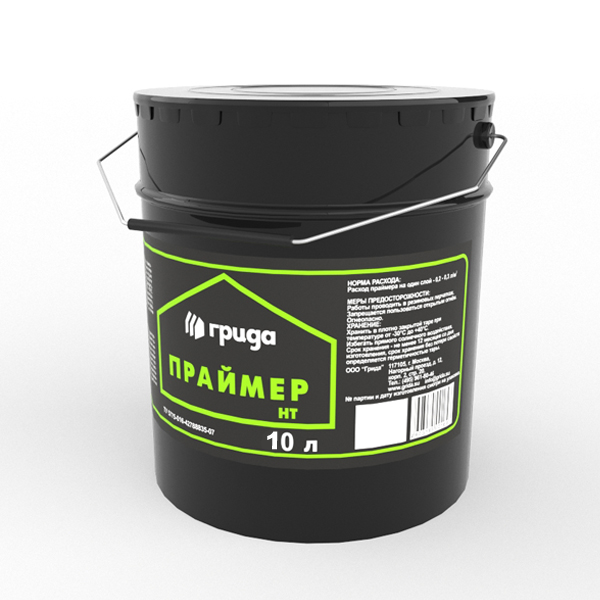
- "Grid" specializes in the production of bitumen waterproofing;
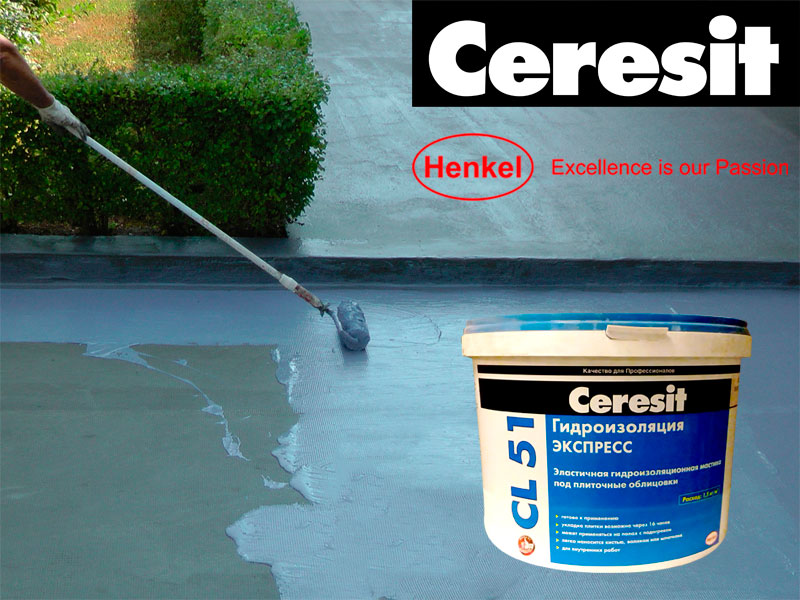
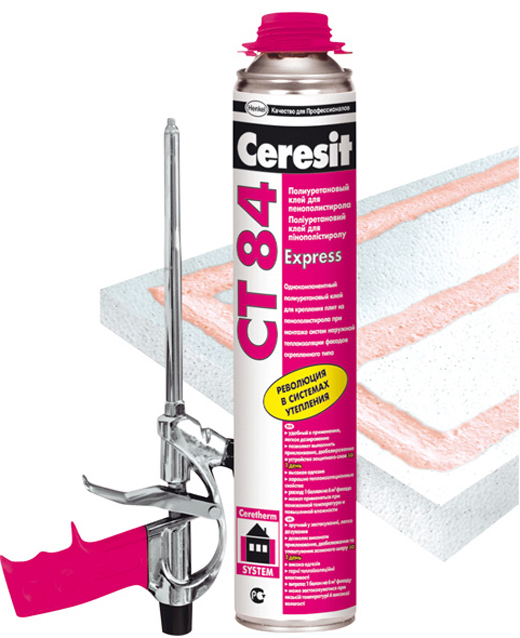
- Ceresit can offer the buyer a wide range of quality products;
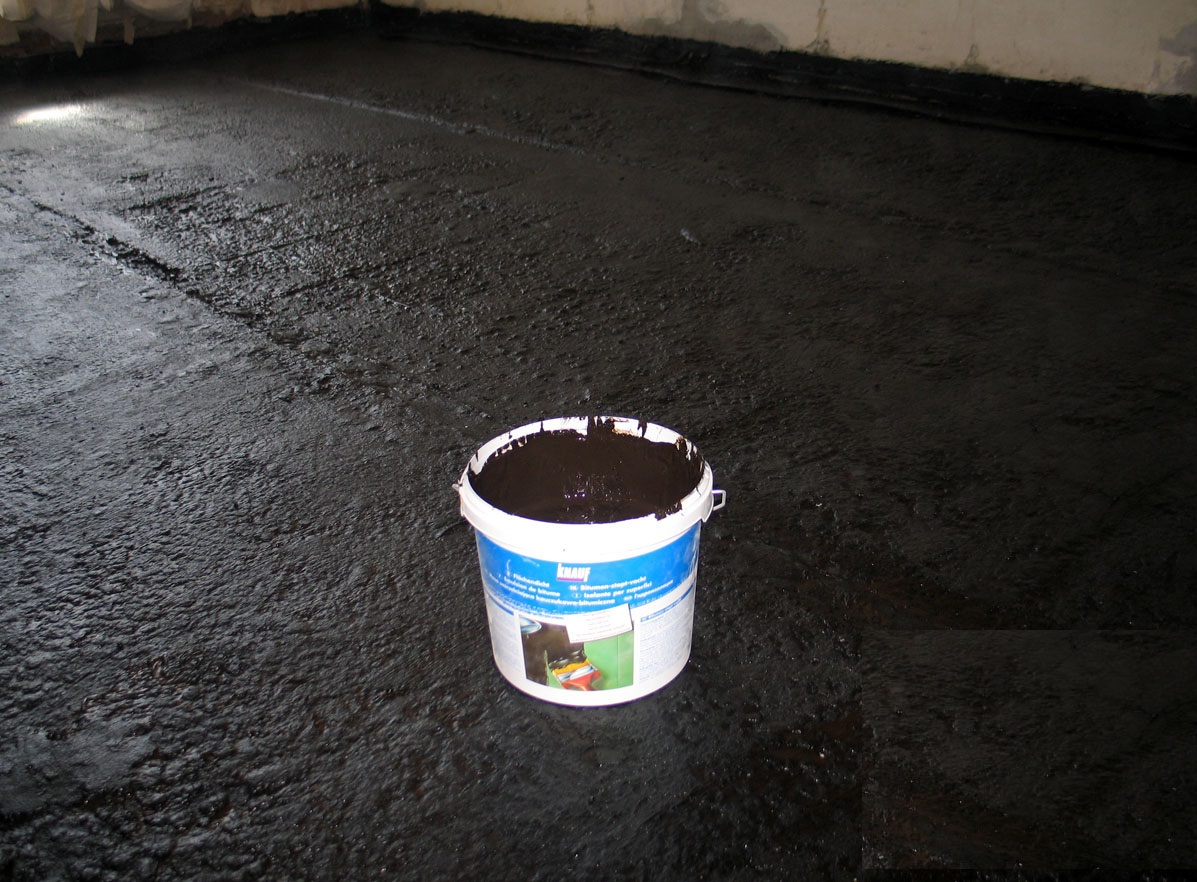
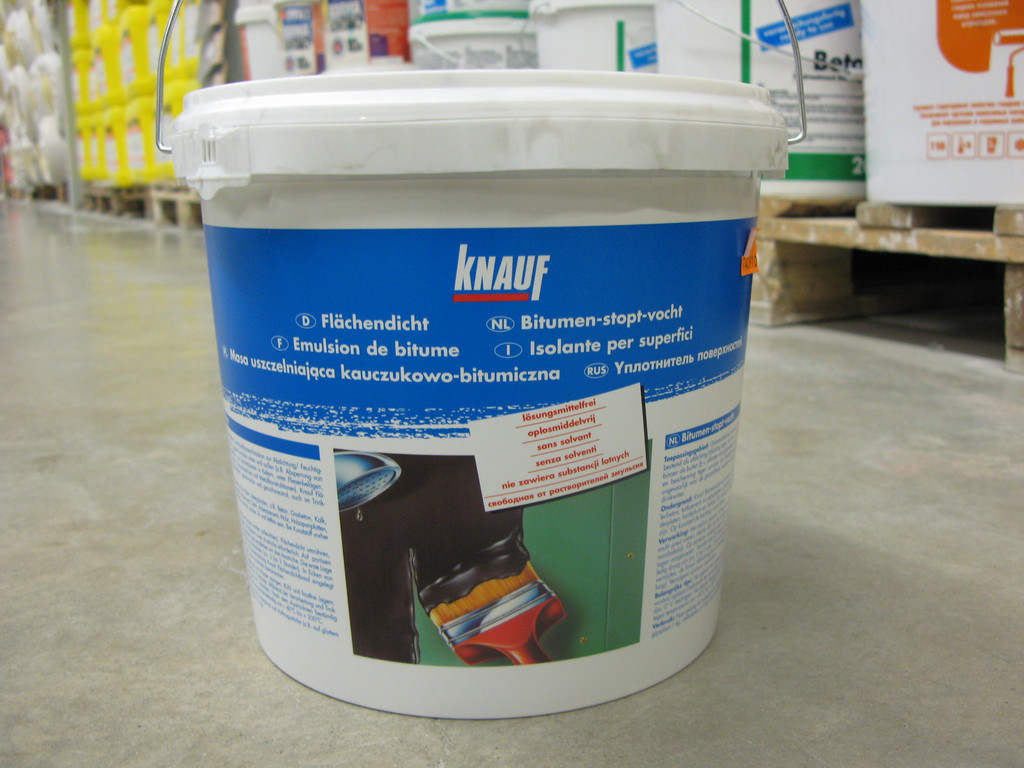
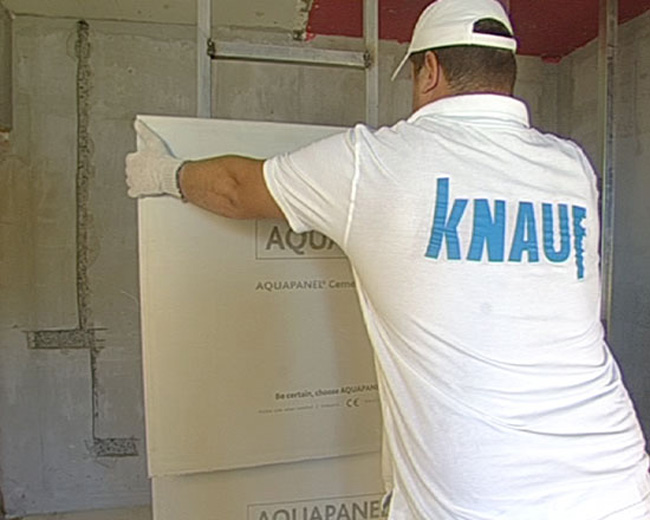
- Knauf - also a well-known company in Russia producing waterproofing materials of various types.
The choice of firms and their products is very large. The main thing is to determine what materials will be needed for the installation of waterproofing systems.

How to choose?
By and large, in order to produce all the work in this room, you can choose any existing materials. The choice may be due to the preferences of the owner, the means that he is willing to spend on this event and the lifespan of this material.This is important due to the fact that such material may become unusable before finishing. Then the presence of waterproofing will be useless.
The floor under the concrete screed is well waterproofed roll materials. Easier to use, but no less quality are oblique waterproofing materials. They also combine well with penetrating waterproofing. Under the concrete screed, it is necessary to apply a coating compound, and penetrating over it. This type of insulation will prevent any water leaks.
It is necessary to add that the following substances may be included in the composition of the materials applied by the coating method:
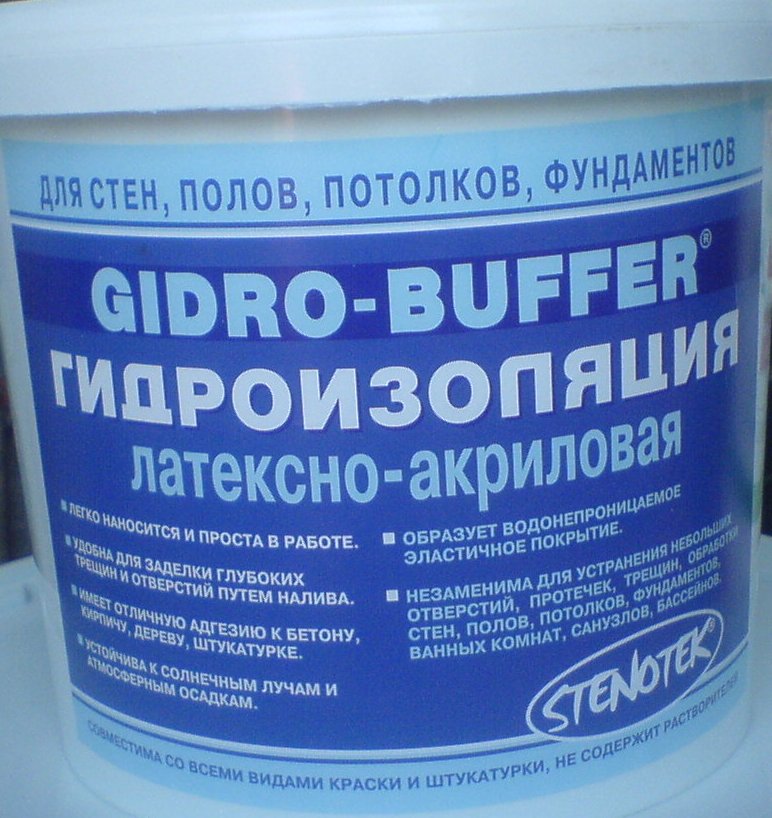
- water emulsion (with the addition of acrylic);
- bituminous rubber;
- bitumen-polymer;
- cement-polymer;
- polyurethane;
- bituminous.
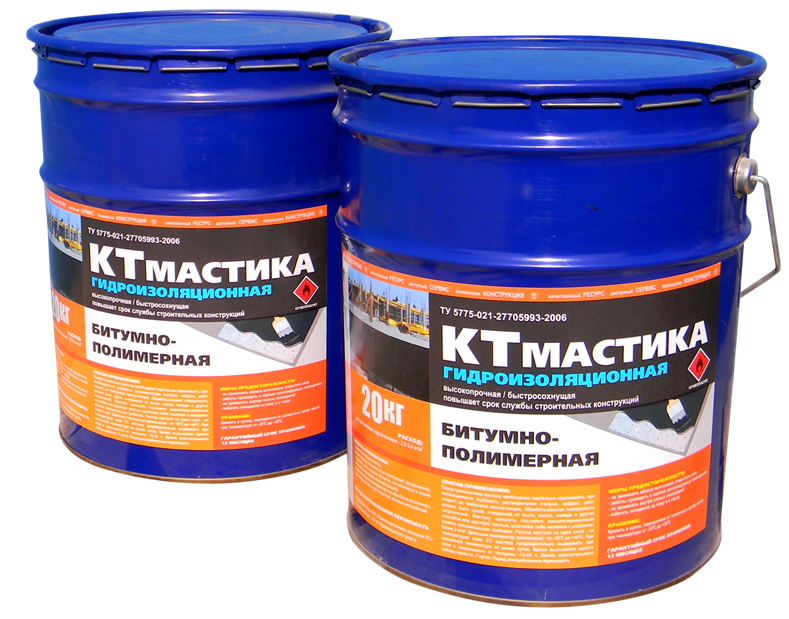
Various types of fillers are often added to the bitumen-based mixture, which make them flexible. Also mastics have good adhesion, which allows them to be used on any materials.
The use of such materials also has disadvantages:
- do not tolerate large temperature differences, chipping and cracks may appear on the coating;
- subject to biological corrosion;
- during the works, they emit a pungent odor that stays indoors for a long time.
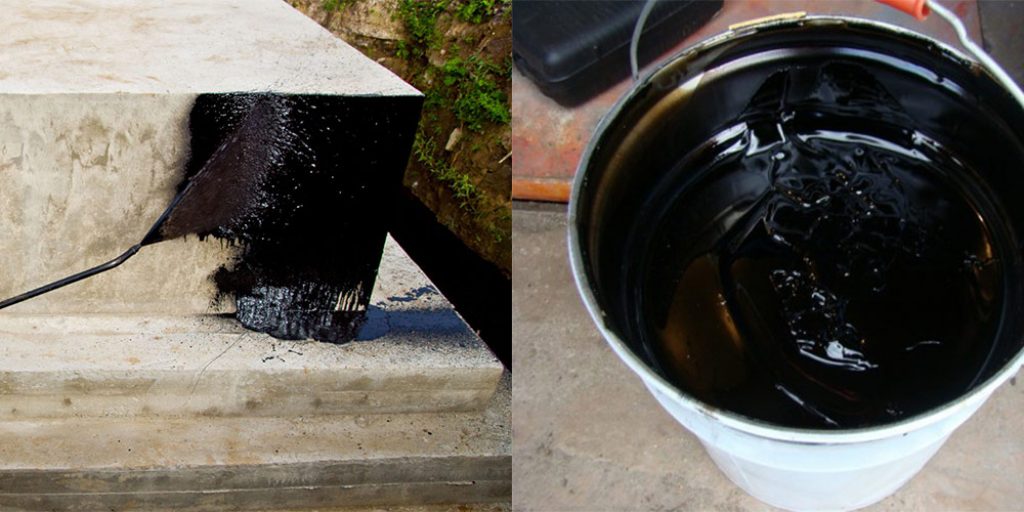
Bituminous mastics well waterproof the flooring, their cost is low, but they can be operated for about six years.
If we are talking about polymeric materials, then they have practically no drawbacks. And among the advantages emit ease of laying material on open surfaces, and in hard to reach places.
There is also a plaster mix consisting of gypsum, cement and various polymers. Her positive qualities include the fact that she is not afraid of temperature fluctuations. The application of such waterproofing is also not difficult. To do this, you can use a brush or roller. It should be noted that during processing the joints are pasted over with tape-sealant.
Pasting waterproofing is very effective, but it will be much more difficult to install.
You can select the most common options for it:
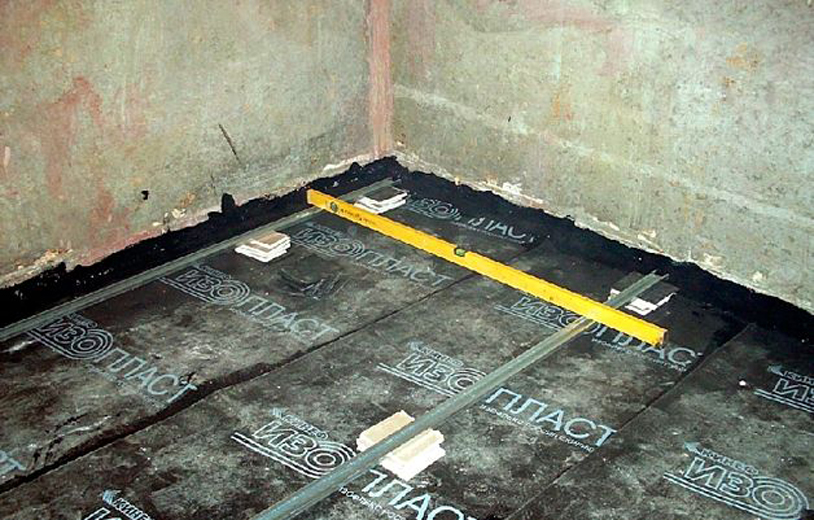
- ruberoid;
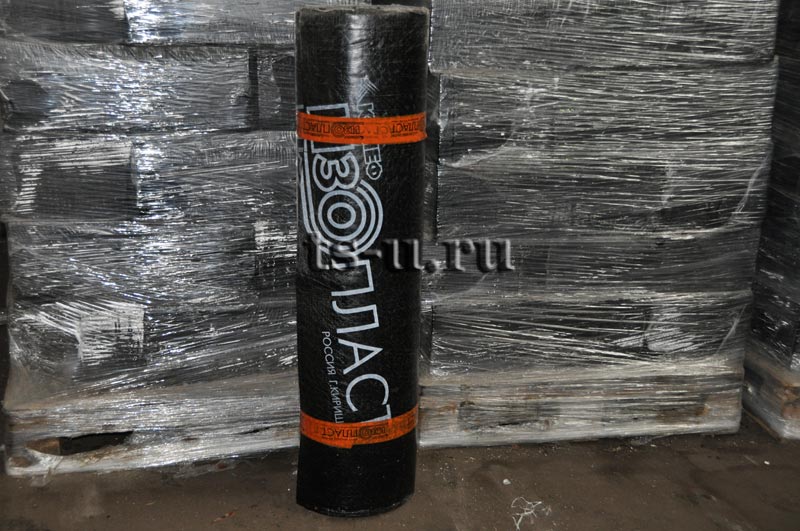
- isoplast;
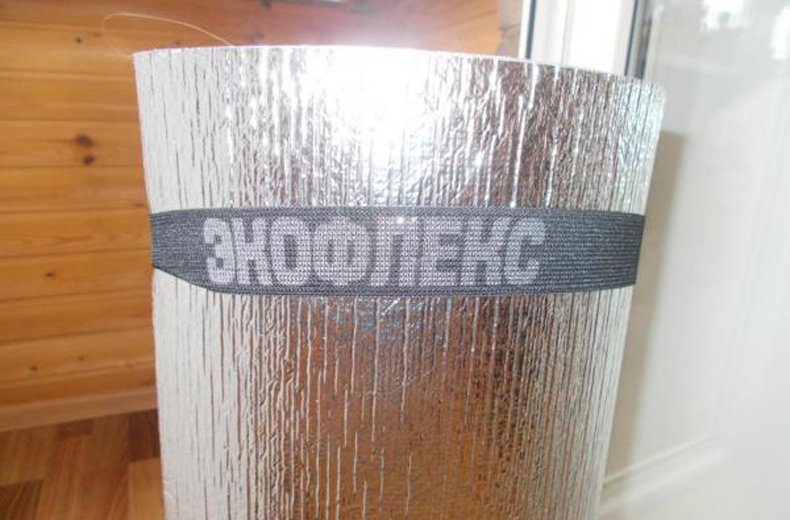
- ecoflex;
- waterproofing;
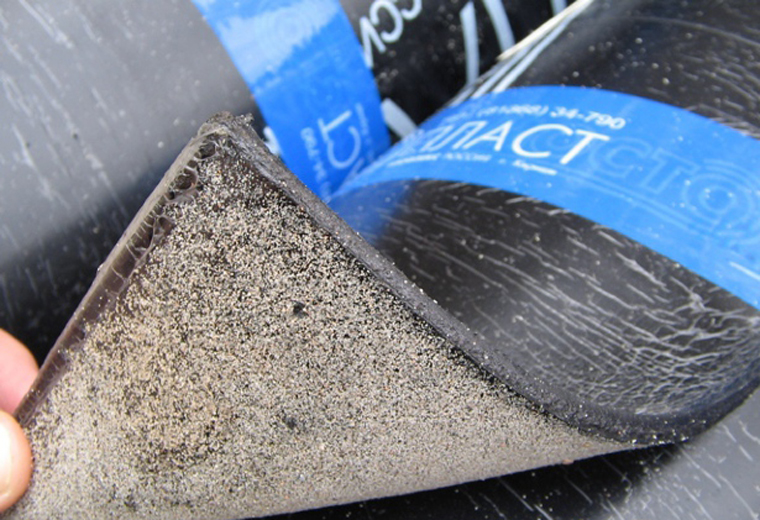
- bridgeplast.

The strengths of waterproofing waterproofing should include the following:
- it tolerates temperature drops well;
- is very durable;
- has a good elastic structure.

The coating materials are of two types, depending on the method of their installation:
- stacked with glue;
- have self-adhesive base.

For the first, as a glue, you can use mastic based on bitumen. Self-adhesive already have a sticky layer, which is often also made of identical mastic.
Before you begin to waterproof the bathroom, you need to:
- Decide on the location of all plumbing and household appliances, that is, everything that will be connected to the water supply.
- When choosing waterproofing materials, you should immediately consider the building materials to which they will be applied, whether there will be a heated floor in the room.
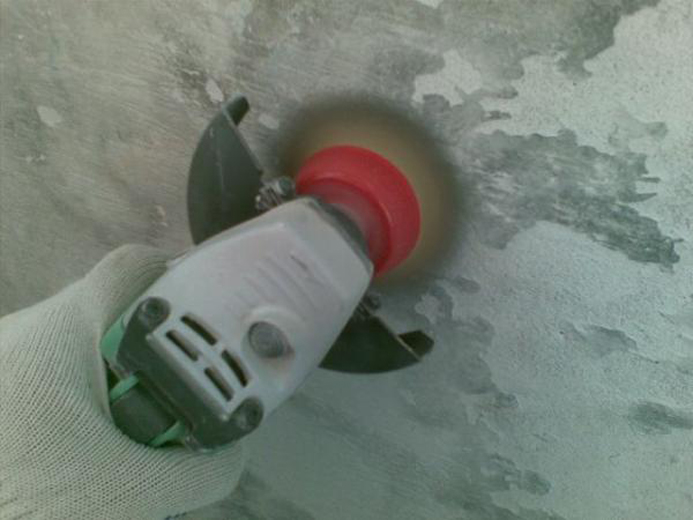
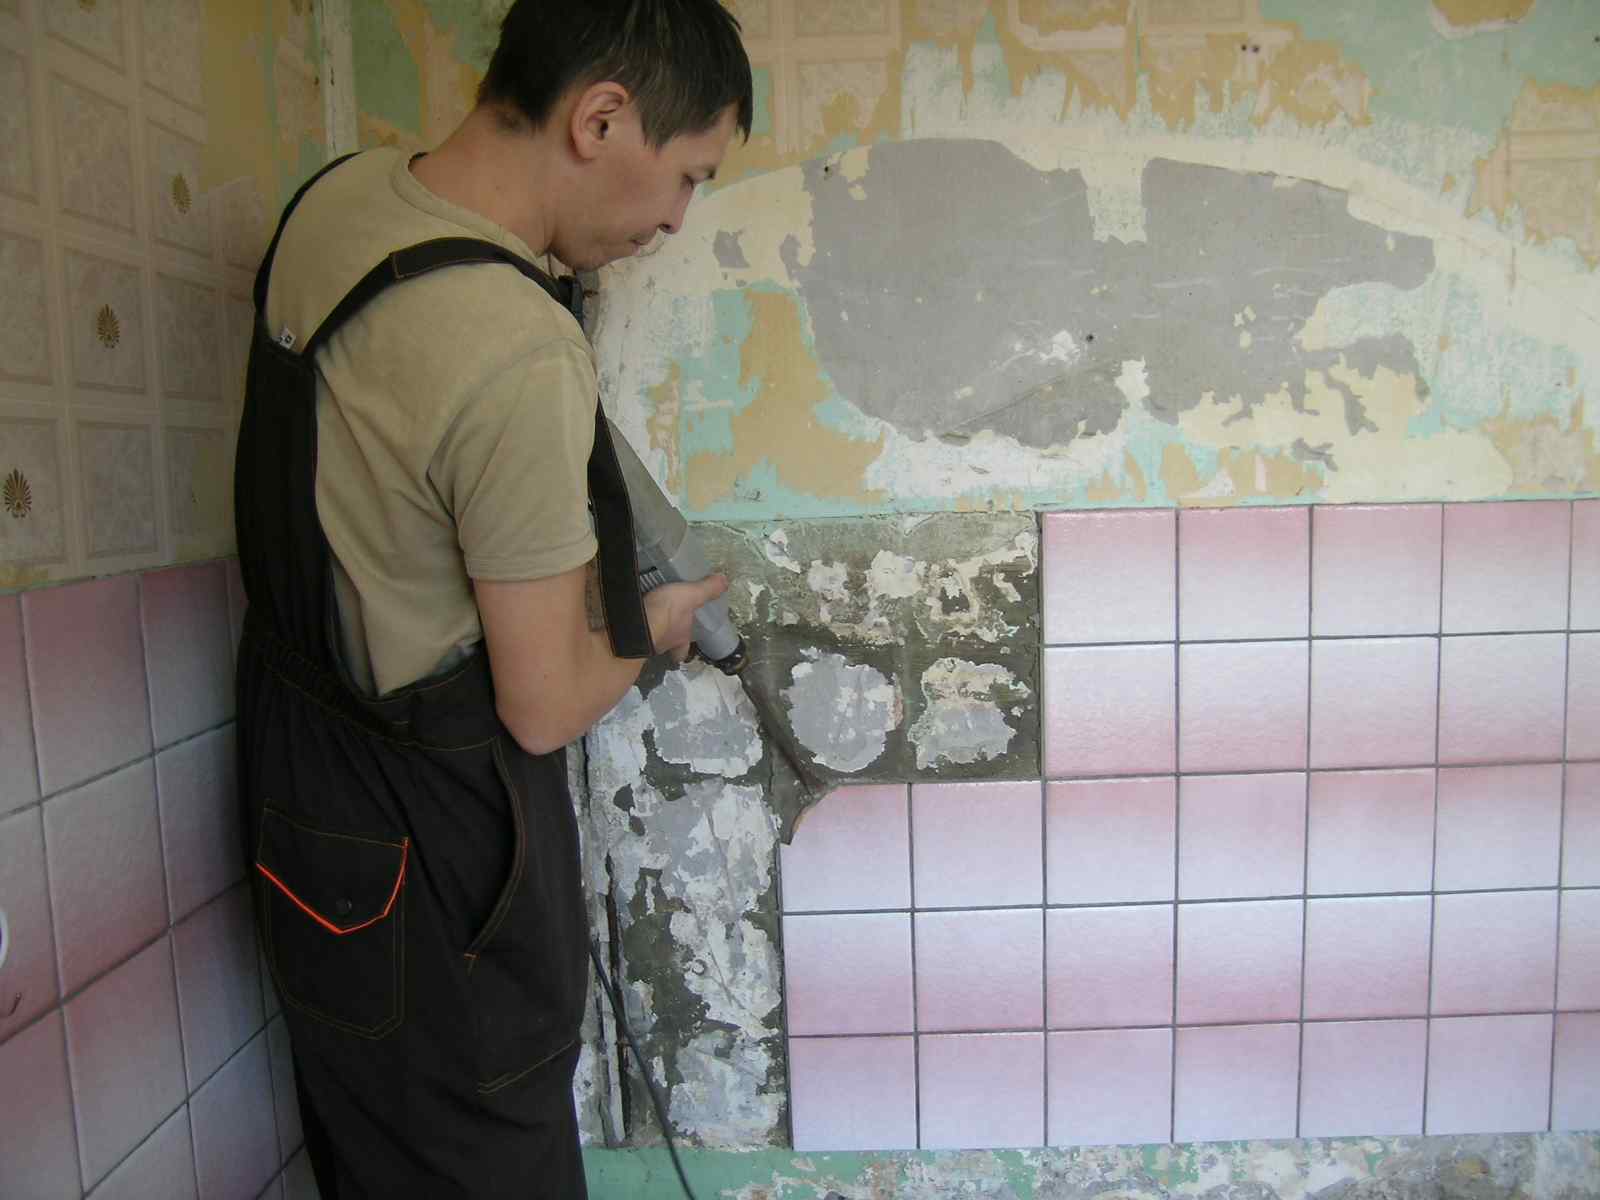
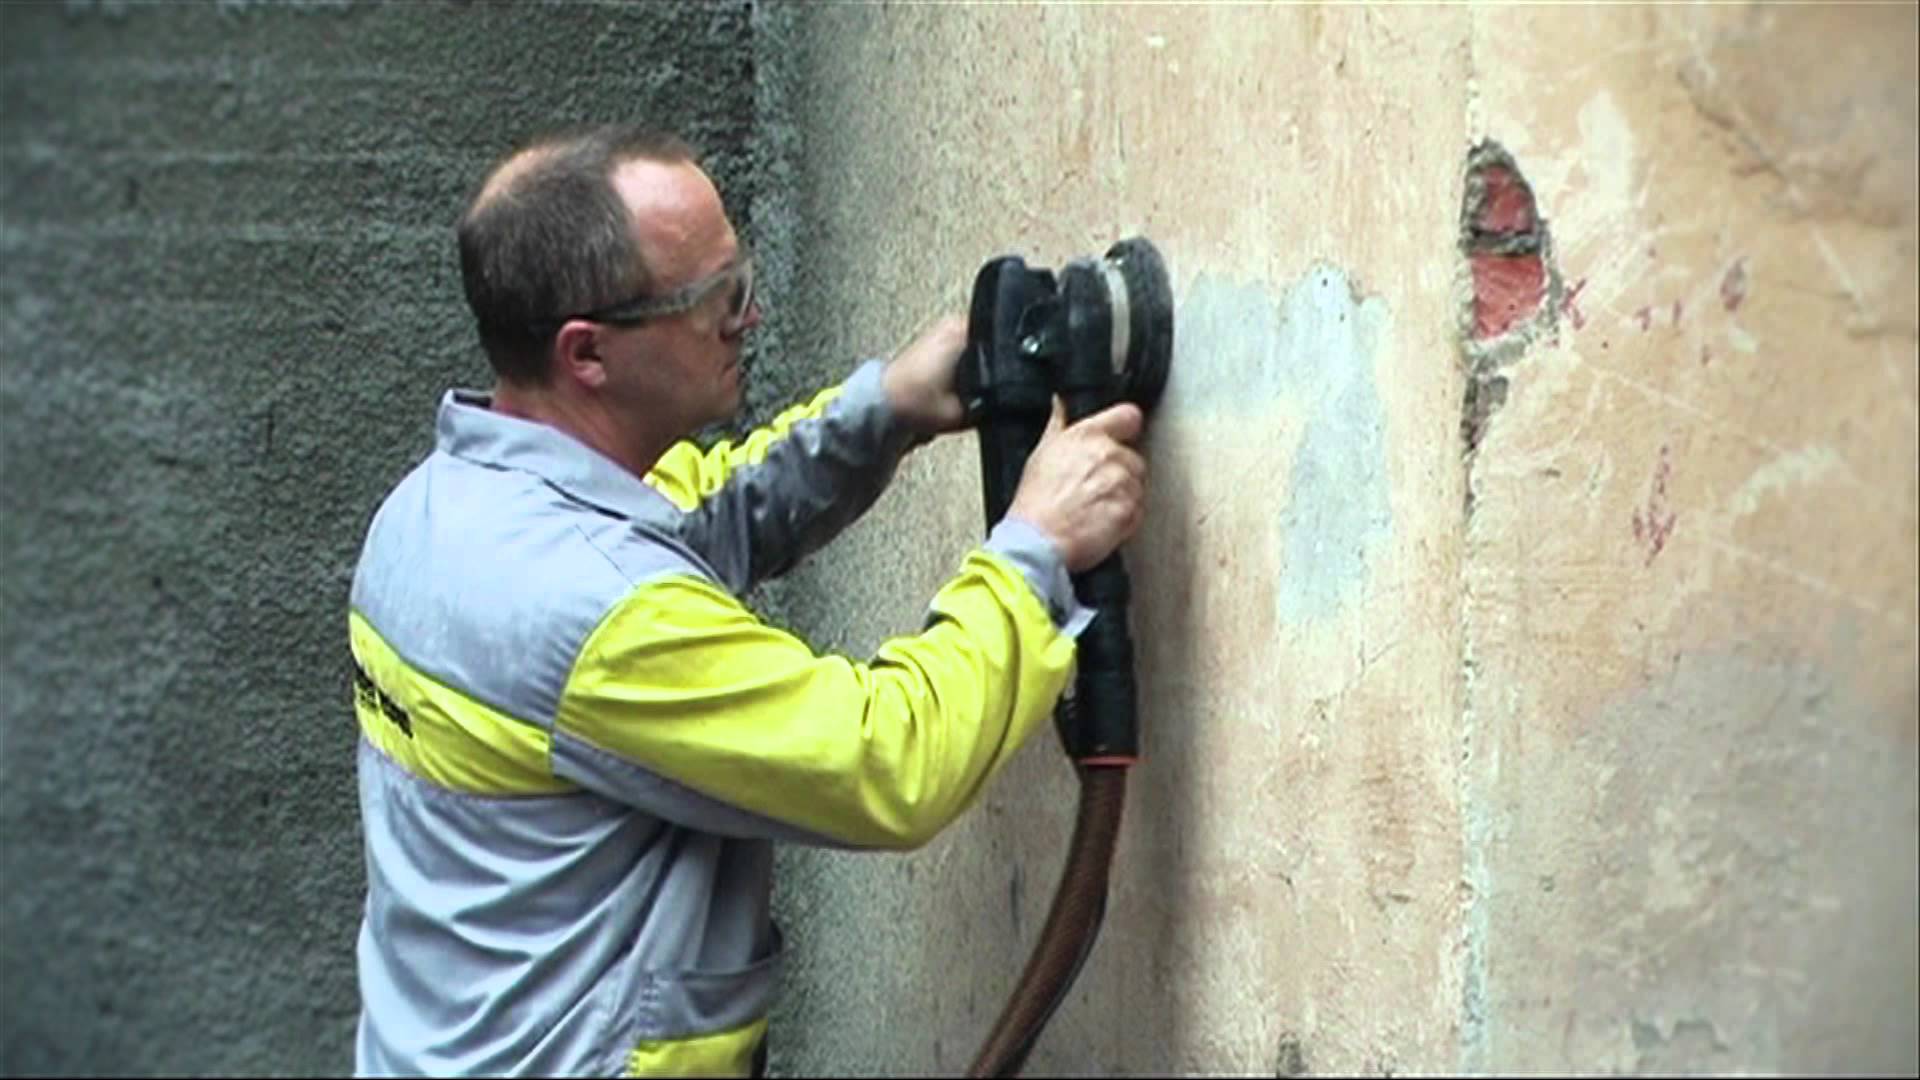
- If the apartment is located in a newly renovated building, the walls are most likely covered with gypsum plaster. Before starting work, its white top layer must be removed, for example, using a grinding machine.
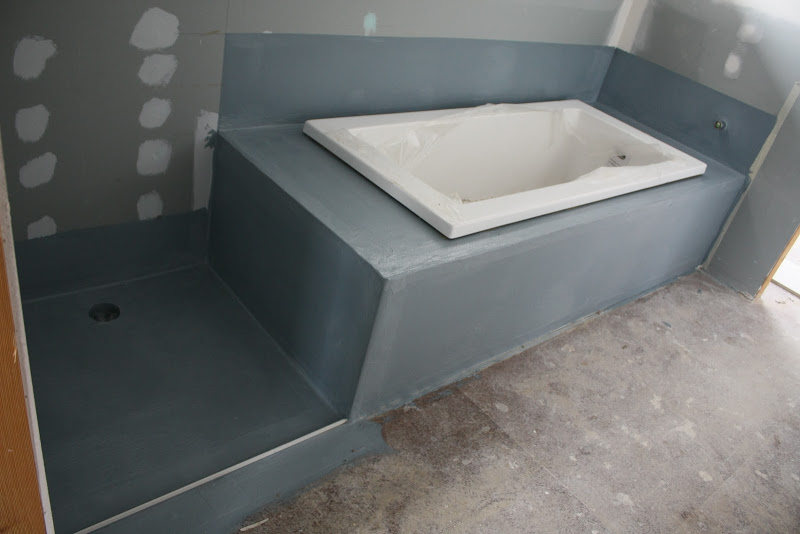
- It is necessary to highlight the places where the bath, toilet, sink and shower will be located, the areas around them must be waterproofed first of all.
- If the surfaces have large irregularities, then first they need to sheathe sheets of drywall or tongue-and-groove slabs that are laid on a frame base.
- When waterproofing walls made of wood, it is best to use plastic liquid rubber or rolled materials, besides, wood must be treated with special antiseptics.
How to make yourself?
To waterproof the premises of the bathroom itself is quite possible. You just need to choose the appropriate option of waterproofing, to understand the installation, which will depend on its type, and follow all the recommendations of the manufacturer.
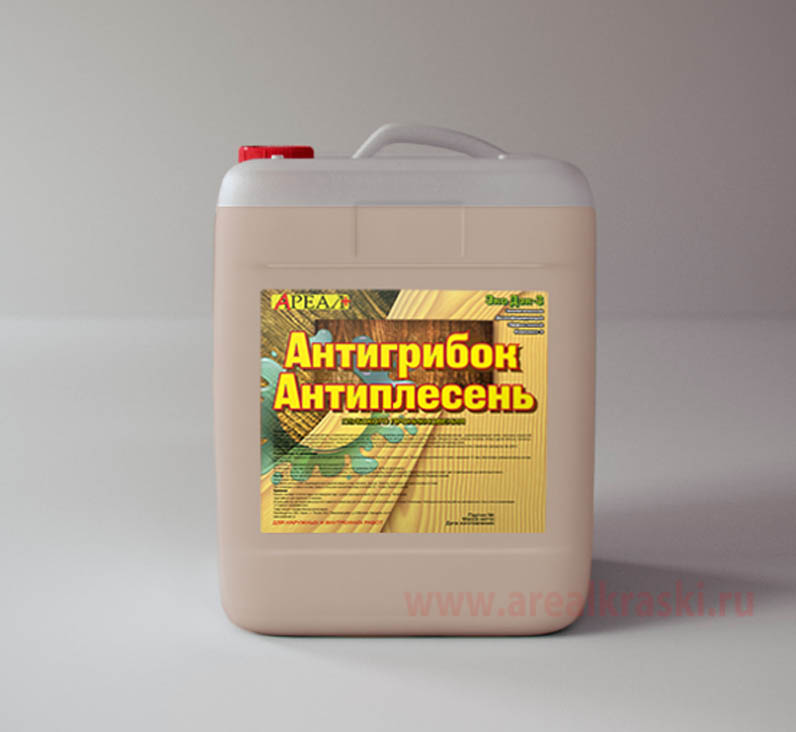
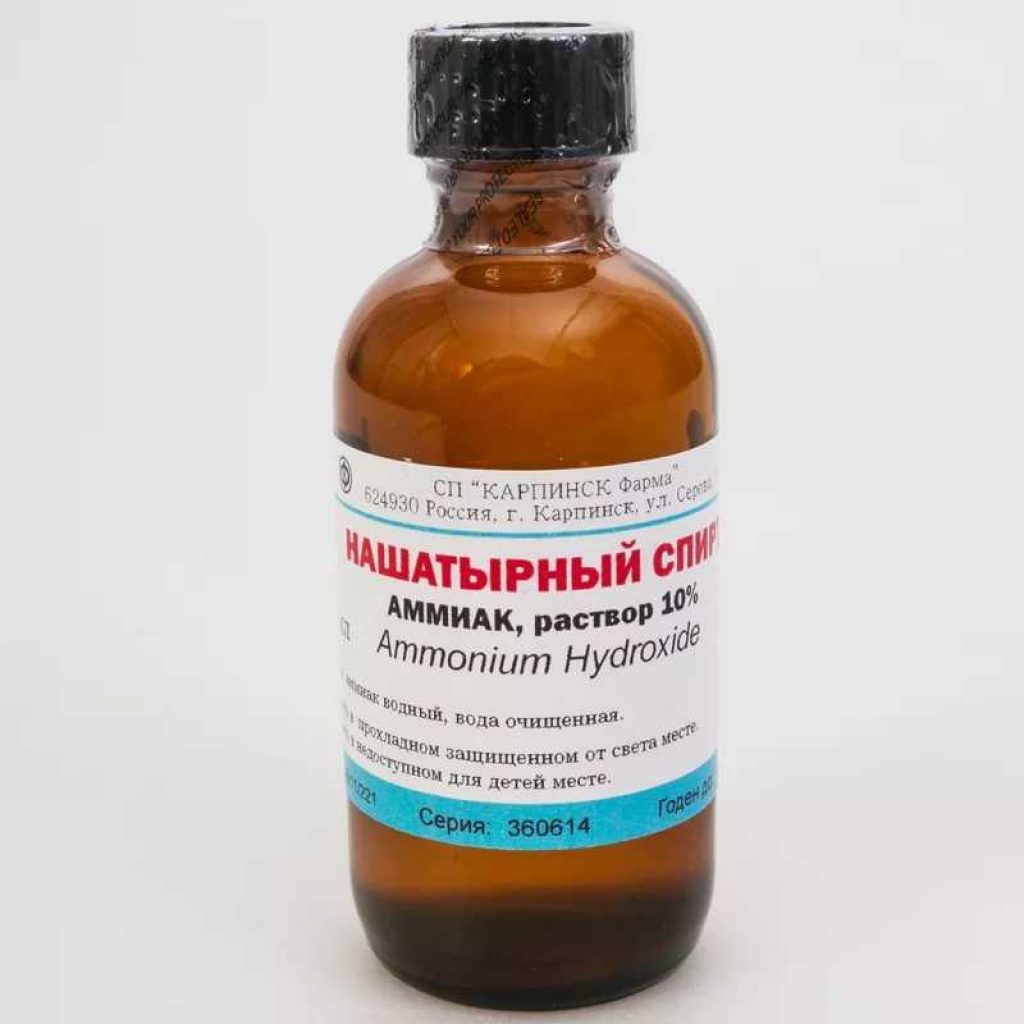
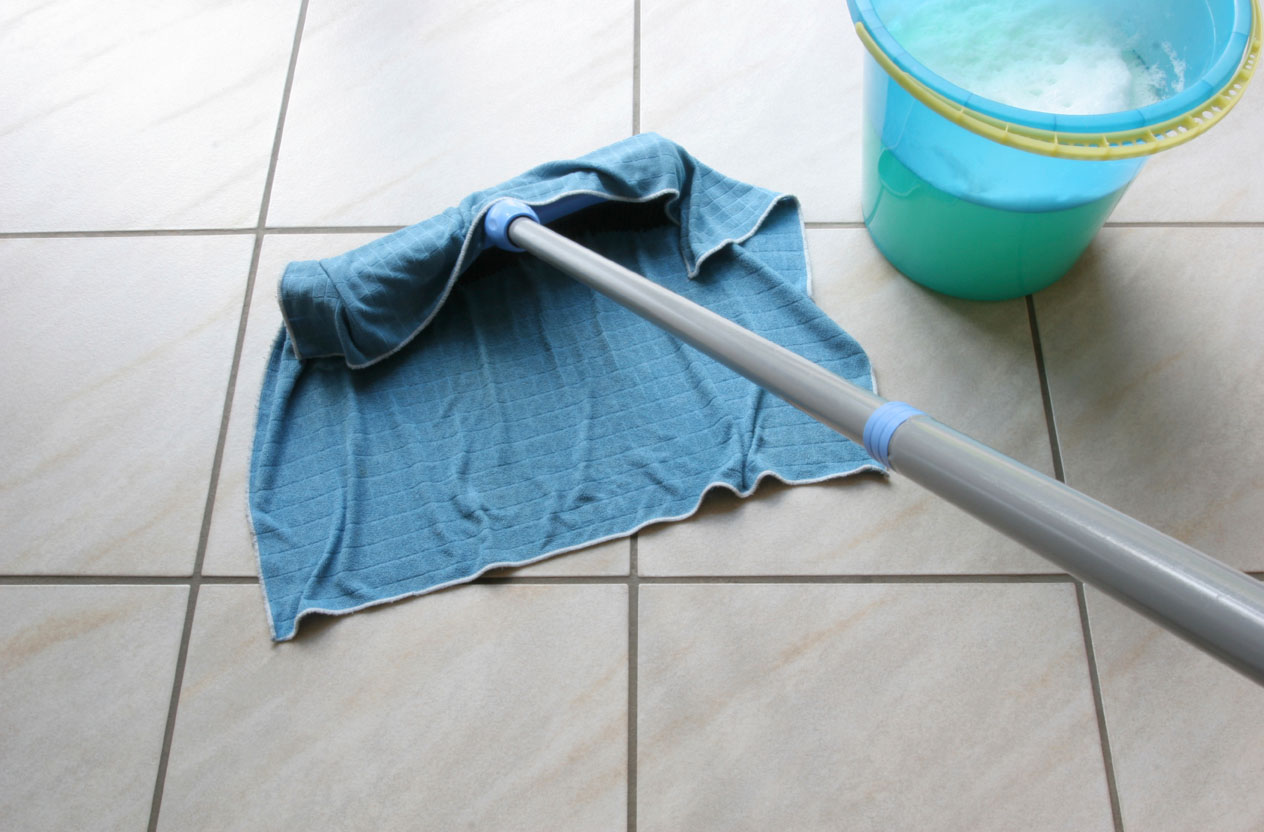
Before starting work, you need to completely empty the room., take out all the rubbish, clean the floors, walls and ceiling from old finishing materials. Next, the prepared surface must be treated with an antiseptic solution. You can do it yourself. This will require water, ammonia and medical alcohol.

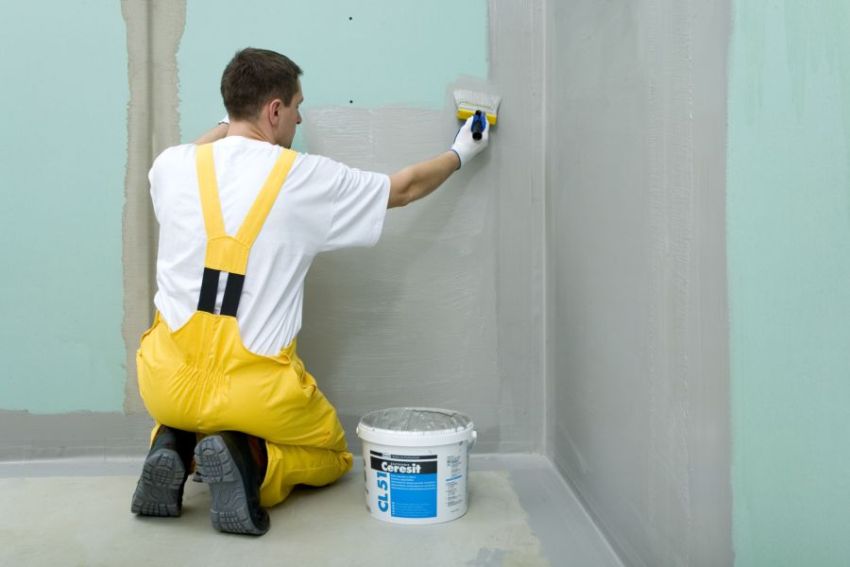
First of all, it is necessary to apply waterproofing on the walls. During work, be sure to use a protective mask and ventilate the room.

After processing all surfaces need to ventilate the room and dry it. This will take at least a day. During this time, you need to make sure that there is no dust, debris and moisture.
Only after the layer dries well, you can begin to finish the room.
If you do all the work yourself, you can combine rolled materials and bitumen mastic for greater efficiency.
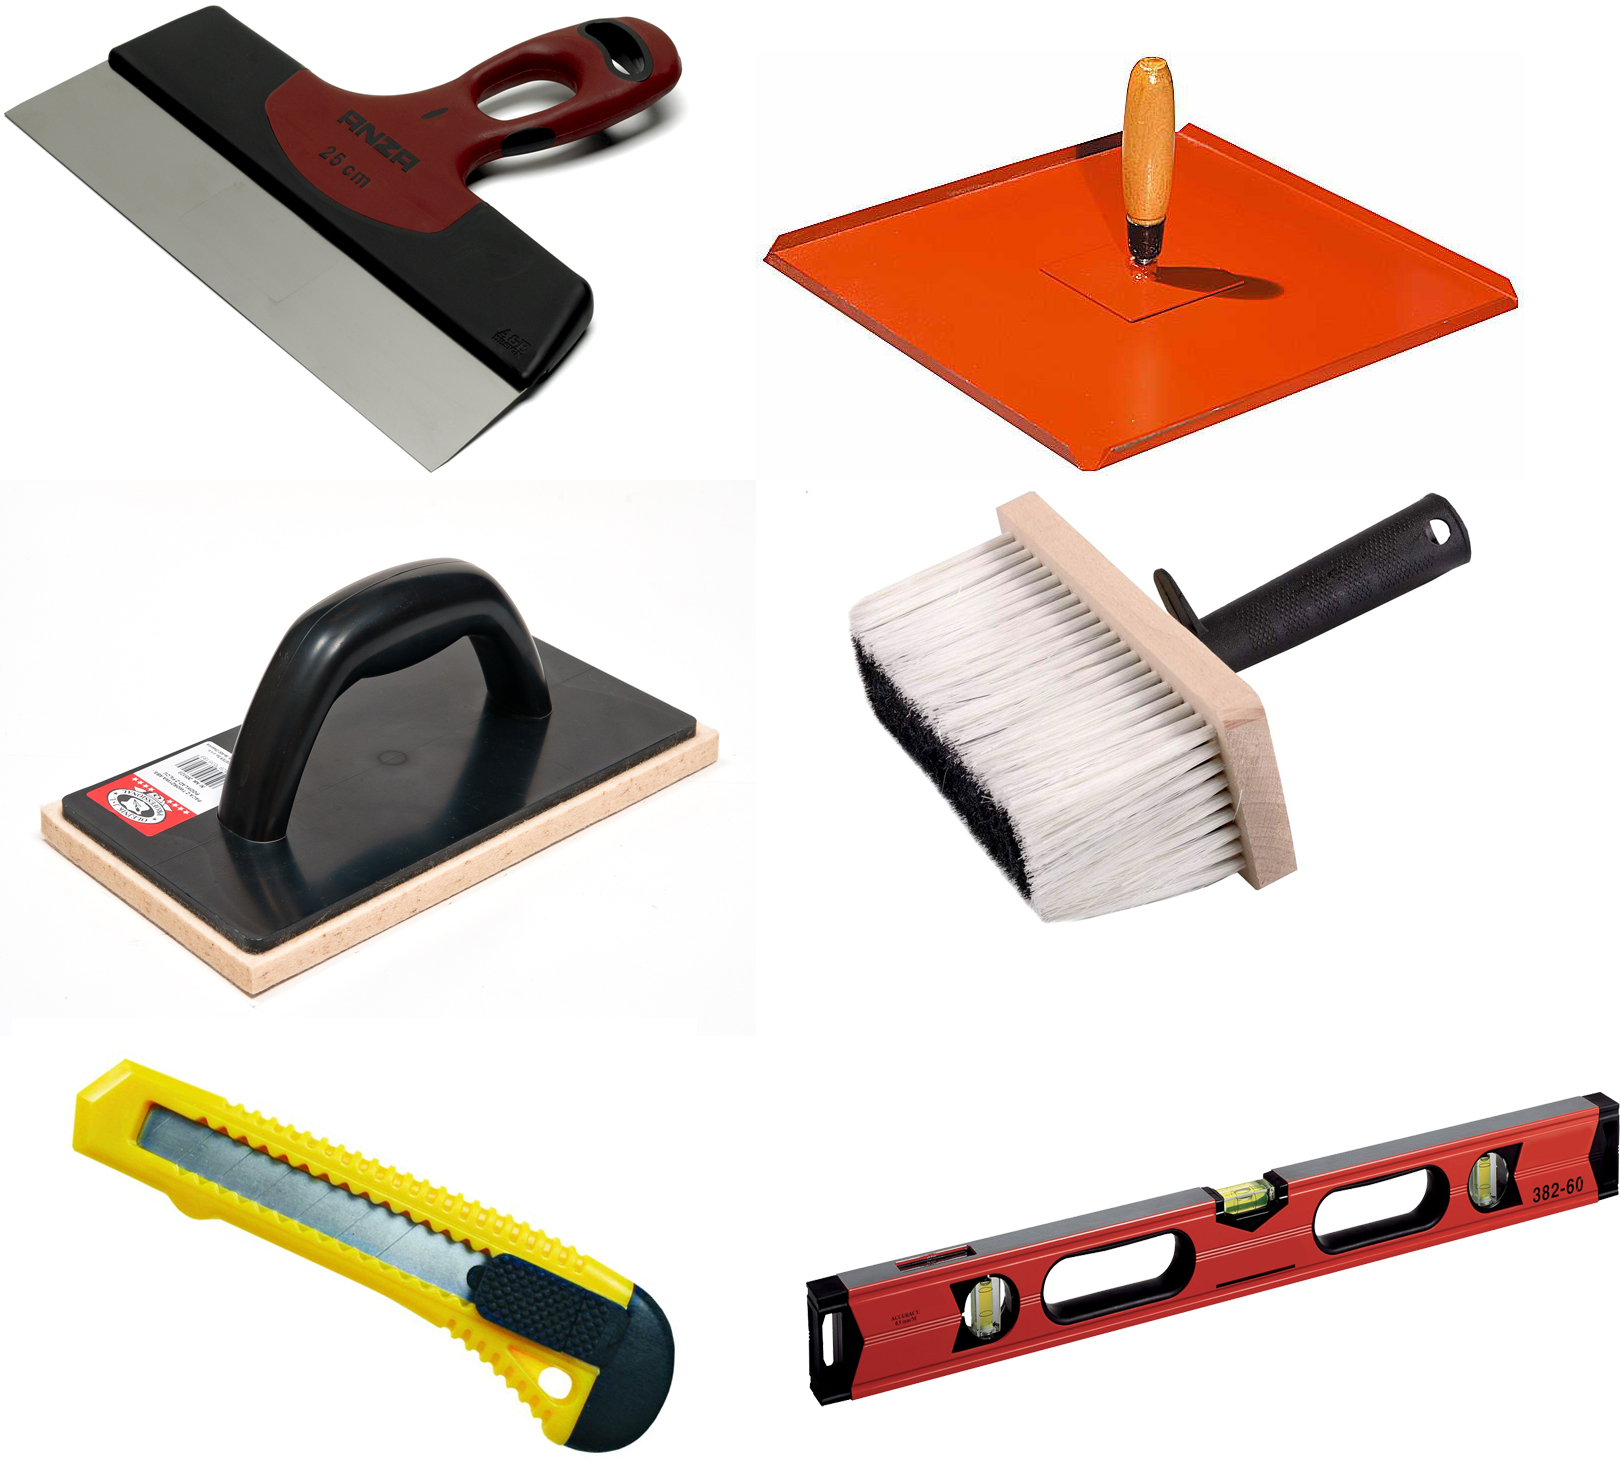
- Instruments
Before starting the arrangement of waterproofing in the bathroom, it is better to prepare materials and tools for the upcoming work:
- waterproofing material;
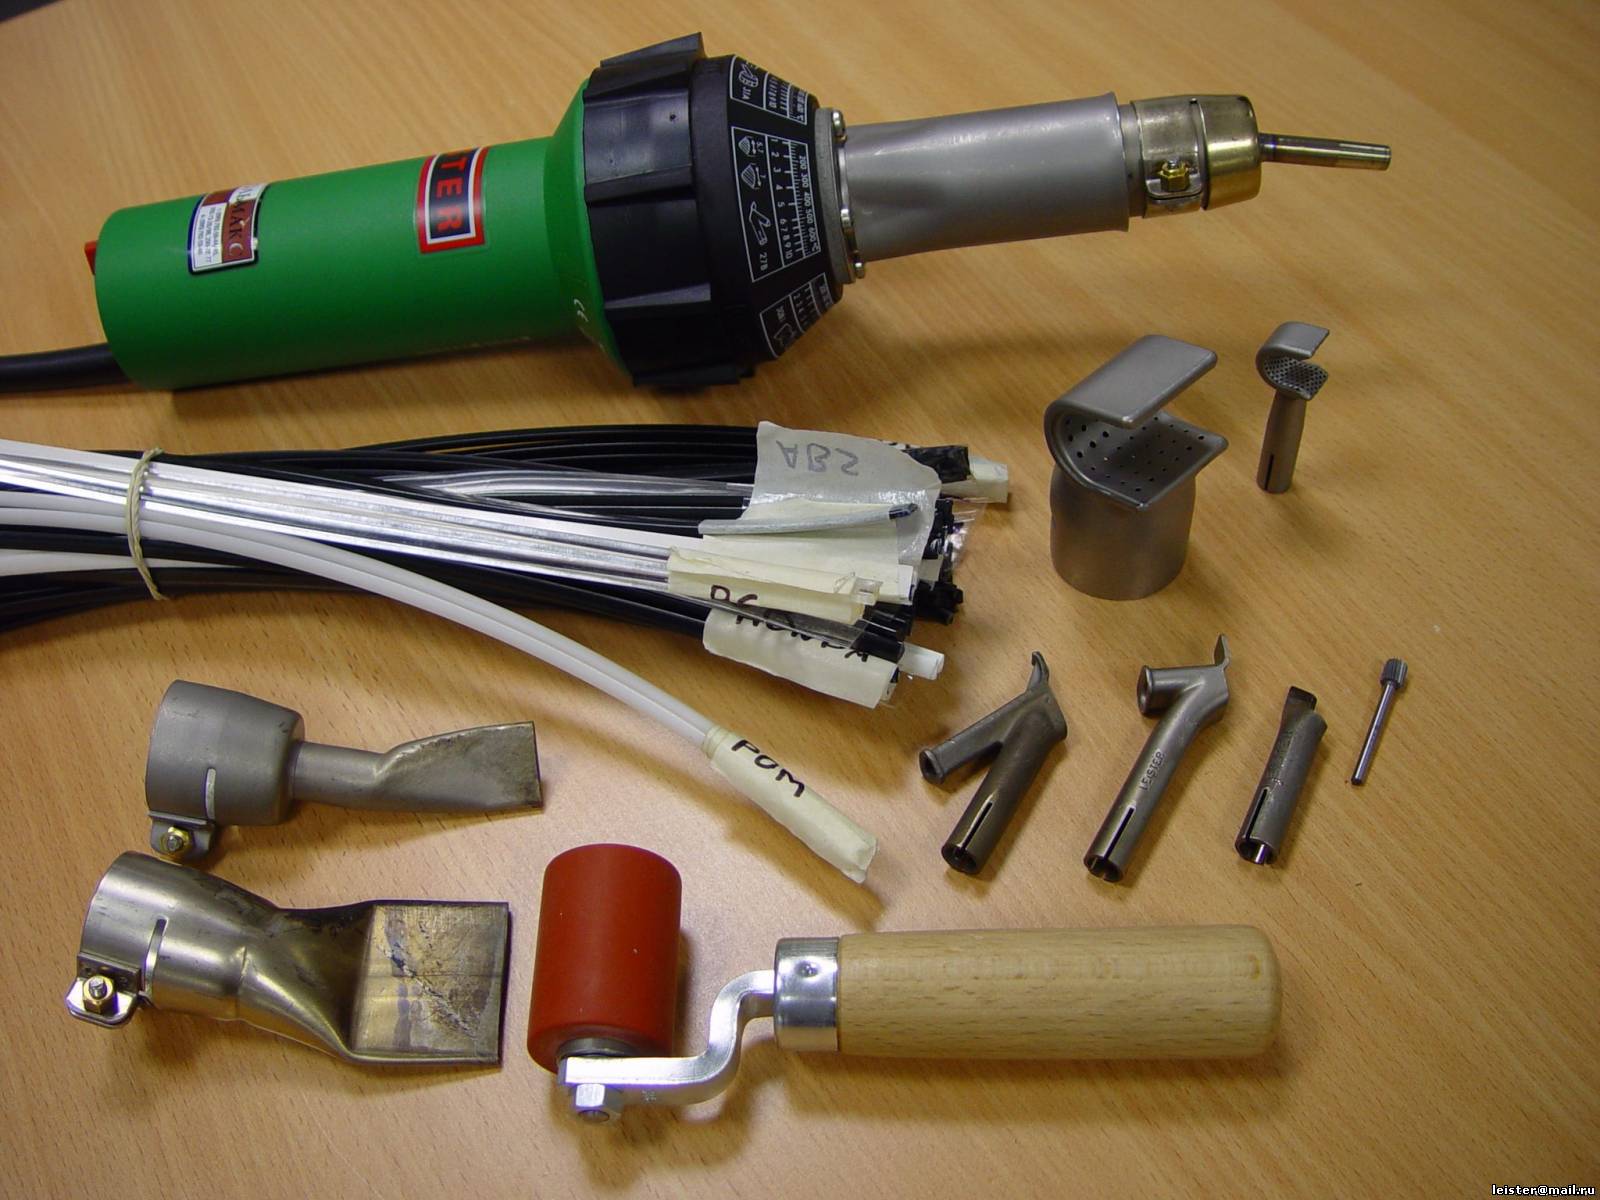
- building hair dryer;
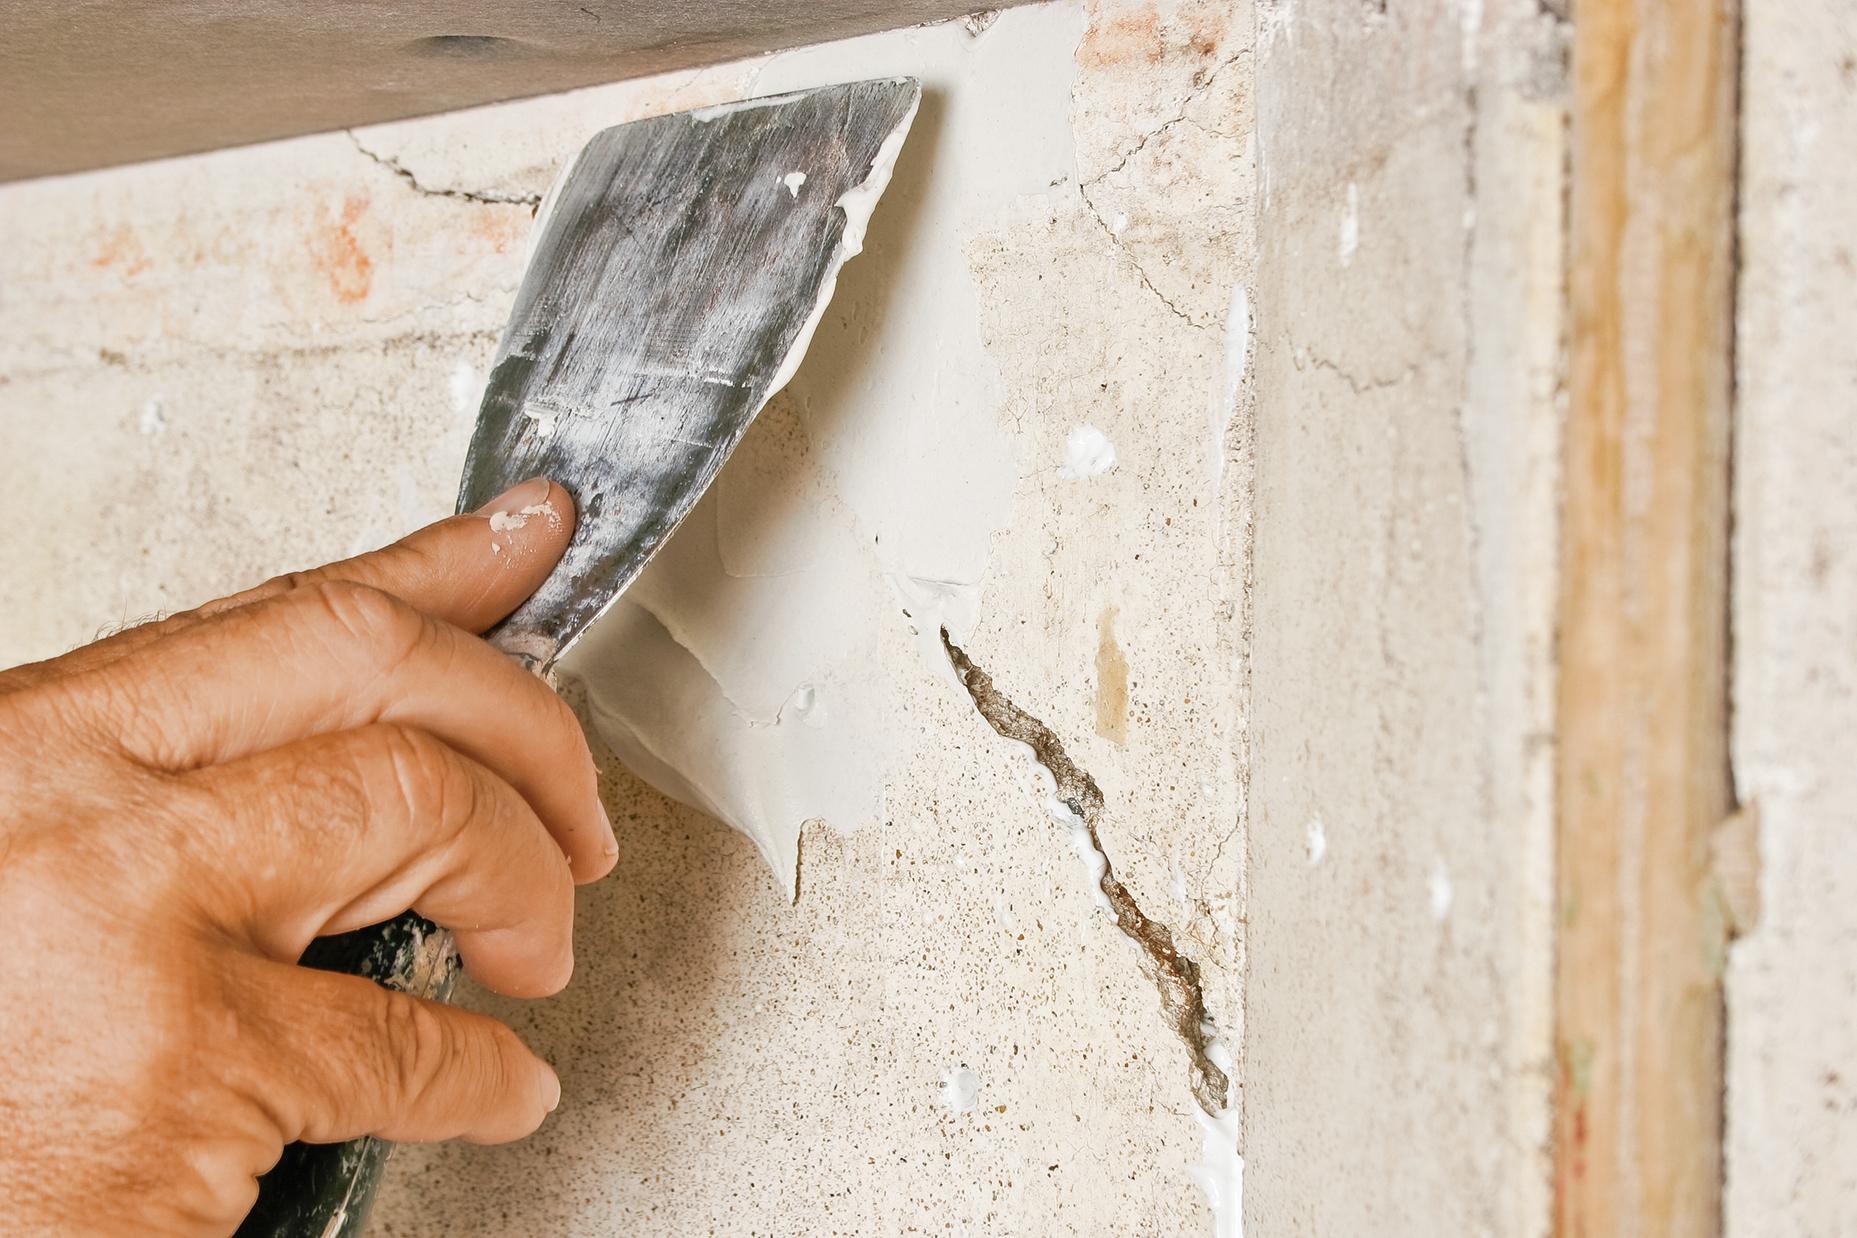
- putty knife;
- level;
- reinforcing mesh;
- plaster;
- gun with silicone;
- necessary finishing materials;
- stationery knife;
- waterproofing harnesses for finishing the seams of the room.
Given the properties of the room and the method of installation of waterproofing, you may need a grinding machine or even a heat gun.
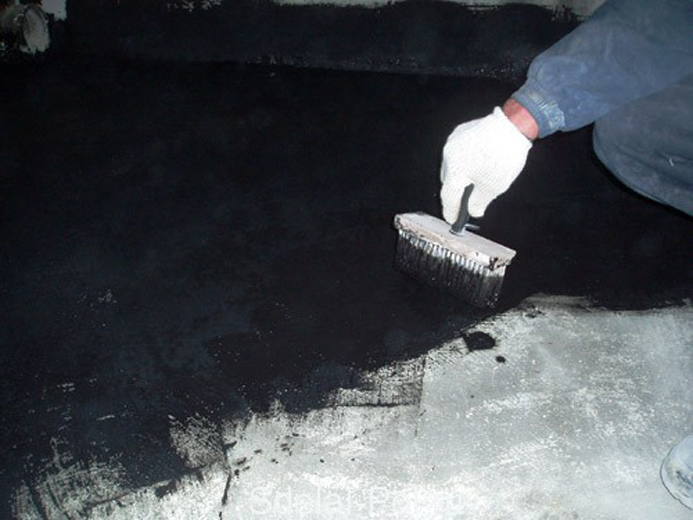
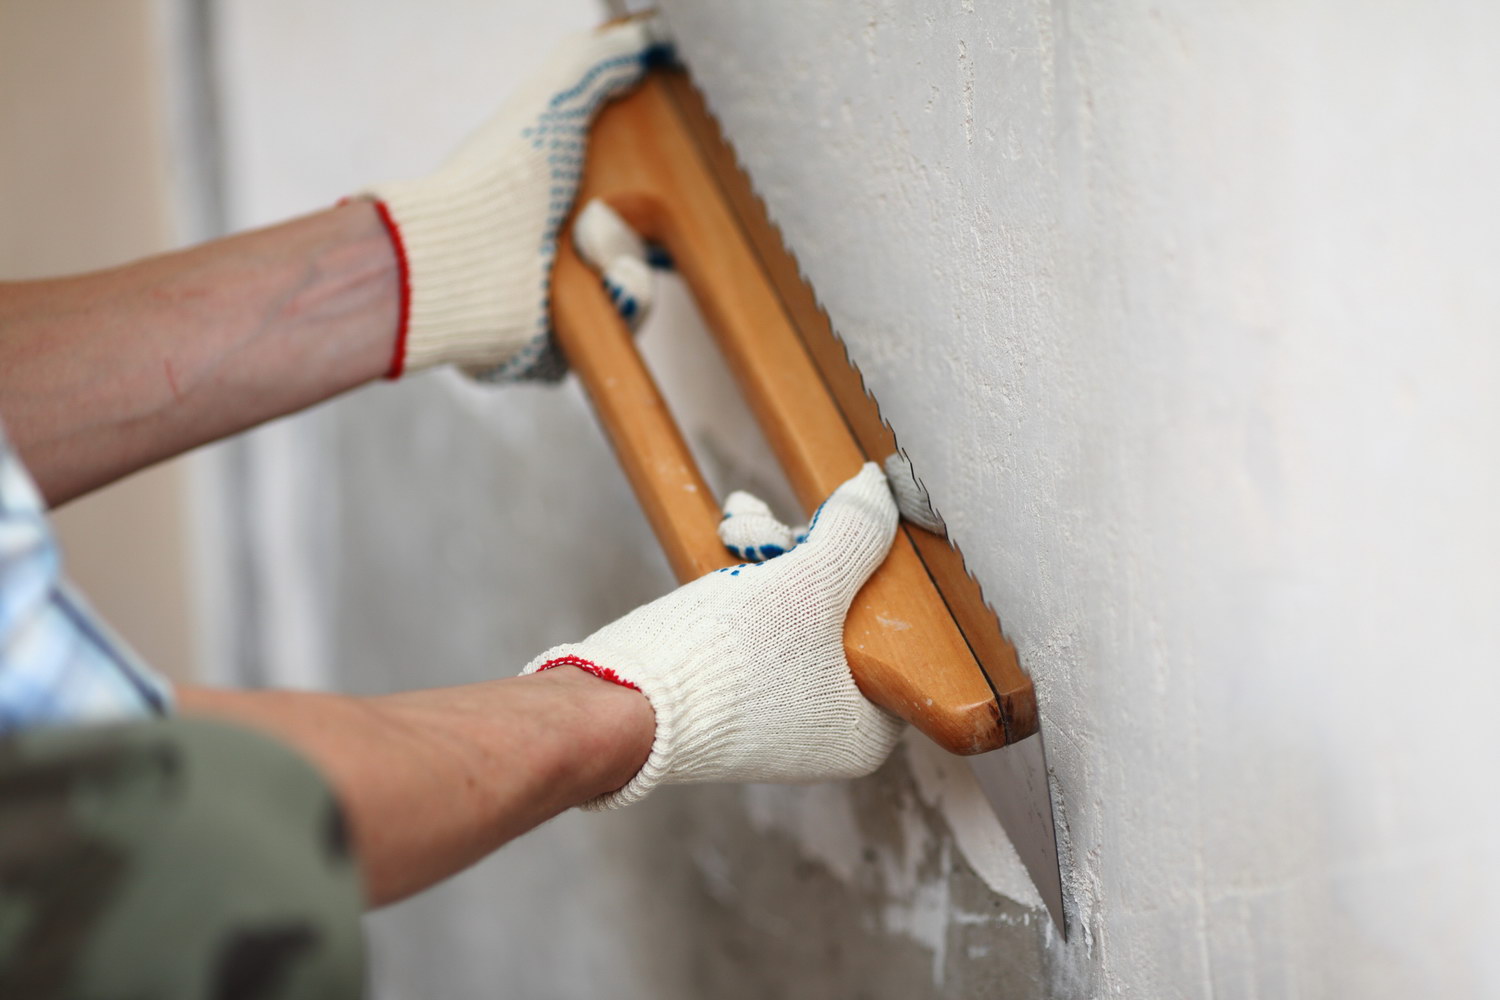
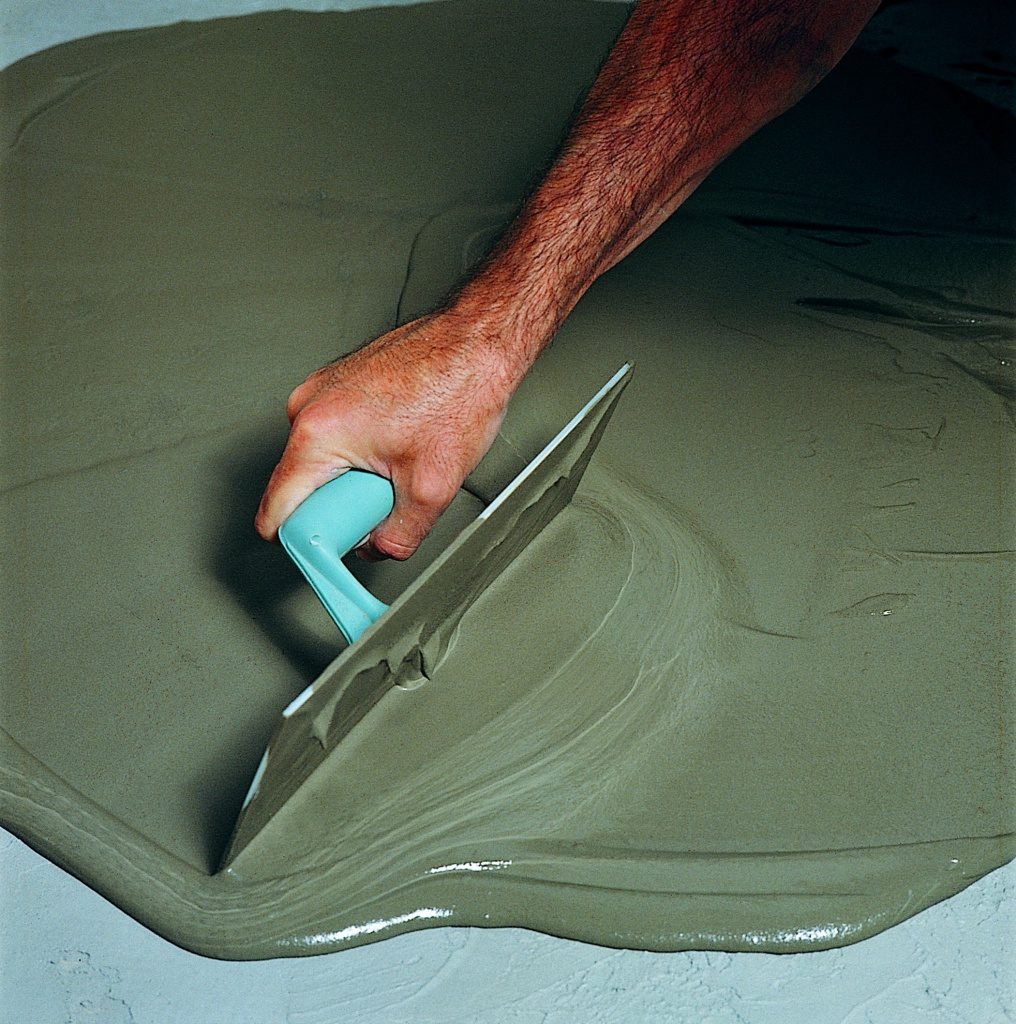
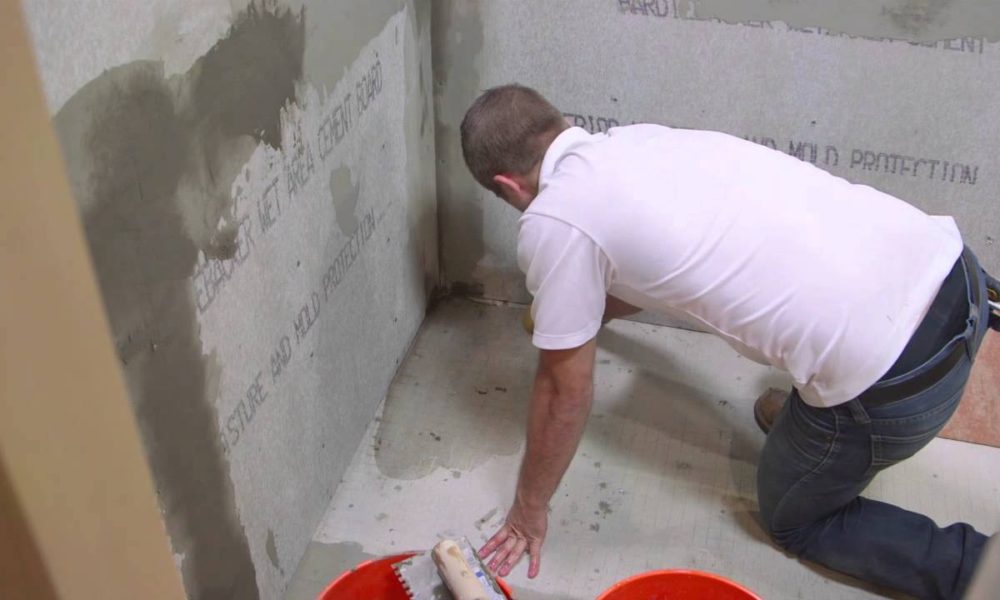
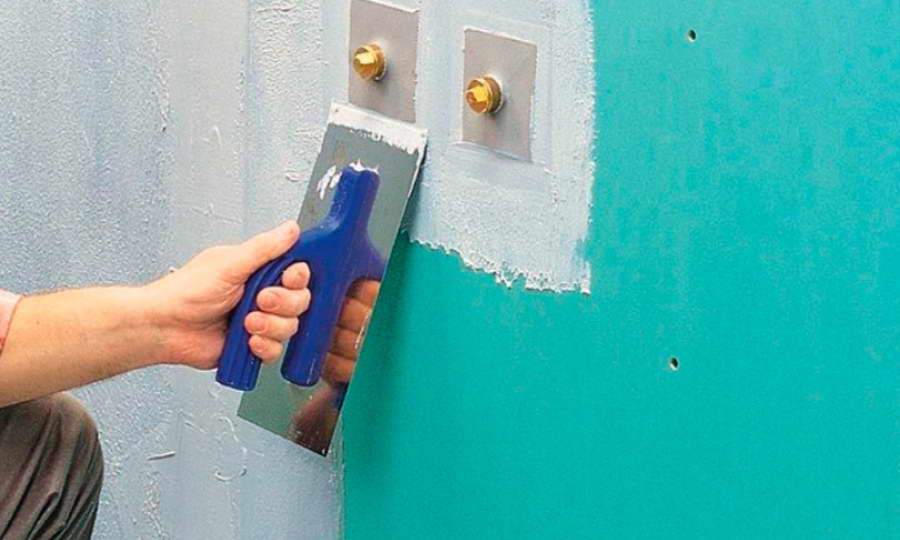
During the application of the first layer of coating waterproofing it is better to use a comb spatula, which allows you to create a uniform coating thickness.
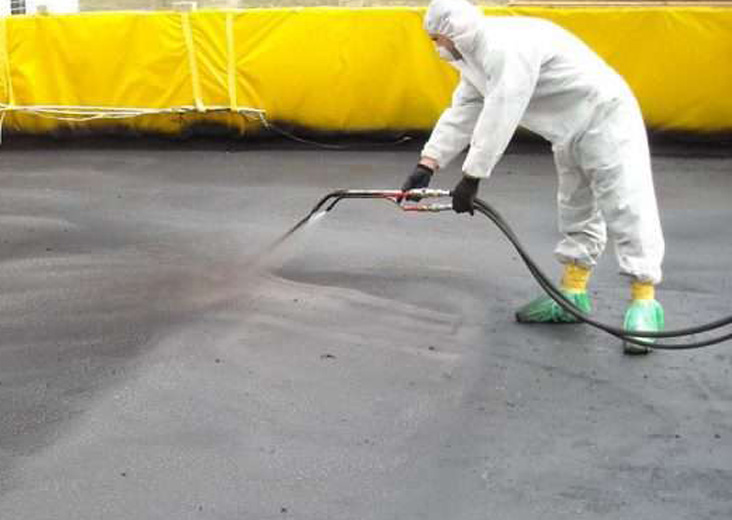
Paint waterproofing is best done with a pneumatic spray gun. It will significantly increase the speed of work, there will be no gaps on the surface, and all the micropores of the walls or the floor will be better filled.
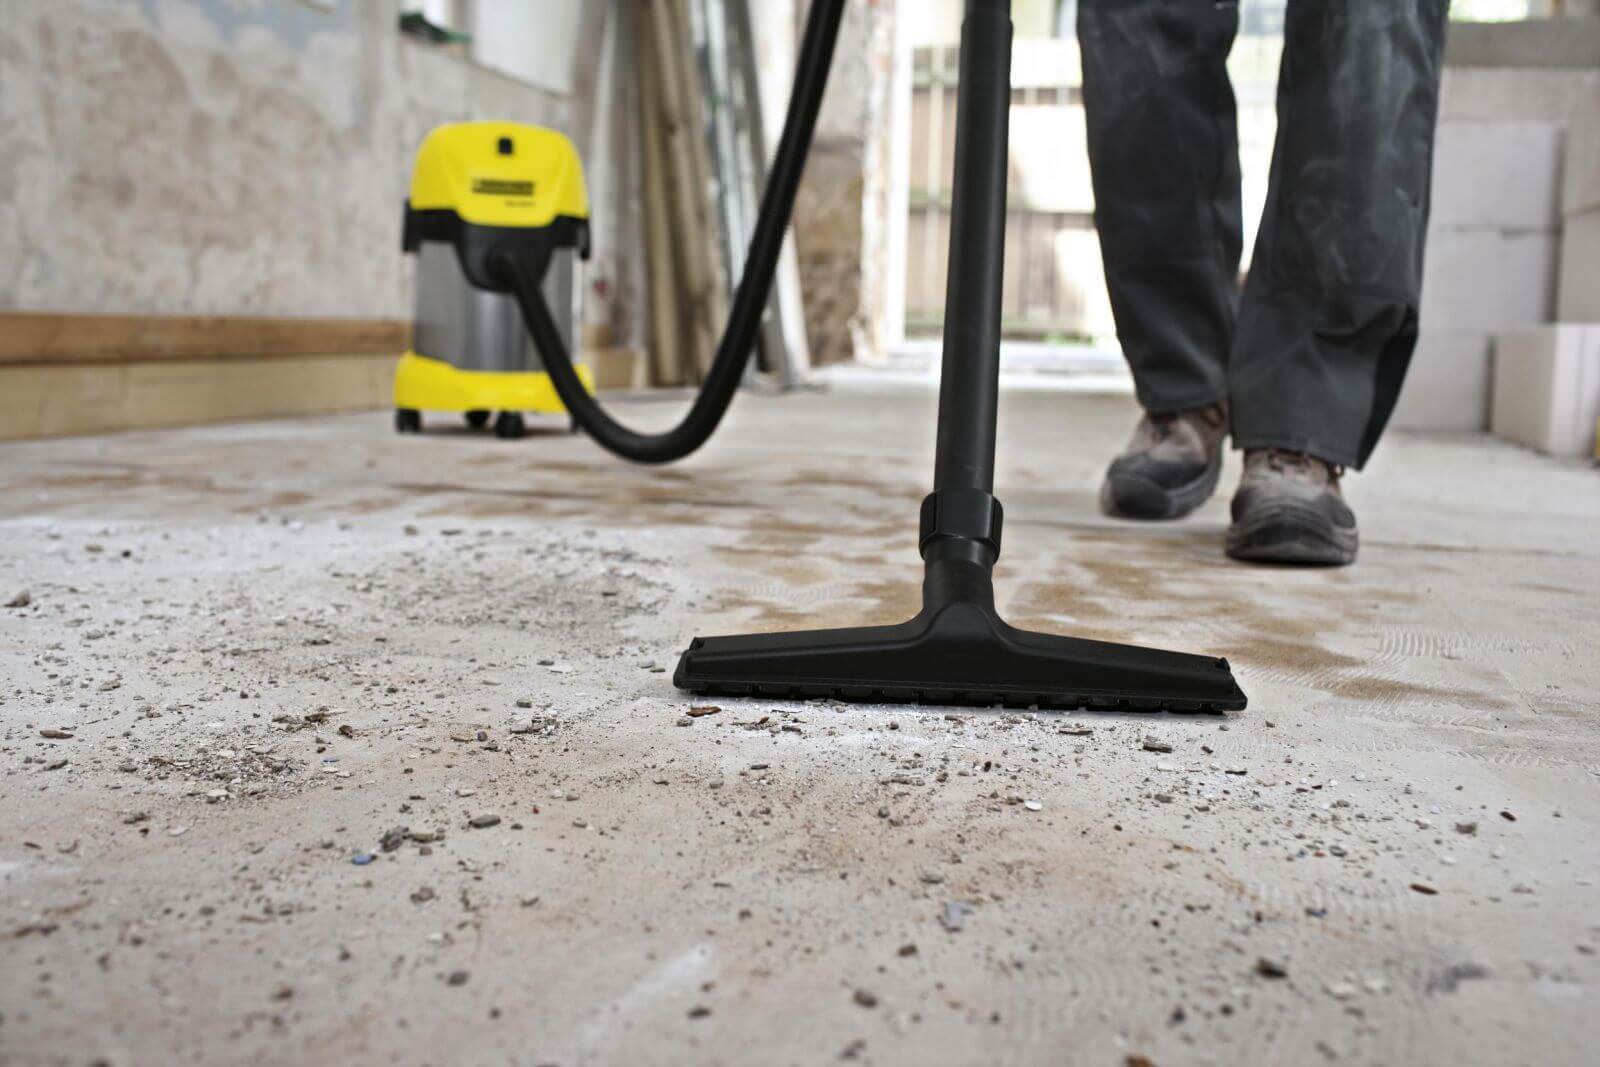
Before applying the plastering waterproofing it is necessary to prepare the premises for lack of debris, even the smallest. To do this, use a high-power vacuum cleaner, which will remove even the smallest dust from the surface.
- Work order
Waterproofing work can be done in three ways:
By fastening
This method is not very popular due to the fact that additional fasteners will be needed. In addition, the sheet material will have to punch in several places, which, again, will have to be insulated from above.
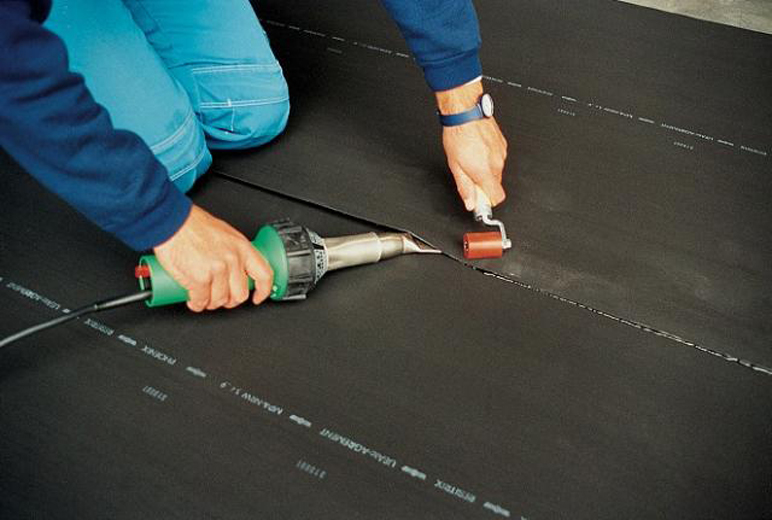
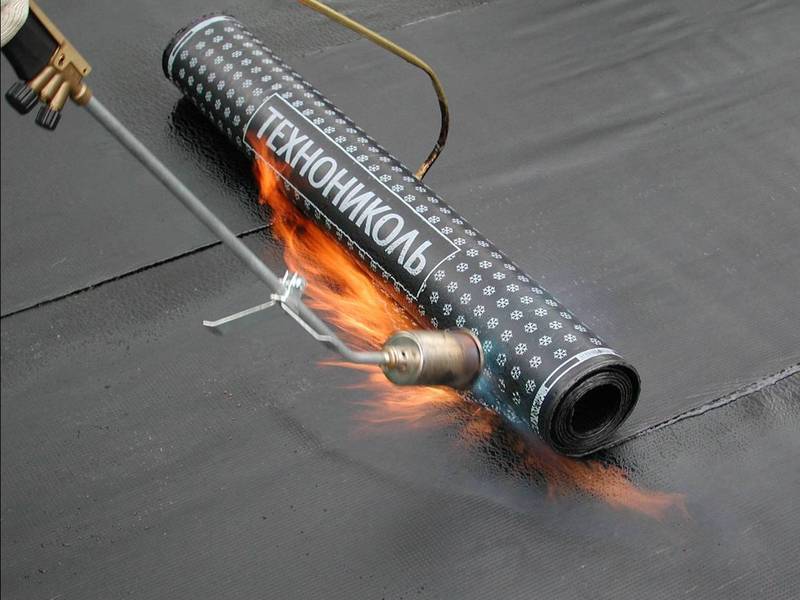
Overlay
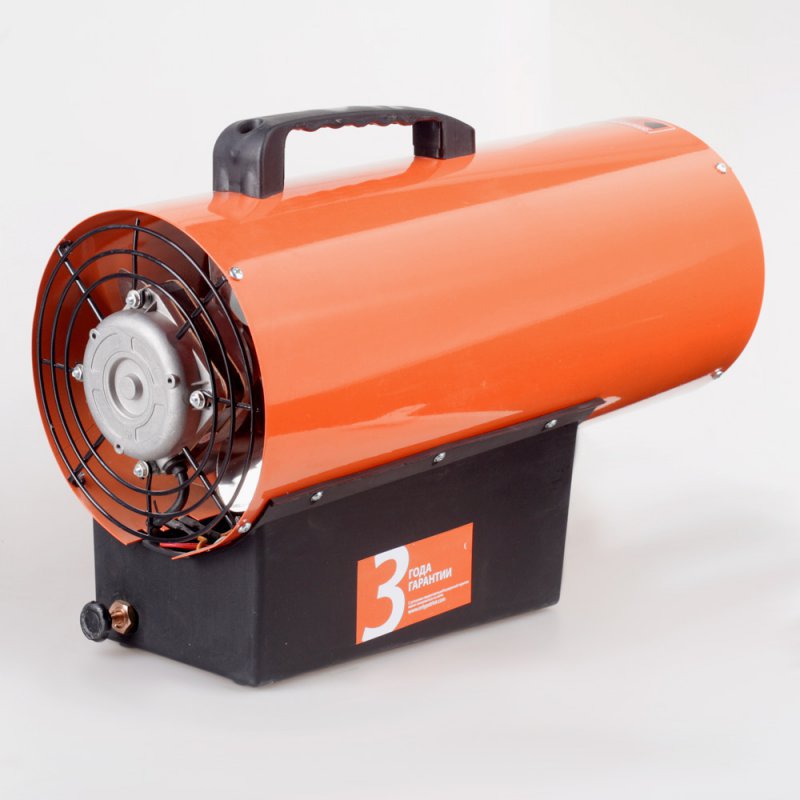
This method requires a gas burner or heat gun. But since it is dangerous to use a gas burner indoors, it’s better to choose a heat gun, this is a safer option. This method is also not very common, since not everyone has a heat gun.

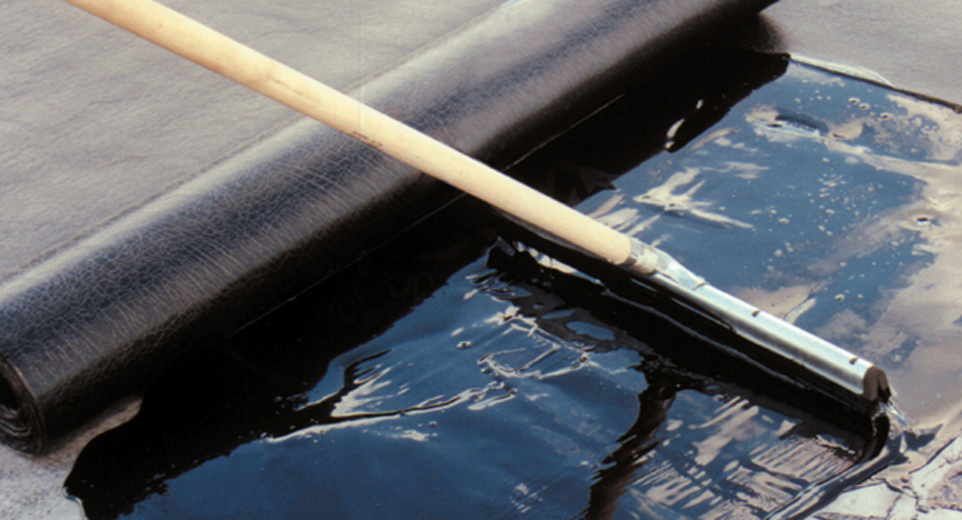
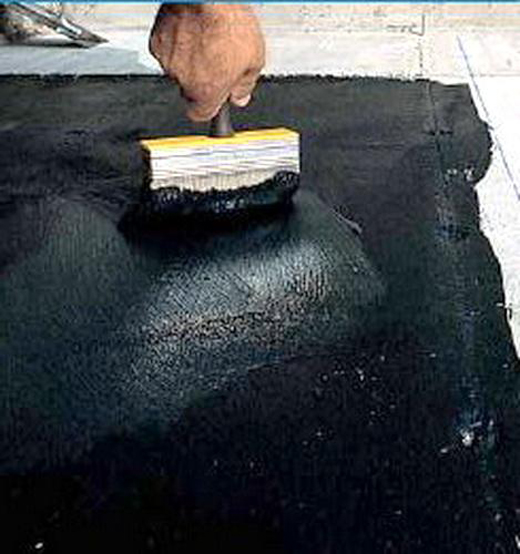
Sticking
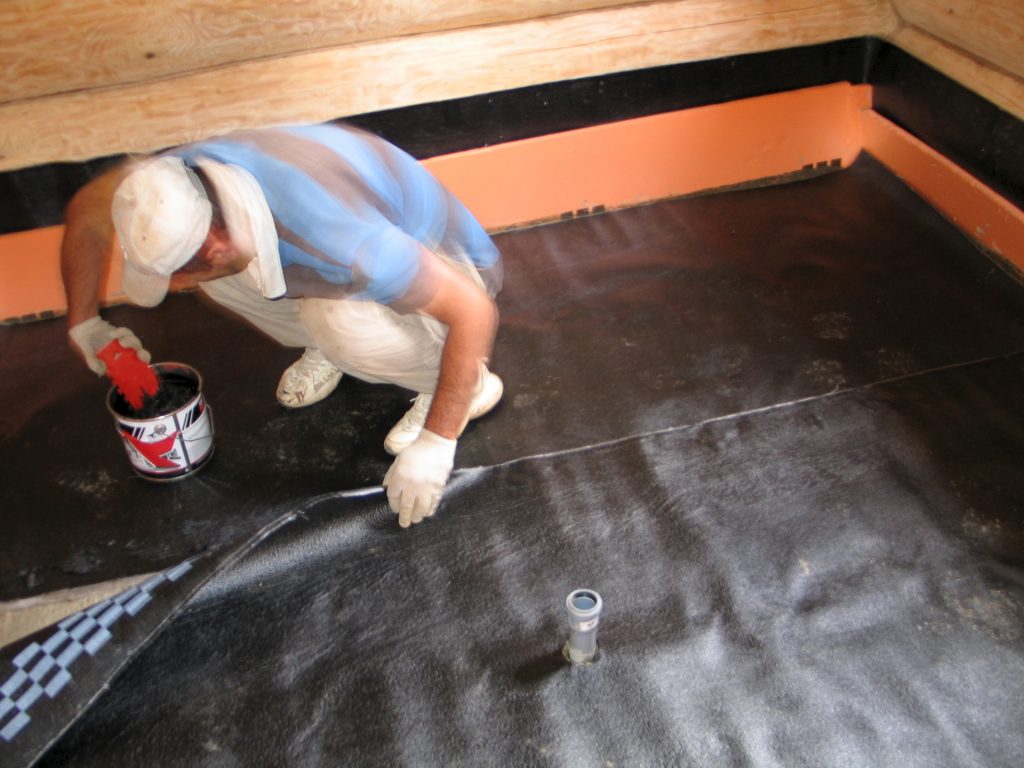
Use of this option of installation of a waterproofing is more acceptable for independent performance, in this case the additional equipment is not necessary at all. To consolidate the material, you need to apply mastic on the basis of bitumen on the surface.It is worth considering that this method also implies additional moisture protection.
When working on the device of waterproofing the floor there is a certain procedure for their conduct regardless of the materials used:
- base primer;
- waterproofing layer;
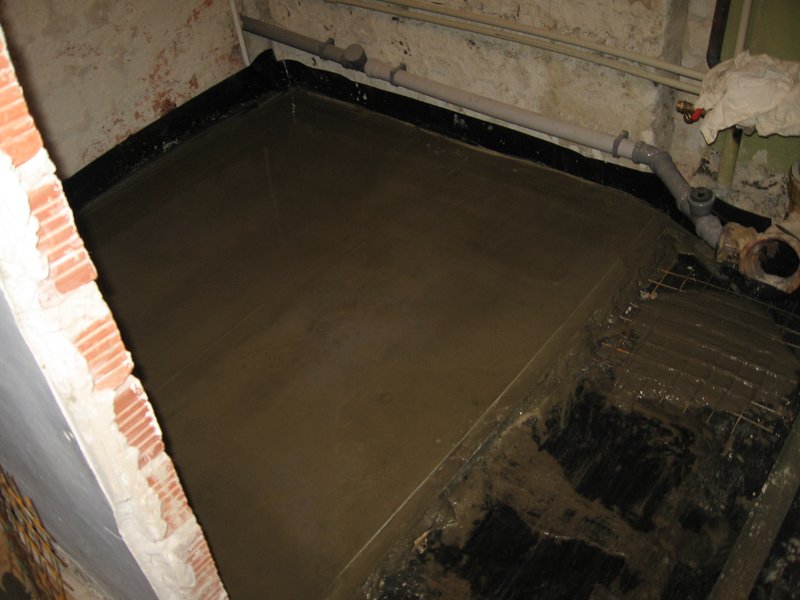
- screed;
- flooring.
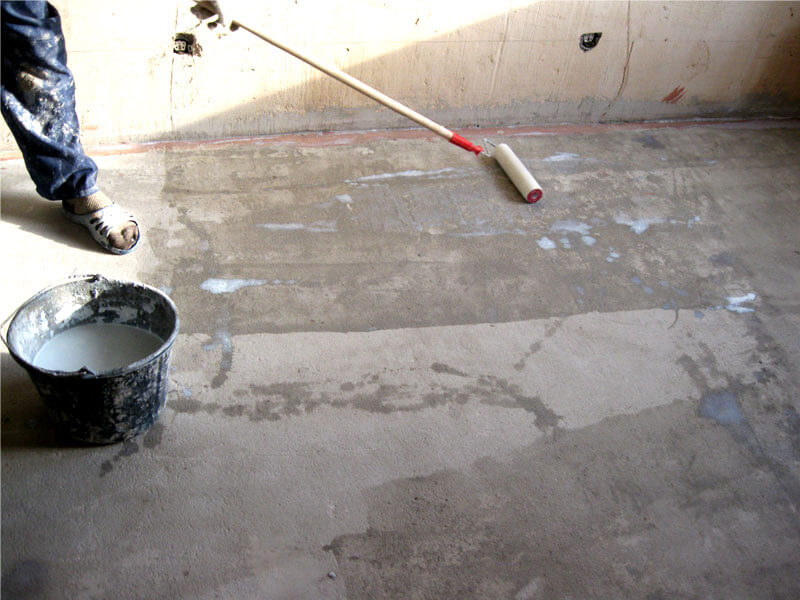
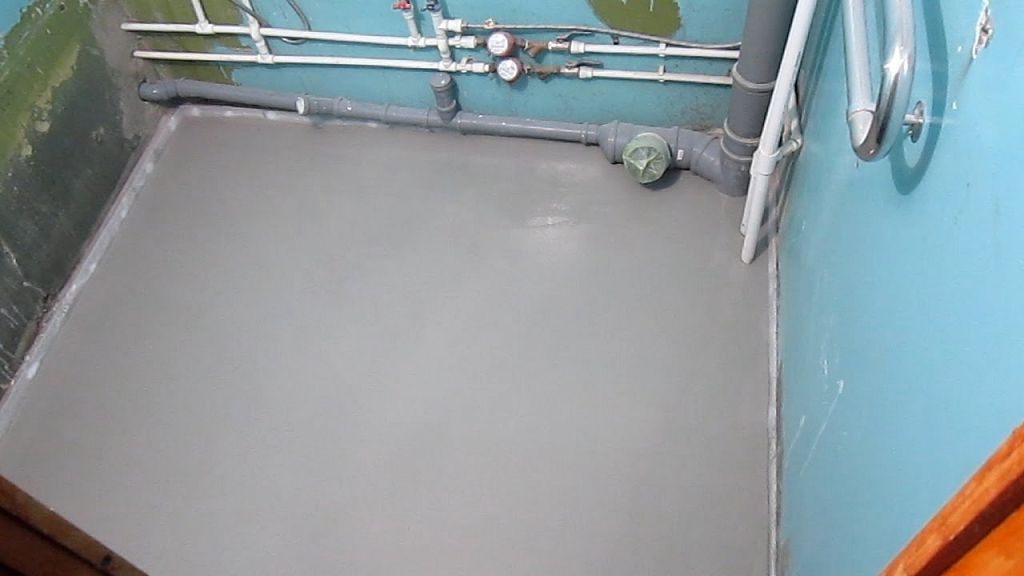
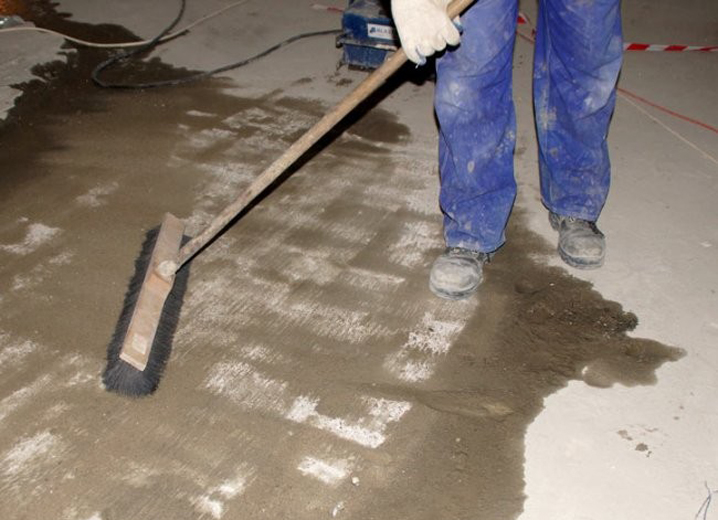
Before applying the waterproofing materials themselves, it is necessary to prime the surface to achieve good adhesion. You can choose any deep penetrating primer. After its complete drying, you can proceed to the installation of waterproofing.

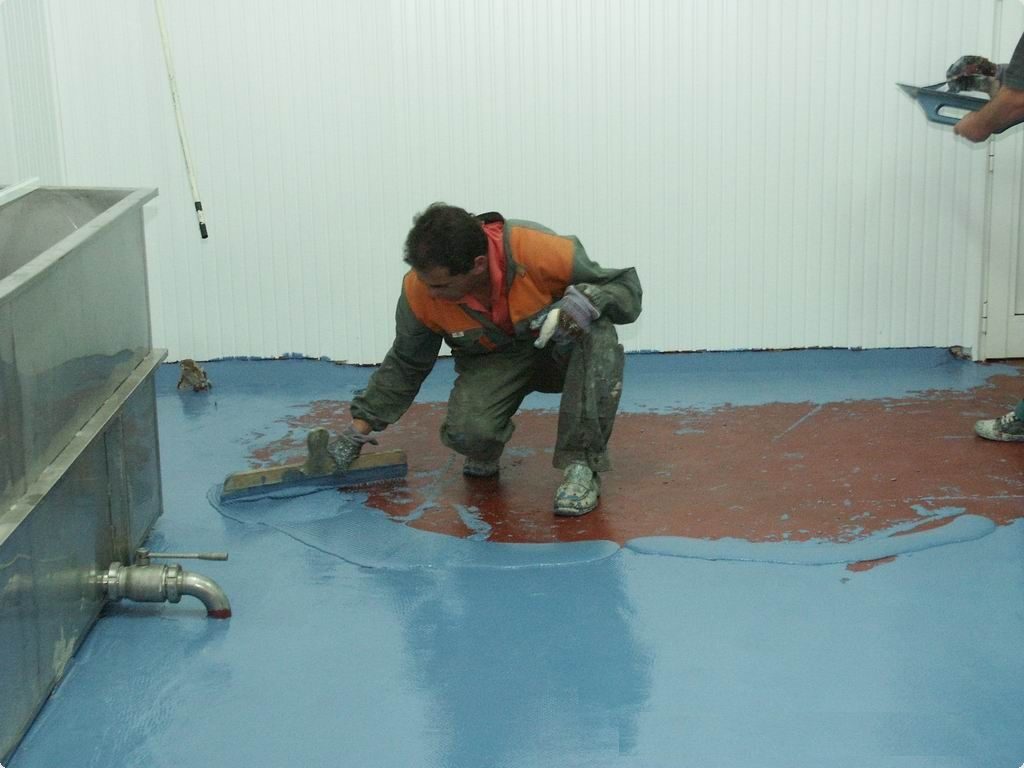
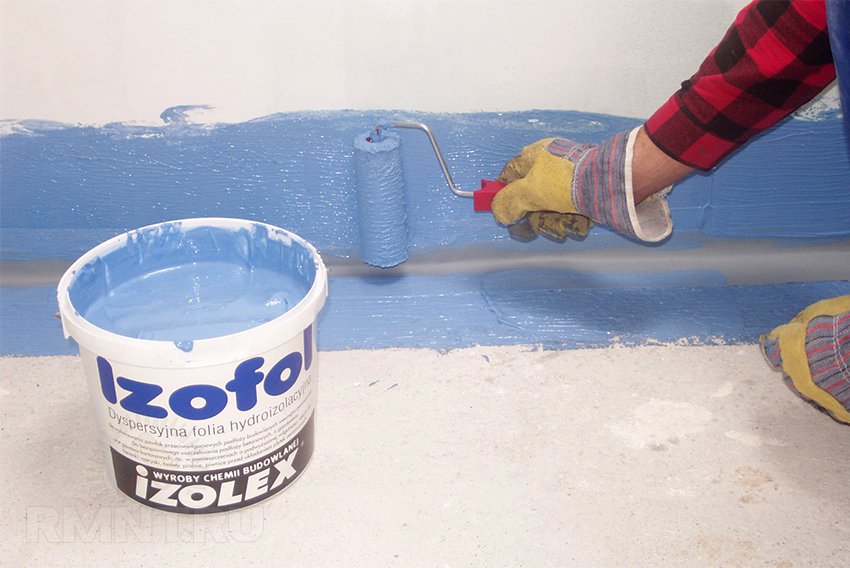
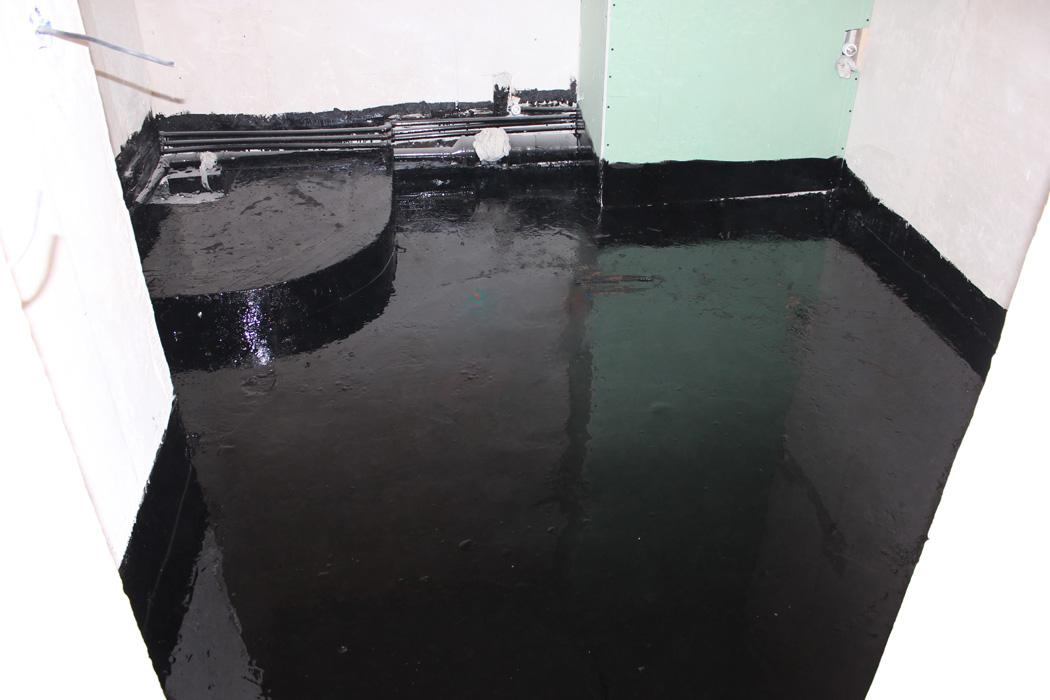
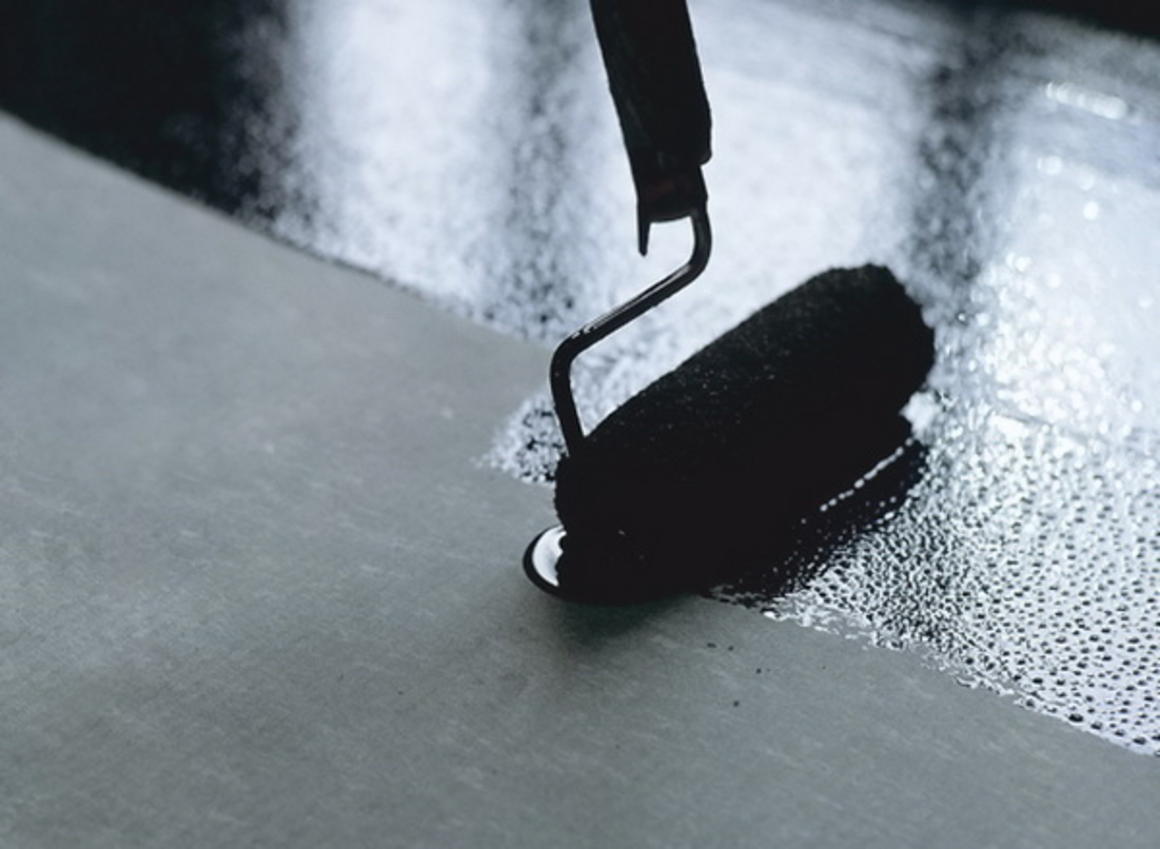
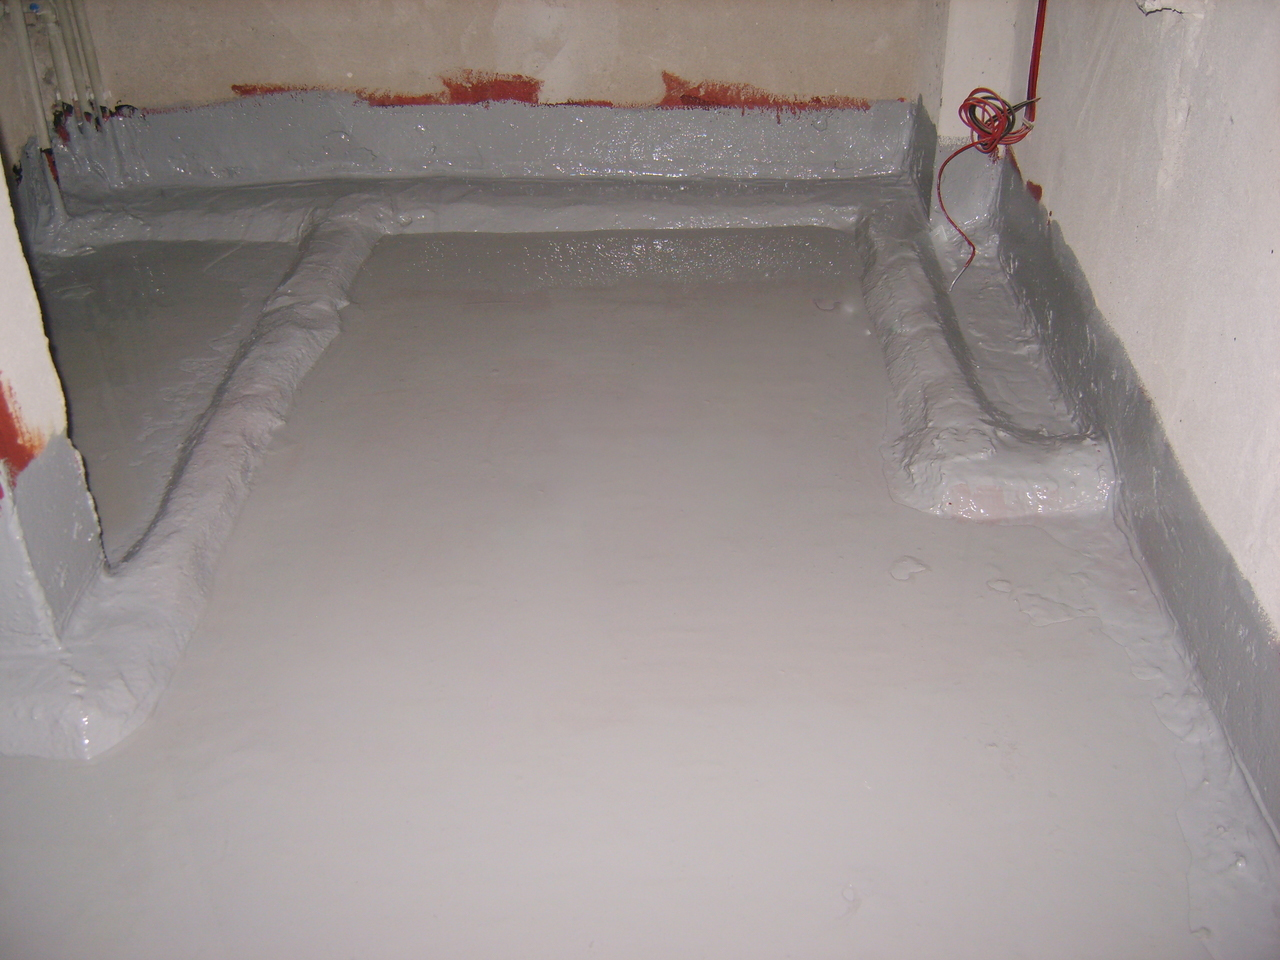
Spray-proof waterproofing is an inexpensive and effective way to protect the floor from concrete. The thickness of this insulation layer is about two millimeters, but it is better to apply it in two layers. With such waterproofing it is possible to use polymer paints and paints, liquid rubber.
The following technology should be followed during installation:
- clean the room, dry it well;
- to level the surface, to close the gaps, if any;
- strictly following the instructions, prepare the material, it is better to do it in small batches;
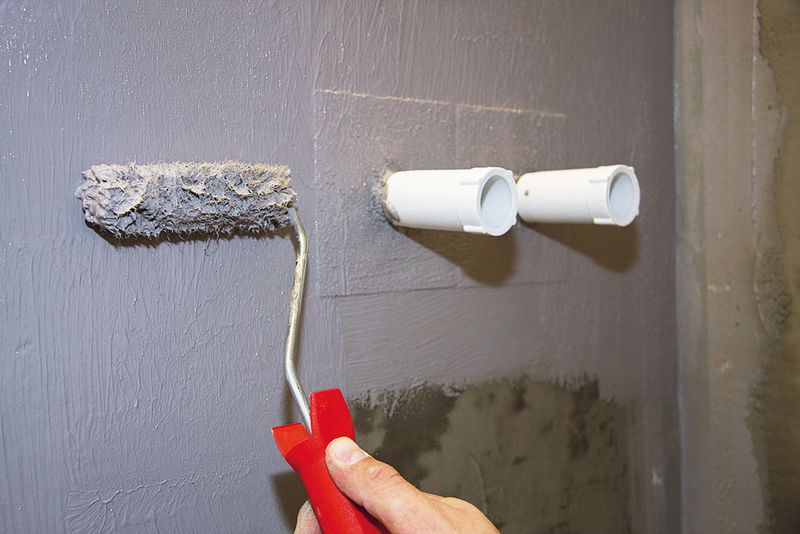
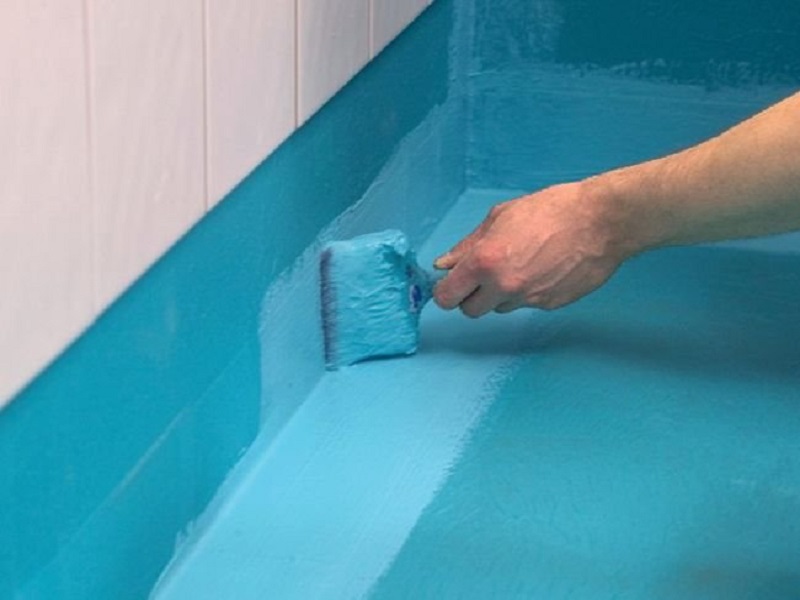
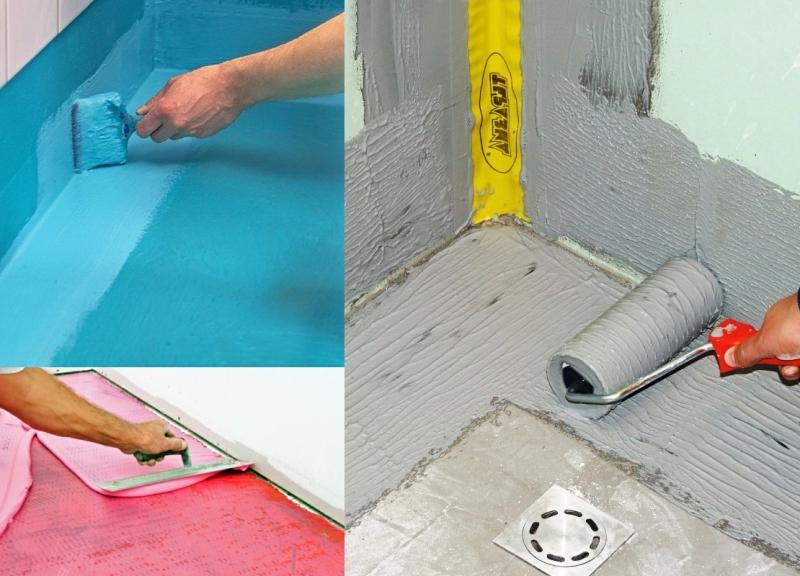
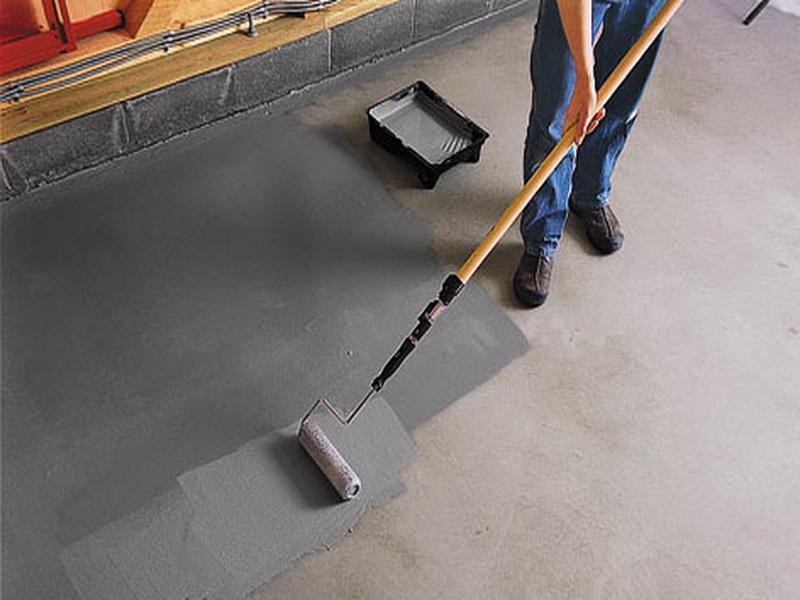
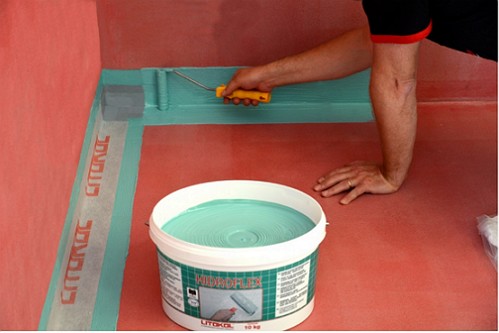
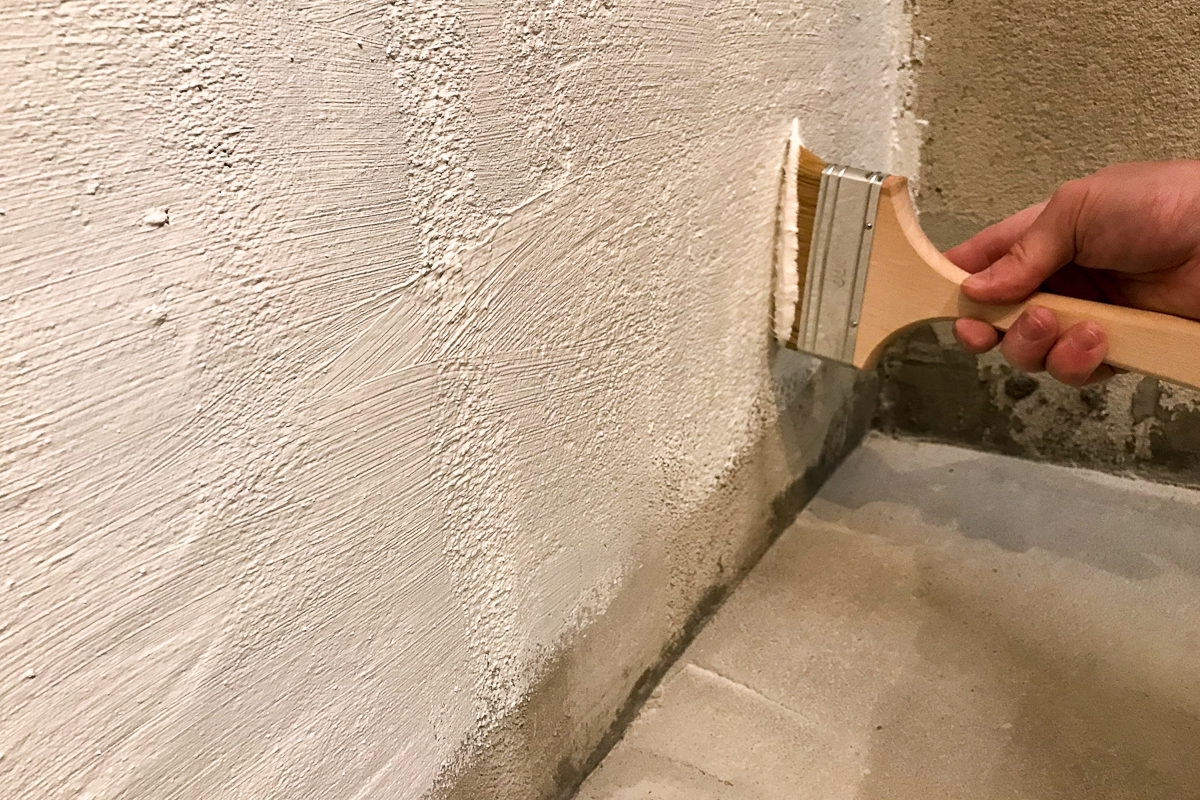
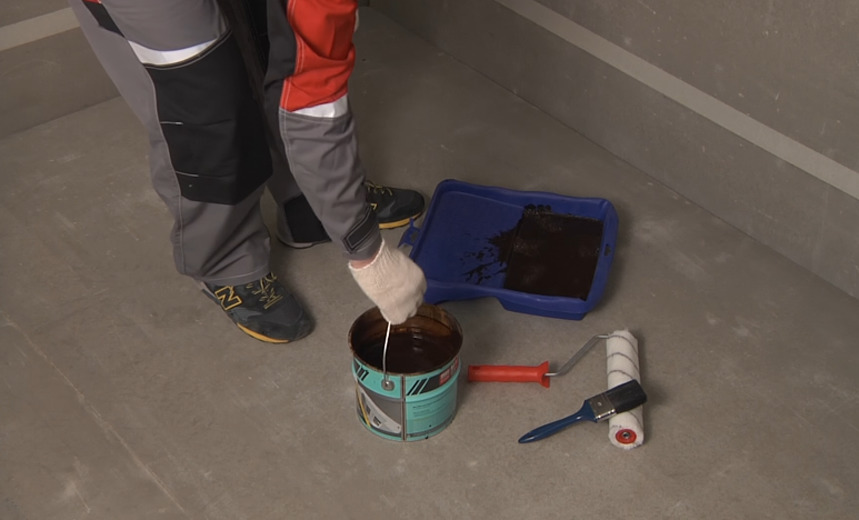
- it is better to perform works on coloring by a zone, using either a brush or a roller;
- only after complete drying of one layer can one proceed to the next;
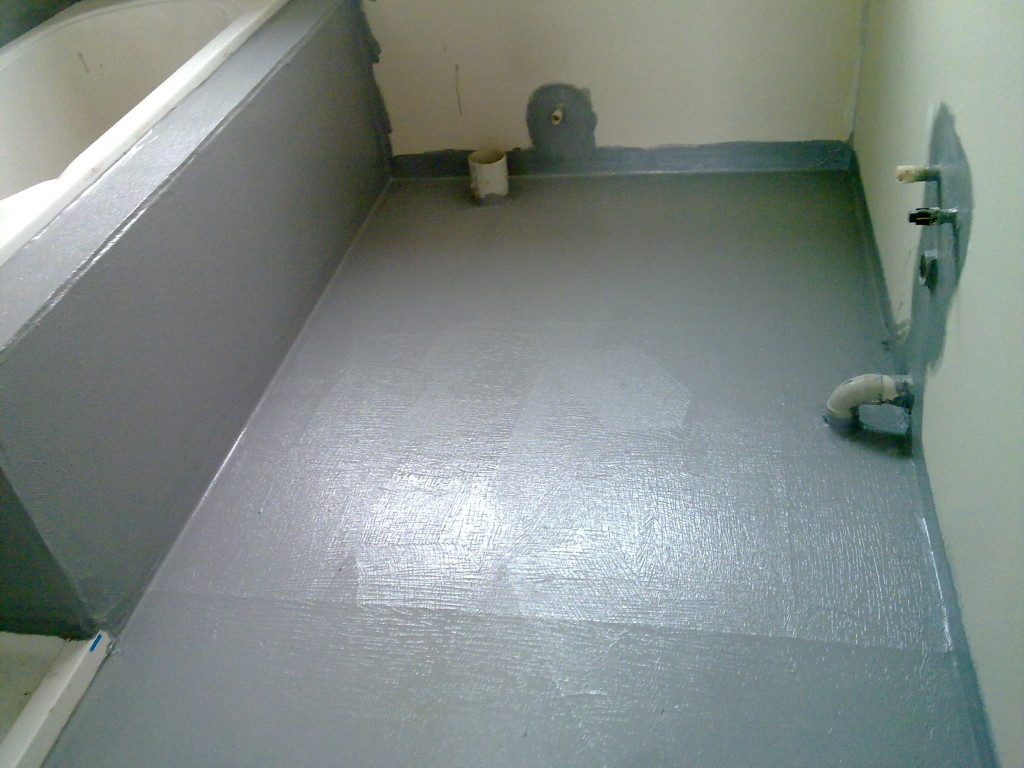
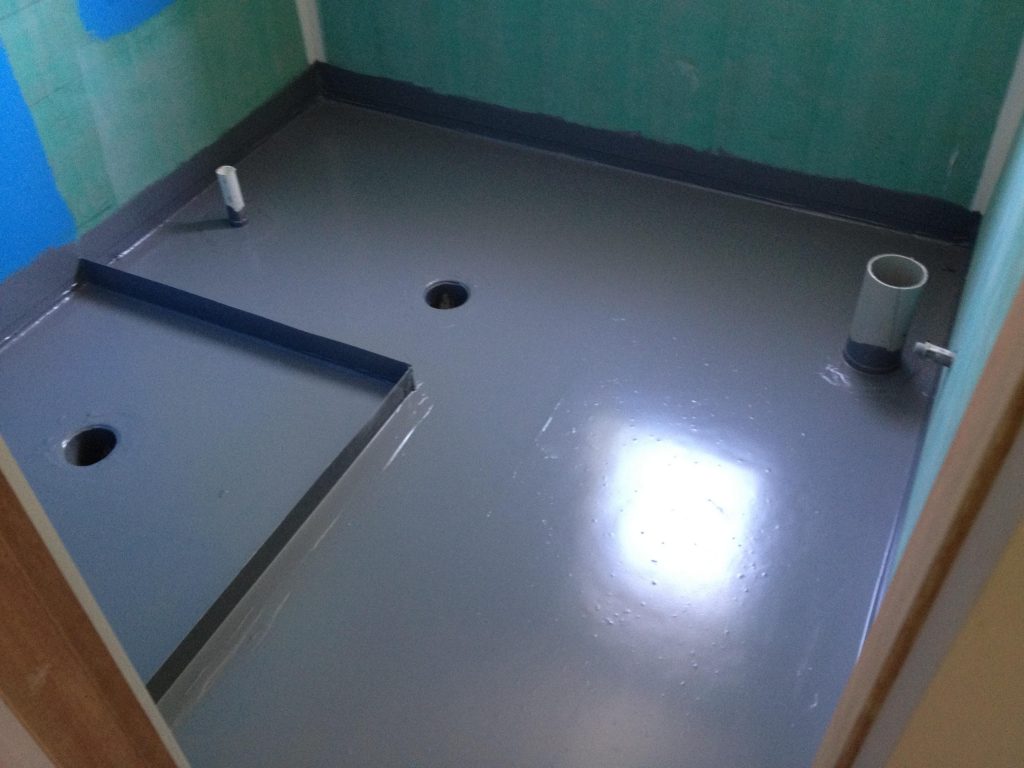
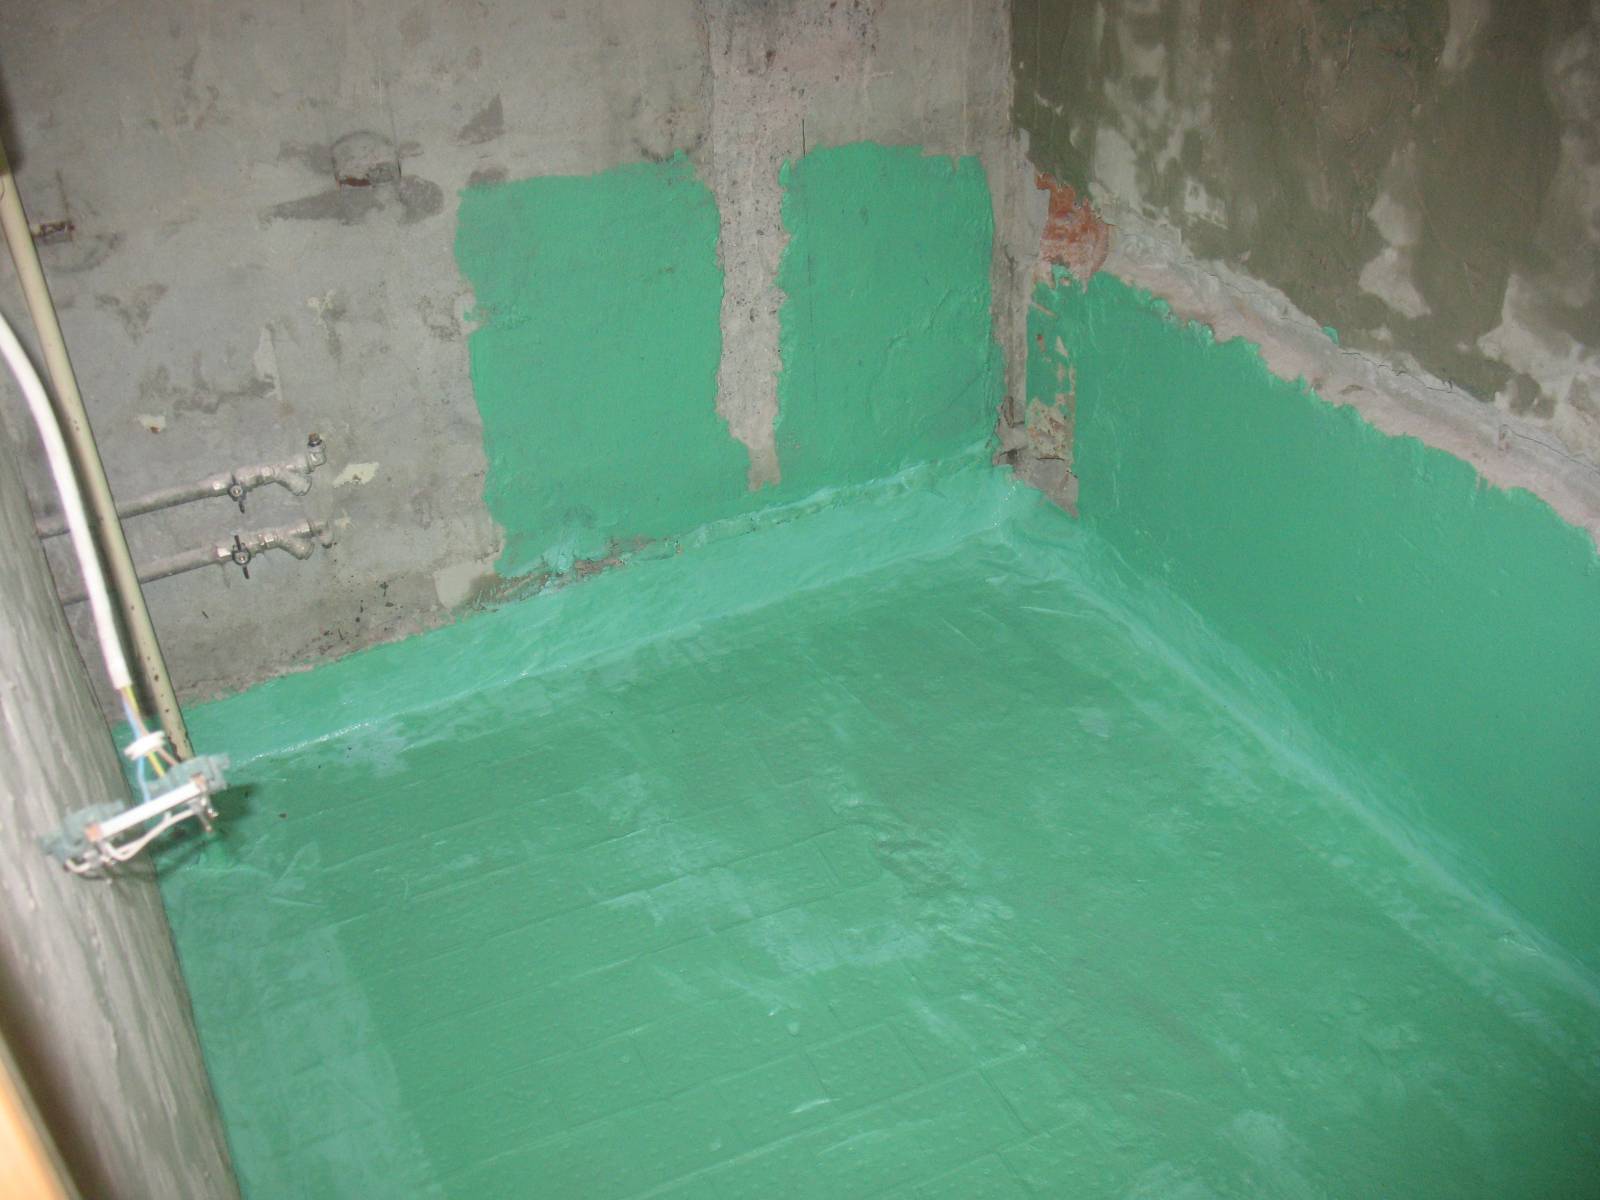
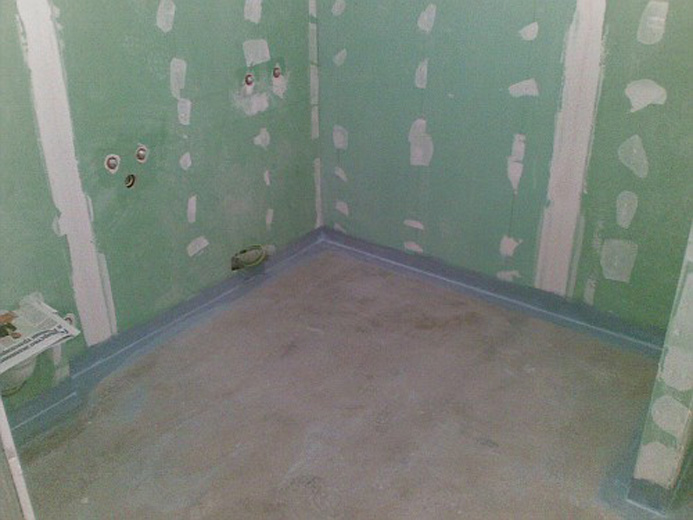
- it is necessary to completely waterproof the floor and grab a part of the wall (about 20 cm);
- after complete treatment of the room, you need to wait for the materials to dry;
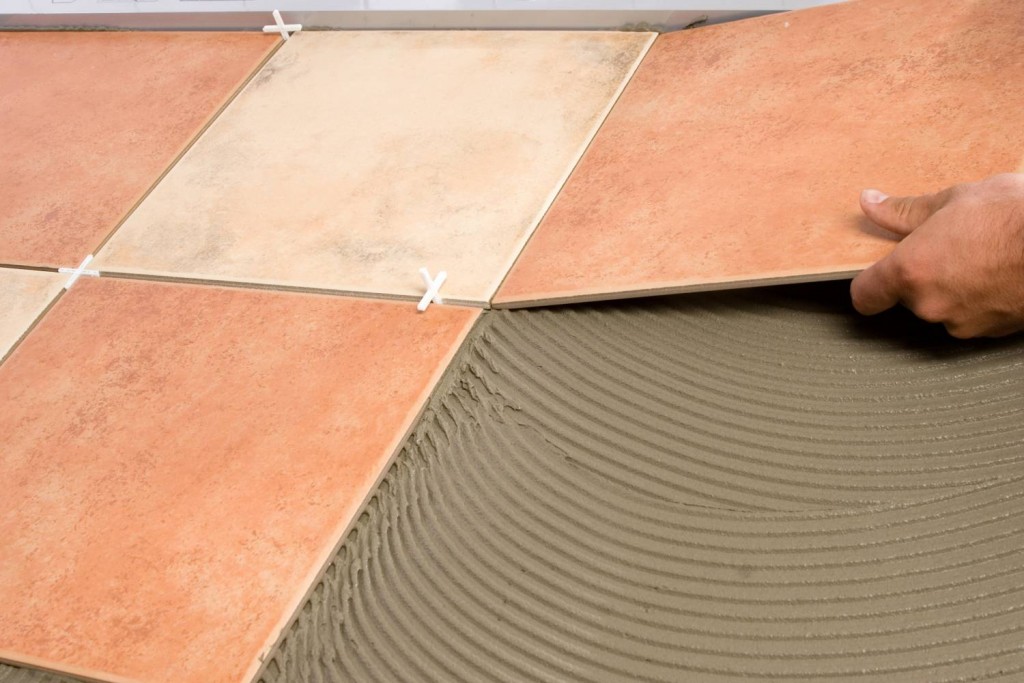
- then you can move on to pouring the screed and laying facing materials, such as ceramic tiles.
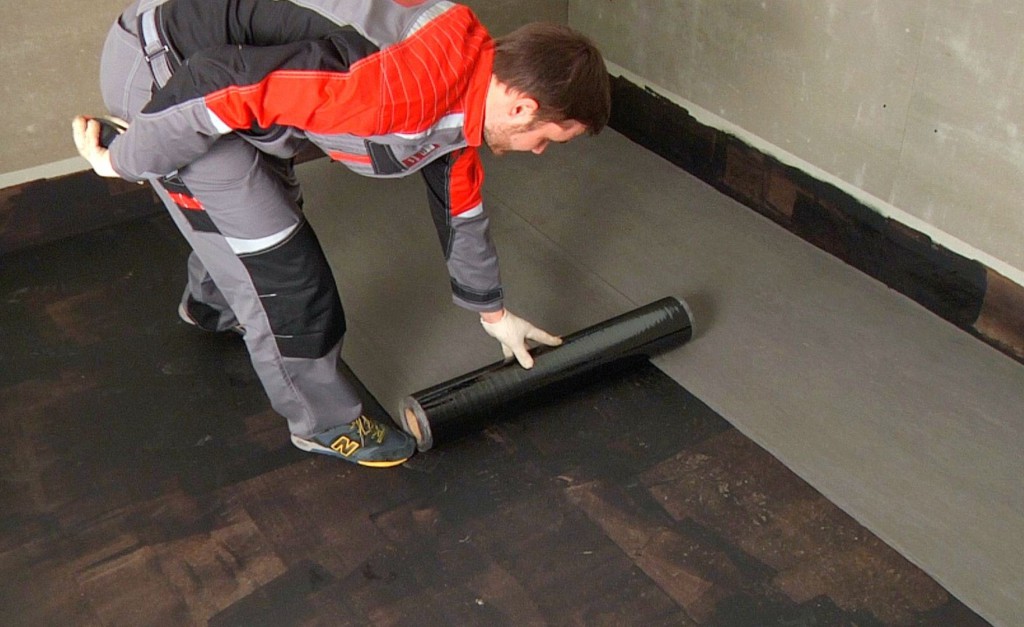
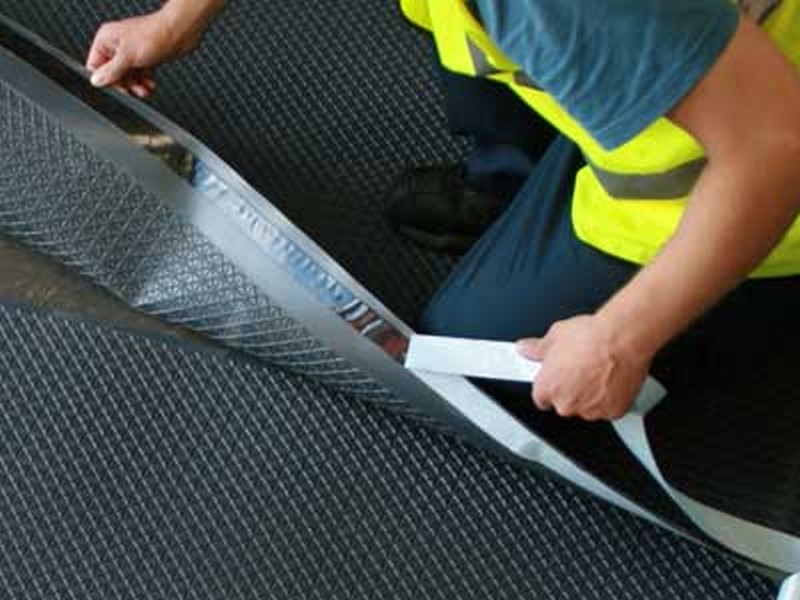
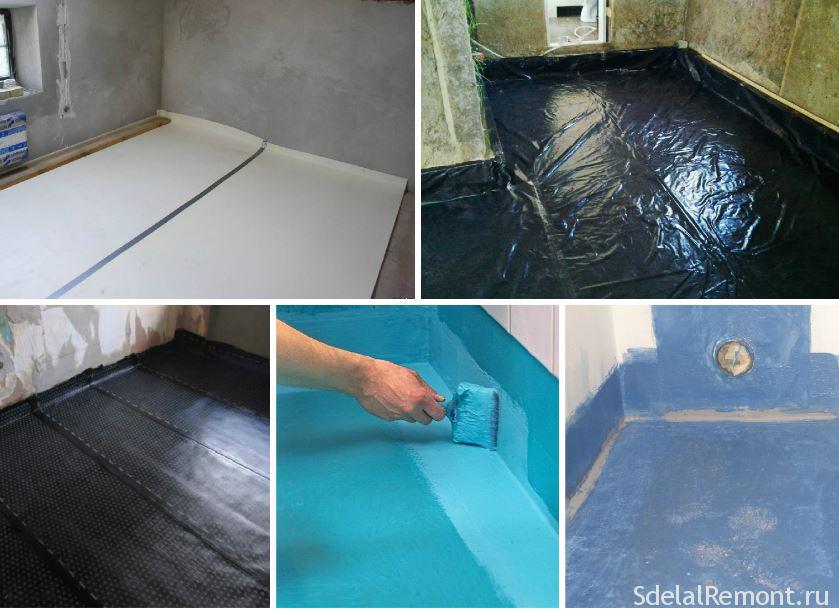
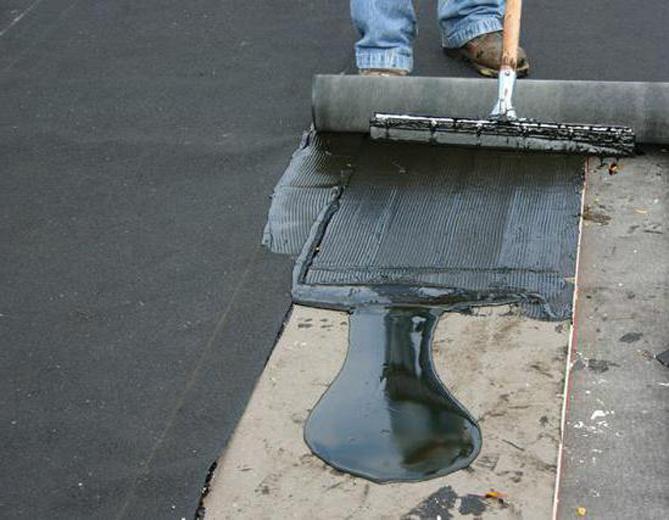
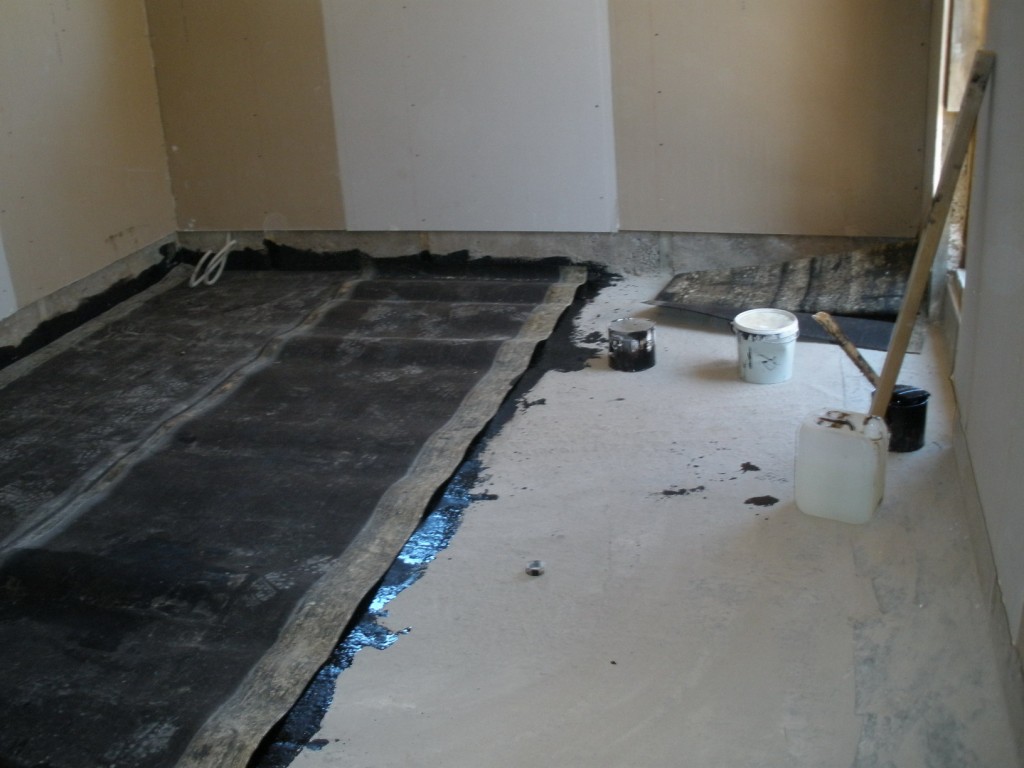
Pasting waterproofing is universal, as it is suitable for rooms of any type. It can be mounted in both cold and hot ways. It depends only on the type of material being mounted.
It is done as follows:
- it is necessary to apply mastic on the measured area so that it corresponds to the size of the sheet of waterproofing material;
- on the missed area the material is neatly laid so that there are no wrinkles and bubbles, and the fit is very tight;
- on the walls do overlap up to 20 cm.
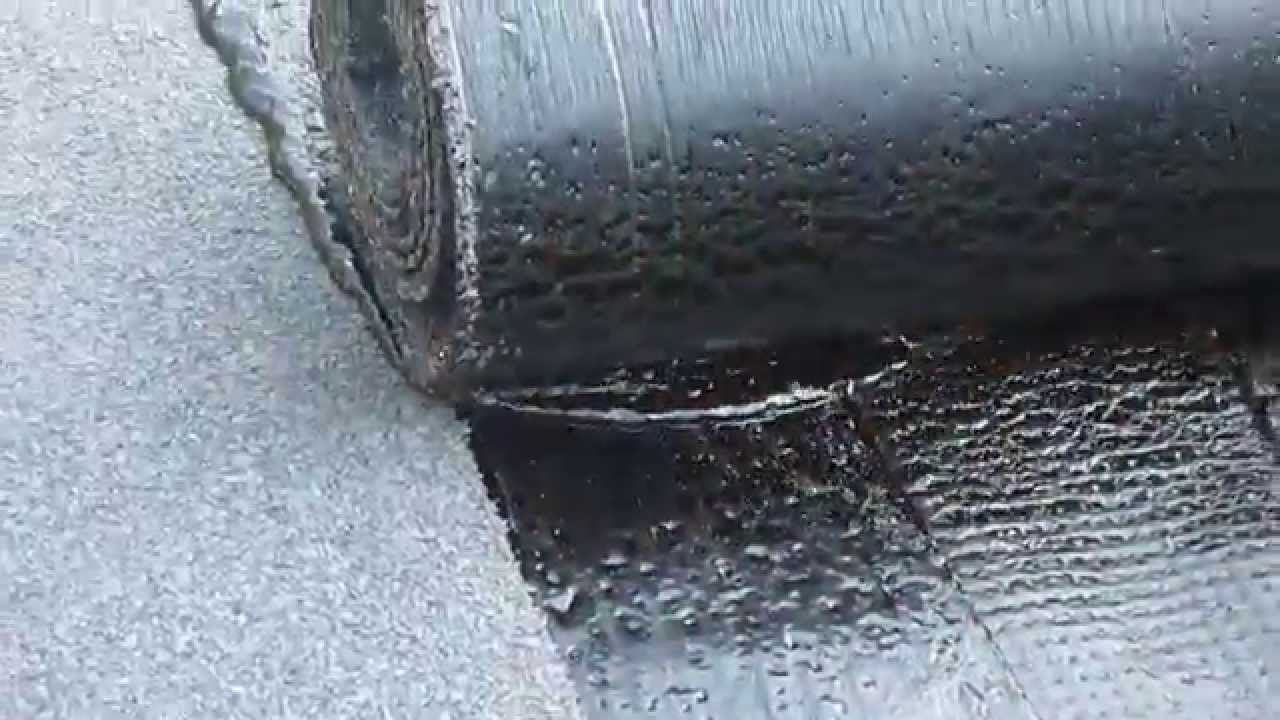
- during the transition to the next section, it is necessary to overlap the sheet material one on the other by about 15 cm;
- for a more durable waterproofing there is an opportunity to lay another layer, laying it perpendicular to the first one;
- After the entire waterproofing is completely dry, you can begin the installation of the screed and floor covering.

Waterproofing by a coating method is a very durable type of insulation due to the fact that it contains cement, sand, chemical and polymer components. It can be one-component or two-component.
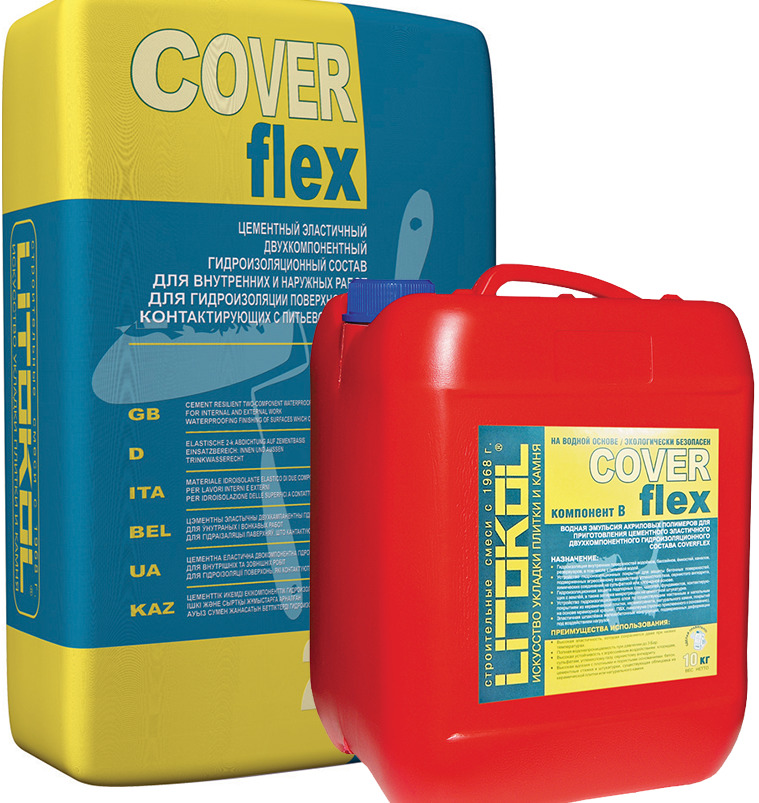
Two-component coating waterproofing is very durable and durable, but requires great care in the process. The prepared composition must have time to apply for a certain period specified by the manufacturer, after the expiration of which it will lose its properties. When choosing such a waterproofing, it is necessary to carefully study the instructions for use, since not all mixtures can be used indoors. Such compositions well fill all the holes, even the smallest, and also have good penetrating properties.
Stages of work:
- Before you start work, you need to make sure that the floor is clean and has no stains.
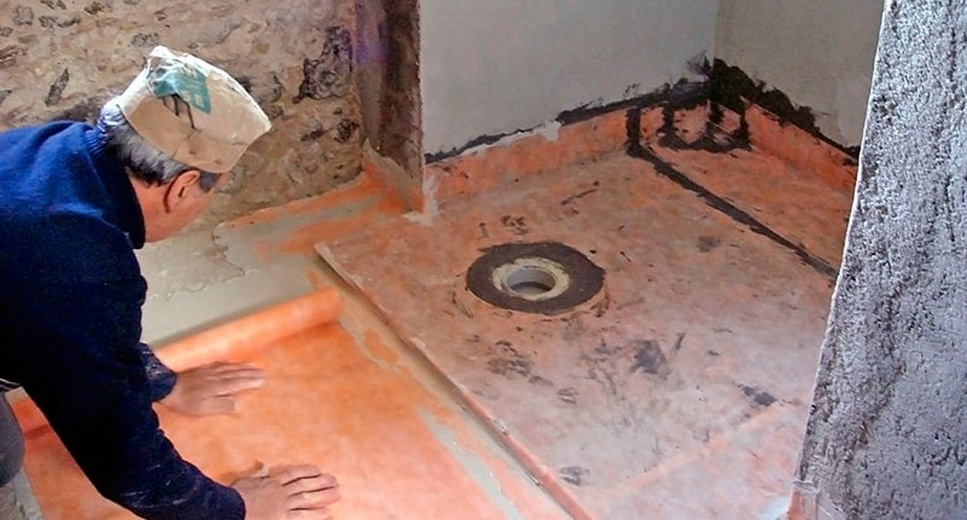
- For better work at the corners of the room, special roundings can be equipped with a concrete solution.
- The entire floor must be covered with a primer solution, wait until it dries.
- Next, you need to prepare a solution.Depending on how you apply it, it can be different: when working with a brush - liquid, when working with a spatula - thick. But be sure to follow the manufacturer's instructions.
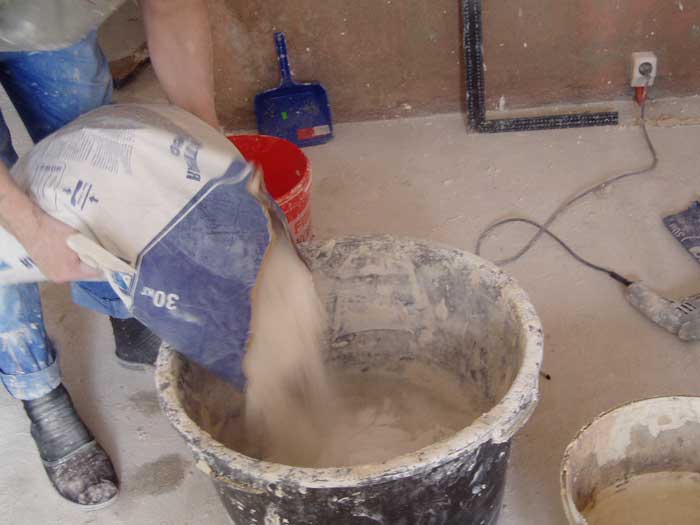
- The mixture should stand at least five minutes. After that, you need to stir it well again and make sure that it has a uniform consistency.
- It is better to apply waterproofing in two to three layers with a thickness of at least two millimeters.
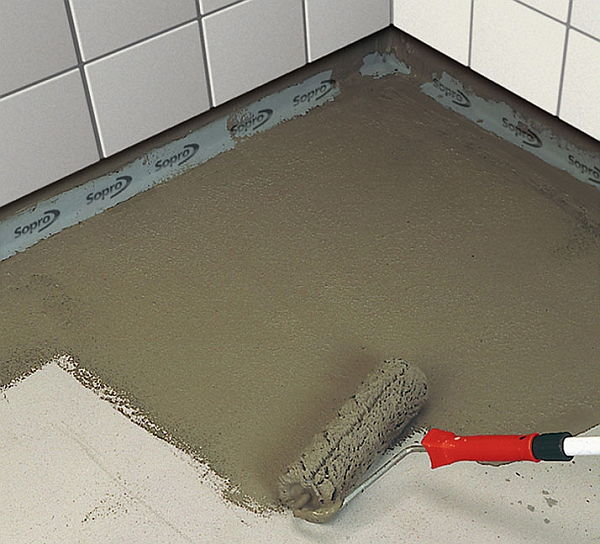
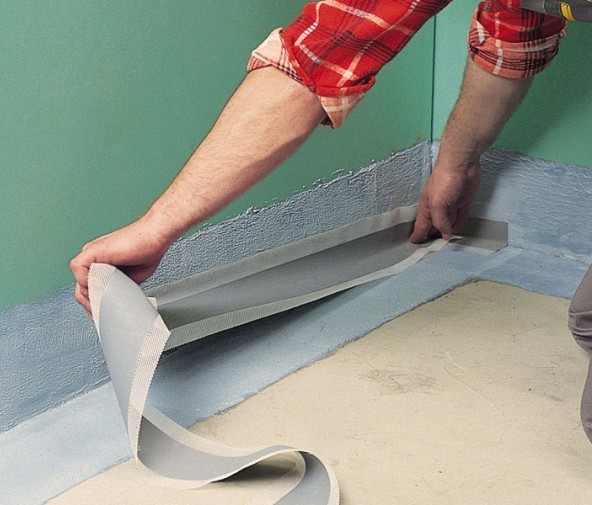
- It is necessary to apply a waterproofing tape on corners, it will provide fuller protection.
- After applying all layers, it is necessary to wet the surface well. Without it, the polymerization of the composition will be bad.
- On drying of this waterproofing takes at least two days.
- Further, unlike the previous methods, you can immediately begin to lay ceramic tiles. There is no need to make a layer of cement screed.

Plastering waterproofing is a less effective type of protection, so today it is used less and less.
For its application it is necessary:
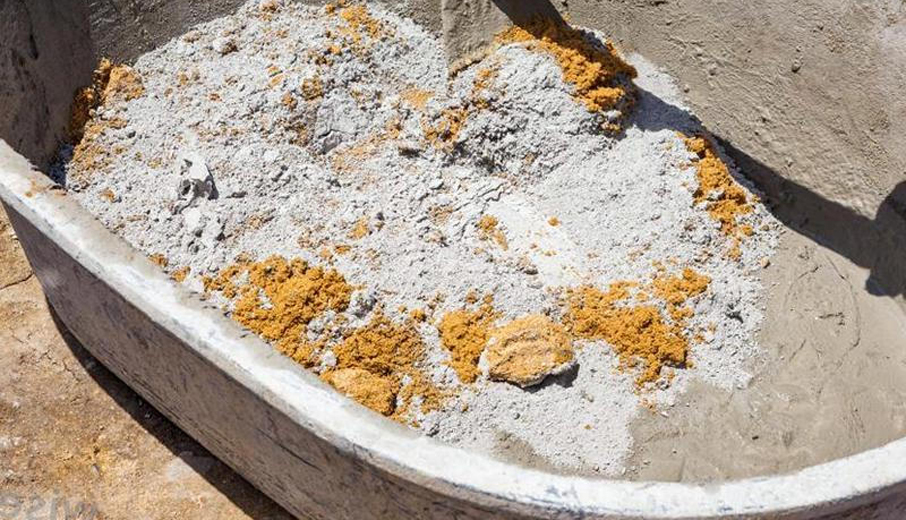
- First of all, it is necessary to mix the solution: the sand is mixed with cement at the rate of two to one;
- sprinkle the floor with a dry cement mixture,pour water and stir - this will increase adhesion;
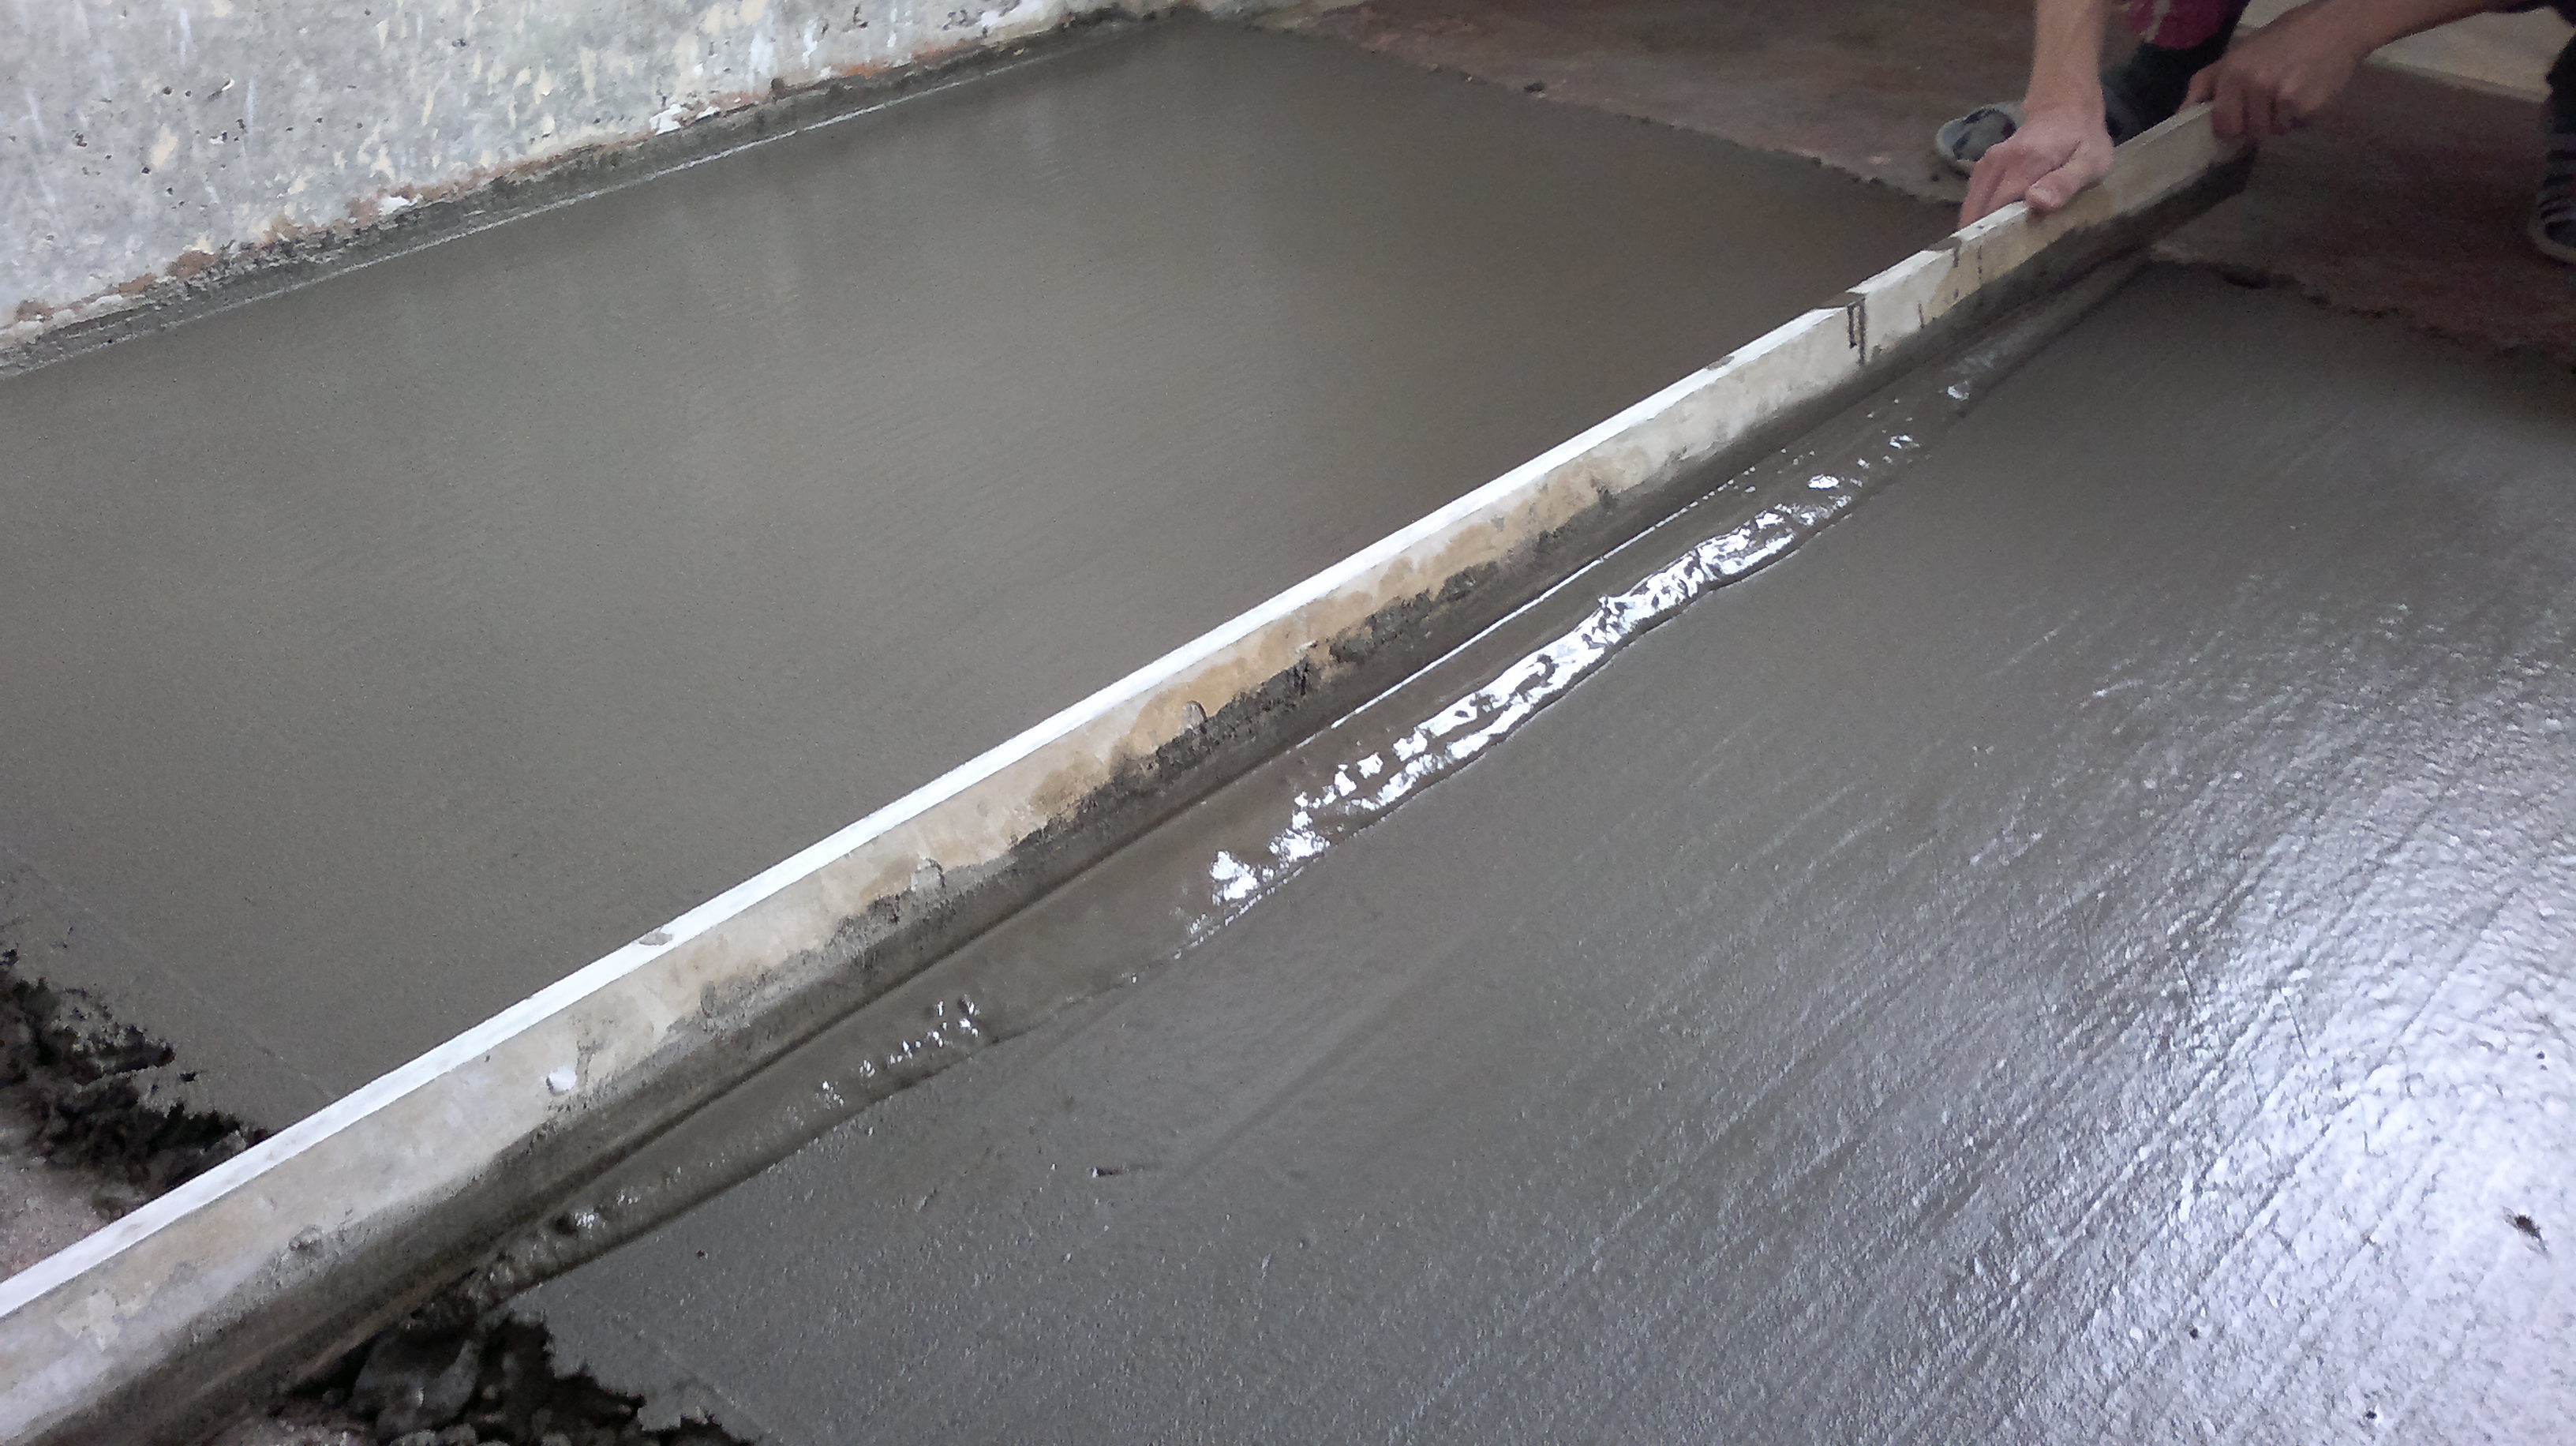
- then you can begin to lay the solution; it is necessary to monitor its level using beacons;
- after completion of the work, let the waterproofing layer dry well;
- after drying, you can begin to form a concrete screed;
- the final stage will be laying ceramic tiles.

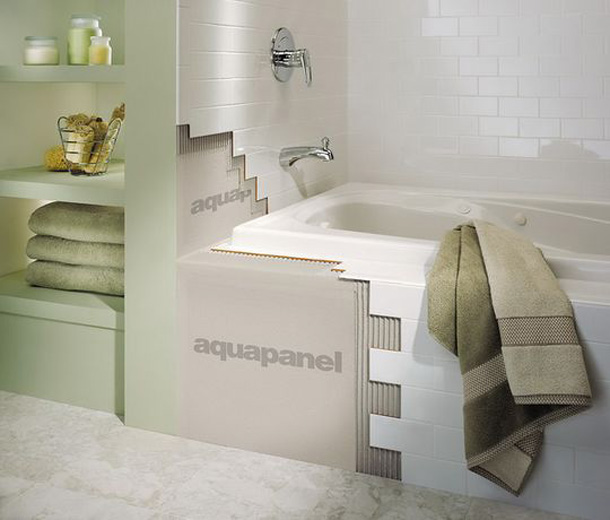
Waterproofing aquapanel. Aquapanels are very high quality modern materials for waterproofing bathrooms. They are also well suited to protect the walls of a room.
Working with them, you must clearly follow the instructions:
- sheathe the surface of the room with aquapanels;
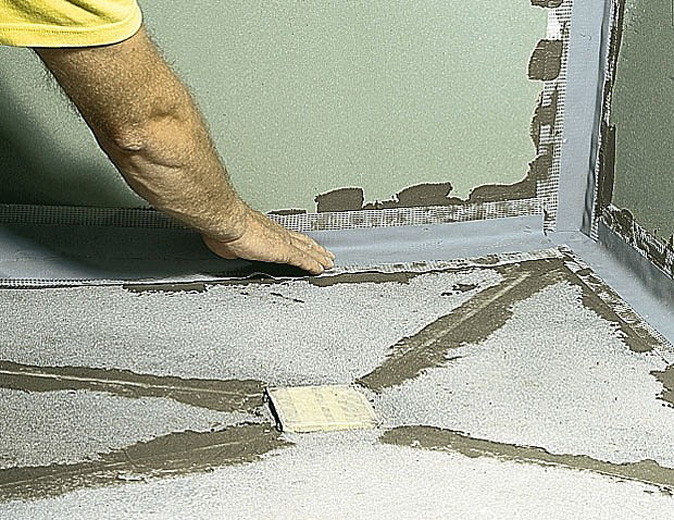
- special synthetic latex is applied on them;
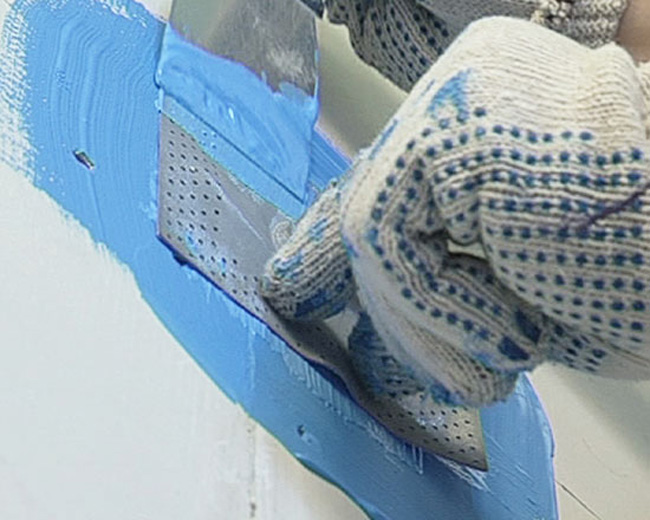
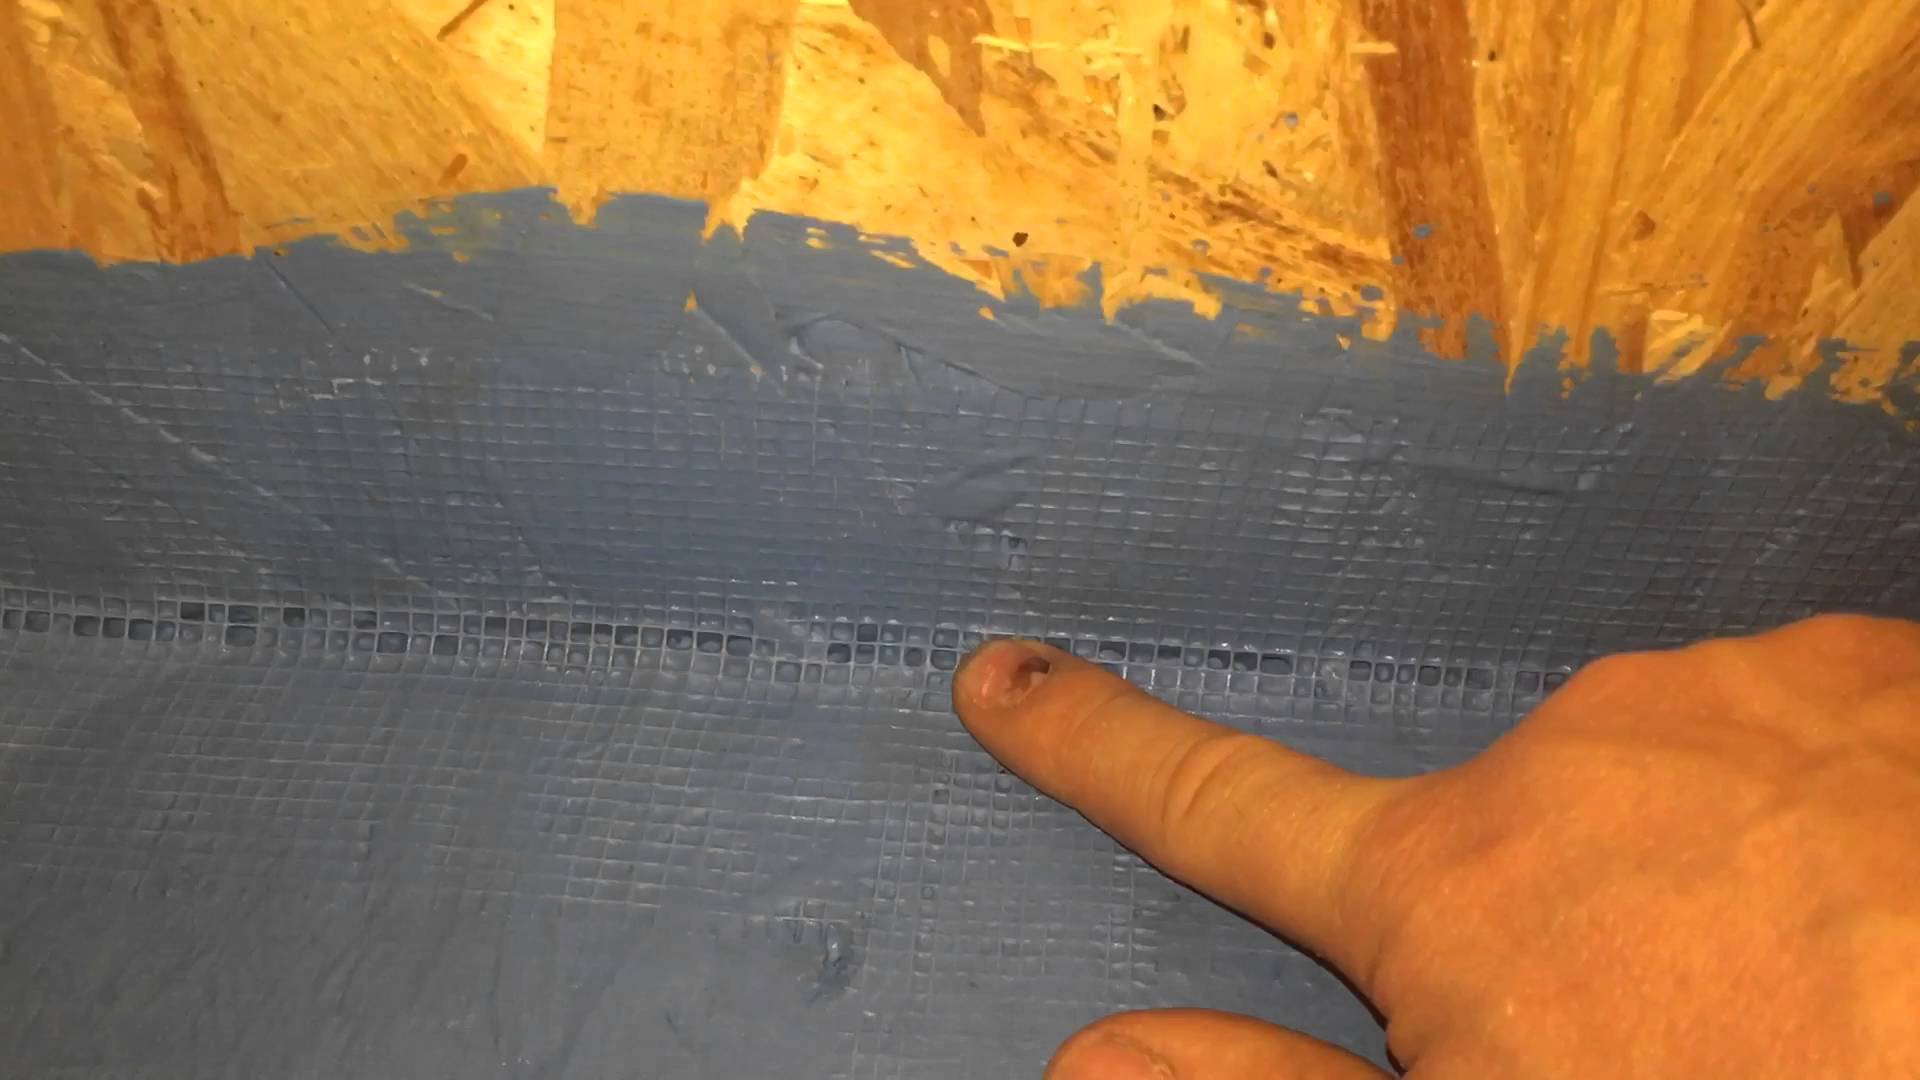
- on the joints need to stick a special waterproofing mesh;
- the joints of aquapanels are covered with the same waterproofing net;
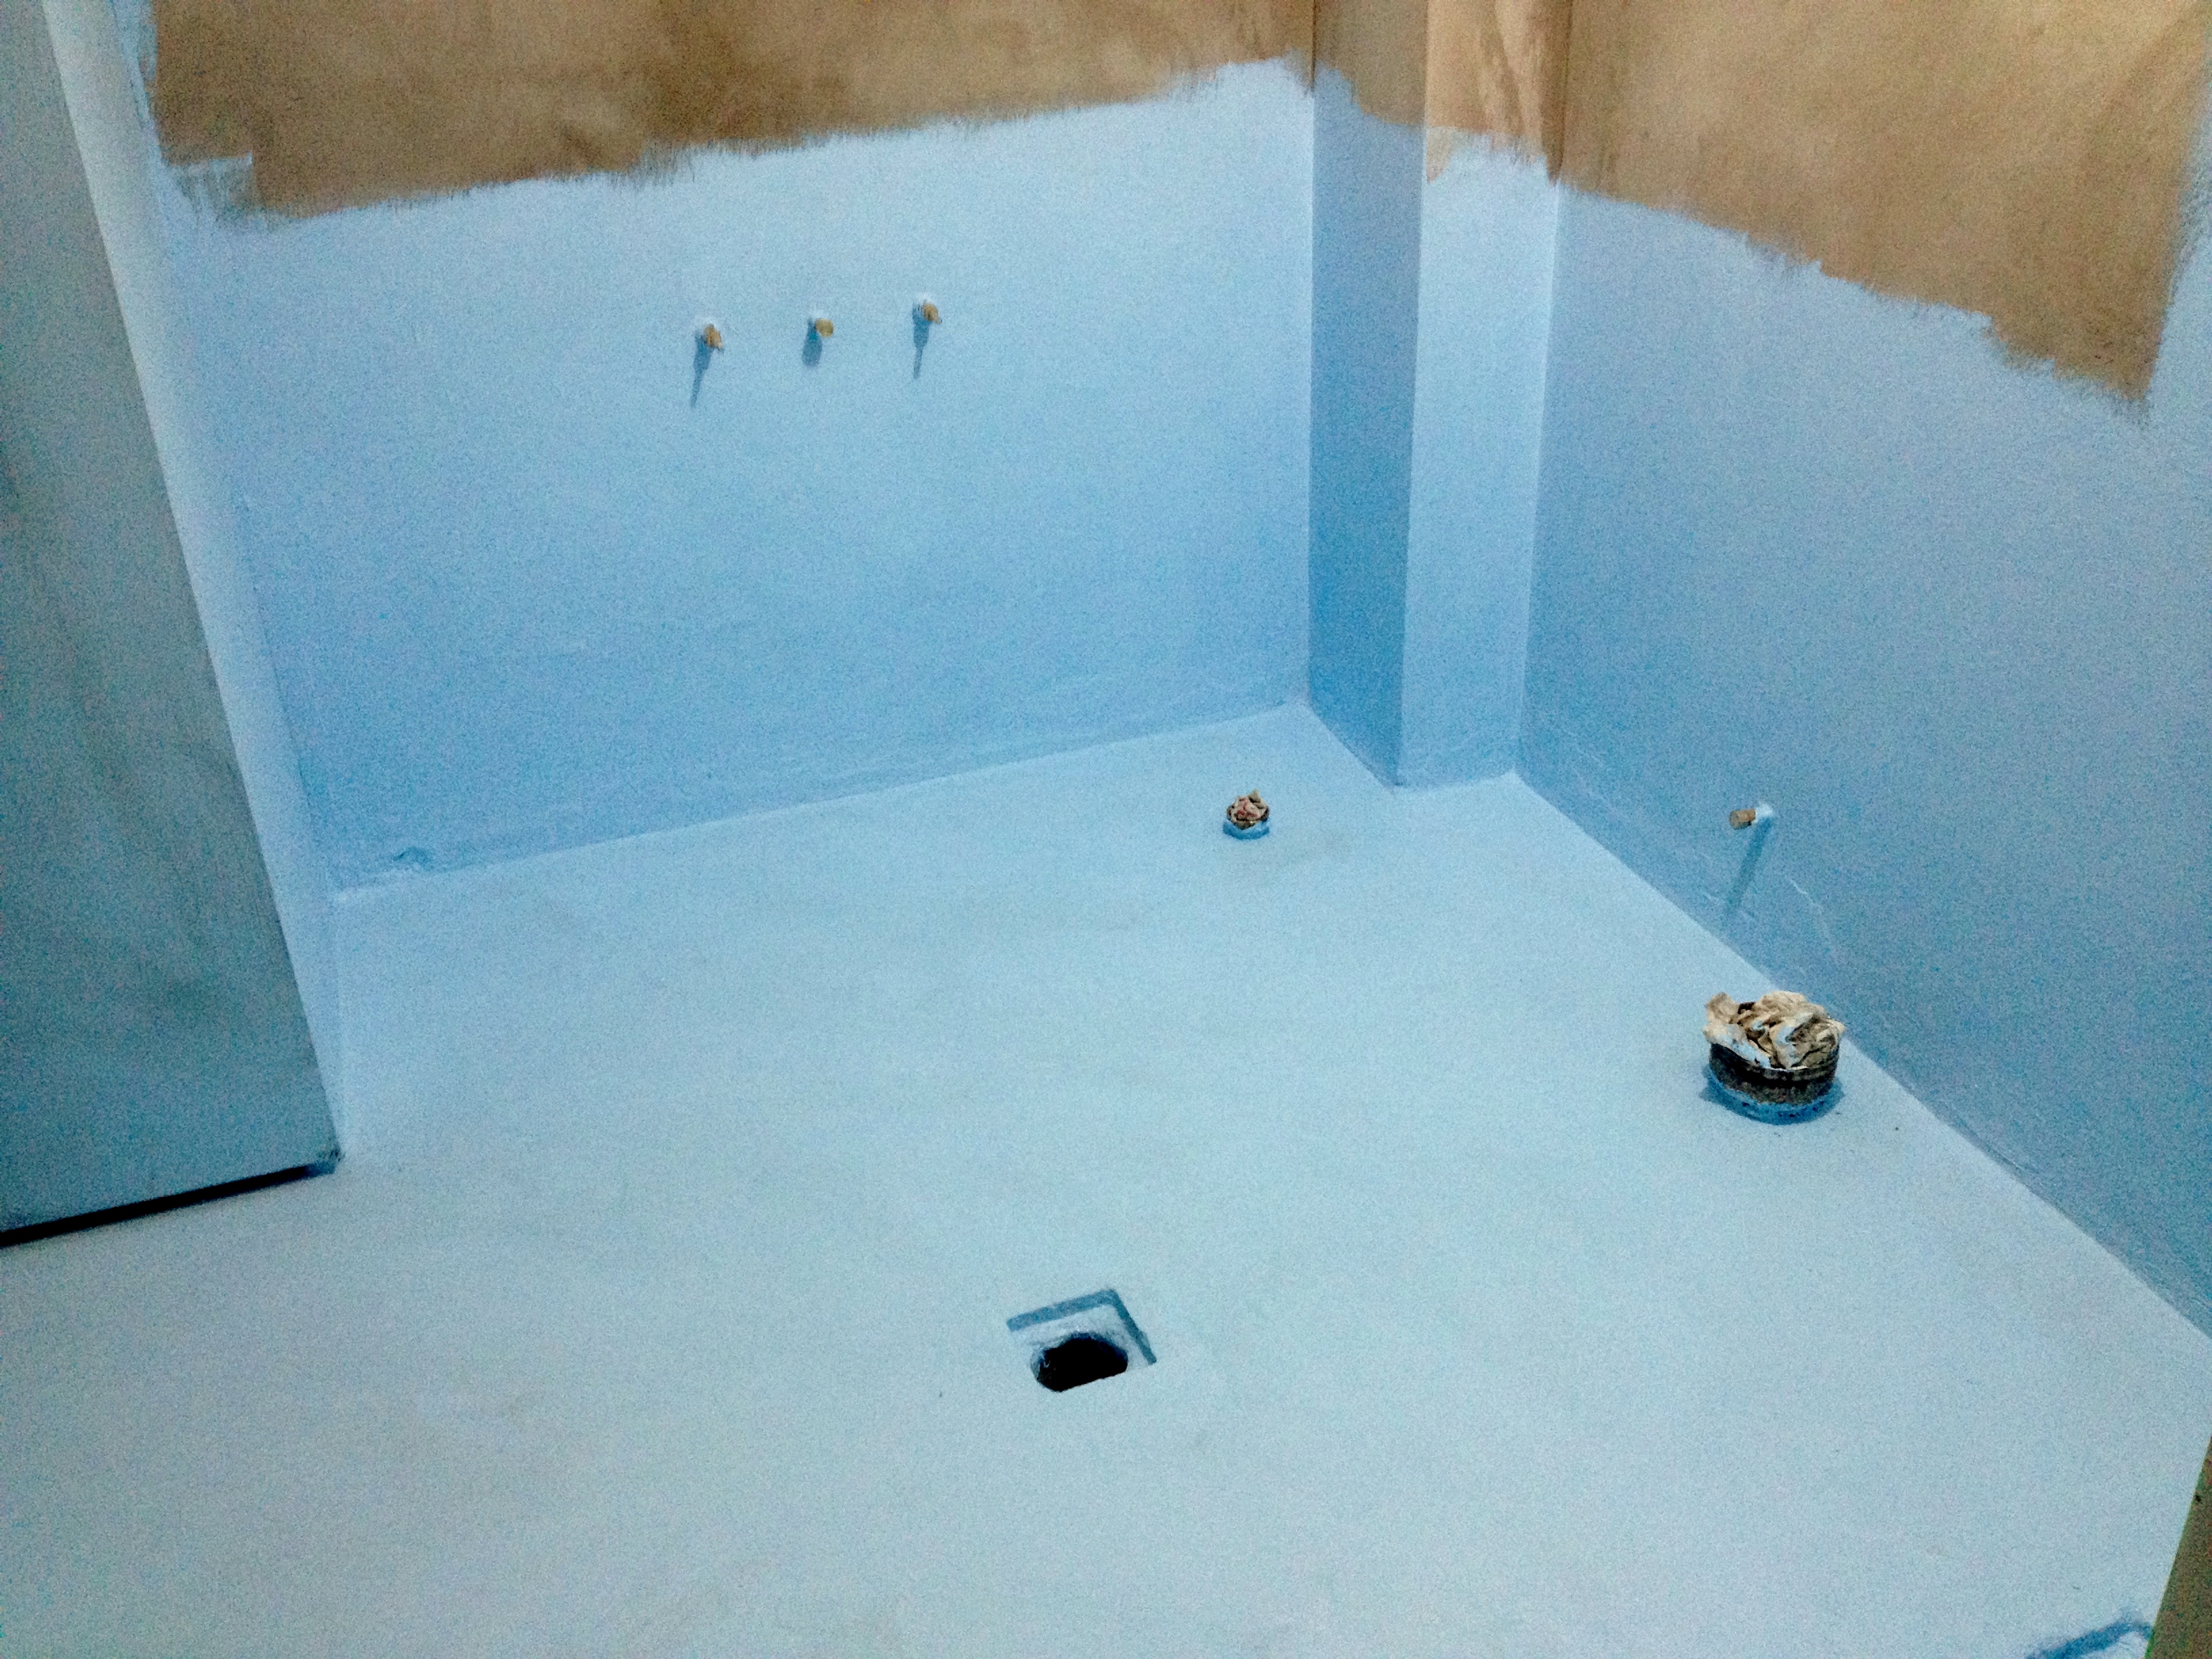
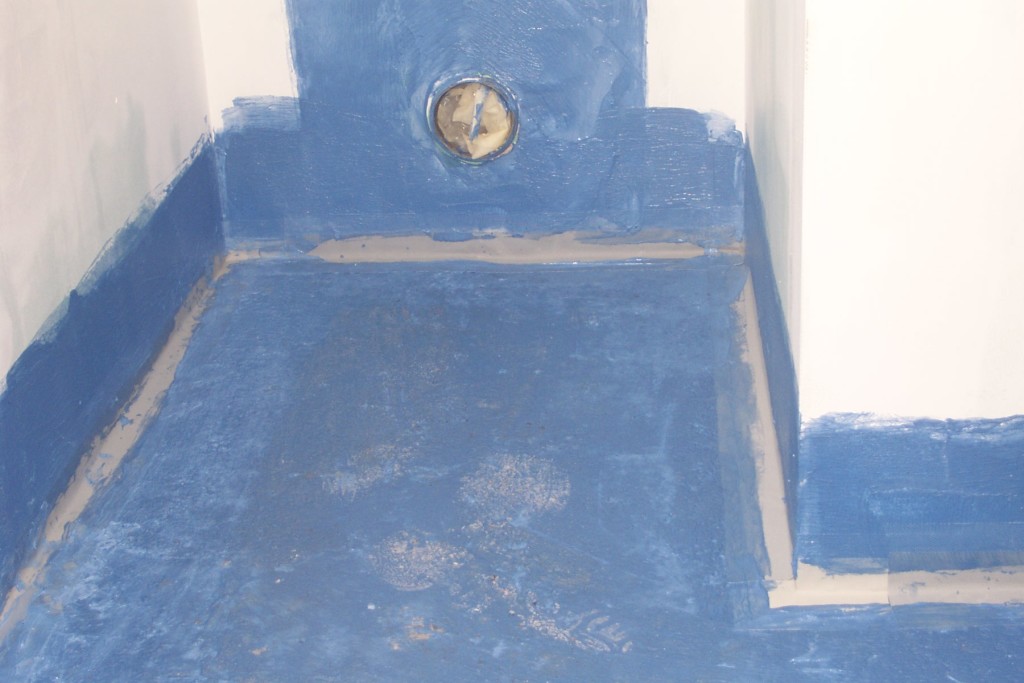
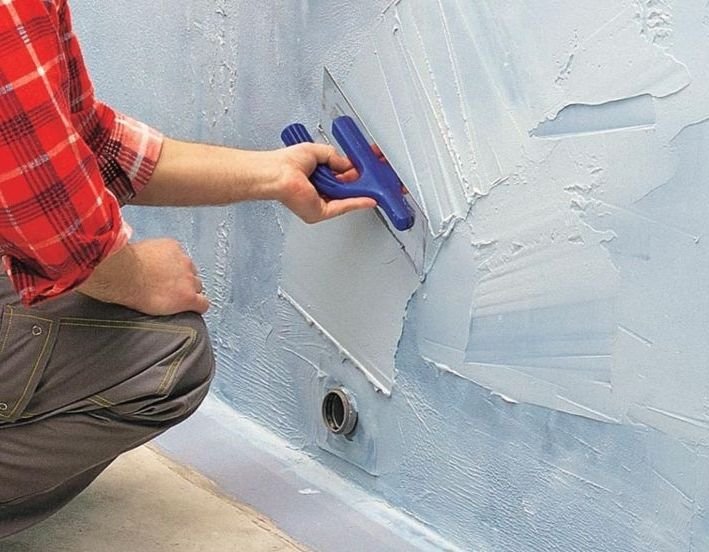
- then you need to apply synthetic latex on the remaining places, as it has a bright blue color, this allows not to miss any areas;
- after the material is completely dry, you can begin the finishing work.
In addition to the already mentioned materials, there are also ultramodern ones, which are also worth mentioning.
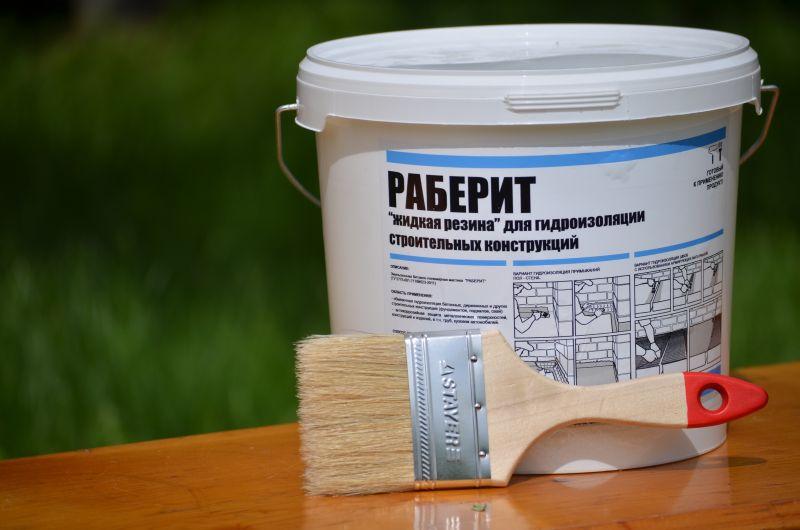
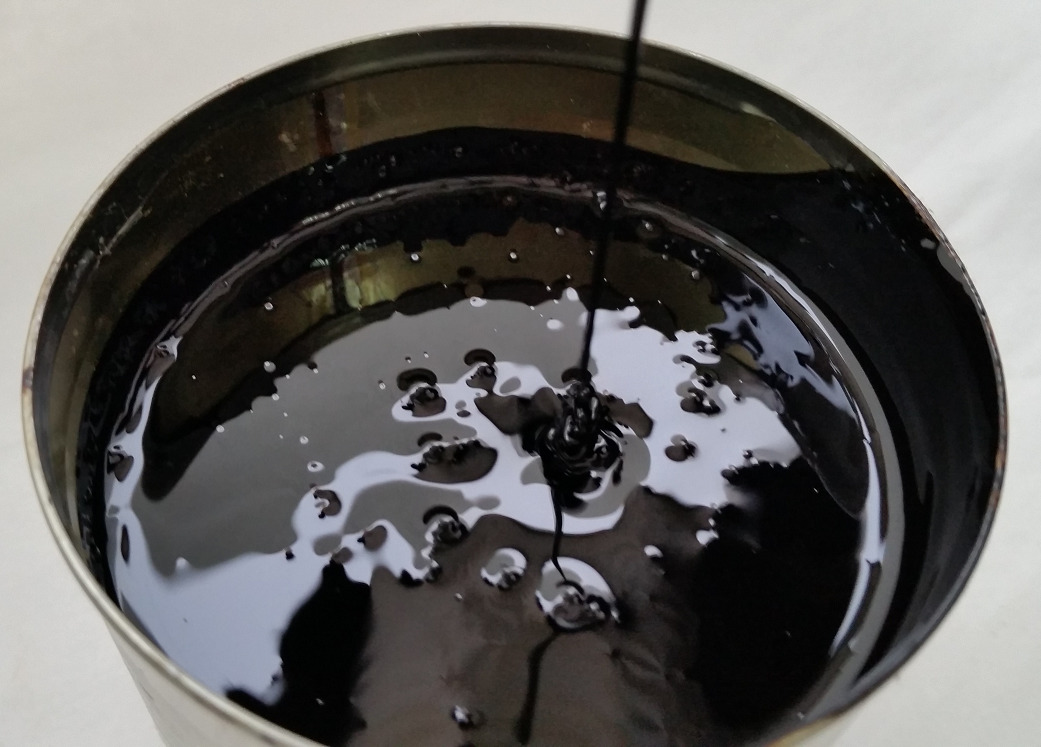
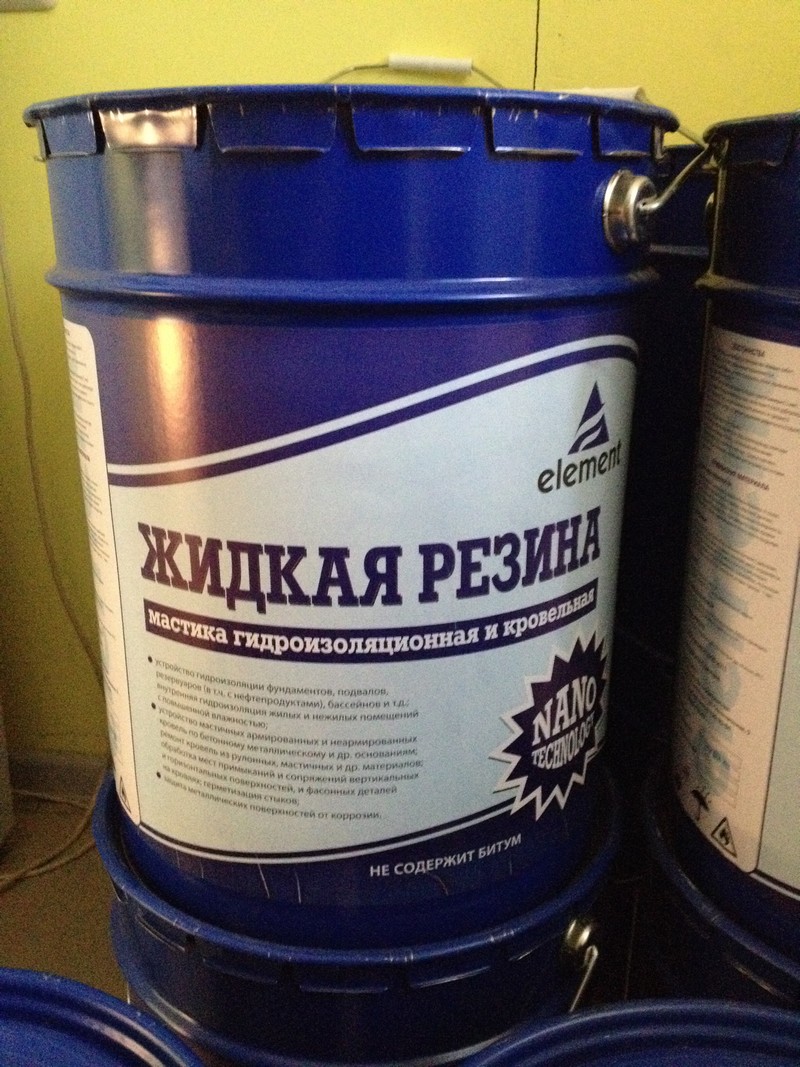
Waterproofing using liquid rubber is made of bitumen with polymer additives, giving it greater resistance to external factors. To prepare the solution, it is necessary to mix it with calcium chloride and water. The solution is liquid, so it is possible to apply it with a spray gun.
Although it is possible to bring a solution of different consistency, so it can be done using different methods:
- in bulk method, getting an even and smooth coating;
- by spraying - with this method, filling is more deep and high quality;
- painting technology using dyeing tools.
After the solution dries, it forms a film that is very elastic and covers any surface well.
This material undoubtedly has several advantages:
- it is an environmentally friendly material that does not affect people's health;
- possesses the increased adhesion on various surfaces;
- it is possible to apply even on an unprepared surface, for example, on old paint;
- forms a continuous elastic film;
- has a very high density;
- tolerates any temperature fluctuations;
- complete absence of unpleasant odor;
- is a very durable insulation method.

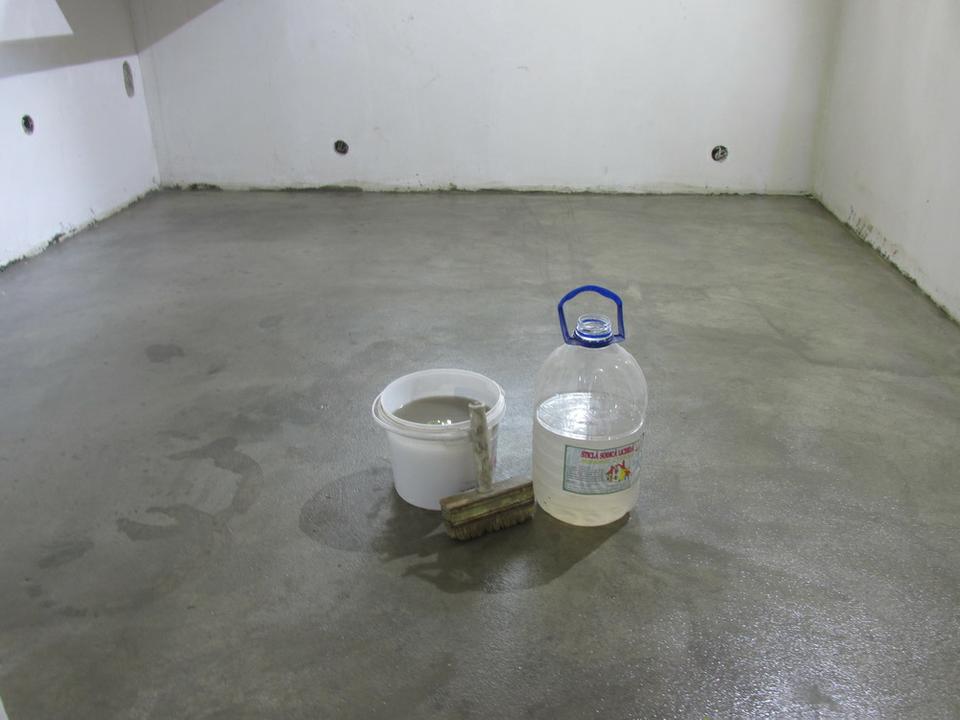
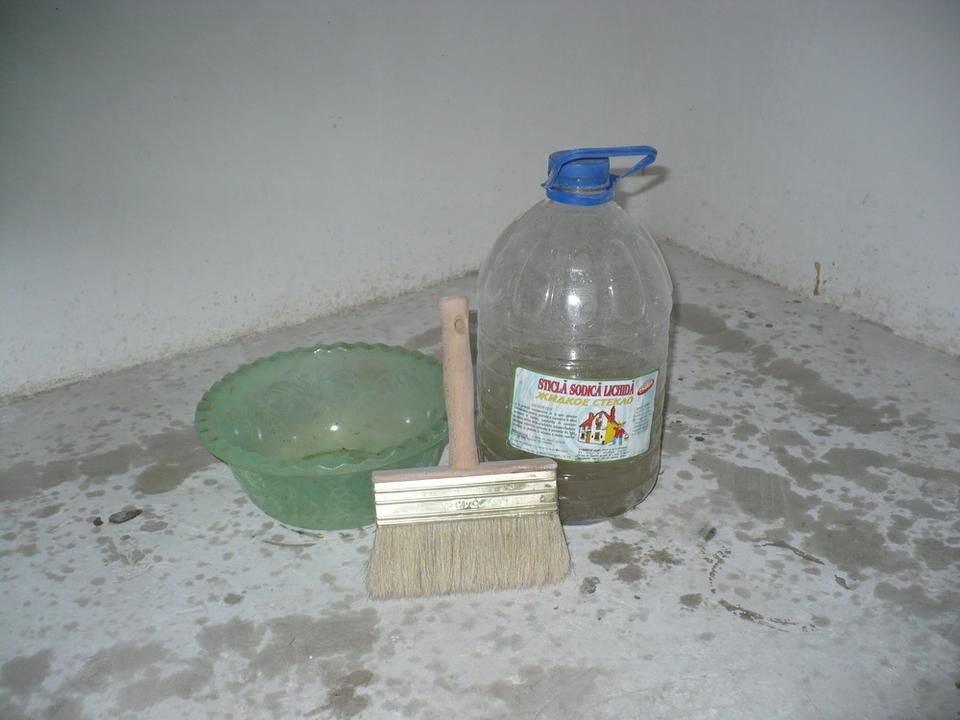
Waterproofing using liquid glass. The basis of this composition are sodium silicate or potassium, soda, quartz sand.
This material also has a number of advantages:
- has antiseptic qualities, thus there is no need for additional treatment with antiseptic;
- able to create a solid waterproof coating;
- has antistatic properties;
- makes concrete cover strong and durable;
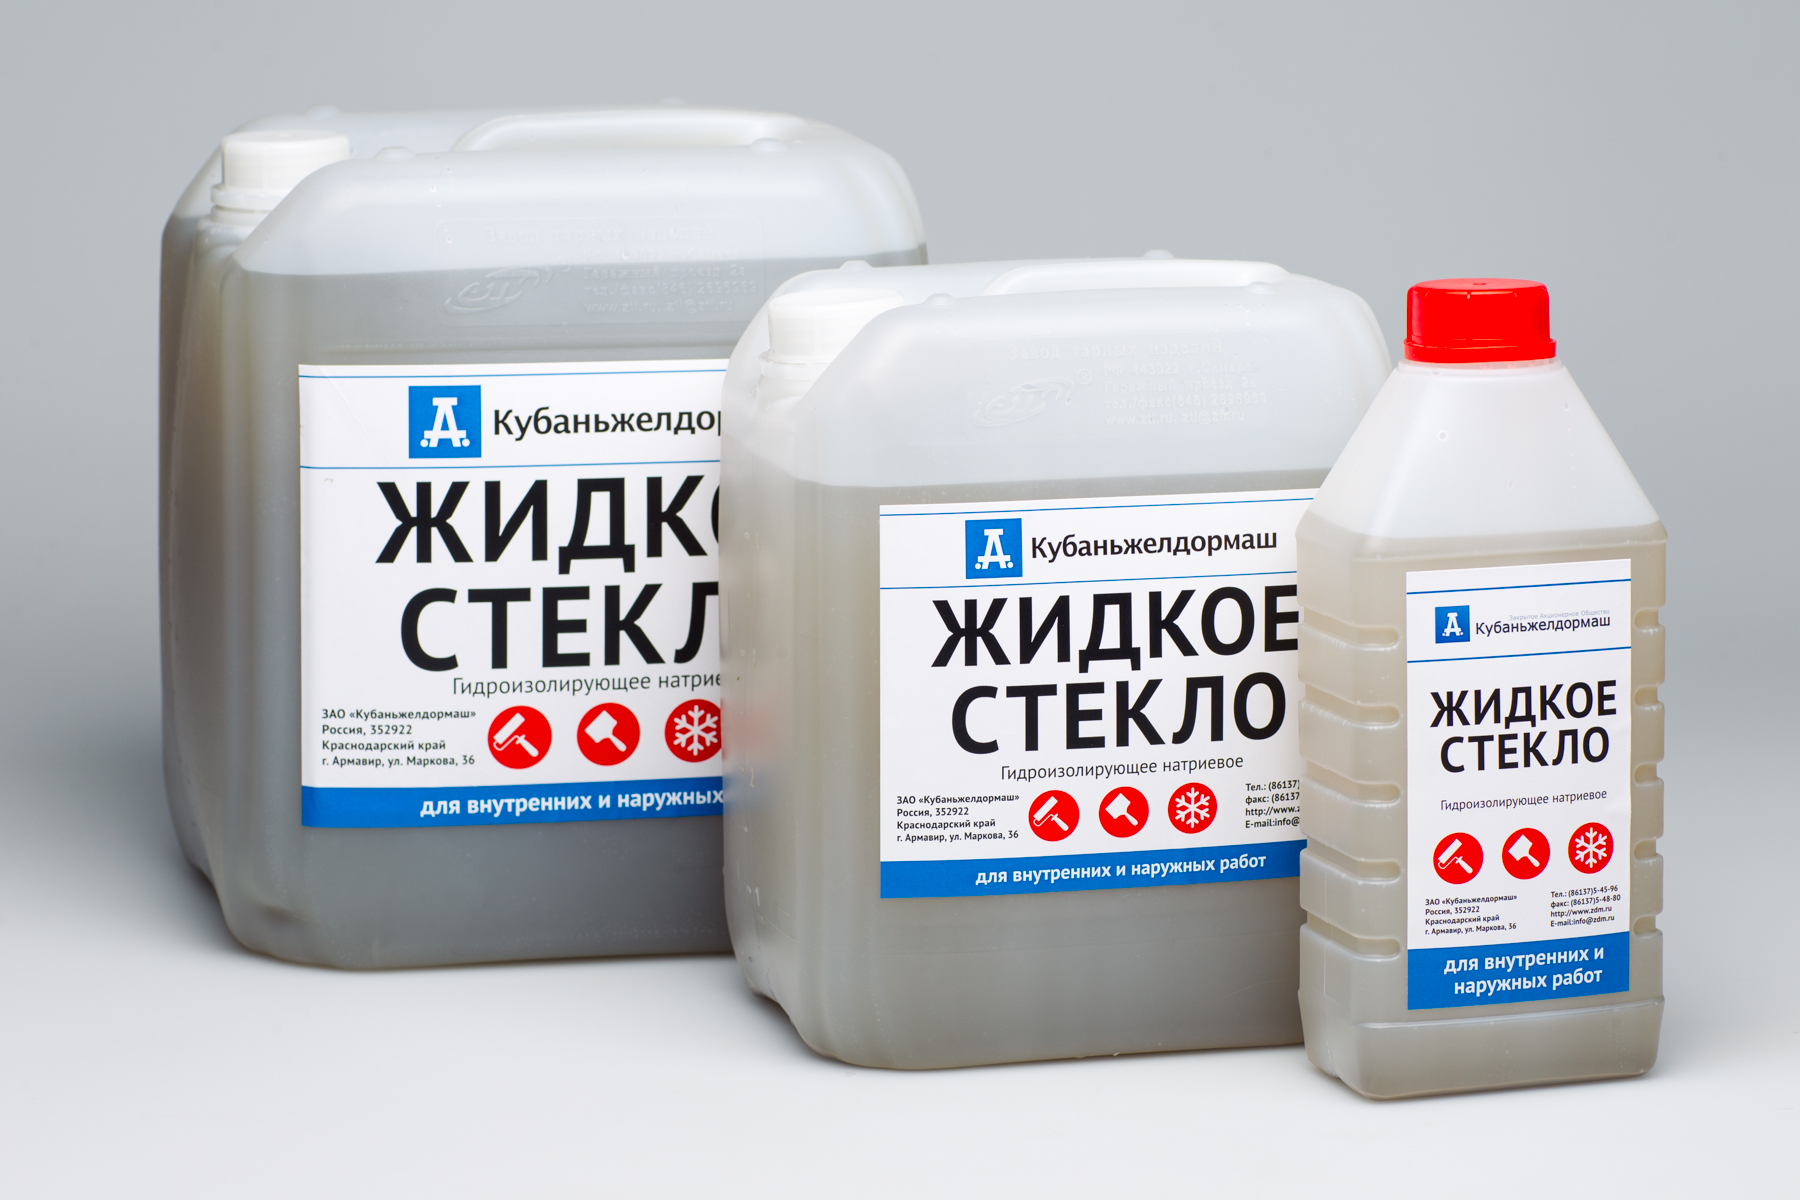
- has high adhesion;
- can even be used in rooms built of wood;
- can be added to the concrete mix, giving it water-repellent properties;
- economical and inexpensive.

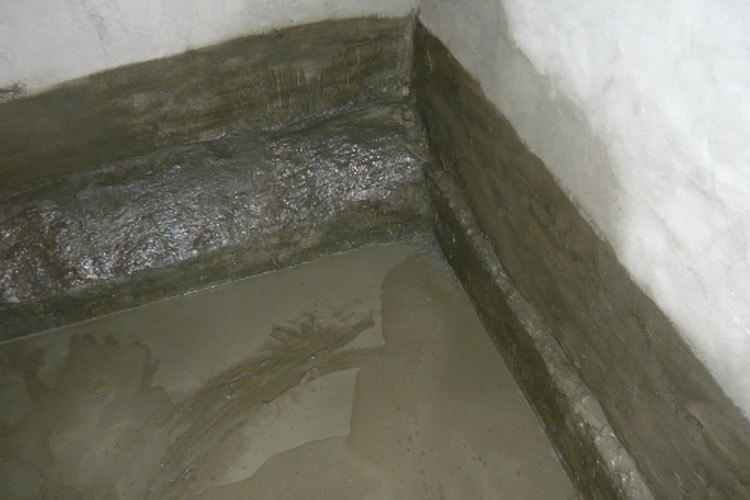
Despite all the advantages, this material has several disadvantages, which are also worth mentioning:
- its service life is small - up to five years;
- the solution is incompatible with brick surfaces, contributes to their destruction;
- has a fragile coating that must be faced;
- The casting process should be very fast.
Perhaps waterproofing walls will require a little more attention.For them, the best fit mixture based on cement-polymer materials. It is better not to use bitumen, since it is a rather heavy material, it can lie badly, roll down, and eventually even peel off. Special attention should be paid to corners and pipes of communications. It is better to further isolate them with cuffs.
After applying a waterproofing layer on the wall is also better to apply a layer of primer. Waterproofing a bathroom on wooden walls and floor.
This question should be considered in detail, as this building material has a number of features:
- wood is very sensitive to moisture and high temperature extremes;
- it happens that there is no possibility to perform ventilation in the room;
- wood is a mobile building material, so cement-based waterproofing will not work.

In a wooden house, you must use plastic waterproofing materials or roll. Before starting work, the tree must be treated with antiseptic, then:
- make sure that the surface is clean, do not allow oily stains;
- then polish the surface well;
- boards are impregnated with an antiseptic solution;
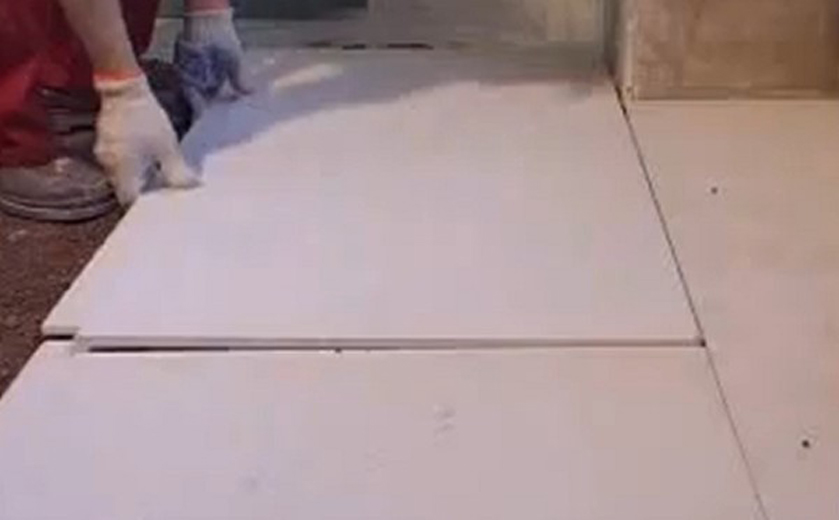
- then OSB water-repellent plates are laid, all gaps are puttied;
- the next layer of waterproofing is applied;
- only after the complete drying of all layers can you begin to finish.

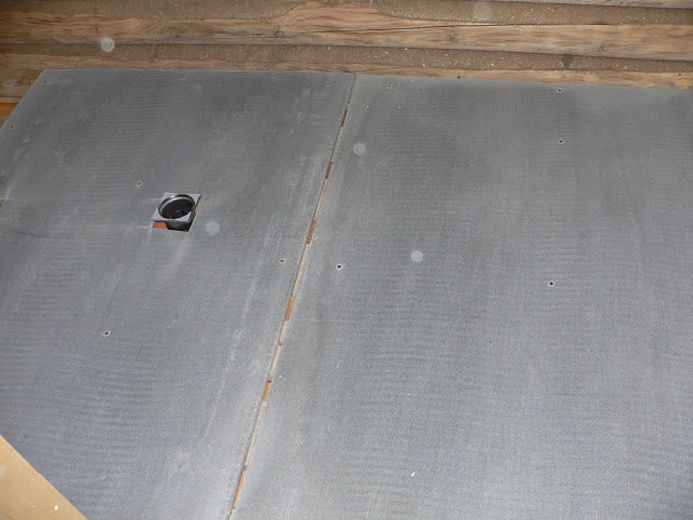
The walls of the wooden house in the bathroom are well waterproofed using moisture-proof drywall, roll materials, for example, aluminum foil:
- it is better to fix aluminum foil starting from the bottom row;
- it is necessary to ensure that it lays down evenly, without swelling and folds;
- joints can be treated with waterproofing tape or tape;
- then you need to form a frame for fixing sheets of drywall from battens cut from metal or wood;
- Now you can go to the fastening of moisture-resistant drywall;
- After completion of all work, you should start facing the walls with tiles.

Useful tips
In order to properly make a waterproofing a bathroom with your own hands, you can use the following tips:
- it is necessary to pick up waterproofing materials correctly;
- identify areas that are most susceptible to moisture;
- before starting work, it is necessary to prepare the surface well, clean it approximately by 2-3 millimeters;
- all pipes must be fitted with special seals;
- pay great attention to the joints of the walls and the floor, as well as the corners;
- when waterproofing the floor, you need to capture about 20 cm of the wall;
- waterproofing is subject to the risk of rupture, so it is better to strengthen it with a concrete tie;
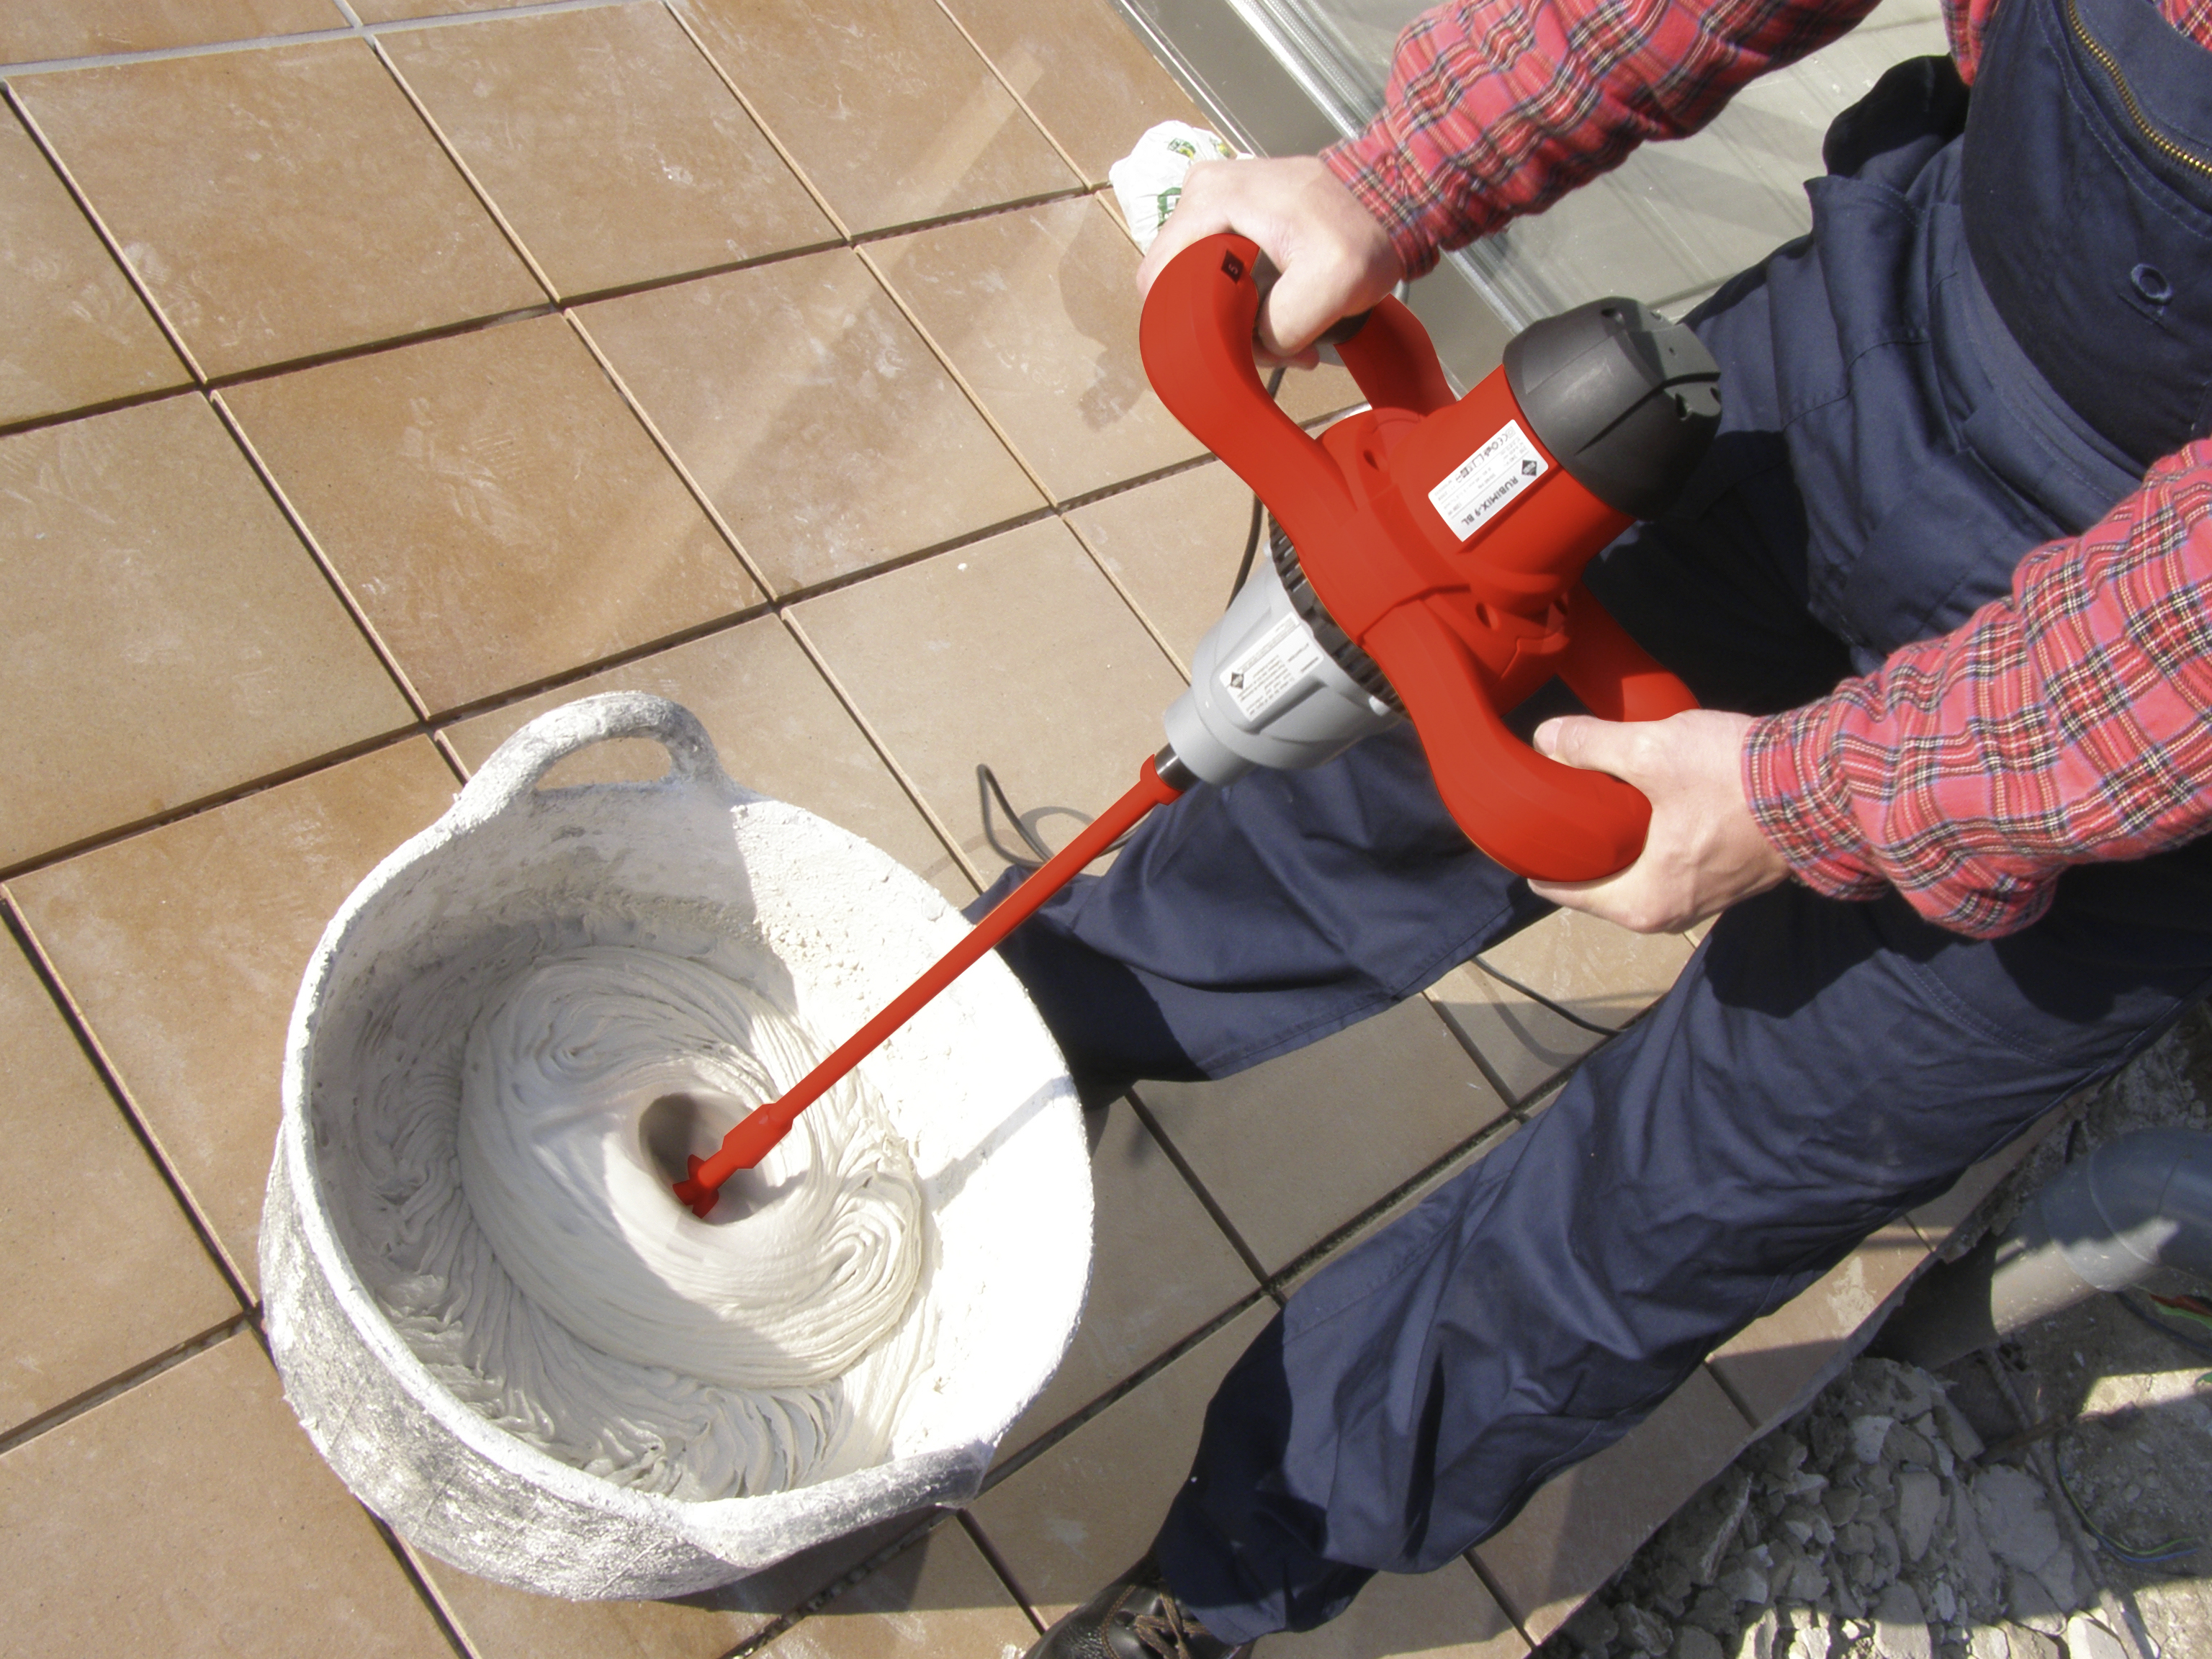
- when you hover the solution from any dry mixes, it is better to first pour in the water and then gradually add the dry component, this will prevent the formation of lumps. It is also best to use an electric mixer to achieve a uniform consistency;
- in the case of independent production, it is not necessary to immediately make a large amount of the mixture, otherwise the stagnant residue will lose its qualities and properties;
- during works on waterproofing it is necessary to exclude the presence of drafts, as well as direct sunlight;
- as for wooden houses, even with good waterproofing in bathrooms, it is better to monitor the possible accumulation of water on the surfaces and dry it as quickly as possible;
- in the process of waterproofing the floor you have to work on your knees, so you can build a stand from the board and soft rags, so as not to damage the waterproofing and for ease of work;
- pipes and sewers should be treated with a waterproofing solution at least twice and very carefully;
- when applying several layers of waterproofing you need to lay them in different directions;
- for gluing sheets of waterproofing, you can use a gas torch.
Summing up, we can say that waterproofing a bathroom in an apartment or house is a very important step in the repair process, and it is better not to ignore it. You can do waterproofing with your own hands, since this process is not so complicated. It is possible to choose any materials that match the surfaces of the premises, the preferences of the owner, as well as the planned costs.
Before you start work, it is important to prepare the room well.and also to study all instructions and recommendations specified by the manufacturer. With proper observance of them, as well as following useful tips, you can independently install high-quality waterproofing of your bathroom, which will last for many years.
How to make a waterproofing in the bathroom, see the video below.


