How to lay the laminate?
Every year, an increasing number of people choose laminate flooring. And this is understandable: it has clear advantages over the concrete floor of ordinary apartments. Yes, and in wooden floors, he wins in some cases. Therefore, many people are confronted with the question not “to lay or not to lay?”, But “how to lay the laminate floor correctly?”.
Special features
Before starting to study the process of laying should understand what constitutes this building material.
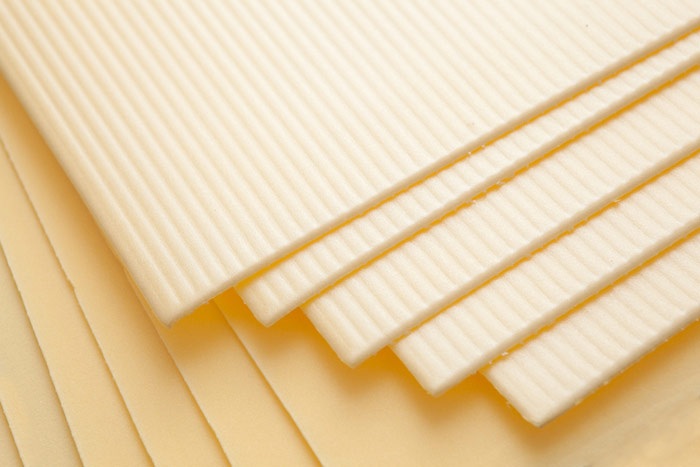
The structure of the lamination plate consists of four layers:
- Melamine paper, which acts as a balancing (stabilizing) layer and protects the lamella (plate) from moisture.
- High density fibreboard - carrier plate, which accounts for the main load.
- Printed cardboard is a decorative layer of various colors and patterns.
- Acrylic and melamine resin (or other resins), the compound of which gives a high-strength composite protective coating.
Thus, each layer has its own functional load. In addition, each lamella is equipped with a lock that allows you to connect the plates with each other.
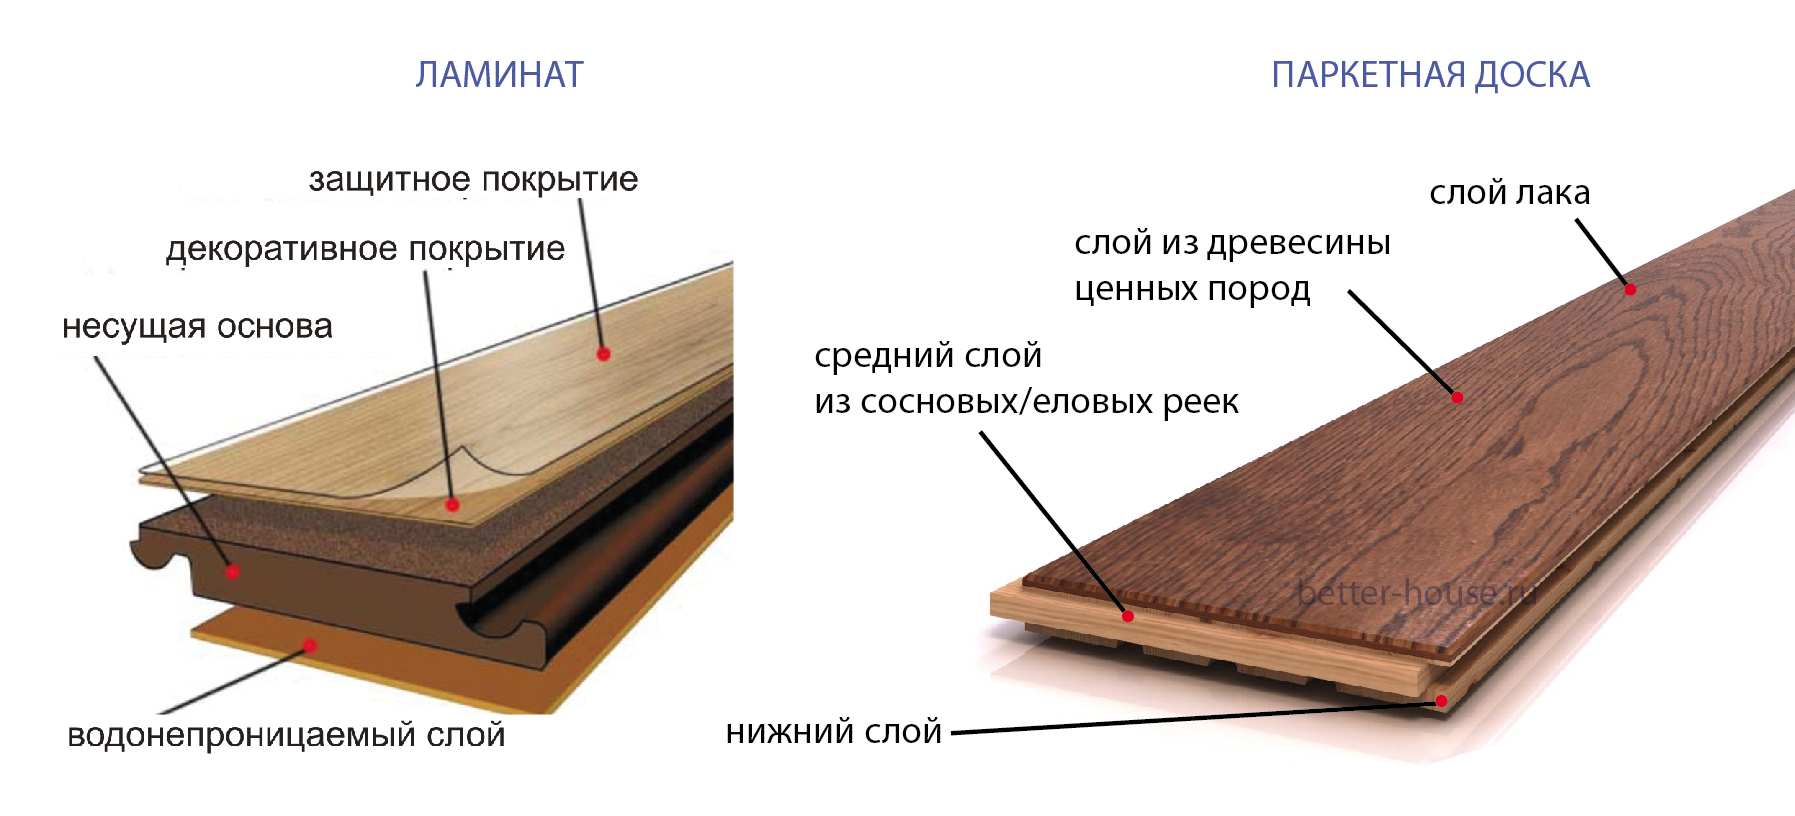
Some mistakenly call this building material parquet. The mistake is that the parquet is made of natural wood.
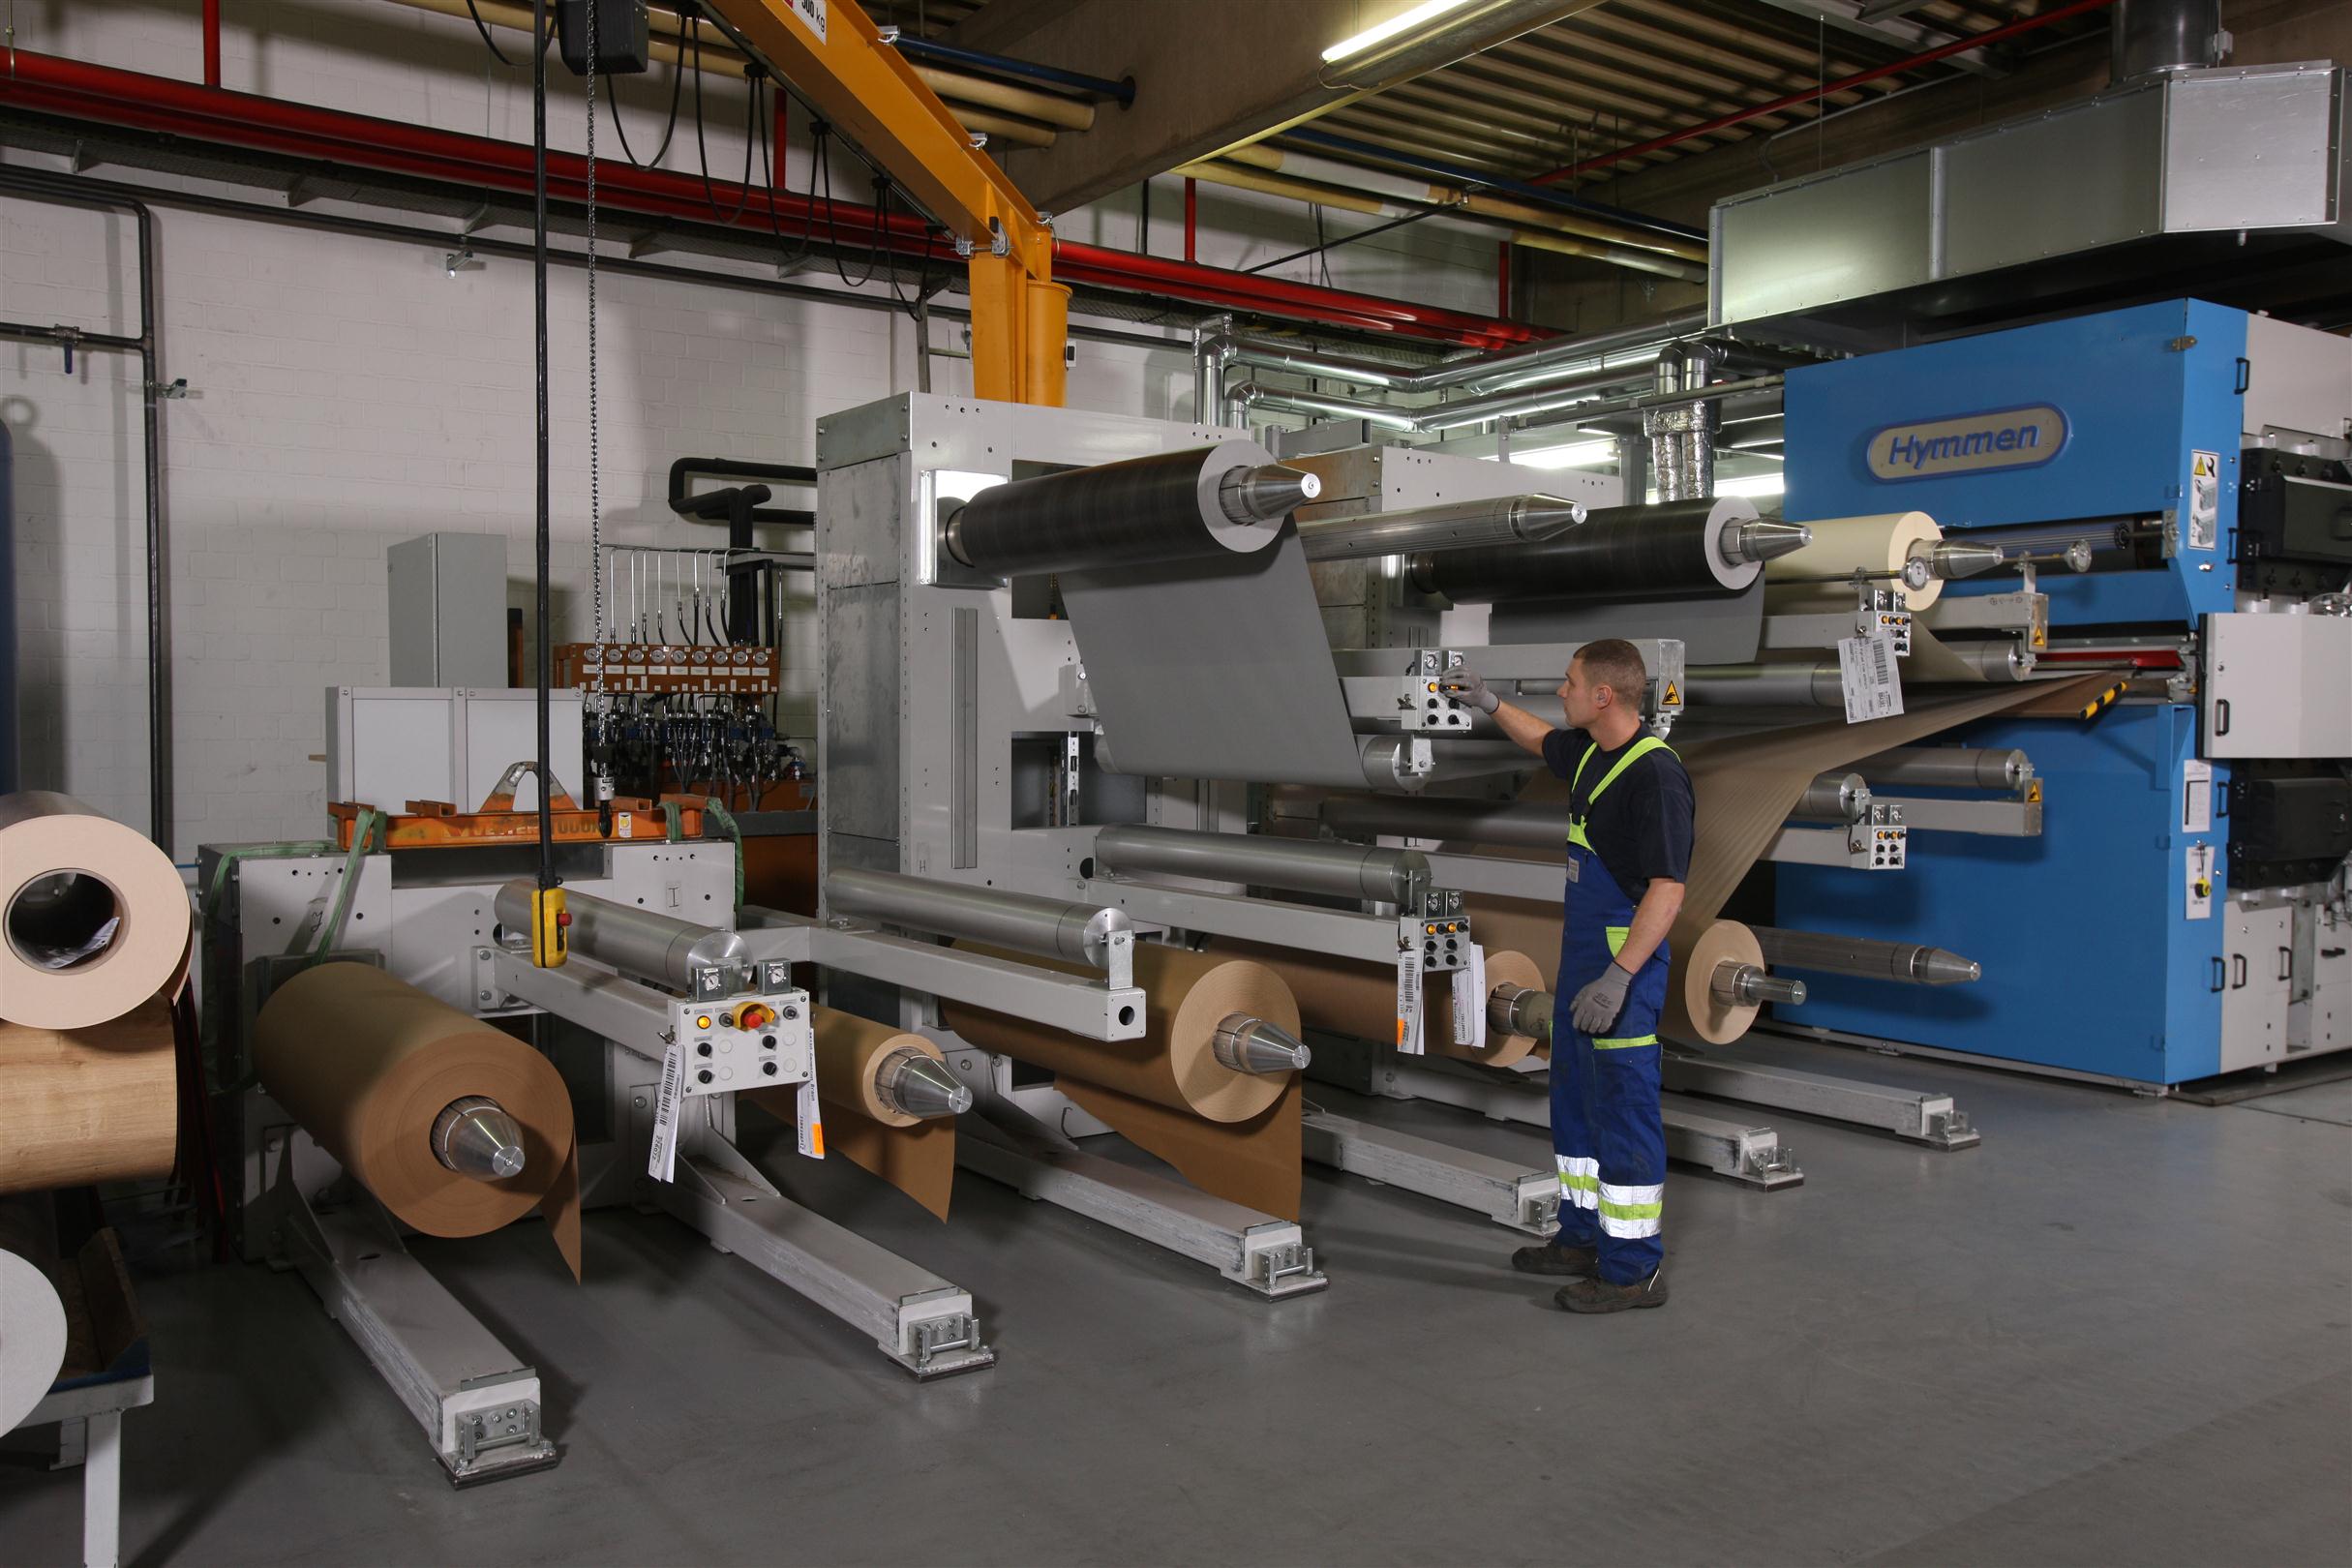
Laminate flooring is the result of the work of the wood processing industry and chemists. Nevertheless, he has many advantages to which attention should be paid.

The advantages of laminate:
- For many, the main issue is the price. Such material is much cheaper than parquet and floor ceramic tiles.
- The possibility of laying the laminate with their own hands without the involvement of a specialist and save money.
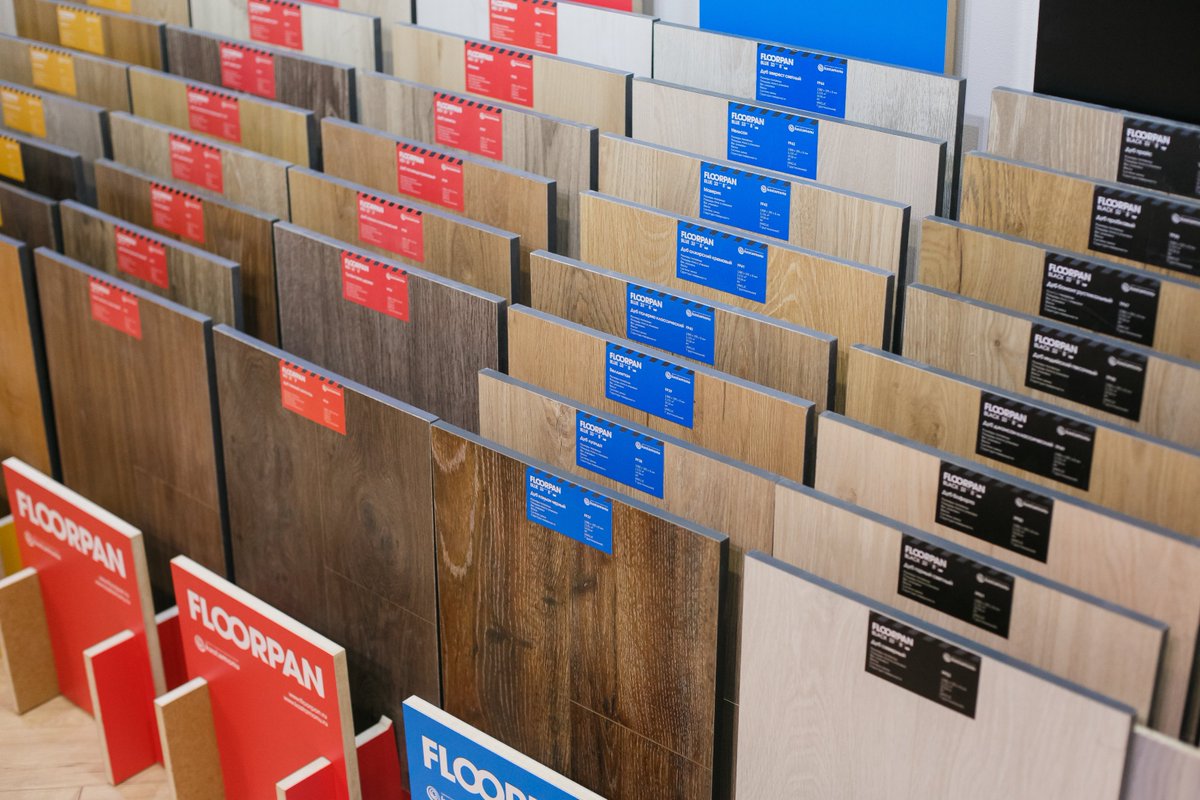
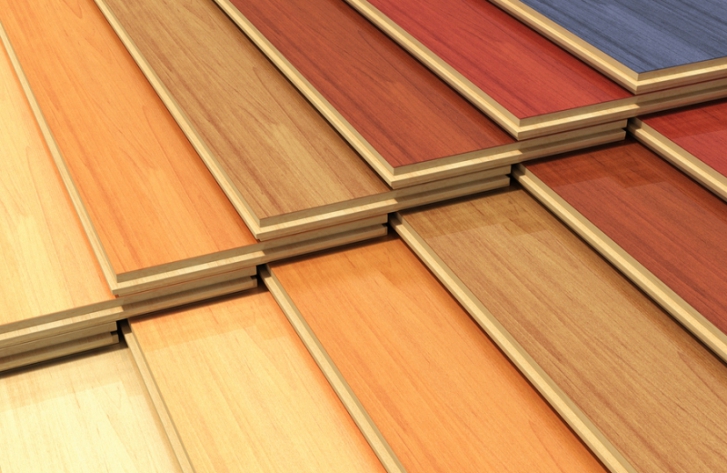
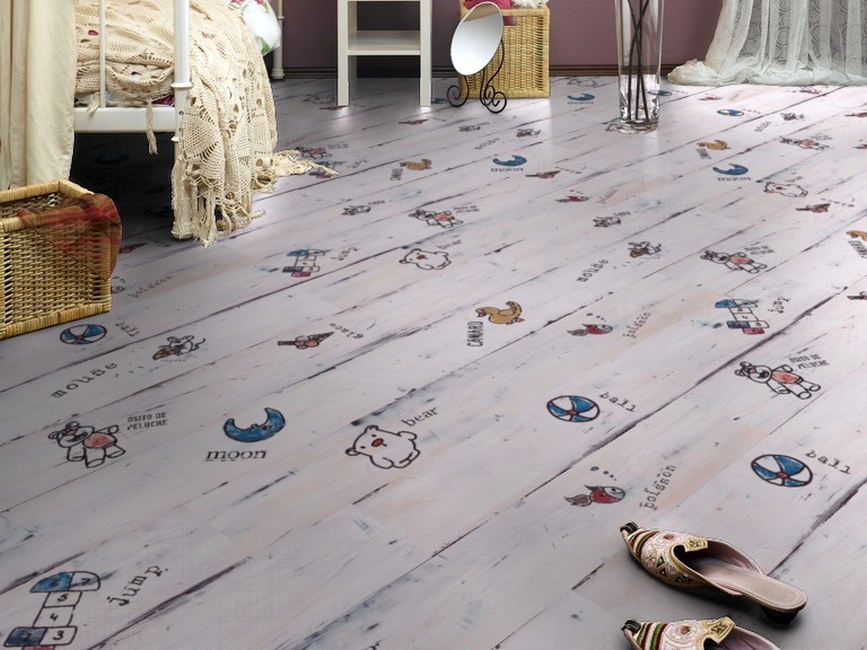
- A big color variety, and a possibility of the choice under any interior. For the nursery, manufacturers offer flooring special patterns.
- Depending on the category, type and type, you can choose lamellae of different levels of wear resistance: for an apartment with a small number of people or a cafe withhigh visitor visibility.
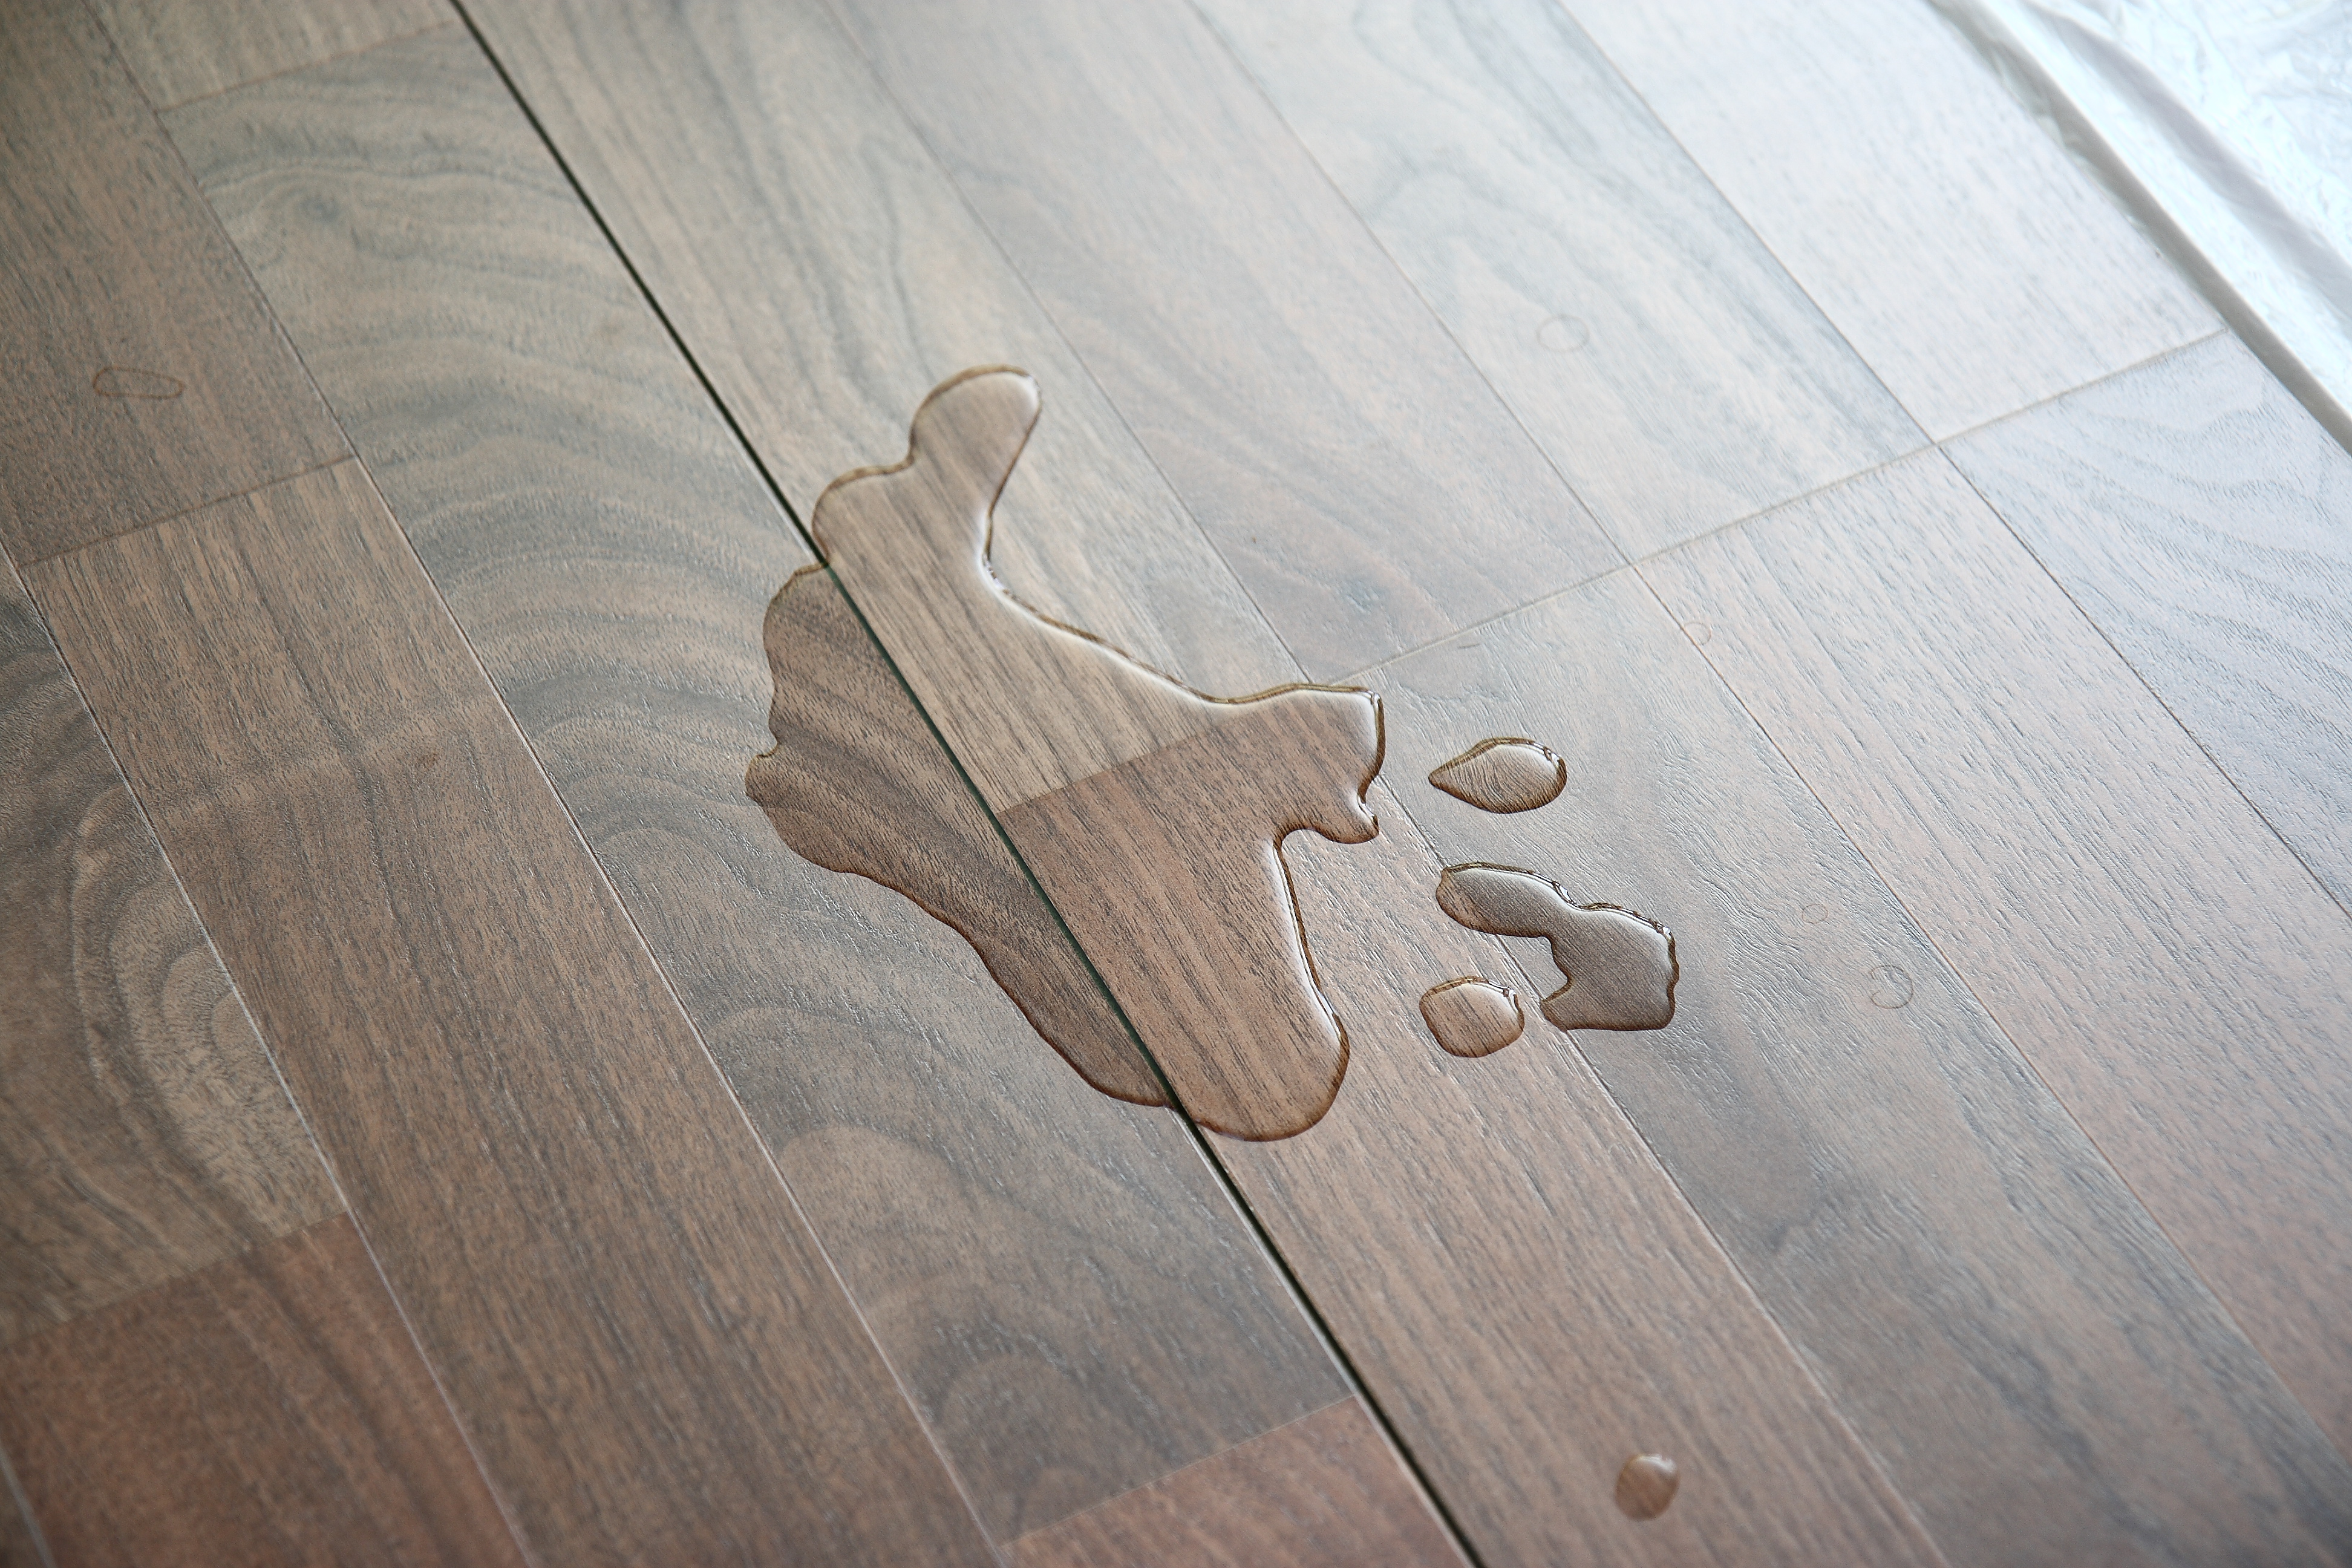
- For the kitchen produce lamellae with high moisture resistance.
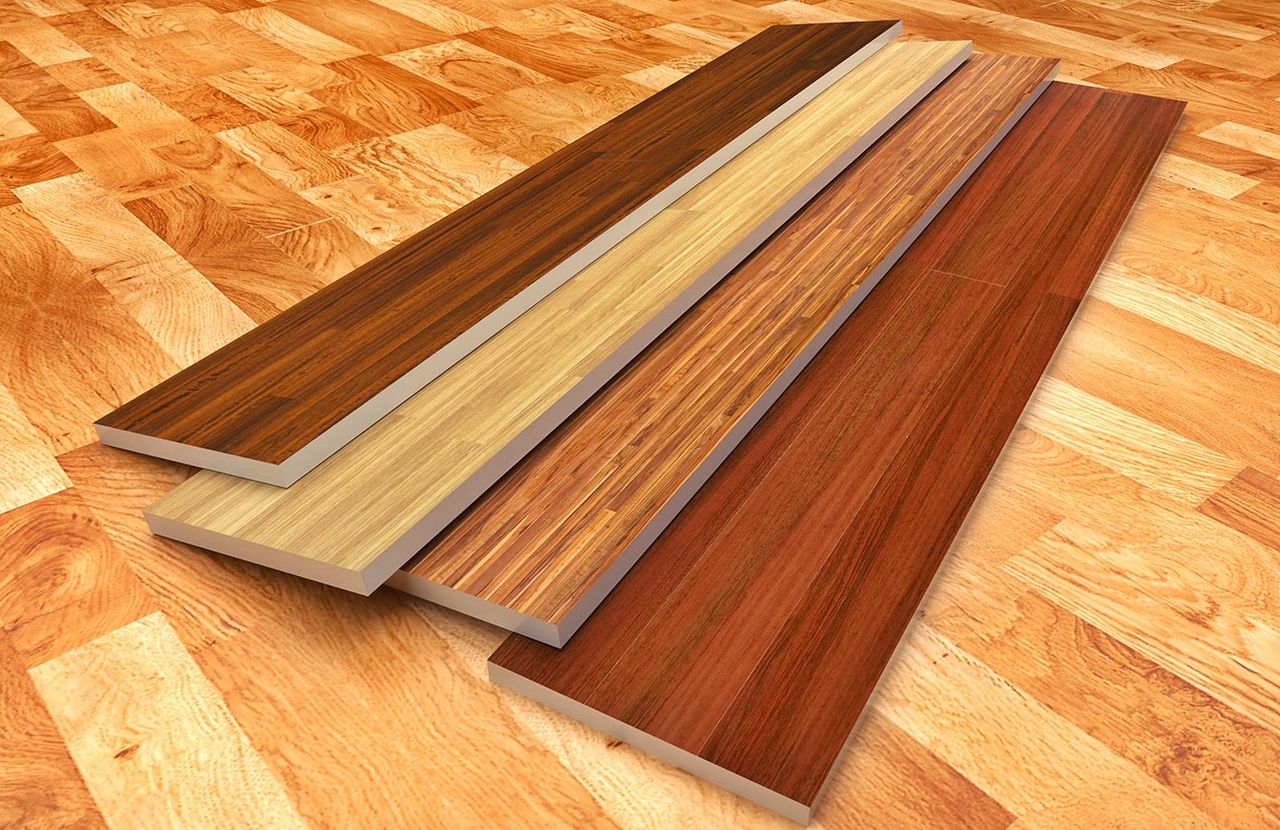
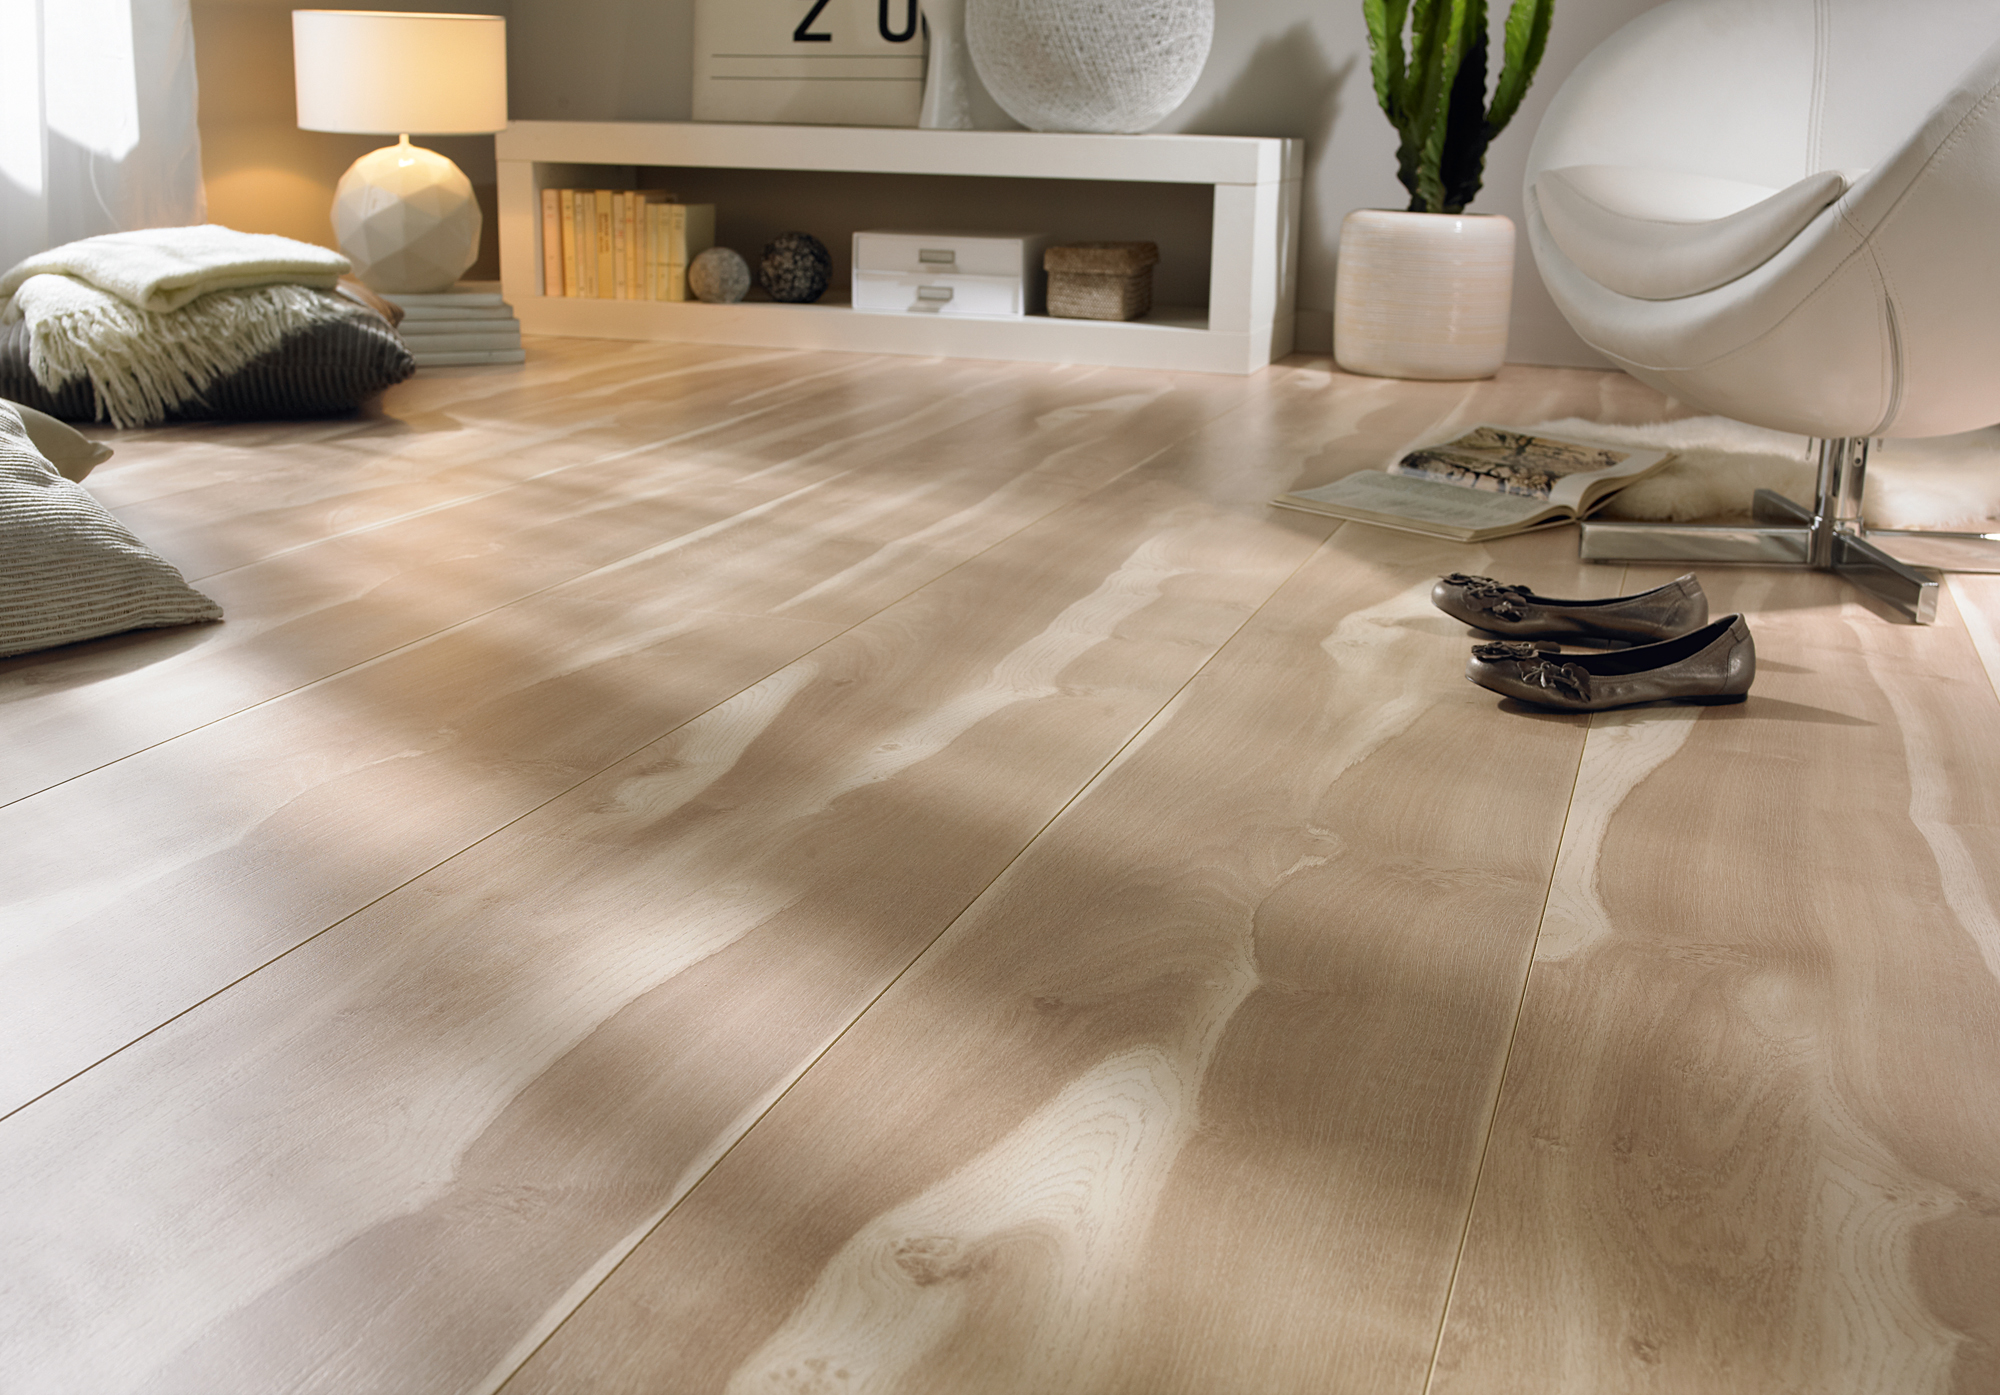
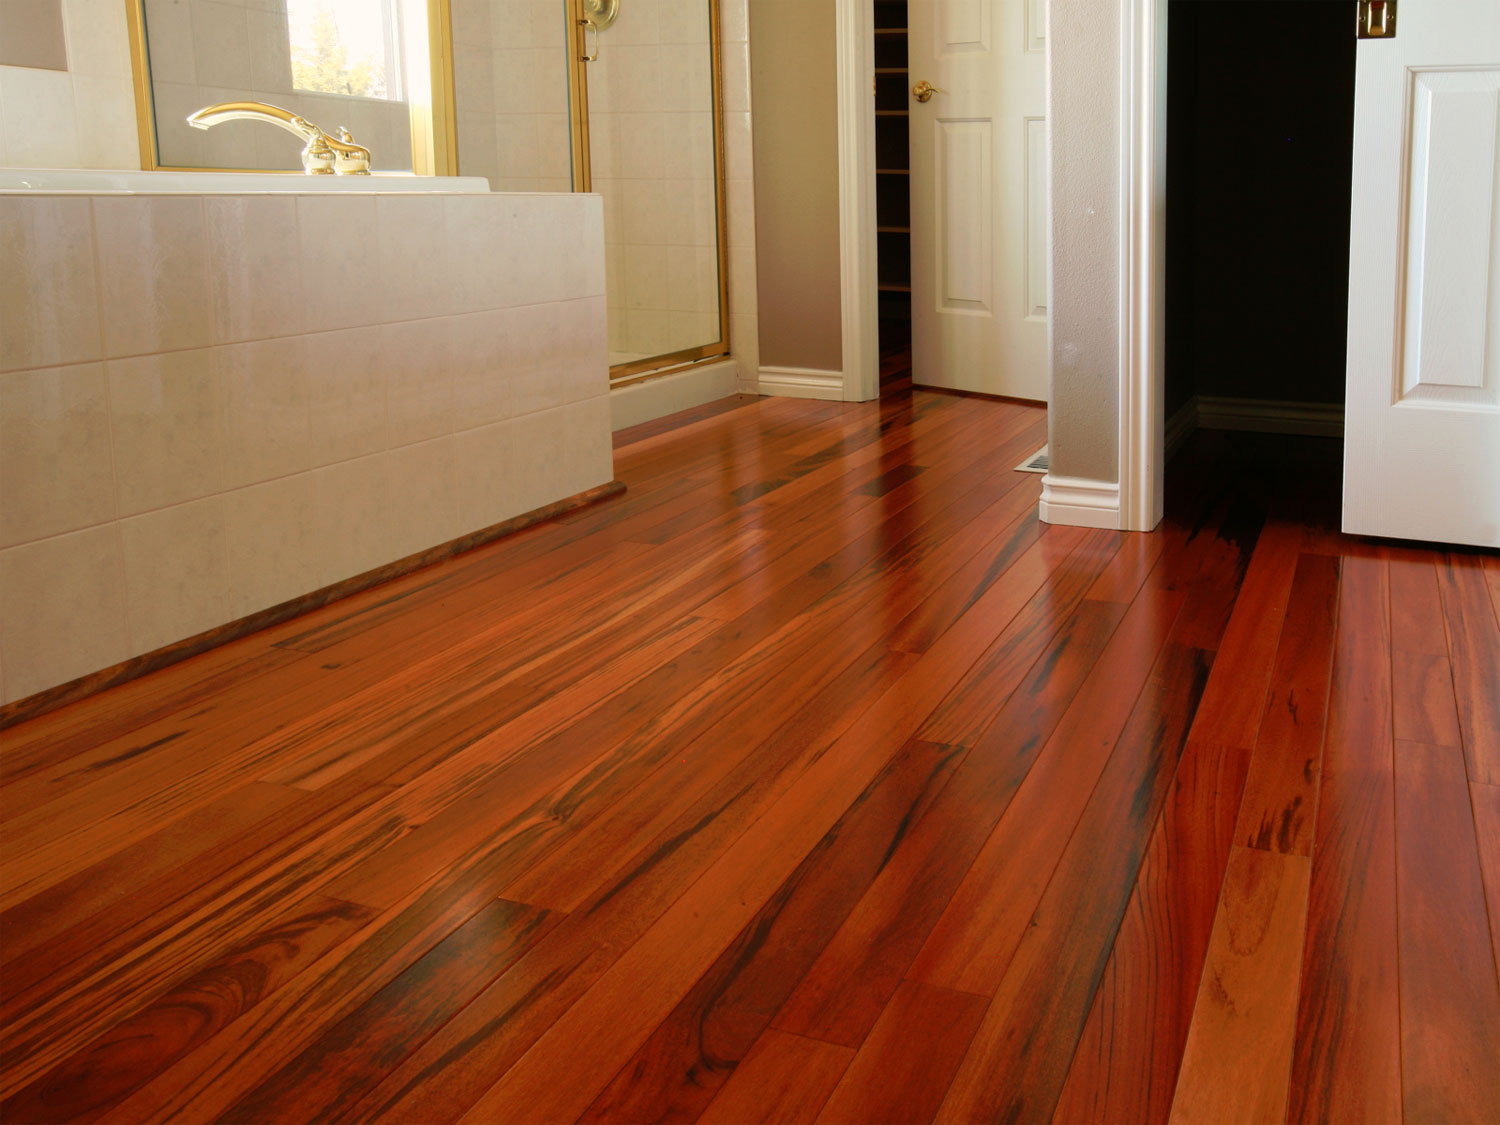
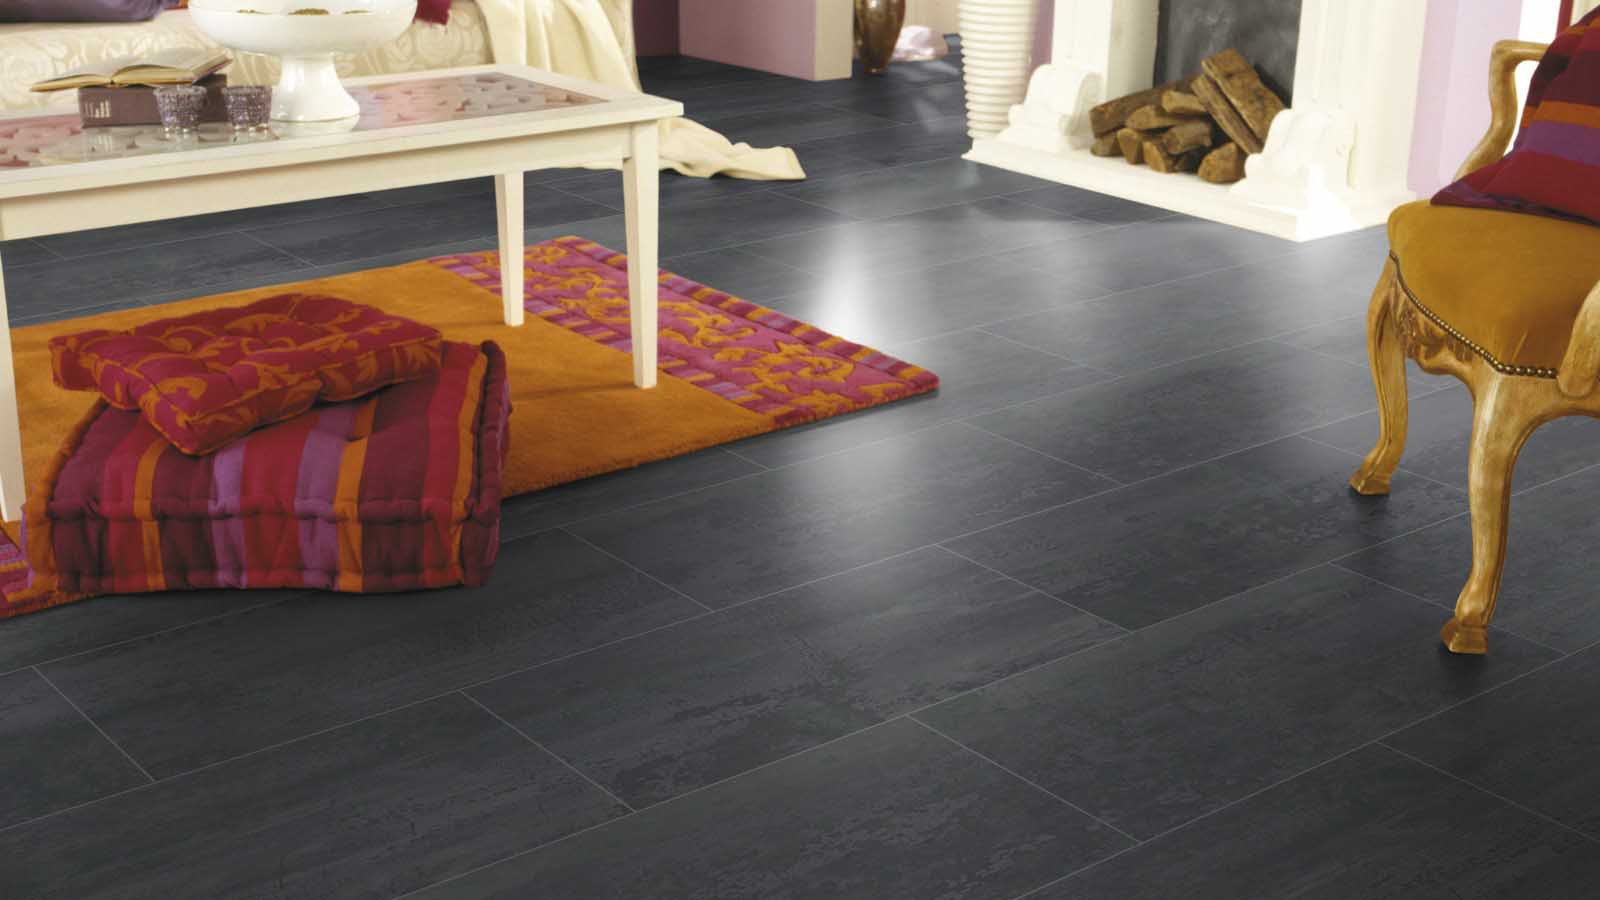
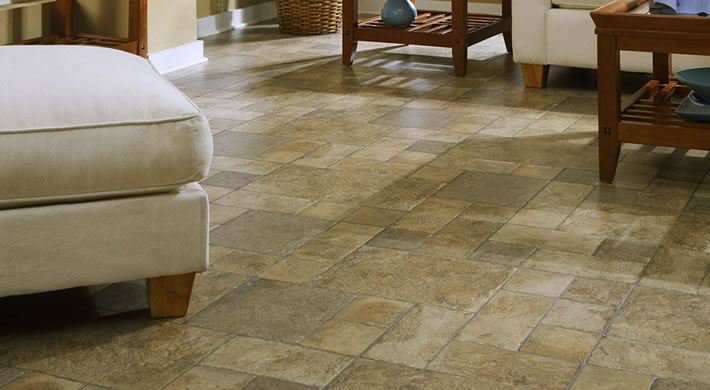
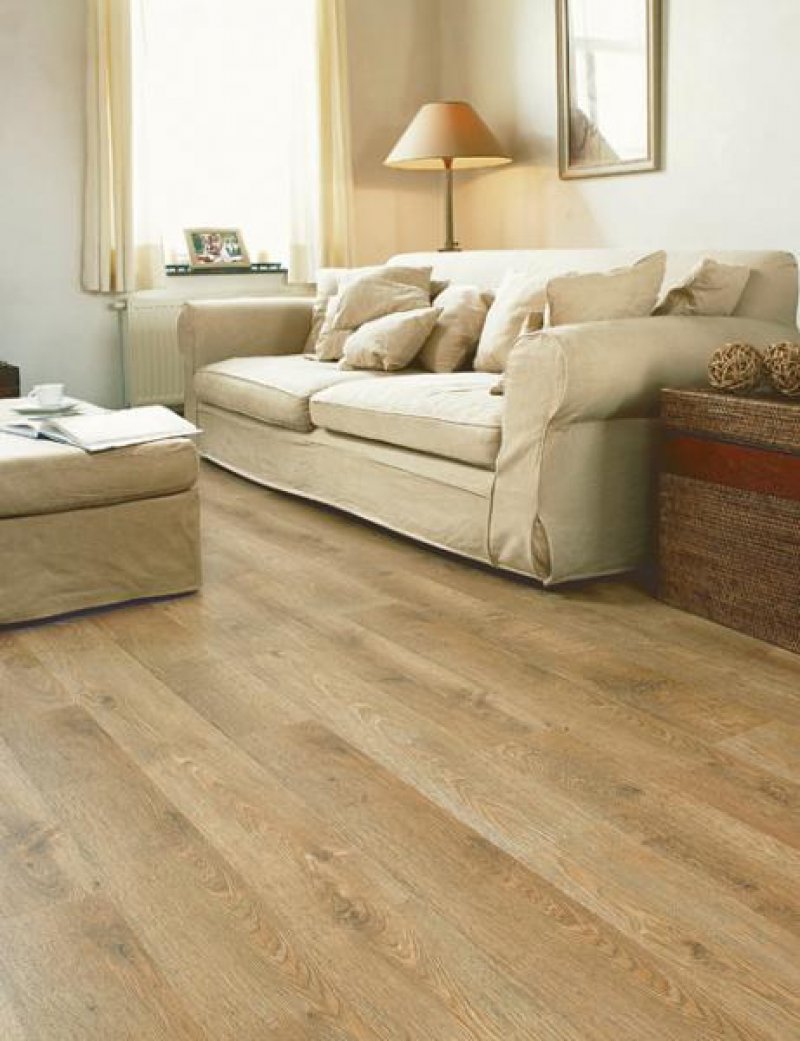
- Laminate has a stylistic variety: gloss or matte coating, imitation of wood, stone, sand or metal.
But there are no perfect things in the world.
Laminate also has its drawbacks:
- Even when laid by a specialist, the laminate does not fall perfectly ideally: over time, the seams will be visible, which can get moisture or dirt.
- For laminate need special care so that it does not appear divorce. Careful rinsing and wringing out the floor cloth will help to avoid this.
- Material is susceptible to physical damage: falling heavy or sharp objects will leave marks.
- If the lamellae of conventional moisture resistance are laid in a room with high humidity, the service life will significantly decrease.
Thus, the laminate will be a profitable acquisition in the case of proper installation and operation.
Kinds
Despite the fact that it was said above that the laminate consists of four layers, this does not apply to every type of this material. In addition to MDF plates, there is a vinyl laminate. This polyvinyl chloride is not more than 5 mm high. From fiberboard - slats it is distinguished by flexibility.
This option is convenient where the new floor is laid on the old: the height of the room does not change.
Vinyl tiles are distinguished by the method of installation:
- Castle Despite the small thickness of the tile, it may have locks similar to conventional laminate.
- With the help of adhesive smart tape. Instead of mechanical locking the lock, the lamellae are glued along the perimeter.
- Pasting with special glue for PVC. Tile stick on the base, pre-treated with adhesive mastic. This is an unpopular way for home craftsmen.
- With the help of glue base, on the principle of double-sided tape. It is convenient to glue to the old linoleum or ceramic tile. It is not subject to dismantle in case of an error or in need of replacement.
Vinyl laminate is undoubtedly an easier way to install a new flooring. In addition, it is perfect for wet rooms.
But he has a serious disadvantage: insignificant thickness. This will significantly reduce the period of abrasion, and the heat retains poorly. Therefore, the following discussion focuses on the laminate of fiberboard.
This type of lamellae is classified by the following criteria:
- wear resistance class
- degree of thickness
- shape and size
- type of locks,
- cover design.
Manufacturers have created a clear classification of wear resistance of laminate, making it easy to determine which material is better to buy for a particular room.
- 21, 22, 23 class - household laminate with low wear resistance. Suitable for any room in the house, but will last only 2 - 6 years. Due to the short service life is not popular.
- 31 class - semi-commercial. In a poorly populated office, it will last up to 3 years, and in a house up to 10 years. And it already forces to pay attention to it.
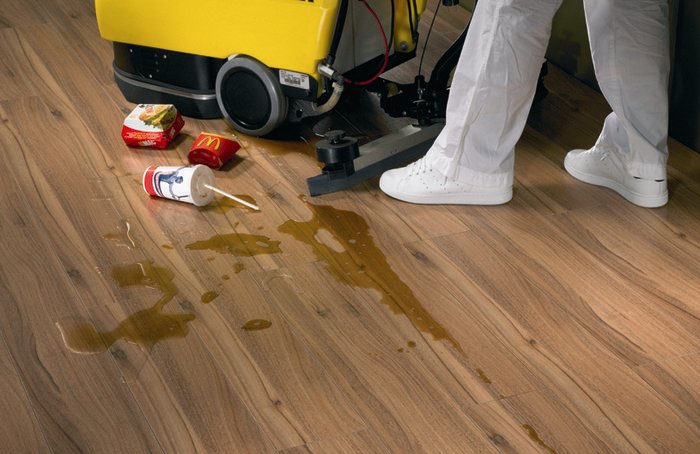
- 32 - commercial material for boutiques, receptions, small offices with a service life of up to 5 years. And at home can serve up to 12 years.


- 33 - flooring for restaurants and large stores. With a large load in public places will serve up to 6 - 7 years. But at home - up to 20 years.
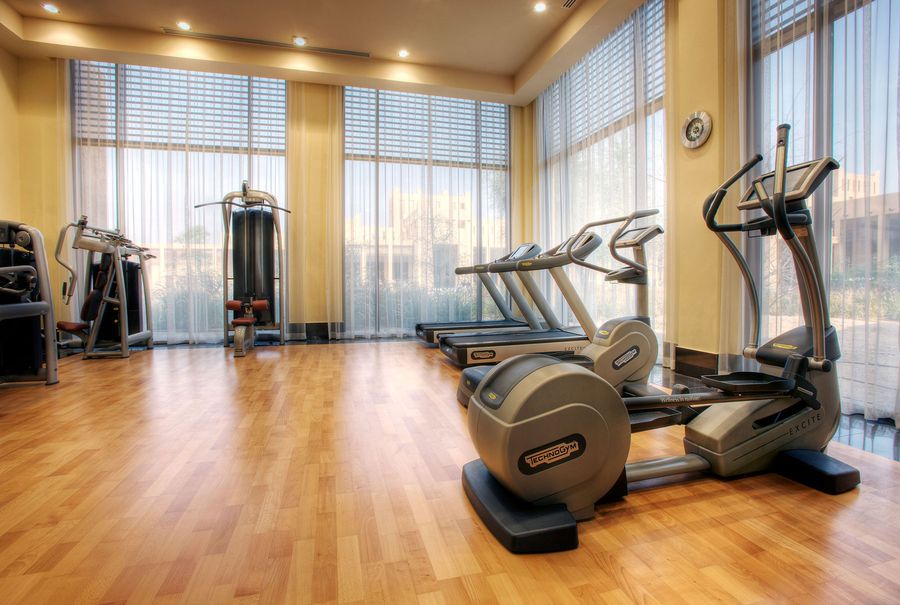
- 34 the class has no official recognition, but some manufacturers mark ultra-strong laminated panels for airports, gyms, dance floors, etc. in this way. For home use, manufacturers give a lifetime warranty.
Wear resistance is determined by the degree of abrasion, which is denoted as AC.Verification is carried out "taber - dough", when the laminate is polished in a special way. The extent to which scratches appear on the protective layer and when it is destroyed by 95% determines the degree of abrasion.
The lowest AC3 is assigned to 31 panel classes.

But manufacturers of different countries do not always adhere to a single classification, so it’s safer to look at the overall labeling of the product. It will allow to determine the level of resistance to moisture, household chemicals, ultraviolet and other indicators.
The next type of chipboard laminate classification is panel thickness. This indicator has a gradation from 6 to 12 mm.
Wear resistance, sound and heat insulation depend on the thickness. In addition, the thicker the slats, the easier it is to assemble them.
Manufacturers offer square and rectangular non-standard size panels. Each production has its own parameters. It is best to choose long rectangular slats: they are easier to assemble, they have fewer joints.
A very important criterion is the type of locks. There are only two: Lock and Click.
The first invented Lock. Each lamella is provided with a protrusion (spike) on one side and a groove (notch) on the other.The task of the stacker: insert the spike into the groove and with the help of a doboin or mall to seal the lamellae. This is a cheaper type of fabric, but also a more labor-intensive type of assembly.
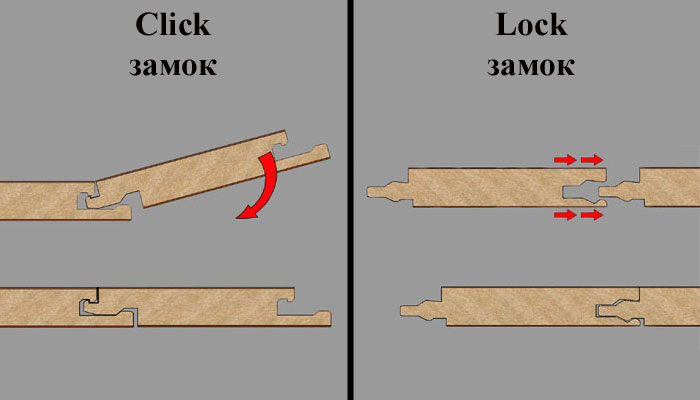

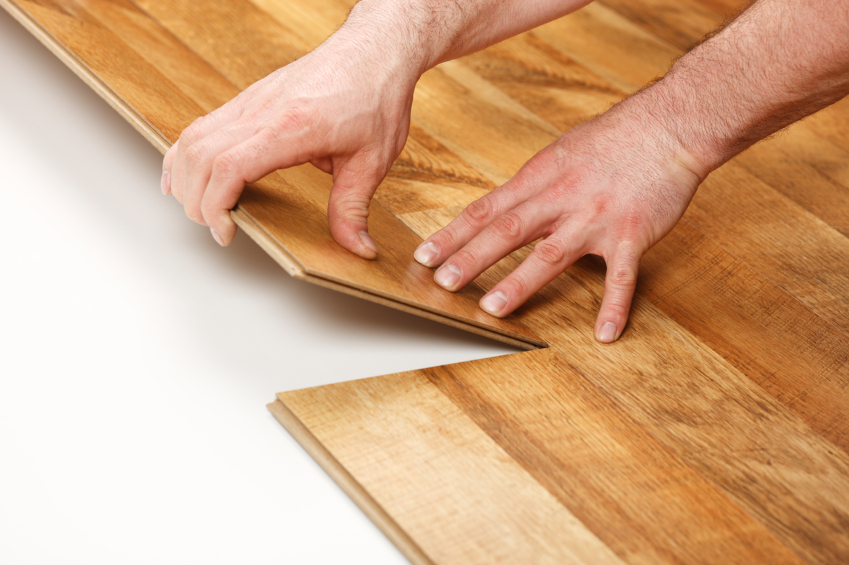
Click is a hook-shaped spike, which is inserted into the groove at an angle of 45 degrees, after which the lamella is pressed against the floor. A click indicates that the hook is hooked into the slot. Such laminate can, if necessary, be disassembled.
Thus, the differences between these two types of locks are as follows:
| Criterion | Lock | Click |
| Reassembly | Not possible | Available |
| Laminate assembly quality | Worse | It is better |
| Doboin or mallet application | Sure to | Not required |
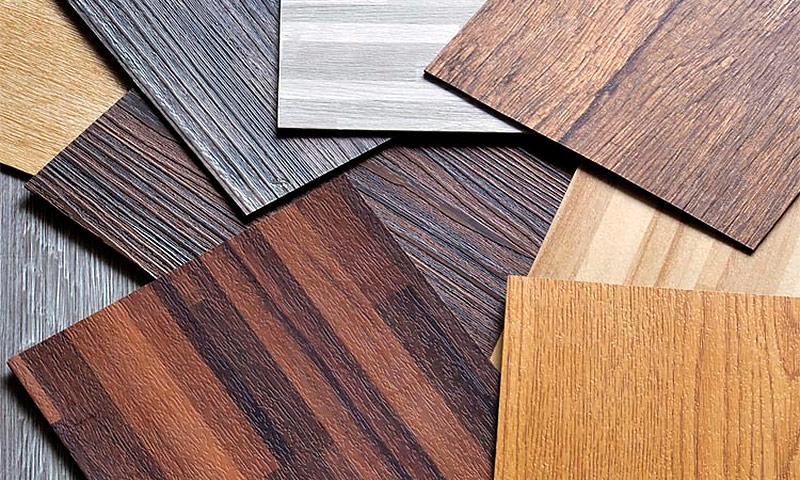
The design of the laminate is determined by its texture and pattern.
Invoice distinguish:
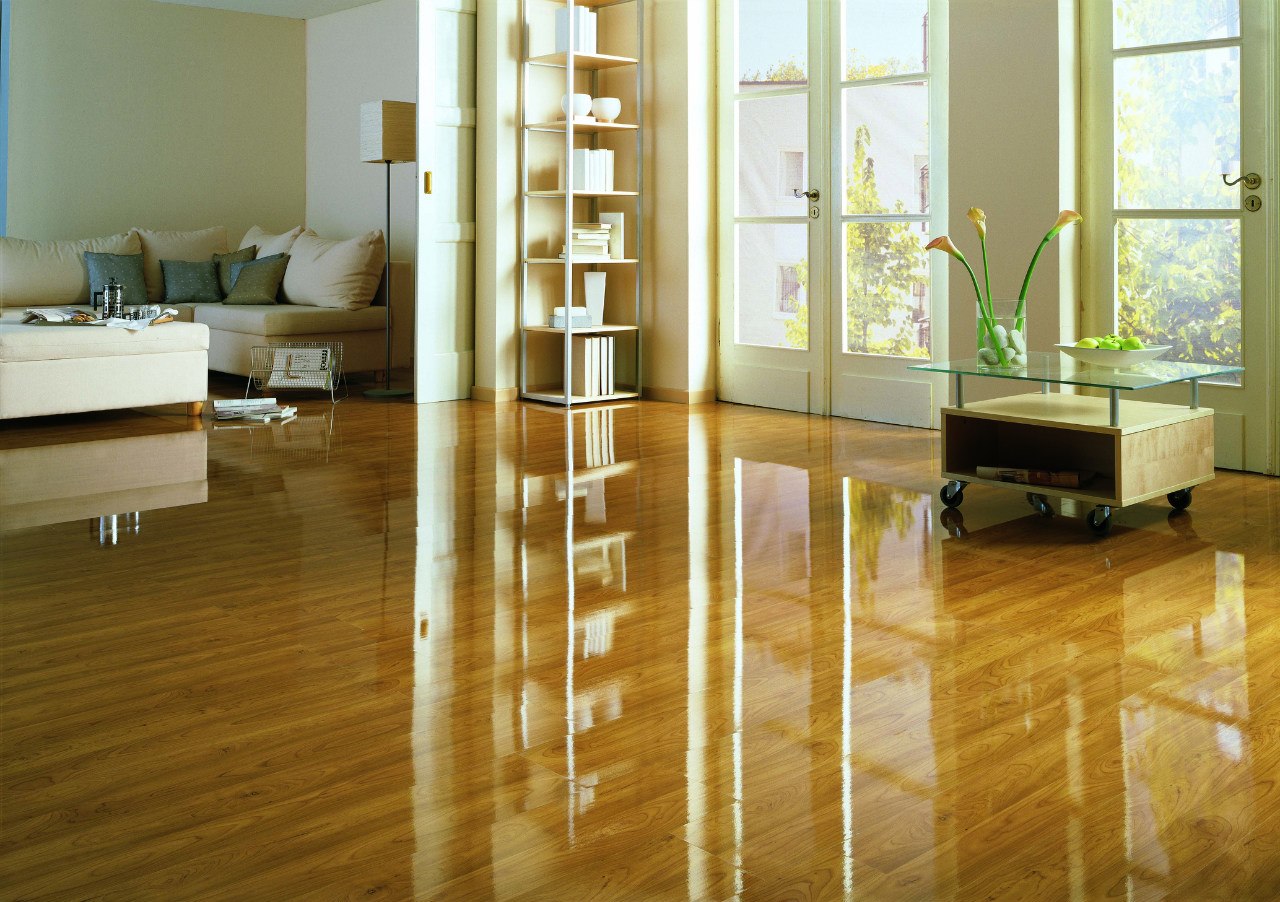
- glossy surface
- matte,
- textural.

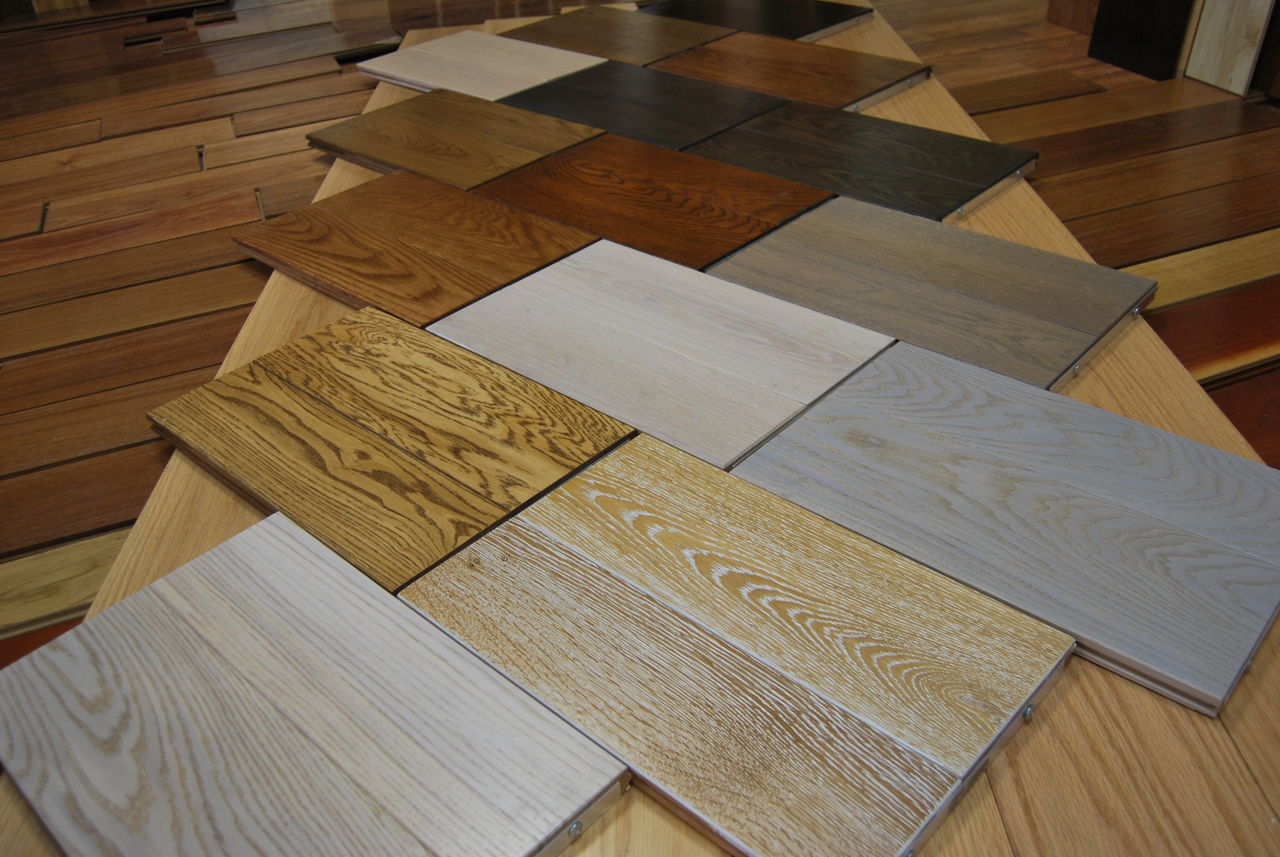
By drawing, manufacturers offer the following products:
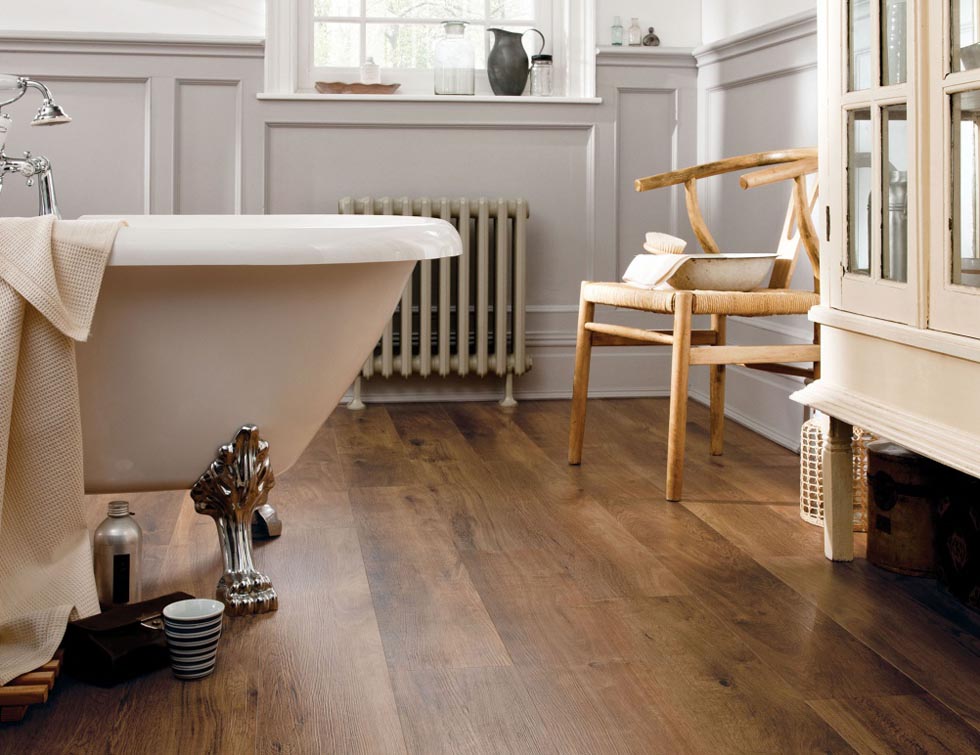
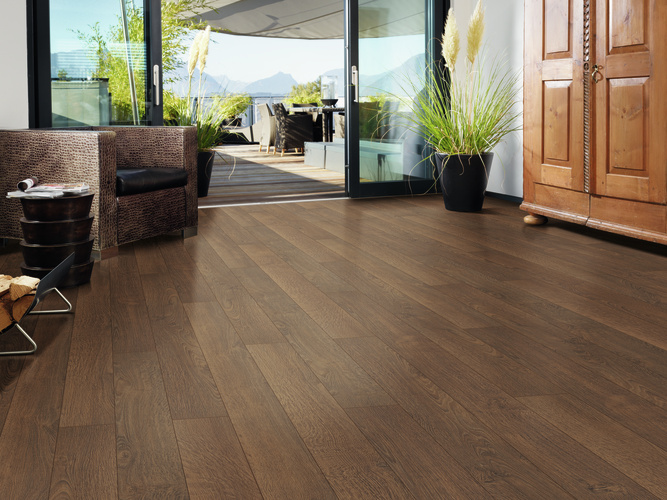
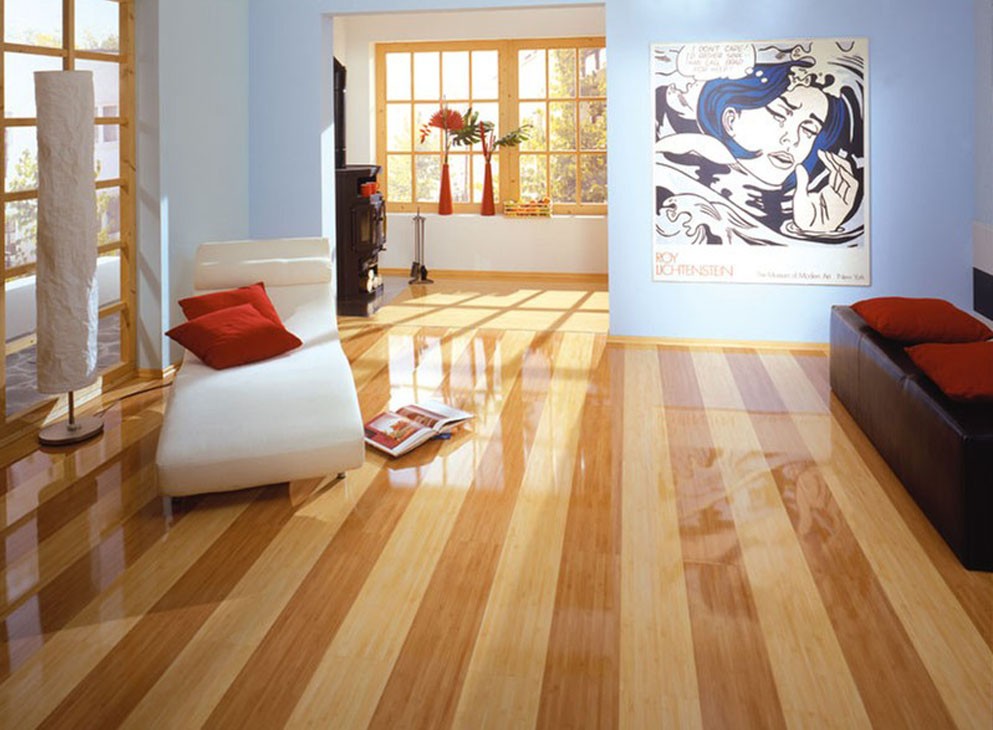
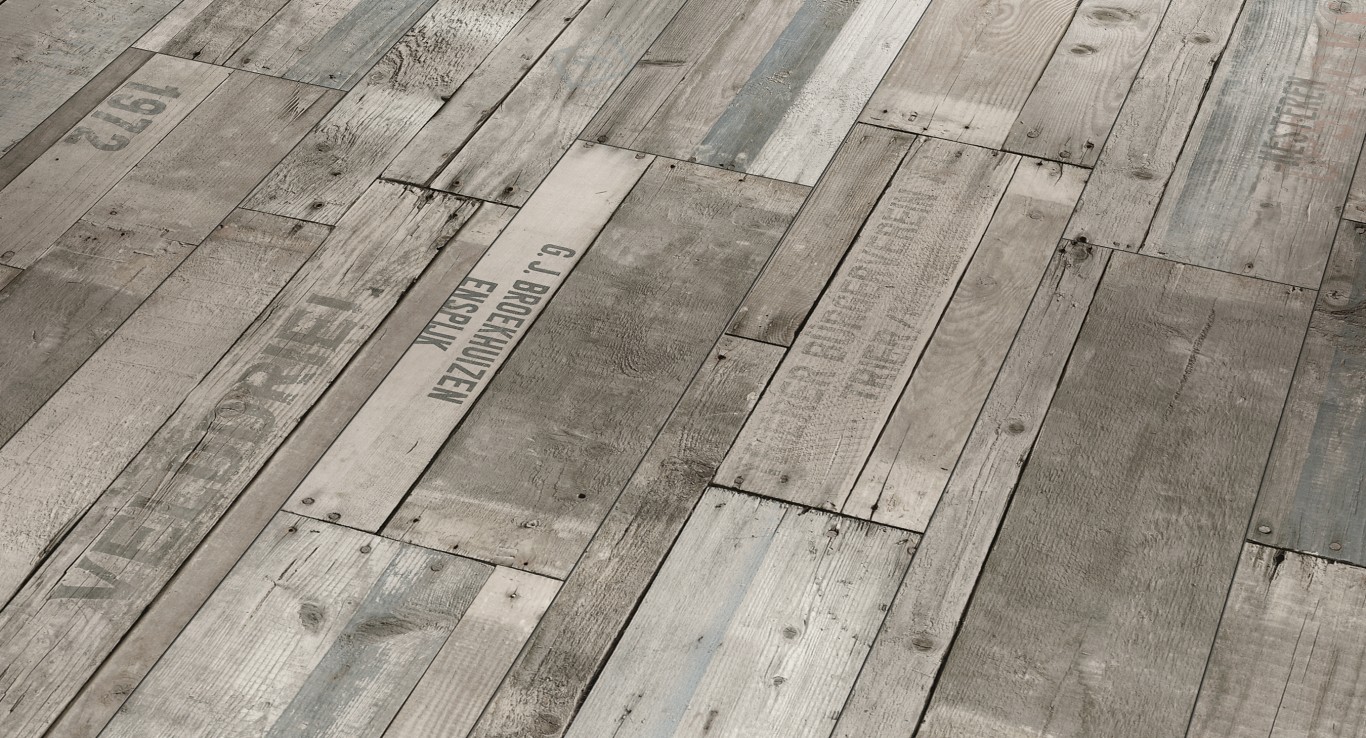
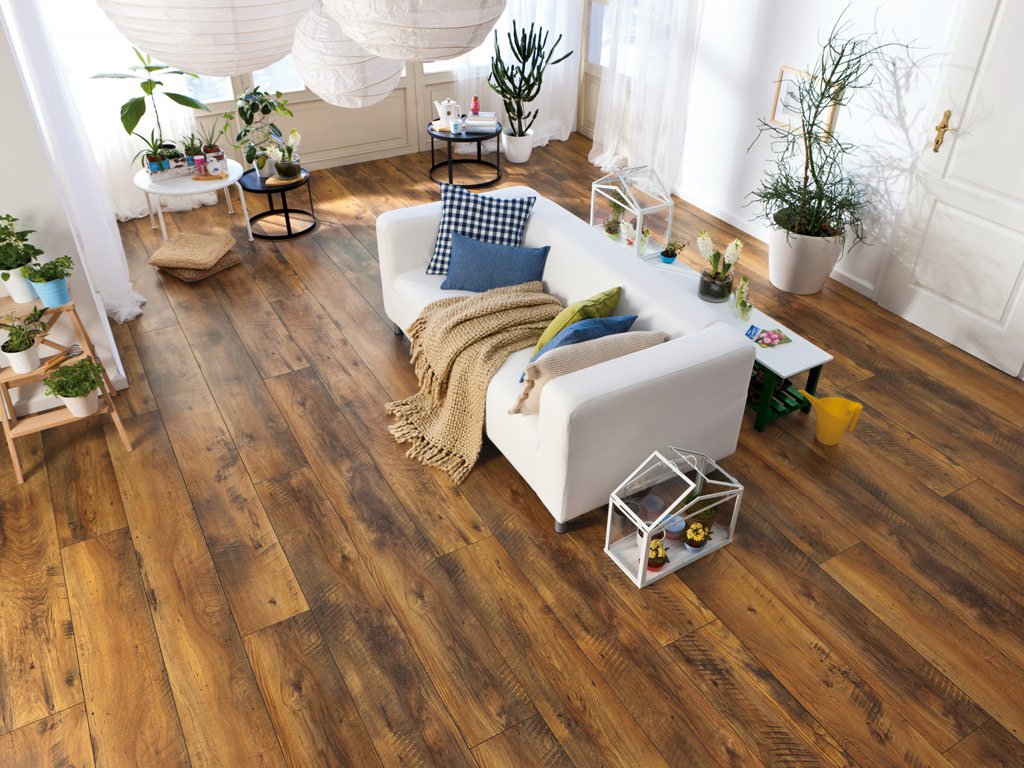
- Natural board - the most popular type of panels. It was the desire to see the floorboard on the floor prompted the invention of laminate. So now you can buy lamellae under oak, walnut, alder, beech, cherry, birch, maple, rosewood. And it is used not only for flooring, but also on the walls and ceiling.
- Ceramic tile. In hot countries, porcelain stoneware floors are common, as they create a feeling of coolness.In our latitudes with such floors it will be cold, but the idea of a multi-colored tile was adopted. As a result, beautiful patterns appeared on the floor.
- Metallic luster - This is a distinctive feature of Hi - Tec. But other styles will enjoy the calm gray metallic shade.


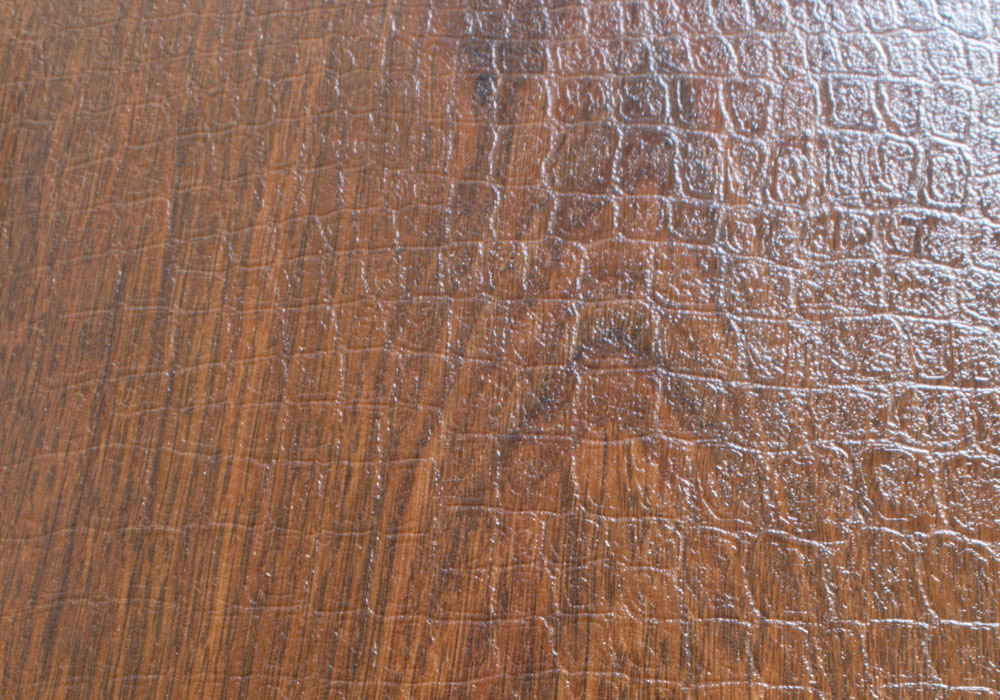
- Reptile skin imitation - This is an extraordinary solution flooring. Foreign companies offer premium crocodile skin panels. But you can buy cheaper lamellae of domestic producers.
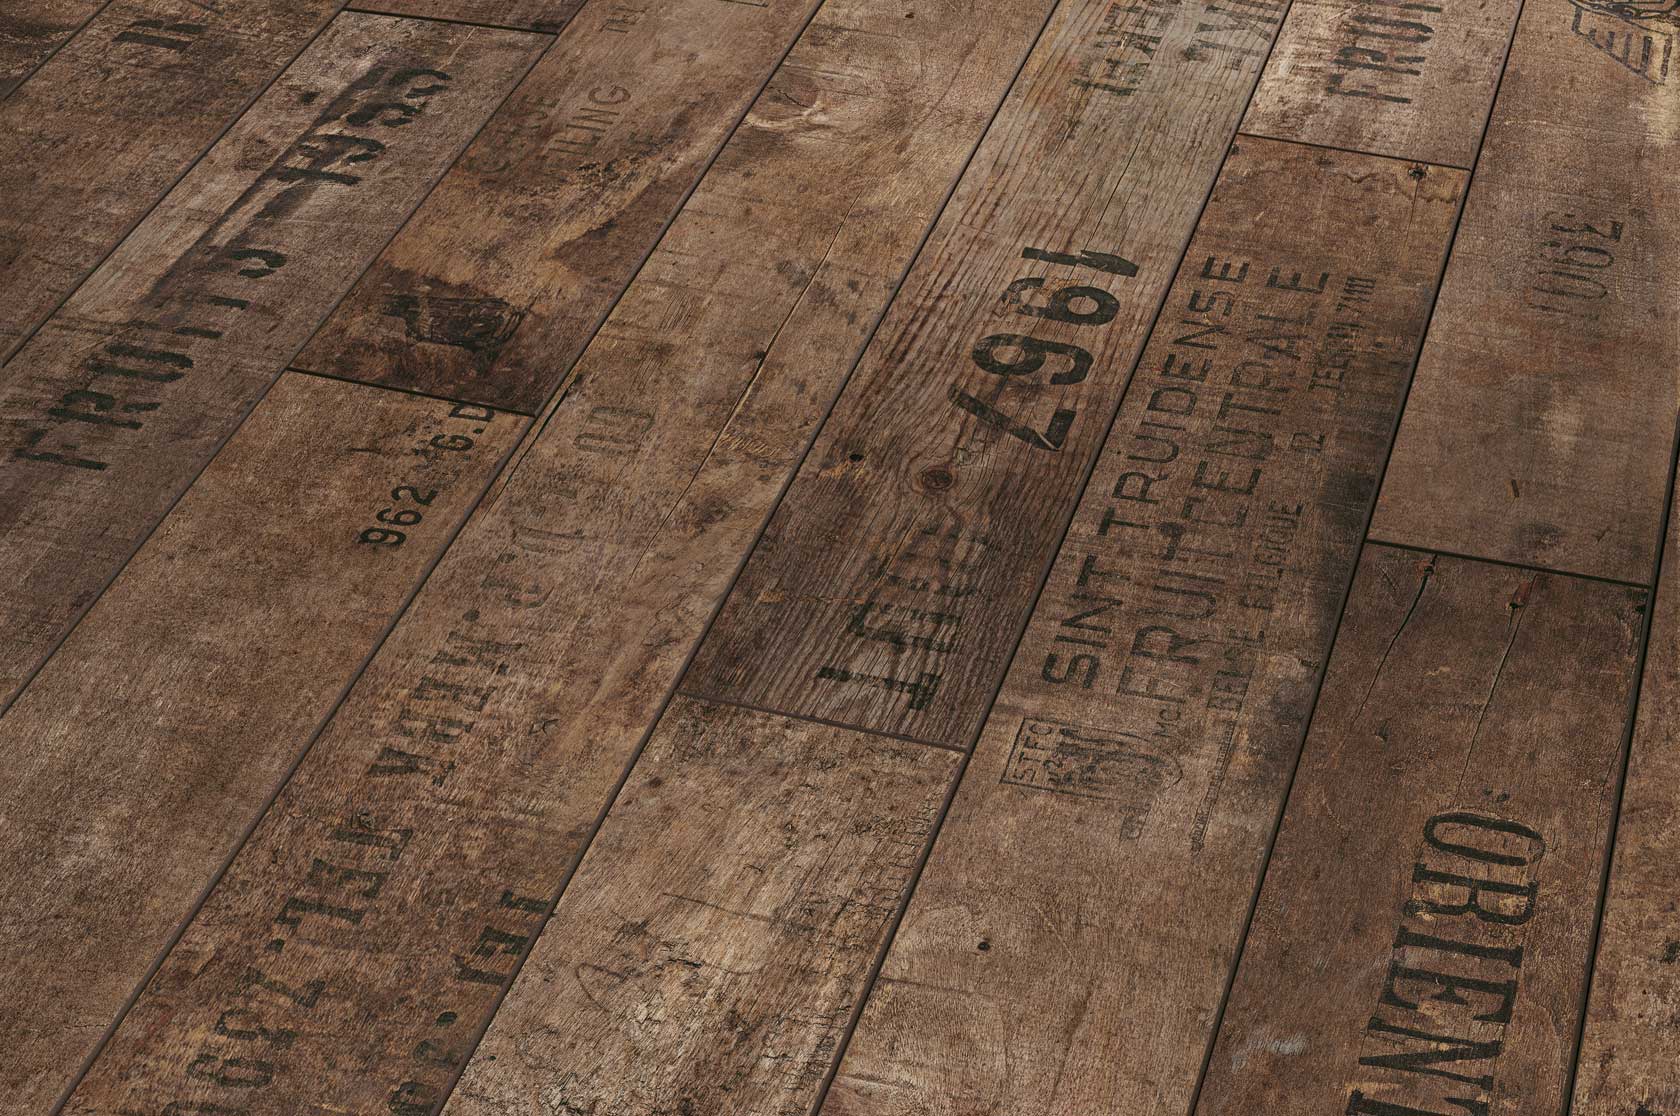
- Design Art Laminate - this is a completely unusual pattern and colors. Maps and drawings, drawings and photographs, rock paintings and abstraction. These are always exclusive things, and therefore not cheap.
- For children produce their collections. Boys and girls, girls and boys: their cartoon characters, games, musicians. Its own atmosphere.
Any type of panel is available with or without a facet. This is a rounded and straight bevel along the edge of each lamella. If there is no chamfer, then the feeling of a monolithic web is created. Especially beautiful it looks with a glossy texture. But the matte surface with a facet resembles parquet, that is, closer to the natural floor.

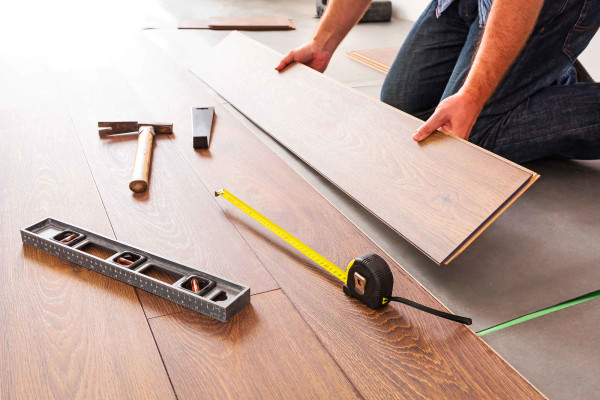
Required tool kit
Before you begin, be sure to prepare the tools. It will be a shame if in the process of laying there will not be some little things at hand, and the work will rise.
Since the set of tools for different types of locks is slightly different, we give the maximum list.
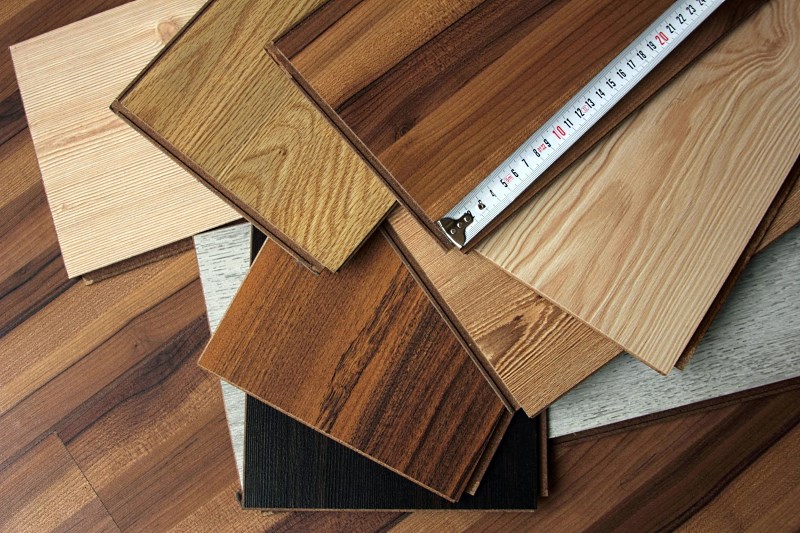
- Roulette. For construction use mainly metal tape.
- Pencil. Special construction pencils allow you to draw a thick line. But you can use the usual soft. For safety purposes (if the pencil line is not clearly visible), you can prepare a marker of the most appropriate color: so that the line is visible, and then you don’t have to wash out the markings.
- Triangle or square. Do not use metal, so as not to scratch the slats.

- Construction knife or jigsaw, better - jigsaw, even better - a circular saw on a massive bed. The latter tool will help especially when working with large volumes, as well as for rooms of complex configuration.
- It is convenient to do small saws with a hacksaw.
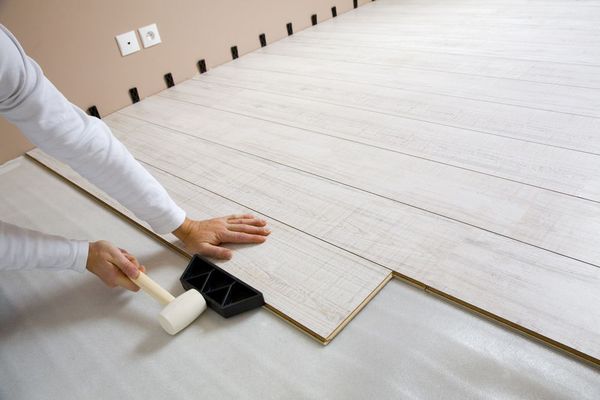
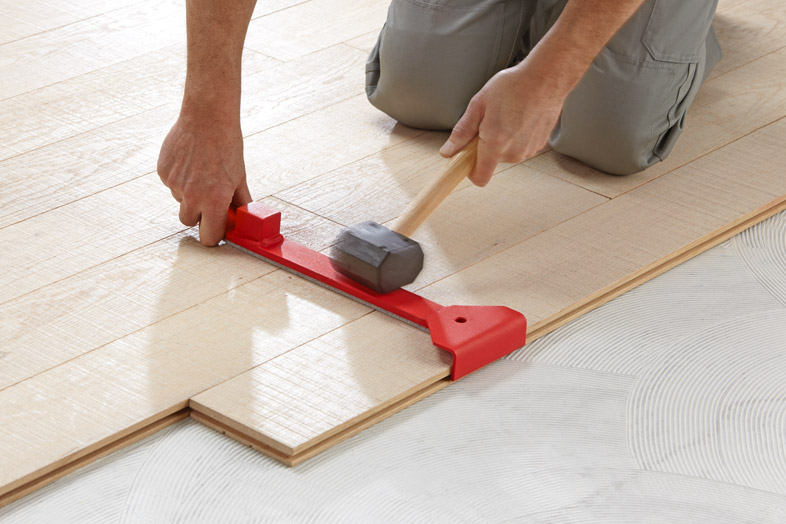
- A rubber hammer or mall will be useful in fitting the panels.
- Tamping bar (in other words such a device is called a doboynik)necessary to work with lock lock.
- You can create holes for pipes with a drill with “feathers” nozzles.
- Hacksaw.
- The level for the very first stage of work is the evaluation of the floor surface.
- Double-sided or regular adhesive tape to glue the backing to the floor.
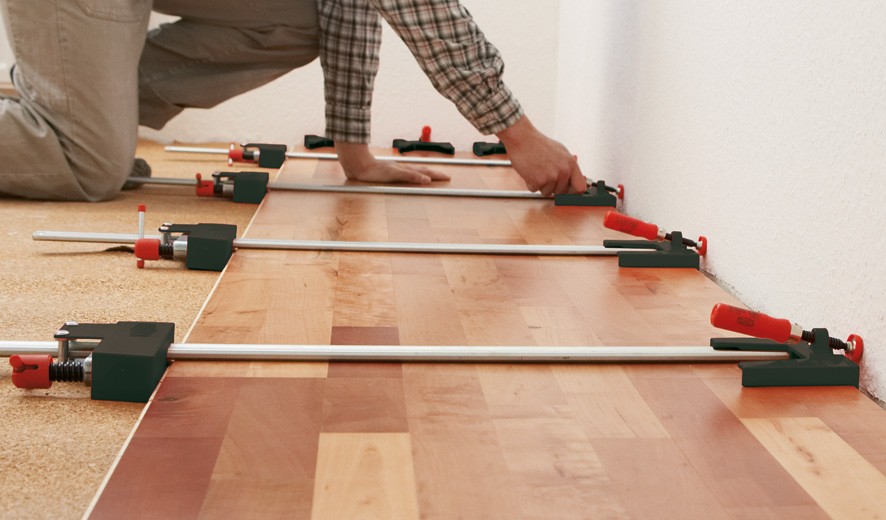
- Bracket to tighten the panels in the locks. In some cases, it is more convenient to do this with a small mount (for example, mounting near walls).
- Spacer wedges that regulate the gap "wall - panel" (this gap is needed in order to compensate for the thermal expansion of the panels).
- Clear sealant if stacked with it.
- Special laminate adhesive (if you plan to use it).
- Scissors for cutting the substrate.
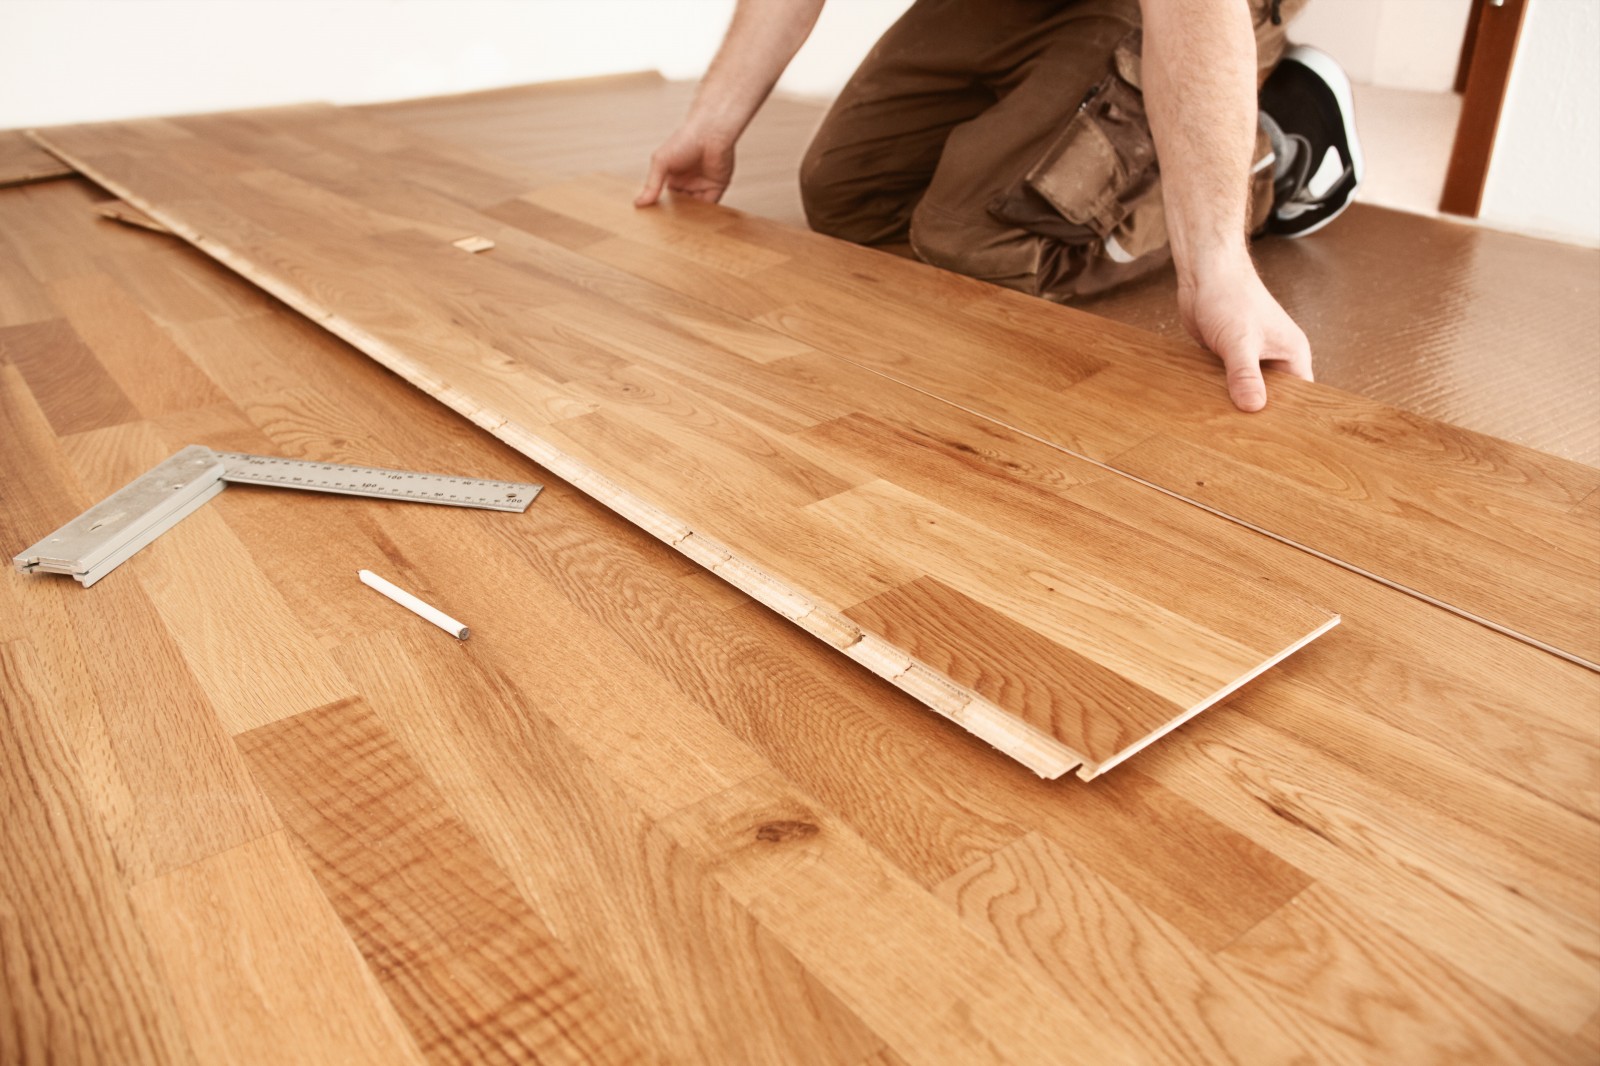
How to lay?
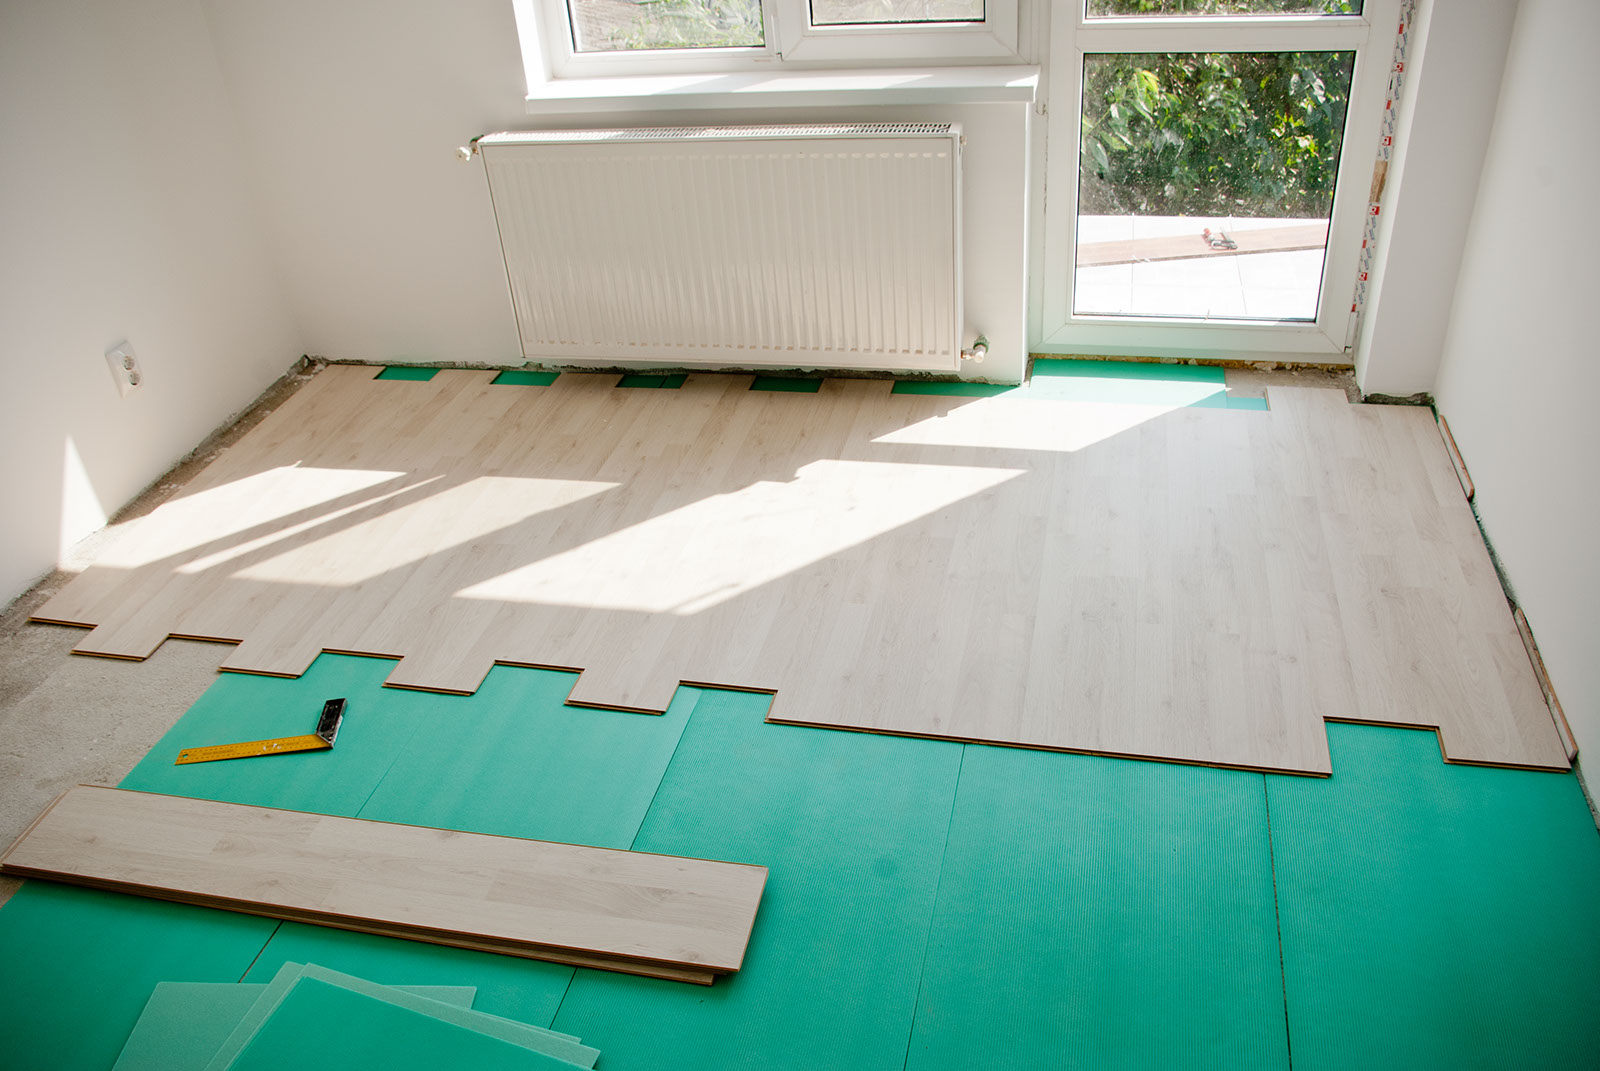
Before buying a laminate, carefully calculate the amount of material required. To do this, it is best to draw a pattern of laying on the scale of the way in which you are going to put lamellae. This will help to visually see the flow, the difficulties of the layout in the doorway and around the radiators.
What to look for when laying laminate flooring yourself will be prompted by the following rules:
- If the direction of the longitudinal seams is parallel to the direction of the rays from the window, then the seams will be almost invisible. This fact affects the transverse or longitudinal stacking of panels.
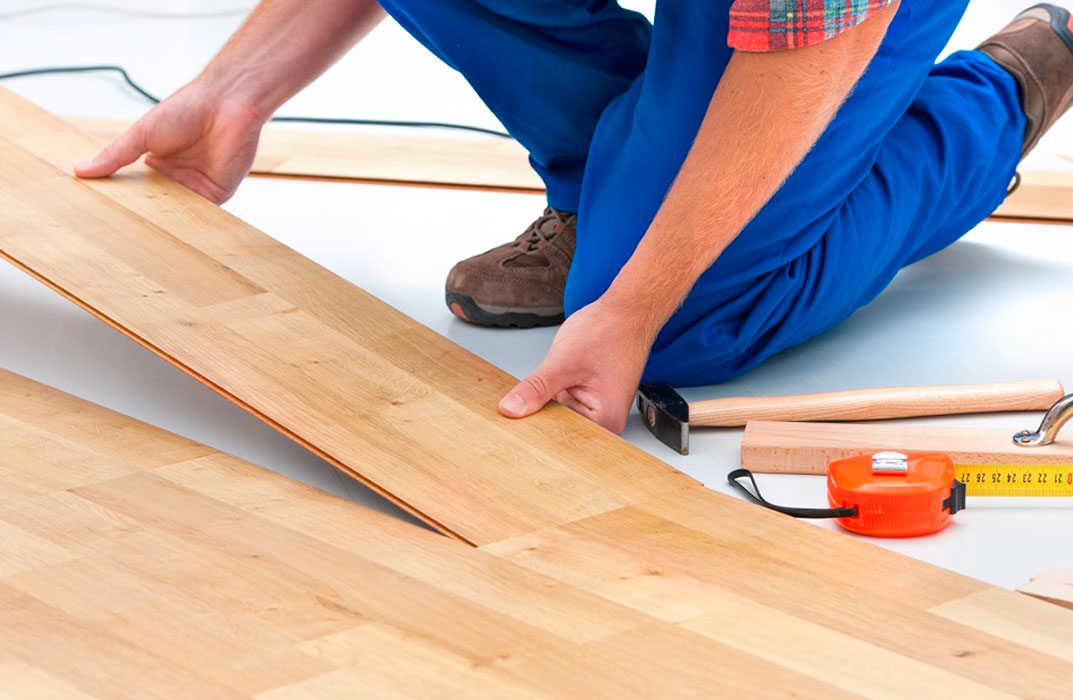
- Lay laminate start from the far left corner in rows along the wall. The panels of the first row should be put with a spike against the wall, after which it should be cut to obtain a flat end.
- The scheme must be designed in such a way that the final row of lamellas has a width of at least 10 cm. If the width remains less, then you will have to trim the first row and make it already. The same applies to all internal corners.
- So that the thickness of the laminate does not interfere with opening the door, it is removed and trimmed from the bottom of the door leaf.
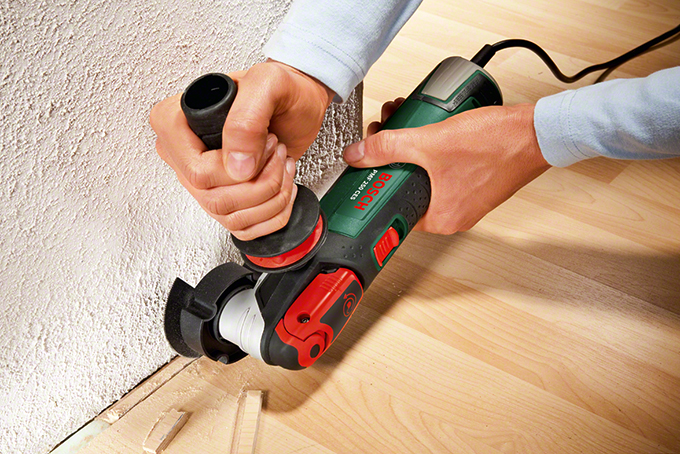
- Holes for pipes cut a jigsaw. After mounting, special linings are put on the pipes to decorate the hole.
Laminate assembly steps:
- Preparation of the base. There is no point in saving on alignment. Lamels, laid on uneven floors, will soon begin to play, creak and diverge. Depending on what kind of flooring is in the room before the laminate flooring, it can be leveled using sanding (wooden floor), cement screed (concrete floor), plywood flooring, chipboard or GFBL.The proper leveling of the base should be carefully examined.
- Adaptation of the laminate. The panels should lie for two days in the opened package with a pile in the center of the room where they will be mounted. This will ensure that the laminate does not change in size due to too high or low humidity of the room.
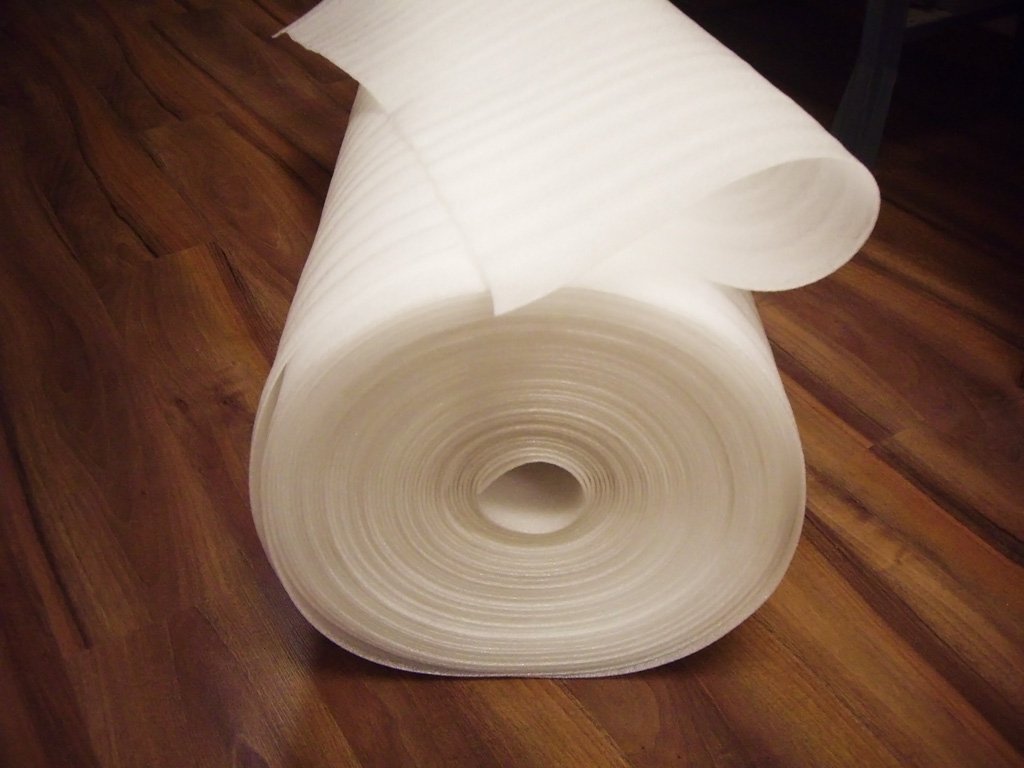
- Laying the substrate. Depending on which substrate is used, first lay a layer of vapor barrier. The substrate itself is laid to ensure that the floor is warm (especially on the balcony), in addition, it has a noise insulation function, as well as it will help to level the flooring.
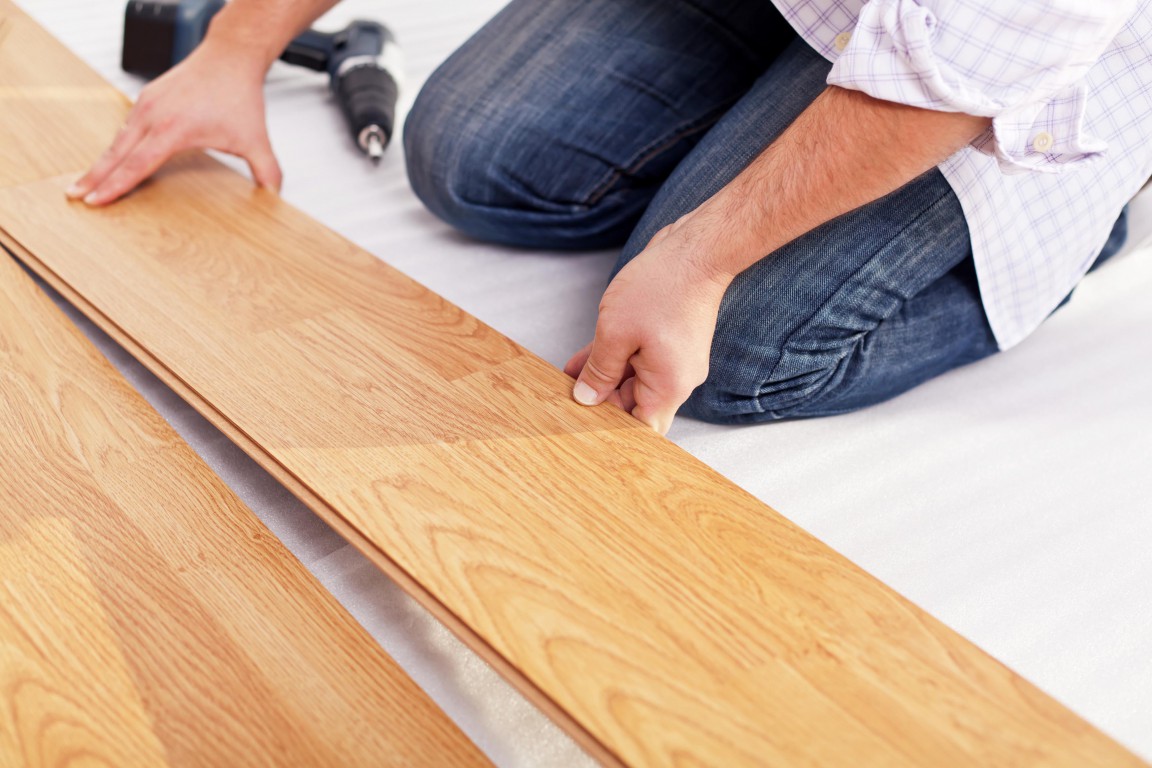
- Piling panels (let's talk about this a bit below).
- Plinth installation. Mandatory step to hide all gaps between the panels and the wall.

Ways
In order to correctly calculate the amount of material needed, you need to decide how to lay the laminate: along or across, diagonally or brickwork, cross-laying or deck. There are other ways presented in the figure.
Wrapping or offset stacking is the most economical way to dock panels.
The hardest thing to collect flooring with inserts: there is a complicated order of installation and a large number of elements.Despite the fact that there are many television programs and videos on the Internet that allow you to assemble a laminate floor yourself, you should not immediately choose a complicated assembly method.
Step-by-step instruction
The assembly technology of the laminate floor will partially differ depending on the method of installation and the locks on the panels.
But the overall sequence will be as follows:
- Thoroughly sweep debris out of the room.
- Use the level to check the flatness of the floor. Level the floor in any way. Irregularity error - 2 mm per 2 square meters.
- To lay a regular plastic film on the concrete floor with an overlap of 20 cm. This is a waterproofing. It is recommended to make a little wall. For other types of sex do not need to.
- Lay the substrate in the joint. It may be cork, EPS, or polyethylene foam. For reliable fixation, the substrate is glued to the floor with double-sided tape or glued along the seam with ordinary tape.
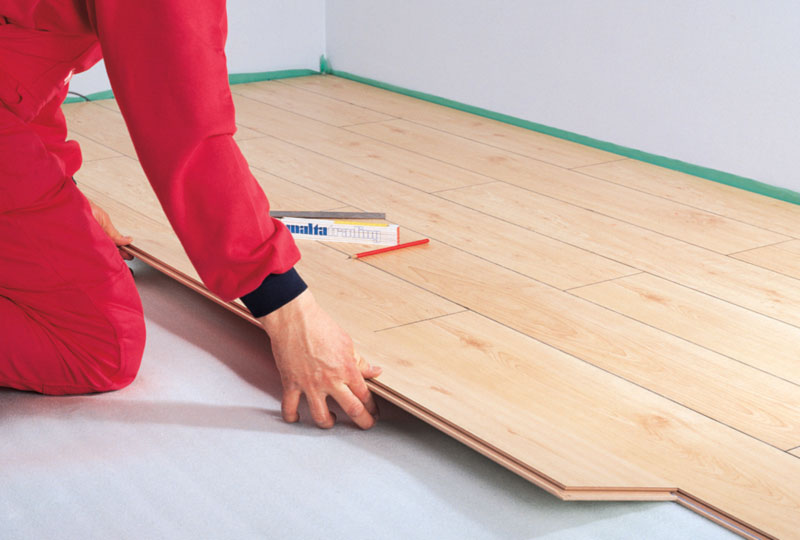
- A spike (ridge) is cut at the panels of the first row. The row is put lock on itself. It is not necessary to apply it too close to the wall.
- To the first row is mounted the second. And only then both rows are applied to the wall.At the same time between the first row and the wall you need to insert wooden or plastic wedges.
- When assembling panels with a lock Lock, they are constantly lined with a rubber mallet or with the help of a doboynik.
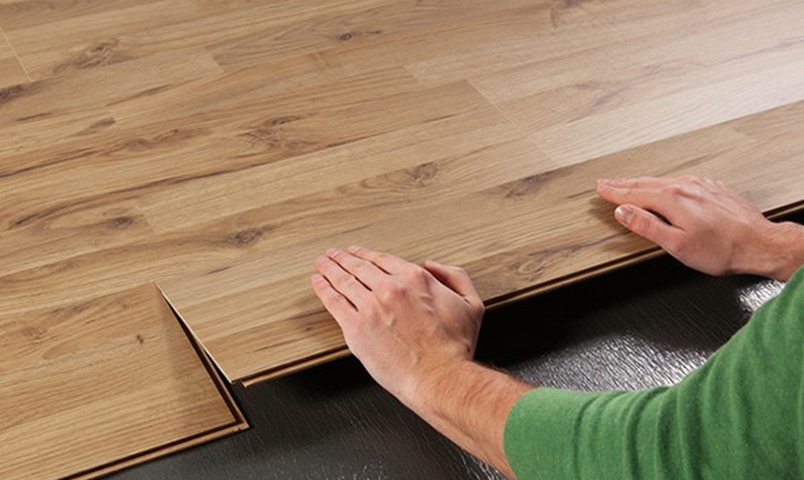
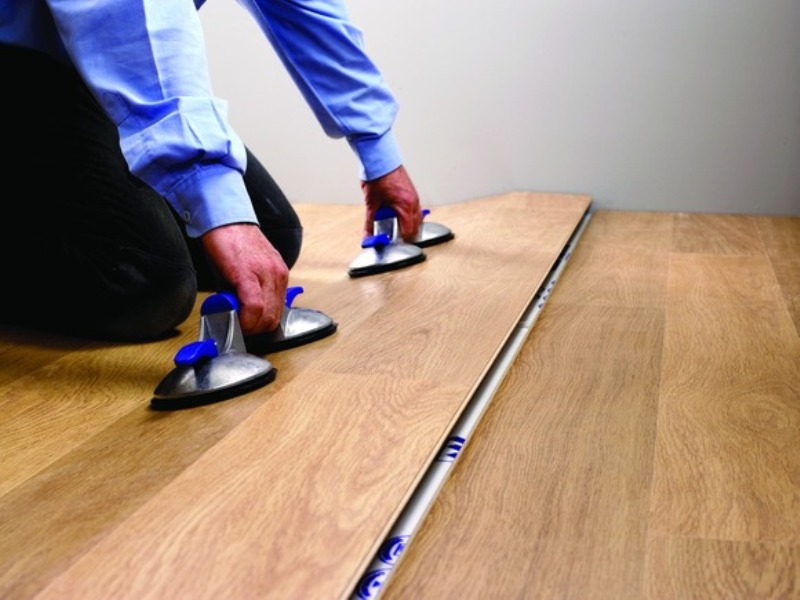
- When assembling the panels of the Click system, this is not required: the panel is inserted into the groove at an angle of 45 degrees and lowered down to a click.
- Similarly, the remaining rows are collected.

- Rack door frame file from below so that the gap fits into the gap.
- Holes for pipes should be cut with a jigsaw 2 cm larger than the diameter of the pipe. This will allow the board to withstand temperature drops.
- The last row with the lock Lock must be tightened with a hook so that it fits securely into the groove.
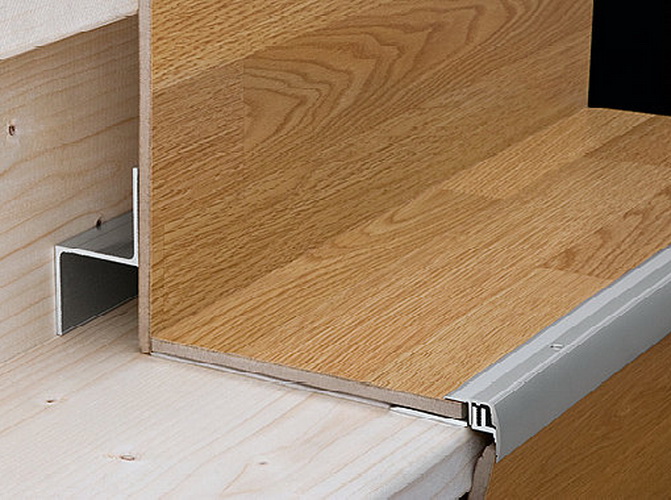
- Finishing the threshold is carried out using a special aluminum or plastic profile of a suitable color.
- Put on special pipes on the pipes.
- Mount the baseboards, which are attached only to the wall. It is not allowed to nail the plinth to the laminate.

There are some features of mounting panels on a water-heated floor. The nuances begin with the purchase. You need to look for packaging labeled "Warm Wasser". For these purposes do not mount a massive board, otherwise the heat will not pass through it.
The substrate must be thin - in this case, the floor will be well heated by water heating.
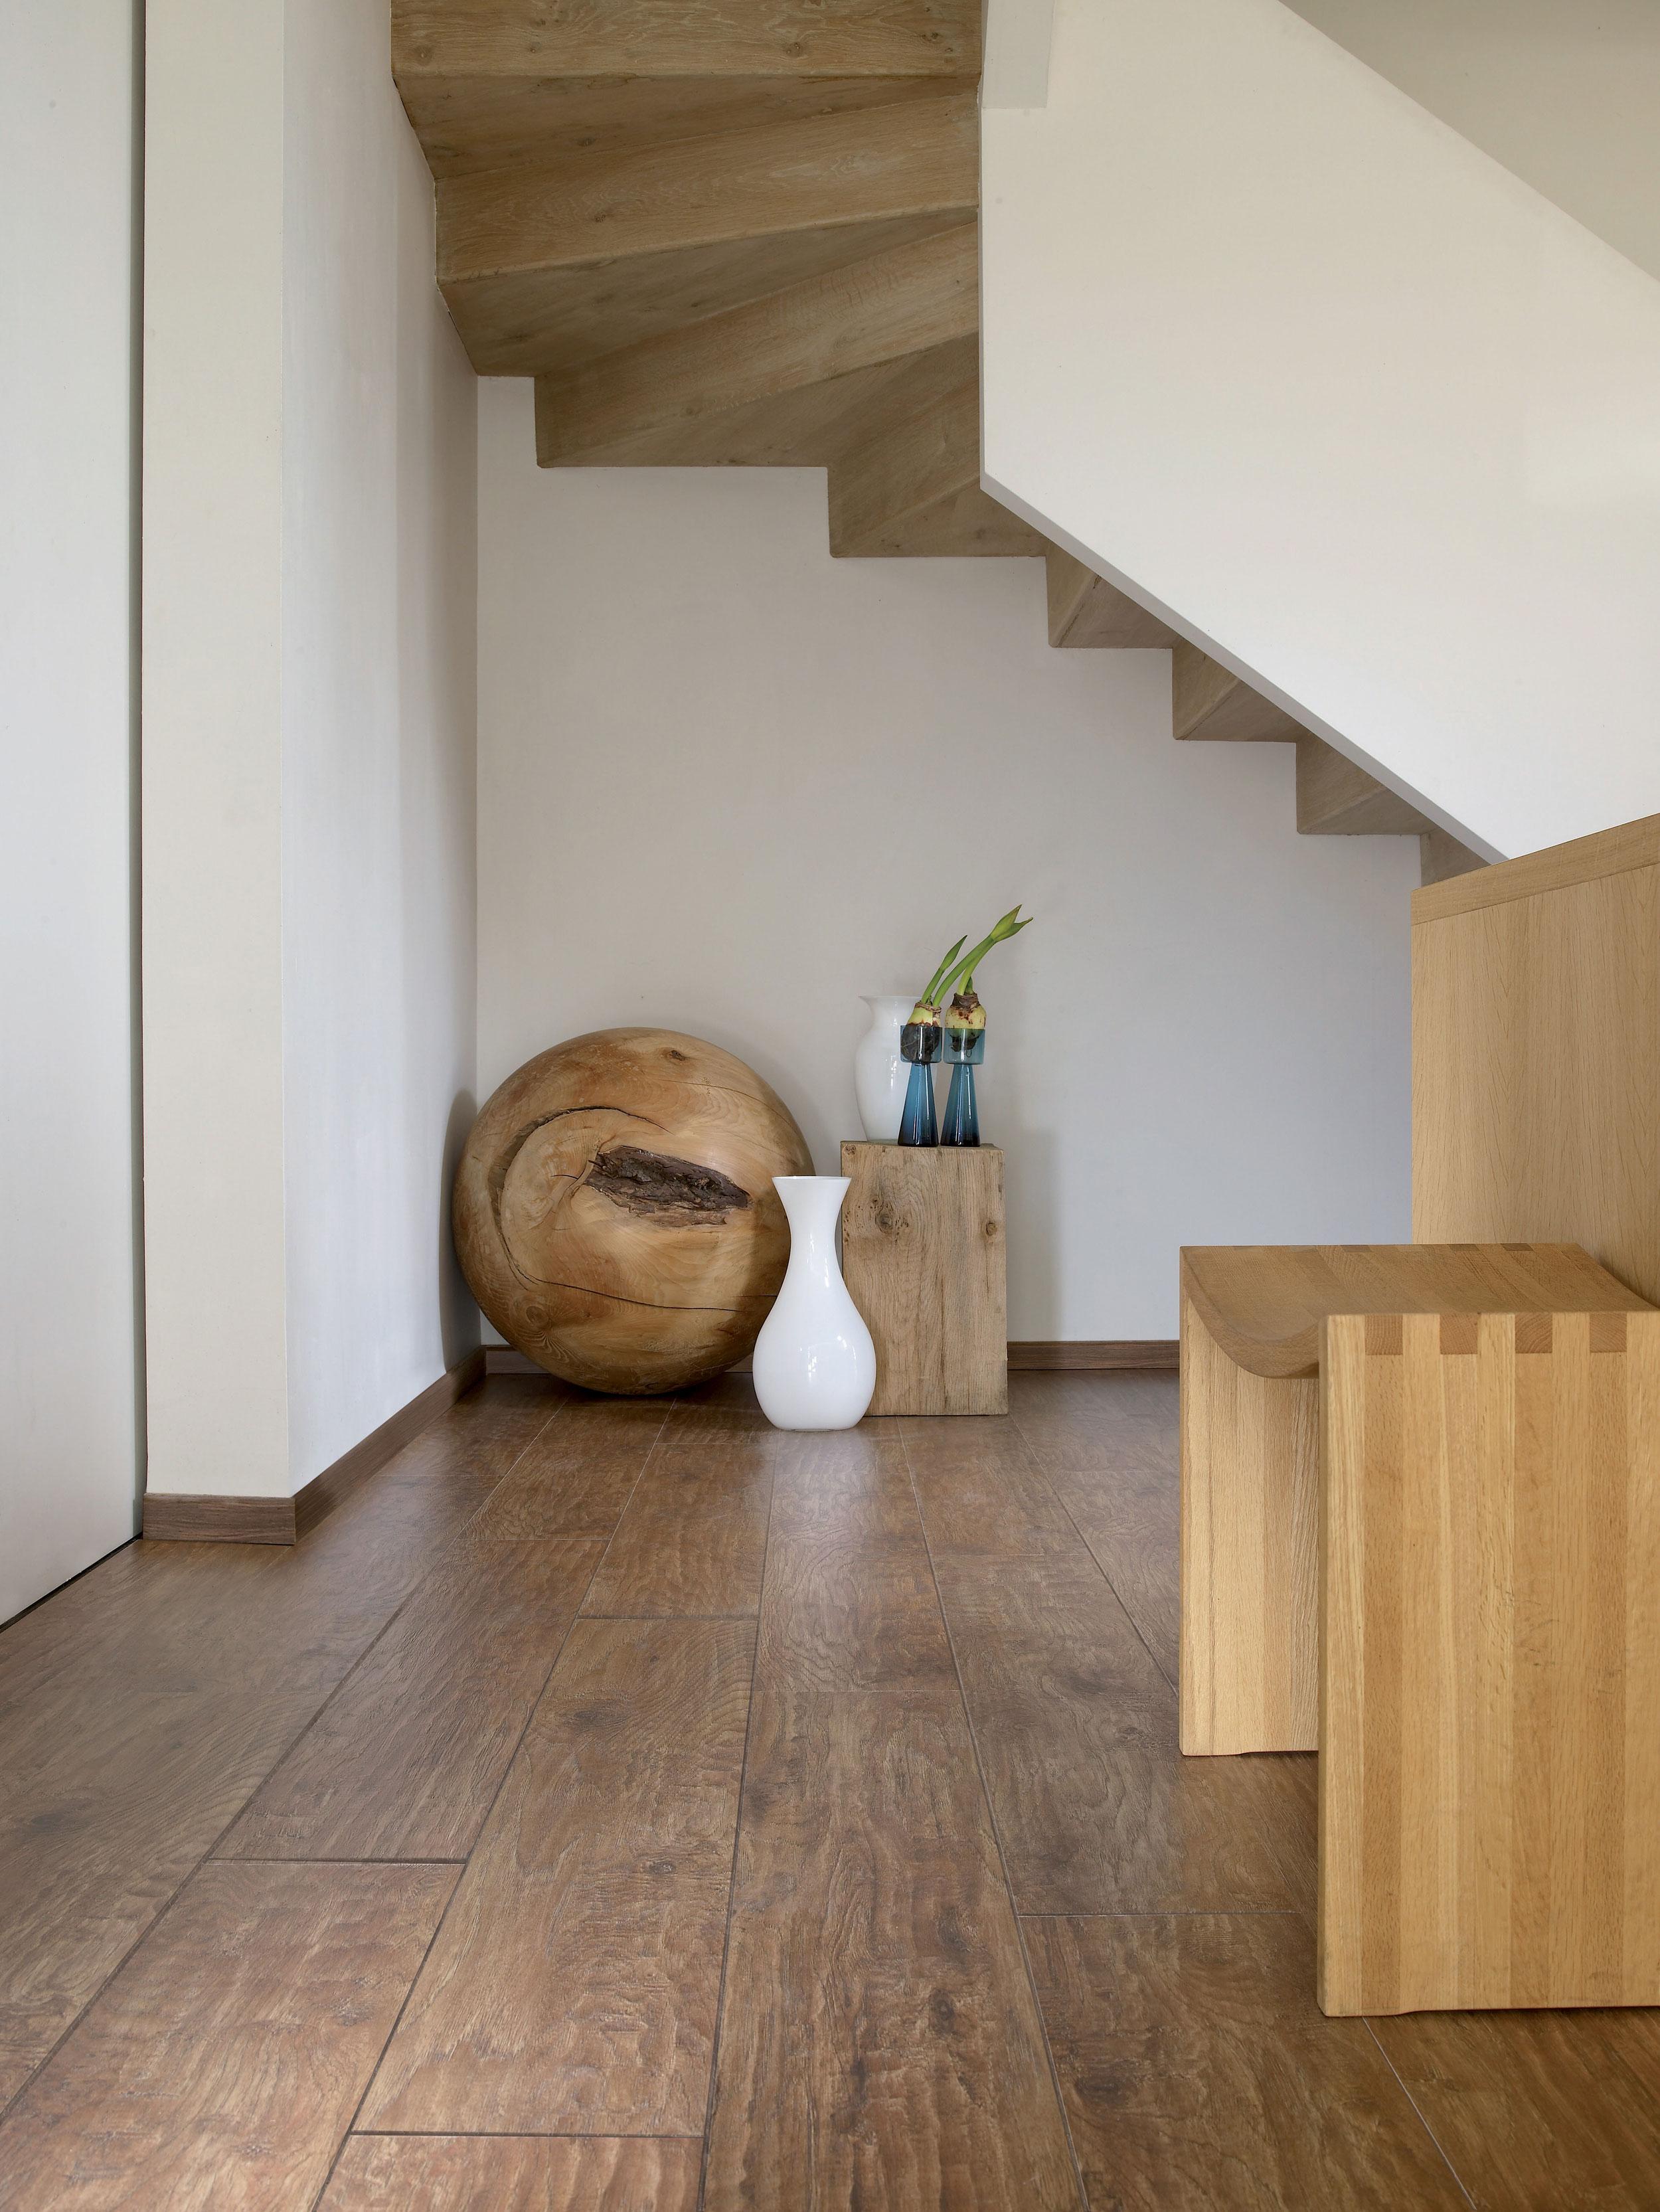
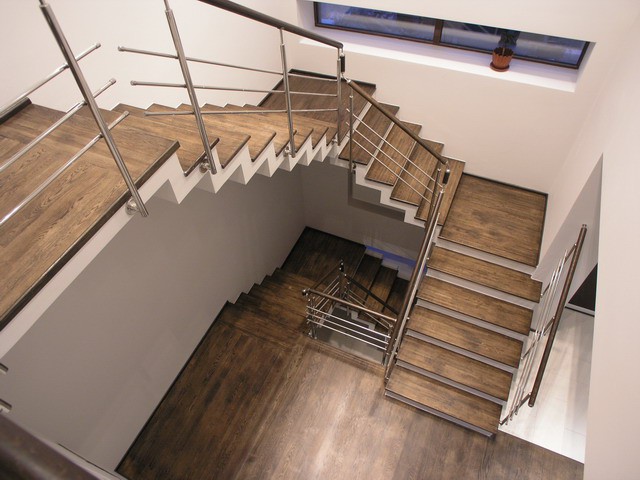
Another nuance - finishing stairs. To do this, use the panel 32 - 34 class. This will increase the life of the laminate board. But during the installation, it is not the locking system that works more, but the glue on which the profiles and the boards themselves are planted.
How to glue?
For laminate used special adhesive mixtures of several types:
- water - dispersion,
- based on synthetic resin
- two-component polyurethane,
- single component based on polymers.

What kind of glue is suitable for the selected laminate can be found only after a thorough study of the instructions for glue and material.
The adhesive panels do not have a lock, they can be glued together with each other with the help of glue. In addition, the glue can be used for the locking system so that the panels do not disperse. But it will be impossible to disassemble such a floor.
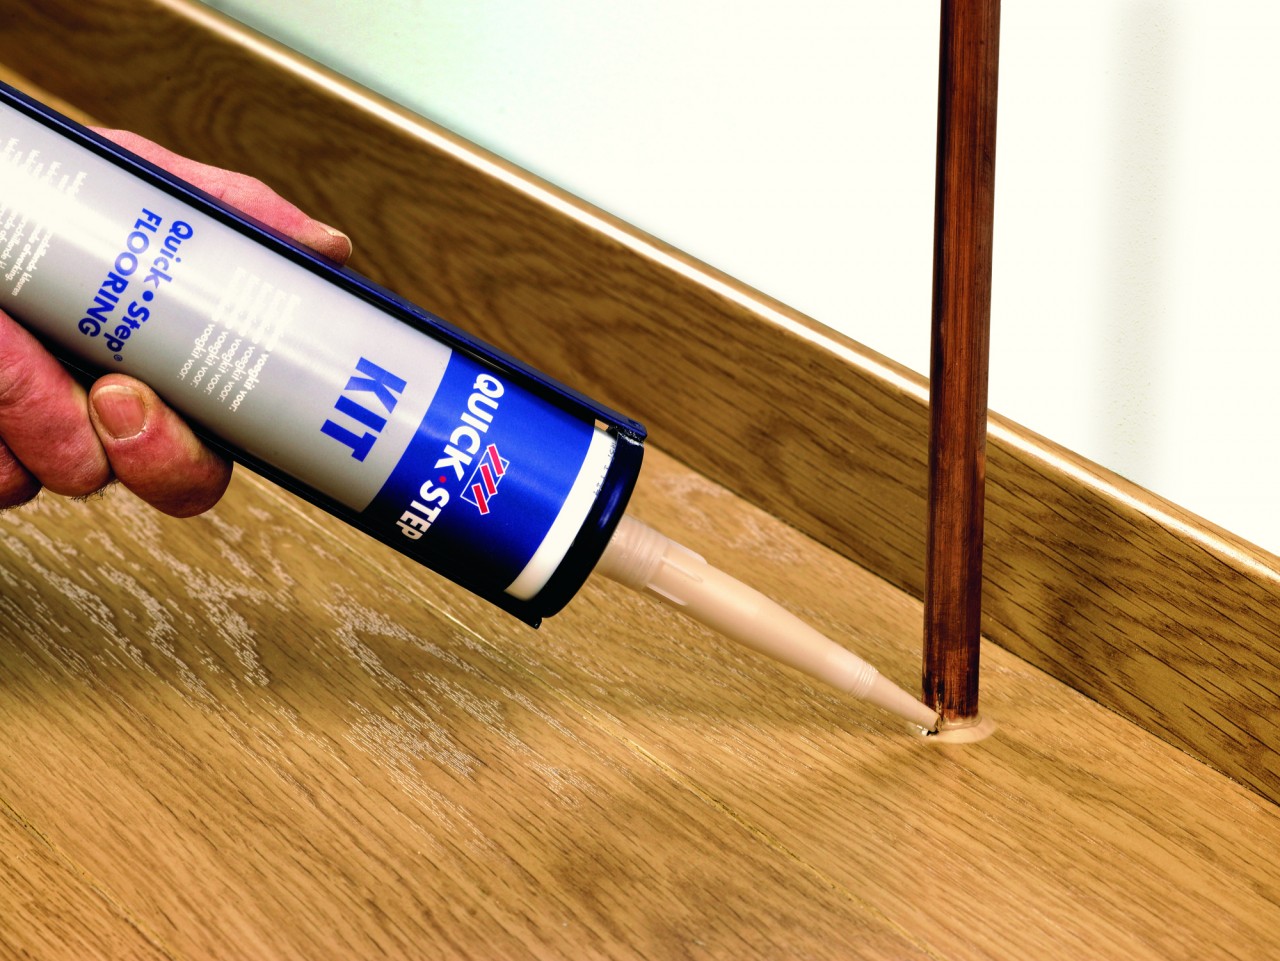
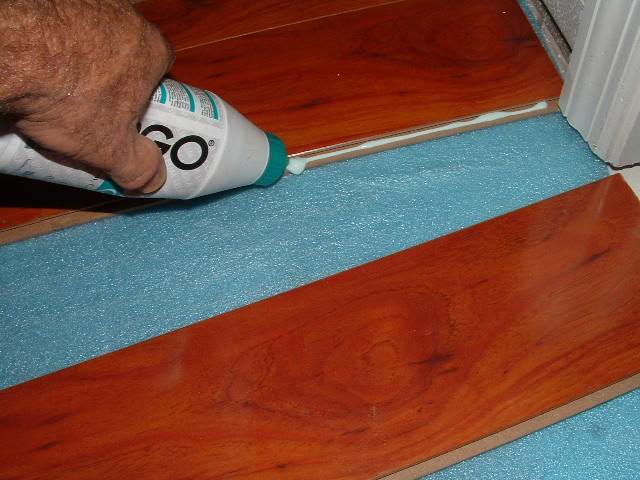
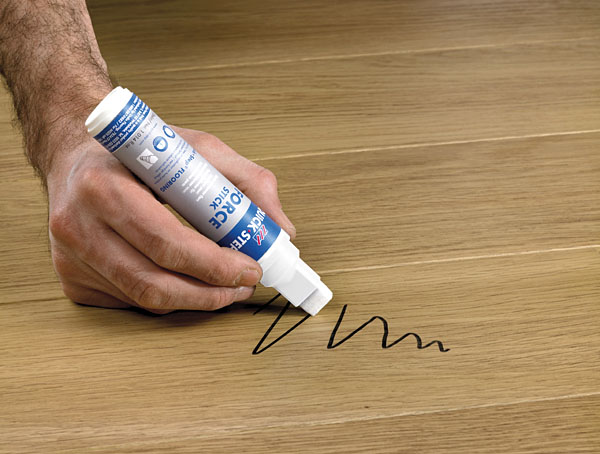
To be able to re-parse, protect the seams from moisture and dirt, there is a sealant - paste. The advantage of it is that it is not glue.
But when filling the groove of the lock with sealant, it retains the comb and fills all the free space: access of water and dirt is prevented.
How can I make out?
The need to dismantle occurs for several reasons:
- the need to replace one panel due to its damage,
- the need for full replacement due to an emergency,
- desire to take with them the floor when moving to another place of residence.
The question "where to start dismantling? »It is decided unequivocally: begin with the removal of baseboards and pipelines, if they fall under the dismantling. Next, lift the panel that laid the last, and carefully disconnect the locking system. Lock Lock will be much harder to disconnect. Click - the lock will keep each board in perfect condition.
All panels must be numbered, otherwise it will be extremely difficult to mount, because they are already cut. Entire lamellae can not be numbered.
To replace one board, you need to have it in stock, or pick up in the store. If exactly the same board was not found, we choose the most suitable one and mount it in the most inconspicuous place in the room.
And the panel from that place must be installed instead of the failed lamella. With this option, installation problems may occur.
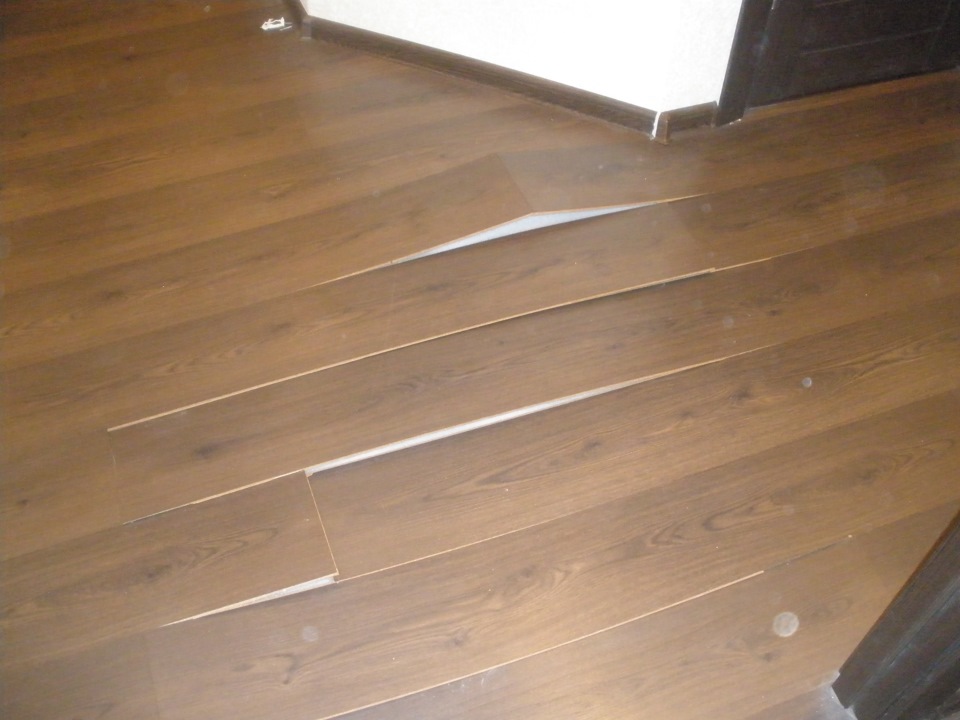
What to do if the locks diverge?
The reasons for the discrepancy of the locks are:
- too low humidity in the room (dry air),
- uneven coating under the laminate,
- violation of the technology of laying (left no gaps near the wall),
- dirt in the gaps.
Each of the reasons is solved in its own way:
- to increase the humidity using a humidifier; with water heated floor moistening is mandatory;
- if the flooring is uneven, you will have to disassemble the laminate, make a good screed and lay the laminate again (this is why it is so important to carefully level the floor);
- in case of violation of the technology, you need to remove the plinth, saw off the panels that are very close to the walls; where there is too much clearance between the board and the wall, wedges must be inserted;
- It is possible to get rid of squeak due to dirt only by dismantling and cleaning grooves and spikes.
Additional details
With some extra protection, you can “extend the life” of the laminate. This is a paste - sealant, which will hide all the gaps and gaps. And also about the mastic, which will protect the surface and give it a beautiful appearance. It is found in the form of a liquid or spray. You can use immediately after installation and later as needed.
Waxing will strengthen the laminate. It will become less susceptible to moisture and environmental exposure.
Available in liquid and paste form. Laminate putty is a means of dealing with scratches and small cracks. In addition, it can be used to restore the appearance of the panels.

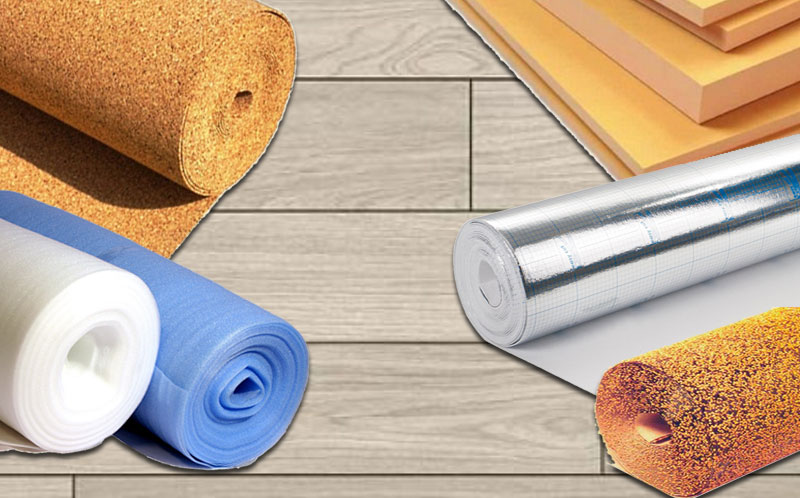
Sound insulation under the laminate is a good substrate. These include: polyethylene foam, cork, polystyrene foam, combined substrates, insulating plate, cardboard with felt.
Each room needs its own insulation, so you need to choose the material that suits the specific situation.
Successful examples and options
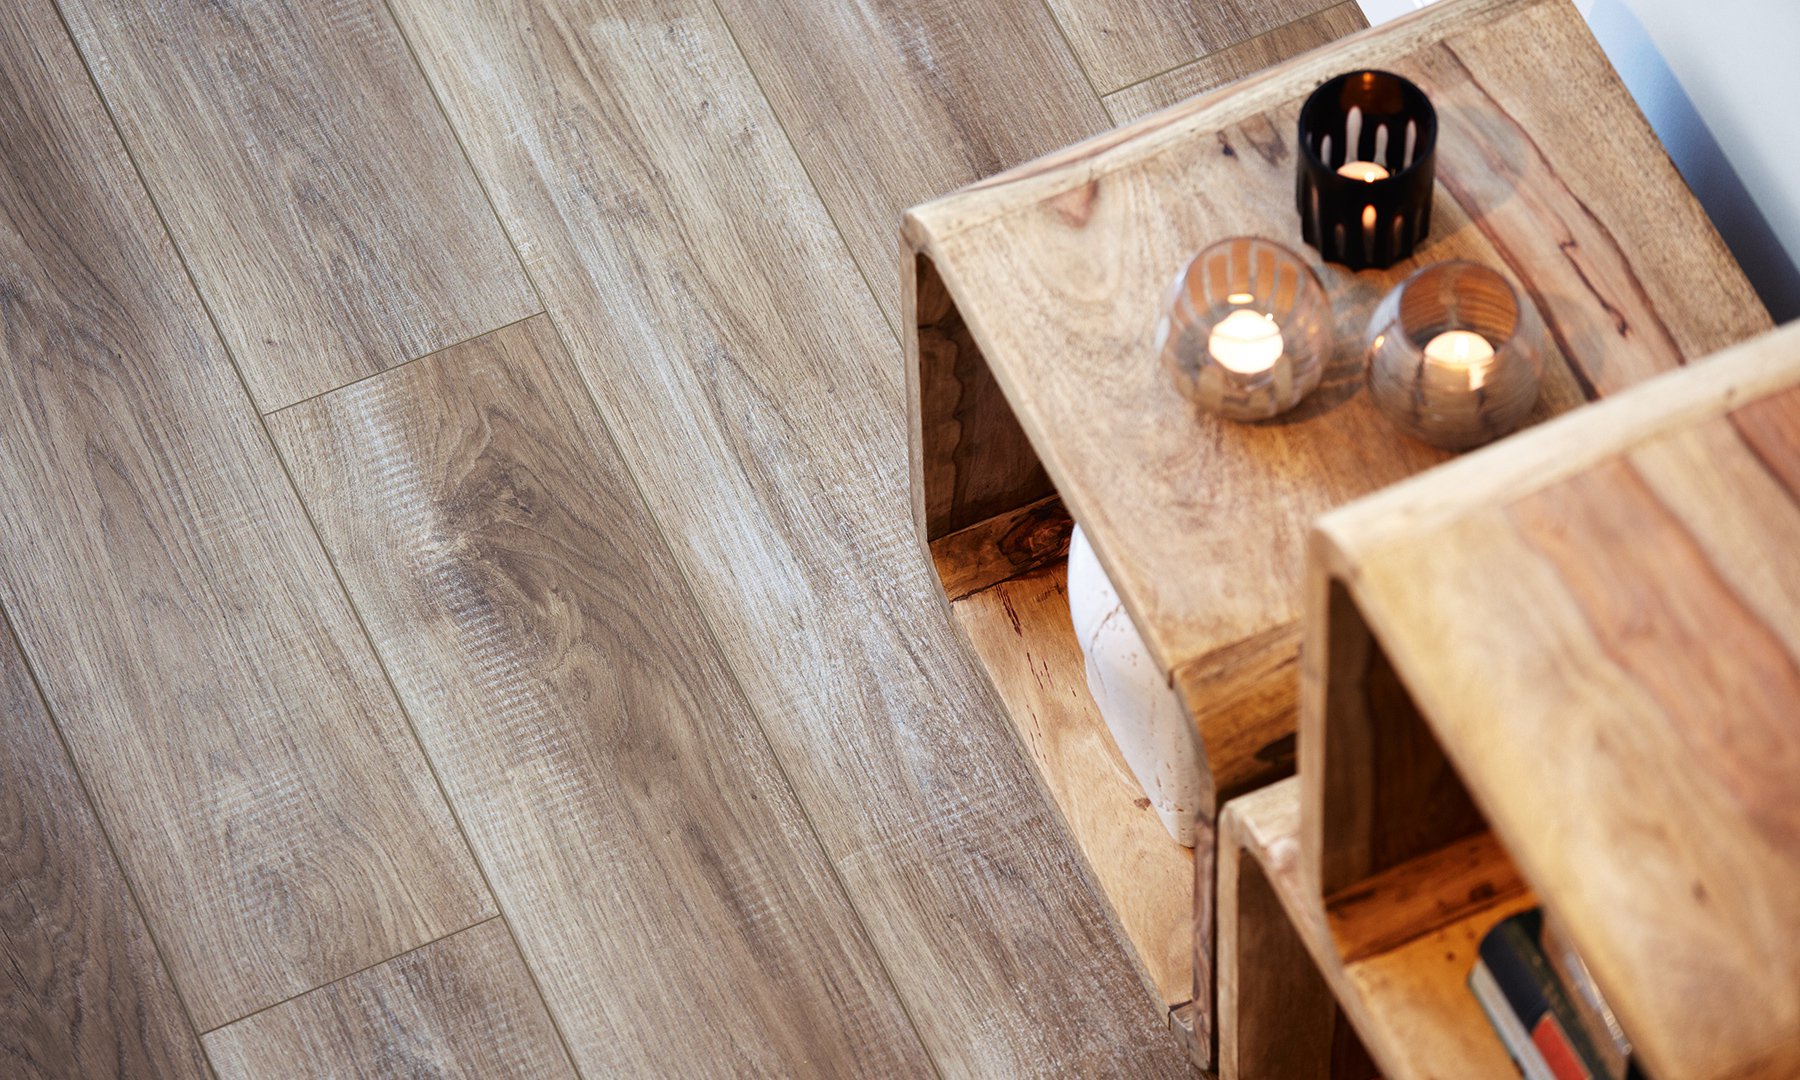
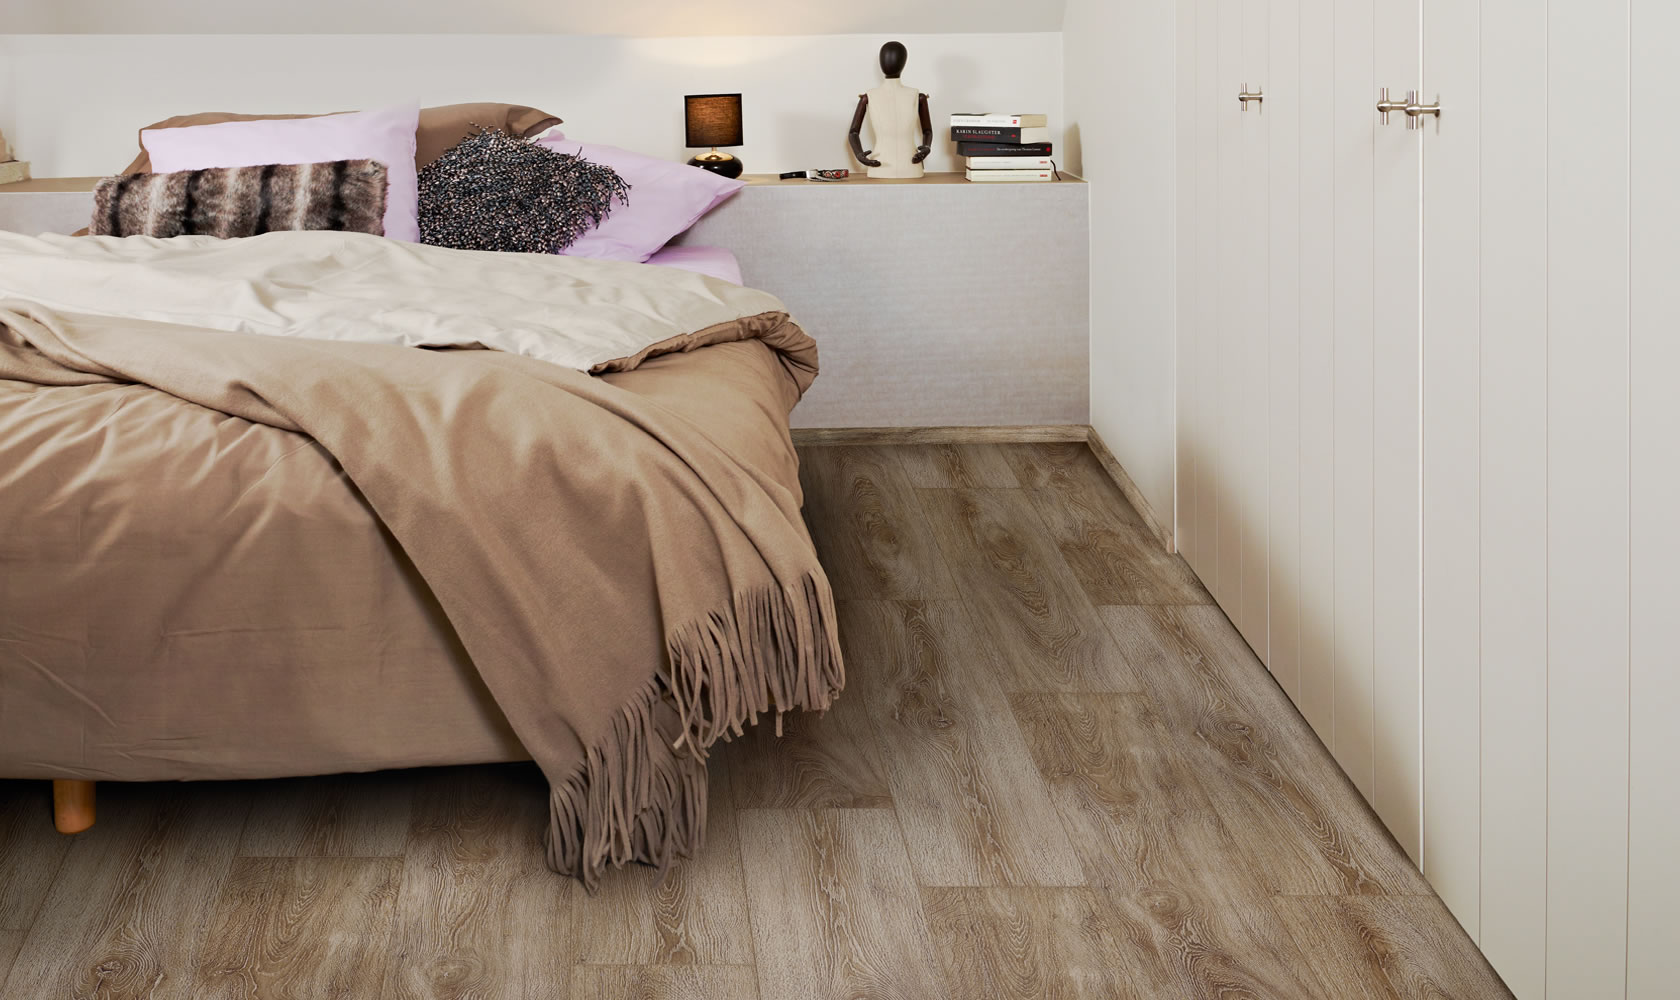
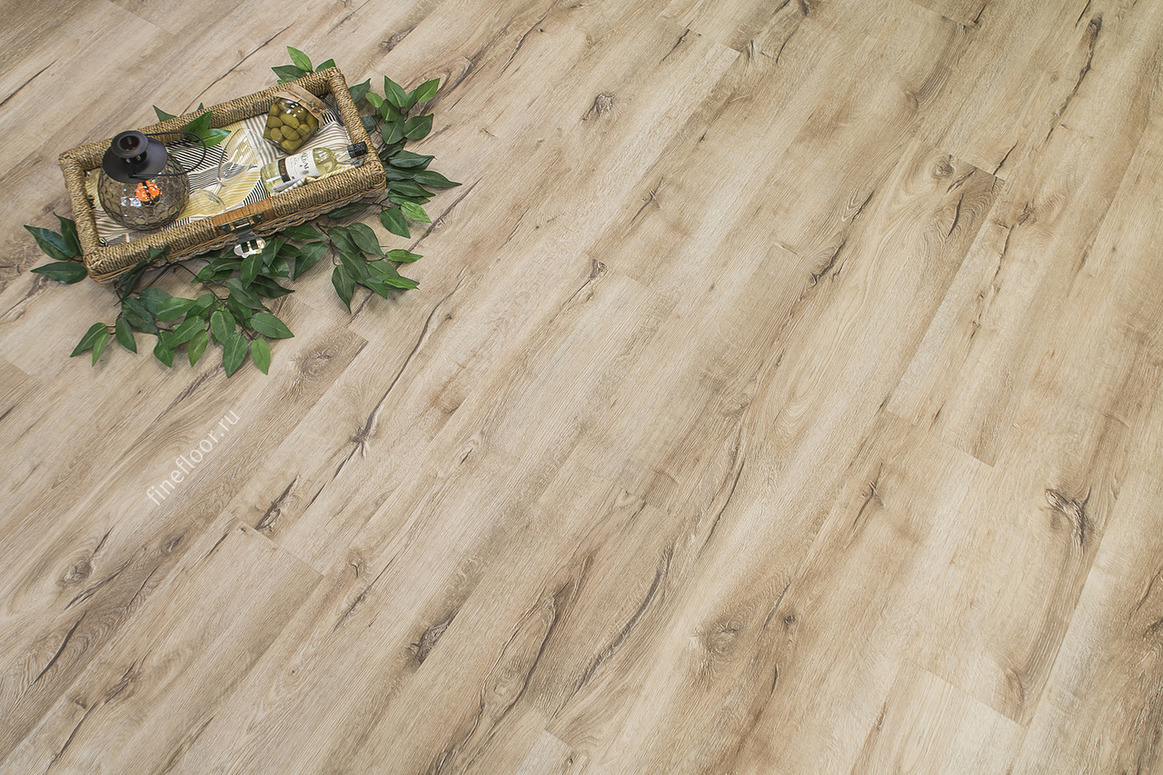
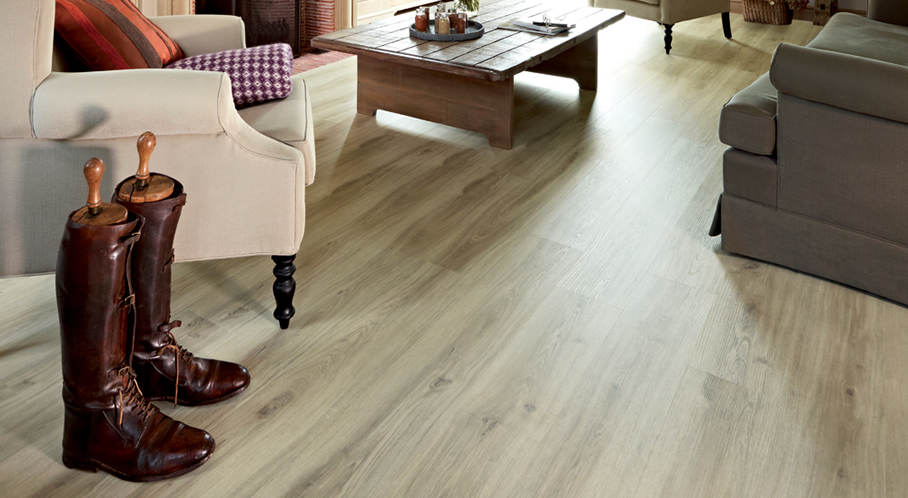
Very interesting version of the pattern "under the tree." Despite the many shades, the floor does not look colorful.
Laminate flooring for artistic parquet is extraordinarily beautiful. This product needs space.
Laminate with a picture requires special care and professionalism in installation. It is better to entrust such an assembly to professionals.

See step-by-step instructions for laying laminate in this video.


