Laying the cable in drywall: installation features
Drywall is appreciated by designers and amateur builders, who have found in it an excellent solution for hiding uneven walls. This material, in comparison with others, accelerates the restoration of the most complex premises many times. In addition, it can be used to mask the wiring, and without any gates in the walls. Performing such manipulations is dangerous, if you do not take into account the specifics of the material and the key requirements for work.
Special features
Laying the cable in drywall is one of the hidden types of wiring.For it can be used: pipes with zero fire risk, corrugated hose, a box of non-combustible material.
All these methods are provided by the rules of electrical installations, and if you comply with the technical standards, you will receive an electrical route reliably protected from mechanical and thermal effects. The work can be started immediately after the profiles for plasterboard sheets are mounted.
Each wire is supposed to isolate and fix in a special way - only then it will be possible to avoid emergency situations.
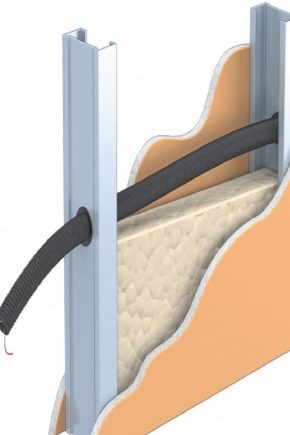
Option with corrugated hose
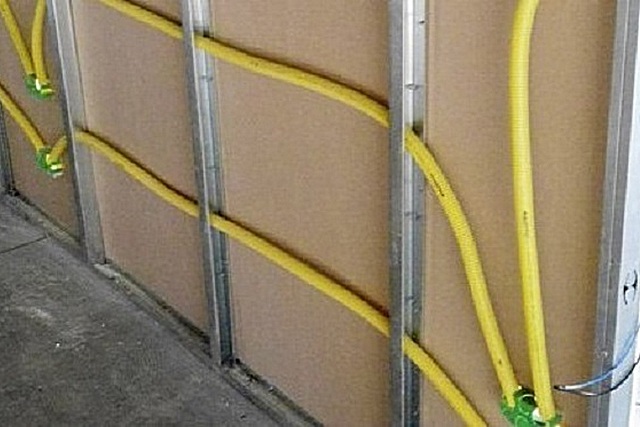
A clear advantage of this approach is the ease of replacing cables if they suddenly fail. The necessary components will be: the corrugated hose itself, the clips that will hold it, the distribution boxes, the electrical cable, the dowels-nails (the clips are attached to them), the perforator and the drill to it.
Prior to the commencement of all work, it is necessary to estimate how current-consuming devices are located in the room. Thinking through the configuration of the system, pay attention to the power of each of the target nodes. The diameter of the corrugations is selected according to the thickness of the installed cables.The next stage of work consists in attaching the corrugations to the wall, followed by closing it with core frames.
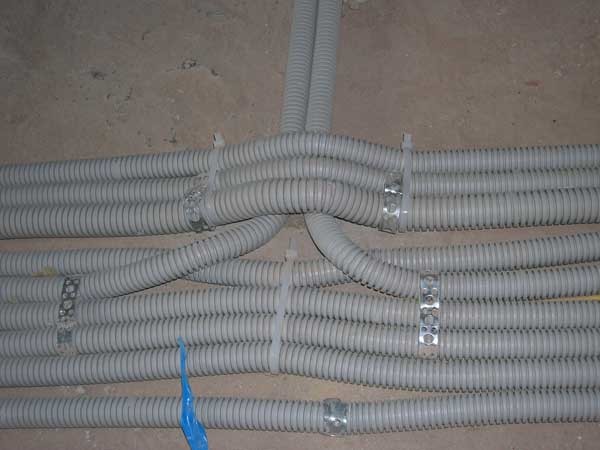
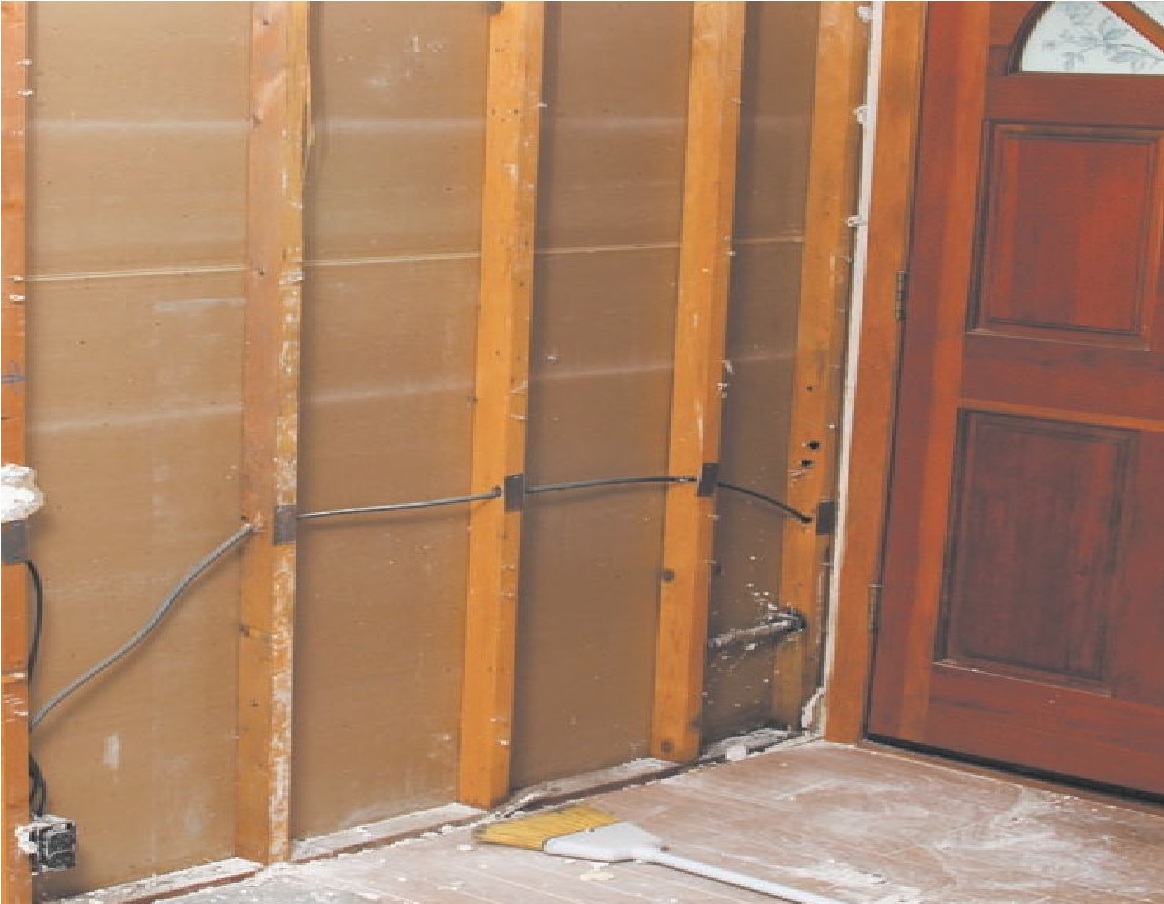
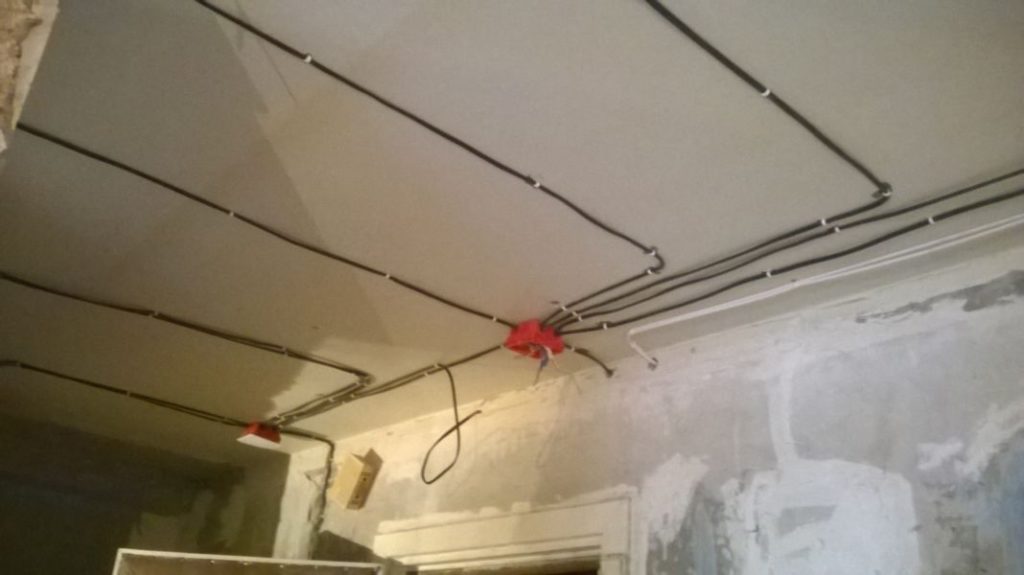
To facilitate fastening, the wall is covered with holes, with a gap of 300-400 mm. It is in these points that the dowel-nails are convenient to pin the clips. During installation, you must ensure that the cable does not sag anywhere. When marking the future power grid, first of all they mark the points where the distribution boxes, sockets and switches will stand. When it is known that the ceiling will be closed, it is advisable to stretch the wiring from one box to another there.
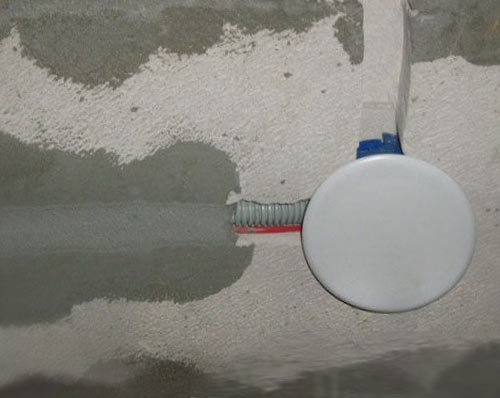
The wiring on the walls is strictly 0.15-0.2 m below the ceiling, and distribution boxes are placed on the same line. These boxes themselves should be carefully selected - the lid must meet a certain level of protection, which is prescribed by the rules for branching electrical wiring in hollow walls.
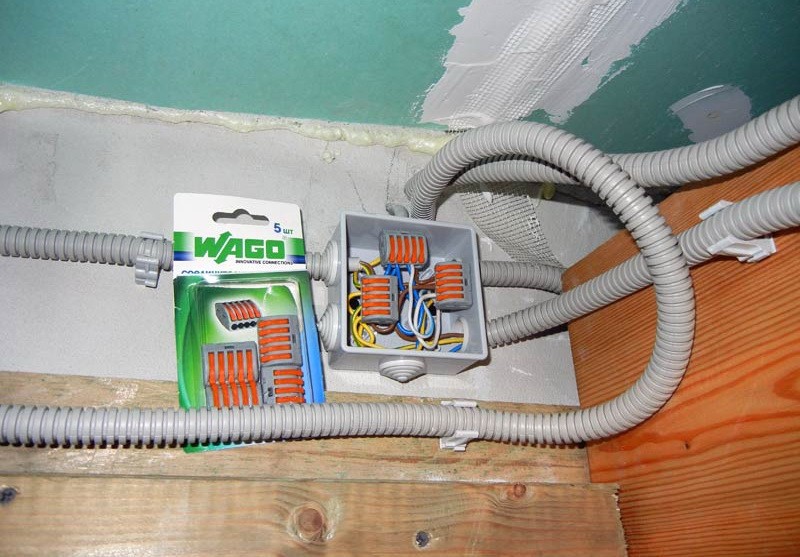
Cable start in a corrugation start from boxes, as clearly as possible keeping the vertical in the direction of each of the switches and lamps in the room. The same trajectory should be applied when connecting distributors with sockets.
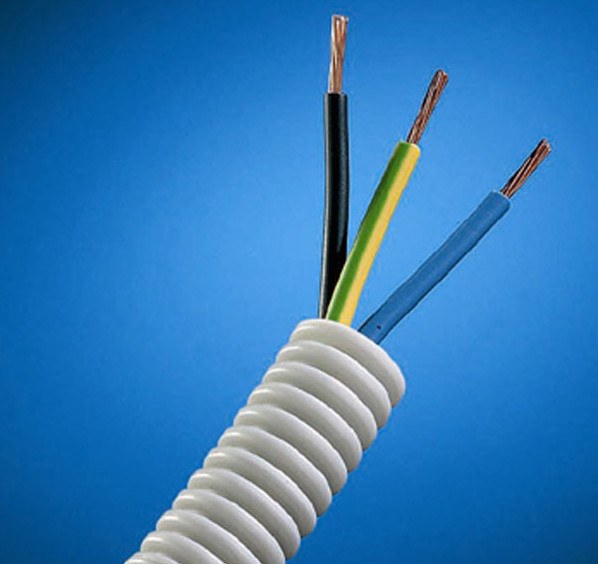
The best option for laying in drywall experts recognize the non-combustible cable series VVGng. It is suitable even in a wooden house.It is also advisable to buy special podozetniki for drywall and terminal strips that facilitate the connection of wires. It is recommended to use a drill with a 6.5 cm cutter - just such a format will allow you to reliably land podrozetniki in the grooves.
Installation Tips
Replace clips when installing wiring can be plastic clips. If you have the skill of handling them, the work will go faster, but care must be taken not to tear the corrugation by the edges of the profile. The profiles are drilled holes of the desired diameter, but you can restrict yourself to buying profiles with ready gaps. It is recommended to immediately memorize where the end of the outgoing wire should be, since then the wall will be sewn up with plasterboard tightly.

If repair has already been made
It so happens that after some time after the installation of sheets of gypsum boards there is a need to add outlets or switches under a layer of drywall.
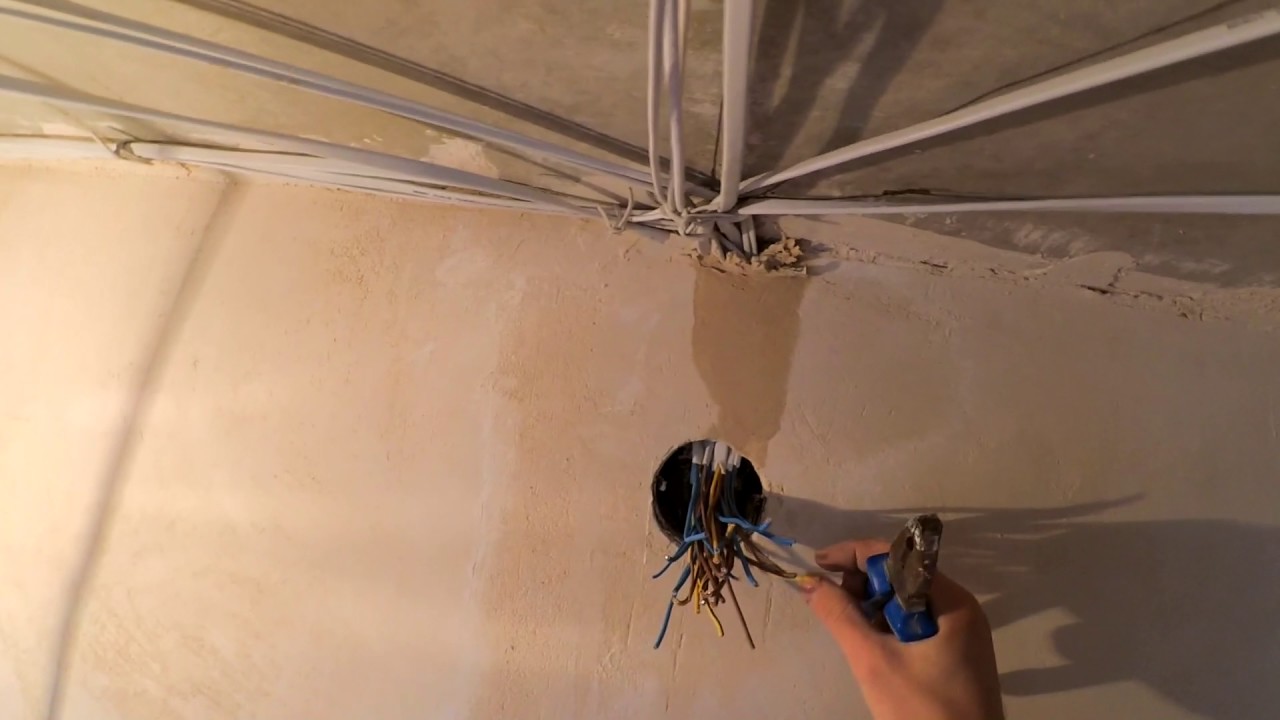
This problem is completely solved by hand, and even without dismantling the main layer, for this you need:
take the thread and heavy nut;
prepare a round shter in the selected place;
from the open ceiling above the gutter, lower the thread (the nut is lowered to the level of the hole as a weight);
the upper edge of the thread is used to attach the cable (using insulating tape);
the thread is pulled down, pulling the conductor out, and this stops the movement.
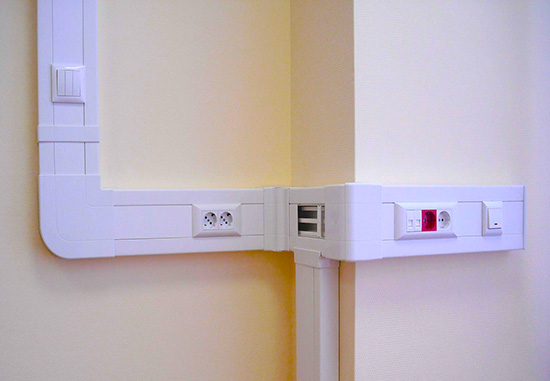
Installation of electrical channels
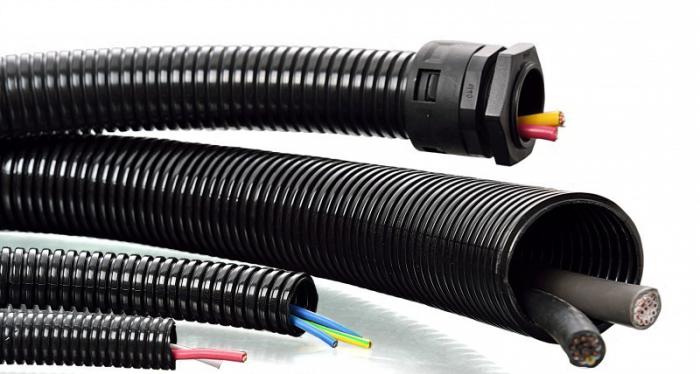
In most cases, the wires are made of copper, closing it outside with an insulating sheath. However, finishing the room with plasterboard requires the use of a metal frame and a large number of self-tapping screws with sharp edges. No insulating material will withstand contact with such products and will quickly tear. Therefore, in practice, the fastening of the channel with a corrugated reinforced sheath has become the de facto standard.
Such tubes are mounted very easily and allow you to further enhance the protection against fluid and various rodents. As a result, even in the bathroom of a private house there is no better way to provide power. PVC pipes or plastic channels are not so practical during installation - they are worse laid on hard-to-reach areas.
It is possible to fasten cable channels with frameless plasterboard plasterboard only after preliminary preparation of the necessary sections of the wall. They are stitched and cable is laid in the strobe. To install the outlet and the switch, you should certainly make special holes.Attach the cables to the walls with special clamps. This technology is not very different from creating hidden wiring under a layer of plaster.
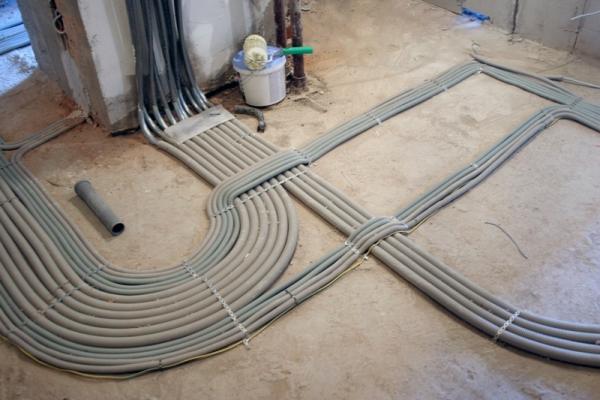
The electrical cable in the home network must be directed either vertically or horizontally., distortion of straight lines is not recommended. Vertical sections connect primarily the points of location of switches and sockets, and horizontal ones are made near ceilings and floors in order to maintain the required distance. When laying grooves strictly follow the scheme of work. Depth is chosen arbitrarily, only achieve complete immersion of the cable in the grooves.
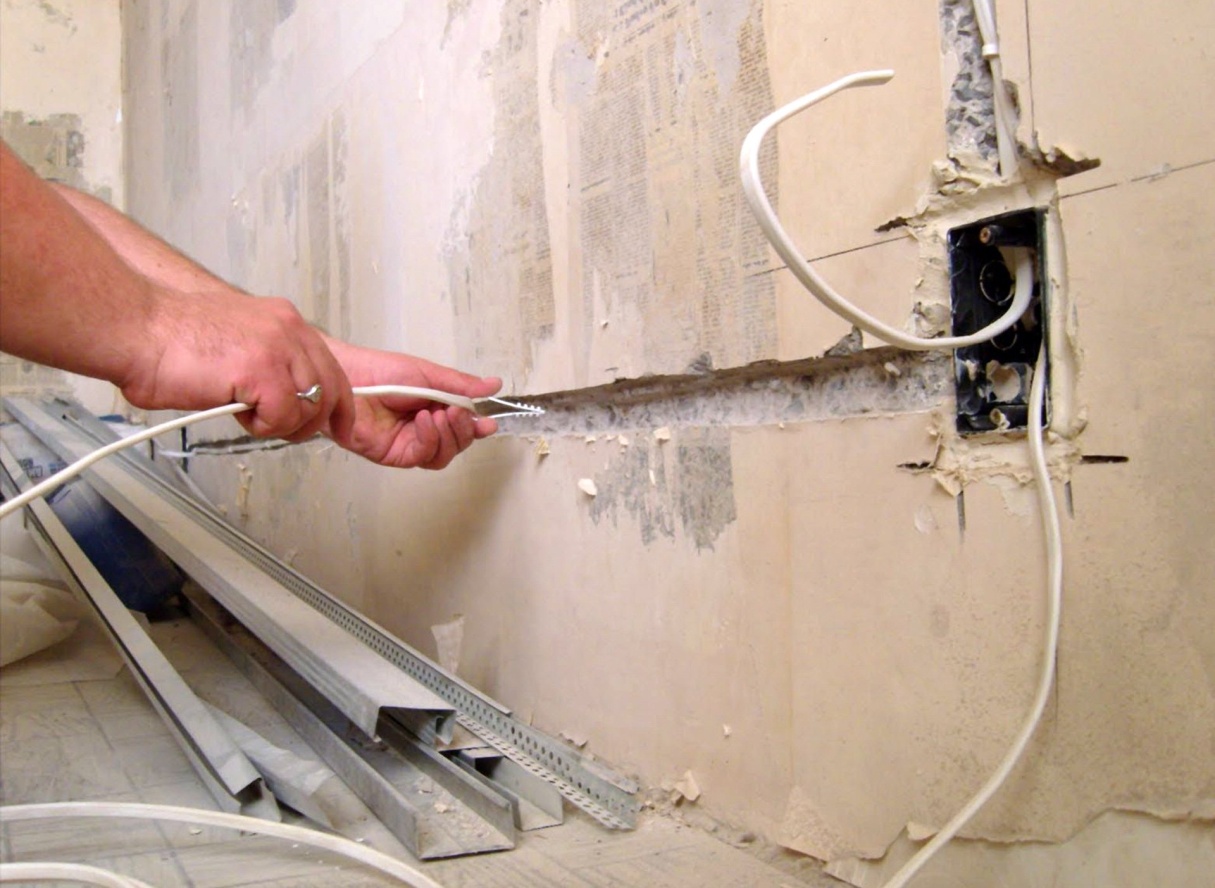
To install sockets, switches or wiring boxes, round-shaped holes are prepared, reaching a depth of 35 mm. This work is done with the help of drills and special nozzles (crowns), the diameter of which is strictly selected according to the width of the holes. When this training is over, you can mount the wiring under the FCL on the grooves. In places of fastening of cables putty is put. Fully putty grooves need only after laying the entire scheme.

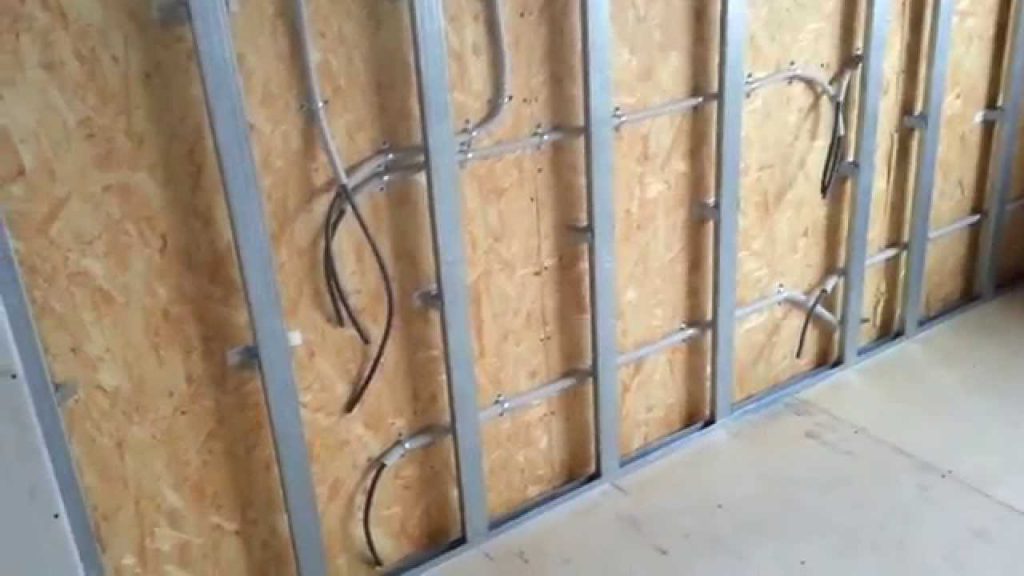
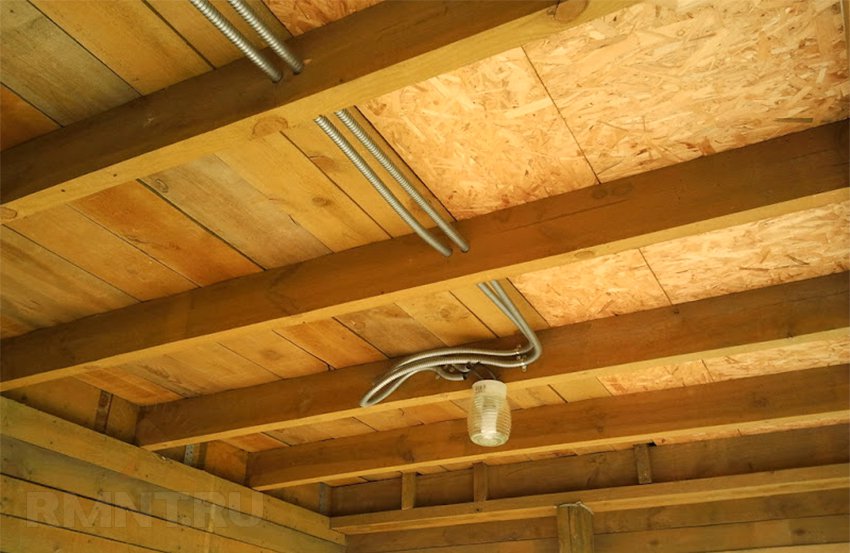
Woodwork
When gypsum plasterboards are mounted in a wooden house, the wiring technology is simplified many times.The schematic diagram is the same as usual, but instead of a drill it is worthwhile to use a cutter that can successfully replace an electric tool. For fastening a corrugated hose, plastic clamps or copper wire are used, carefully observing that the wiring cannot “walk” too loosely. The more attachment points (within reasonable limits), the more reliable the configuration.
You can use the same approaches when working with 380V networks.

In the next video you can clearly see how to lay a cable in a wall of plasterboard.


