The subtleties of installing sockets in drywall
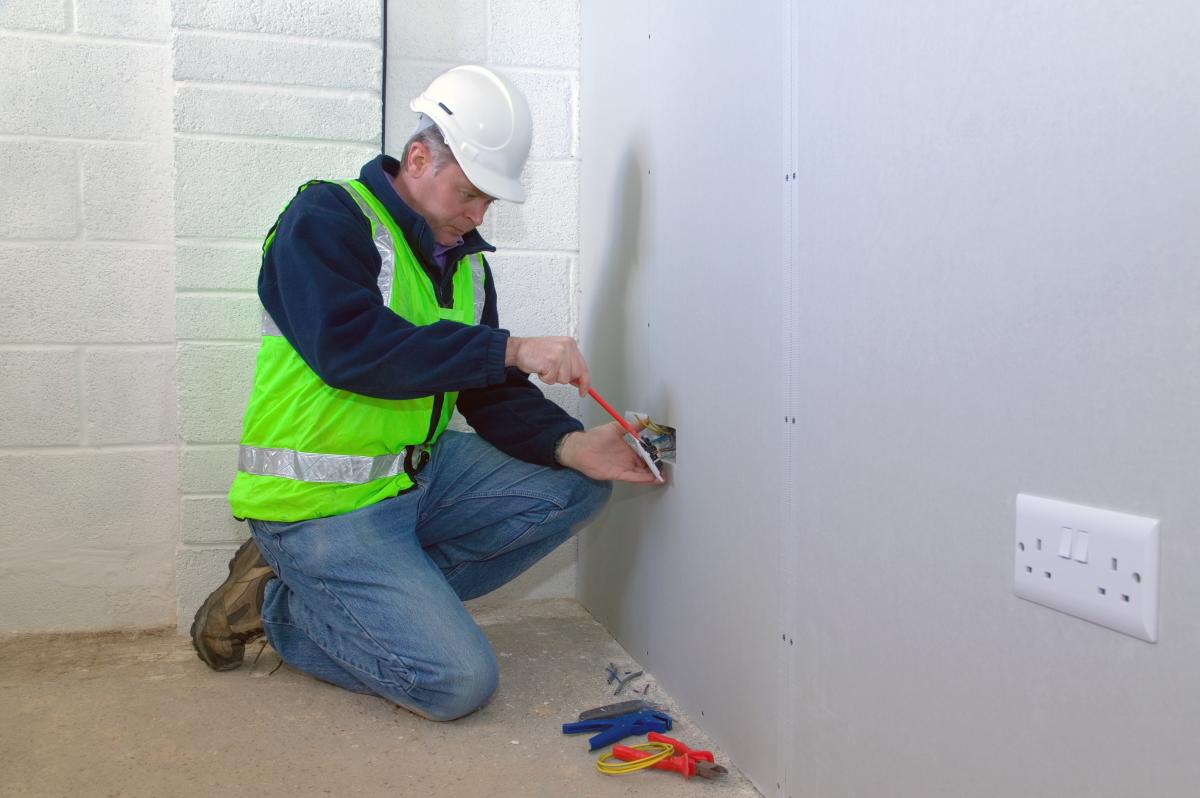
The advantages of walls made of gypsum boards are indisputable: this is both heat resistance, noise insulation, and environmental friendliness; in addition, the optimal price and speed of construction of the structure. At the stage of primary finishing, for the most part, electrical wiring is mounted in the wall, switches and sockets are installed. The rules of mounting sockets in the wall of the gypsum board are slightly different from their mounting into walls of concrete or brick. However, drywall has some special features and this should be taken into account before performing the work.
Special features
Of course, the installation of sockets in drywall is much easier when compared with other materials, but, for all its merits, it also has imperfections.In particular, it is extremely easy to crumble and when working with it is not allowed to use conventional screws.
Also when working with drywall, the use of percussion power tools is unacceptable. - all work is done by means of a drill and a special tool for drywall (for example, knives or jigsaw blades).
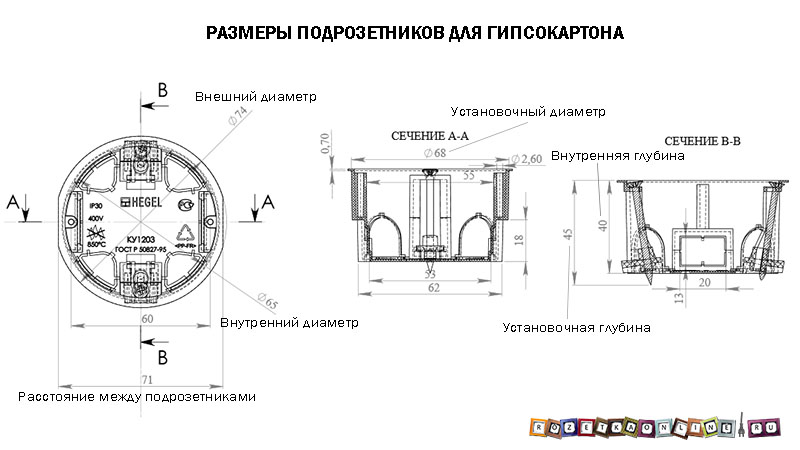
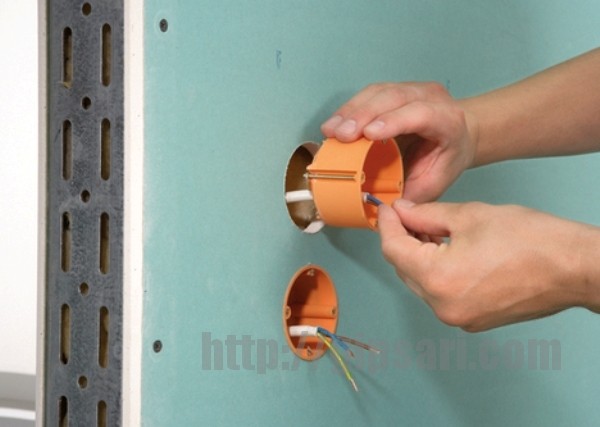
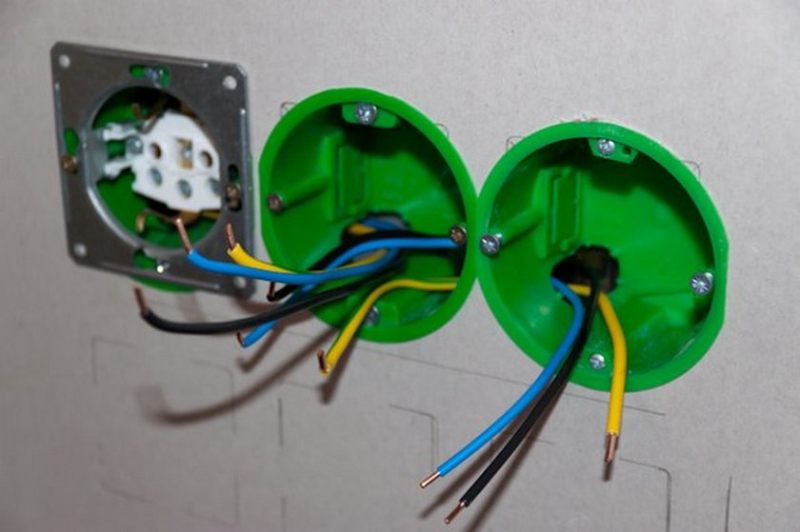
When mounting sockets in drywall, you should use specialized installation boxes, called podrozetnikami (cups). Installation boxes for plasterboard walls differ from concrete accessories by the presence of special fasteners in their construction, which are pressed against the plasterboard.
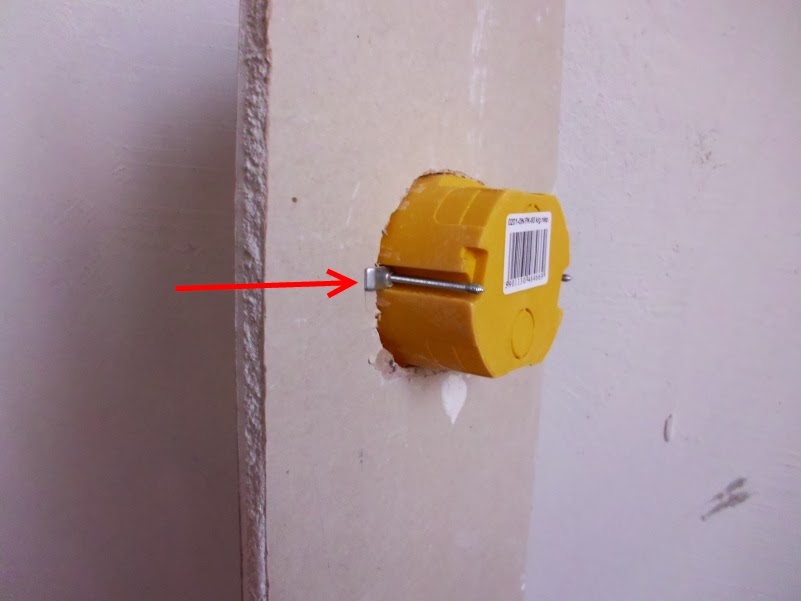

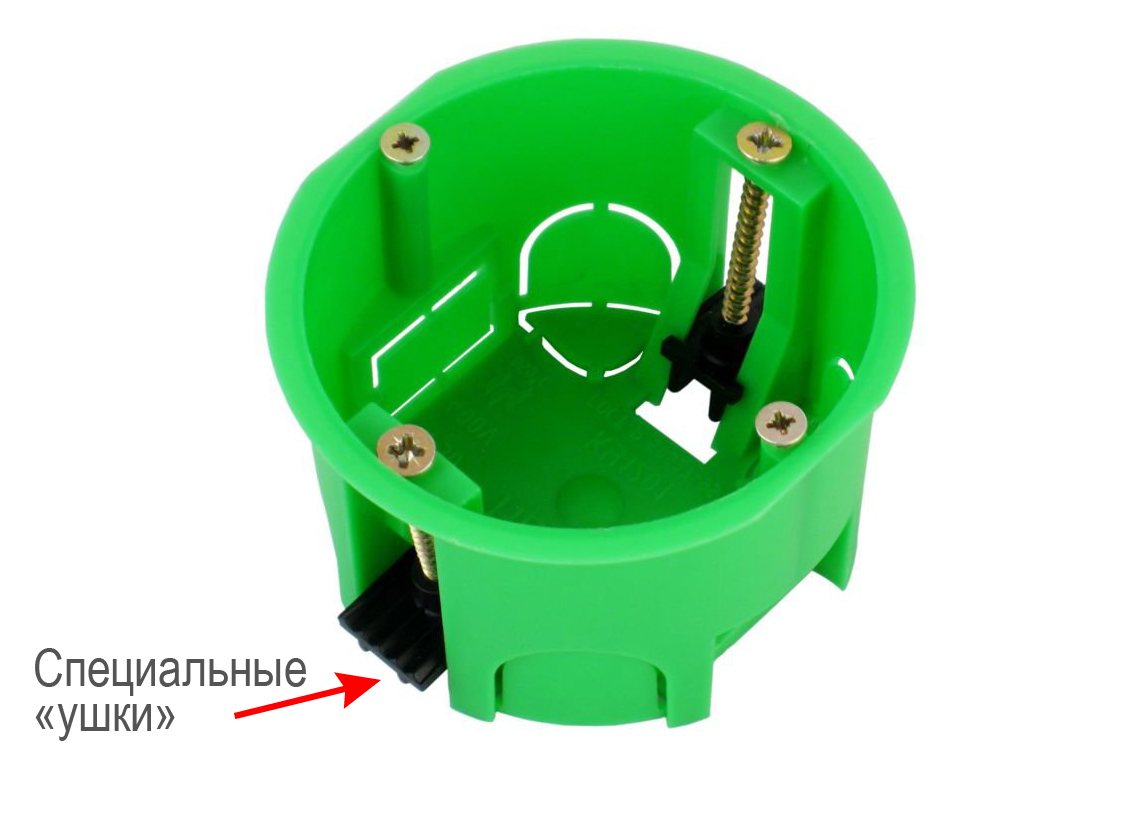
Plasterboard drawers are produced, as mentioned above, with a special mounting method. Outwardly, they look like a plastic cup. On the front side there are 4 screws. Two of them are above the others. They are required for mounting specifically the steel frame of the outlet itself.
Other cogs, which are located just below, are responsible for mounting the substrate in the drywall. At the bottom of the glass are placed specialized holding presser foot.Their location can be regulated by these screws. When tightening the screw foot is attracted to the GCR. Such a device ensures a reliable installation of the underside and provides a guarantee that the socket will not jump out of the wall at the first opportunity.
Practiced two methods of wiring devices and sockets in the plasterboard:
- at the construction stage;
- at the stage of finishing works.
Cooking tools
For the process to proceed easily and quickly, you need to worry about auxiliary tools:
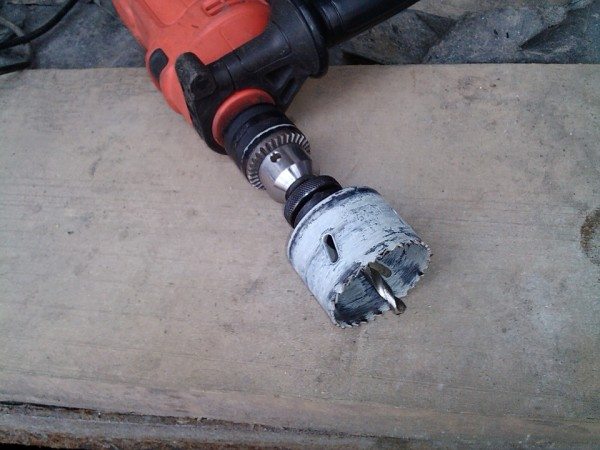
- The main tool is an electric drill with a specialized crown, which not only speeds up the process, but also makes all the work easier. The standard crown diameter for such works is 68 mm.
- Measuring tape for measuring the location of future outlets.
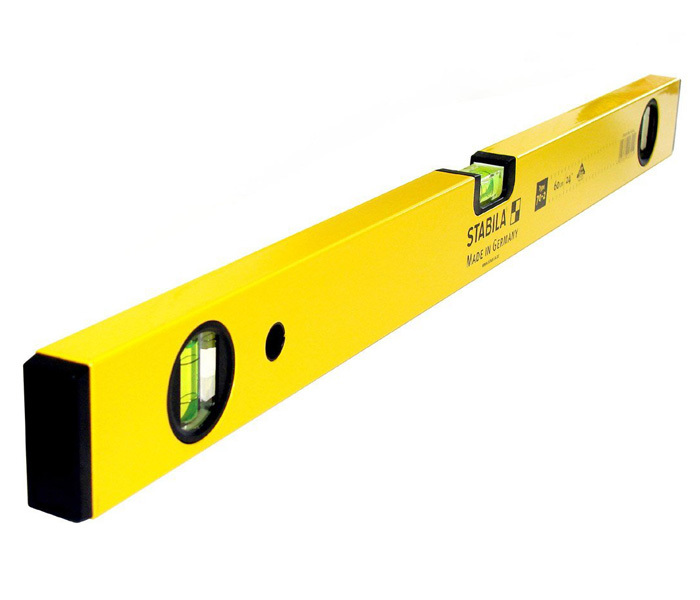
- Level of construction to monitor the correctness of installation.

- Marker or pencil for marking.
- Phillips screwdriver - used for mounting the socket as well as for fastening the socket core. She also fixed electrical wires.
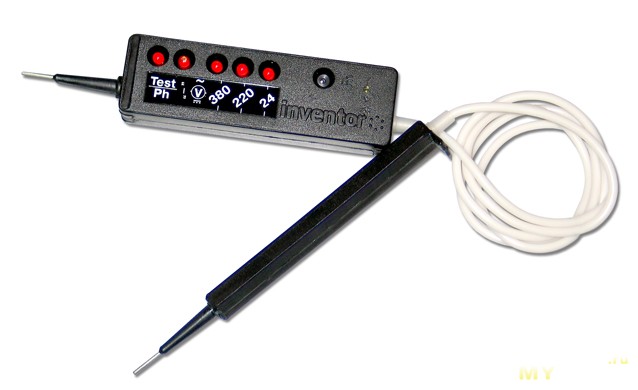
- A simple indicator to determine if there is voltage on the wires or not.


Choosing a place
When determining the location for switches and sockets, it is necessary to follow not only the instructions and construction specifications, but also the purpose of the sockets. In other words, the places where household appliances will be located in the future: a refrigerator, a split system, a TV, etc., must be organically incorporated into the overall decor of the room.
Today, when installing sockets, many use European construction regulations, the recommendations of which take into account the distance of sockets from the floor:
- from the level of the floors in any room - 30 cm;
- above the working area of the kitchen (worktop) - 120 cm;
- for washing machine or dishwasher - 100 cm;
- for switches - 80 cm (the level of the pubescent hands);

The distance from the laid electrical wiring to the door and window openings should not be less than 10 cm.
Basically, this arrangement is convenient, but at times it is necessary to deviate from these principles.
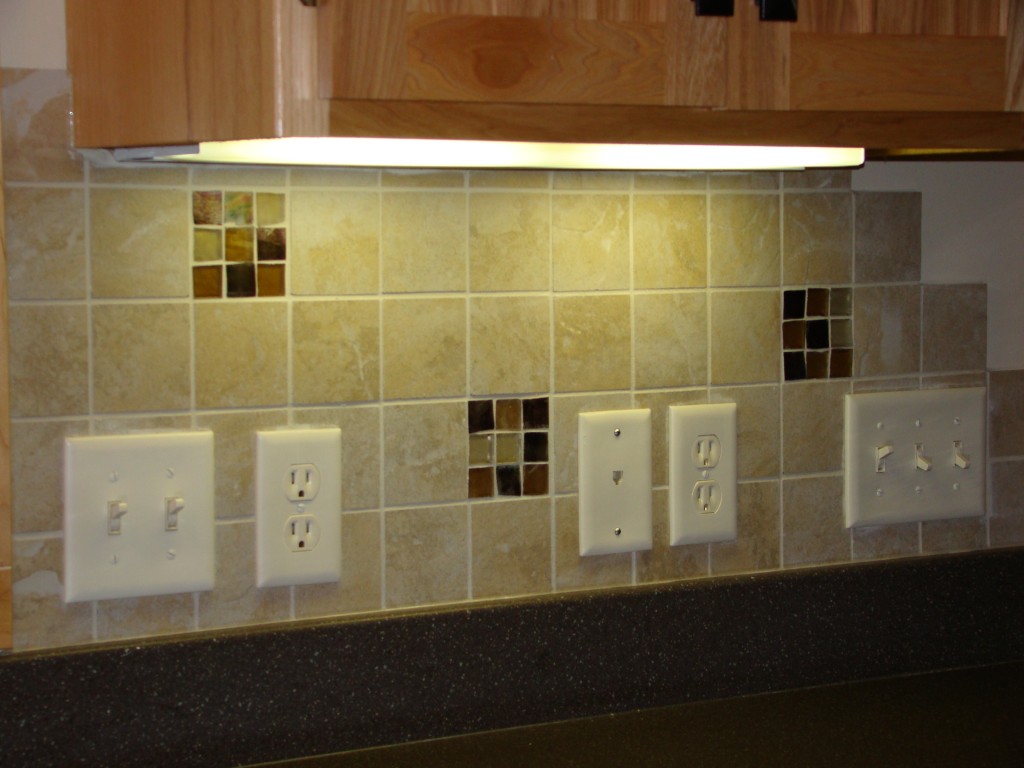
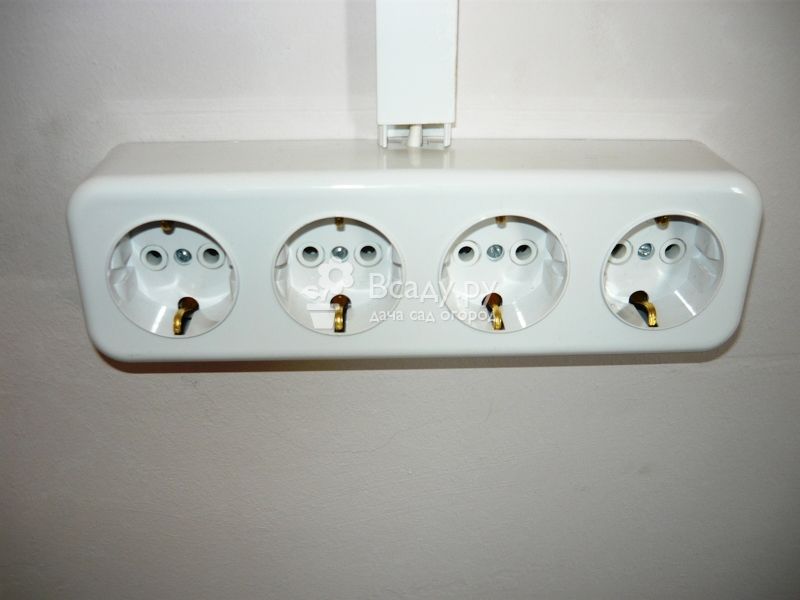
For example, sockets in the kitchen (usually double or triple) are usually mounted directly above the worktop. Such an arrangement makes it possible to quickly connect and disconnect household appliances, once again without bending over.In parallel with electrical outlets in the kitchen, you can install a water outlet.

Similarly, the high installation of the outlet behind the aquarium is justified: since it is necessary to connect several electric devices (lighting, compressor system, filter), and it is better to place it higher so that the wires do not lie on the floor.
How to install?
The procedure is as follows:
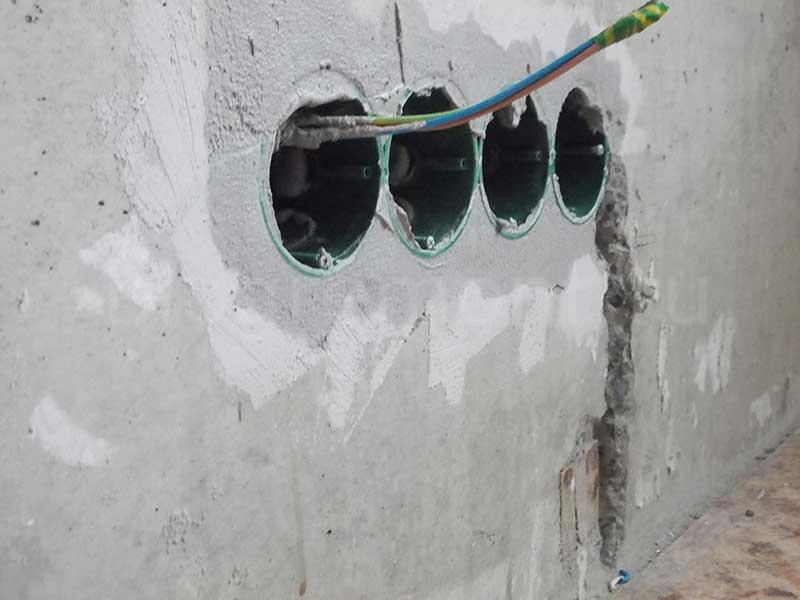
Making holes for sockets
Before plugging in the drywall outlet, you need to drill a hole for the glass:
- with the help of a pencil, a place is planned where the socket will be fixed;
- electric drill or screwdriver with a crown on the drywall is taken;
- the acute segment of the crown is placed in the center of the marked mark;
- a hole is carefully drilled (if there is no drill, jigsaws can be used);
- the holes for the switches are also made.

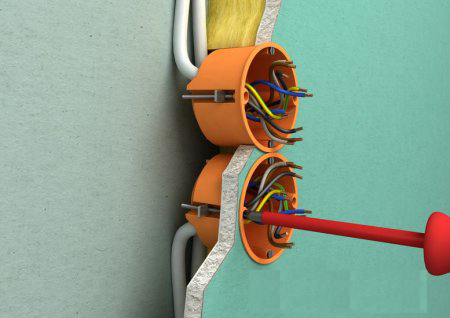
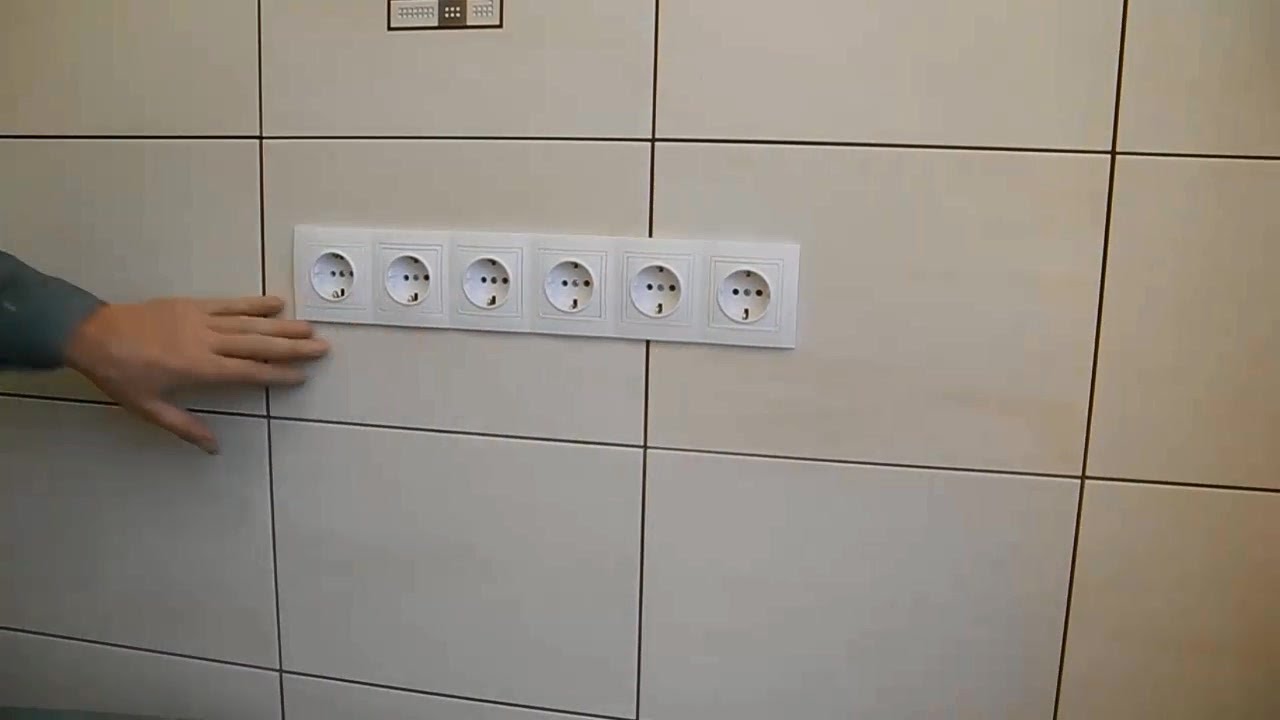
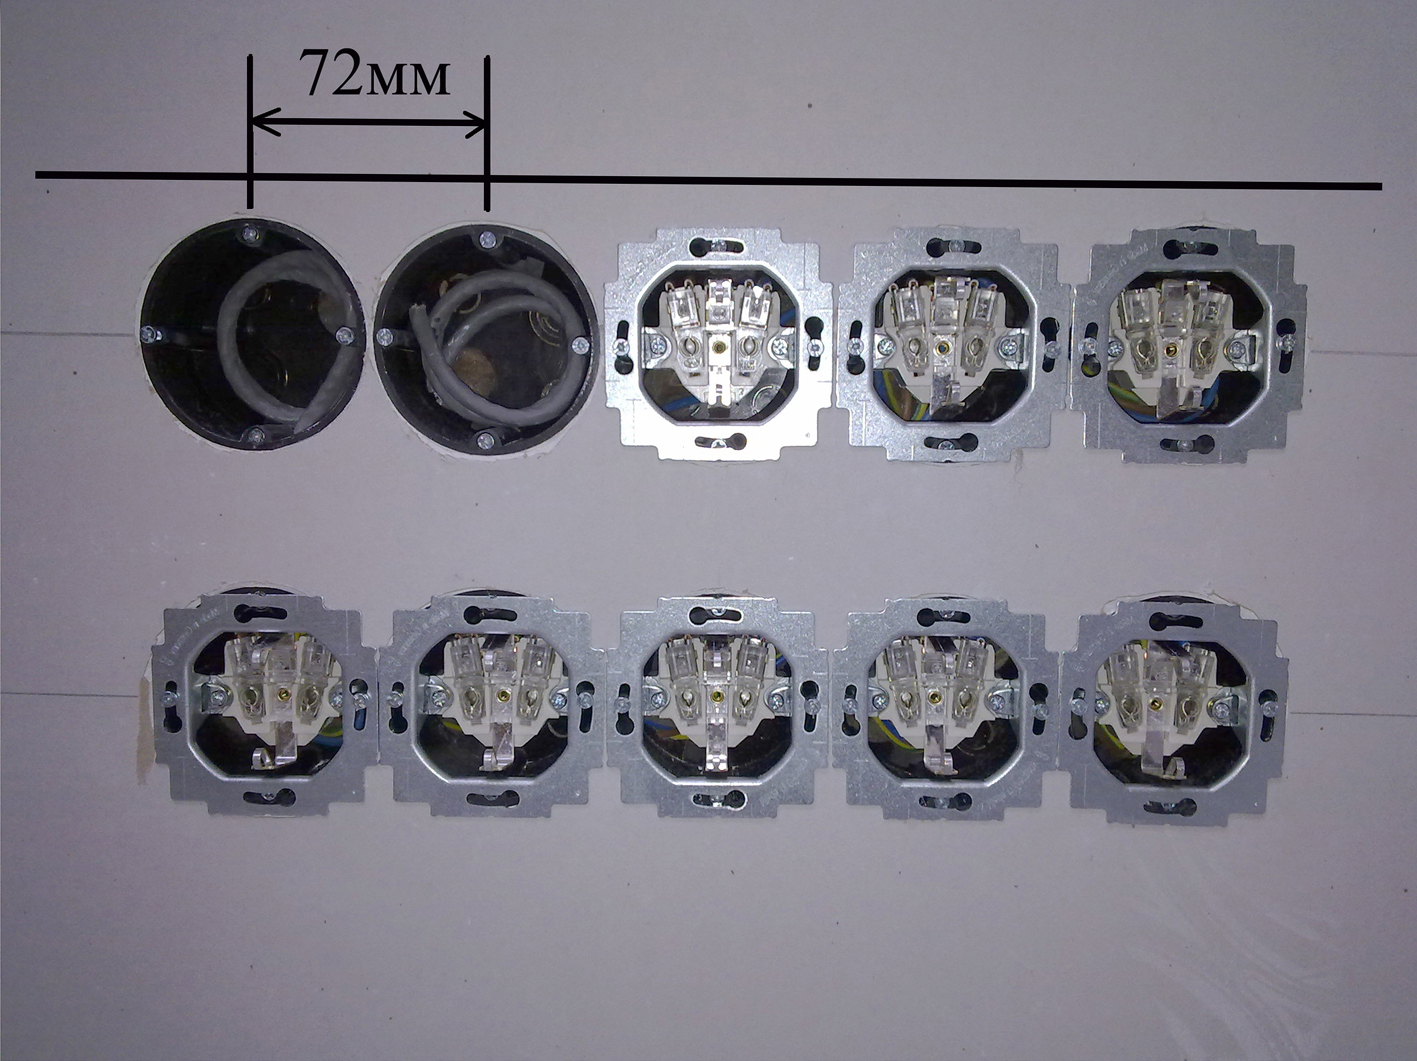
ON A NOTE! If installation of a socket block is planned at this place, then vertical lines are placed at a distance of 72 mm. It is just so much required that the sub-workers sit down as they should, with a persistent edge not overlapping each other.
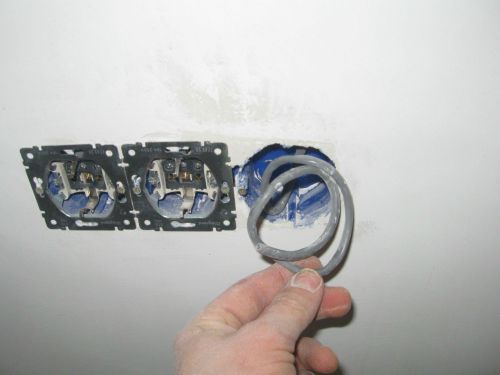
After the hole has been made, the materials and all the tooling have been prepared, installation work can be started.Depending on the installation technique, the sequence of work is also different. If the electrical cable is fixed in the wall, it remains only to put the socket and connect it.
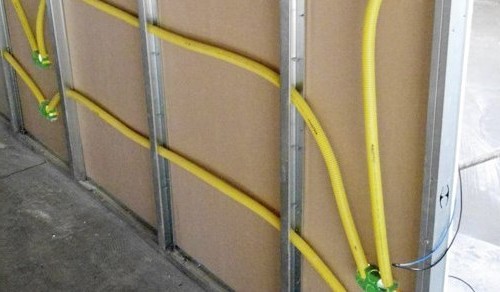
And if it is assumed that electric wires are thrown on the outside of the pier, a groove is cut in the drywall, an electrical wire is drawn and fixed with a fast-hardening compound (for example, alabaster). The ends of the wiring are displayed at the specified level in the required places.
REMEMBER! When mounting the outlet in the plasterboard wall, be sure to leave a supply of electrical wire of at least 10 cm, but it is advisable to leave more.
The following stages of mounting sockets are:
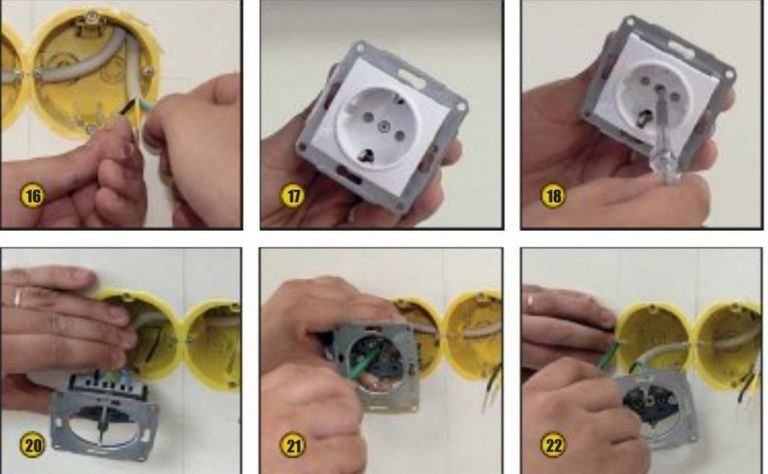
- We mount the box. Before mounting the glass, you need to cut a hole for the wires on its back surface with a knife. If you look at the case of the glass, you can see 4 screws, 2 of them are needed to secure the outlet itself, and 2 - to regulate the spacer legs. First, we remove from the hole of the electric wire and pull them through the glass. Then we mount the glass in drywall, fixing it with bolts from the opposite side with clamping lugs.

- Shpaklyuem.Usually, following the installation of the under-floor and the test of the system's usability, it is the turn of the primary finish. Already only after the starting and final layers of putty have dried, the subsequent installation of the socket is carried out.
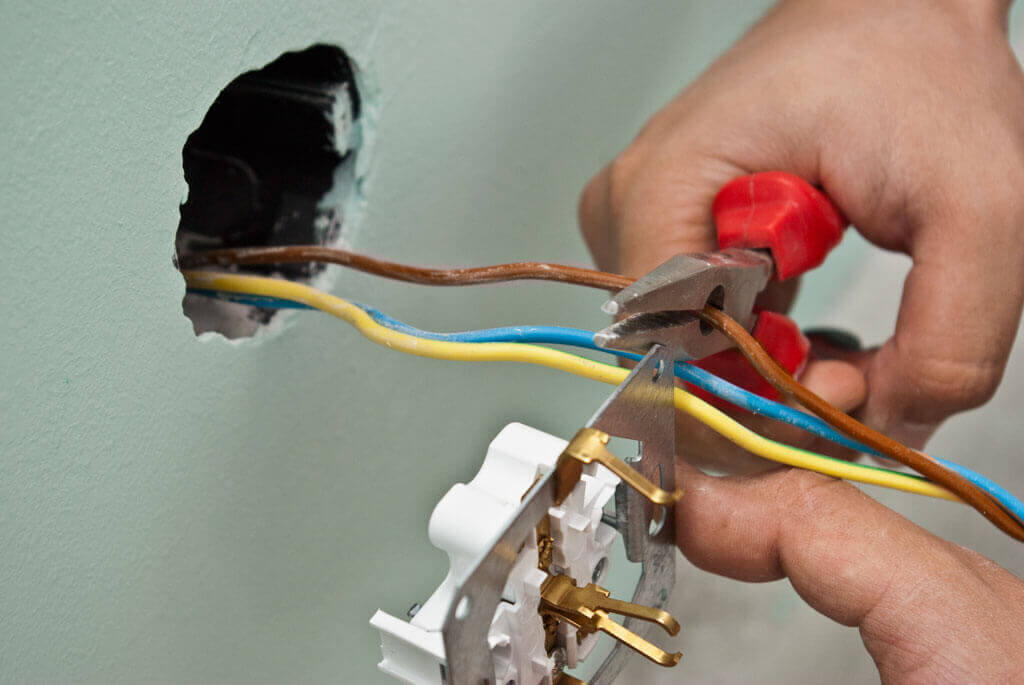
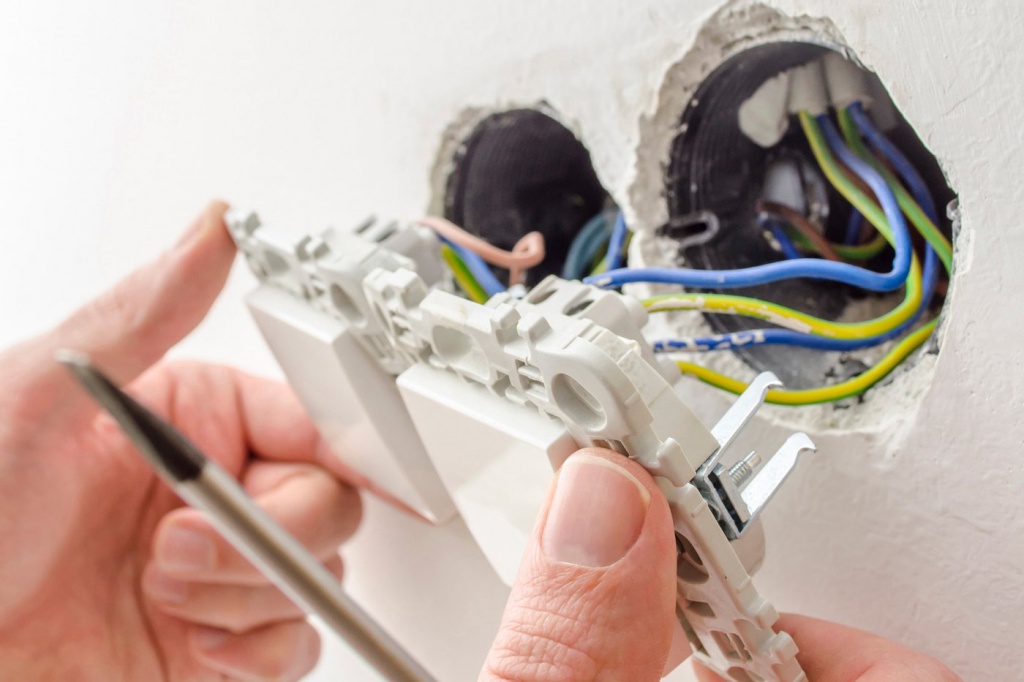
- We connect to the outlet electrical power. Before connecting, make sure that there is no voltage in the line (you can check it with a standard indicator). We connect the “ground” and “zero” phases to the proper contacts on the socket housing and firmly tighten the wires so that the electrocontacts do not loosen after a while and the plastic housing does not begin to melt.

- Mount the outlet in a glass. The socket is mounted in a glass and fixed in it with proper cogs. After that we install the plastic frame and the front cover. Check the fit to the wall; if necessary, loosen the cogs of the pads and perform the adjustment.
Installation of electrical plug socket
In some cases, instead of a well-known outlet with hidden electrical wiring, surface-mounted electrical sockets are used.For them, it is not necessary to drill holes in the walls and install installation boxes (glasses). Yes, and the wiring itself is not carried out under the construction of drywall, and on its top.
This method is not very attractive from an aesthetic point of view. Overhead type socket - massive. Wires stretched along the walls do not add consistency to the interior of the room. But in some episodes this is justified, in particular when the distance between the GCR construction and the concrete wall is too small - less than 45 mm, and there is no punch at hand.

Another wiring, laid outside and overhead models of sockets, is often used in design ideas when decorating rooms in the style of a loft, retro or steam-punk. In such cases, specialized fire-resistant electric wires are used in stable non-combustible insulation. They may also be in a corrugated sleeve.
The wiring is fixed to the wall by means of clips, and the socket is screwed to the drywall elementary with screws, like a pad. The advantage of this arrangement is that at any time you can change the location of electrical household appliances and socketswith her.
Tips
In order to install sockets in drywall was carried out as correctly as possible, It is advisable to adhere to the following recommendations:
- Take into account the presence of empty space between the drywall and the main surface of the wall (it should be at least 4.5 cm and the glass should be placed freely in the base). You can deepen the base base with a punch or chisel.
- Even at the stage of mounting the structure from the plasterboard, in the place of the planned installation of the outlet, it does not prevent the wiring to be brought out with a margin of 20-30 cm.
- When installing multiple devices, use the building level for proper marking and installation of sockets.
- Wiring inside the structure should be only in the protection of electrical wires from possible mechanical effects (in a corrugated sleeve) in order to minimize their damage during installation or operation.
- It should be borne in mind that when you create holes, you can come across a metal profile on which the GCR is based. To prevent this from happening, use a powerful magnet. Attach it to the wall, and run along the surface, so find outIs there a metal profile behind the ceiling?
- If, however, there was a contact with the metal structure, then you should not despair. As it is not required to transfer holes for sockets to another place. A fragment of the profile that hindered the work is cut off with a scissors over the iron or knocked out (bent) with a simple chisel.
- Making repairs, you, most likely, all thoroughly calculated. But after a certain period of time it may be necessary to install an additional switch, you will need to hang a picture or change the location of the wall lights. And then the randomly laid wiring can be a major problem. Since a perforator or electric drill, you can safely damage the hidden wiring and make a short circuit. To avoid such surprises, arrange the wiring parallel to the floor, adding a few turns at an angle of 90 degrees. It is advisable to fix the laying scheme: sketch out a plan, sketch, or just take a picture of at least the phone. Then in a few years, you will be able to drill the walls without any obstacles and doubts at any point without any undesirable consequences for the electrical wiring.
Mounting the outlet in a wall of plasterboard is quite simple and can be done with your own hands. Following all the above recommendations, such a procedure as the installation of electrical sockets in the wall of the GCR will be implemented most correctly and as soon as possible.
For information on how to select and install the rear door into the drywall, see the next video.


