Independent disassembly and disassembly of radiators
The main source of heat transfer has always been the battery. Under the Union, cast-iron radiators were installed everywhere, almost no variations of aluminum were encountered. And besides, aluminum was installed only from the beginning of the 80s, before there was no such technology. But any material has its shelf life, especially metals.
Therefore, it is necessary to regularly diagnose them and, if necessary, change them.

Reasons for replacing batteries
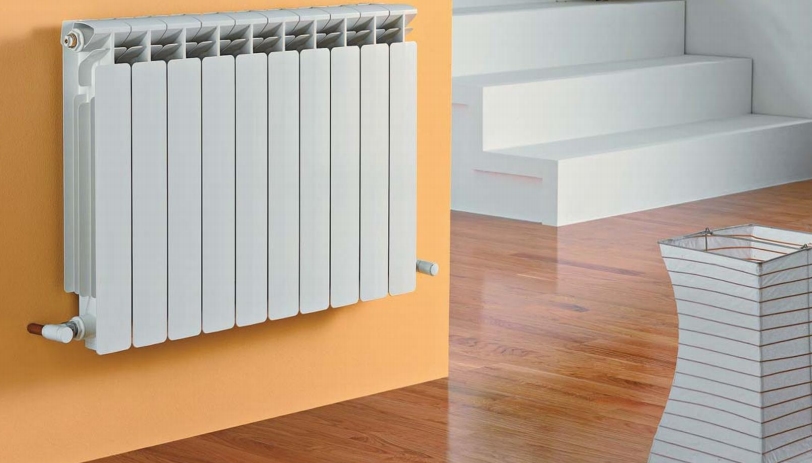
One of the main components of the heating system are radiators. The main reason for their replacement is that they cease to heat normally, that is, they do not fulfill their intended purpose. Of course, you can not change them, and clean, which in most cases happens.Change them in the case when you need to replace the appearance of the room, especially if the heat-saving properties are violated.
Of course, there are obvious reasons, such as defects or mechanical damage without the possibility of recovery. Often, if we are talking about old Soviet radiators, these are all the problems listed above in the same device. Now several variants of heating radiators are used: from cast iron, steel, aluminum. Radiators made of cast iron are very popular, which is associated with a long service life (about 40 years), since they are extremely less susceptible to corrosion. Sometimes they need repair, rinsing and cosmetic work.
For high-quality performance of such works, radiators are disassembled, they must first be dismantled.
Consider the list of tools without which it will be impossible to do this:
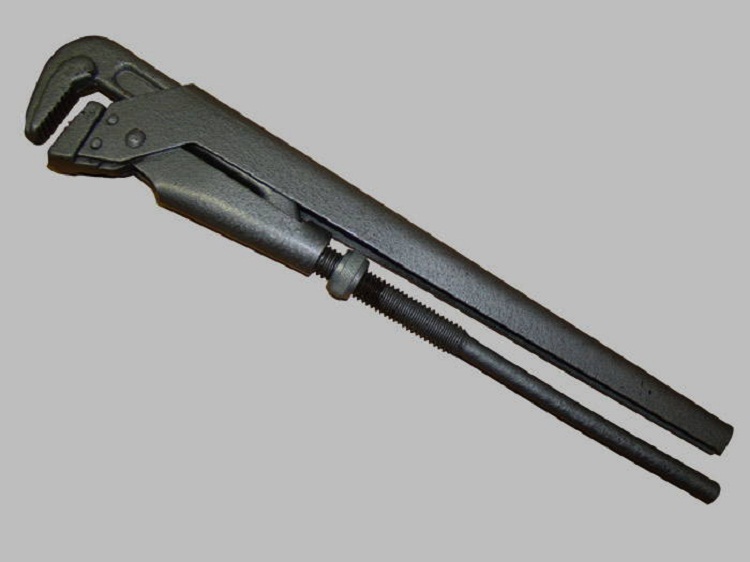
- pipe wrench (troika);
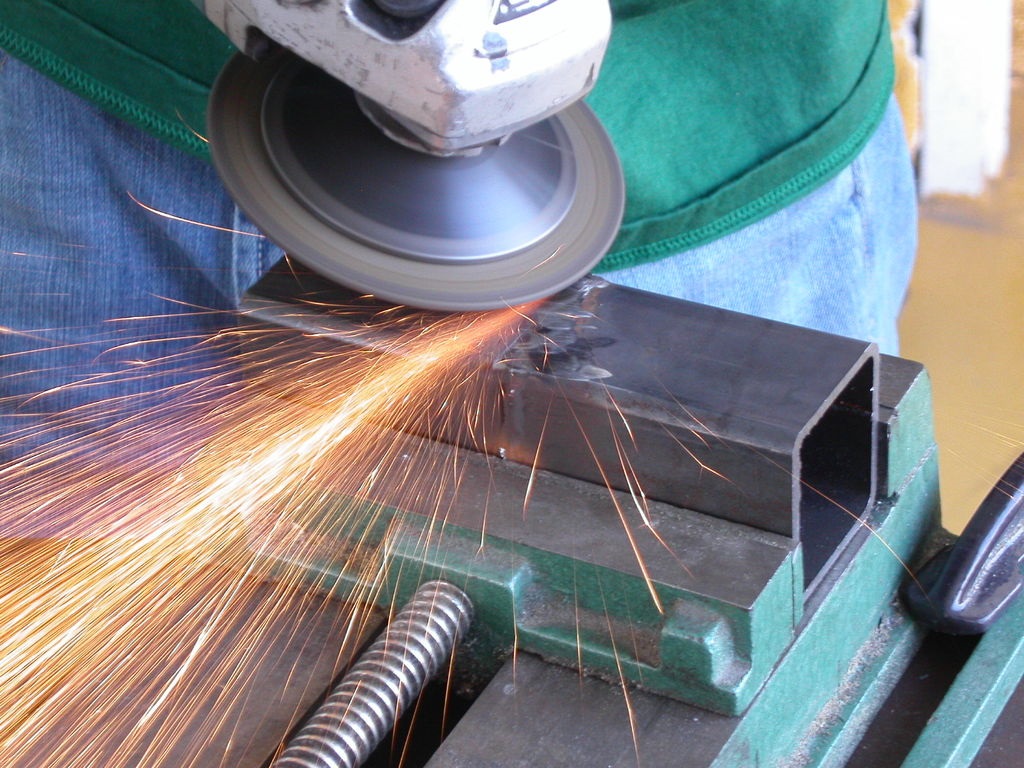
- impeller for cutting metal;
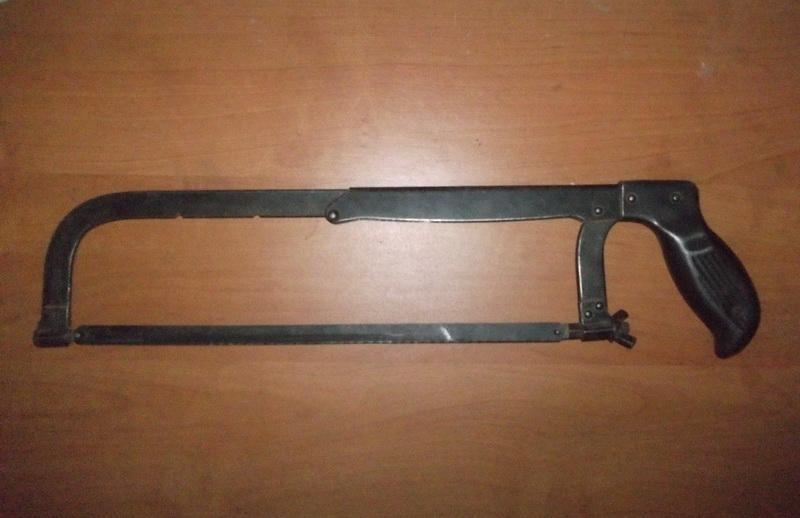
- hacksaw;
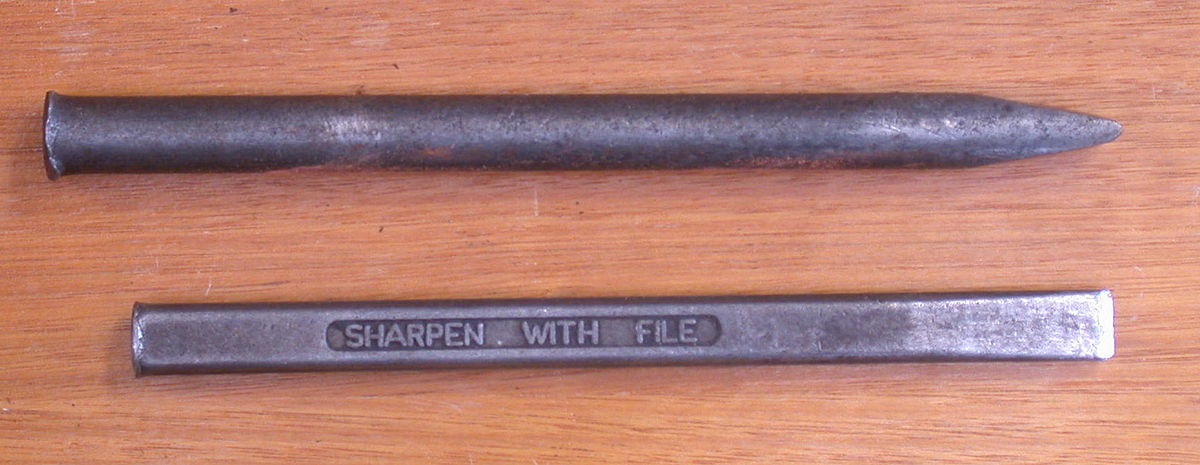
- chisel;
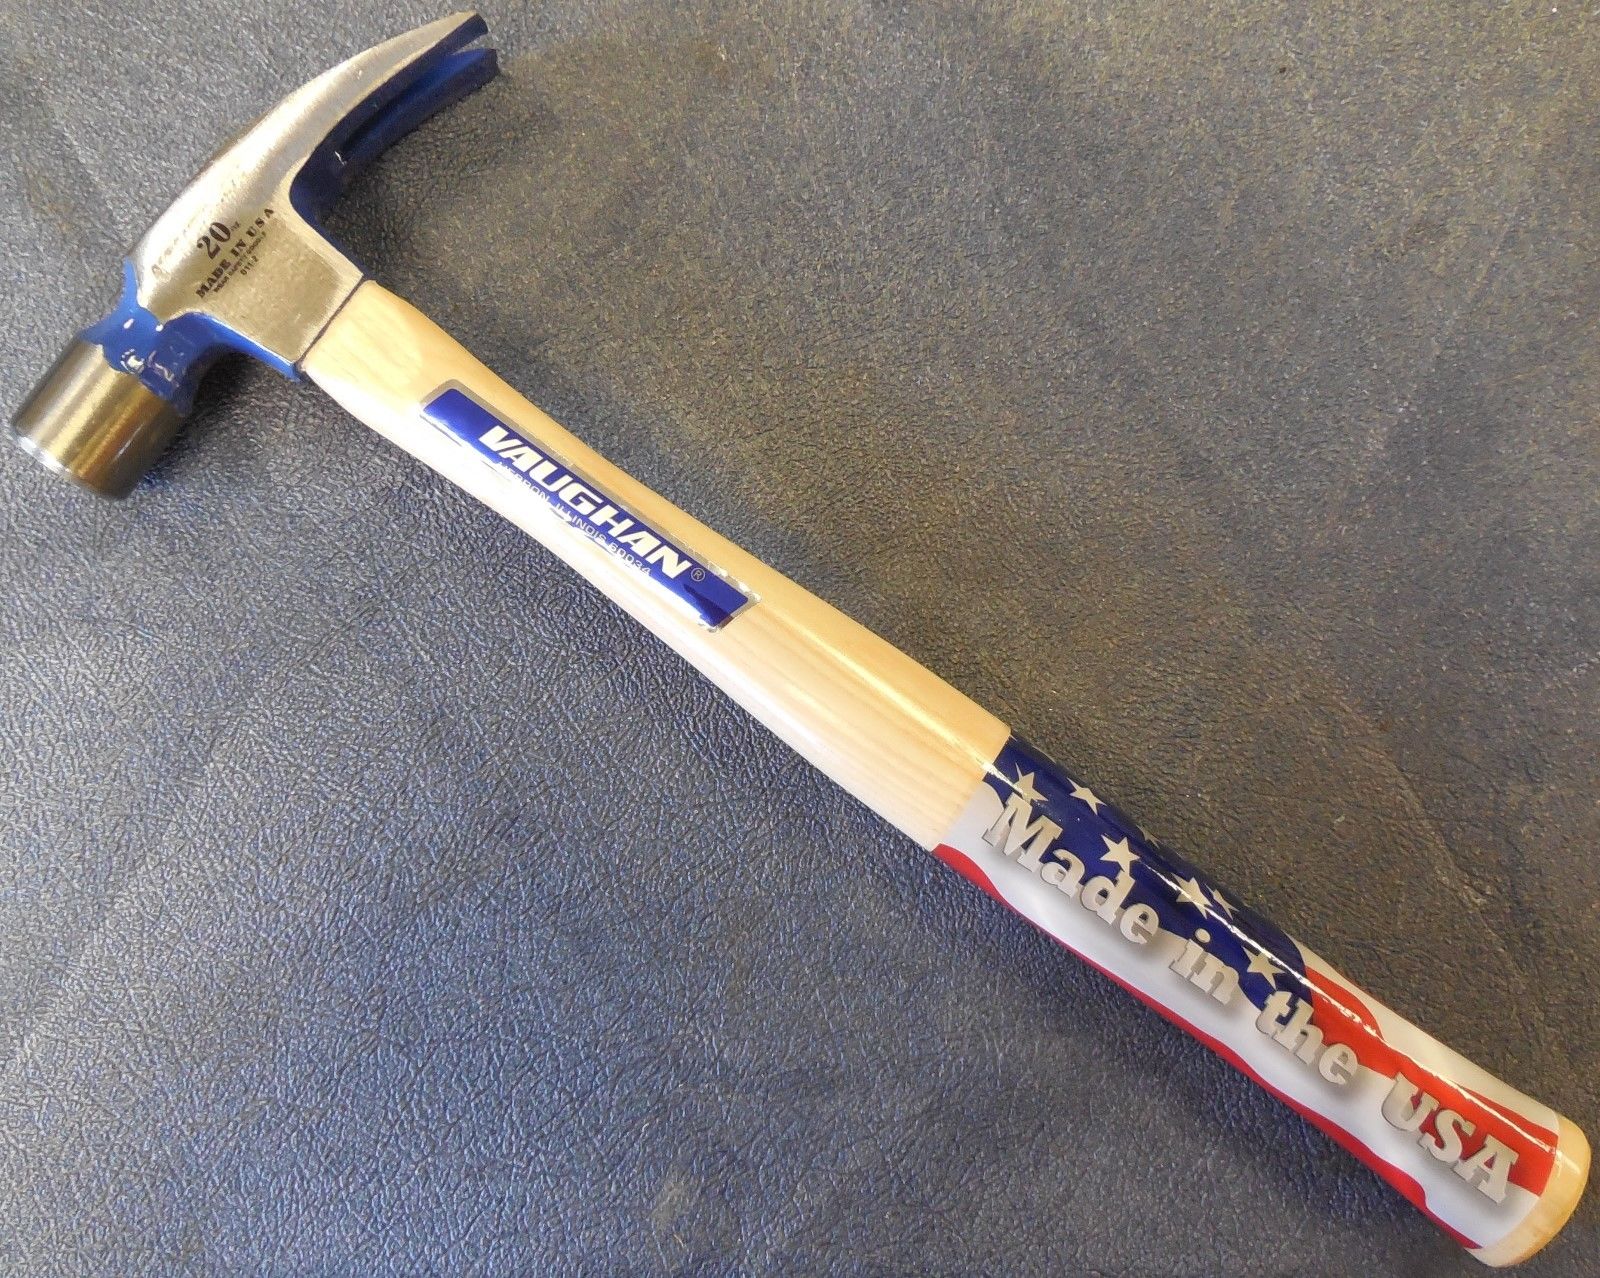
- hammer (suitable and a sledgehammer);
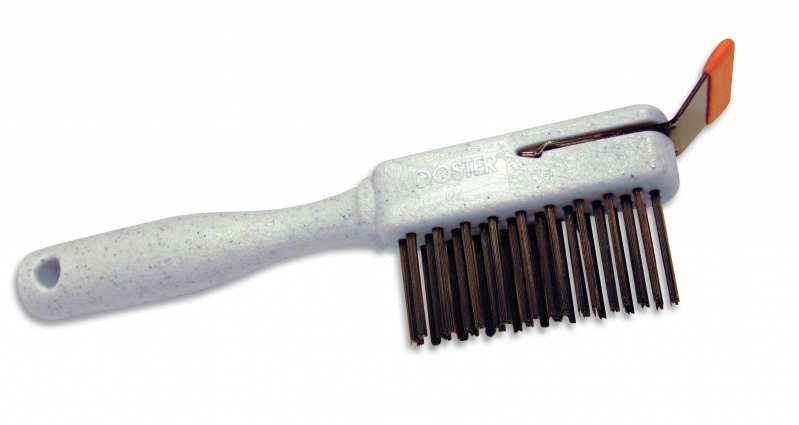
- metal brush.
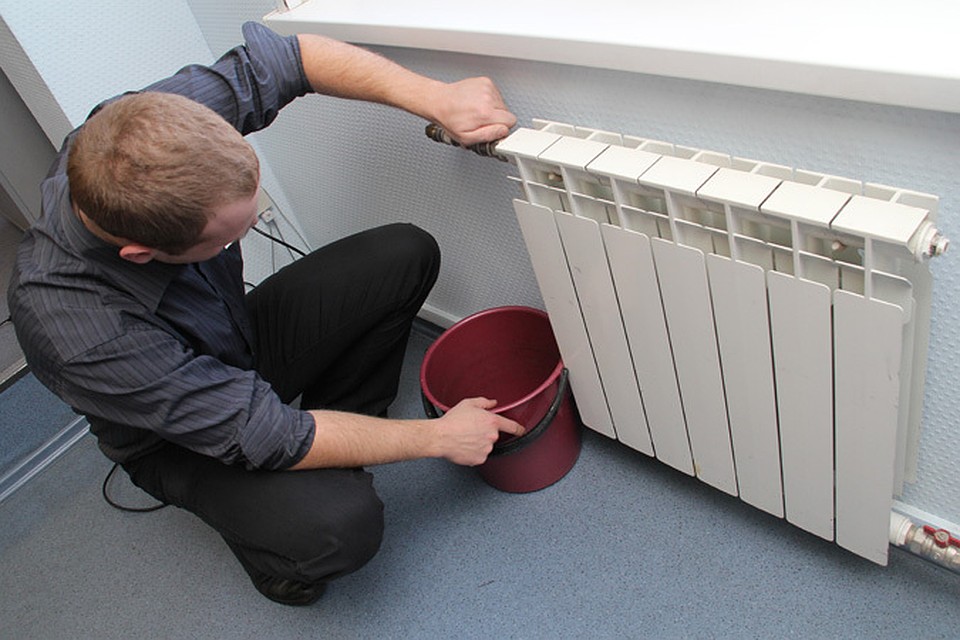
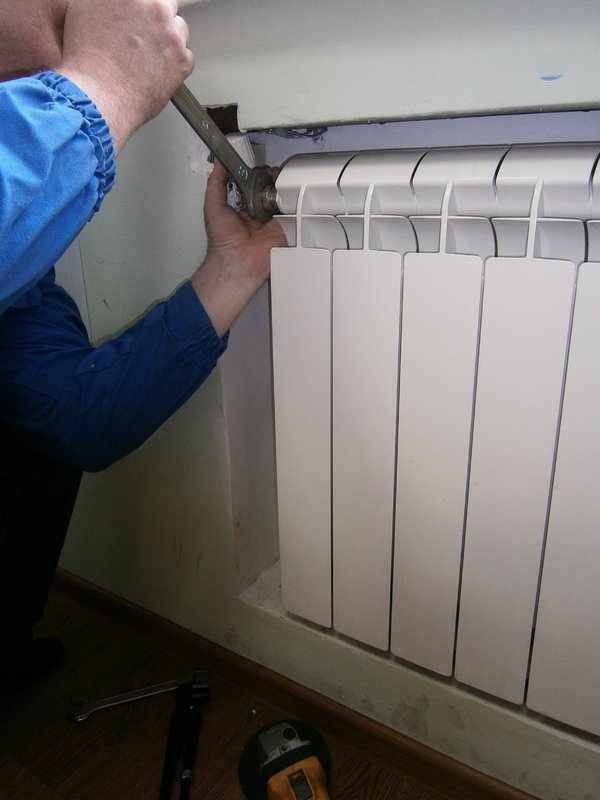
Such types of work are carried out exclusively in the summer period. Before you start dismantling it is necessary to drain the water from the heating system, otherwise you will flood the neighbors from the bottom.
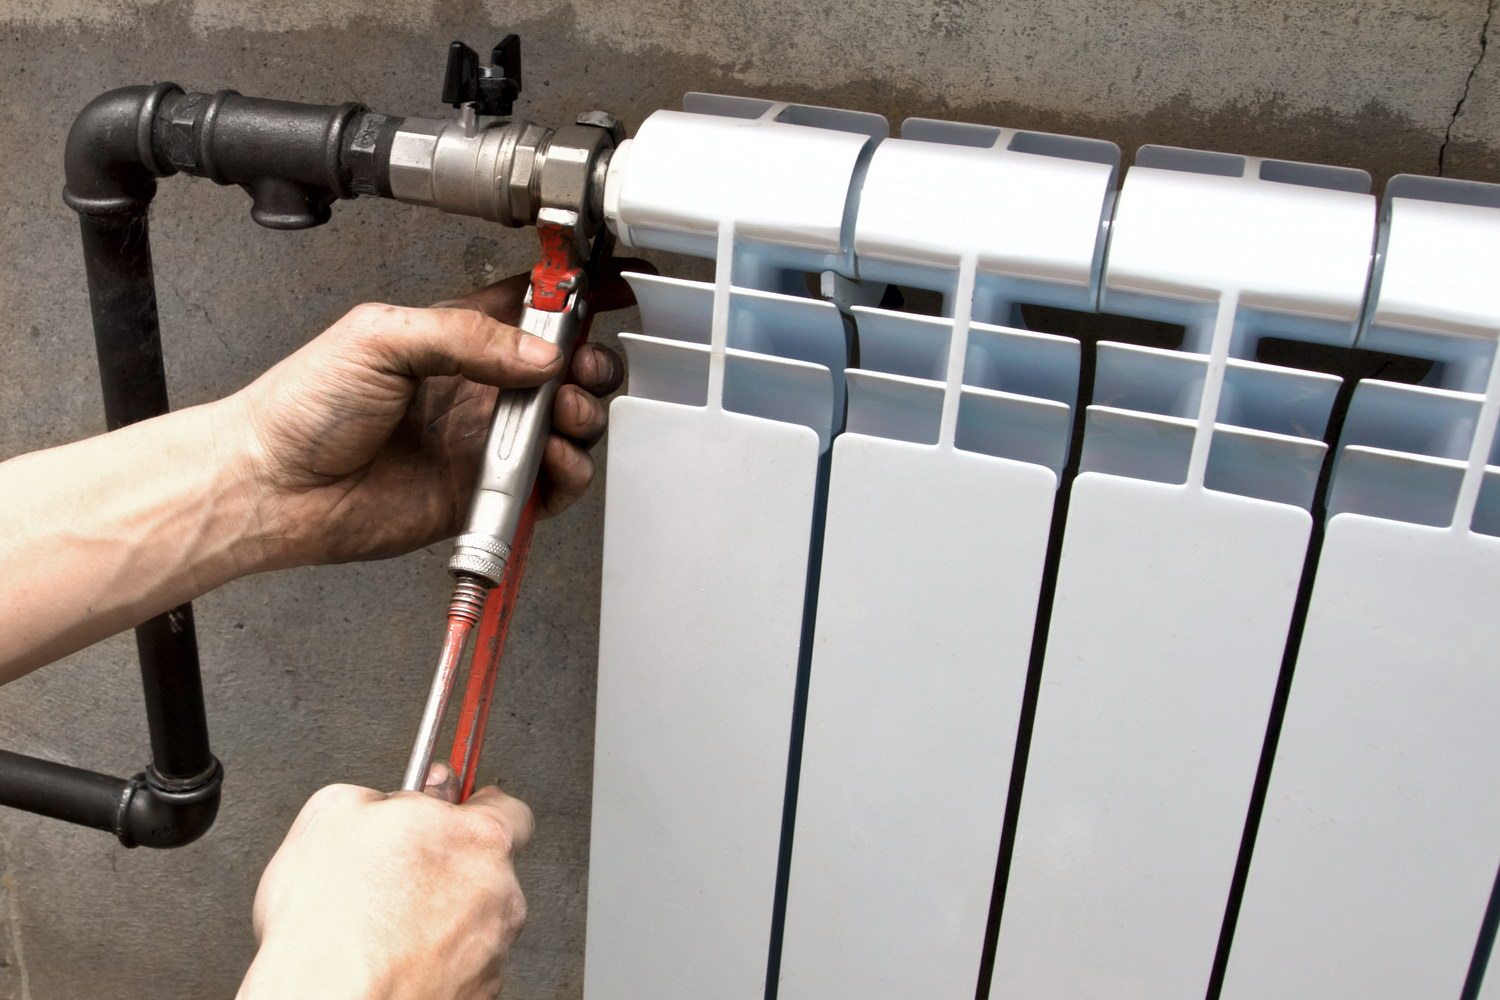
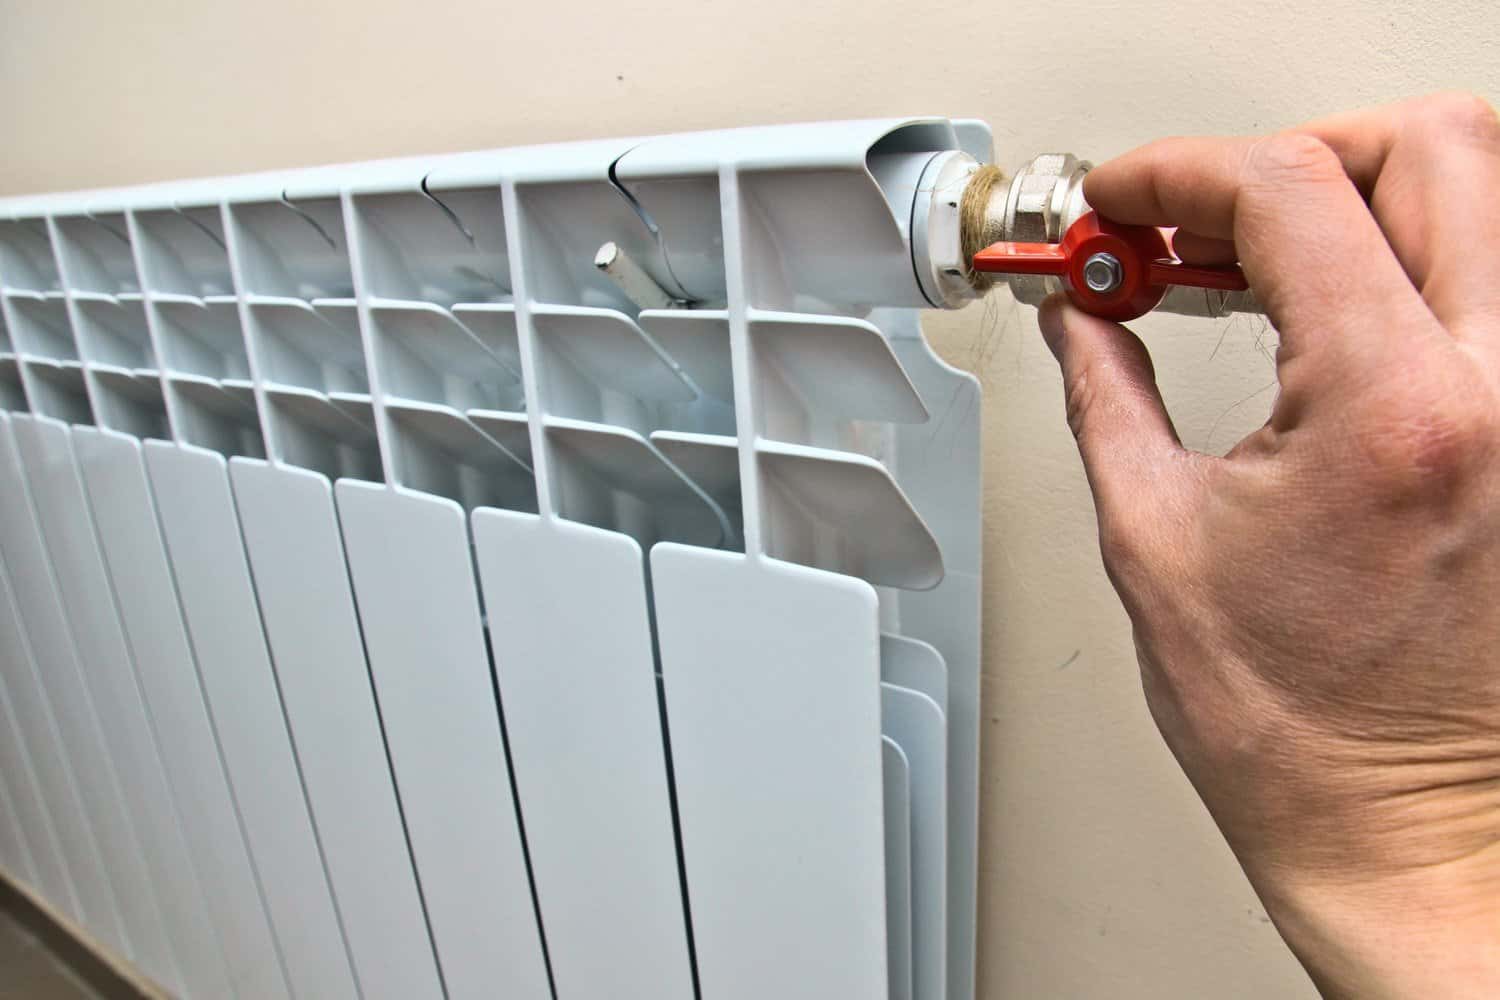
After this, the lock-nuts installed on the supply pipes are given with a key, the fittings are delivered and the construction is dismantled completely, rising from the brackets.
In cases where lock nuts cannot be returned, it is necessary to cut off the part of the pipes that supply water.
Radiator disassembly
Before starting work, you should have the following tools with you:
- key for disassembly;
- adjustable wrench;
- marker for marking;
- hollow tube for the lever (0.5–1 m long).
Before starting work, it is better to prepare a plane where the disassembled radiator will fit. For disassembly, it must be laid horizontally on the surface. After that, the type of thread (right, left) is determined and the plugs are given. Cutting a bimetallic radiator in an apartment is easy if you apply the proposed algorithm.
How to disassemble?
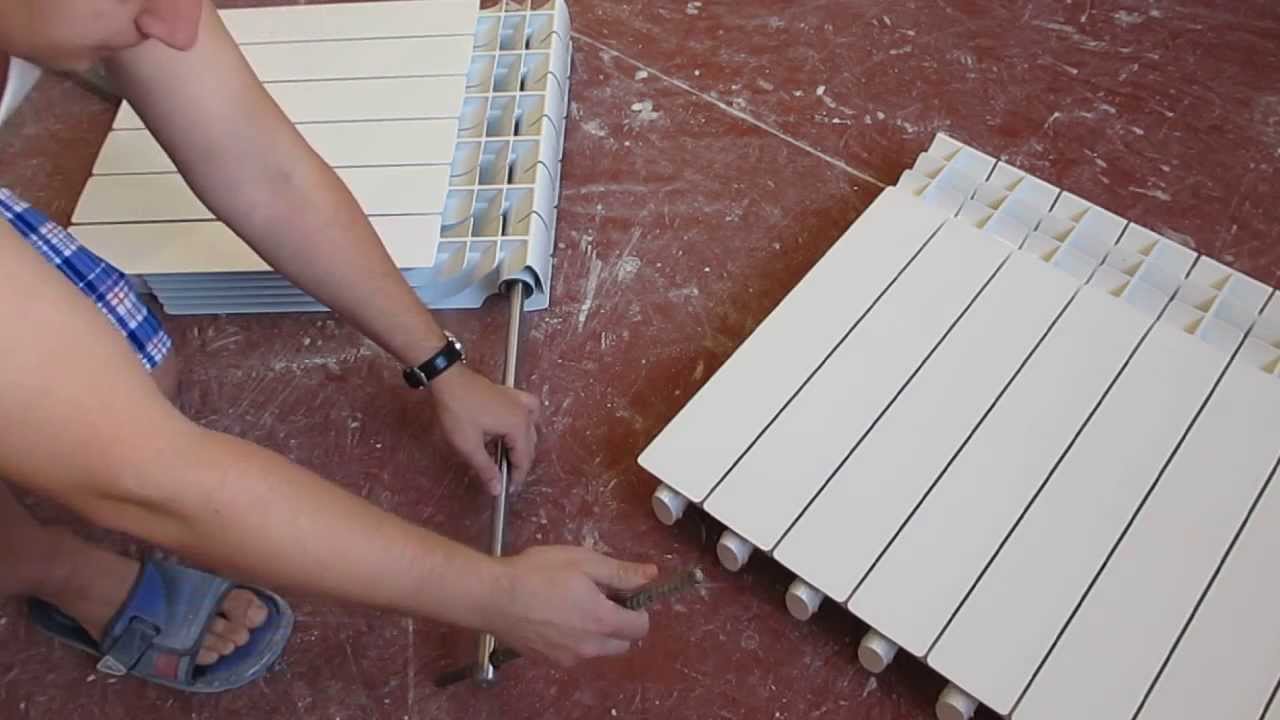
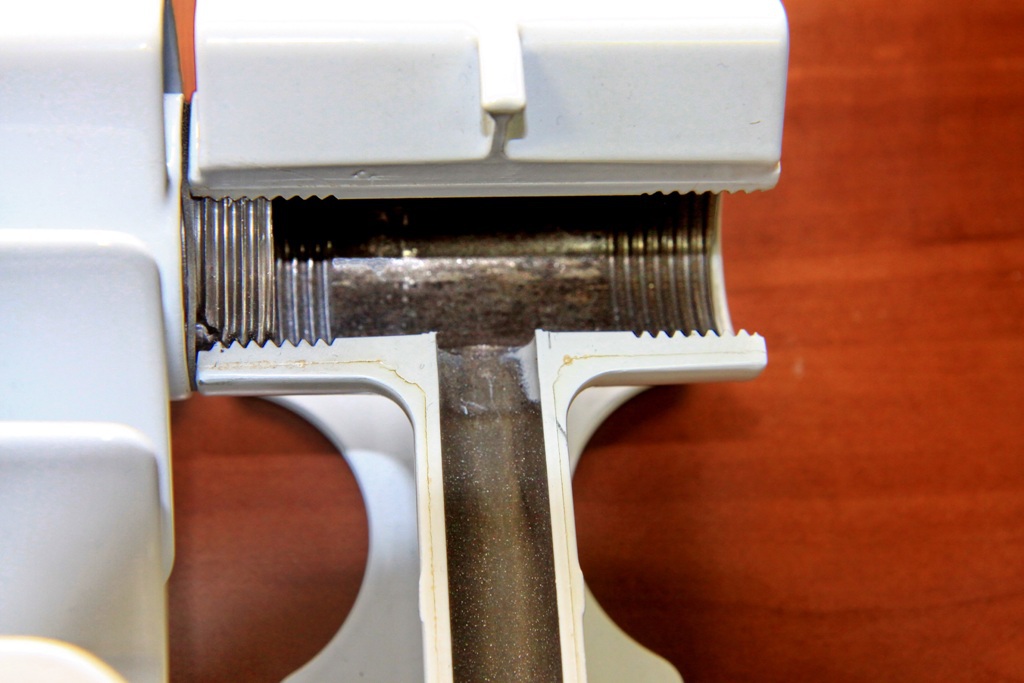
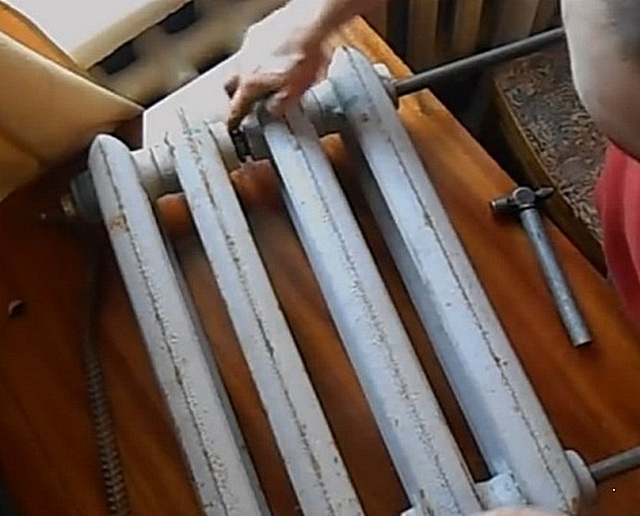
Before starting the disassembly of the radiator, the key length is measured to the required nipple. To this end, we place the key over the radiator, directly on it, and connect the working part directly to the part of the radiator where the tightening sleeve must be given. After that, we mark the necessary point (circle) on the rack of the key itself, using a white marker.After that, insert into the design itself to this mark.
Before turning the key, you need to determine the thread directly. She is both right and left. This is important for the reason that if rotated in the opposite direction, the sections of the radiator will tighten and, possibly, jam them. But in the opposite direction, on the contrary - the sections are moved apart. Determine the direction of the thread, without damaging the structure, you can, if you turn the free futorku in one direction or another.
The right-hand thread is standard: given against, and twists clockwise. With the left thread is exactly the opposite.
When we decided on the direction of the thread, the next step is the immediate analysis of the radiator, the first step will be the section lapel. First of all, about half a turn needs to be done to break the thread, but not in one place you need to perform such an action, but on two parallel nipples at once. The next step will be disassembly of the entire battery, with a section step of up to 5 mm. Promotion of all nipples is performed in parallel.
In cases when it is necessary to dissolve the sections wider than indicated in the performance characteristics, then it is extremely undesirable to do this, because such an action can jam the thread itself, as well as to its misalignment. For a wider lever usually use a pipe, putting it on top of the key.Modern radiators are dealt with in exactly the same way, but there is no need to guess the direction of the thread - there is a special marking with a pointing symbol. D is the right thread, and S is the left.

Dismantling old models
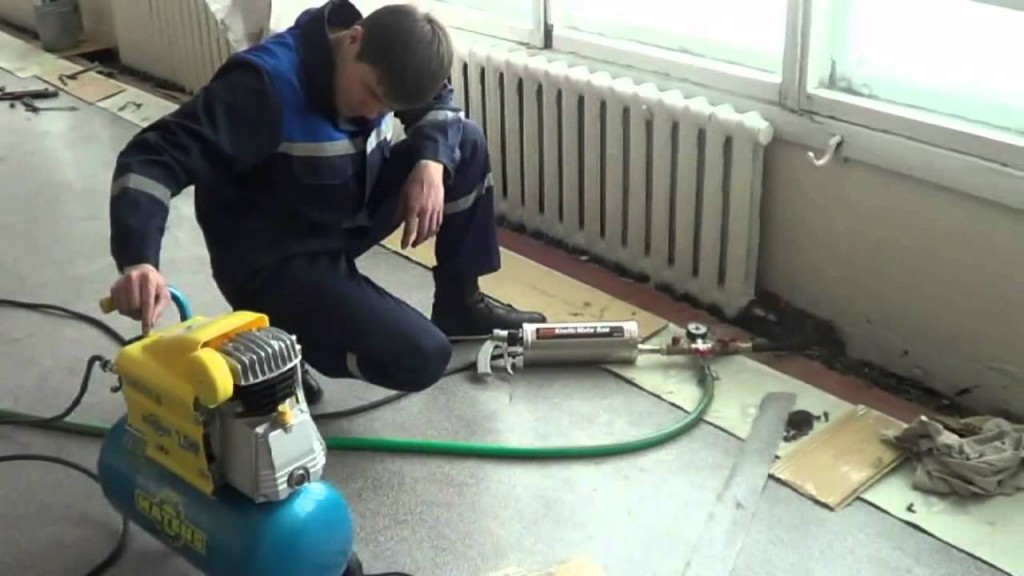
When disassembling batteries from cast iron of the old type, it must be remembered that the thread there is often simply stuck (from time to time). In other words, it sits almost tightly and just unscrew it - it is extremely difficult. In this case, the work goes autogenous, warming up the desired area. Warming up is done in a circle in the nipple area, all joints should be heated consistently.
When the joints are heated but not yet cold, a special key is inserted inside. for radiators and rotates somewhere half a turn, then you need to quickly rearrange it to a parallel nipple. So unscrewable plugs and futorki unscrew old and boiled batteries.
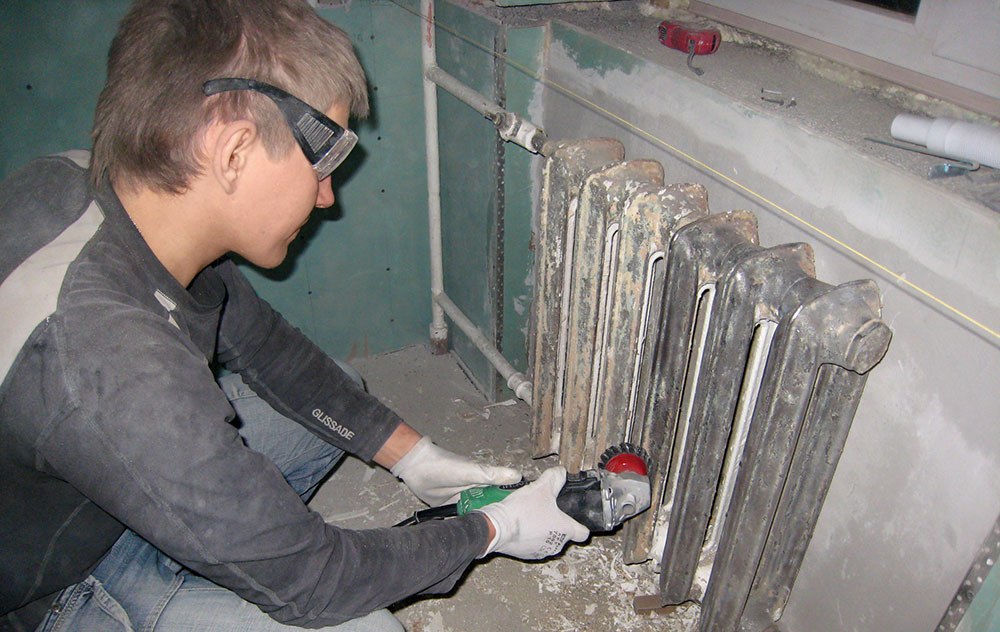
When the nipple is difficult to turn out, due to the fact that the turnkey connectors are completely rusty, then in this situation the sections at the joints are cut by an impeller (in the absence - with a hacksaw). After that, the nipple sections are turned out using autogen or a torch.
After completion of such work, the thread is cleaned with a special rust-proof brush.
In cases where the previous methods are not applicable to the promotion of the radiator, then there remains only the old and proven method - the use of a sledge hammer to crush parts of the sections. The radiator is laid horizontally, and in the middle of the sections they are beaten with a sledge hammer of the moment of withdrawal of the through part of the section. After that, the radiator must be turned to the other side and the same actions are performed with another part of the section.
Next, the radiator is mounted vertically and beat on the other parts, and then dismantled. But it should be remembered that when performing such works, the structure completely loses its integrity at other joints. Dismantling and disassembling old batteries is a very difficult process, so you need to know how to do it correctly.
Removal methods
Before starting work on the replacement of batteries or their repair, it is desirable to prepare both the tool and spare parts. If it is necessary to replace the old battery with a more modern one, then during the production of the preliminary works, special brackets are mounted for the new modern-type battery mounts.When performing such work, the water supply is turned off completely and the system is sealed, draining all the water in advance. Dismantling the radiator, even with their own hands, does not cause difficulties, however, someone faces them. The first step is to warm up the cork battery in the aforementioned ways. Further, when they have the desired temperature, they are turned off.
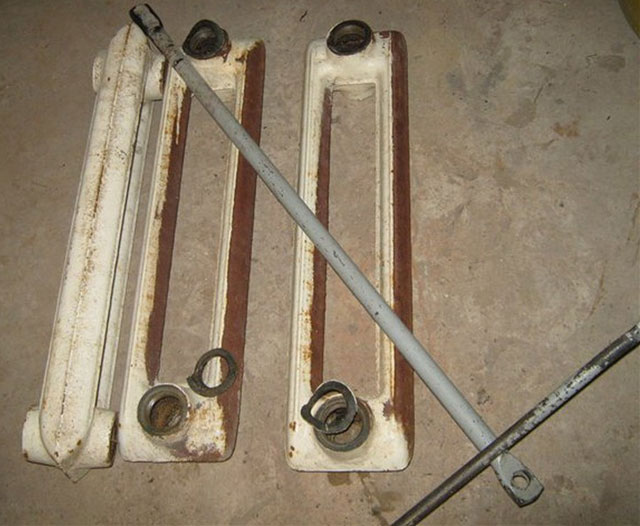
The impeller battery is cut gently between the sections. After, the sections are disconnected. In old batteries there is a nipple that requires a delicate relationship, because it must be carefully, using a chisel, tightly knocked out of the design. But this is necessary only for those types of work, where these radiators will be preserved and will work, that is, for the purpose of cleaning or partial replacement. If you change the whole system, you don’t need to do this, it’s enough just to cut the structure and then sort it into a trash can.
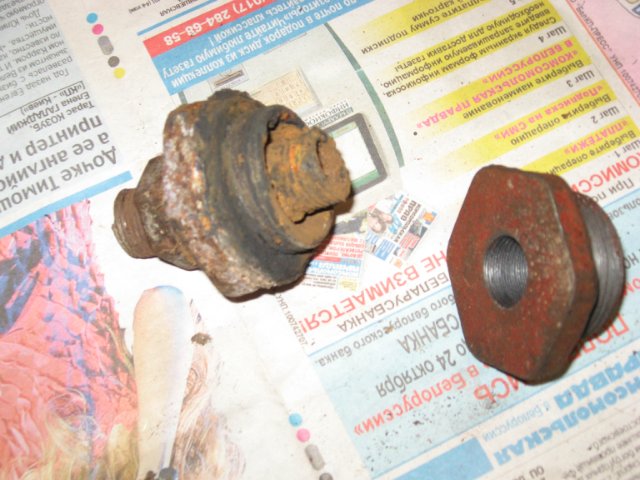
The nipple is removed in such a way that when unscrewing it, the thread does not receive any damage. After that, it must be cleaned from corrosion. The next step is grouping and collecting some sections.
For the best tightness, you should not forget about laying which are put between sections.Also, the joints should be treated with a sealant or silicone.

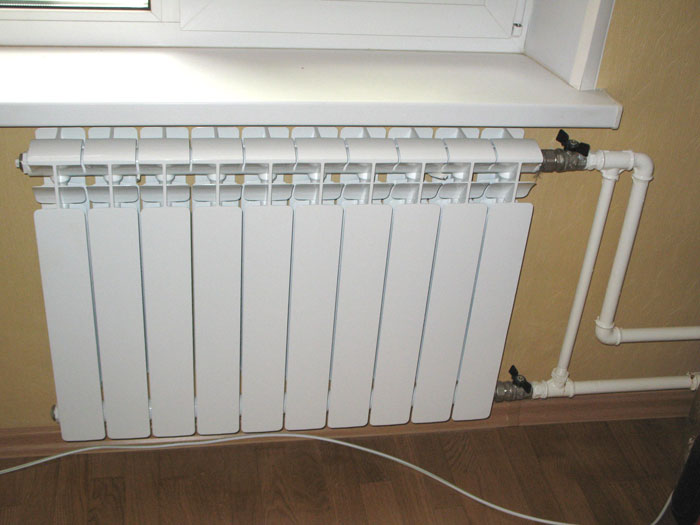
Dismantling aluminum options
Aluminum batteries are monolithic, there are some variations with sections, but usually they are just two radiators connected together. Their dismantling includes simply draining the water from the system and unscrewing it from the pipe. Often enough overlap pipe that goes to the radiator and the pipe that goes from him. Each aluminum battery has a special valve through which water can be drained. From the pipe the radiator is unscrewed with an ordinary gas key.
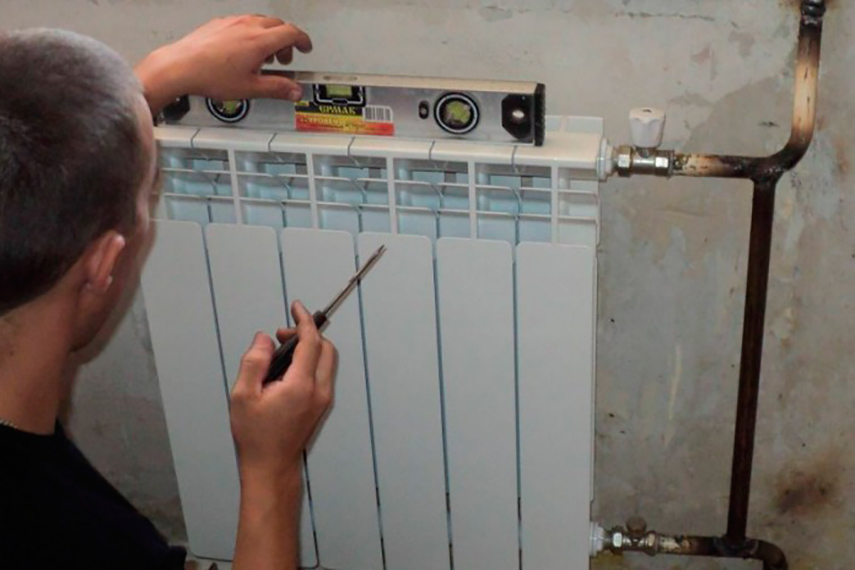
Work algorithm
Installing a new one is much easier than dismantling an old battery. It is possible to do such work independently without the help of specialists. It is important that when performing work it is necessary to strictly adhere to the rules and regulations. During the installation of the battery, it is necessary to follow the level of the battery, which must be strictly vertically, which is checked by the building level. If this is not done, then the system can break its tightness and thermal performance.
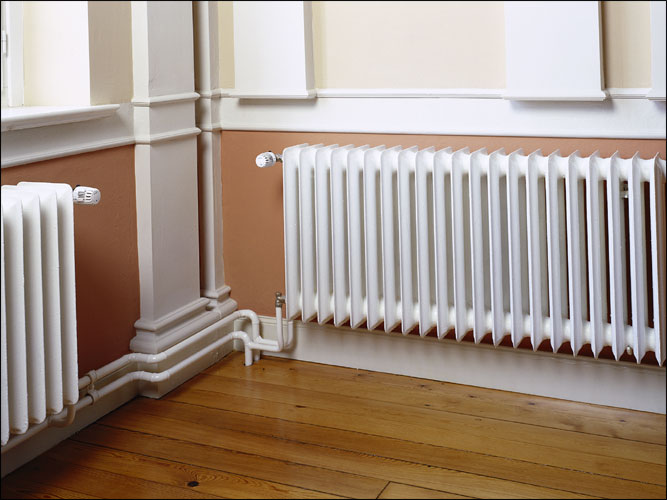
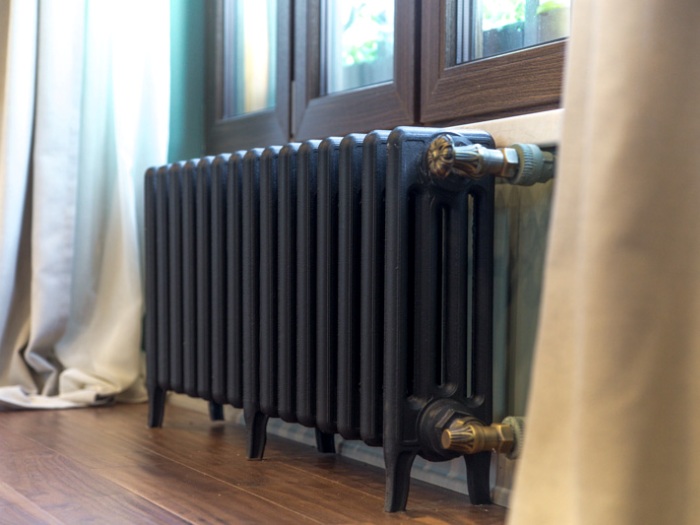
In cases when it is necessary to install several cast iron radiators in the same room, they must be in level with each other without error. The easiest way to do this is to mount the mountings (brackets) at the laser level and further control the mounting of the radiator.
Many installers use a special pattern for marking, since radiator sizes are standard.
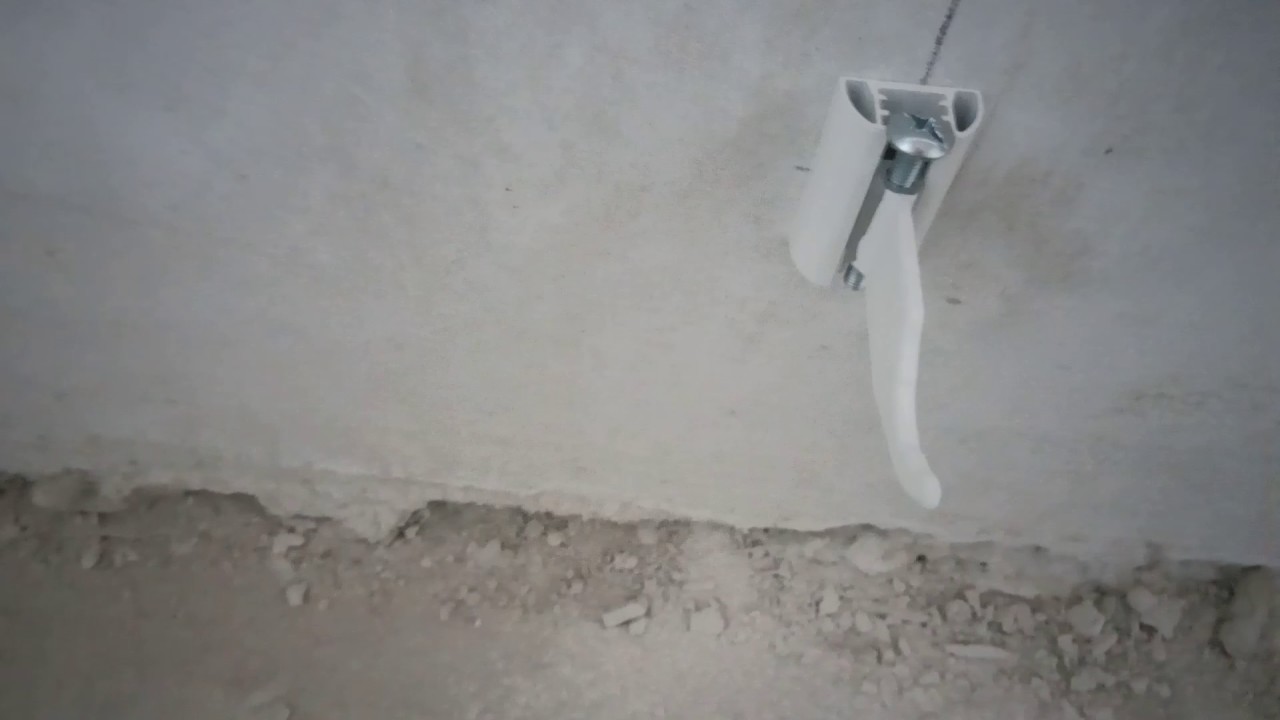
The main material for such “patterns and patterns” is plywood, which is slightly larger than the structure itself. On this template there are special places that denote mounting points through which holes are drilled for fastenings. The number of brackets should be equal to the number of blocks in the radiator. Usually, 1 bracket goes to 1 linear meter. Mounts are mounted on the level, they should be zero, without deviations.
Where the marks were indicated, drill holes. You can drill as a puncher, and a hand drill, but it will be very long. The depth and diameter must match the mount so that it sets in 13 cm or more. The next step is to cover the holes with a solution so that the brackets do not fall out. They will be ready for work only after the solution on which they are placed is ready.
Requirements for mounting brackets are not just because of the huge weight of the battery of cast iron. It is, but under load, weighs about 12 kg, and not all, but each section, which, most often 5.
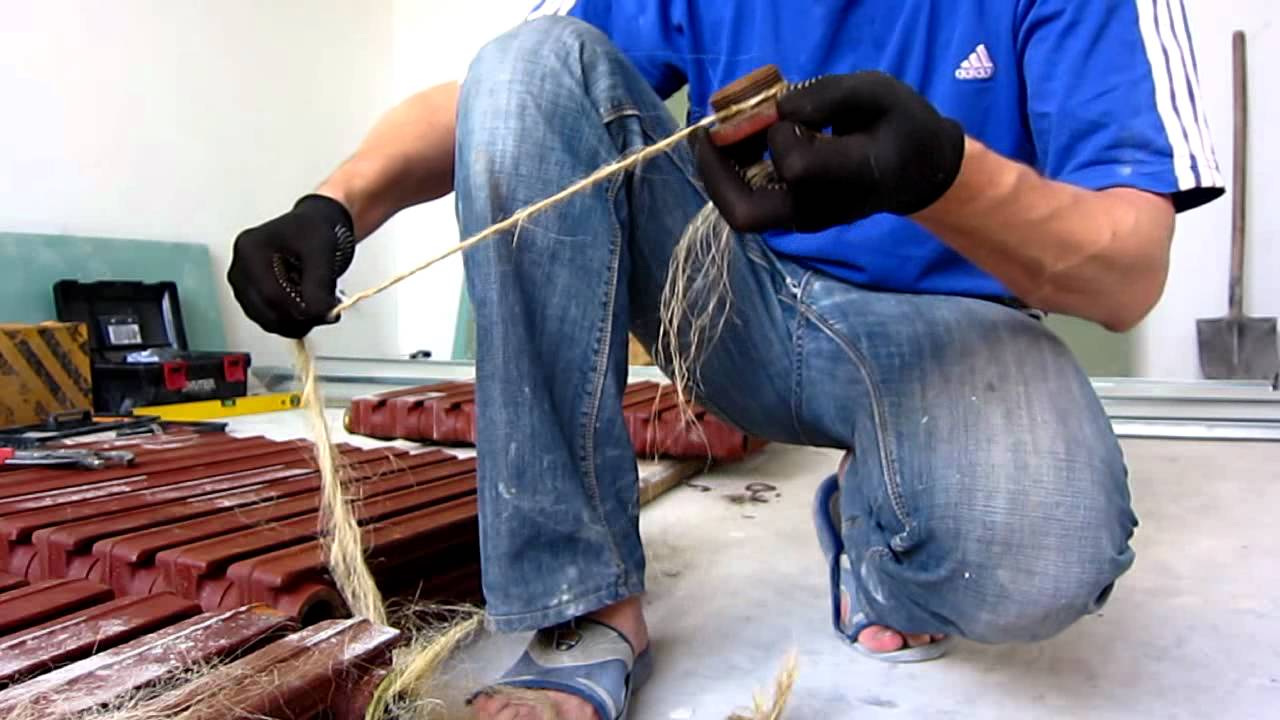
When everything is ready, the brackets are fastened, the radiator is assembled, all that remains is to mount the radiator on the wall and connect it to the system. Before this stage it is necessary to remove the plugs. All places of connections threaded promazyvayutsya some tow or fumkoy. This is done to improve the performance of tightness, as well as eliminate the possibility of leakage.
After that, the battery or the entire system is filled with water.
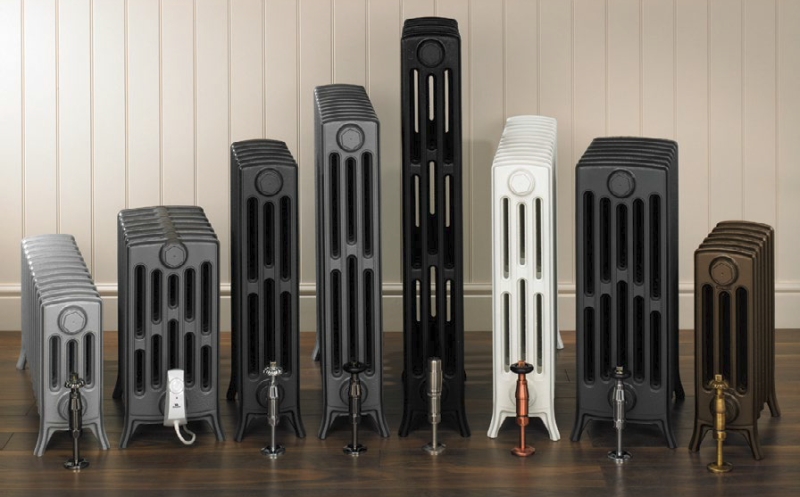
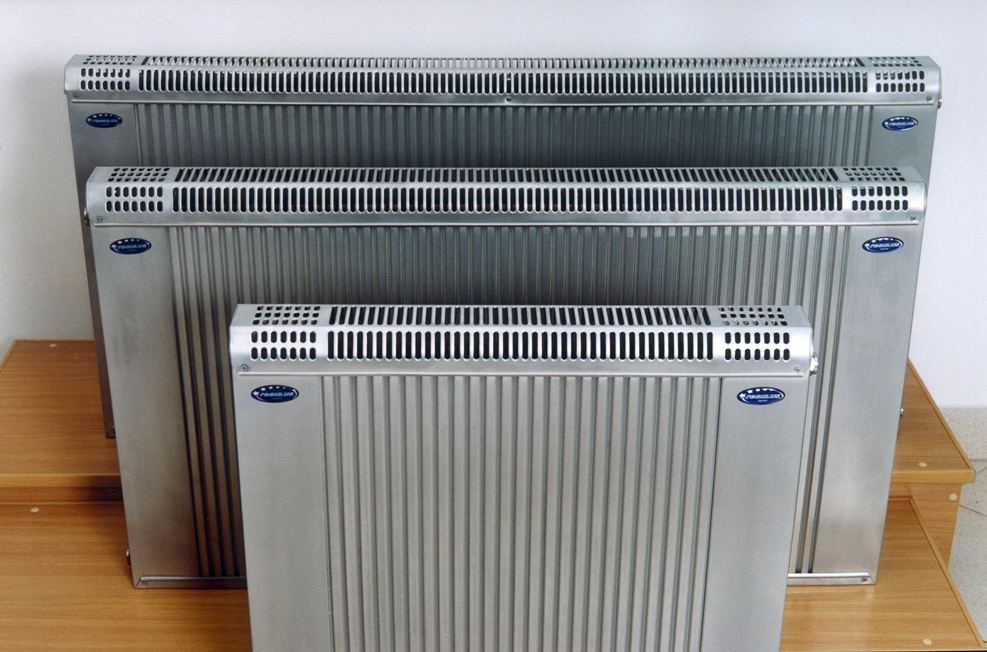
In the modern world, after the era of aluminum radiators, cast iron is in motion again. Literate people who understand physics and thermodynamics, initially put or kept cast iron batteries because of their excellent properties and durability. Of course, now there are new cast-iron batteries made by modern technologies, with drain valves and power regulators, which is not to say about the old Soviet versions.
The main manufacturer of such radiators, at the moment, the Czech Republic. This manufacturer has a huge range with different variations that are different from the Soviet template.Particular attention should be noted and Lugansk Metallurgical Plant, which manufactures products still on Soviet technology, but now widely began to use some other variations. At the price of the battery from Lugansk is much lower than its Czech counterparts, which shows both the demand for them and their popularity in the CIS countries.
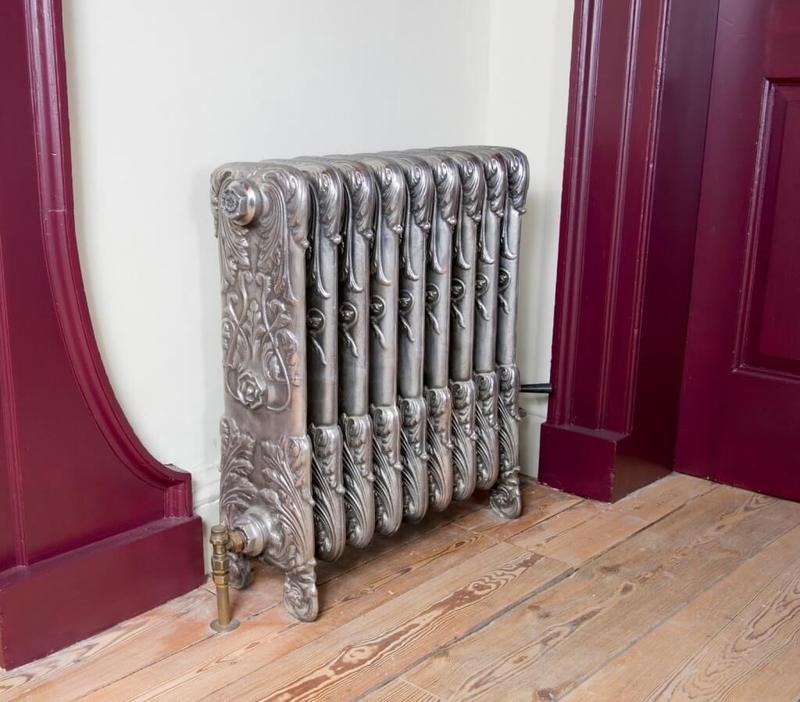
The main property of cast iron - slow cooling. That is why they made tools, kitchen utensils and radiators made of cast iron. This is due to the fact that such radiators retain heat much longer, because their replacement, if not broken, is completely unprofitable. Exceptions are areas with a mild and warm climate, where heating is almost not needed.
Tips for assembly and disassembly of radiators - in the next video.


