How to repair the self-leveling floor?
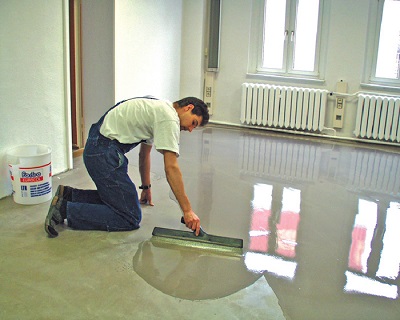
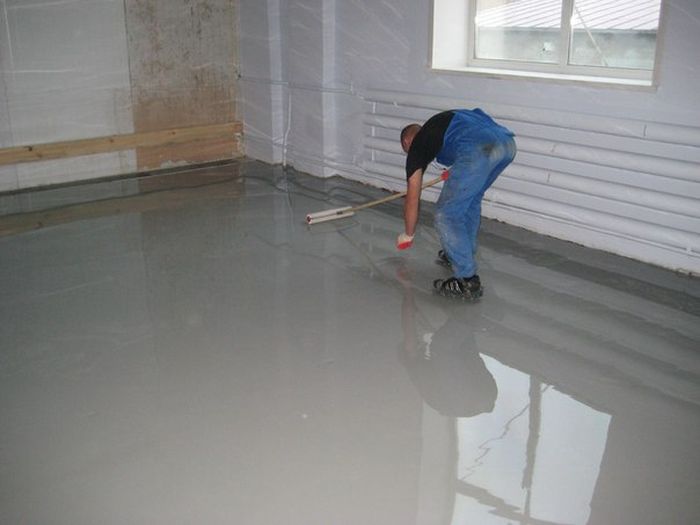
The growing popularity of self-leveling floors testifies to their high quality and aesthetic indicators. This is a more durable modern alternative to concrete flooring. The technology of self-leveling flooring can be applied both in residential apartments and houses, and in industrial premises of various sizes. However, this type of coating does not have one hundred percent protection and guarantees against the appearance of defects or damage and sometimes requires repair.
Special features
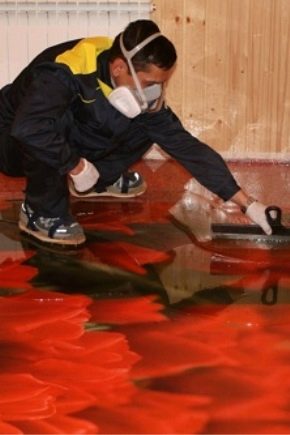
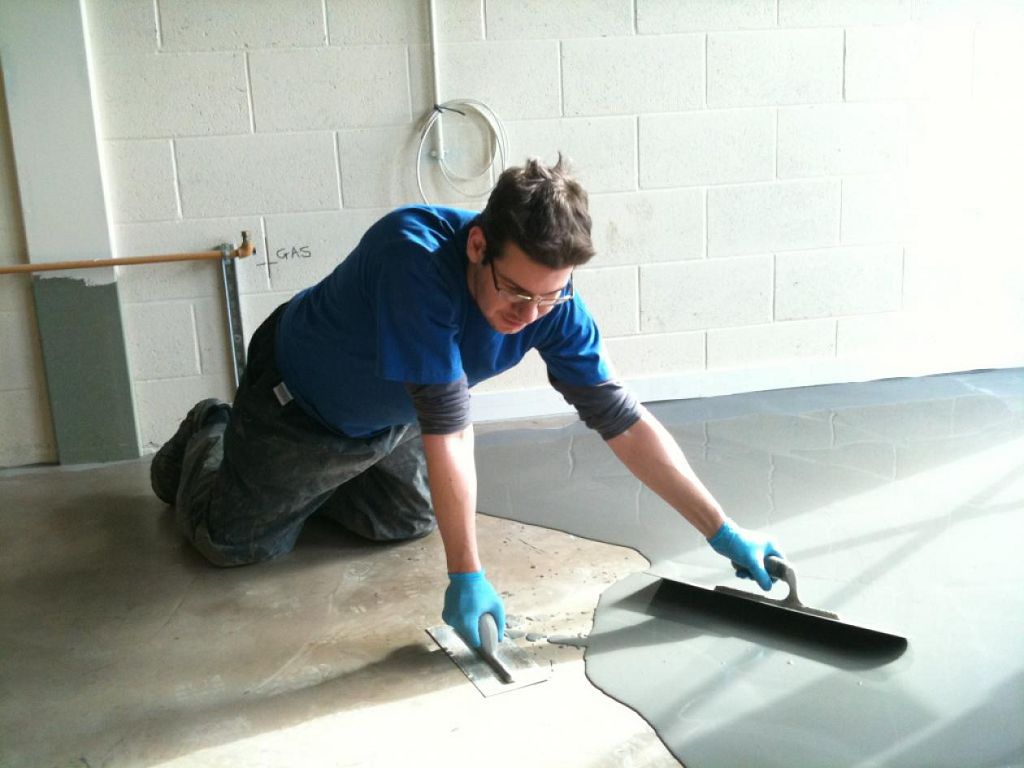
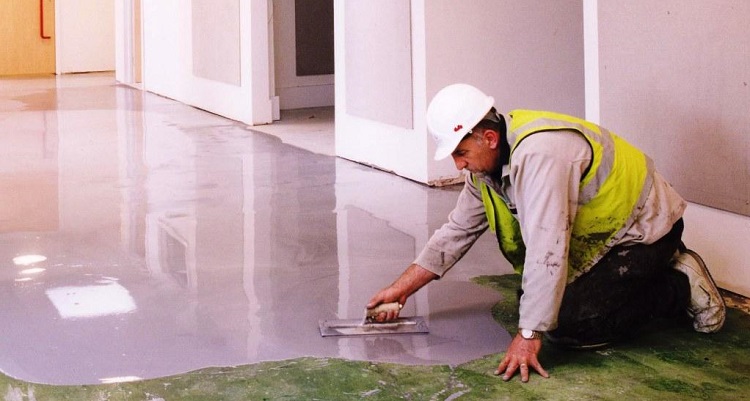
The self-leveling floor consists of successive layers of concrete, a primer and an external polymer fill.This technology allows to ensure the strength and durability of the flooring. The top layer of polymeric materials has a protective function. Also, thanks to this layer, the surface of the liquid floor looks much more aesthetic, does not require additional masking or processing.
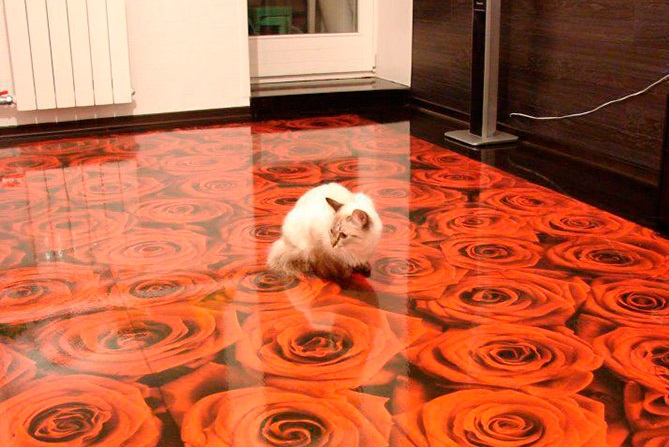

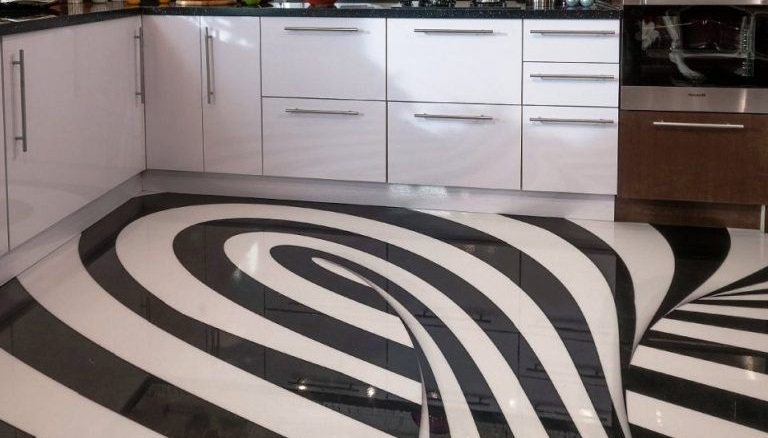
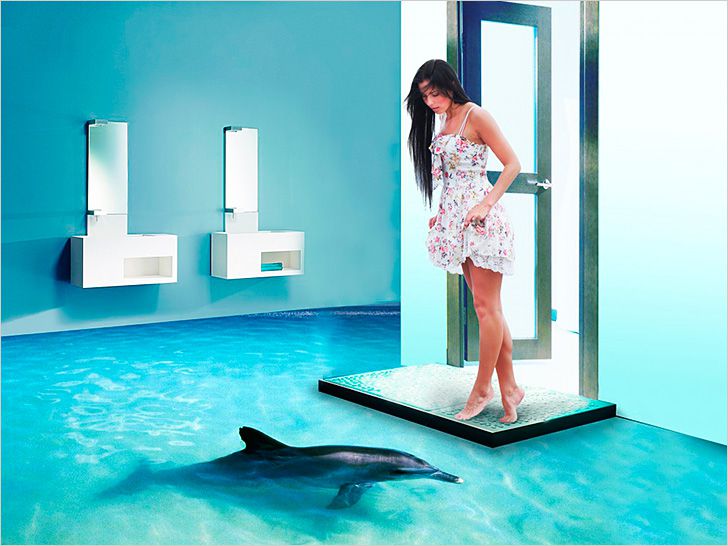
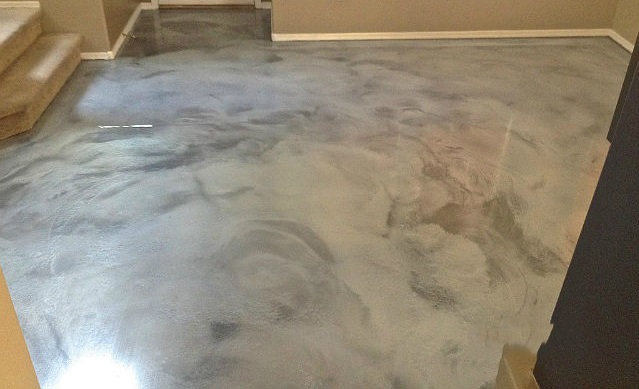
The self-leveling floor has options for appearance. This is possible due to the fact that the top layer of polymers is transparent. Before it is poured onto the surface of the concrete layer install a thin canvas with a texture or pattern. Then the polymer mass is poured and evenly distributed. The drawing will be well protected from abrasion and deformation by a layer of durable polymer fill.

Defects and their causes
For various reasons, it is not always possible to keep the self-leveling floor in perfect condition.
Unfortunately, during the operation you may encounter the following defects:
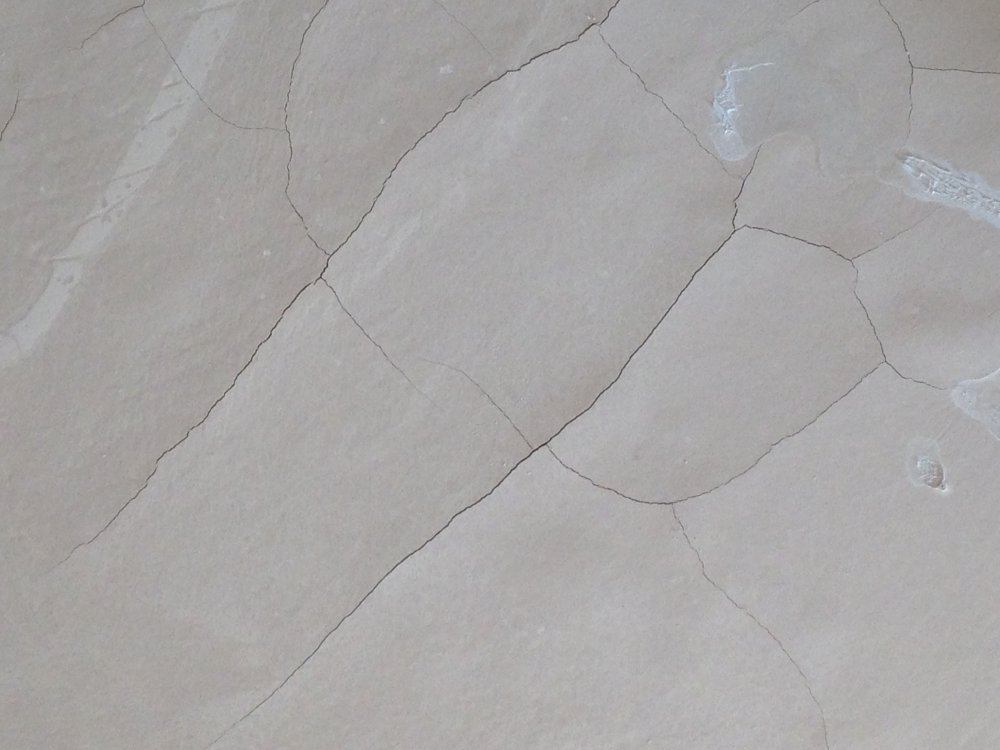
- visible cracks in the upper layer of the flooring, as well as deep cracks throughout the thickness of the polymer and concrete fill;
- mechanical damage, wear;
- chips, hollows on a cloth of polymer.
The most frequent defects faced by the owners of self-leveling flooring are cracks of various sizes and depths.
The reason for the last two defects for the most part lies in violations of the rules of operation and excessive, exceeding the permissible threshold, mechanical action. For example, a heavy metal object falling from a great height, or an intensive movement of heavy furniture on metal legs or the base on the polymer surface can cause cosmetic damage to such a solid flooring.

The reasons for the appearance of cracks in the layers of the self-leveling floor can be much more serious:
- One of the reasons why the self-leveling floor is cracking may be a violation of the technology of pouring the base layer.
- Also, the reason may be poorly executed preparation of the base for pouring the flooring. On the ground there should be no irregularities, debris, dust or small stones. If the preparation is not performed well enough, the priming layer of concrete will move away in separate areas. And this, during operation, will lead to the appearance of cracks in the base, that is, in the concrete screed, and then in the surface layer of the polymer.
- Violation of the technology for preparing solutions for pouring the base and top layer can lead to cracks and other aesthetic defects.
In any case, with the appearance of cracks and defects in the repair of self-leveling flooring, it cannot be avoided.To do this, you can contact the experts, or perform repairs with their own hands.
Instruments
To repair the flooring, you may need some or all of the following tools:
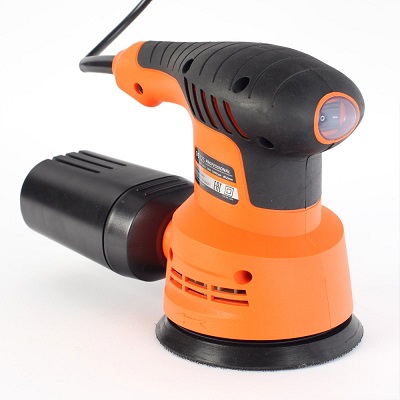
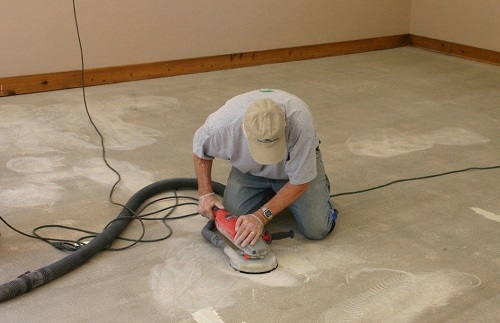
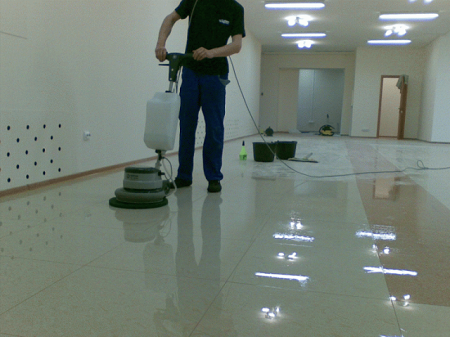
- surface grinding machine;
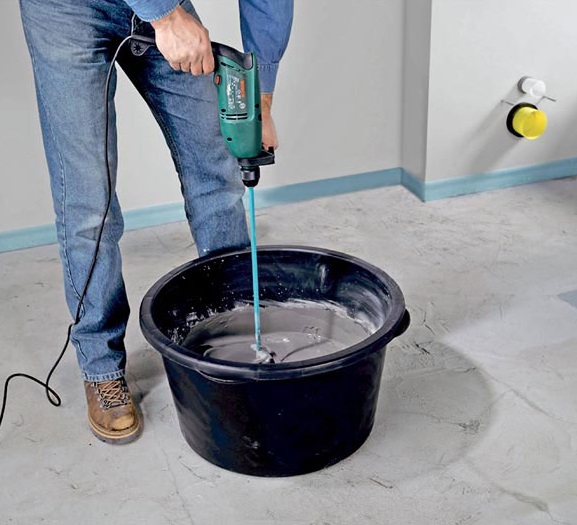
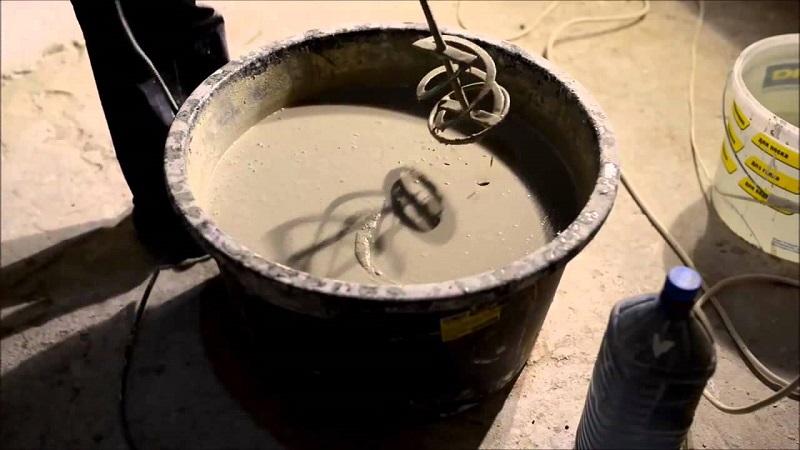
- electric mixer of mixes or a powerful drill with a special nozzle for mixing;
- container for the preparation of mixtures of the desired volume;
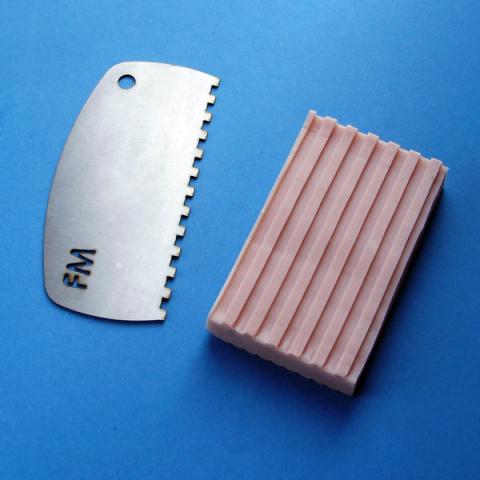
- trowel with teeth (desired width 60-100 cm) will be needed in case of refilling of the base or application of the top layer;
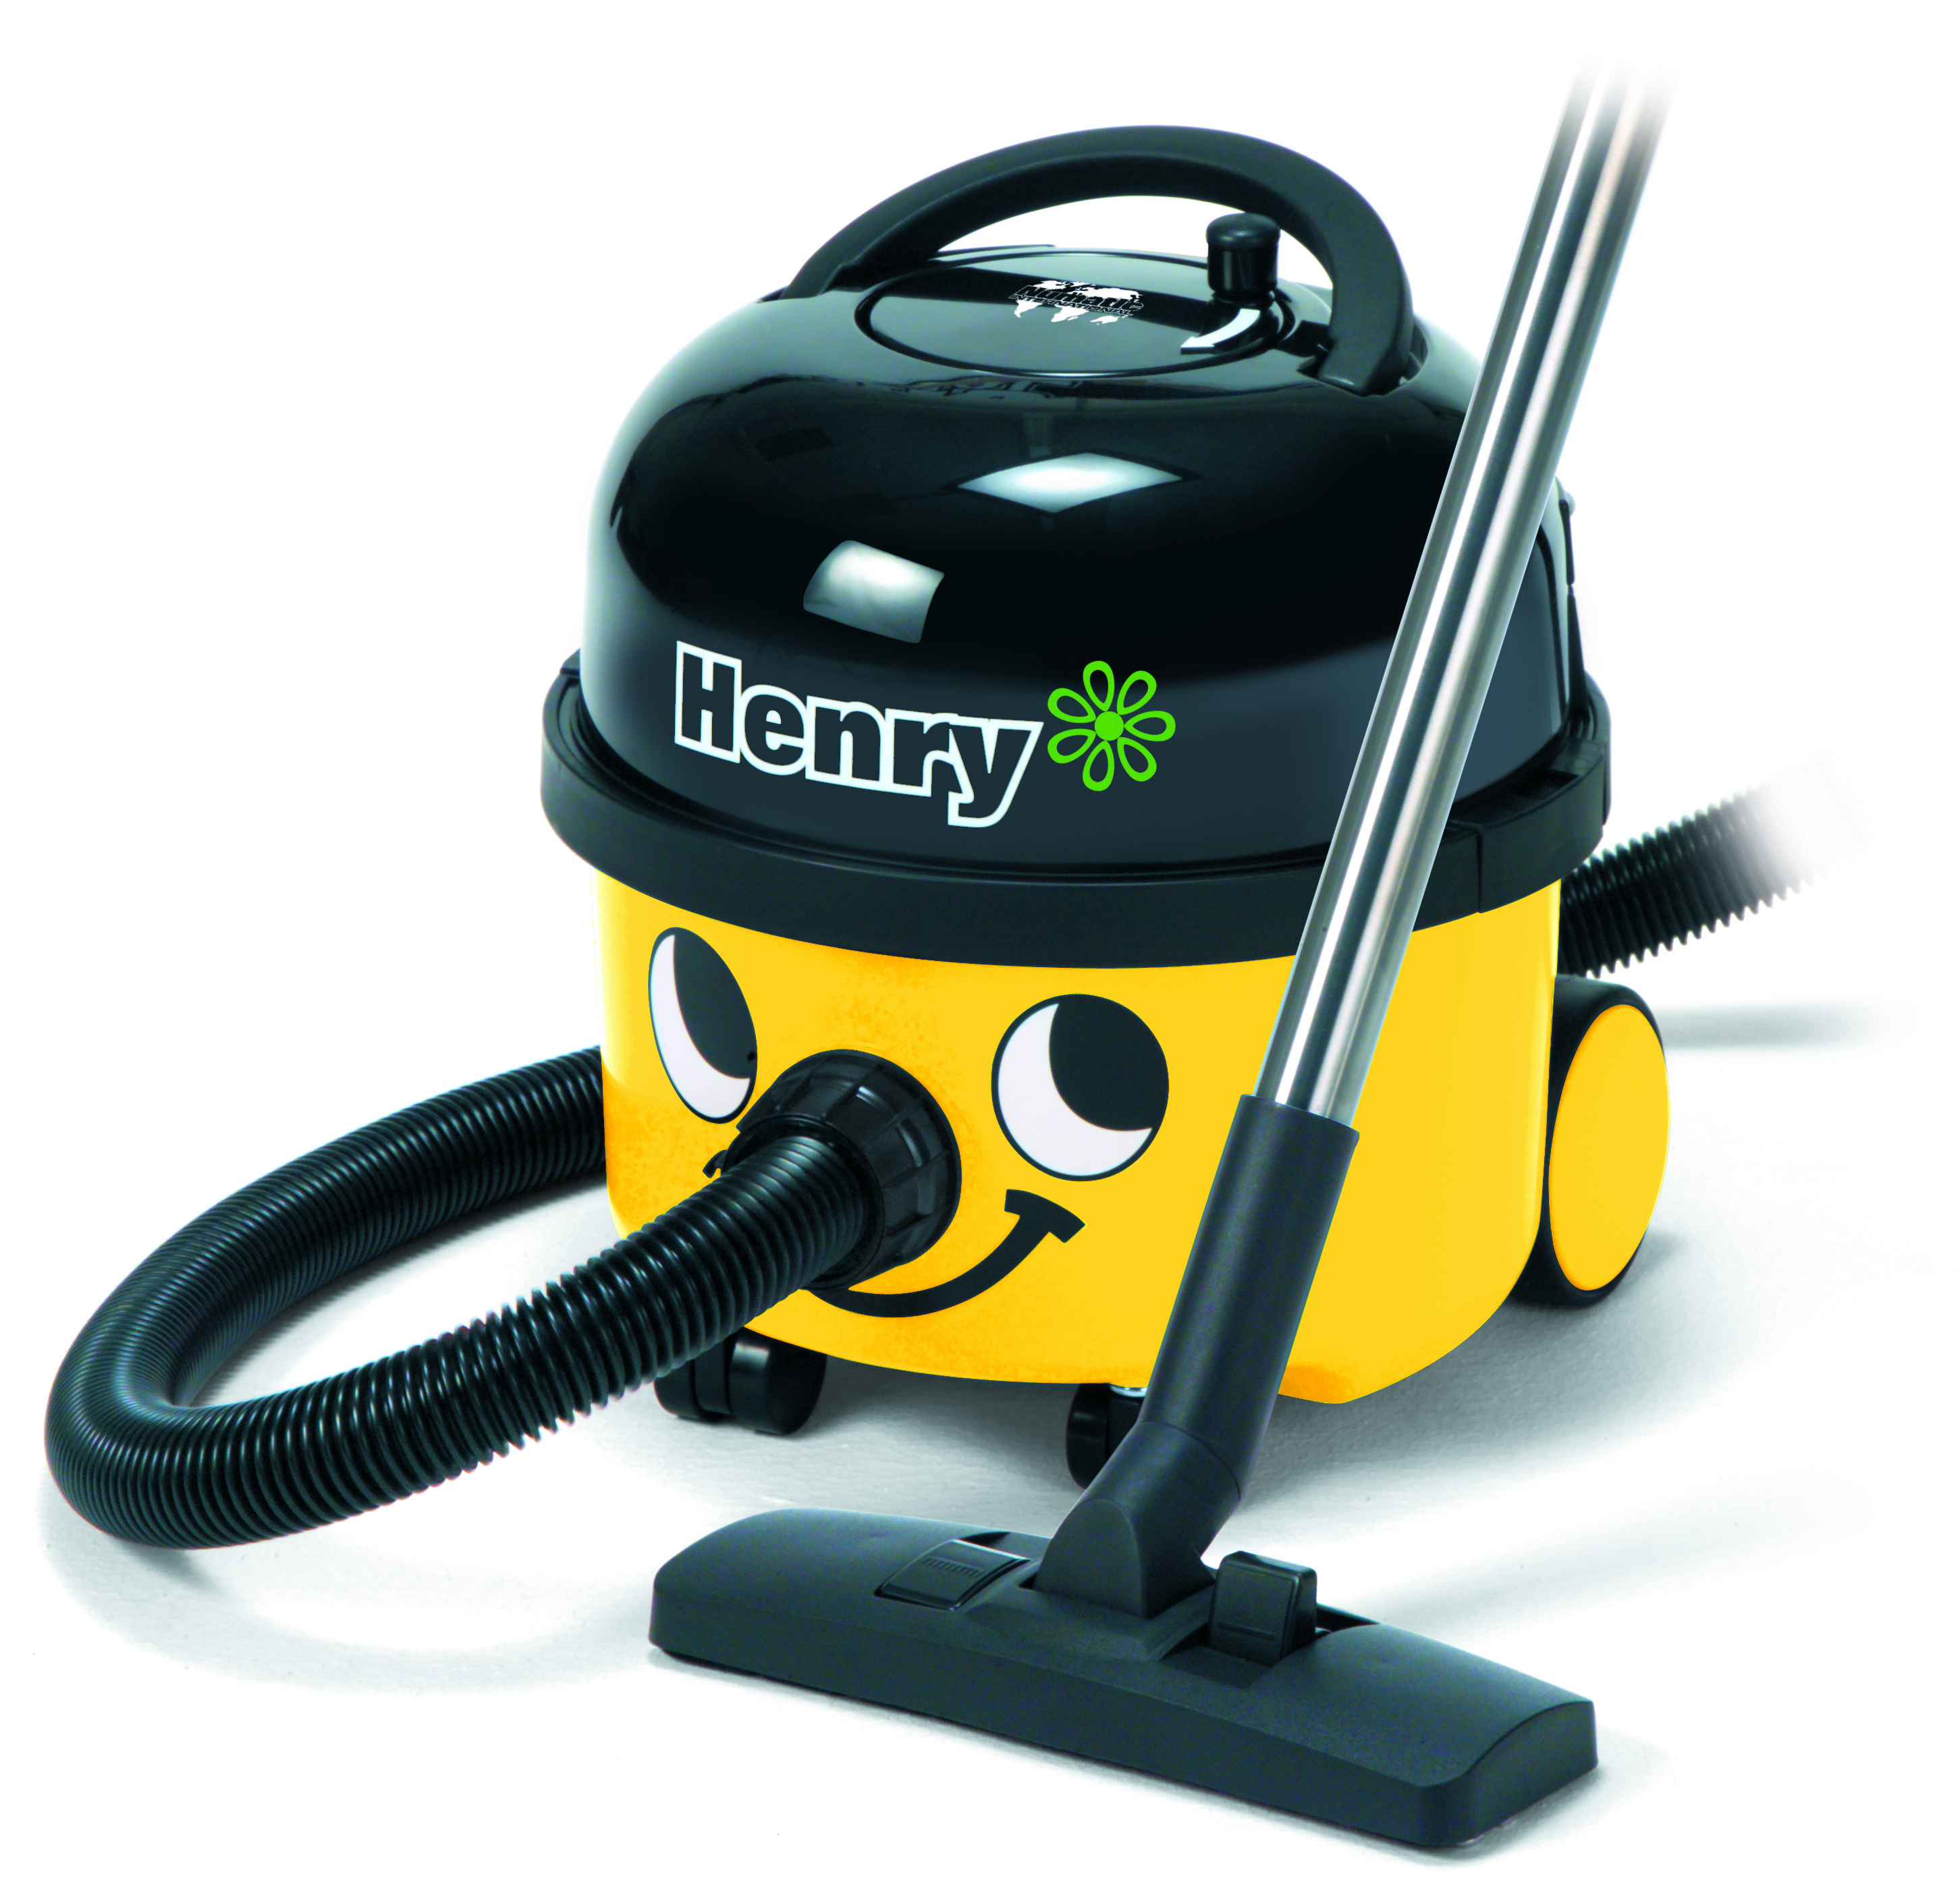
- vacuum cleaner to remove small debris and dust;
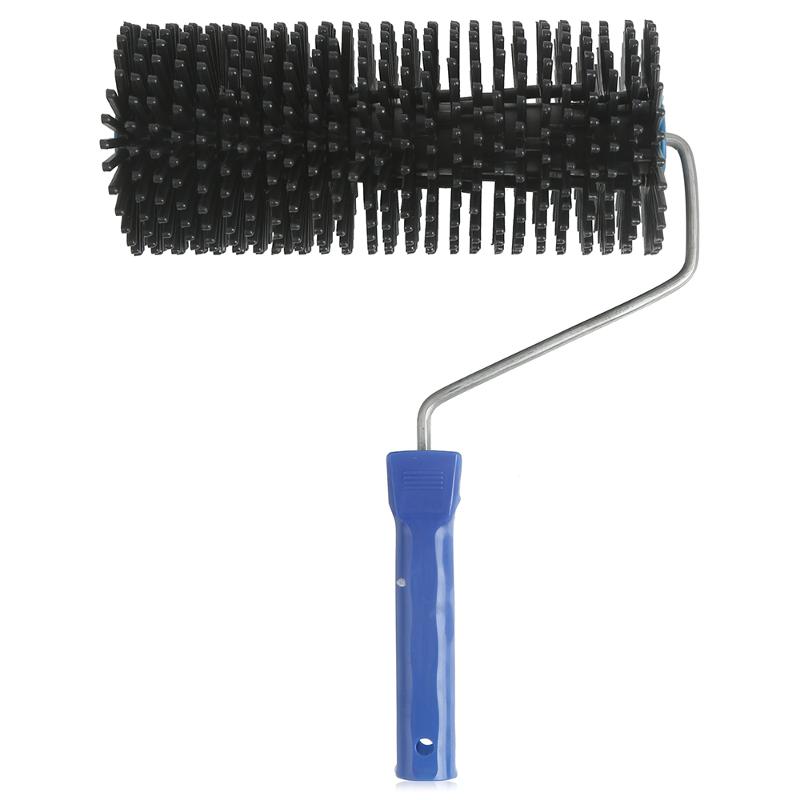
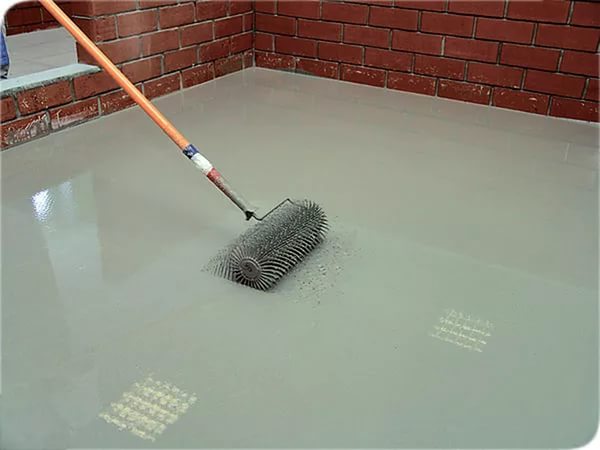
- needle roller;
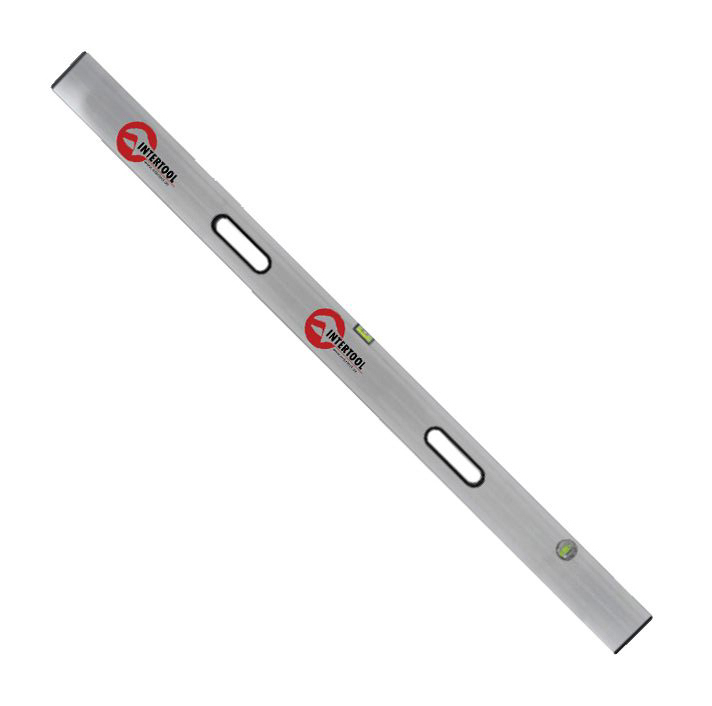
- the rule;
- level;
- roller with a long nap.
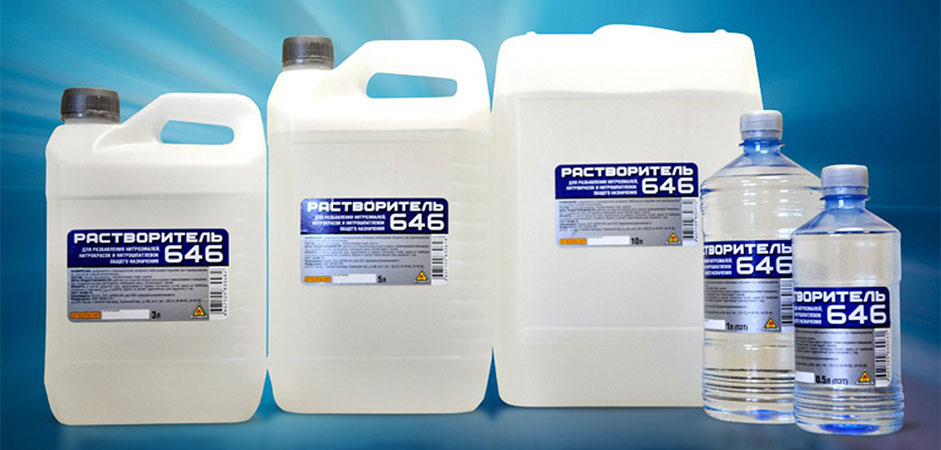
If you purchased new tools and use them for the first time, soak them for 4-5 hours in a solvent. This procedure is necessary in order to remove a layer of oil preservative grease. If an oily substance gets into the mixture, it can degrade their quality.
Stages of work
It is possible to repair defects or cracks in the self-leveling floor in various ways, depending on the degree and type of damage to the flooring.
For work on the elimination of cracks and defects, the following algorithm will be common:
- areas with defects, on which the floor is cracked, moved away from the base and has an uneven top layer, are removed;
- the exposed base is ground;
- the site is filled with prepared concrete solution for the foundation of the flooring;
- the surface is thoroughly cleaned from dust and dirt;
- the top protective layer is applied.
This is the most common scheme of restoration and repair work. Further, the stages of work on the elimination of specific defects of self-leveling flooring will be considered in more detail.
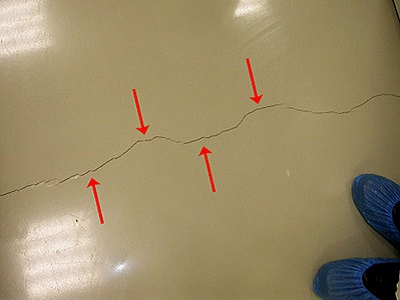
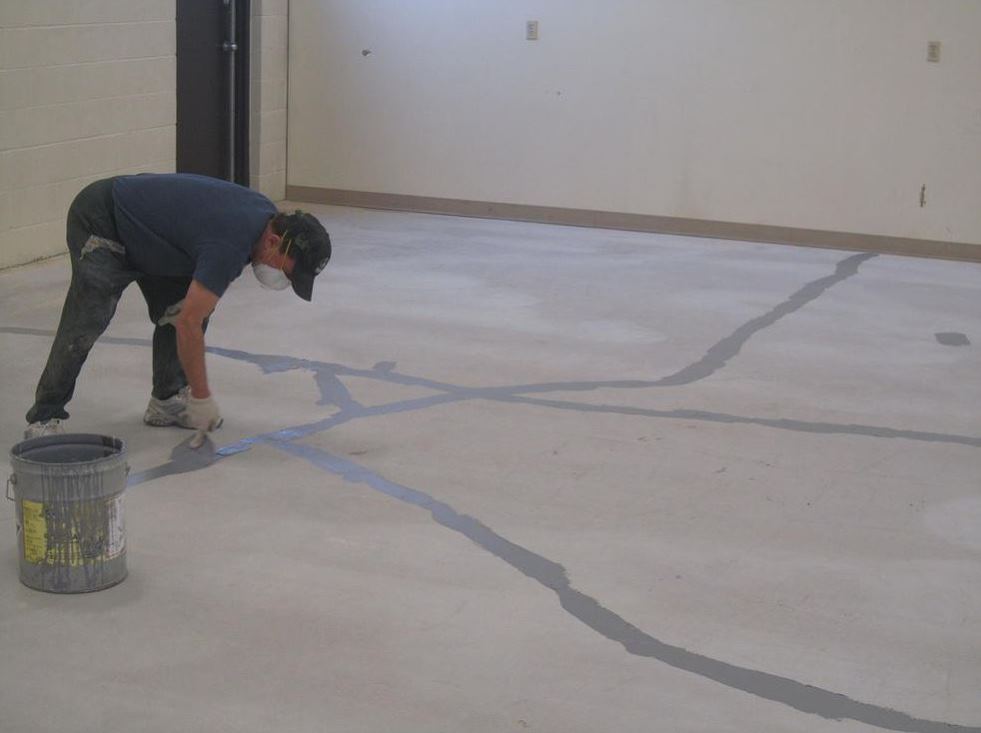
Cracks and crevices
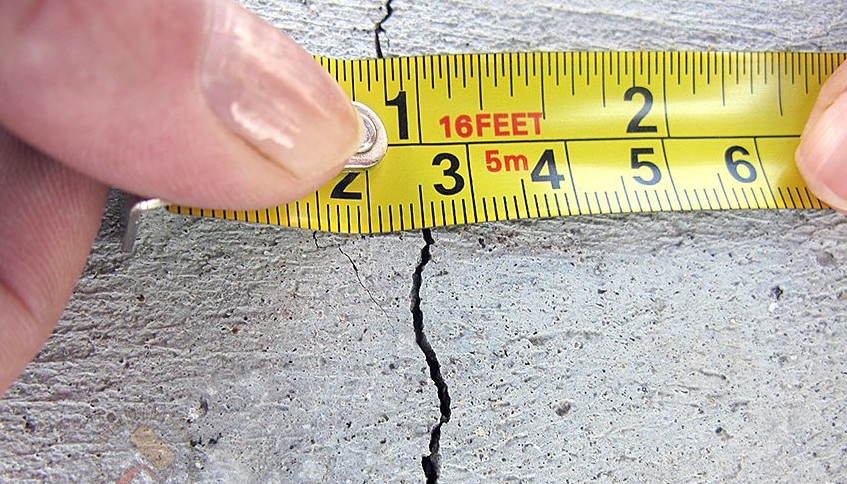
If the floor is cracked, or gaps have appeared in it, the choice of the way to eliminate these defects will depend on the size of the damage. If the visible damage is minor and small in size (up to 1 cm in length), then you should not refill the entire flooring.
In this case, it will be sufficient to correct the defects as follows:
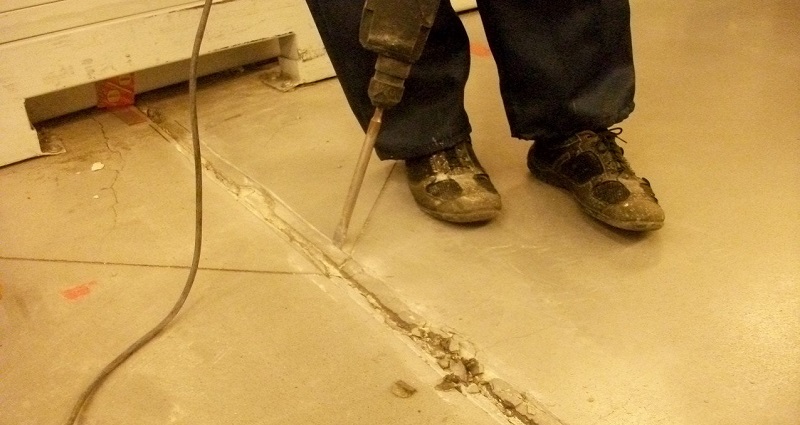
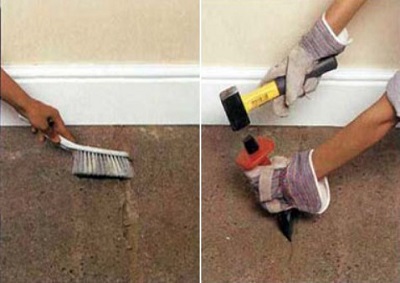
- widen the crack with tools to a width of at least 2 cm along its entire length;
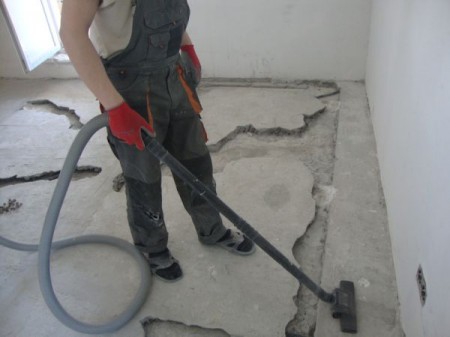
- remove dirt and dust with a vacuum cleaner;
- treat the base and walls of the expanded gap with a primer;
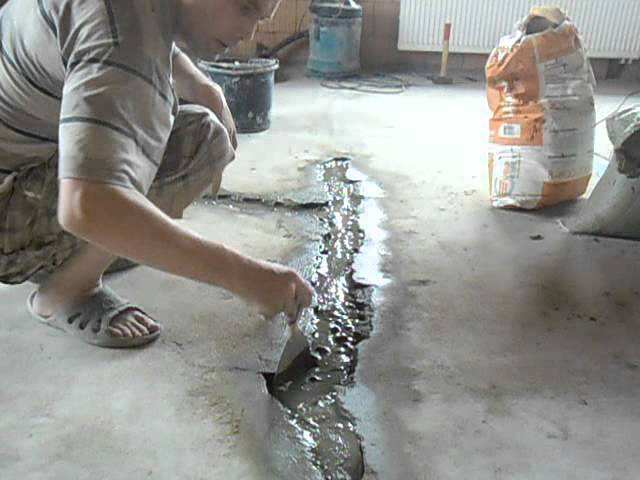
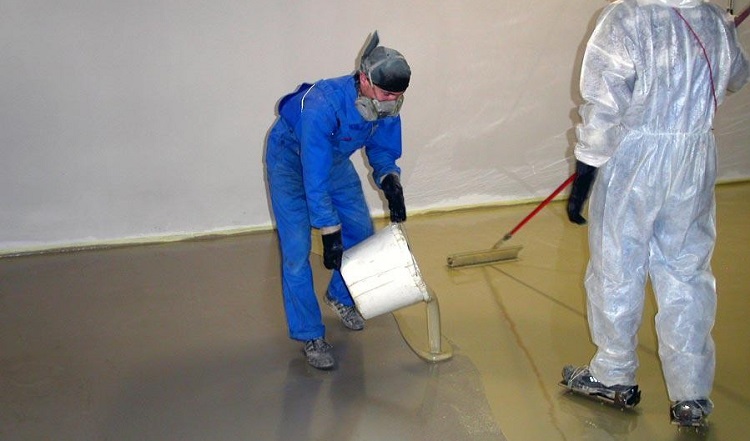
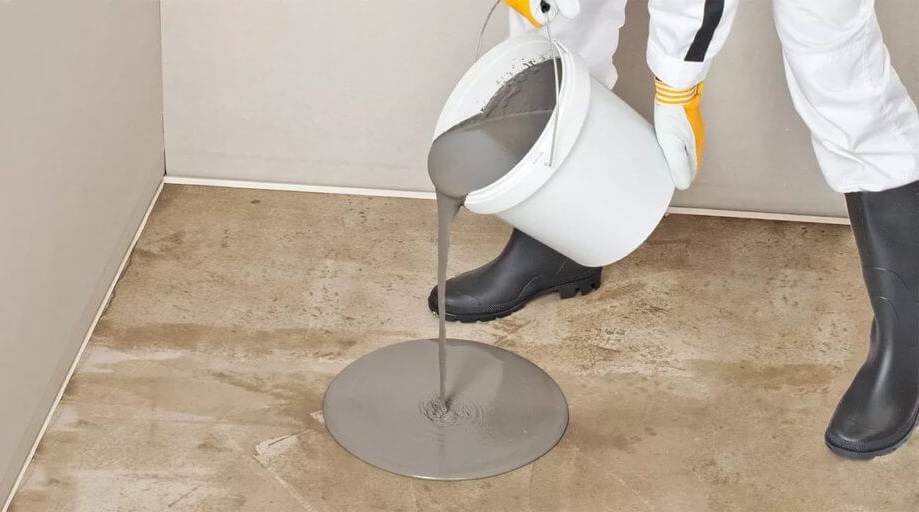
- fill the gap with a polymer mixture and level its surface with the level of the floor.
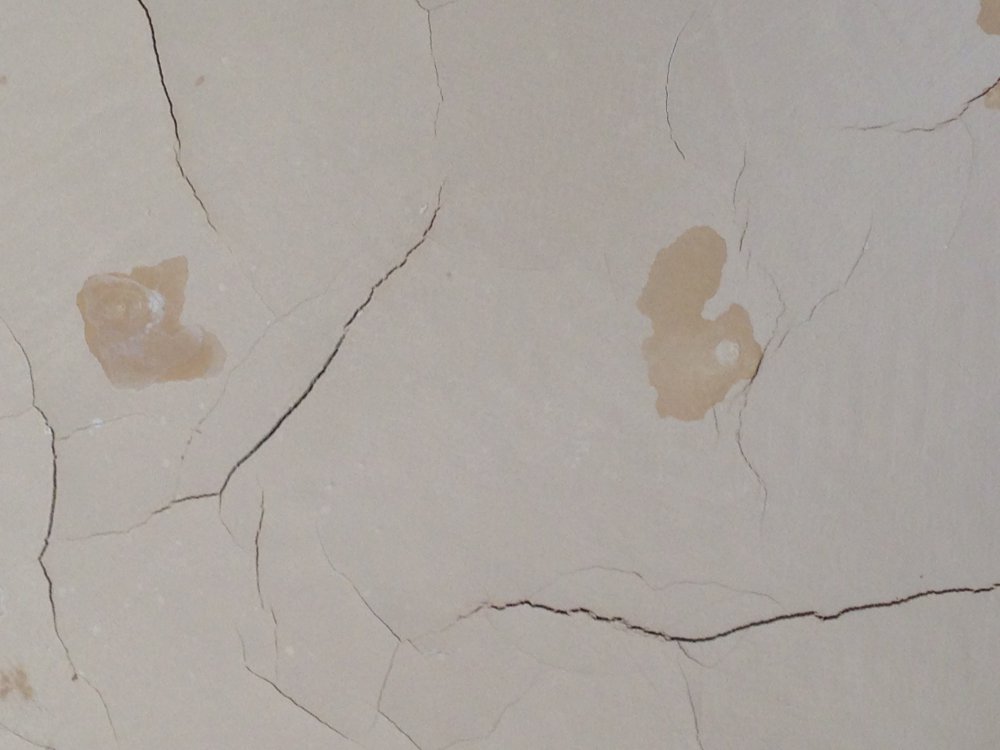
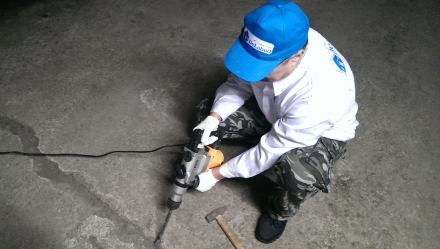
If the floor is cracked over a sufficiently large area, and there are many visible cracks and cracks on its surface, you will have to remove and reload the entire defective part of the flooring.
To do this, follow these steps:
- Chip the fill layer, clean and inspect the base;
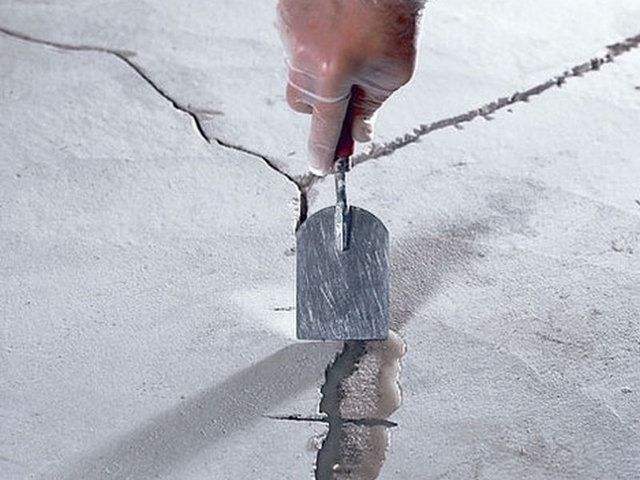
- if you find cracks in the concrete base, they will need to be sealed with cement-based putty;
- remove dust and dirt from the area;
- ground bare side surfaces and the surface of the concrete base;
- Pour in the new mortar and level the top layer on the level with the floor.

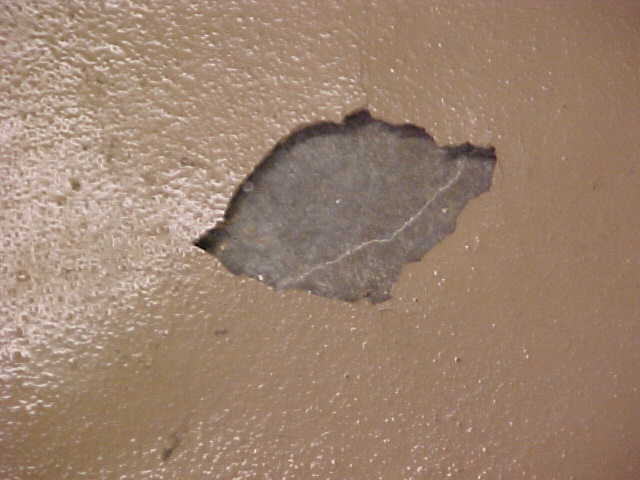
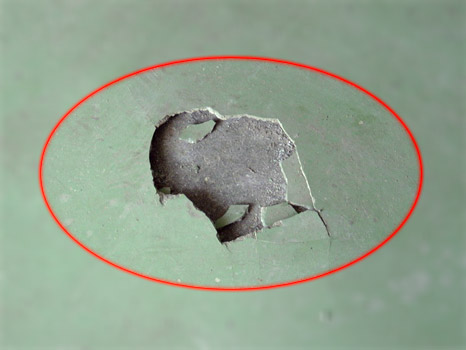
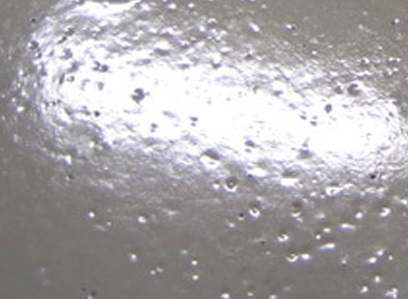
Detachment
External signs of delamination are small bubbles on the surface of the flooring. Such a floor is uneven, its surface looks non-uniform. Base delamination can also lead to the formation of cracks.
To correct this defect, you must do the following:
- chip and remove crumbling portions of the floor;
- thoroughly clean the exposed substrate from dust, debris and dirt;
- ground base;
- if the base is uneven in height, a self-leveling mortar or cement screed will be required;
- after drying the layer of solution, the area is filled with a polymer composition.
Polyurethane floors
Polyurethane floorings can be repaired in two ways:
- apply a uniform polyurethane layer over the damaged;
- removal of the damaged area, complete refilling.
For the first option, that is, for the application of a new top layer of polyurethane filling, the following steps should be performed:
- Thoroughly wash the surface of the flooring, wait until the surface of the washed floor is completely dry. Do not proceed to the next step until the top layer is completely dry.
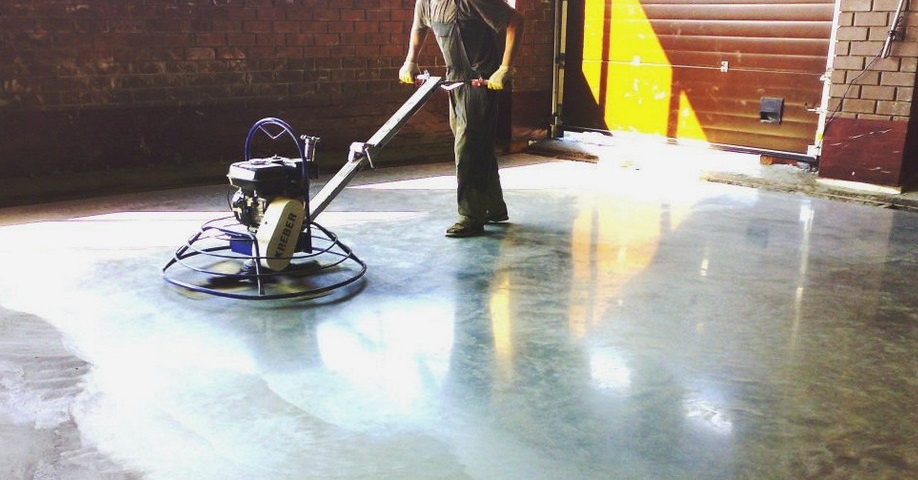
- After drying, the surface of the flooring should be well sanded, removing swellings, bubbles and other irregularities. This can be done with emery material. If the area of sanding flooring is quite large, it is more convenient to do this work using the grinding wheel.
- Next, the floor must be treated with a degreasing agent.
- In the next step, a layer of primer is applied to the degreased and dried surface of the flooring.
- After performing all operations on the treated old layer, a new one is evenly applied. When working with a coating solution, it is important to follow all instructions.
To completely reload the damaged part of the flooring, you will need to do the following:
- Cleave and remove the top layer.
- Open a layer of concrete base to sand. Grinding should be deep enough before visible pores appear in the concrete layer.
- Clean polished concrete surface from debris, remove dust with a vacuum cleaner. Make sure the surface is well dried.
- Then it is necessary to degrease the joints and the surface of the concrete base. After processing, allow the surfaces to dry.
- After performing the above steps, a new solution is applied to the treated area.
Cavities and protrusions
Sometimes after pouring and drying the solutions, extensive bumps or, on the contrary, cavities appear on the surface of the self-leveling floors. The reason for such uneven formation of the surface layer may be incorrect mixing of the filling solution, or insufficient polishing of the base.
Correction of such defects is not time consuming. The hollows are filled with the required amount of self-leveling solution. Hillocks and protrusions can be removed by sanding the surface.
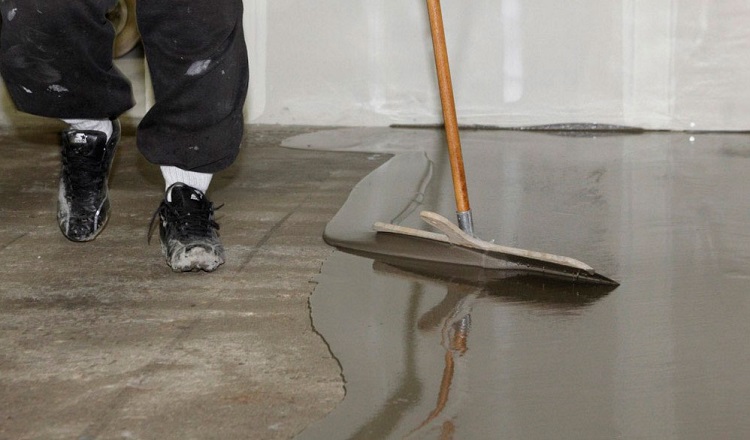
To give a more aesthetic appearance of the surface to be restored, it is desirable to fill the entire floor with a uniform layer of a finishing liquid mortar.
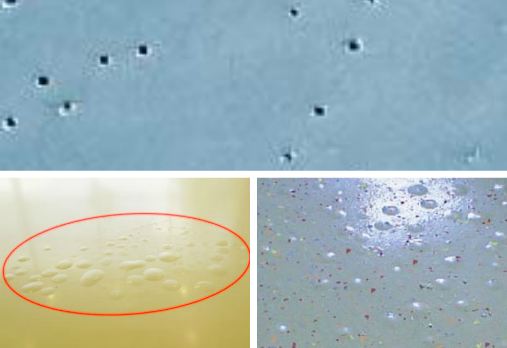
Garbage and dust
If you violate the rules of working with solutions, or when using dirty tools, particles of debris, turbid areas, and various foreign particles may appear in the frozen upper layer of the self-leveling floor. This significantly impairs the appearance of the flooring.
Flooring with such defects will have to grind, thoroughly clean the surface, degrease and coat with a primer. After that, an additional layer of the finishing solution is applied on top.
General rules
When pouring a self-leveling flooring, or in case of partial repair of a coating with various defects, the following rules should be observed:
- Indoors temperature should be provided not lower than 15 degrees. Humidity should not exceed 80%.
- After pouring the solution, it is necessary to ensure a constant temperature in the room, without sudden drops. If the constant temperature conditions are not observed, condensate falls to the surface of the flooring.
- In the room where the work is being done to fill the floor, there should be no drafts.There should be no sunlight on the distributed layer of the solution.
- For better solidification and preservation of the quality of the upper layer, it is advisable not to walk on it and not to produce a mechanical effect for 4-5 days.
- If the newly applied solution does not harden for a long time, this indicates a violation of the rules for performing work. Too much water may have been added to the solution. Also, long-term solidification results in poor ventilation in the room or low temperature of the air and the floor surface.
You can find out how to fill the self-leveling floor with your own hands from the video below.


