How to sheathe clapboard wooden house from the inside?
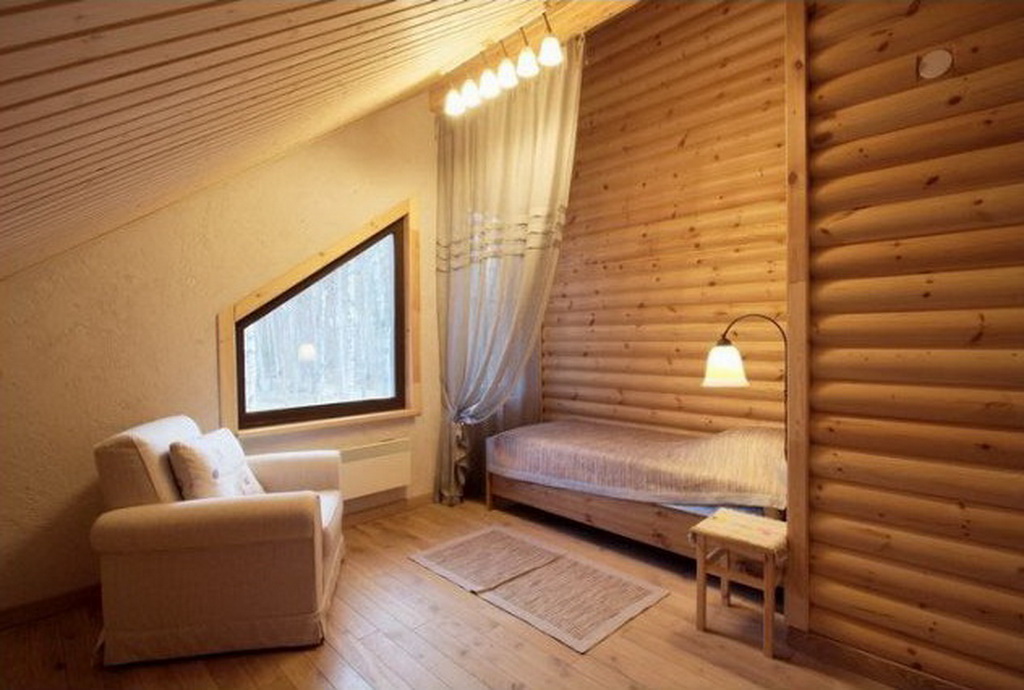
Wooden house is always a unique comfort and indescribable atmosphere. In order not to lose this very “naturalness”, many people prefer to sheathe it from the inside with clapboard. Such an inexpensive and high-quality finish will allow to solve several difficult problems at once. Sheath clapboard house from the inside is quite possible and independently, the main thing is to know all the secrets and subtleties of this business.

Advantages and choice of lining
Lining attracts many precisely because it is a natural material, thanks to which it will be a pleasure to be in the house. The material is completely safe, does not emit any harmful substances, is relatively inexpensive and always looks great.
In addition, with the help of this material you can solve many problems.Since such a finish perfectly withstands temperature extremes, it will serve for many years. It does not deform and does not lose its original appearance. Thanks to this skin insulation increases.
In addition, it is a kind of excellent insulation that can be appreciated during the cold season.
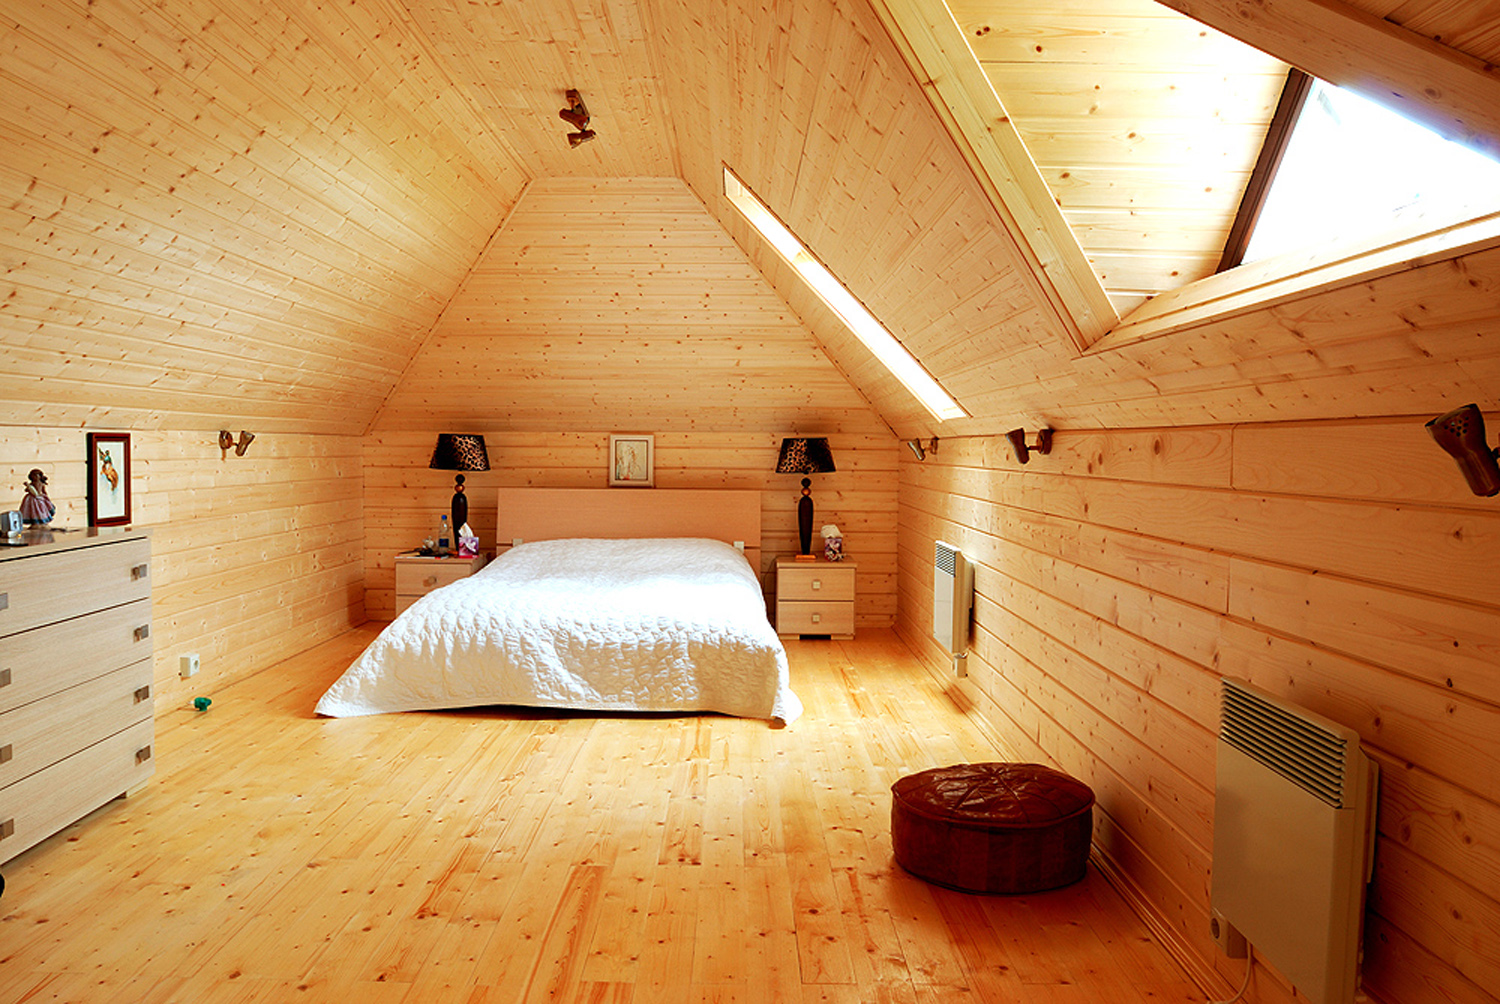
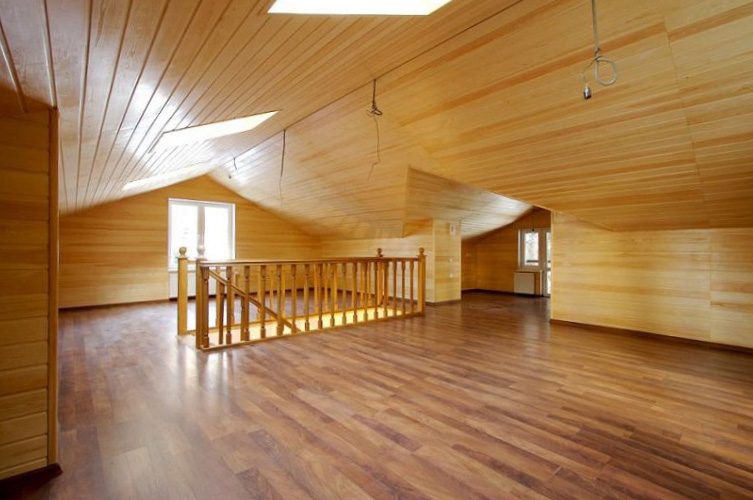
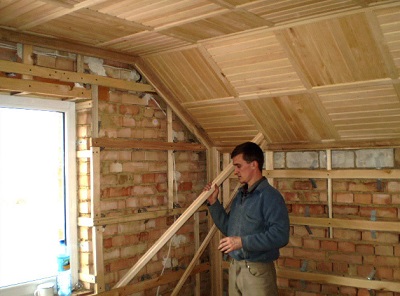
Wall paneling is a universal material, as it is suitable for any room and for covering not only walls, but also the ceiling. Since this type of material is very durable, its choice must be approached with skill in order to finish the house served for many years.
When choosing a material, be sure to pay attention to its class. Extra-class material, of course, is the best. Class A lining is also a quality raw material. The rest, "B" and "C", are lower class, and therefore can not boast of such an ideal quality. For interior decoration it is recommended to choose panels with a width of no more than sixteen millimeters.
At the same time, remember that the panels are thinner than twelve millimeters may be too fragile.
What else you need to pay attention to is the type of wood from which the veneer is made.It can be pine, birch, oak, ash or larch. All of them are great for interior walls or ceilings.
If you prefer the material of pine, then remember that with time such lining will become an unpleasant dark color if it is not covered with a special varnish or paint. Ash is highly resistant to temperature extremes and is excellent for rooms with high humidity. As for oak, this material has no obvious flaws.
The only thing is the high price.

Preparatory stage
Sheathing inside a wooden house is possible only if all exterior work has already been completed. Wooden house, despite all its obvious advantages, has several drawbacks, which must be taken into account before proceeding to the finishing works.
Of course, in the first place - it is high humidity, and therefore the appearance of mold and other harmful organisms. Therefore, before proceeding to the trim, the walls must be carefully prepared.

The wall paneling is always mounted on dry and perfectly flat walls.otherwise, any defect will ruin the final result of the whole work.
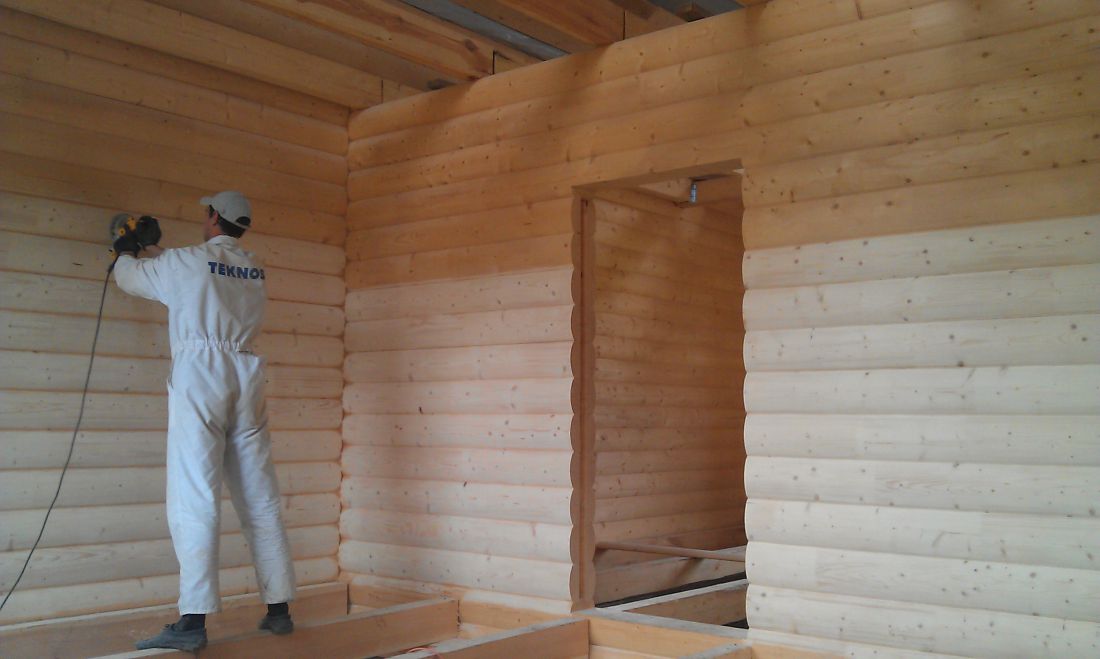
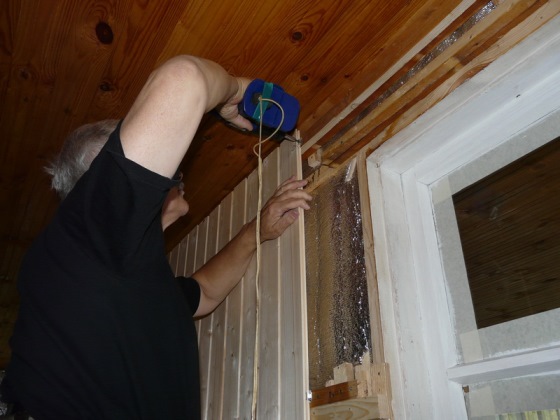
Previously, all walls must be treated with a special agent against fungus and mold. To do this, you can use modern antiseptics, which are sold in any hardware store. You need to process all the walls, despite the fact that they are not affected by mold.
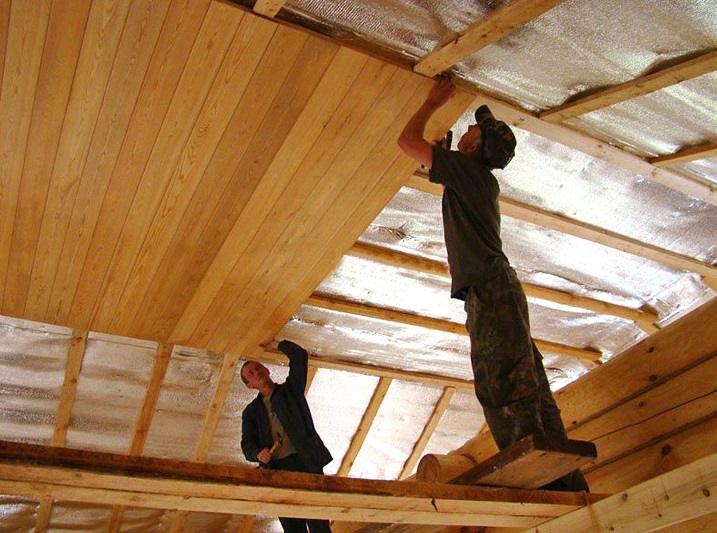
If necessary, before installing the wall paneling, you can additionally insulate the walls and take care of additional noise insulation. For example, you can use a material based on mineral wool or use a special vapor barrier film.

Any insulation or special foil should be mounted with an overlap directly on the wall itself. You can strengthen them with a special stapler. Bars will need to be mounted on top of this material, and not vice versa.
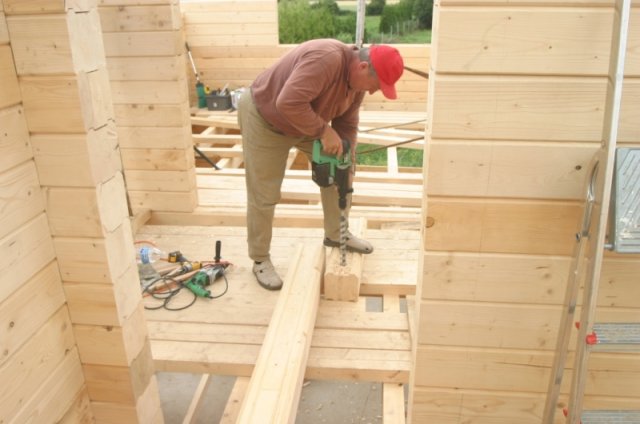
After the walls are prepared, you can proceed to the next stage - the manufacture of the frame, on which the wall paneling itself will be attached.
The frame can be made of metal profile or of wood. If you plan to mount the wall panel vertically, the frame bars should be mounted horizontally and vice versa.
It is recommended to pre-prepare slats that will become the base of the frame.Choose a width of no more than thirty millimeters.
The frame must be made in the same plane, otherwise the final result will not please you.
The first rail, regardless of how the lining will be mounted, must be installed strictly vertically. When fastening the rail, for example, using self-tapping screws, be sure to use a plumb. In order for the entire frame to be made in a single plane, you can use the threads that need to be pulled between the slats. Focusing on the threads, you can easily install the remaining elements for the frame.
Making the crate, remember that the distance between the slats should not be more or less than fifty centimeters. After everything is ready, the crate must be treated with a special antiseptic.
So, the preparatory stage is completed. Next, you should proceed to the installation of the wall paneling itself.
Plating fineness
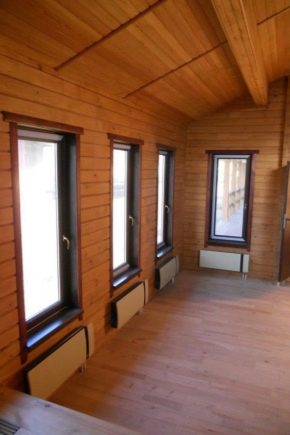
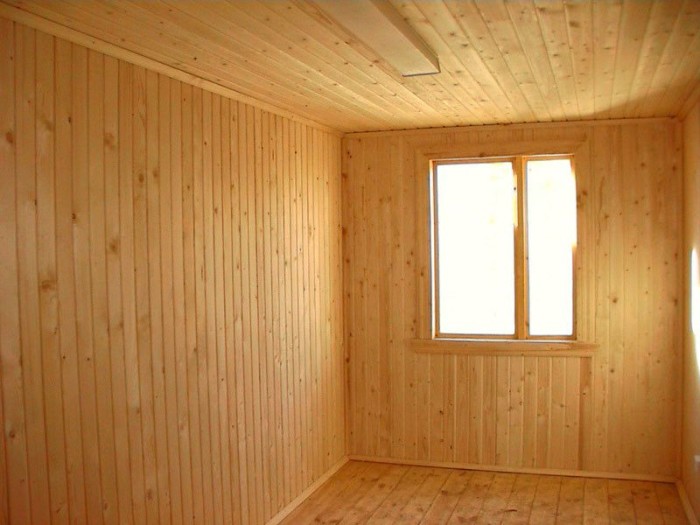
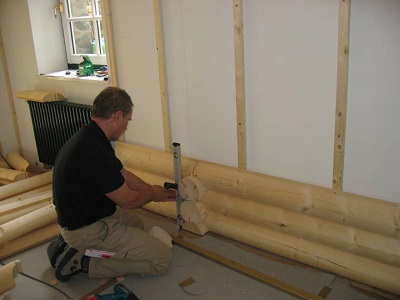
Sheathing inside a wooden house can be horizontal and vertical. It all depends on what style you want to give the room and, of course, on personal preferences.
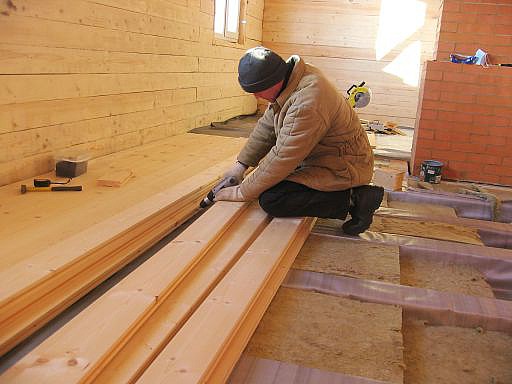
In that case, if you plan to mount the finishing material horizontally,We recommend remembering a simple rule. The spike must necessarily be located in the upper part, and the groove, respectively, in the lower. This will allow you to avoid serious trouble if moisture occurs. If the groove is located on top, then water may accumulate in it, thereby starting the deformation, and there will be a great risk of mold or fungus.
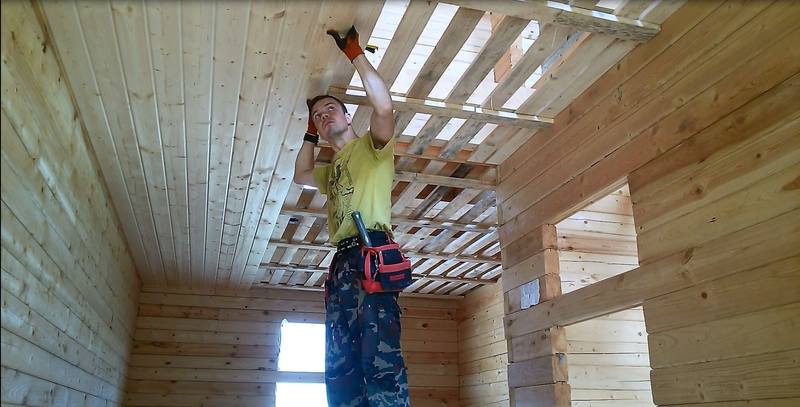
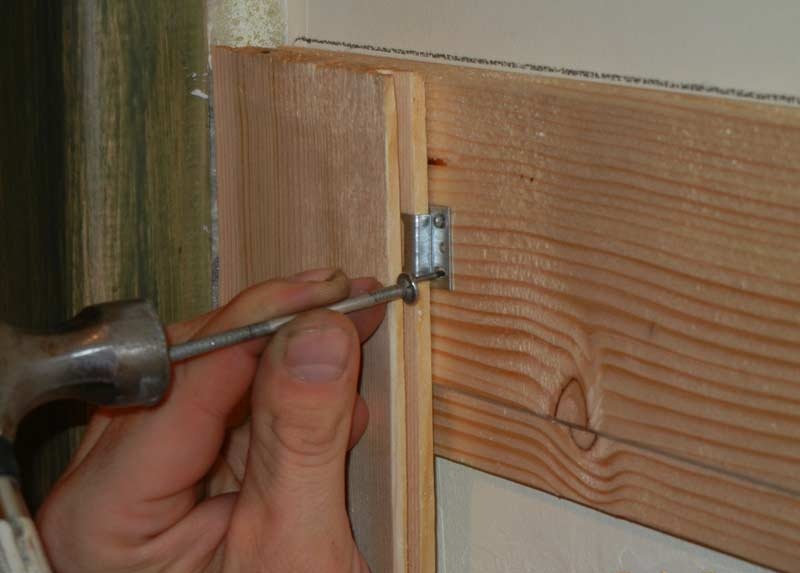
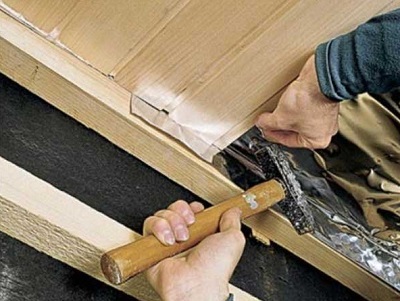
It is best to start installing the wall panel from the ceiling to the floor, so it will be much more convenient. Of course, it is possible and vice versa. Reiki are attached to each other with nails, which should be gently driven into the groove. Everything must be done very carefully so as not to damage the surface of the panel itself and not to deform the back wall of the groove.
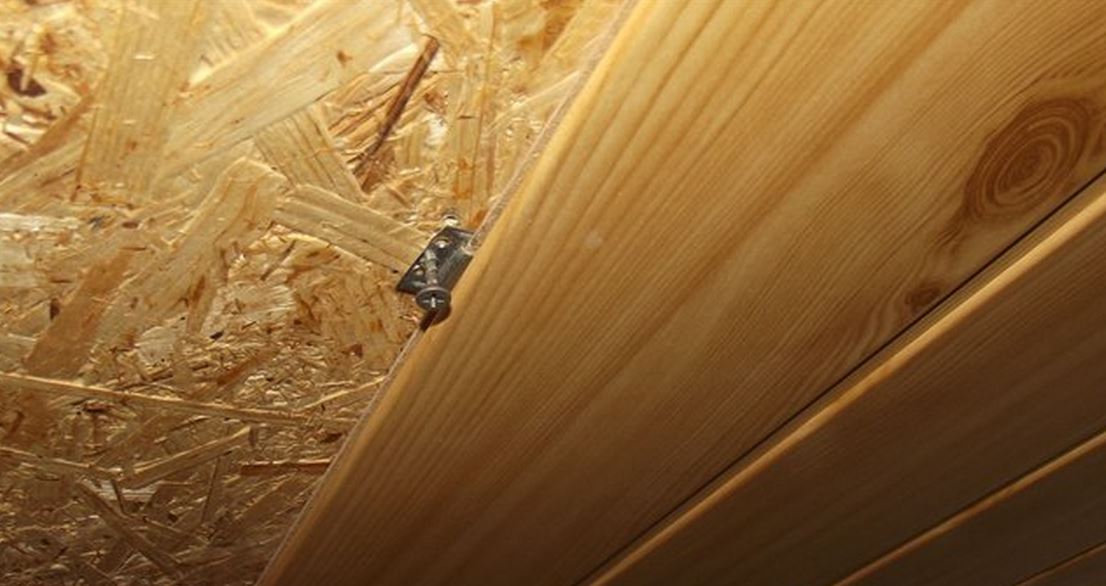
And you can also nail finishing material with special brackets, which professionals call “clamps”. Such brackets are usually fastened with screws.
The first panel should be mounted with a small distance from the ceiling of about one centimeter. Thus, there will be natural ventilation of the walls, which will help to avoid deformation of the finish.
The same indent should be made at the bottom of the wall.
It is not necessary to fasten the clapboard tightly, as there should be a barely noticeable gap between the elements - one to two millimeters.This is necessary so that in case of high humidity in the room, the skin will not be deformed.
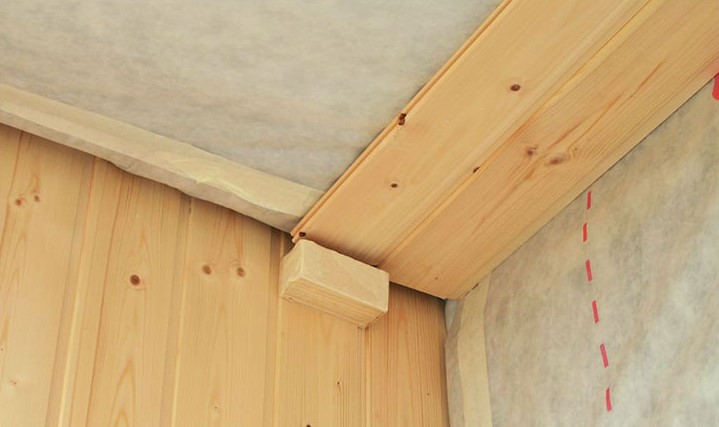
After all the wall paneling is strengthened, the final stage follows - this is the strengthening of the baseboards. Of course, this is only necessary if you yourself want it. The plinth can be floor and ceiling. It all depends on what kind of design and style you want to give to the room.
External and internal corners can be decorated with special corners, which are made of wood. This will give the finish a finished look, as well as help to hide flaws and blemishes. Doorways can be decorated casings.
The same is recommended for window openings.

Tips and tricks
Experts share their experience in the installation of wall paneling, and it is better to adhere to such recommendations for a successful do-it-yourself job.
- Before you start installing the wall panel, it is recommended to leave it open in the room for one day. Thus, natural wood material can adapt to the conditions of the room, acquire the same temperature, which will help to avoid deformation. If the installation will be carried out in the cold season, the material should be left in the room for at least two days.
- After the installation of the wall panel itself is completed, it is worthwhile to take care of its protection, namely, how to cover the material from above. Processing cladding material is a mandatory part of the repair. Thus, it will be possible to protect the wall paneling from external damage and not only. You can simply varnish it. And if it is installed in a room with high humidity, then it is necessary to treat it with a protective compound.
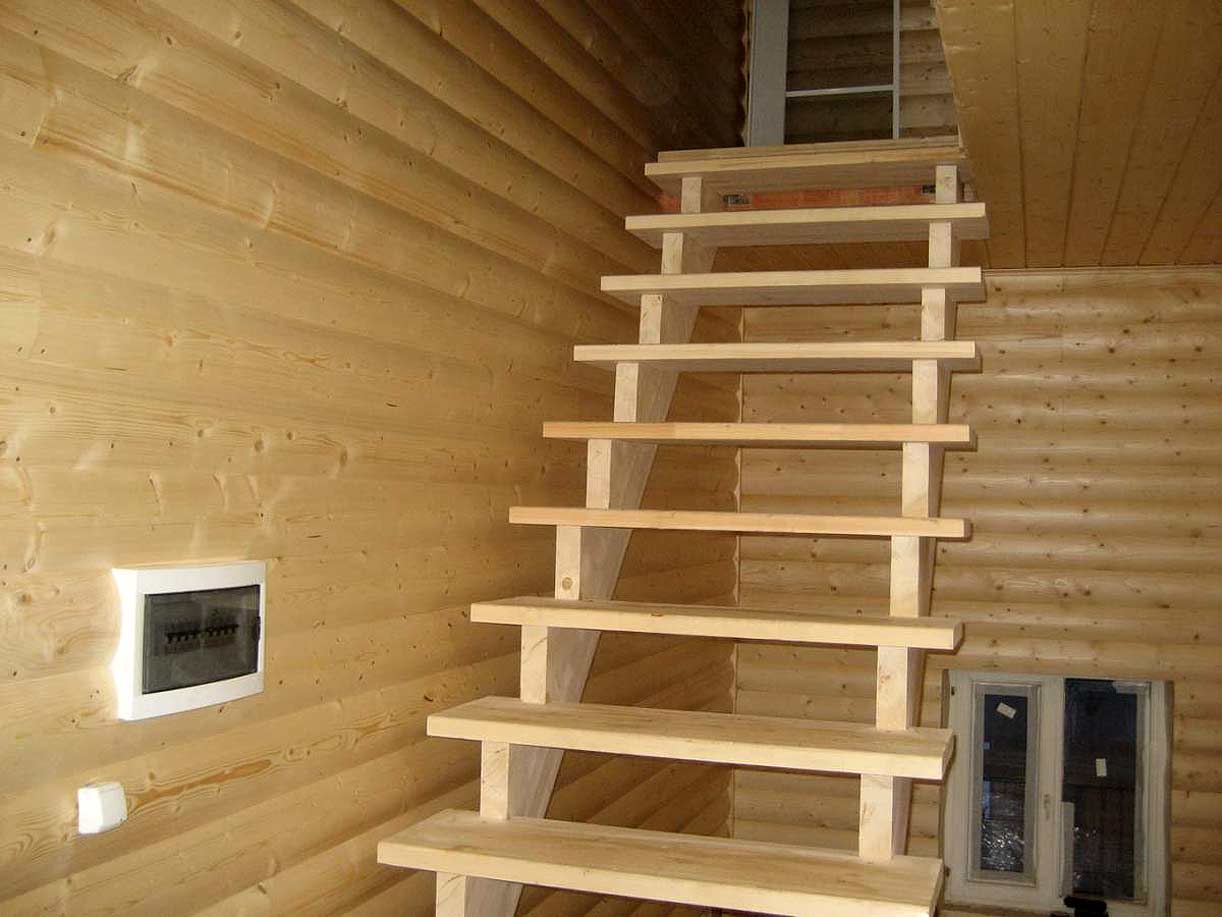
- Before you mount the frame, be sure to mark the areas where the switches and sockets will be located.
- Having treated the walls with an antiseptic solution, be sure to wait until it is completely dry, and only then continue to work.
- If the room does not need warming, then it is quite possible to use bars less than five centimeters thick for the frame.
- In order for the nail caps not to spoil the exterior of the wall panel, you need to hammer in the nails with a special tool called a doboynik.
Do not embed nail heads larger than three millimeters.
- If there is a need to cut the clapboard, then it is best to do it with the most ordinary hacksaw. Just choose a tool with fine teeth.
- In that case, if the installation of the wall paneling is carried out in a room with high humidity, then we recommend processing all panels with a special moisture-resistant varnish. It is possible to mount panels only after full drying of a varnish.
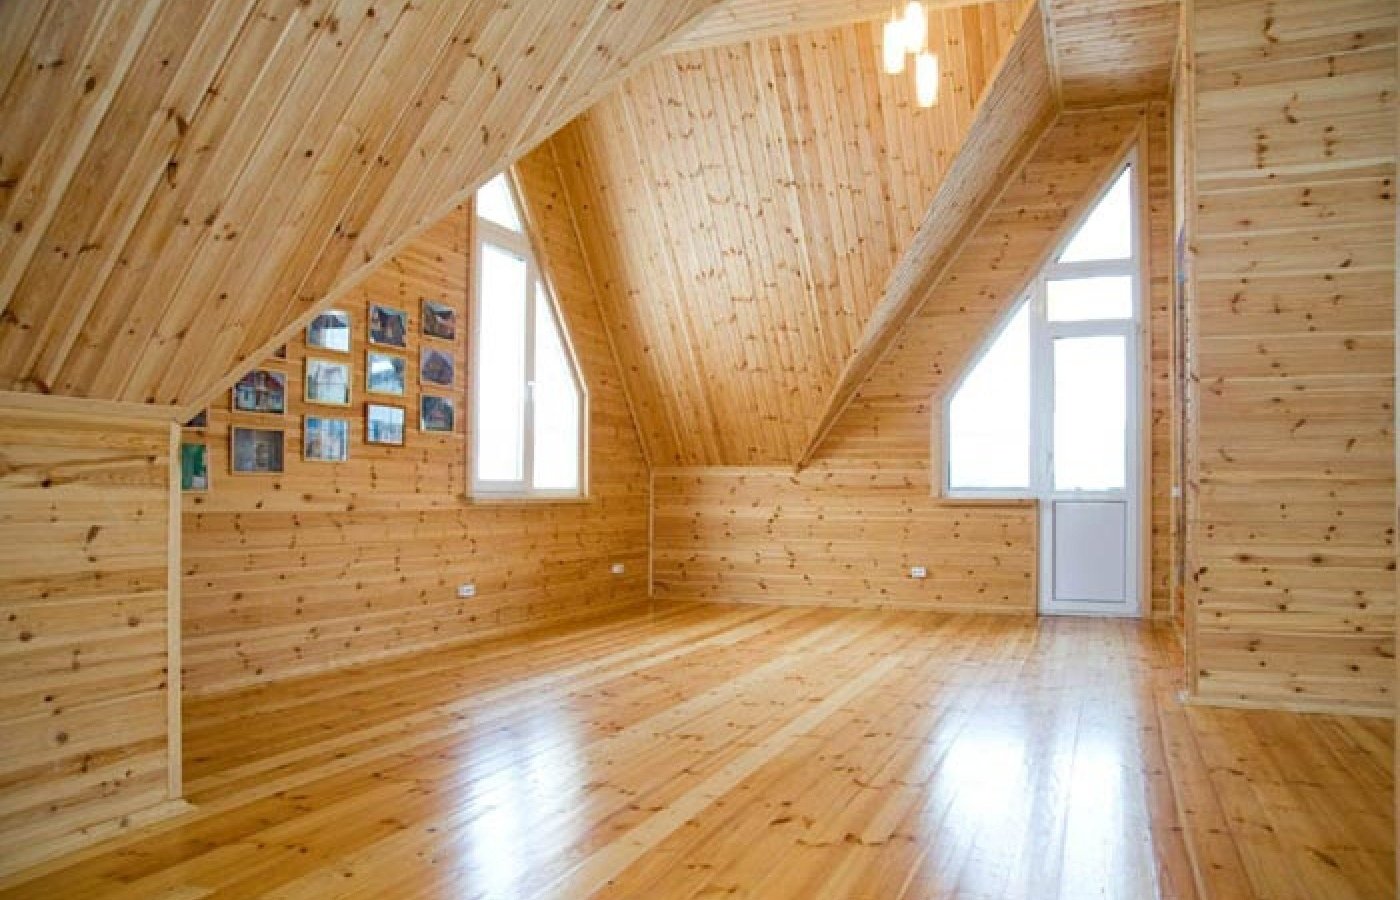
- Choosing the way of covering, remember that the vertical covering of the walls is visually capable of giving the room additional height, and the horizontal makes the room visually much wider than it actually is.

For more information on this issue, you can learn from the video below.


