The subtleties of sound insulation and sound insulation floor
A common problem in an apartment building is ambient noise. It comes from above, below, from behind the walls, and this does not always mean that the neighbors started repairs or move furniture at night. Sometimes the problem is that the house was erected with violations of building codes, or cracks appeared inside the walls.
Whatever the reason, the solution is to study the subtleties of sound insulation and sound insulation of the floor, and choose the best material for your case and method of installation.
Special features
Sound insulation and noise insulation are different. Apartment owners do not want to delve into the essence of this difference - any noise is equally annoying. And this is one of the main mistakes that reduce the effectiveness of measures in the fight for silence.
Sounds and noises have a different nature of origin. In practice, this division is conditional, since Initially, only the term “sound insulation” existed, which took into account only the propagation of mechanical vibrations perceived by the ear.
- Sound insulation of the floor implies protection against acoustic and air (structural) vibrations.
- Acoustic caused by the reflection of sound from the walls and ceiling of the room (voice, dog barking, music).
- Air vibrations are the result of a person moving around the room: shuffling steps, opening and closing doors, and similar actions.
- Sound vibrations propagate through cracks in the floor ceiling, outlet boxes, ventilation, pipes.


Soundproofing floor - this is a measure to combat shock waves. They are caused by a mechanical effect on any surface. Neighbors from below nail the curtain over the window - the sound of overlaps, batteries, walls goes up and down. Children jump in their room, someone indignantly knocking on the battery is all shock vibrations.
To combat the sounds you need reflective materials, and to combat the noise - absorbing. In one material, these properties may not be combined,therefore, to effectively solve the problem, they need to be combined and layered on each other.
There are some more important aspects that must be considered when installing the insulating layer on the floor:
- The choice of materials determines the type of house. Building materials themselves have a greater or lesser ability to transmit sounds from one room to another. It depends on their thickness, porosity, integrity of the internal space.
- Provide good insulation concrete floors in the house, which is built in compliance with all standards. The thickness of the concrete floor in it is large enough to drown out the acoustic and shock vibrations.
- Lucky residents of brick houses. This material is corpulent and dense, successfully drowns out sounds and noises without additional efforts.
- Panel and monolithic frame houses already pose a problem. Often they are going to hastily, in violation of the SNiP.
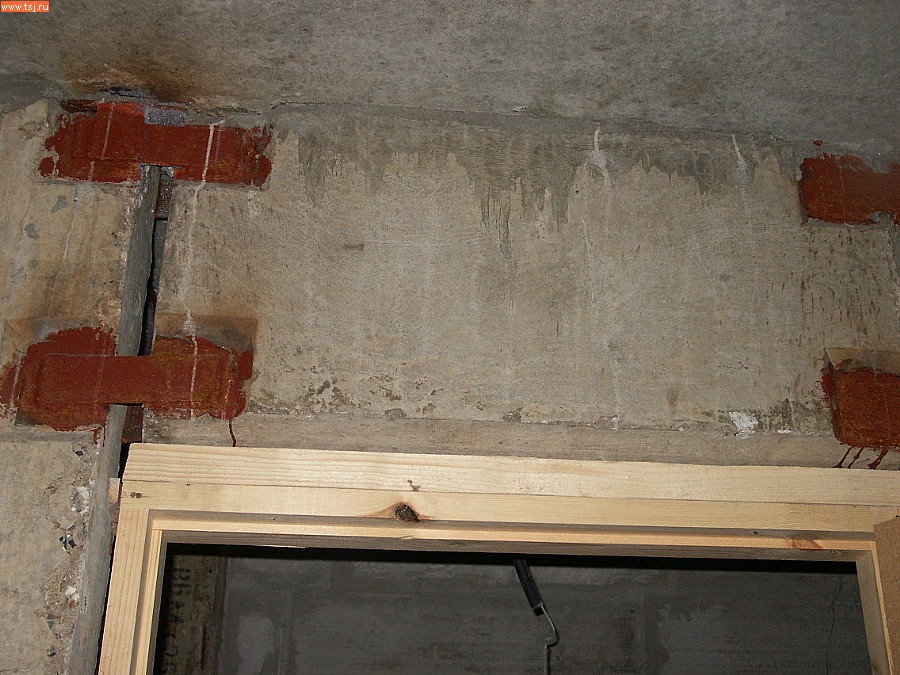
As a result, the overlap thickness is only half the norm; therefore, any sounds are missed, and gaps remain between the structural elements - a direct path for structural noise.
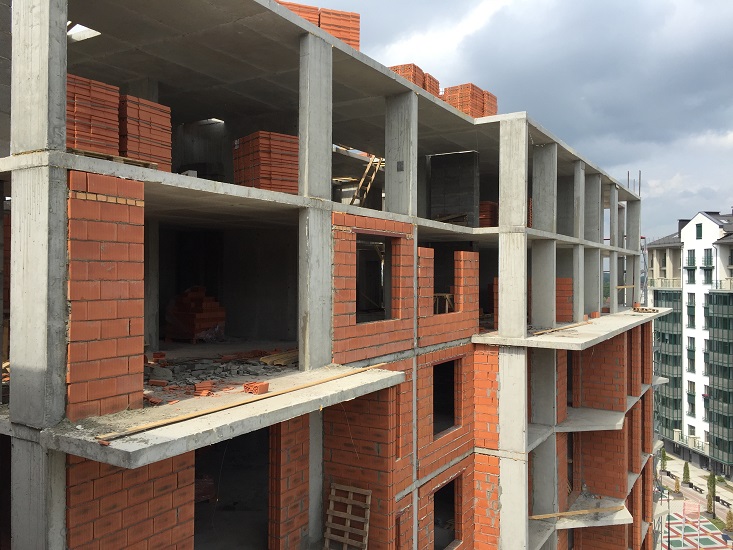
- Monolithic frame houses in terms of isolation, they are bad because they are a solid construction. Shock noises are well distributed over the floors. If the ground floor started a renovation, tenants will know about it until at least the third.
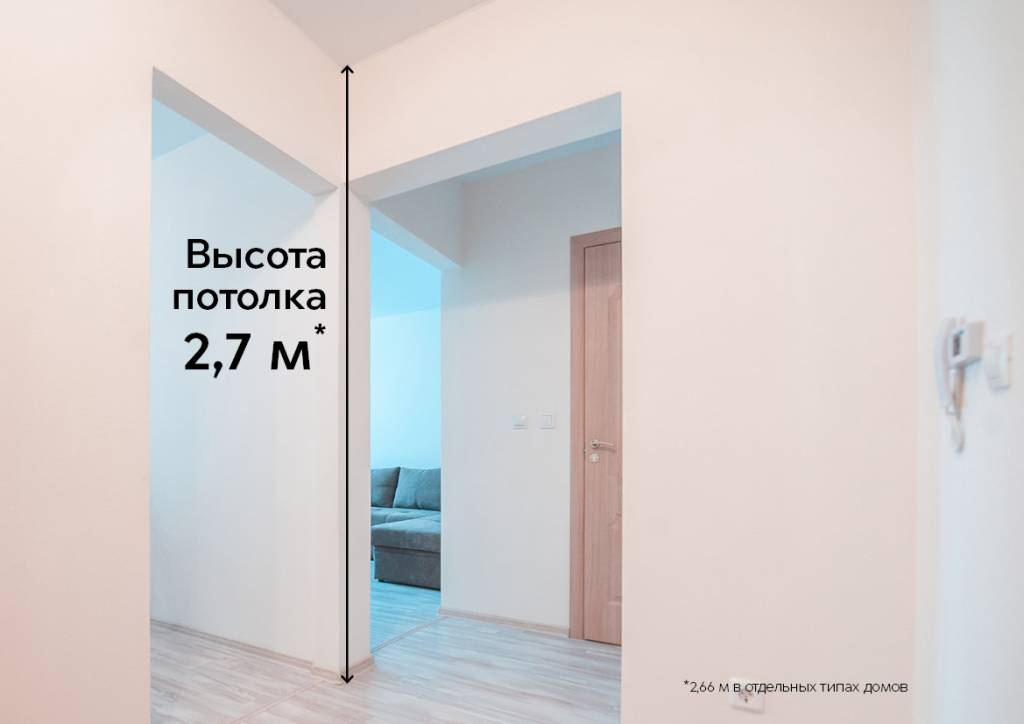
- Ceiling height also matters. The greater the distance from the floor to the ceiling, the worse the air vibrations go out. In an apartment with high ceilings, good acoustics, so if neighbors listen to music from the bottom or swear, the sounds through the floor overlap to the neighbors from above. In this case, the impact noise has a greater effect in the opposite direction.
- From the height of the room depends on the permissible thickness of the insulating layer. If the height of the ceiling in the apartment is 270 cm or more, you can safely mount a layer 10–20 cm thick. No one will begin to rest his head on the ceiling and feel uncomfortable because the room has become cramped. But for apartments with a ceiling height of less than 270 cm, a loss of 15 cm may become critical.
- Paul is not the only way through which extraneous sounds penetrate the apartment. With a pronounced problem with extraneous sounds just with a floor coupler, it will not be possible to correct the situation.Yes, it will be a little quieter, but the sounds and noises will still penetrate other paths. Additional measures are needed.
Purpose
Speaking of noisy neighbors, do not forget that in your own apartment there are also enough sources of sounds and noises that can annoy the residents of the nearest apartments. If the problem of poor insulation in the house is relevant, then it is relevant to all. Therefore, the purpose of sound and noise insulation is not only to increase your own level of comfort, but also to minimize discomfort for your neighbors from below.
Indirectly, it’s still care about your peace of mind - there’s no reason for a conflict with the neighbors, if children in the apartment like to play with the dog, someone exercises musical instruments, and library silence is not supported at all.


Other reasons:
- The noise level will be lower.
- Insulating materials line the base of the floor. On a flat base it is more convenient to mount the topcoat.
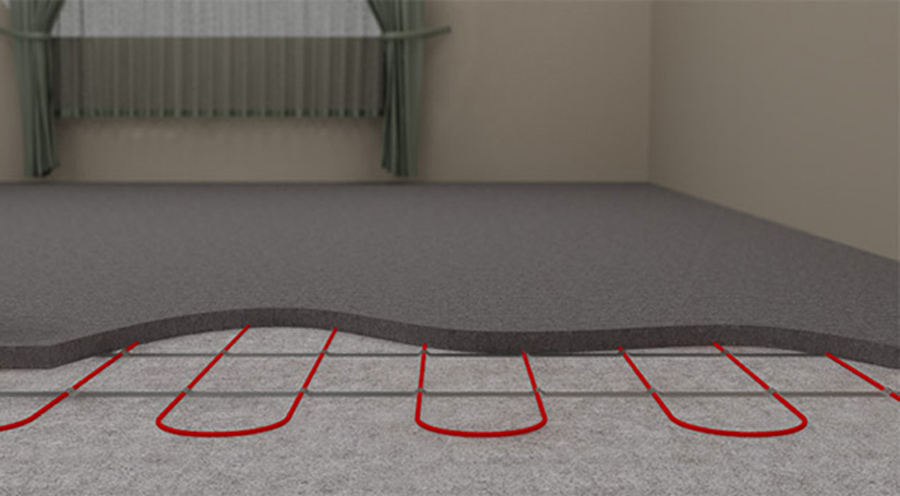
- A common variant of sound and noise insulation of the floor - screed. Any of its types (dry, semi-dry and wet) is suitable for mounting a floor heating system in it.Thus, it turns out to solve two problems at once: silence the extra noise and warm the floor.
- A room with good sound absorption complies with building codes.
This raises the apartment in price when selling.
- Expanded freedom of action in his own apartment. Impact noise is perfectly absorbed and damped when the insulating materials are in the same room as the source of the noise.
Regulatory requirements
About building codes and requirements (SNiP) has been said repeatedly. However, not everyone knows what they regulate and why they are needed. Sometimes the house is so poor-quality sound insulation that it seems as if the developers of residential houses are also unaware of the appointment of a SNiP. And they are necessary for housing to be safe and comfortable. Regarding sound insulation - it is noise protection.
The set of rules governing the activities of developers, establishes a conditional "rate" of noise and the maximum permissible indicators.

Mandatory requirements for the design, construction and operation of residential (and not only) premises developed on the basis of GOST. The provision contains many clauses and sub-clauses, of which for the owner of the apartment only three are important:
- Permissible noise level. It is understood as a level that does not cause concern to the tenants of the apartment, does not have a physical effect on the state of the body and its functional systems, including auditory analyzers. It is considered valid all day.
- Maximum allowable level. Unfortunately, the ultimate is not the same as “not annoying.” This is a level that during working hours (until 22:00) does not cause surrounding diseases and health problems. Neighbors from below have the right to knock with a hammer at a certain time of day. This will have to put up with.
- Insulation of shock and airborne noise. SNiP divides them into two separate categories, but without a specialist it is difficult to understand the indicators and formulas. The only important thing is that according to the norms, the permissible noise level at daytime is 39–49 dB, at night 30–35.
High-quality floor overlap can isolate 50–55 dB of sound. The screams of an adult or a baby’s cry are 70–75 dB. Accordingly, additional protection is needed. On average, sound insulation materials make it possible to drown out 20–30 dB of noise with proper installation.
Also in SNiP requirements for floor decks are fixed:
- The lack of rigid links between the floor and the supporting structures of the building.That is, the screed must be floating, without sound bridges.
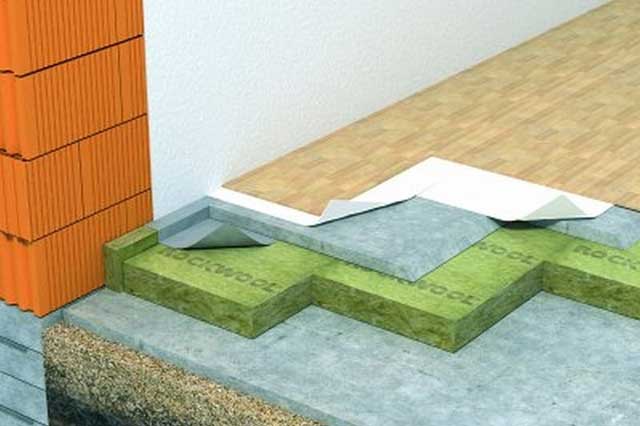
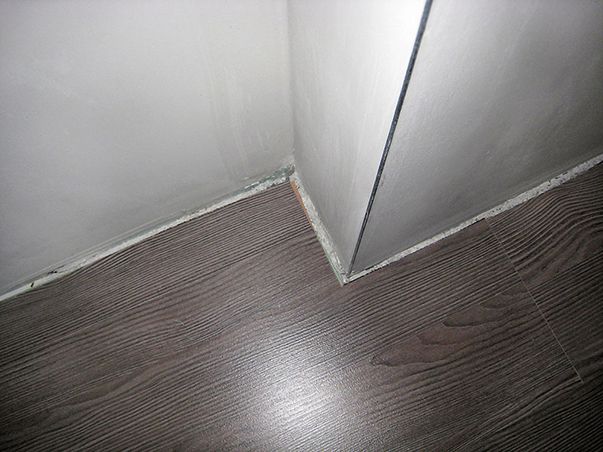
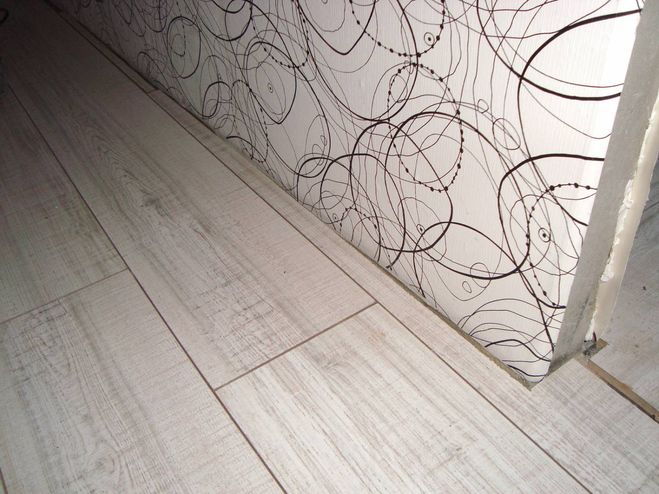
- The base of the floor of concrete or wood is separated from the walls along the contour by a width of 1–2 cm.
This gap is supposed to be filled with materials that poorly conduct sound: wood fiber, foamed polyurethane foam, mineral wool and others.
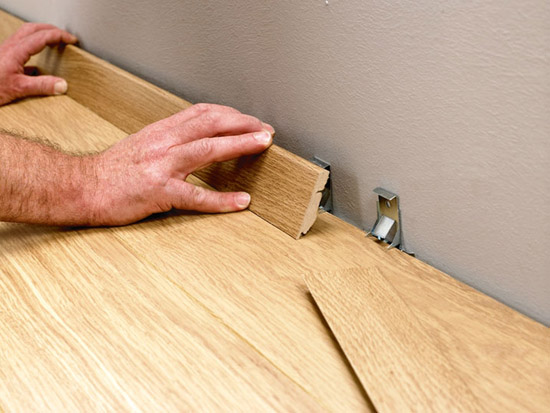
- The plinth should not be a connecting link between the floor and the wall. It is attached either to the base of the wall or only to the base of the floor.
- Monolithic (wet) screed is mounted on the waterproofing layer.
- Plate materials are laid close up, without gaps at the joints.
- If there is no stock for sound insulation of the floor (the air gap between the screed and the coating), materials should be used on a foam base. This applies to soft cover in the form of linoleum and carpet. Their base should not be fibrous.
- Interfloor ceilings between residential and noisy rooms are divided by a thick monolithic structure with sound insulation of 57–62 dB.
Modern materials
Sound insulation materials can be divided into obsolete and new. The conventionality of this classification is explained by the fact that many of the old materials are considered traditional, a kind of classic, and continue to be used, despite the fact that alternatives have appeared.
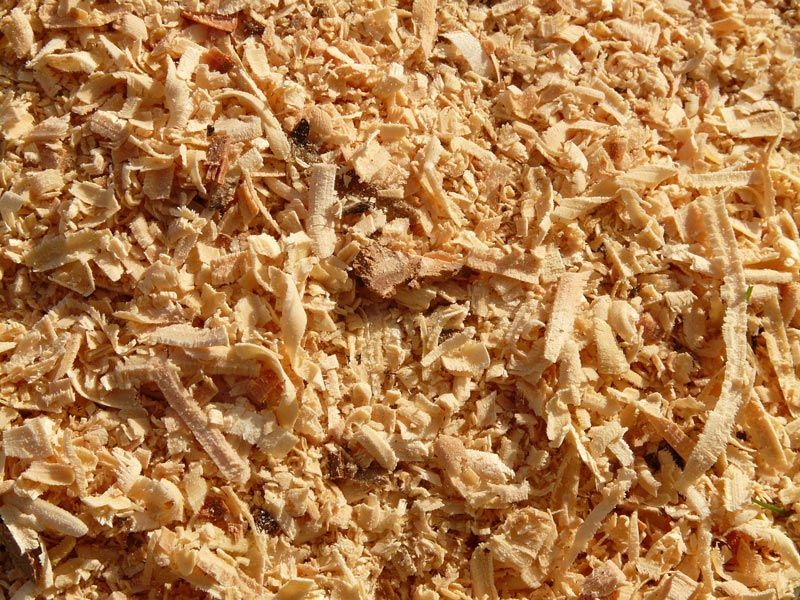
Finally, their sawdust, foam rubber and polystyrene have become obsolete. However, their modified versions are viable. They cope with the task, when the house already has good sound insulation, and it only needs to be strengthened. It is easy to work with non-professionals with these materials, and their cost is several times (sometimes ten times) lower than the cost of innovative materials.
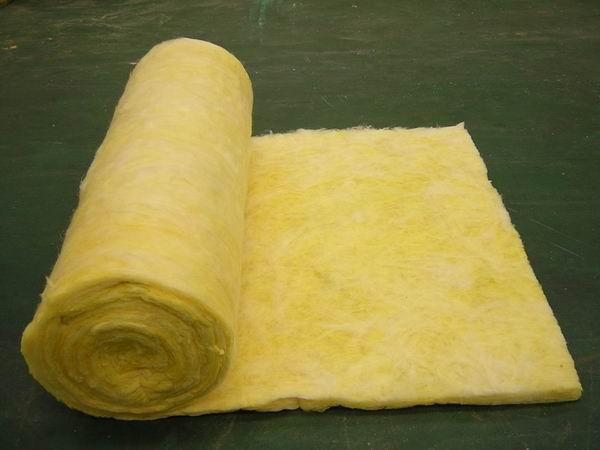
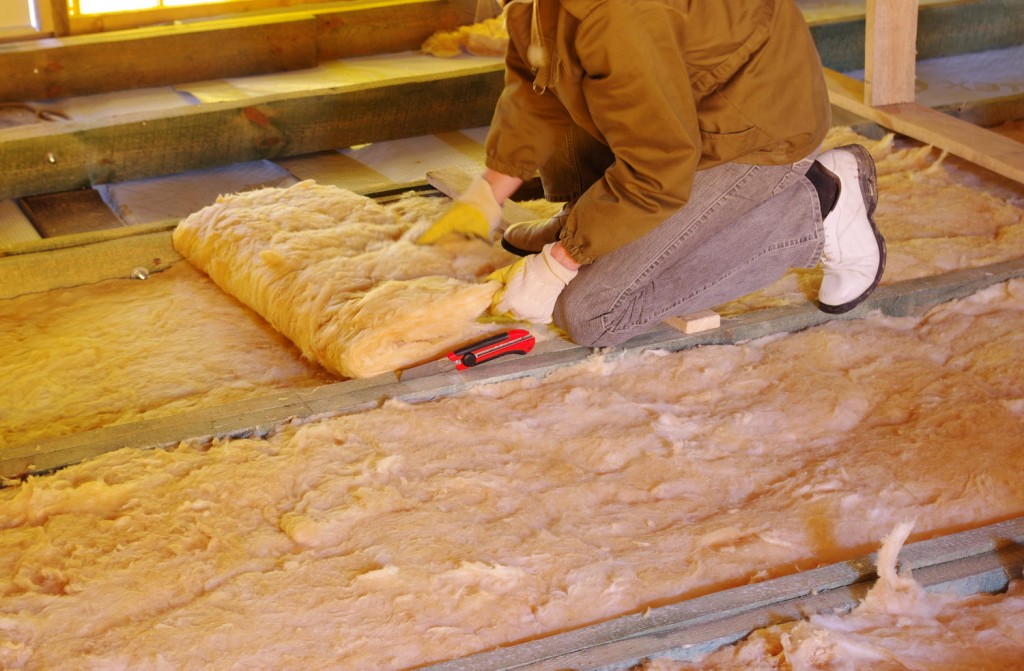
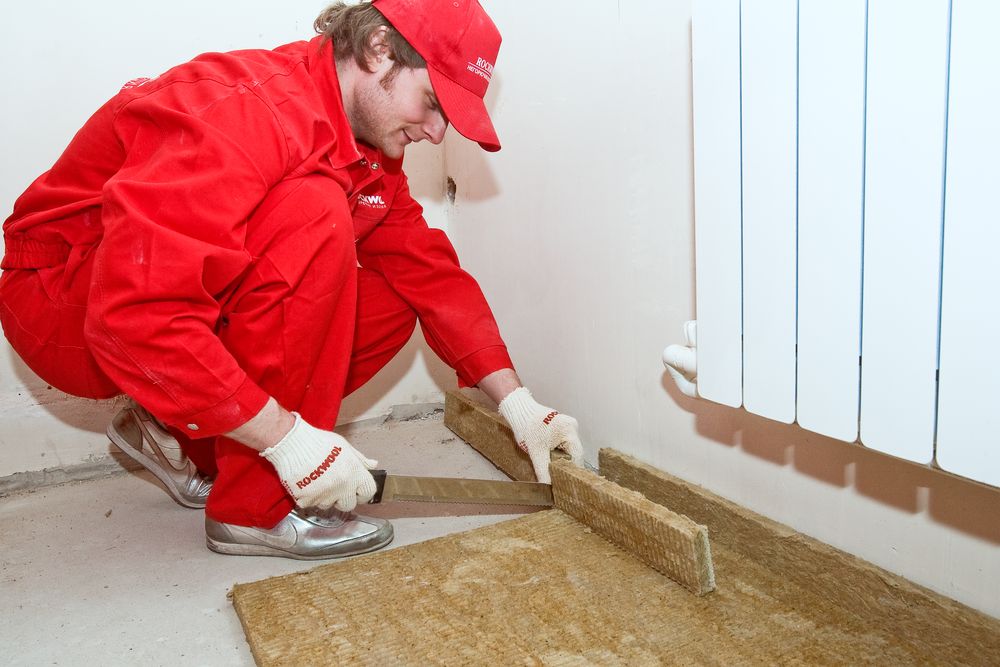
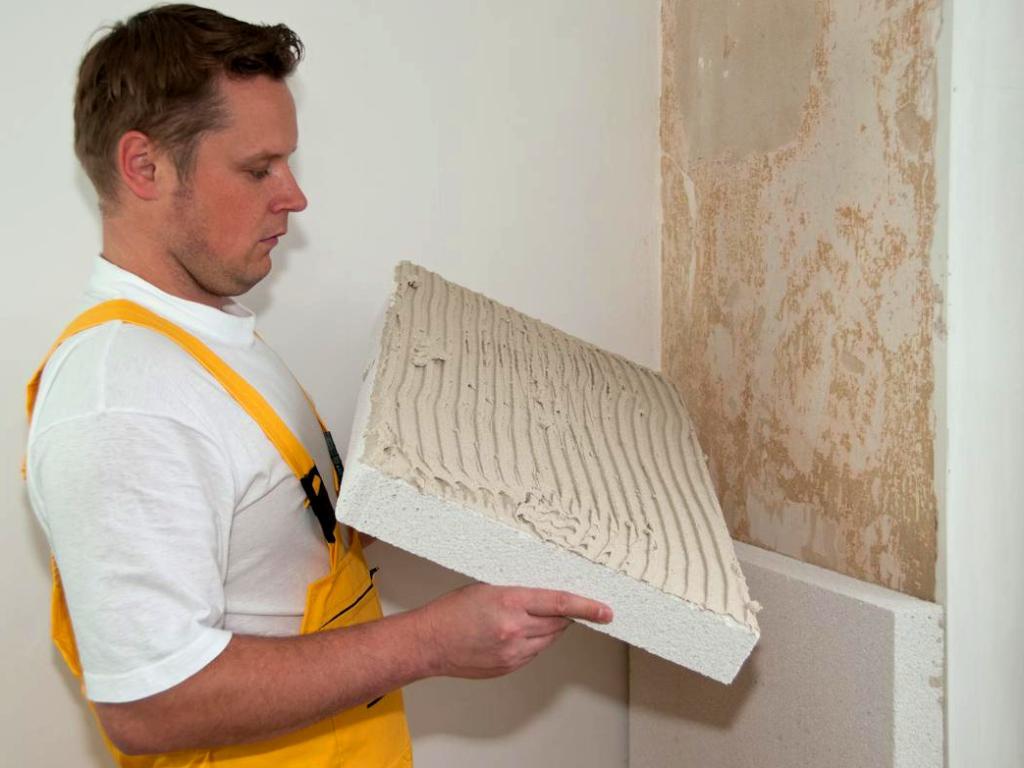
Vata
This, of course, is not about medical cotton wool, but about fibrous materials from raw materials of mineral origin. These include mineral and basalt wool, glass wool. The materials differ from each other, but these differences are not critical. The advantages and disadvantages of construction wool of different types are identical.
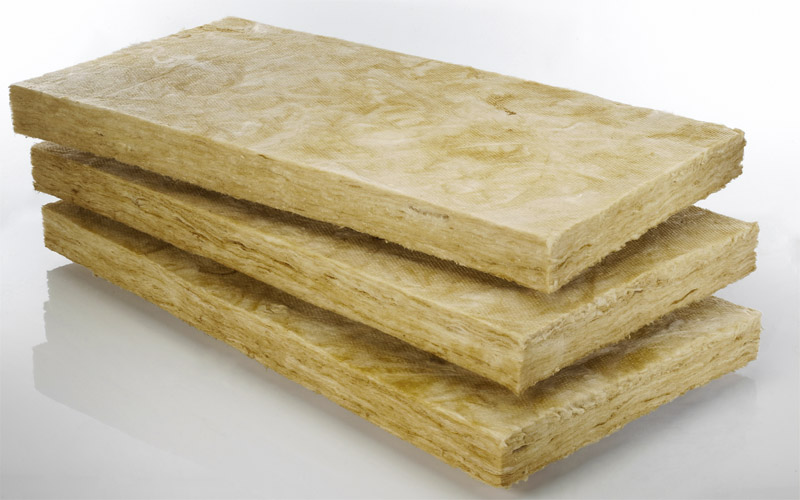

Pros:
- Low weight.
- Additional insulation due to air between the fibers of the wool.
- Universal material for any surfaces.
- Does not accumulate dust.
- Does not burn.

Minuses:
- The material is primarily insulating, and only in the second - soundproofing.
- A layer of at least 10 cm in thickness will be effective.
- Do not deform the plates during installation. If you press them tightly together until wrinkles occur,wool loses its qualities.
- May shrink or deform due to mechanical stress on the floor.
- Afraid of moisture.

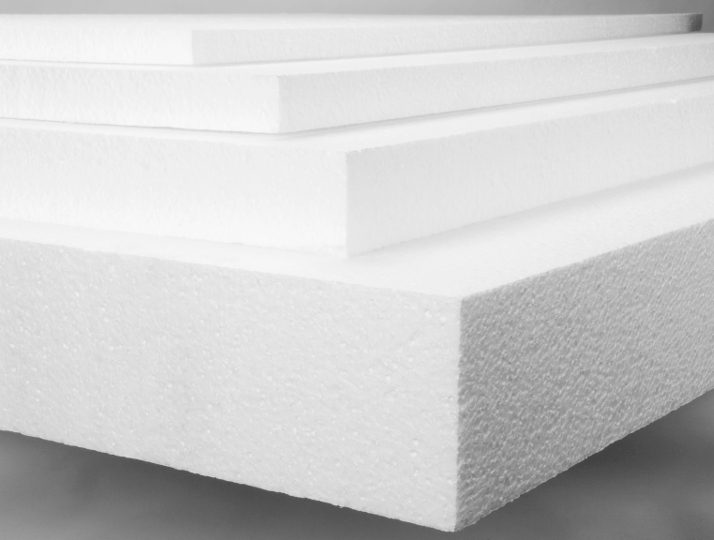
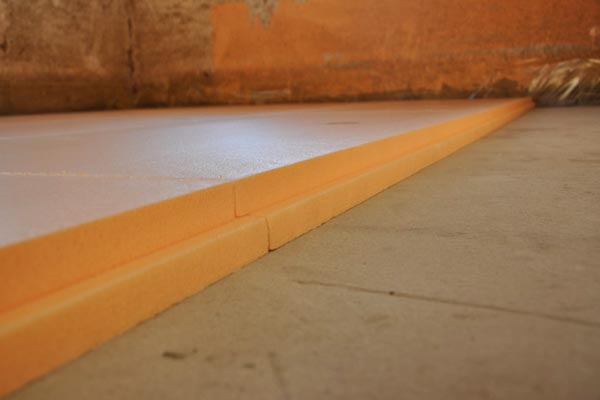
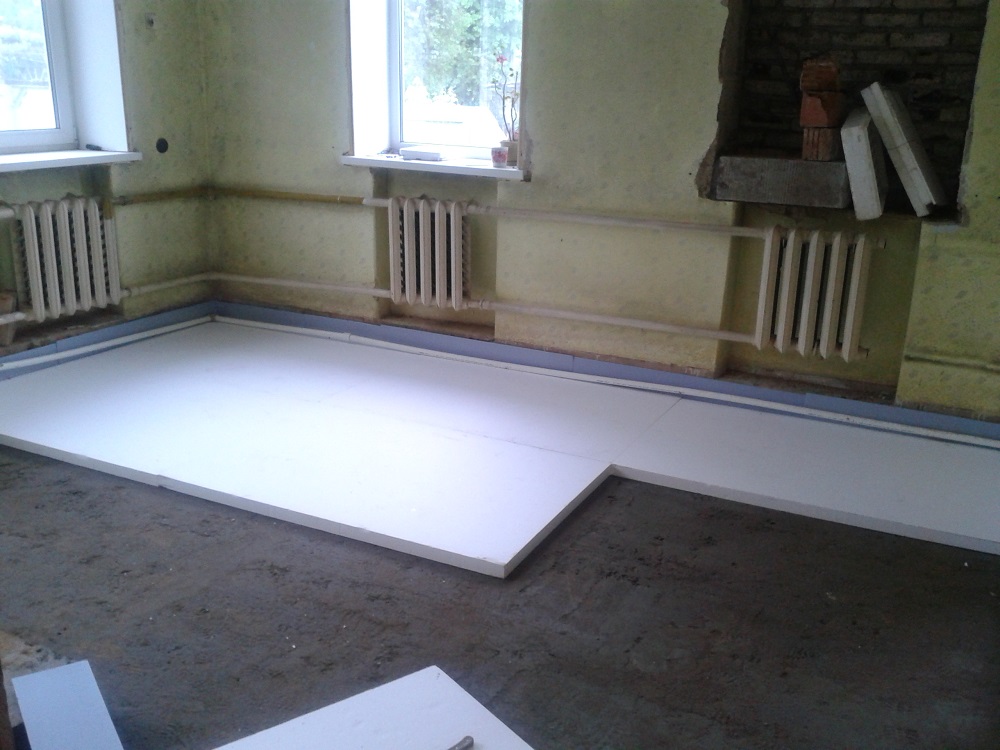
Styrofoam
This is what the foam plastic “evolved” into. Its performance has improved markedly with changes in production technology, however, it is still not good enough.
Pros:
- Resistance to moisture, dust, activity of living organisms.
- The cellular structure of the material not bad hides the noise.
- Long service life.
Minuses:
- Fragility. Light cellular plates are much better suited for soundproofing the ceiling than the floor, which is regularly exerted by point-like power loads when walking.
- Loss of 10-15 cm from the height of the ceiling. A thinner layer will not be effective.
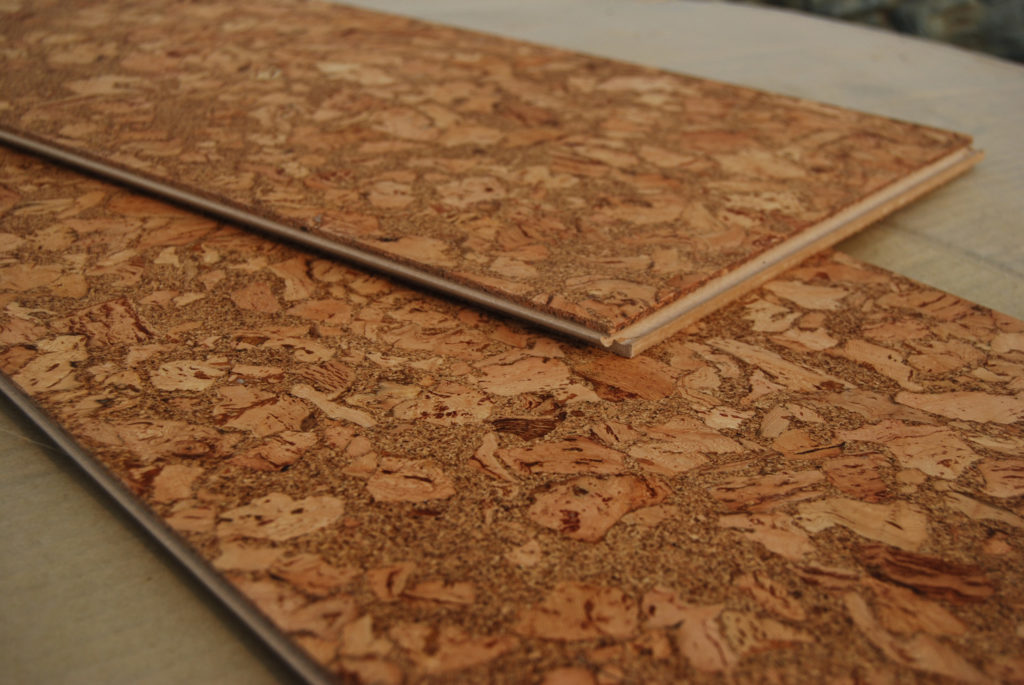
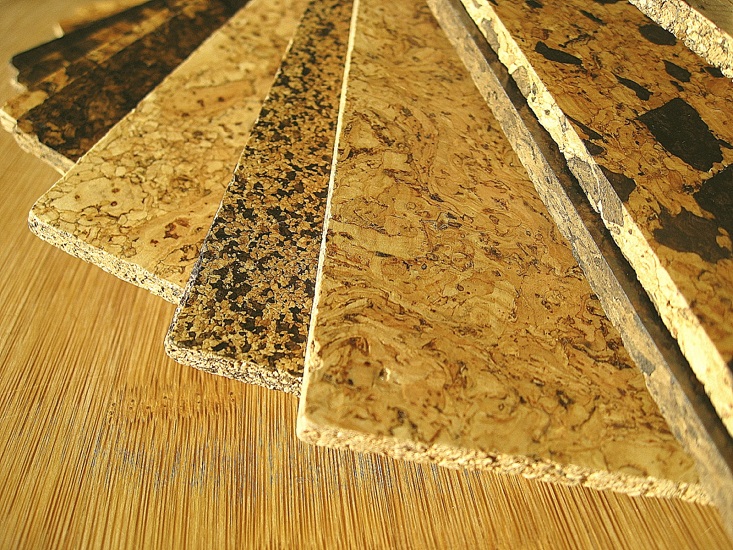
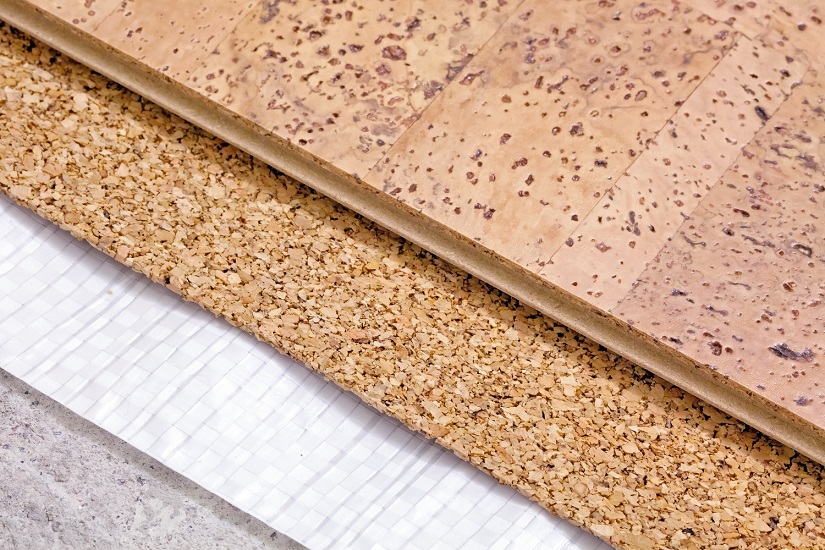
Cork panels
This sheet material is made from cork oak wood. He also goes to the process in the manufacture of caps for wine bottles. Wood veneer or small crumb is used, which is pressed and glued at high temperatures into solid sheets. Veneer is more expensive, baby is cheaper.
Manufacturers guarantee noise reduction of 20-30 dB, which is not quite true. Yes, such indicators will take place. At the neighbors.Cork cover protects against shock noise, so those who live on the floor below will be content with silence. In the apartment above, where there is a traffic jam on the floor, it will still be perfectly audible how happy the neighbors are if they start discussing it out loud.
Pros:
- Ease.
- Strength.
- Small thickness.
- Easy to cut and mount.
- It absorbs moisture poorly.
- Crumb sheets are cheap.
Among the obvious disadvantages, there is only one - the minimum of effectiveness in the fight against extraneous sounds. Innovative materials for the installation of leveling screeds are designed to solve this problem.

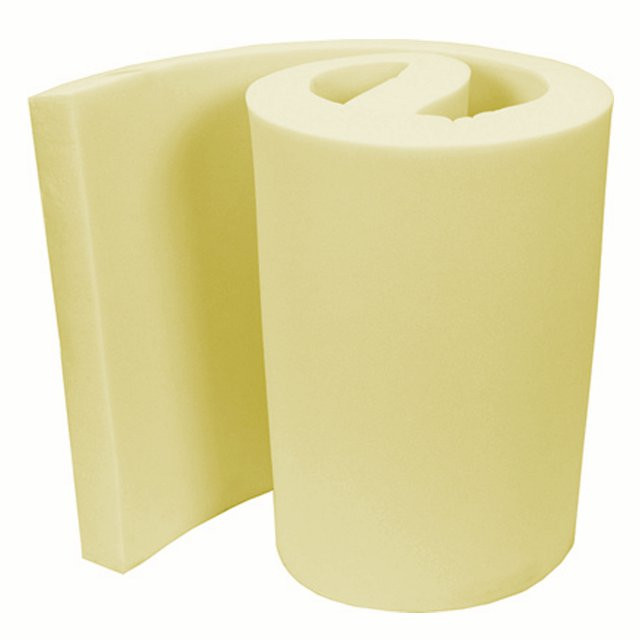
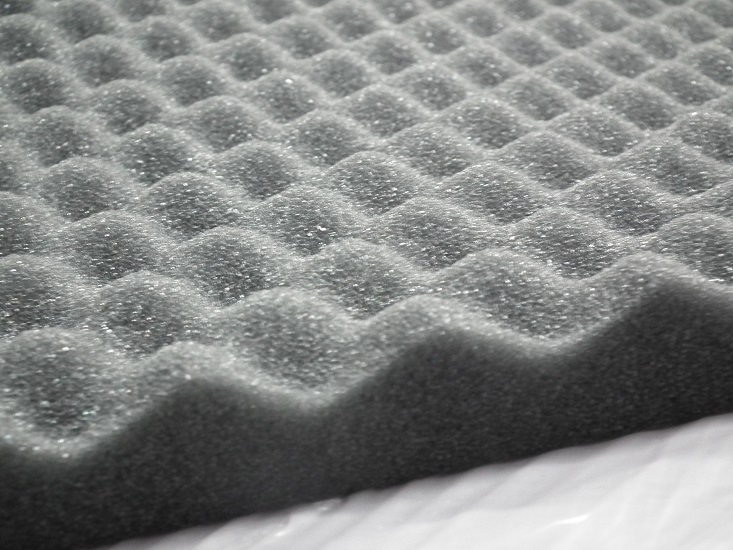
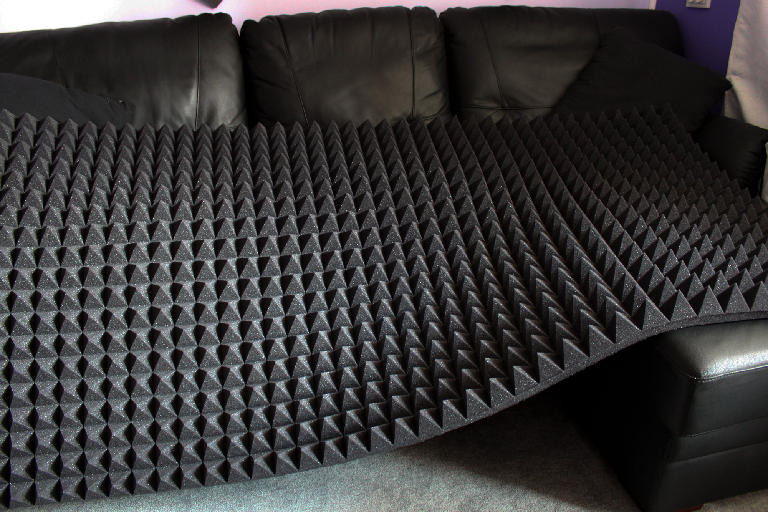
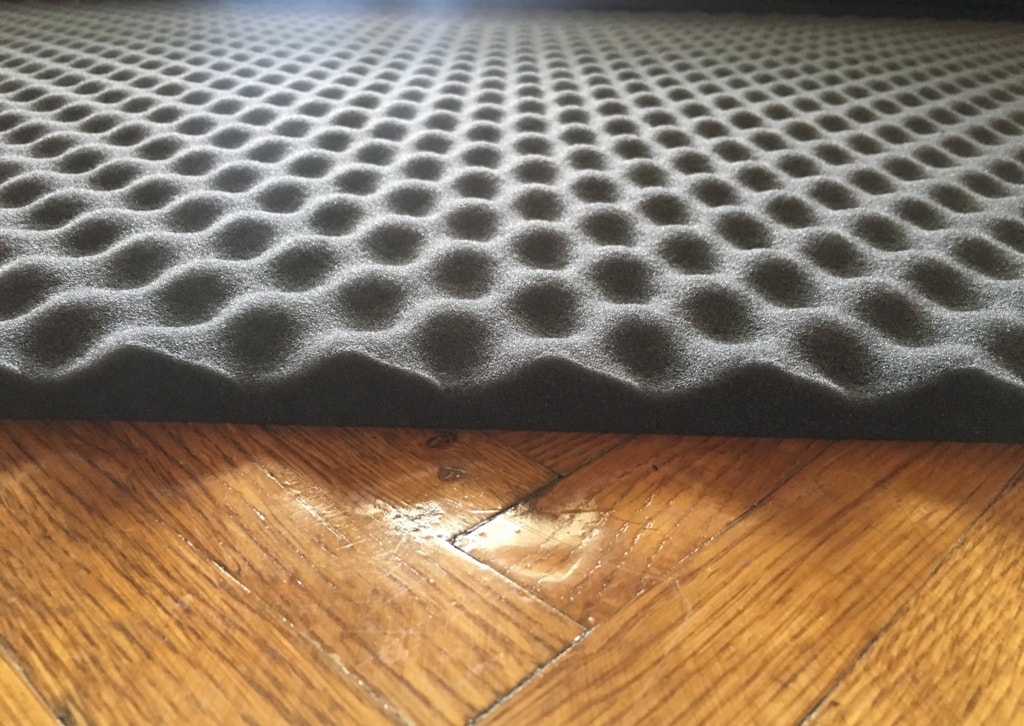
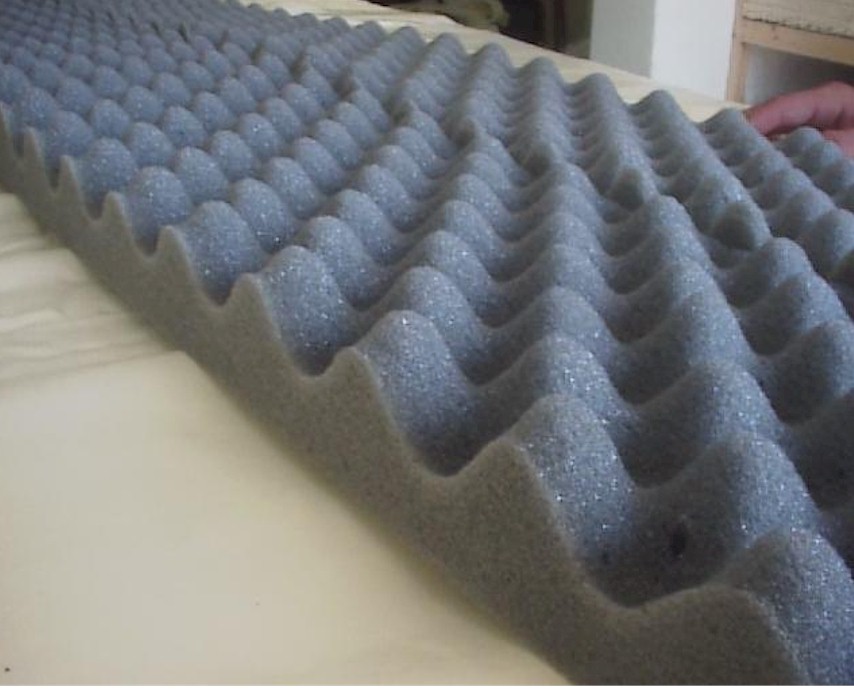
Acoustic foam rubber
It has nothing to do with soft loose dust collectors of yellowish shades, which are used for stuffing furniture. Acoustic foam rubber is a plate material for professional sound insulation. His field of application - recording studios, cinemas, public places.
Advantages:
- High efficiency.
- Little weight.
- Elasticity.
- Self-adhesive base.
- Easy to cut into fragments of the desired size and shape.
- Does not accumulate dust.
- Biostable
Disadvantages:
- Relief surface.
- High price.
- It burns and contains toxins that are released during combustion.
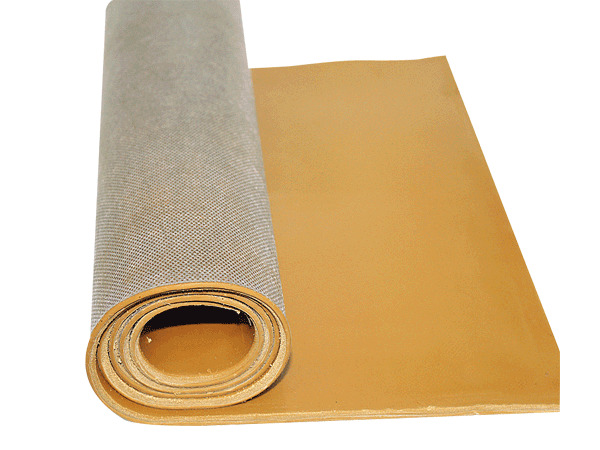
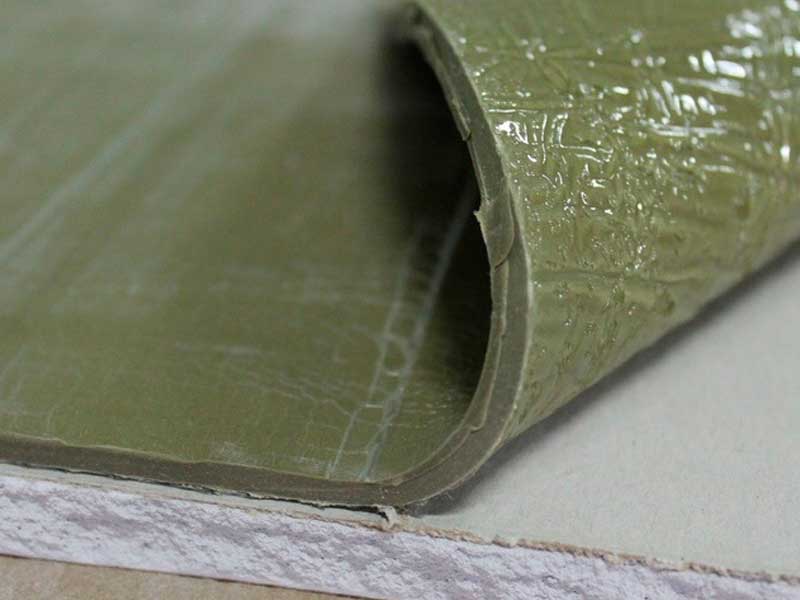
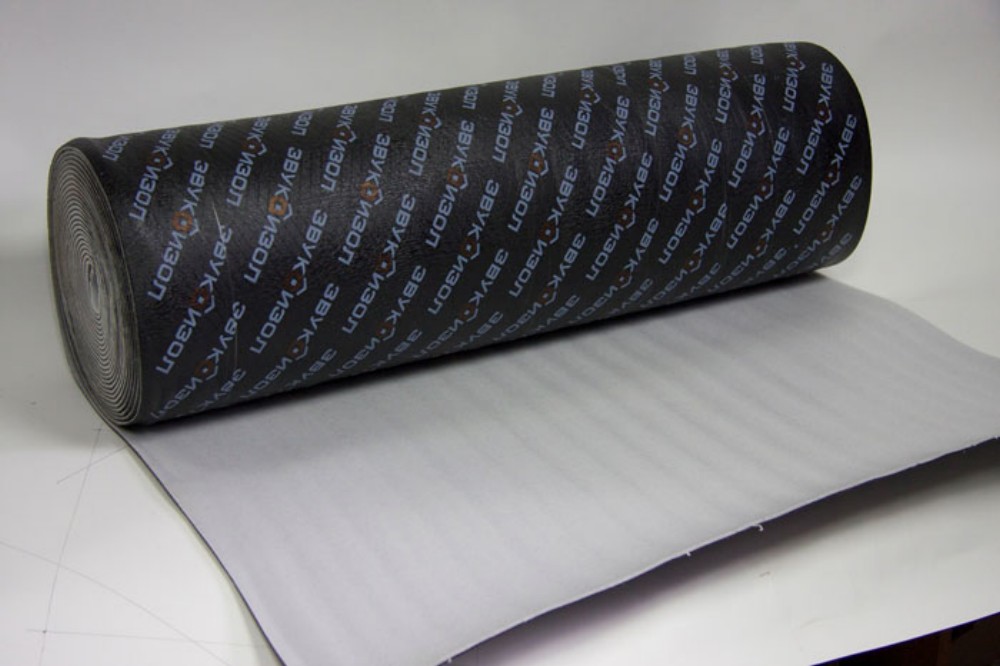
Soundproofing membrane
The acoustic membrane is a thin, but durable and heavy substrate, which consists of polymers, fibers and binders.
Advantages:
- Small thickness and high density.
- Easy to cut into fragments.
- Elastic and flexible.
- On self-adhesive basis.
- Suitable for use on vertical and horizontal surfaces, as the basis of floating screed, dry and team.
- At the same time is heat insulating.
- Gives a good result.
- Durable.
Disadvantages:
- Expensive.
- It should not be laid on uneven surfaces of the subfloor. Previously it will have to be leveled with plaster.
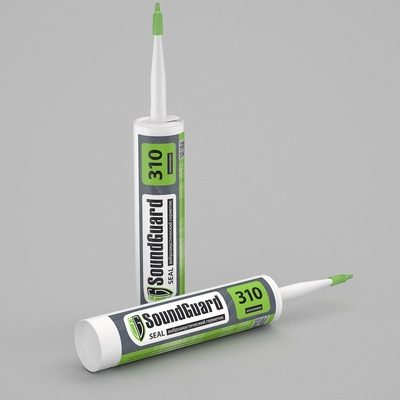
The flaws of the membranes are minor, so they are gradually knocked out among the leaders of soundproof materials. It is already possible to find products from many European and domestic manufacturers on the market: Teksaund, Trocellen Akustik, Maxforte, Phonestar, Soundguard, Index and others.
To reduce the cost of construction, it is possible to combine foam rubber and membranes with low-cost, but less efficient materials. These are the means intended primarily for heat insulation and already the second for sound insulation: cork, drywall, mineral wool, OSB and chipboard, polystyrene foam.Auxiliary means: acoustic sealant for sealing cracks and joints, damping tape.

Device
To equip floor insulation in several ways. The choice of the most appropriate depends on many factors. This and the height of the ceiling, which allows or does not allow to raise the floor for a dozen or two centimeters, and the state of floors (withstand a large load or not), the urgency of the issue and its financial side.
Common methods:
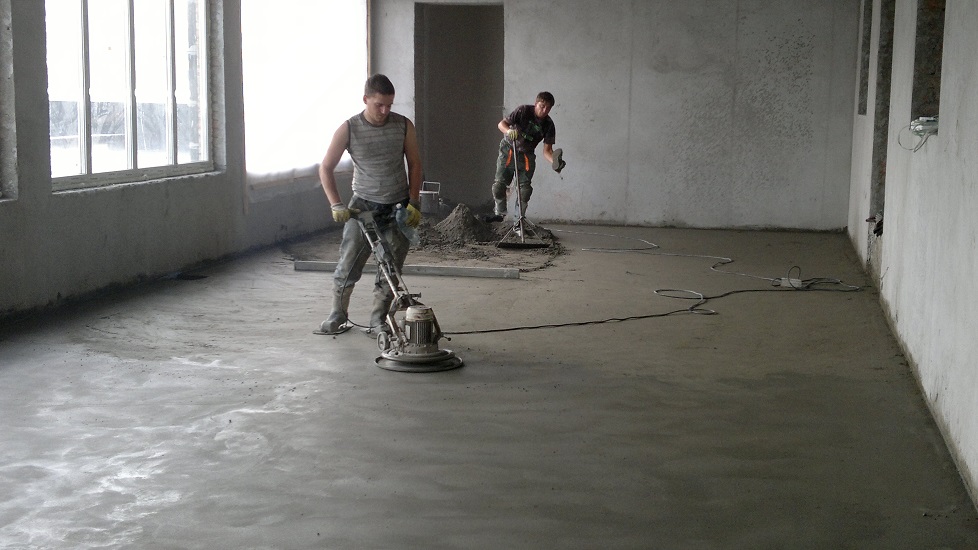
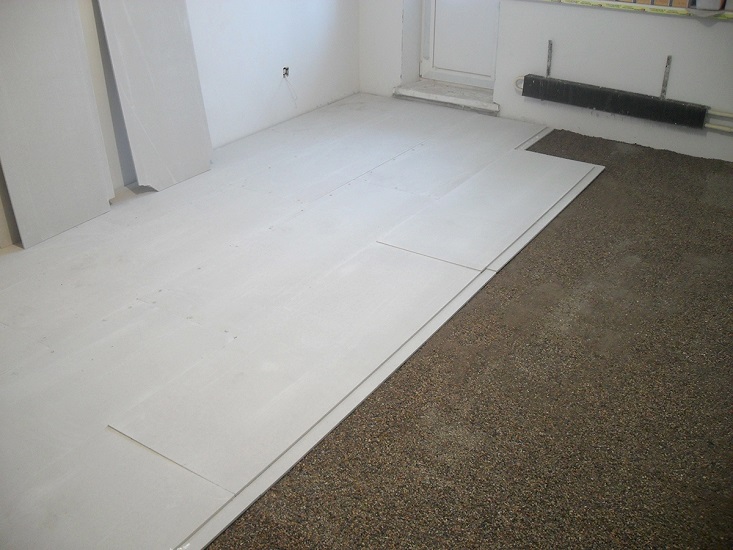
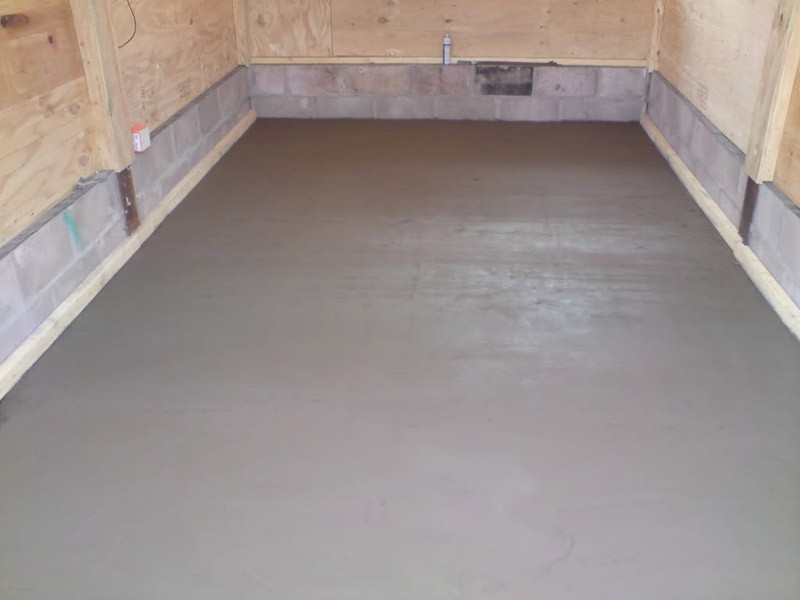
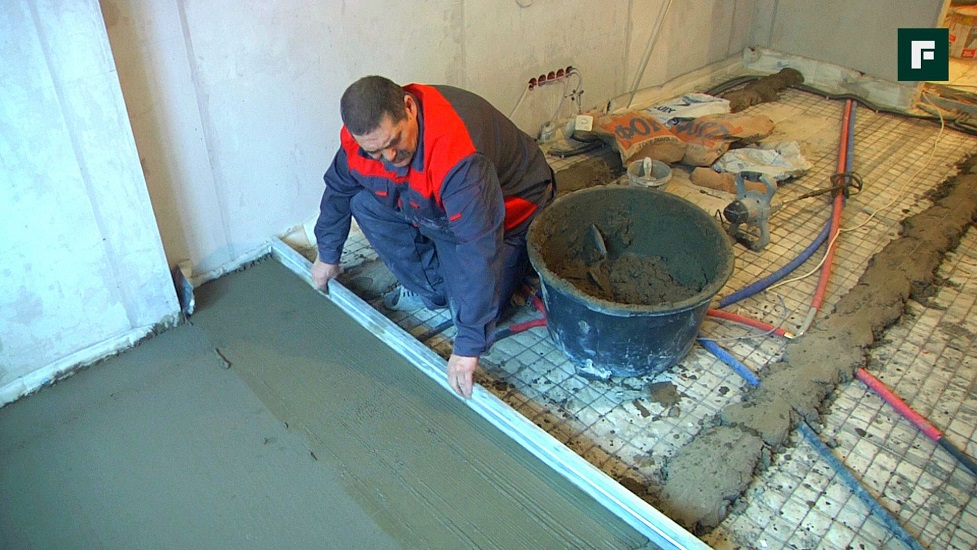
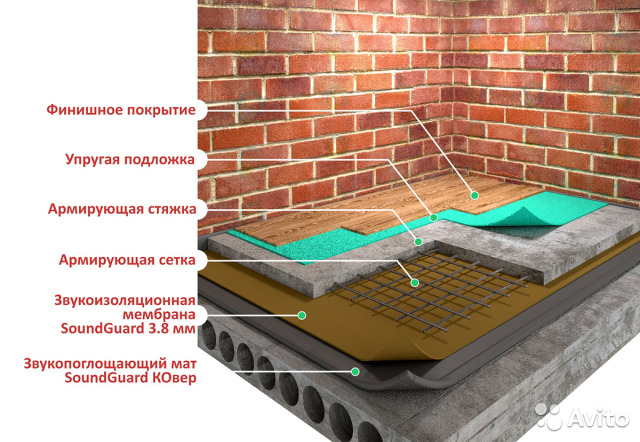
Floating screed
It is poured or poured over a heat insulating and sound insulating material. The foundation of the floor does not apply to floors and walls, and ceases to be a conductor for sounds and noises from the lower floor. It consists of the following elements:
- Soundproofing base. It can be either sound membranes or lighter in terms of weight and affordable materials: cork, plywood, mineral wool, polyurethane foam.
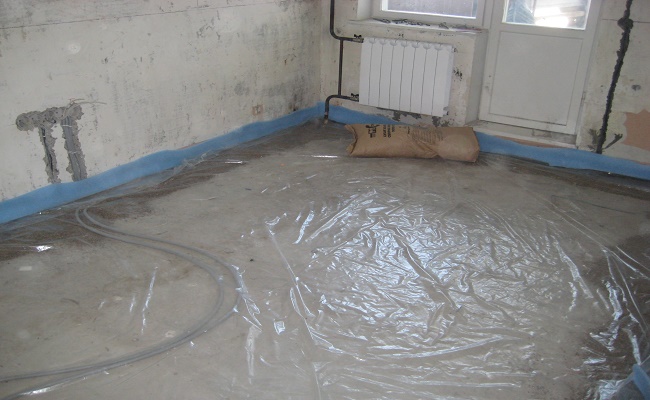
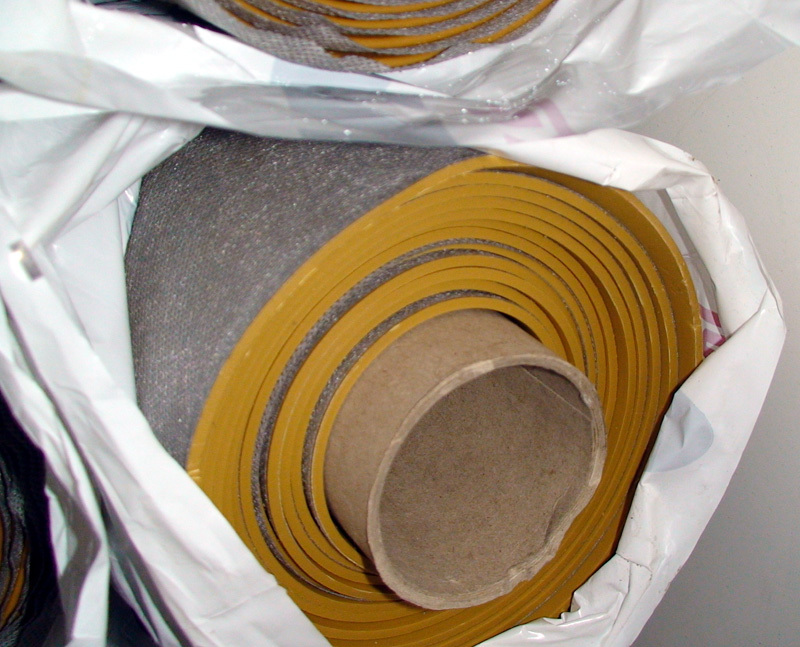
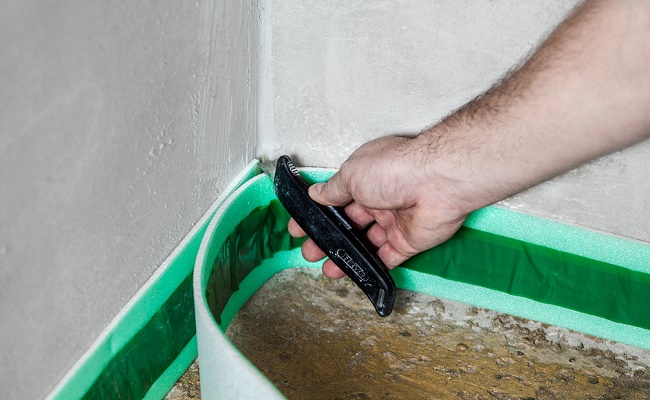
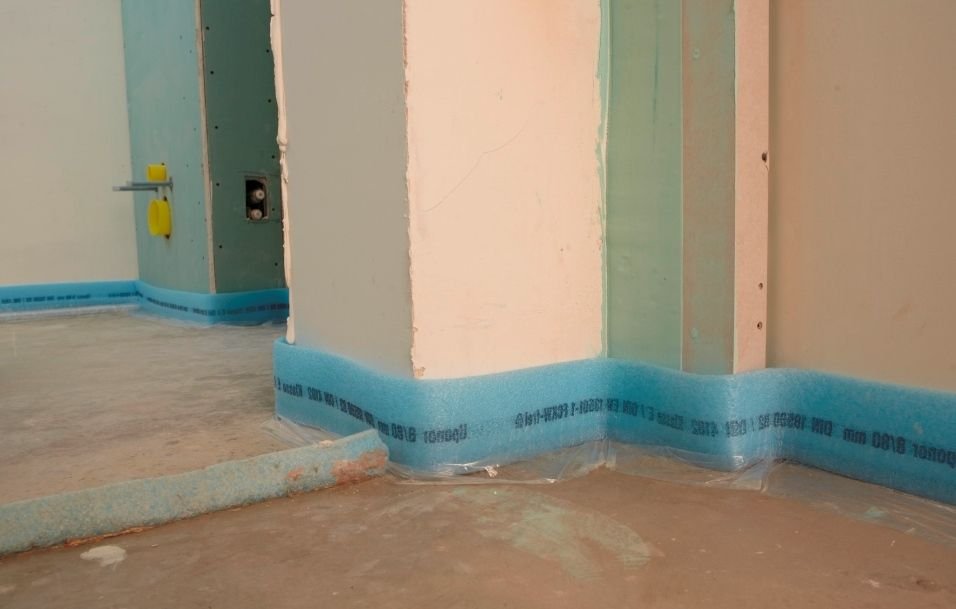
- Damper tape. It is necessary so that there is a gap between the screed and the wall, and no sound bridge is formed.
- Leveling compound. It is dry and semi-dry.
It is made on the basis of concrete, cement, gypsum, synthetic fibrovolokon.
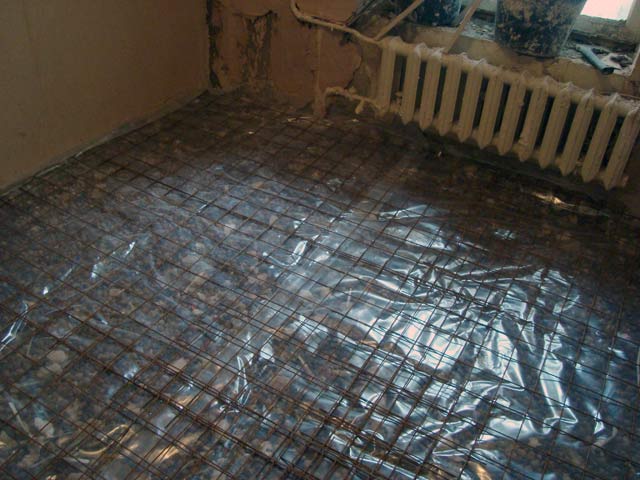
- Waterproofing. It is necessary so that the liquid mixture does not fall on the soundproof materials, otherwise a sound bridge is formed.
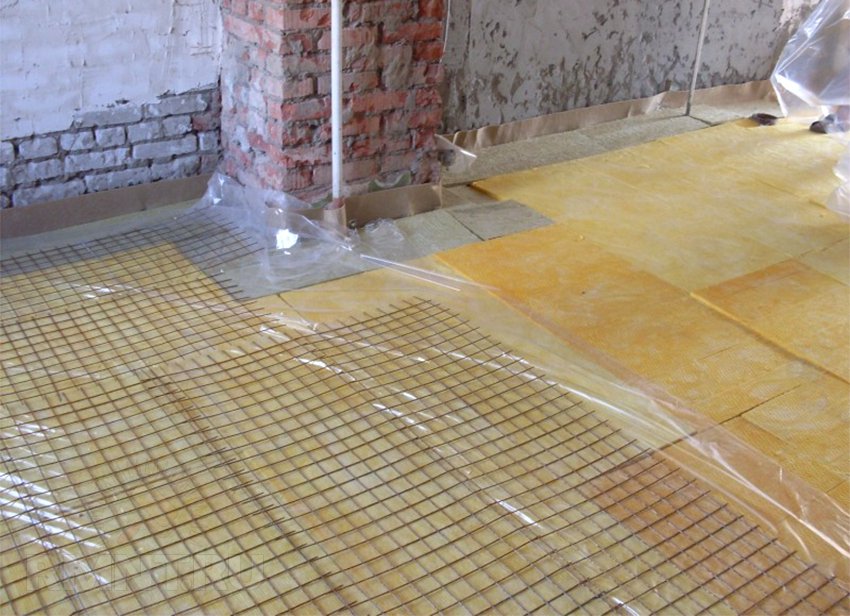
- Reinforcing mesh. Protects the screed against cracking when its thickness is more than 4 cm.
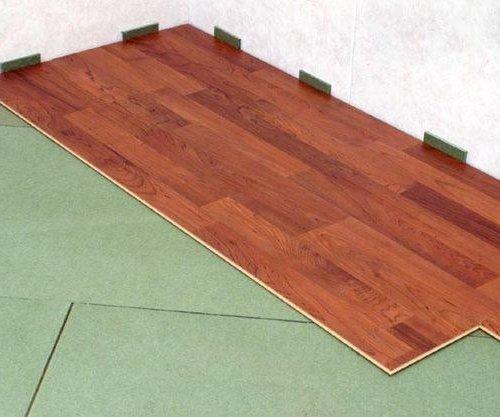
- Foamed materials for interlayer between the finish coating and the tie. Additional sound insulation.
The advantage of the floating screed is that it makes it possible to build up the thickest and thickest protective layer. It absorbs about 30 dB. This is more than enough for an effective result. This screed will last for decades.
The disadvantages of this method are also sufficient: long (the screed dries 30 days), expensive, laborious, the total weight of the structure gives a large load on the floor, and the height raises the floor by 5–15 cm. With an error of installation, all efforts will go down. Dismantling the monolithic floating screed is a long, dusty and expensive procedure. And extremely noisy.
It is important to use a floating concrete screed when the floors are in excellent condition, and they can be given a large additional load. Also, the method is suitable for uneven subfloor with height differences and apartments, where, in addition to noise insulation, it is necessary to arrange a heated floor.
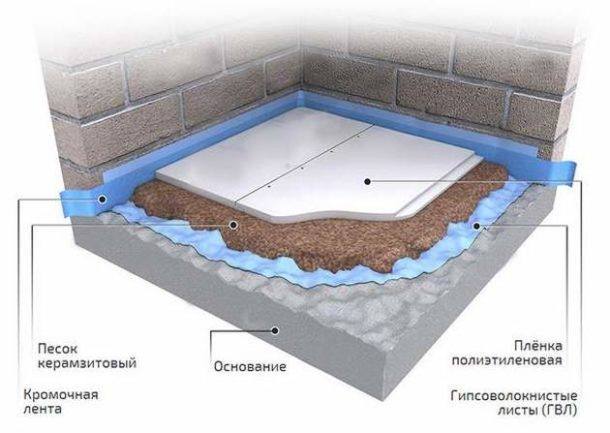
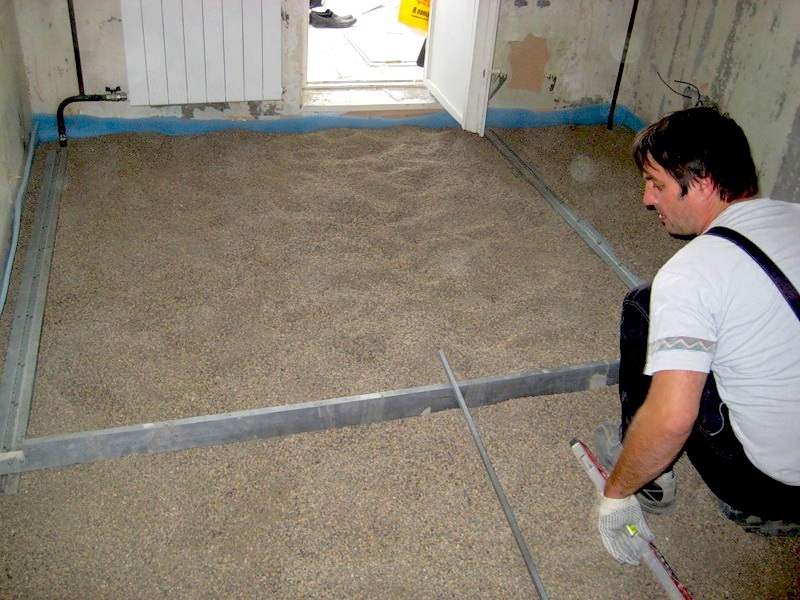
Dry screed
“Dry” is called a screed, the installation of which precludes the use of a liquid solution. By design, it resembles a layer-by-layer alternation of a monolithic screed, since it is a kind of floating:
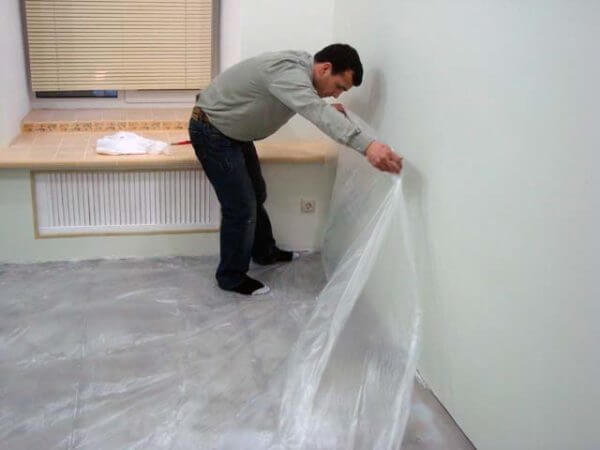
- Vapor barrier. This is a thin film that is needed to protect against condensation.
- Edging tape. It prevents sound bridges and inhibits the pressure of the screed on the walls. If it does not exist, cracks may occur on the surface of the walls. This will only increase the noise problem.
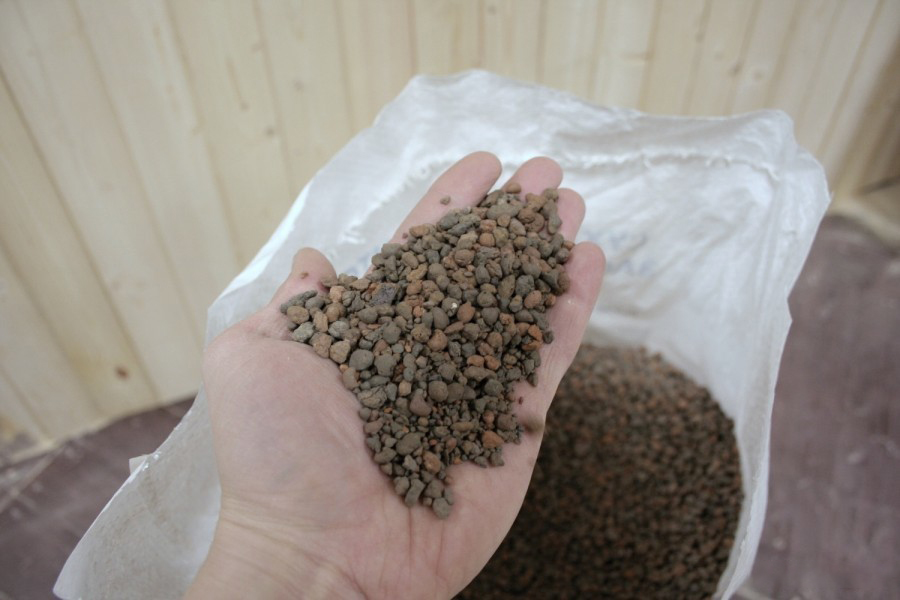
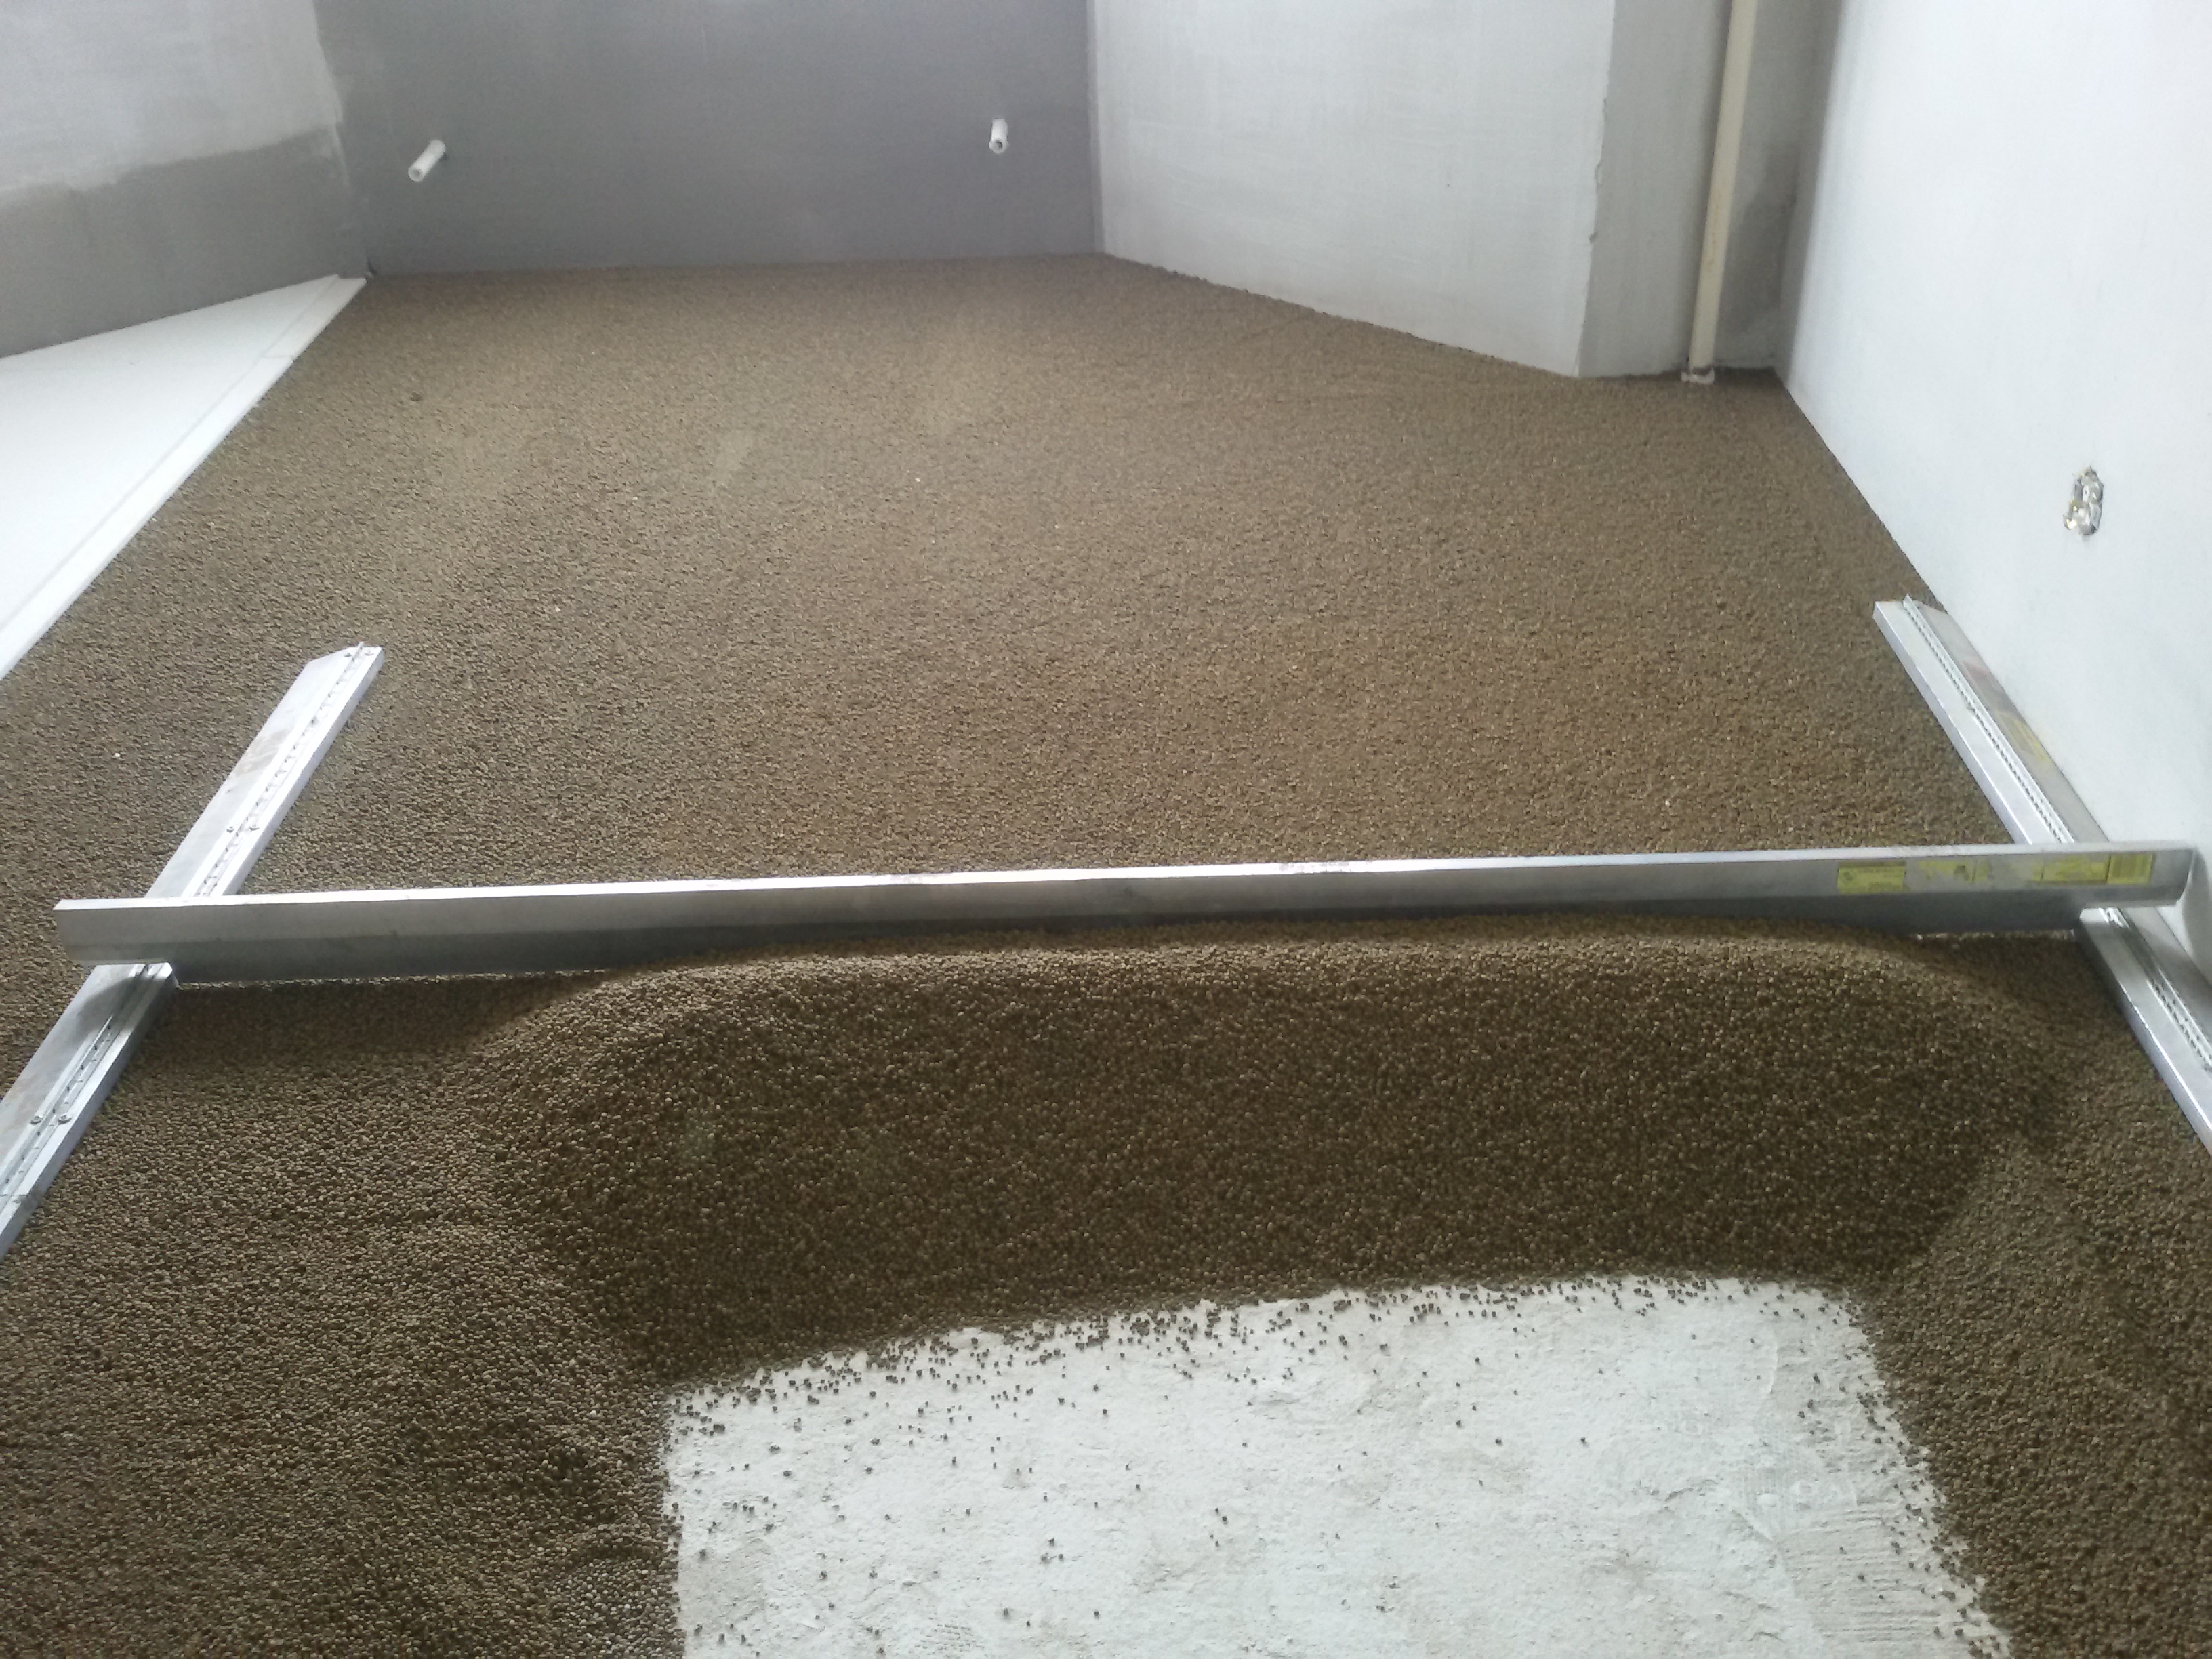
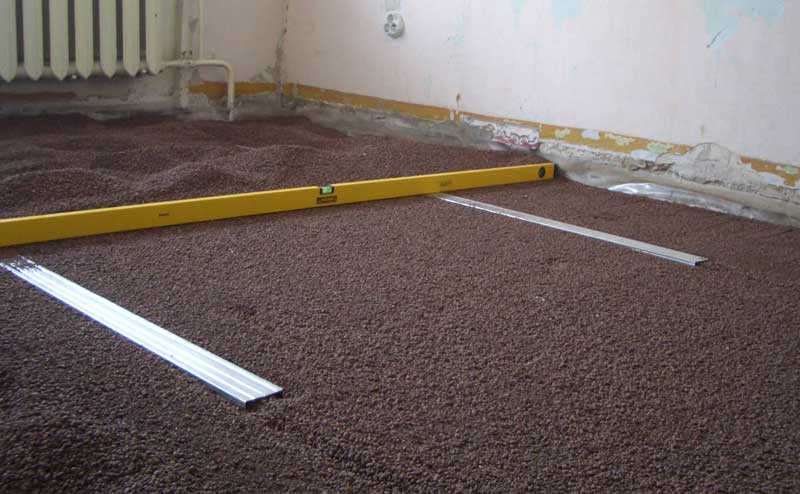
- Dry backfill. This is a material that is filled up to a height of 5–15 cm, forming a noise-absorbing pillow on which the leveling layer is laid in the form of slabs. Backfilling is based on sand, concrete, slag. Light and porous expanded clay, perlite and vermiculite are popular.
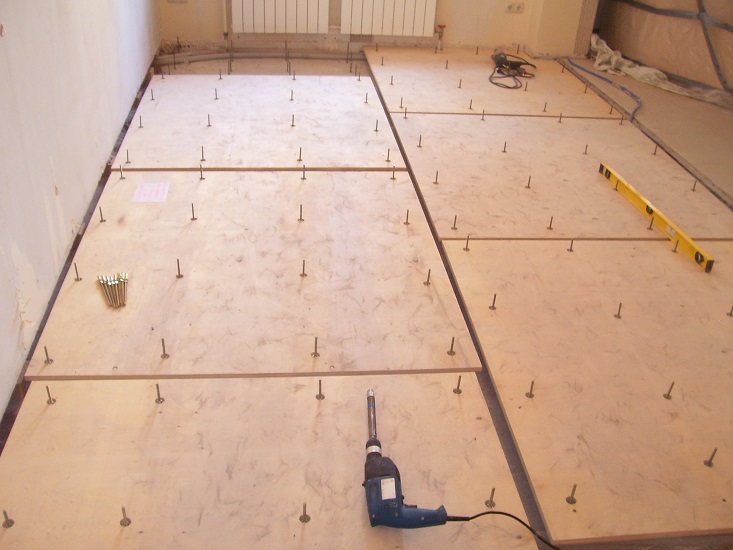
- Leveling layer These are sheets or plates of light but durable material, which is mounted in 2 layers, creating a perfectly flat surface of the subfloor.
- Mastic or glue, screws. They are needed for bonding between two leveling layers.
- Waterproofing. PVC film that protects the hydrophobic backfill and sheets from moisture.
Dry filling has many advantages: cheap materials, quick and easy installation (maximum week), a relatively small weight does not give a large load on the floor.The process can be interrupted because there are no quick-hardening materials.
Suitable for use in any condition of the floor, even if it is very uneven.
Light, but porous layers in the construction due to the large thickness and air gaps provide high-quality insulation. The structure is easy to dismantle. The disadvantages of a dry fill are that it shrinks over time. The floor may become uneven if the backfill layer is not dense enough. The materials themselves are afraid of water.
Relevant dry backfill for soundproofing in a private home. Wet screed technology is not applicable for hardwood floors in a country cottage. The tree actively absorbs moisture and begins to rot, and if you do not make a screed, the problem of creaking floors will manifest itself over time. Dense and porous expanded clay screed solves both problems.
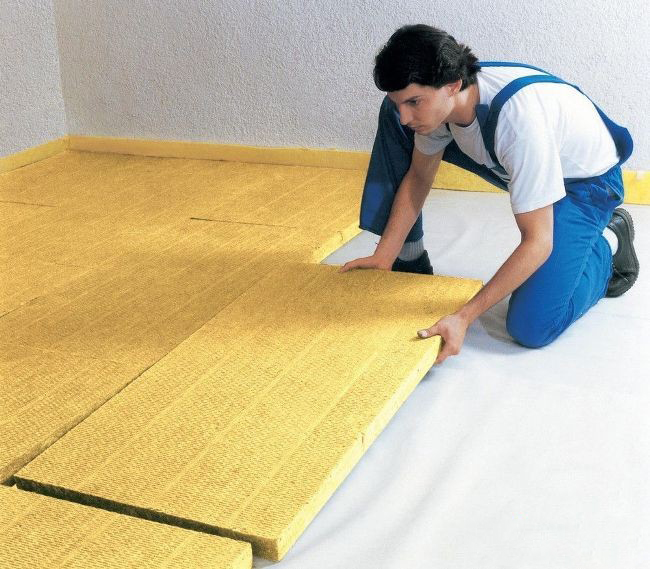
Team or leveling
A feature of this type of construction is that it does not imply liquid and bulk components. Protection from extraneous sounds provides the layering of roll, sheet or plate materials. Used vapor barrier and waterproofing. On the edge of the room you need to put a damper tape.
Advantages of the team screed: quick do-it-yourself installation, the ability to combine sound-reflecting and sound-absorbing layers, the minimum thickness of materials with high density (optimally for apartments with low ceilings), sound absorption plus or minus 30 dB. Dismantling and partial replacement of fragments is possible. The coating makes the base of the subfloor even and comfortable for the final finish.
Disadvantages: the base of the floors must be clean, dry and level. The method is effective, but expensive. It is impossible to combine it with a warm floor. The method is relevant for apartments with thin but even floors, which will not withstand the concrete screed.
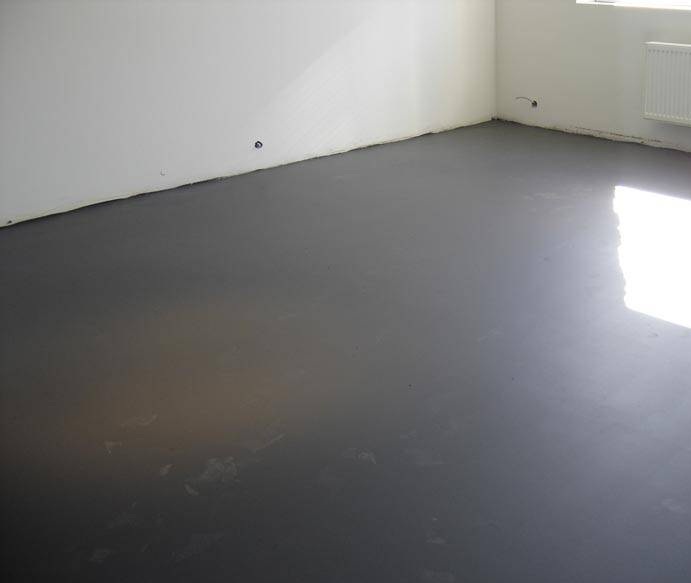
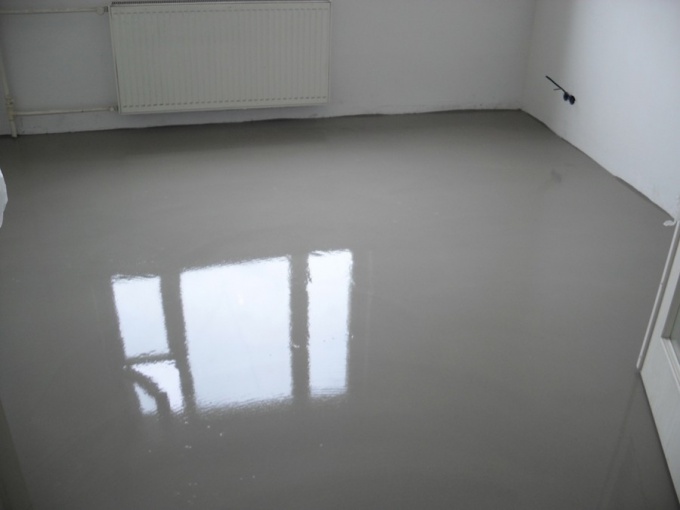
Self-leveling floor
An innovative method, the main purpose of which is to level the surface of the floor. It does not provide high-quality sound insulation, but enhances it. As the first layer, you can use most of the budget materials: cork, drywall, cotton wool, polyurethane foam and others.
The device for self-leveling floor with sound insulation is slightly different from the classic screed:
- Vapor barrier layer, which also serves as a waterproofing, if the mixture leaks. Sheets put an overlap of 15-20 cm, lead edge on the wall.
- On the edge of glue damping tape. The purpose of use is the same as with any other coupler. Plus the tape retains vapor barrier.
- Layer insulation in sheet or slab format.
Mounted without gaps, voids can be filled with acoustic sealant.

- Waterproofing. Bulk floor is a very liquid mixture with self-leveling technology. It can flow to the lower layer and form a sound bridge.
- 1-2 layers self-leveling mixture.
Plus the fact that working with a solution is easy even for a non-professional. The mixture is leveled under its own weight. And also it can have decorative additives and be at the same time a draft and fair floor. This is a perfectly smooth coating on which you can mount and soft linoleum, and laminate, and parquet, and tile. The thickness of the layers is 1–5 cm. The lack of a mixture is a high price. The thicker the layer, the more expensive the fill.

Mounting Patterns
Practice shows that using only one material is less effective than combining them. Often, a cement screed is combined with lightweight and cheap bases, membranes are mounted on a self-leveling mixture, the screed is closed at the top, or laminated with different thickness, density and weight materials.Depending on the required thickness of the soundproofing layer, choose one of 5 effective schemes.
Scheme №1: with the base of the acoustic membrane
It is mounted in layers:
- Sound insulation membrane (Teksaund, Trosellen Acoustics or another manufacturer).
- Damper tape on the edge of the wall for the entire height of the screed.
- Cement strainer. Its height must be at least 30 mm, otherwise the solution will crack in drying. If the height of the screed is more than 4–5 cm, an additional layer appears - reinforcing mesh.
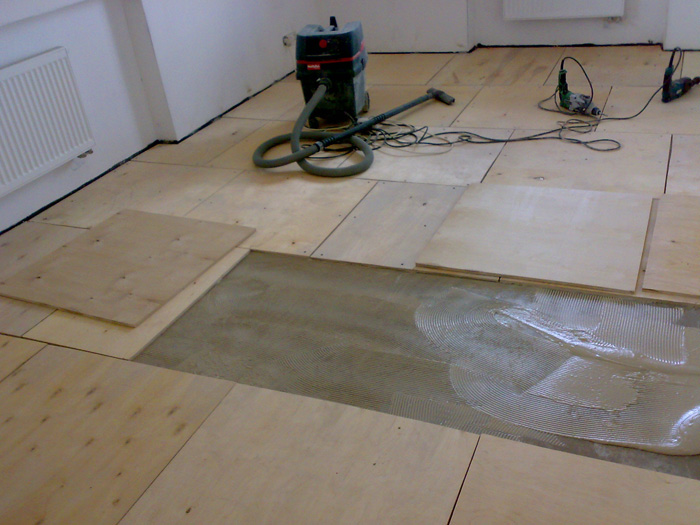
- Chipboard, plywood or cork veneer sheets.
- Finishing the floor.
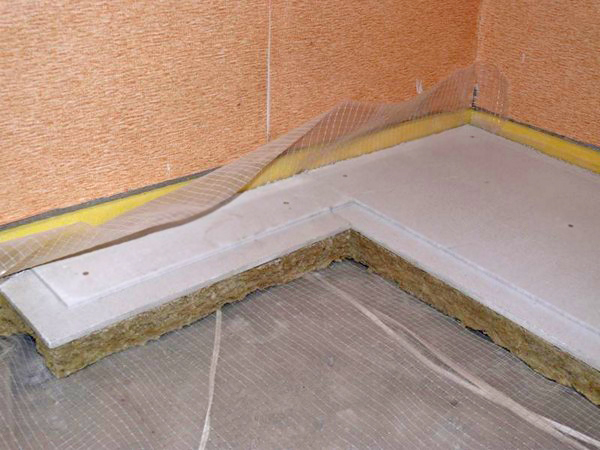
Scheme №2: with an additional layer of basalt cardboard
It is actually the same soundproofing “cake”, but the very first layer is basalt cardboard, not the acoustic membrane. This is an additional protection that is required in difficult cases.
It is important to mount the “cake” so that the screed does not touch the wall. Edging tape can be glued in 2 layers.
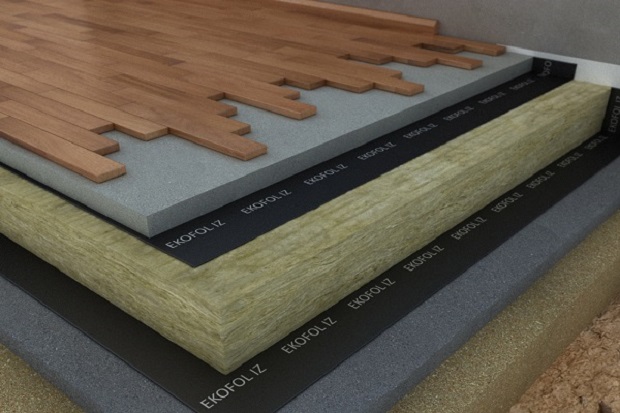
Scheme number 3: based on cement screed
The mix of layers inside the acoustic “cake” makes it possible to dismantle and reassemble the structure in the future, while the cement screed will remain intact.The option is suitable for solving problems with uneven rough floor.
It also fits in layers:
- Waterproofing.
- Edging tape, wide and dense.
- Screed based on cement.
- The reinforcing layer.
- Acoustic membrane.
- Lightweight and thick wood fiber based material.
- Finishing the floor.

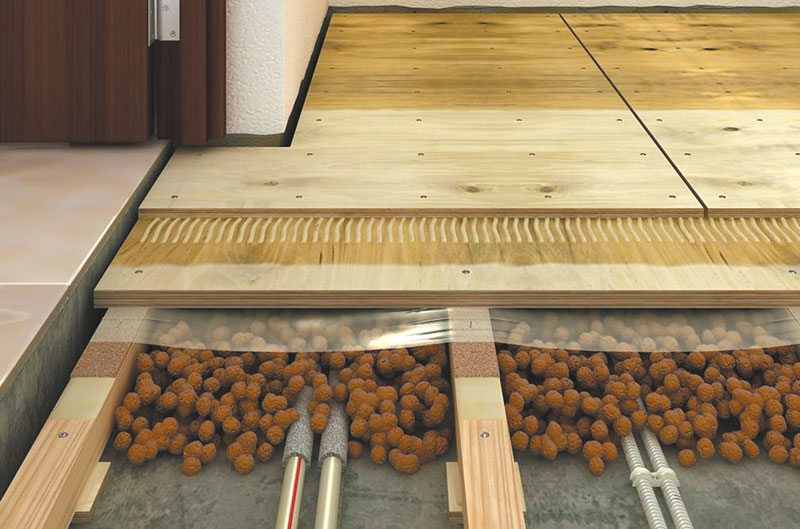
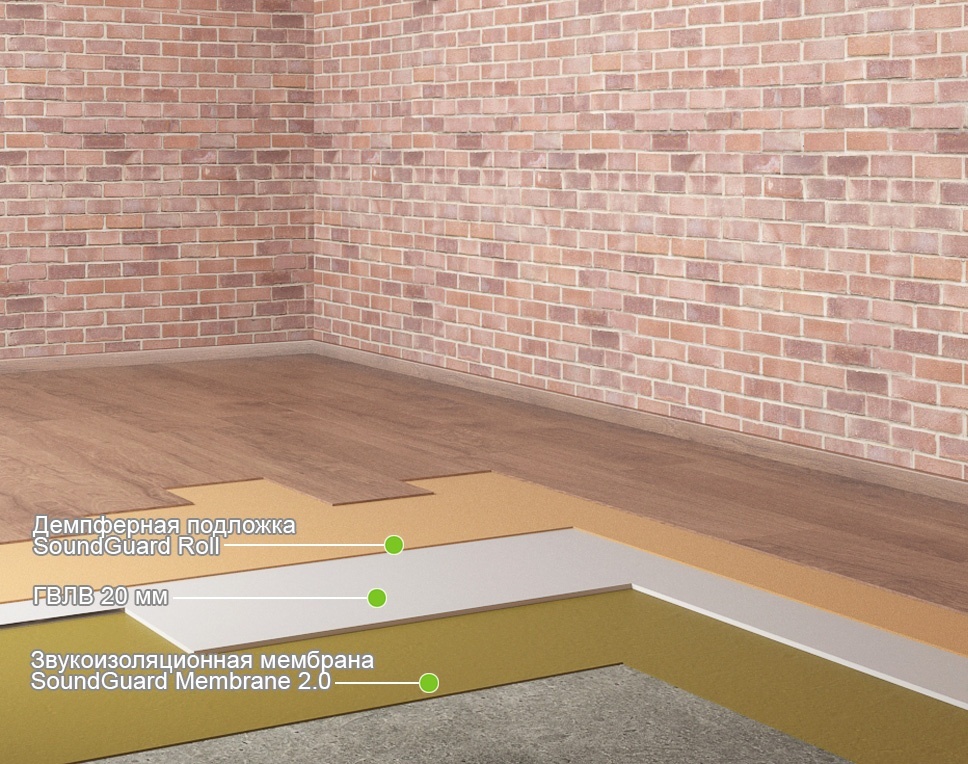
Scheme number 4: dry screed
Suitable for cases where you need to make sound insulation, but there is no desire to mess around with the solution and wait 3 weeks until completely dry. The alternation of layers of “dry acoustic cake” may differ. For dry screed with expanded clay backing, a vapor barrier is needed, for a more modern vibration-damping material - no. Consider a more modern version:
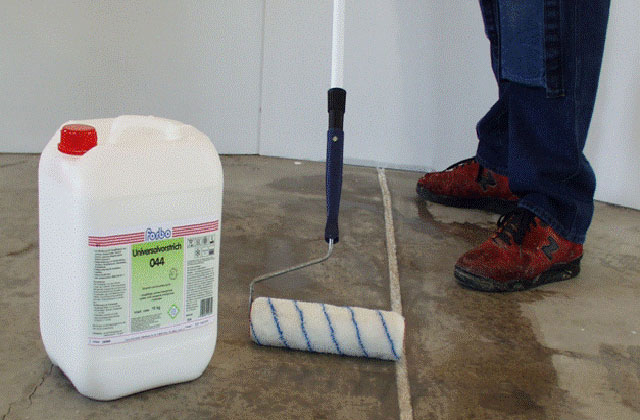
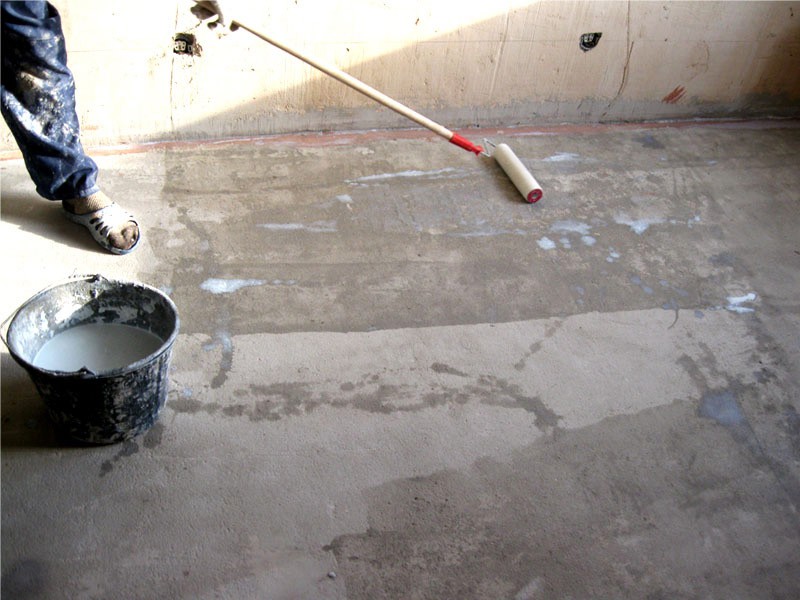
- Primer. It is necessary for good adhesion of granulated noise-reducing plaster with walls and floor.
- Shumoplast This vibration damping base (absorbs shock noise up to 32 dB), so you do not need to glue the walls with edgeband. You can do this for insurance, but there is no need. Shumoplast is lined up so that it goes on the walls above the level of the final coating. The height of the layer is 5–20 cm.
- Reinforcing mesh.
- GVL sheets for leveling the surface. Lay in two layers.Between themselves, the layers are glued together with mastic and fixed with screws;
- Sealing of joints with putty.
- Flooring.

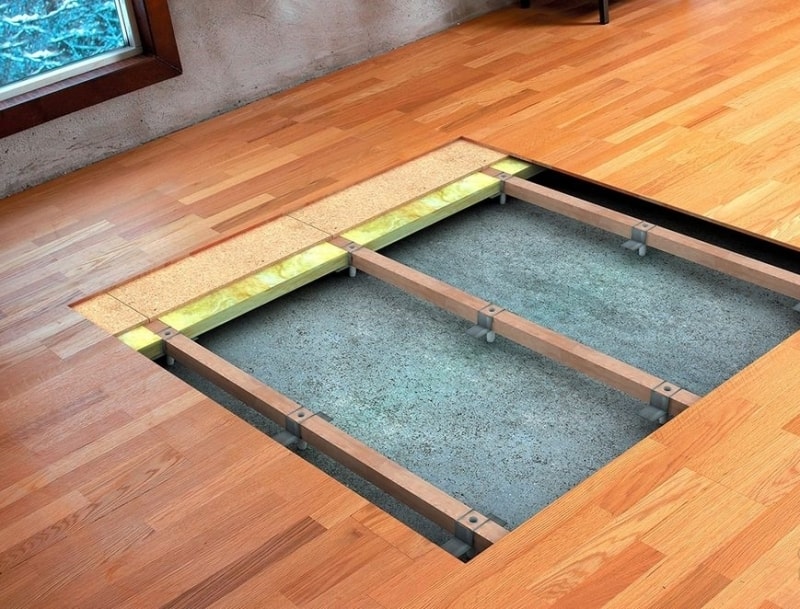
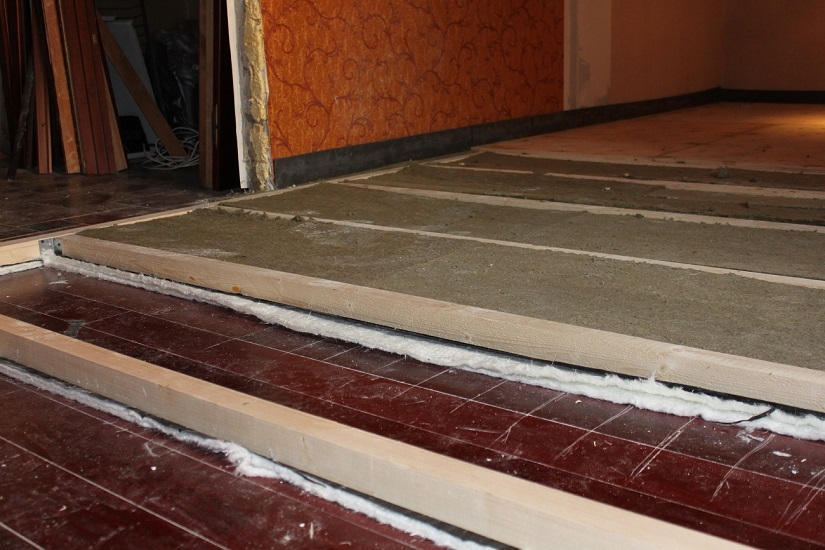
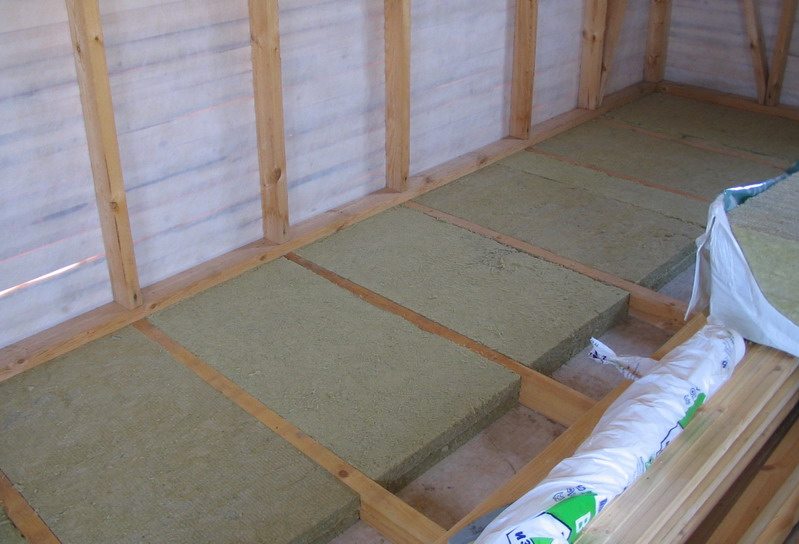
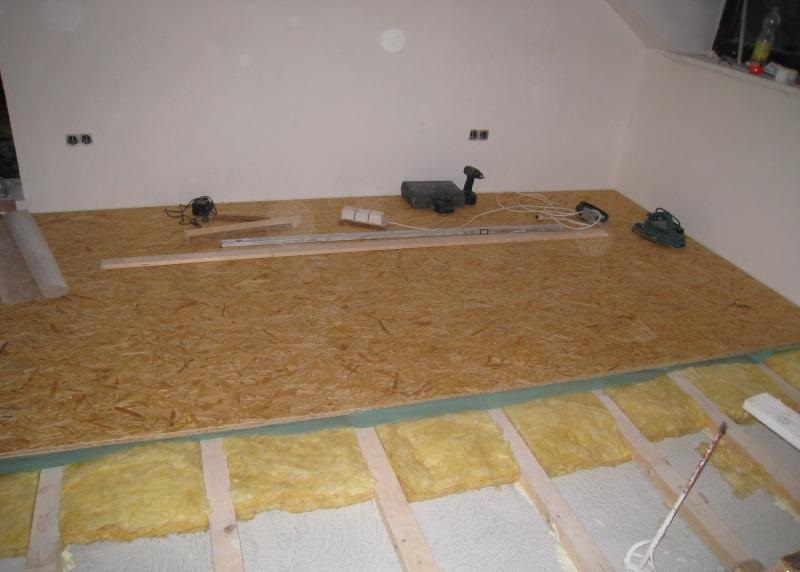
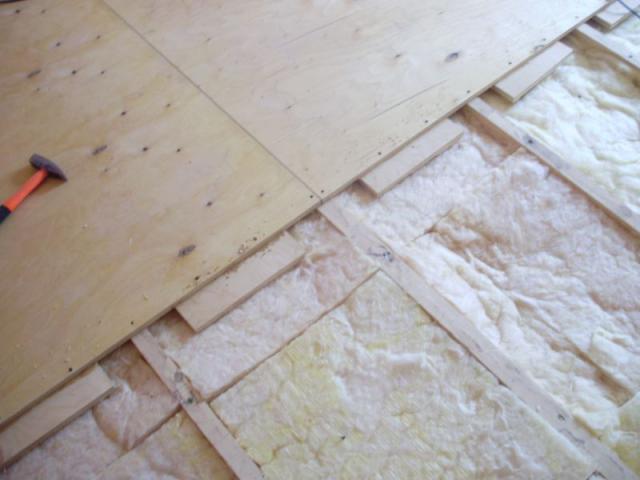
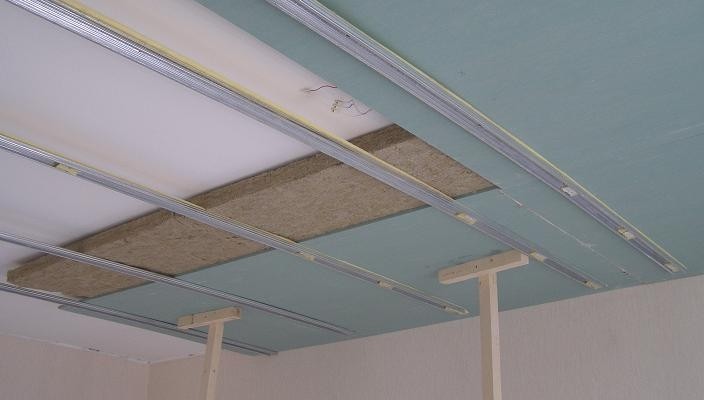
Scheme number 5: soundproofing on the logs
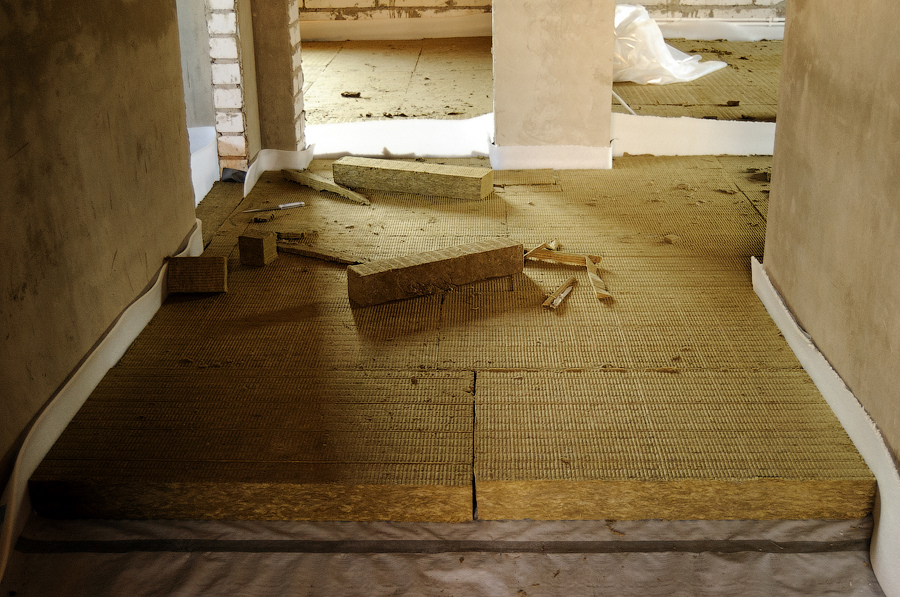
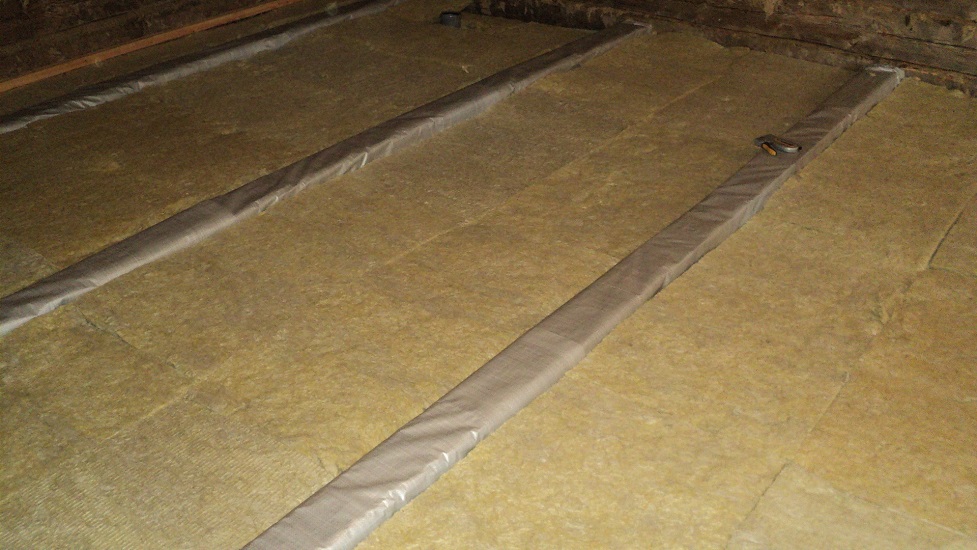
Lags are wooden bars that line the width of a room from wall to wall, so that they serve as a frame for filling the gaps with plate material of the type of mineral wool.
Screed device on logs:
- Layer of acoustic membrane. Under the logs it can be laid in a double layer.
- Lags 50 x 50. They are attached to the wall with vibration-absorbing supports.
- The inner space is filled with mineral wool flush with lags.
- The edge of the wall is glued with an edging tape to a height slightly larger than the height of the finish.
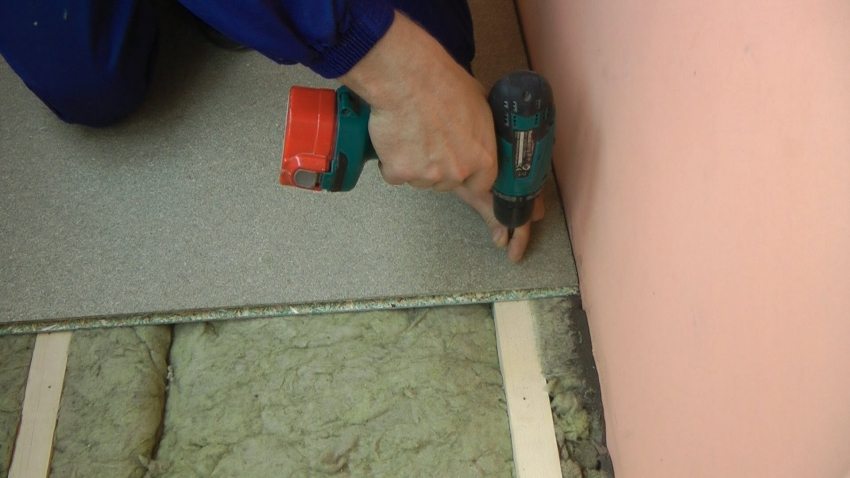
- The first layer of plywood. The gaps are filled with acoustic sealant.
- The second layer of plywood is put in a run - the seams should not be the same. Filling gaps with sealant.
- Finishing.
Required tools
A complete list of tools for mounting an acoustic cake on the floor depends on the choice of technology and materials. So, to fill the screed will need special equipment and beacons, and for mounting on the logs - just a screwdriver.
Since modern materials greatly simplify the installation process,Consider the list of tools for working with the latest generation materials for the installation of dry and modular screeds.
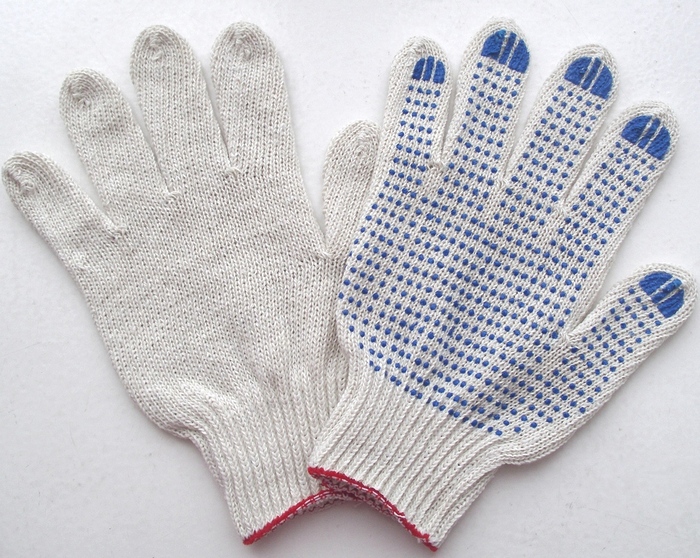
First of all, you need equipment for cleaning: vacuum cleaner, broom, dustpan, garbage bags, gloves.


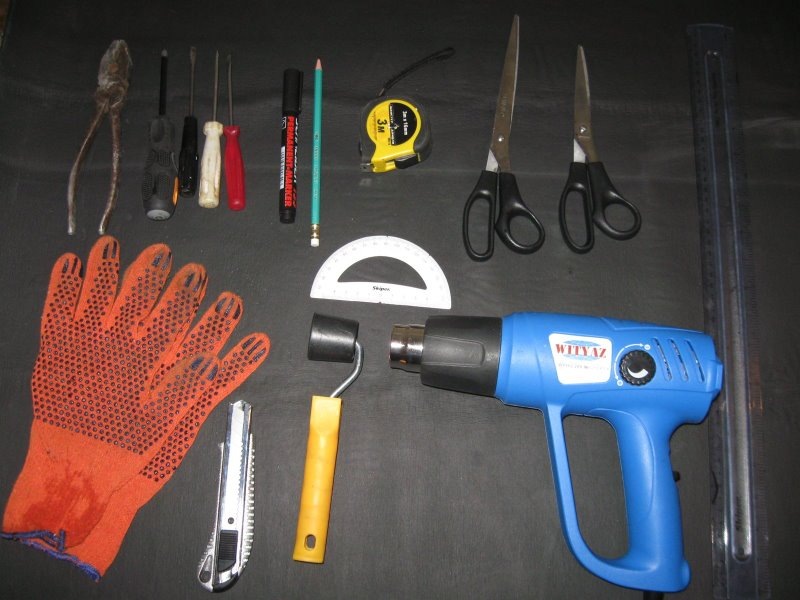
At the next stage, a tape measure, drawing tools, and a building level will be useful in order to mark the lines for the edge tape evenly.
Then, we need tools for cutting materials into the desired segments. A sharp knife or scissors will cope with the membrane, and with the hemming tape, and with hydro and vapor barrier film.
For some types of dry screed, you will need a beacon: a wooden profile and guides to align the backfill layer. To install the leveling layer, you need screws, screwdriver, mastic or glue, acoustic or silicone sealant. You may need a saw-Bulgarian for accurate cutting of plywood into fragments.
How to do it yourself?
Installing an acoustic cake on the floor in an apartment or house does not require special skills. This statement holds true for many soundproofing layouts. The exception is casting screed. It is better to entrust the professionals.Work with modern materials is simple, and the stages of installation can be called universal: preparation, installation of layers, final finishing.

First stage: preparatory work
It includes all settlement work and preparation of the foundation.
Calculations are carried out in several steps:
- The calculation of the level of sound and noise insulation in the room prior to installation. This is necessary to determine how much it is necessary to “increase” the floor to a comfortable level of insulation.
- Calculation of the required level of sound insulation in dB and the permissible load on the floor.
- The selection of materials and the calculation of their number on the entire surface area of the floor. It is necessary to purchase them with a small margin of 5–10%.
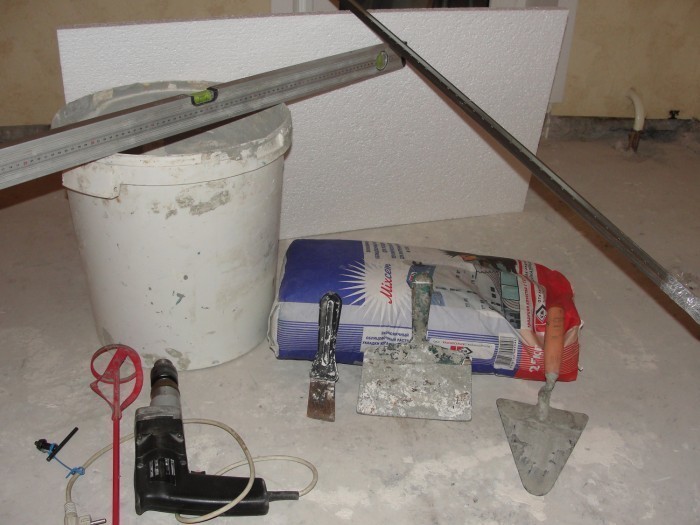
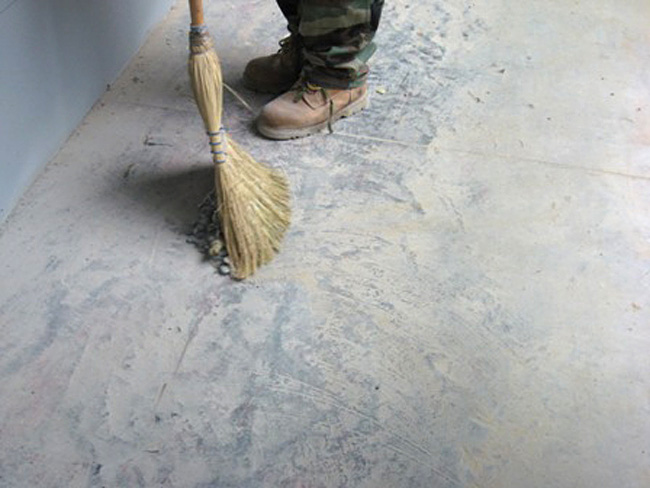
Immediately before the installation work begins, the floor surface must be cleaned of debris and dust. If the height difference is no more than 3–5 cm, materials can be laid immediately, and if the difference is 5 cm or more, the floor should be leveled with plaster or a thin layer of cement.
In some cases, for example, when working with shumoplast, you need to prime the floor surface.
The second stage: laying materials in layers
- The foundation. If the materials are slab or rolled (except for membranes), a vapor barrier is required under them.This is a thin PVC film, which is put on an overlap of 15–20 cm and glued with construction tape at the joints. It protects materials from condensation due to overheating from below. If it is vibration damping materials, a primer is needed instead of vapor barrier.
- Installation of edge tape on the edge of the walls.
- Soundproofing. Membrane, sheets or backfill.
- The reinforcing layer. For shumoplast and cement it is steel mesh, for sheet materials it is a layer of plywood.
- Leveling layer It is durable and smooth material: plywood or GVL.
It can be single, but it is more efficient to do double.
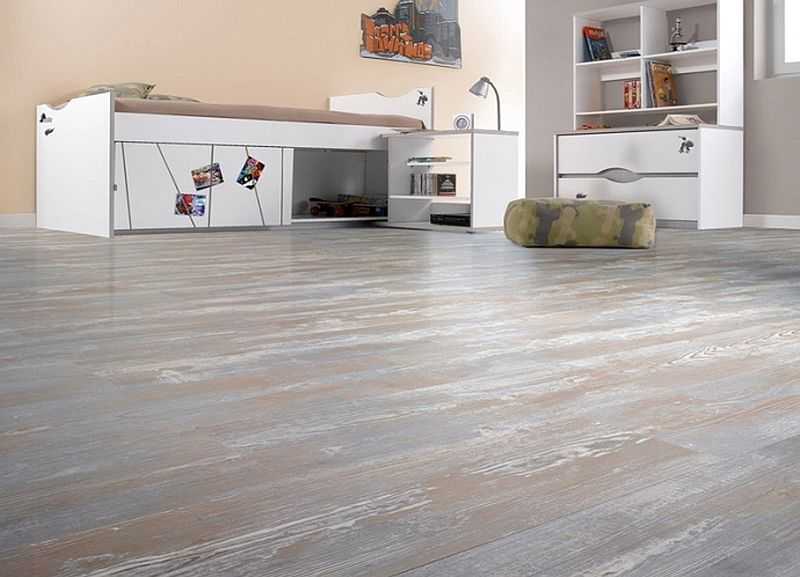
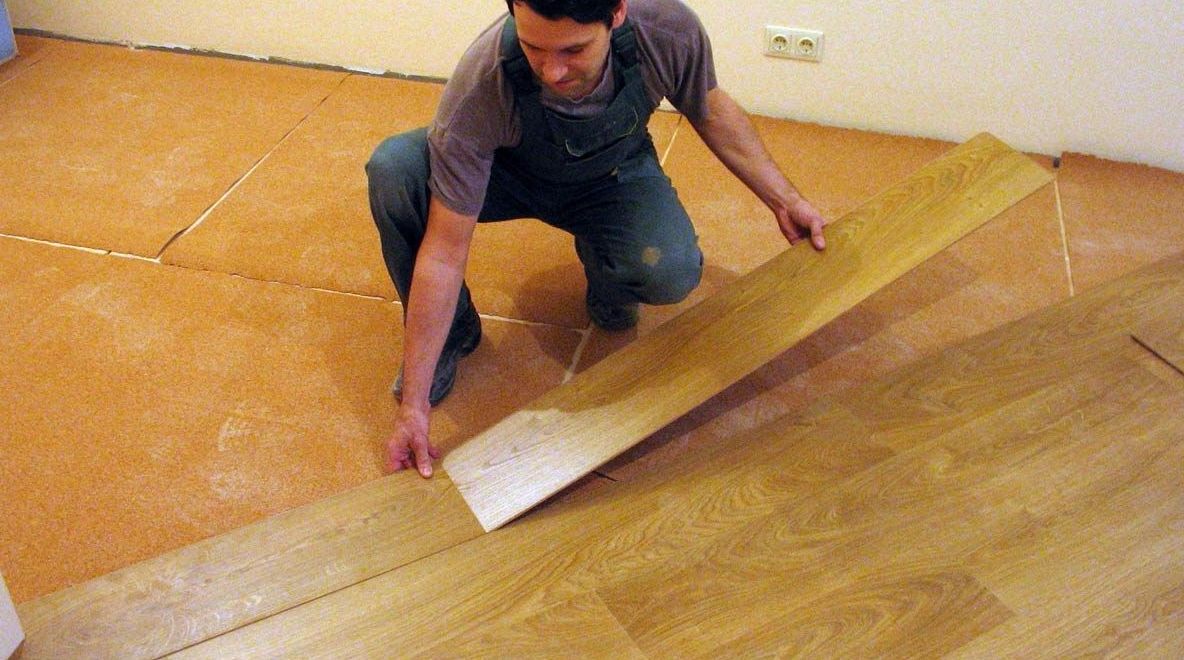
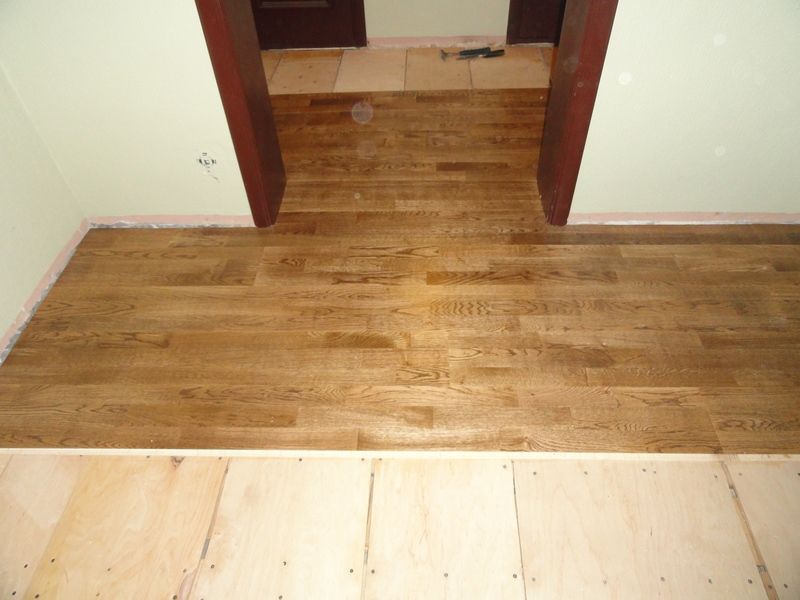
The third stage: laying decorative cover
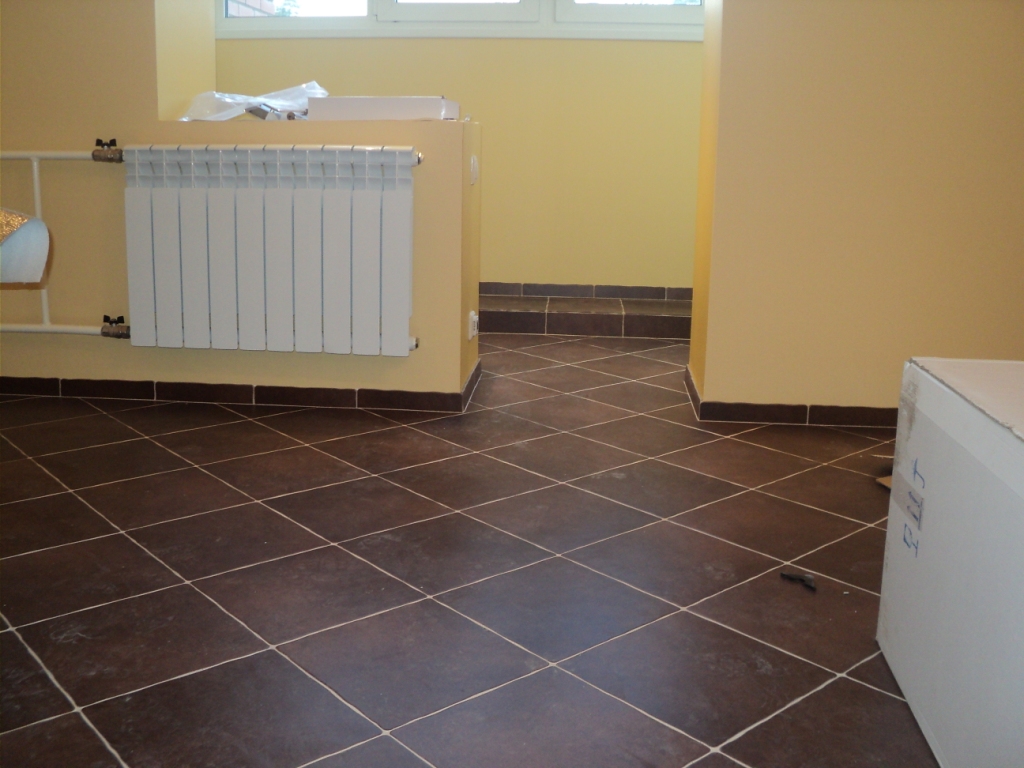
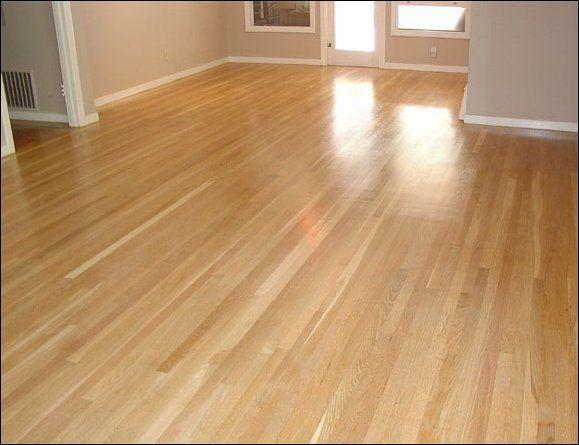
For each type of finish their own rules and stages of installation. The most popular options are laminate, linoleum, tile or self-leveling floor.
Tips and tricks
Reviews of apartment owners, who are faced with the problem of noise and extraneous sounds in the house, suggest that effective sound insulation must be multi-layered.
The best combination is the alternation of sound-reflecting and sound-absorbing materials.
Specialists in the field of repair confirm the correctness of this method and give several recommendations on how to achieve the maximum effect:
- The lower the ceiling, the smaller the thickness of the insulation layer can be mounted. Emphasis should be placed not on the thickness, but on the weight and density of the material.
- For complete and effective insulation, it is necessary to protect not only the floor, but also the walls and the ceiling.
- Take care of the absence of sound bridges when laying materials. This means that the sound-conducting materials (wood, iron, concrete) must not touch the walls and the subfloor. Between them, a vibration-absorbing gap is needed.
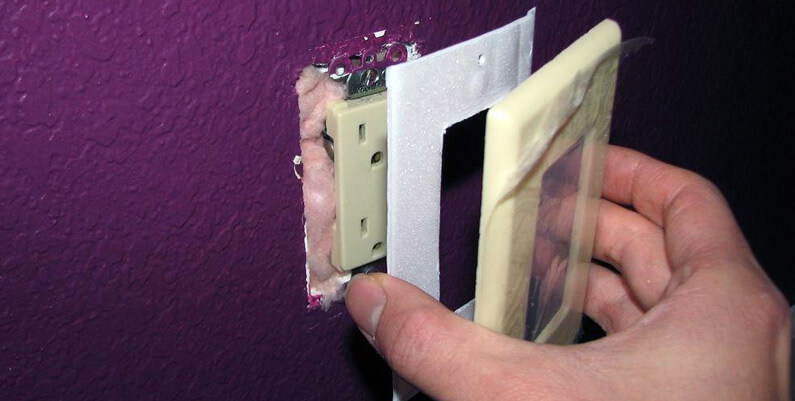
- Close up cracks, joints, gaps between pipes and risers and the wall, soundproofing the gaps around sockets and other ways of noise penetration.
- Use a non-hardening or acoustic sealant to seal joints.
- Properly select and stack the material for finishing. Soft coating will provide additional protection, and unprofessionally laid laminate will create sound bridges.
A thoughtful approach to the choice of sound-proof and sound-proof materials, careful installation and compliance with recommendations from professionals in the aggregate will give a tangible result in the fight for silence in the house.
Review of materials for sound insulation and sound insulation, see the following video.


