The details of the installation process slopes
Window slopes and their correct installation is an extremely important point in the process of installing plastic windows. The fact is that even during the most accurate work, the window opening still receives destruction and deformation. Cracks and potholes appear in it, which will definitely need to be repaired and gloss over. And after the implementation of the installation of glass they close up. True, with an eye to such factors as climatic features, requirements for finishing, and, of course, the availability of funds.
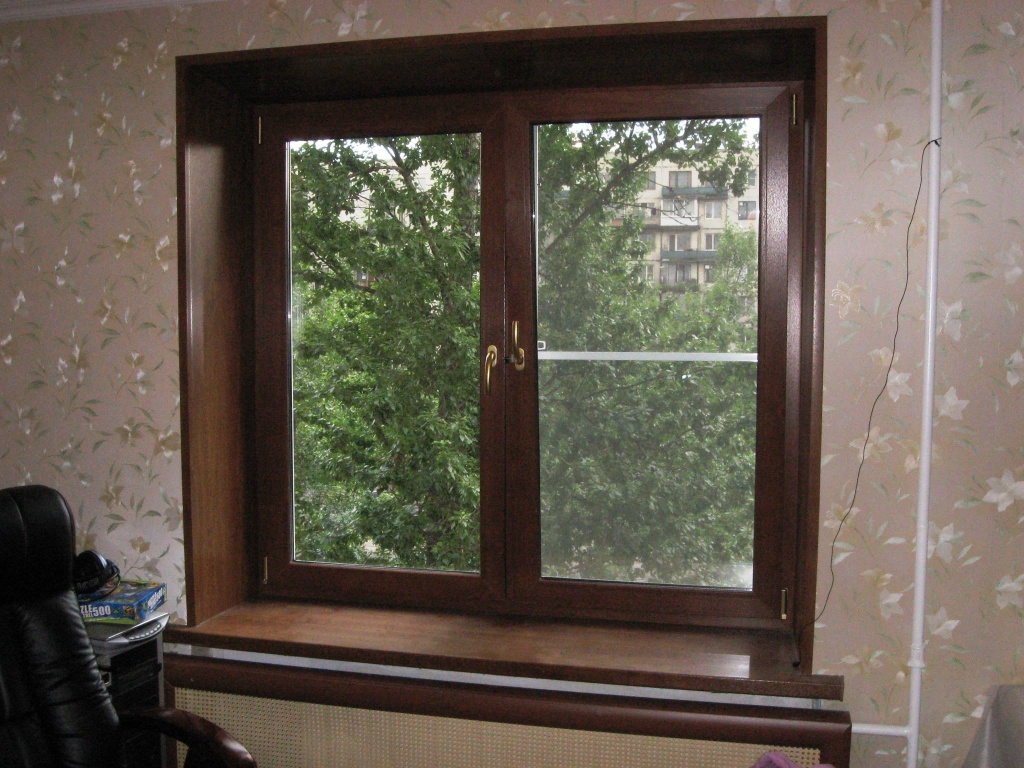
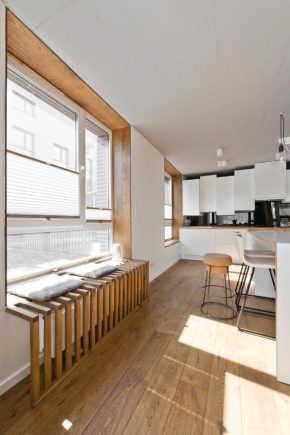
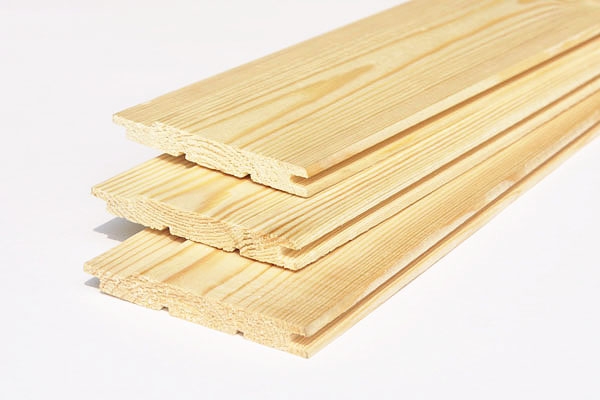
If a lot of money, you can install, for example, wooden slopes, which are considered elite.And this is not surprising, since natural materials are used to create them, namely: high-quality wood from 18 millimeters thick. And such slopes are brought to the object by the experts themselves, cut into place and carefully adjusted to each window.
But in most cases, plastic analogues are used that look good, durable, affordable. And most importantly - they can be quite easily installed by hand. But more on that below.


Special features
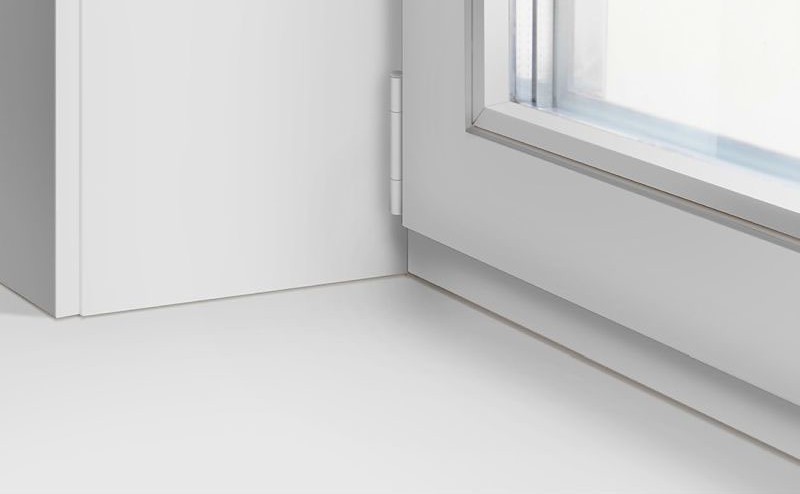
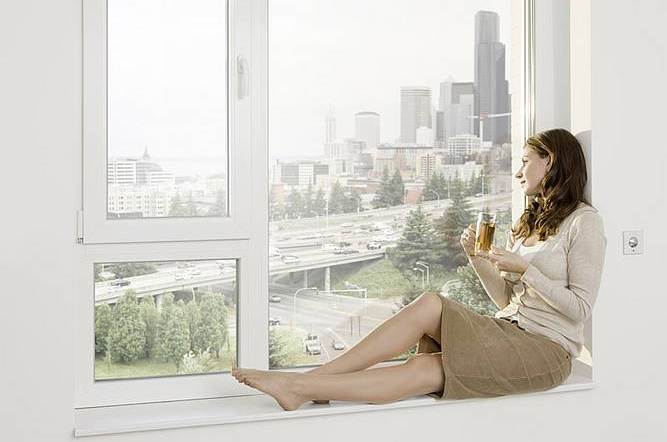
If we talk about what the slopes, then, in fact - is an integral part of the window, which is located inside the room, or the place where the window goes into the wall in which it is located. Probably, it would be possible to do without slopes. But their necessity can be explained by at least three factors.
- Protection of the edges of the frame and foam, which keeps the frame from moisture damage, temperature changes, as well as the effects of other natural factors. And also the slopes protect the installation seam, which without them will simply collapse over time.
- Protection of a window opening from the effects of drafts, cold and rain. Good slopes made of metal, plastic or other material can be a reliable thermal insulation for the installation seam and will not allow moisture to seep inside.
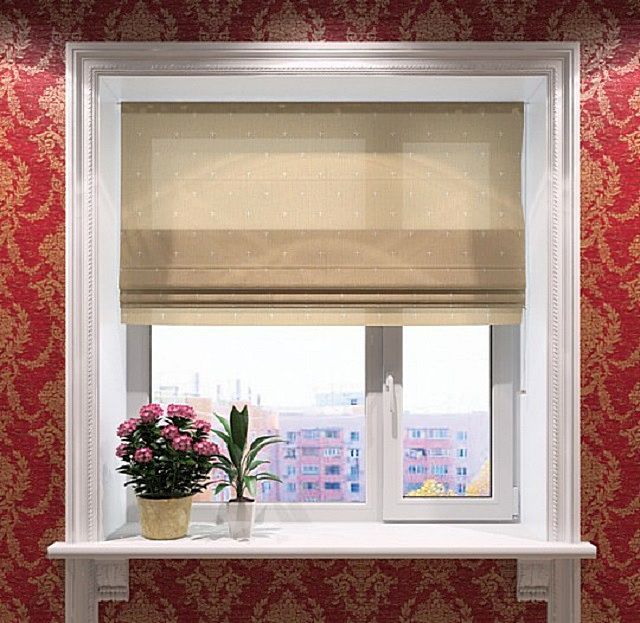
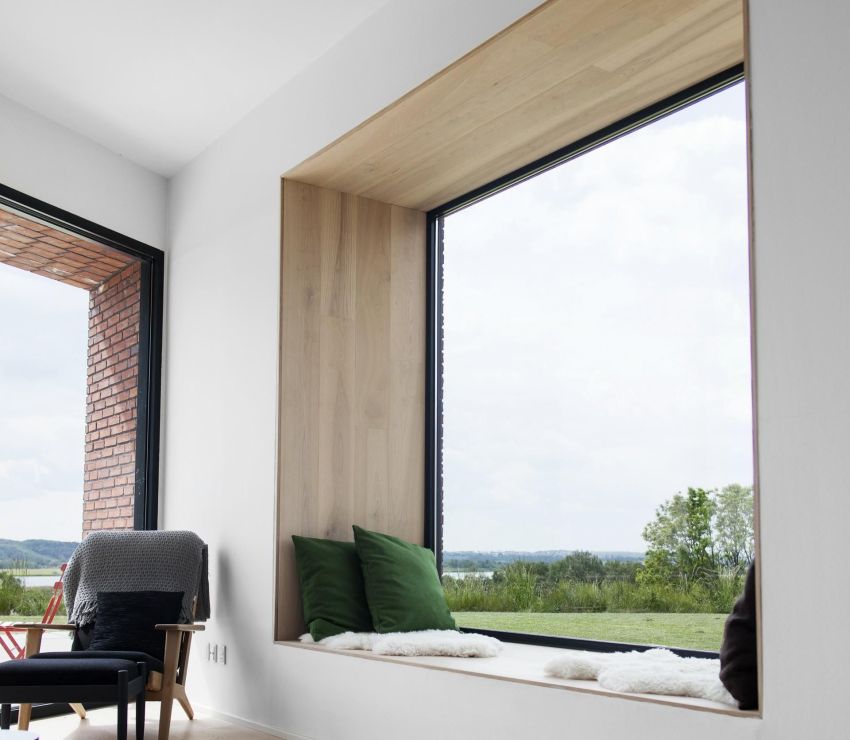
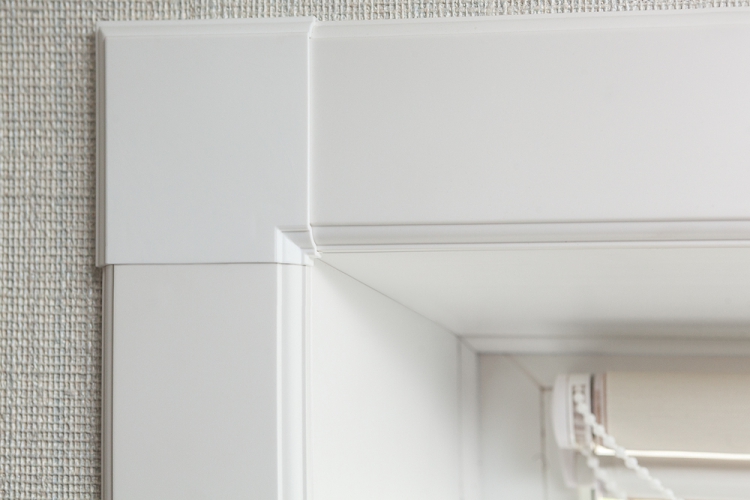
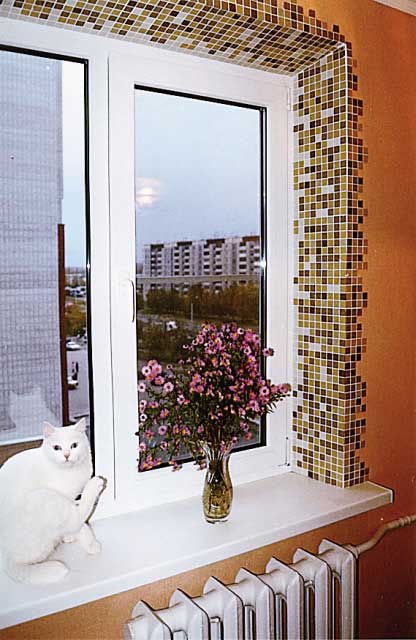
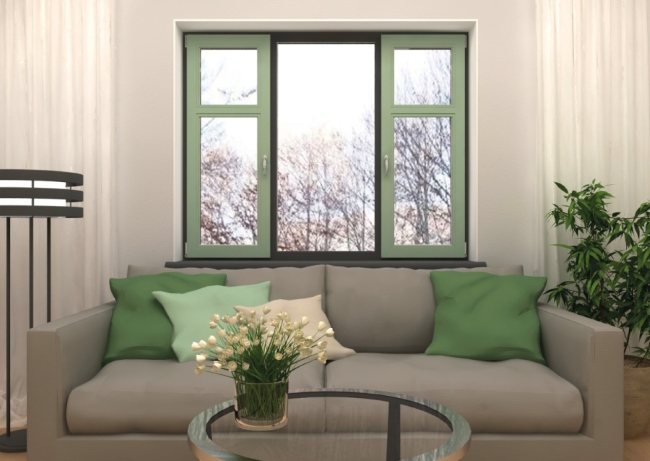
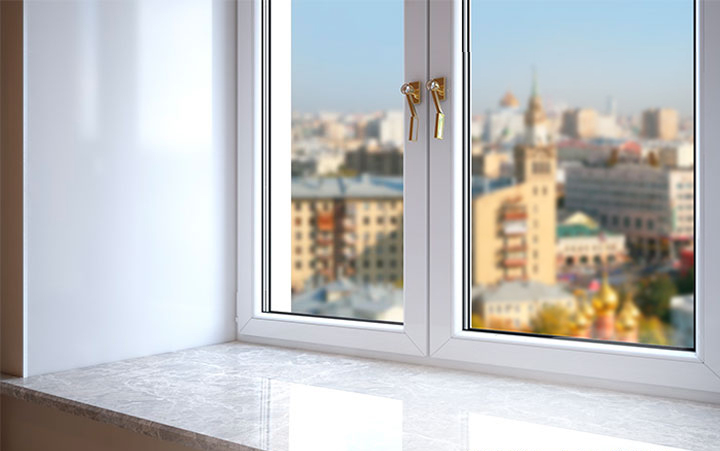
- Decorative reason.A window made of plastic without slopes in the opening will look rather non-aesthetic both from the inside and the outside. That is why it is customary to decorate it with plastic, metal, drywall or something else.
Kinds
Depending on the location of the slopes, they are divided into internal and external. The latter are also called outdoor or street.
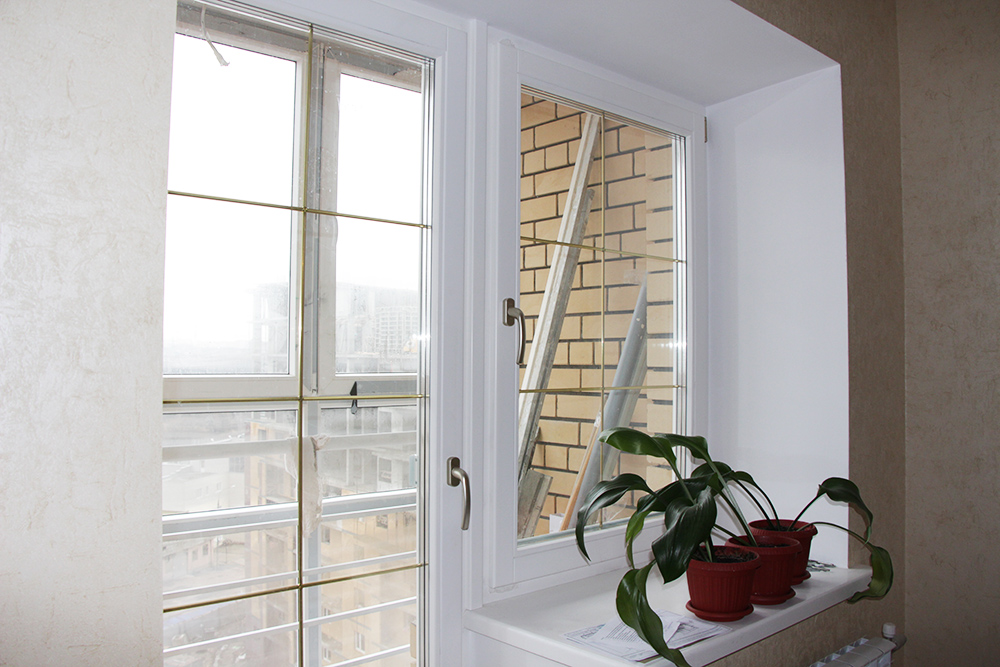
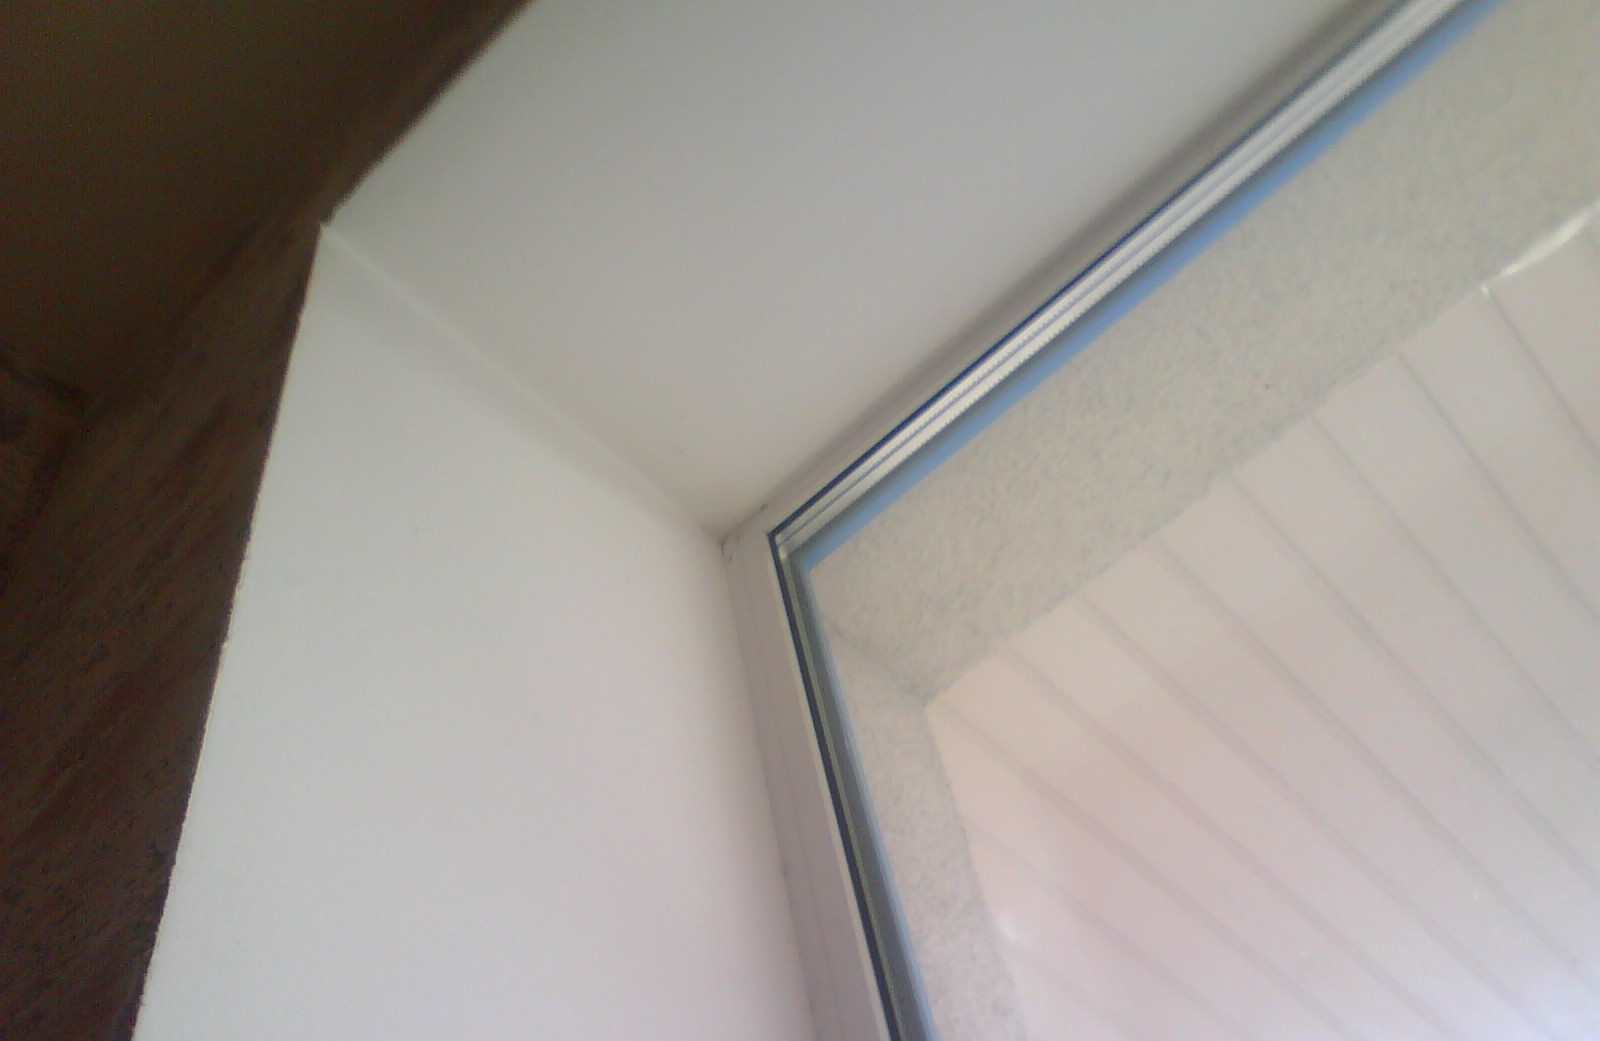
- Internal They are usually located in the room itself and do not have any special functionality. They only allow you to give the entire structure tightness and are the design of the joint between the wall and the window.
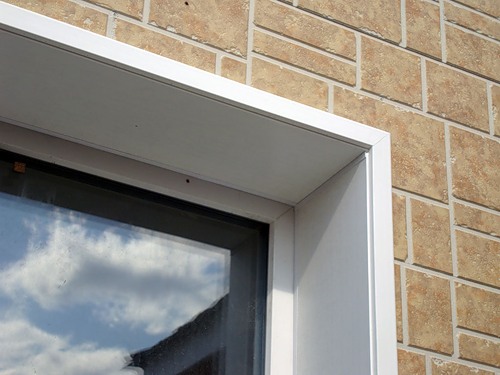
- External window slopes located outside play a big role, as they not only provide thermal and sound insulation, but also protect the room from temperature drops, as well as heat and moisture penetration.
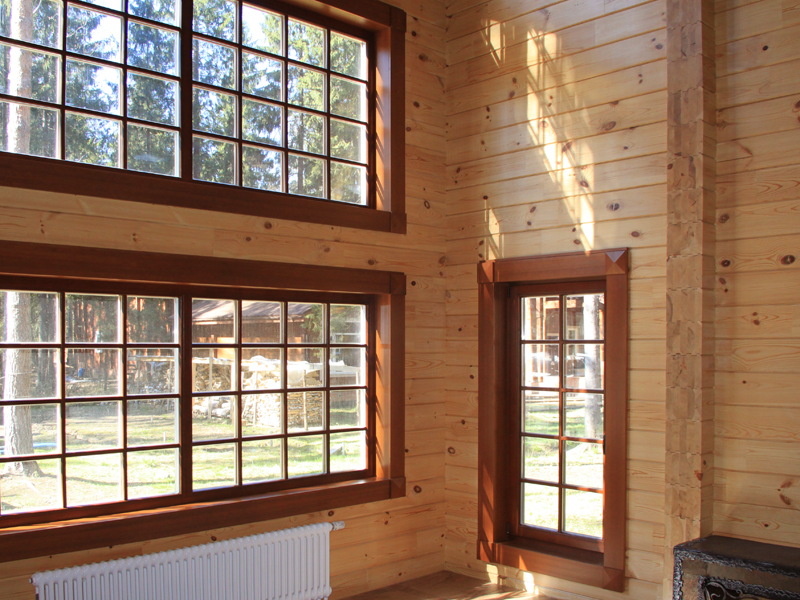
At the same time, window slopes are usually made depending on the material from which the window and wall are made. If the walls and windows are made of wood, then it is logical that it is best to use wooden warm window slopes. This will not only help create a single structure that will be deformed equally under the influence of some factors, but also make it aesthetically pleasing.
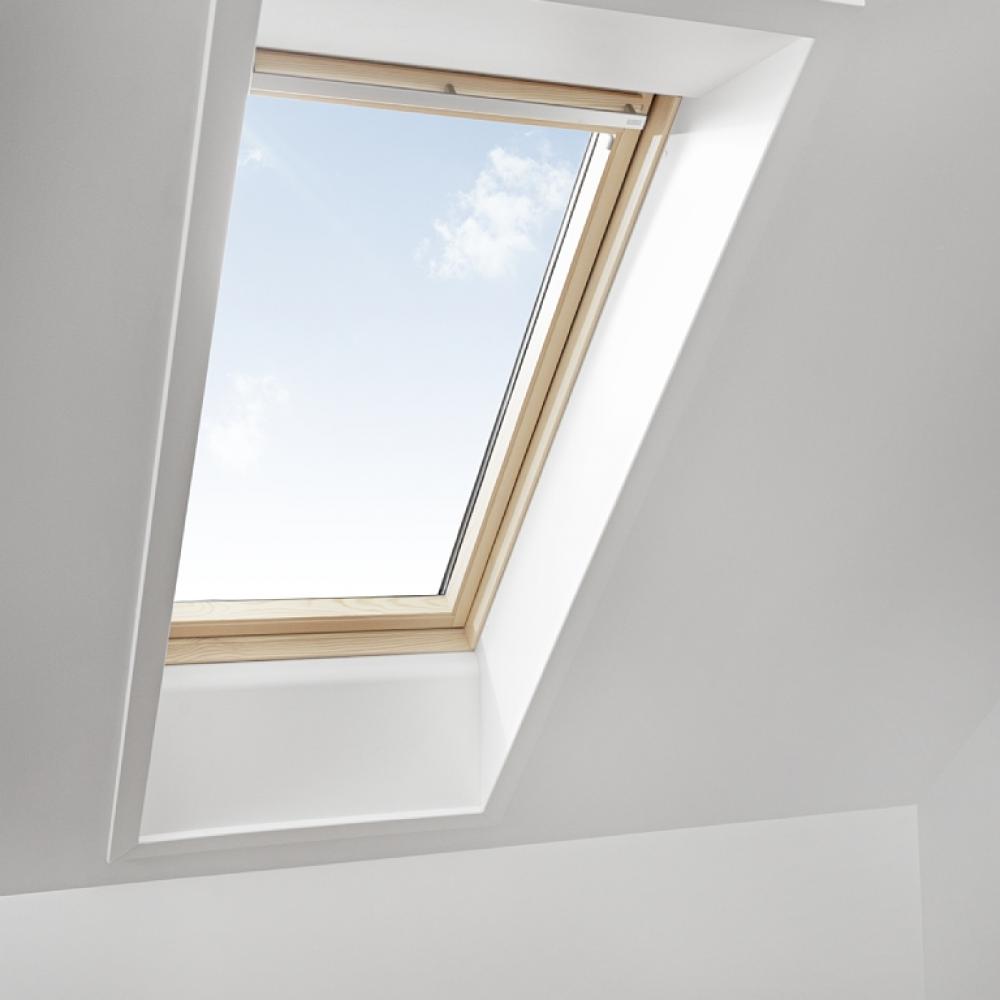
If the installation of the window is carried out in a concrete or brick wall, then it would be best to make plastering slopes, or just to sheathe the space with the help of drywall, then align it, make any decorative finish.
And also recently, plastic has become a rather popular material for creating slopes. And we are talking not only about the sheet, but also the various panels that are made from it.
Now it is necessary to consider each material separately in order to understand which of the products on the market will be the best solution for making with your own hands, will last the longest and look aesthetically pleasing.
Materials
Depending on the material from which the slopes are made, the following categories are distinguished:
- wooden;
- plastic;
- drywall;
- sandwich panels;
- plastering
Now let's talk about them in more detail.
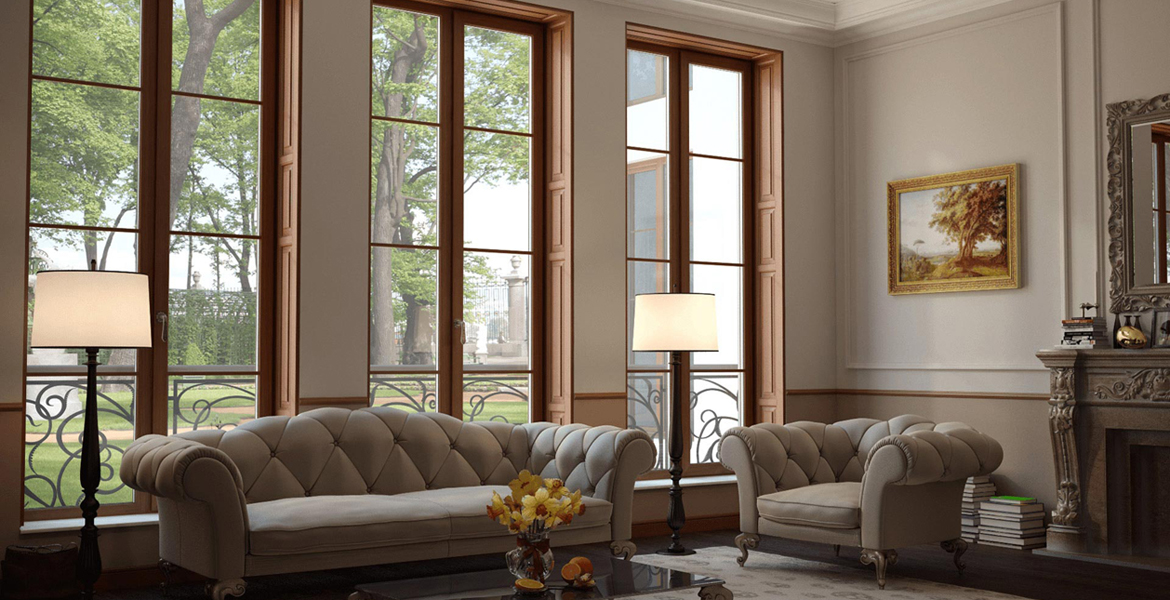
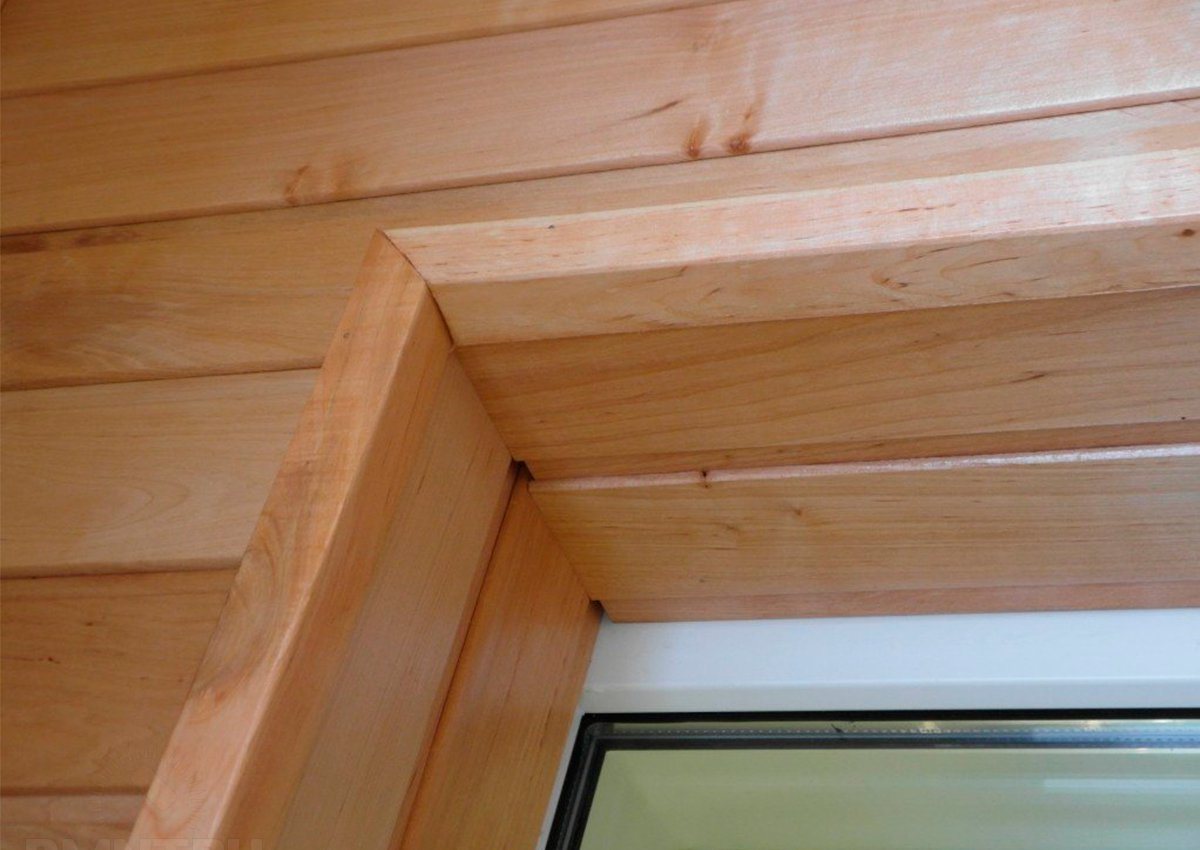
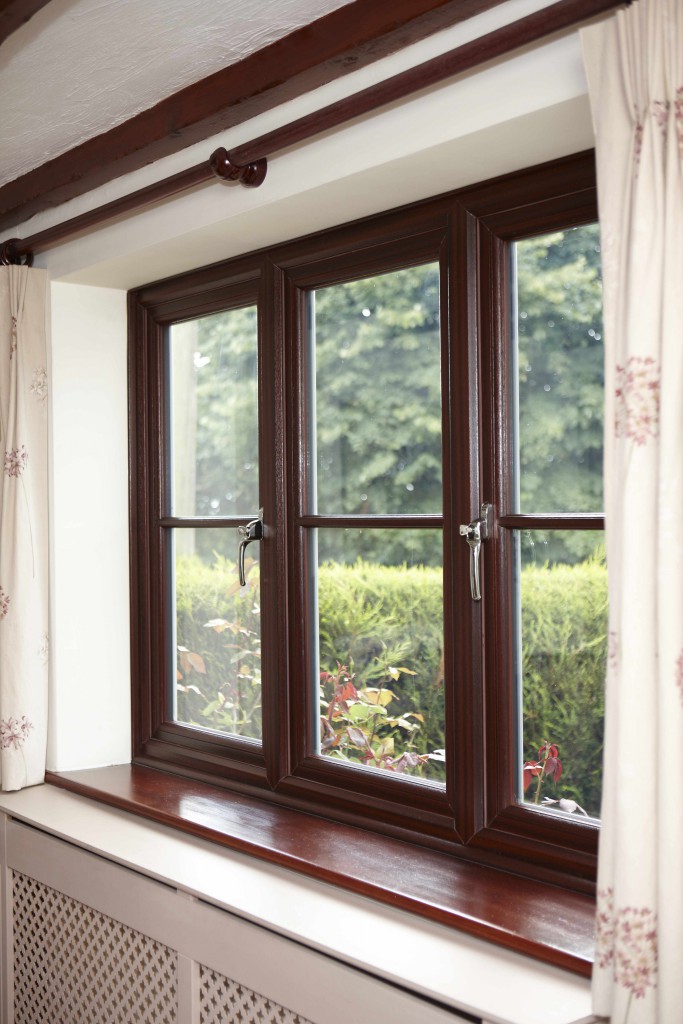
There are no difficulties for the manufacture of slopes for wood windows. Only must pay special attention to the quality of the board - it should be pretty dry. This basic requirement will help eliminate any deformation, which is very important for any window, as it attracts a certain attention to itself.If the interior of the room is made entirely in wood, then it is most logical to make slopes from this material, selecting the color and texture of wood with platbands.
To make particularly strong wood slopes, it is best to use glued massif, which you should definitely fit tightly and fasten its parts with self-tapping screws.
For installation in this case do not use glue. A disadvantage of wood is that it has a high cost, although it looks elegant and expensive. Wood is distinguished by environmental friendliness, because it does not emit any toxic or harmful substances.

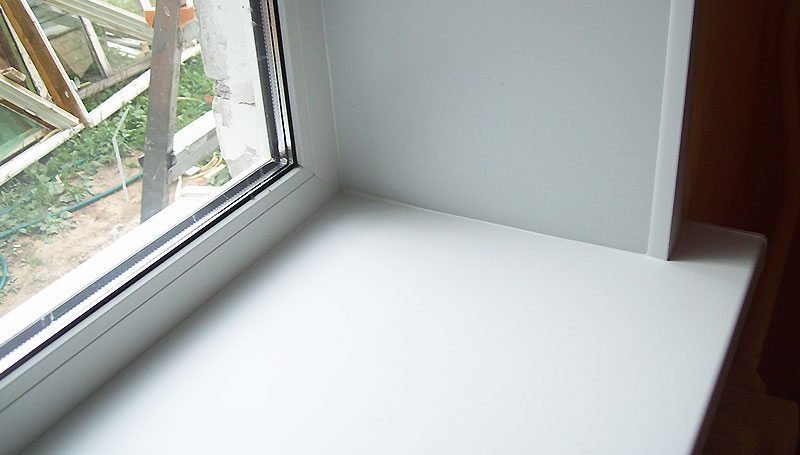
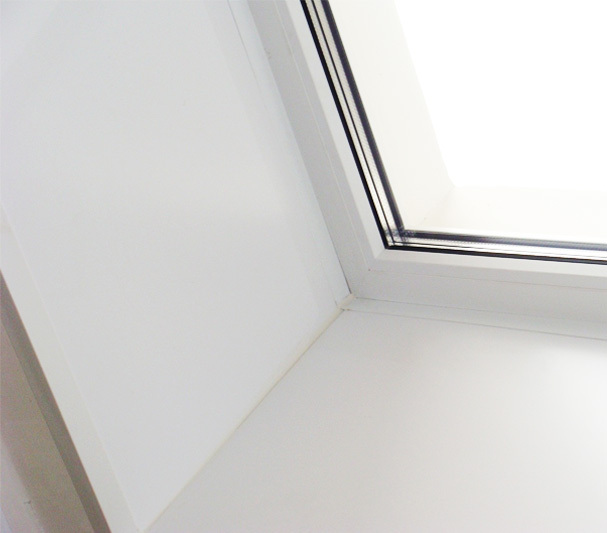
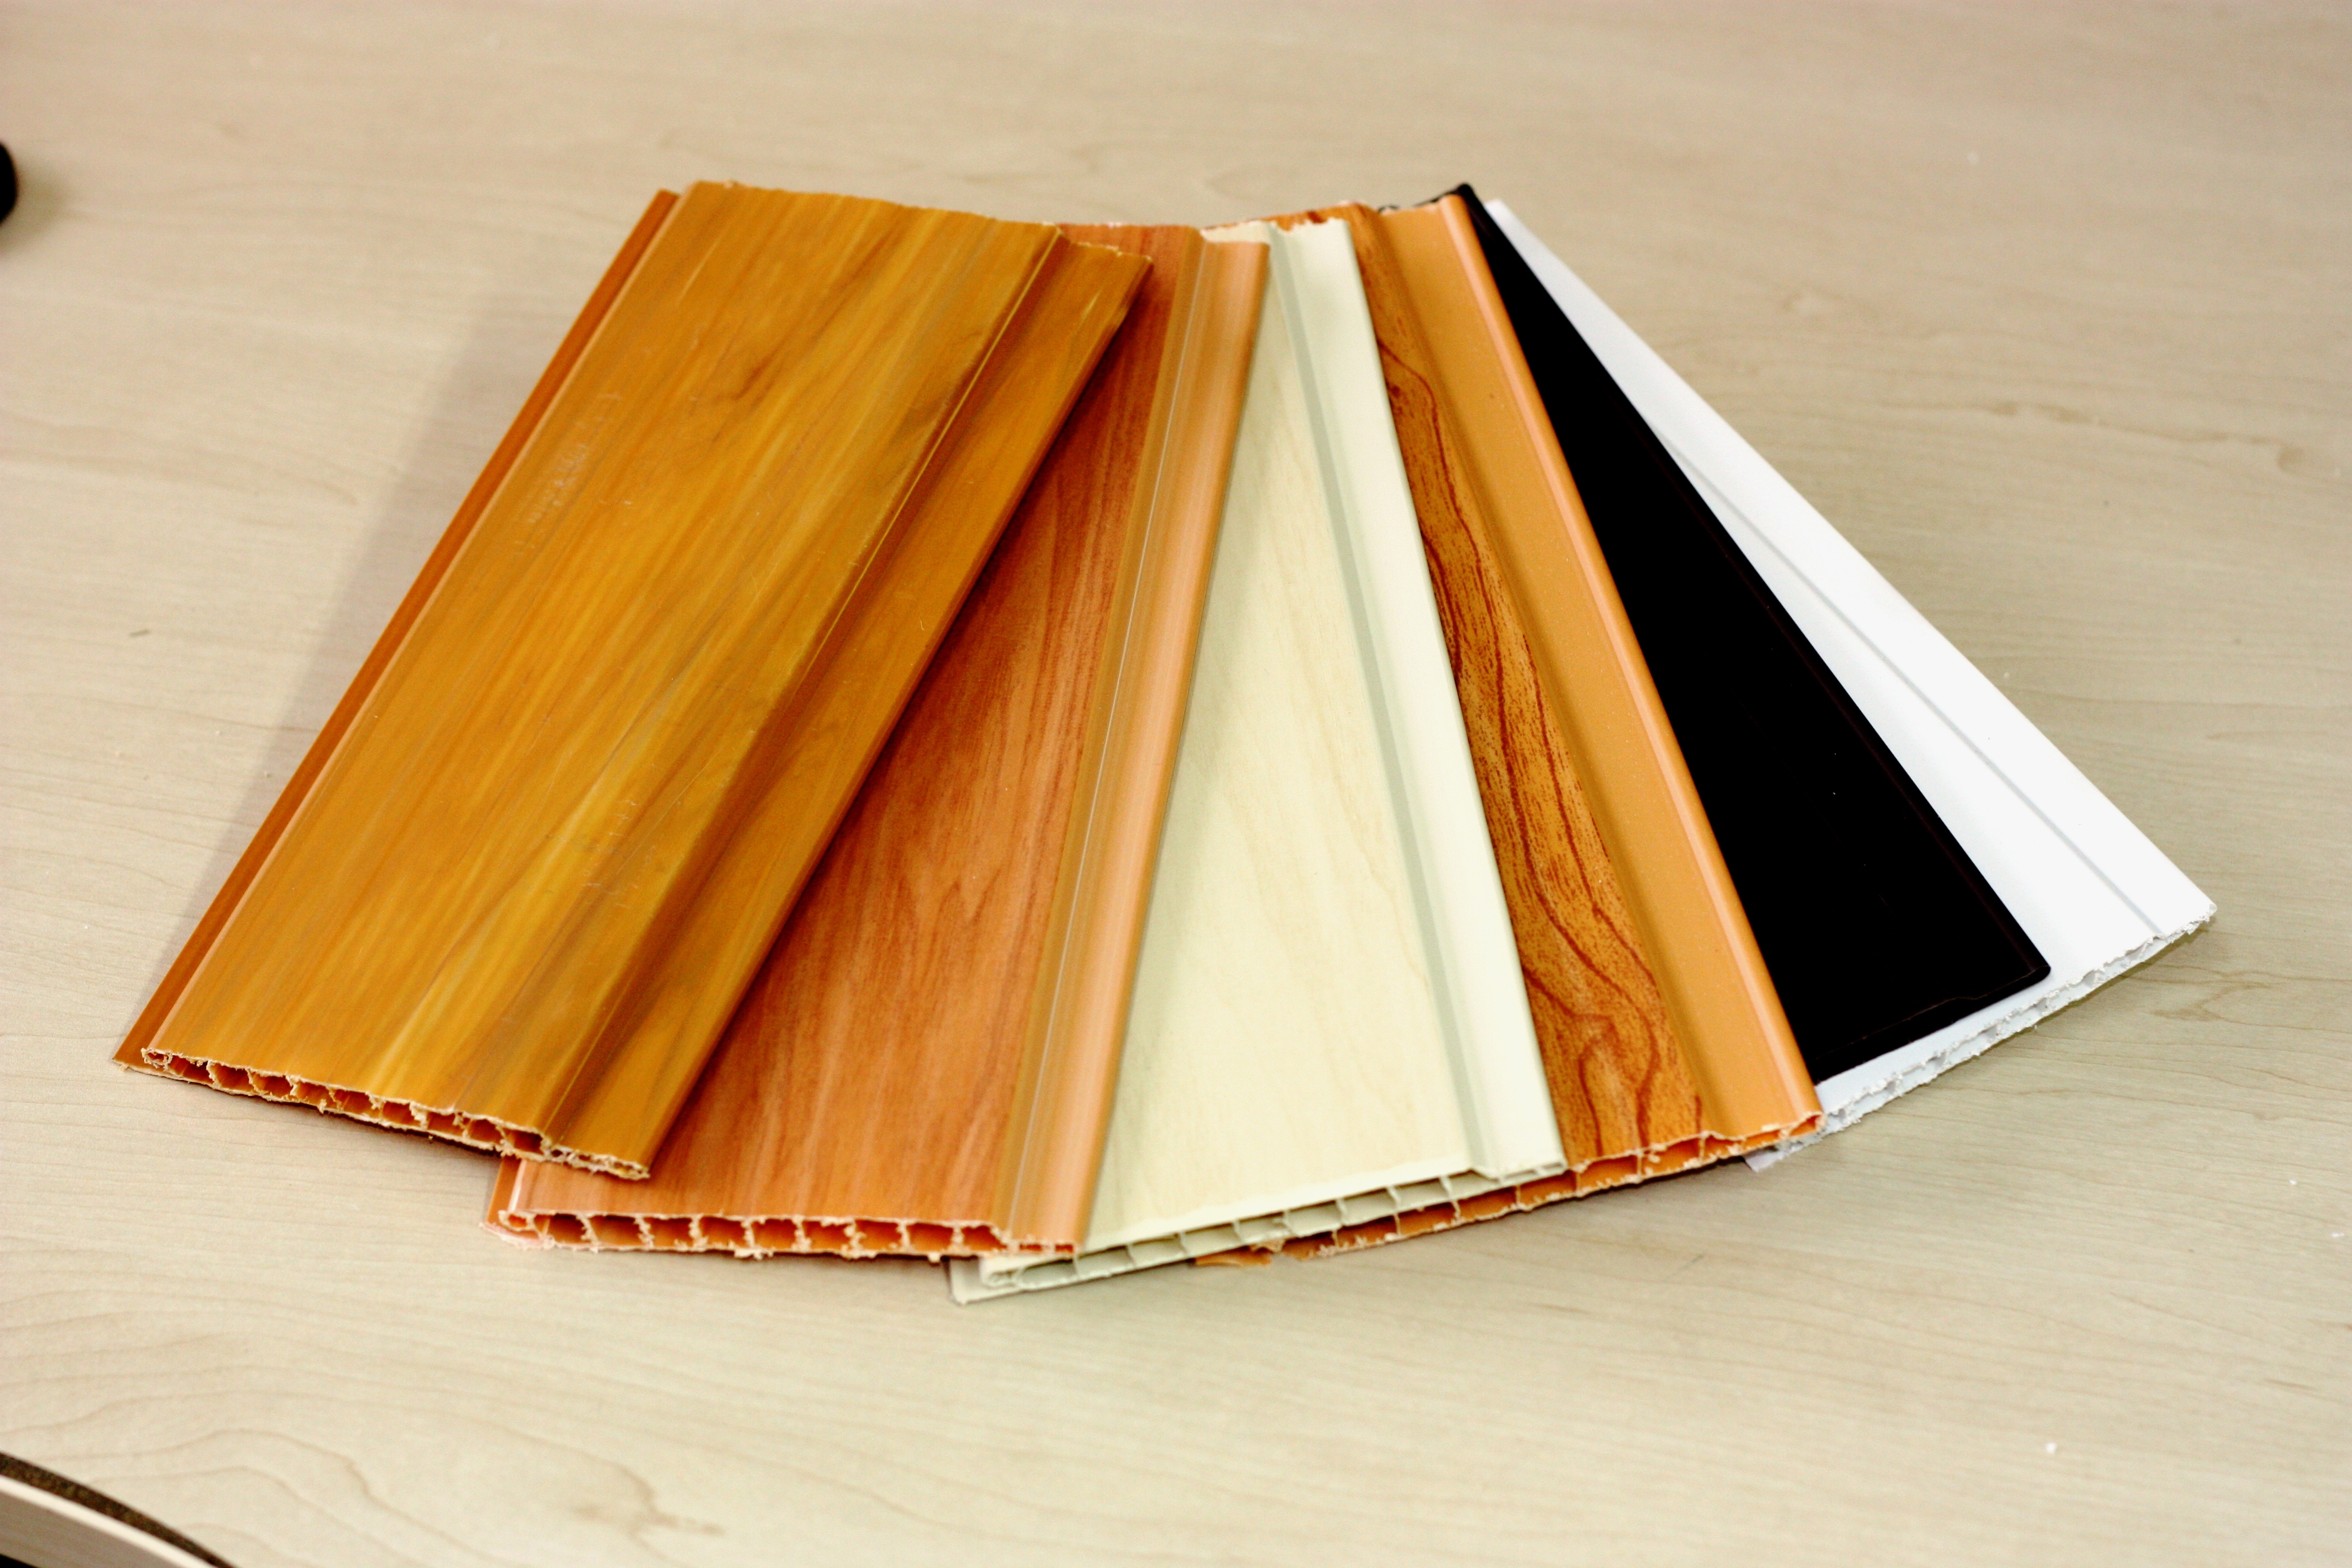
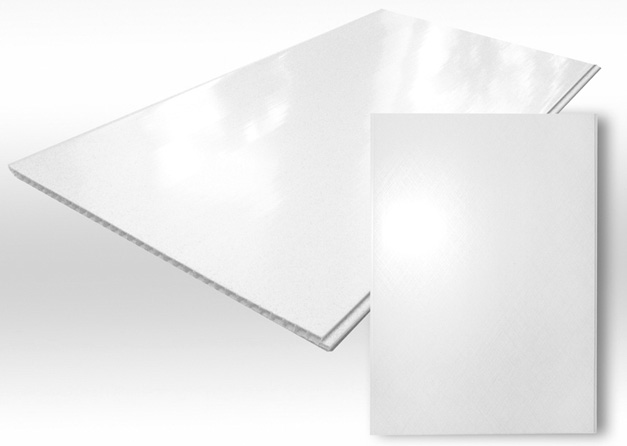
Plastic window slopes are currently considered the most popular. Here two categories of materials should be distinguished:
- sheet plastic;
- special panels for creating window slopes.
Both types of plastic must have a cellular structure. A special panel is better to choose the country of manufacture. The fact is that this material from European manufacturers will be significantly better than that of domestic ones. Plastic is also not too cheap, but such slopes are an ideal solution for plastic windows, because if there is a temperature drop, all window elements will have the same coefficient of thermal expansion.This will completely eliminate the possibility of gaps and gaps between the slopes and the window.
By the way, these slopes are versatile, because they are suitable for installation outside and inside.

If we talk about their benefits, it should be noted:
- good thermal insulation performance;
- durability;
- compliance with the material from which the window is made;
- resistance to natural factors;
- ease of care, no need for staining slopes;
- strength.
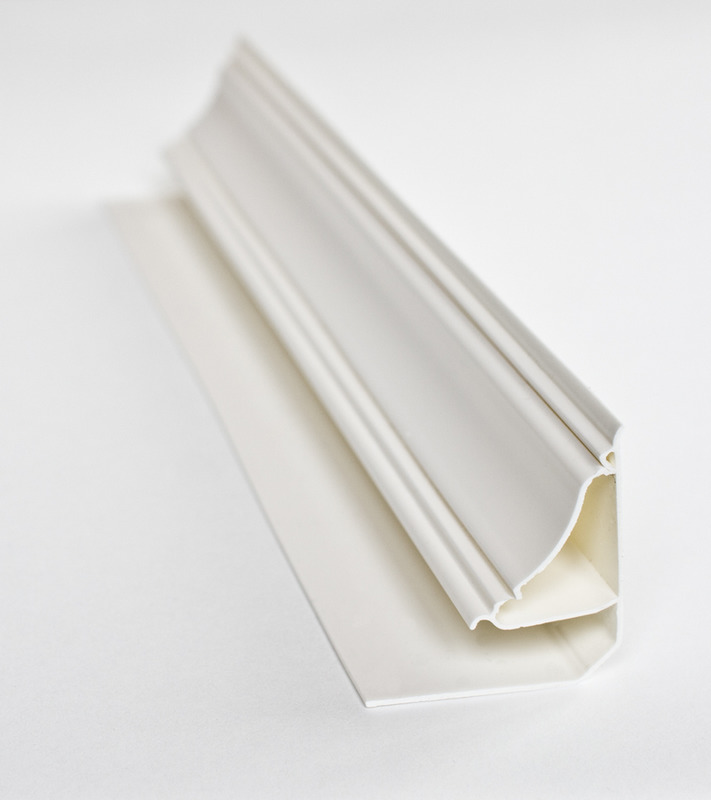
- The main difficulty is the preparation work. It should be very carefully prepare the surface for sticking plastic, because it should be as smooth as possible so that the glue lays evenly. The edges of the wall should be covered with a plastic corner. Its color should be the same as that of the panels.
Slopes for windows with plaster are classics. They are widely used for quite some time, they are perfectly combined with windows of various types and can be made in any building. Modern mixtures of this type allow you to get a high-quality finish, which often has good thermal insulation characteristics.Although it does not affect the durability of this type of slopes. To create a good plaster slope should resort to the help of a specialist, which will result in a lot of money. The very same make such slopes have about two days, because the plaster must dry, after which it will need to be polished, and then treated with primer and water-based paint to improve its properties.

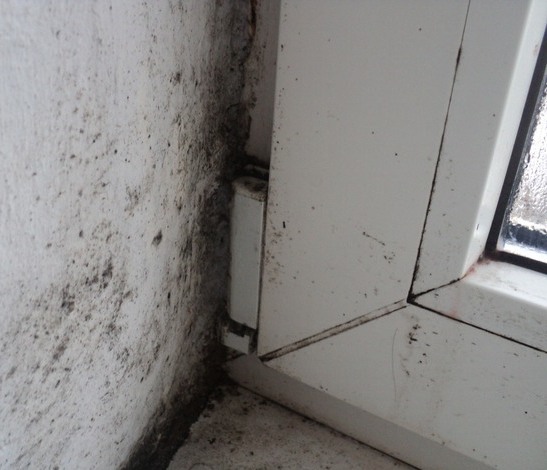
Despite good performance, one of the biggest drawbacks of such slopes will be the poor quality of thermal insulation in most cases. During the cold period, condensation may form on the glass as well as on the surfaces of slopes due to overcooling of the window block. This will cause a fungus and mold to appear at the junction of the window. In addition, mortar and plaster have different expansion factors, which over time can cause cracks on the slopes.
If this type of slope is chosen, the work should be carried out exclusively by a qualified technician who will strictly follow the process technology.
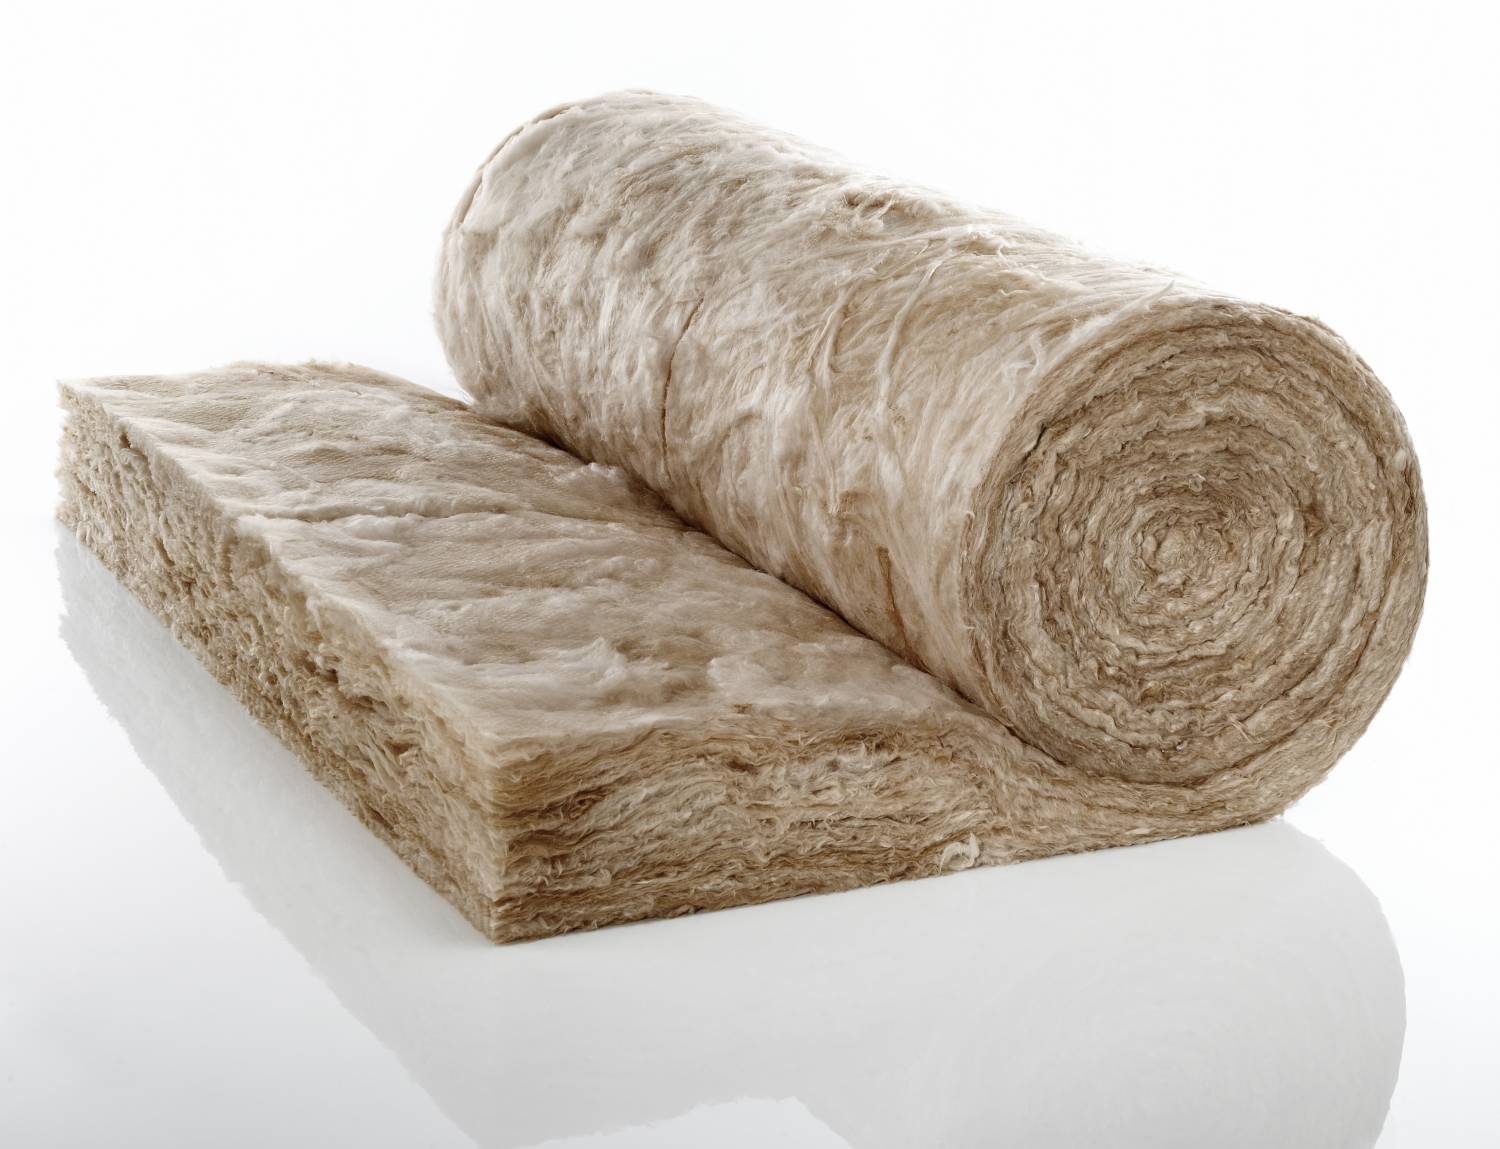
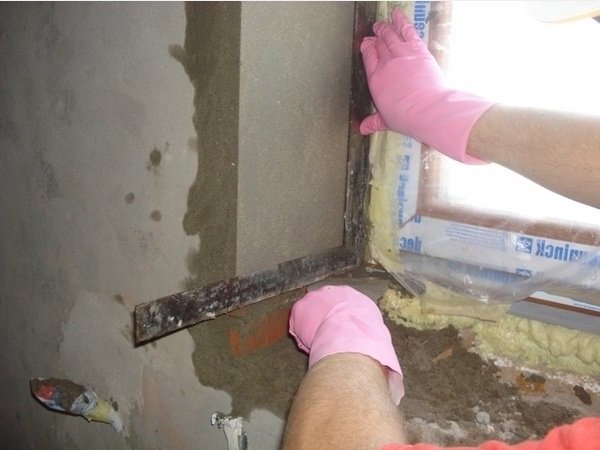
Window slopes of drywall are used in cases where the window opening is seriously damaged. Such slopes are made only inside. They allow you to get rid of a significant part of the moisture on the windows. To create them, you first need to scrape the entire plaster, then cover it with a primer. After that, the installation of sheets of moisture-resistant drywall. Between them, one of the insulation materials is installed: polyurethane foam, foam plastic, mineral wool.
Now the slope must be primed, painted and make the finish. And at the junction between the slope and the wall for a good visual effect, you can glue the corner. The disadvantage of such slopes is that they permanently swell when exposed to water.

It should be said that this material has other disadvantages. For example, its strength is extremely low, and it is easily damaged with minor mechanical effects. Moreover, somehow it is impossible to restore drywall - it can only be replaced. He is also afraid of high humidity. If its level is at around 75 percent, then it will lose its original characteristics and simply swell. Over time, these slopes require repair and painting.In the process of their installation between the wall and cladding may remain the space where moisture will accumulate. For this reason, the most common defect is the presence of stains on the surface of the slope. In the future this may cause deformation of the product.
The cladding of window slopes with drywall is also a fairly time consuming process. Work can be done somewhere in three to five days. At this time, leveling with plaster and painting in several layers are also included.
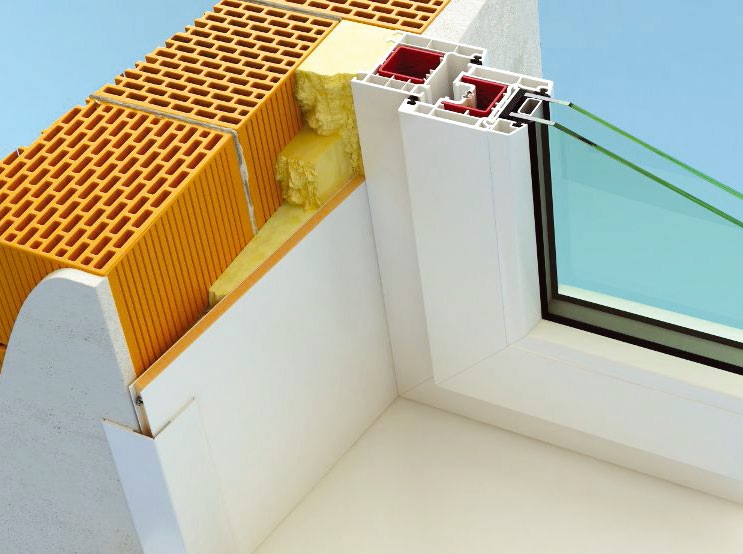
The so-called sandwich panels are a kind of plastic slopes.
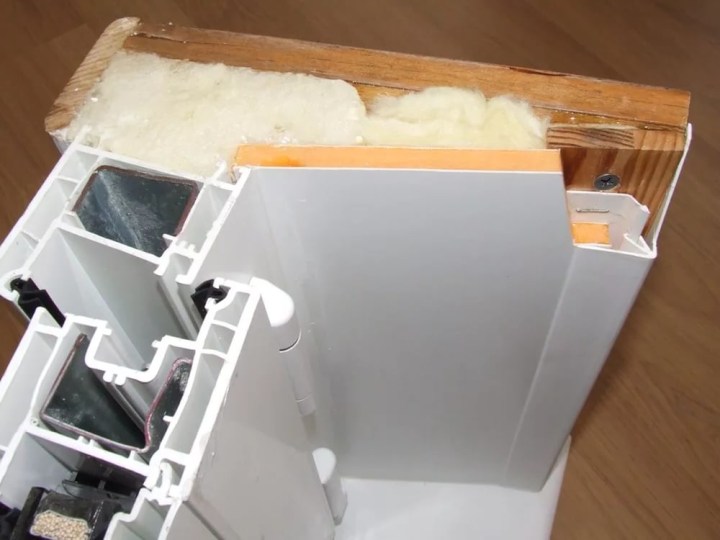
The sandwich panel is a flat sheet of plastic, as well as a layer of foam polystyrene insulation having good thermal insulation characteristics.
When installing under a sandwich panel must put insulation. Due to its good characteristics, this type of slopes serves for quite a long time, does not require any modifications, and also makes the opening completely sealed. The use of such material can significantly reduce the risk of condensation on PVC windows.
Note that in general, PVC window and plastic slopes will be a single design and will be identical in texture and color.The advantage of sandwich panels will be the ability to install slopes up to half a meter deep. And according to European standards, warm slopes of plastic and PVC windows are the main components of the installation.
In addition, these panels can withstand temperatures up to 45 degrees, which provides excellent protection from cold and moisture. But the price of such slopes will be higher than all listed.

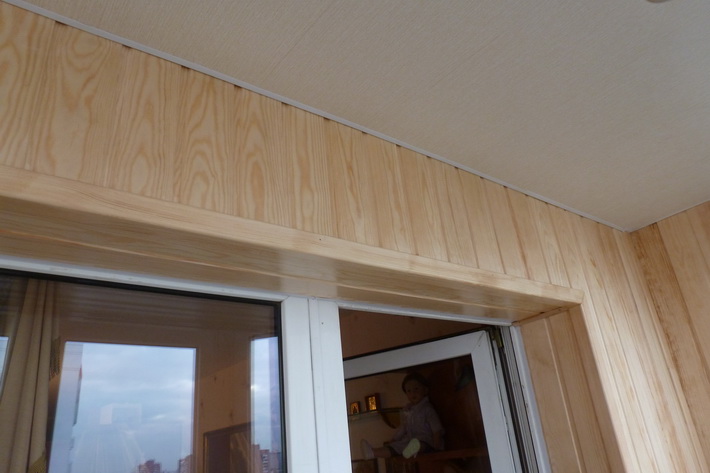
And it is also necessary to mention such an option as seamless wall paneling. Installation of this type of slopes today is very common. Compared with the analogue - sandwich panels, the cost will be significantly lower. But she has serious flaws.
- It cannot be used on wide slopes. In this case, the structure will be extremely unstable, which will cause the joint joint to creep away and become noticeable sooner or later.
- Lining is a hollow material that can cause its deformation: swelling, covering with waves, and so on. This significantly spoils the appearance of the window. This can be eliminated if you pre-warm the area of the finish with mounting foam or basalt wool.

- Plastic lining has a cellular structure.There is no insulation in it, and for this reason, having made such a finish, the insulating properties of the whole structure will be low.
- The product is rather short-lived. Usually, after a short period of time, the plastic paneling just peels off. The reason for this is the hollowness of the material.
Here are the most common types of materials for creating slopes. Although there are other solutions. For example, finishing with siding or something similar. But it is more rare.
How to choose?
After you have learned about the most popular types of slopes, a logical question arises: how to choose them.
- The first advice would be, of course, focus on which windows you are going to install. If we are talking about wood, it is logical that the slopes of wood will be the best solution in this case. If PVC windows, it will be better plastic or sandwich panels.
- The second important point is availability of funds. If there are not many of them, then you can do with drywall or plastic. If there is money, then the installation of sandwich panels will be the best solution, since in terms of characteristics and properties - they have no equal among others.And also a fairly good option would be cellular composing plastic, which by its characteristics is somewhere similar to sandwich construction. It is convenient, externally beautiful, quickly installed and has quite good heat preserving properties. The only problem, as mentioned, is the high cost.
- Another criterion - aesthetic appeal. By this criterion, the slopes of the hygroc will look best. If they are well insulated, they will not yield to plastic slopes. And if they are successfully docked with the wall, they will turn the window opening into a completed one, and it will look great. The price of the slopes of the drywall will be less, but their installation is not easy. True, such slopes are experiencing a problem with moisture.
- Well, if you want to find the simplest solution, and do not get too hung up on this, the plaster slope is what you need. Despite the fact that they are the most laborious, they are at the same time the cheapest. True, there is enough of its shortcomings, which may outweigh all the advantages that such slopes have.
In general, the choice of slopes and materials for them will depend on the wishes of the customer, the windows that he will put, as well as the availability of financial resources.
Recommendations for the installation work
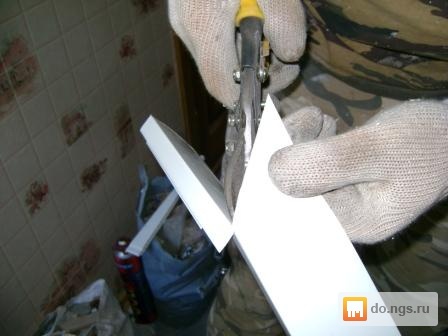
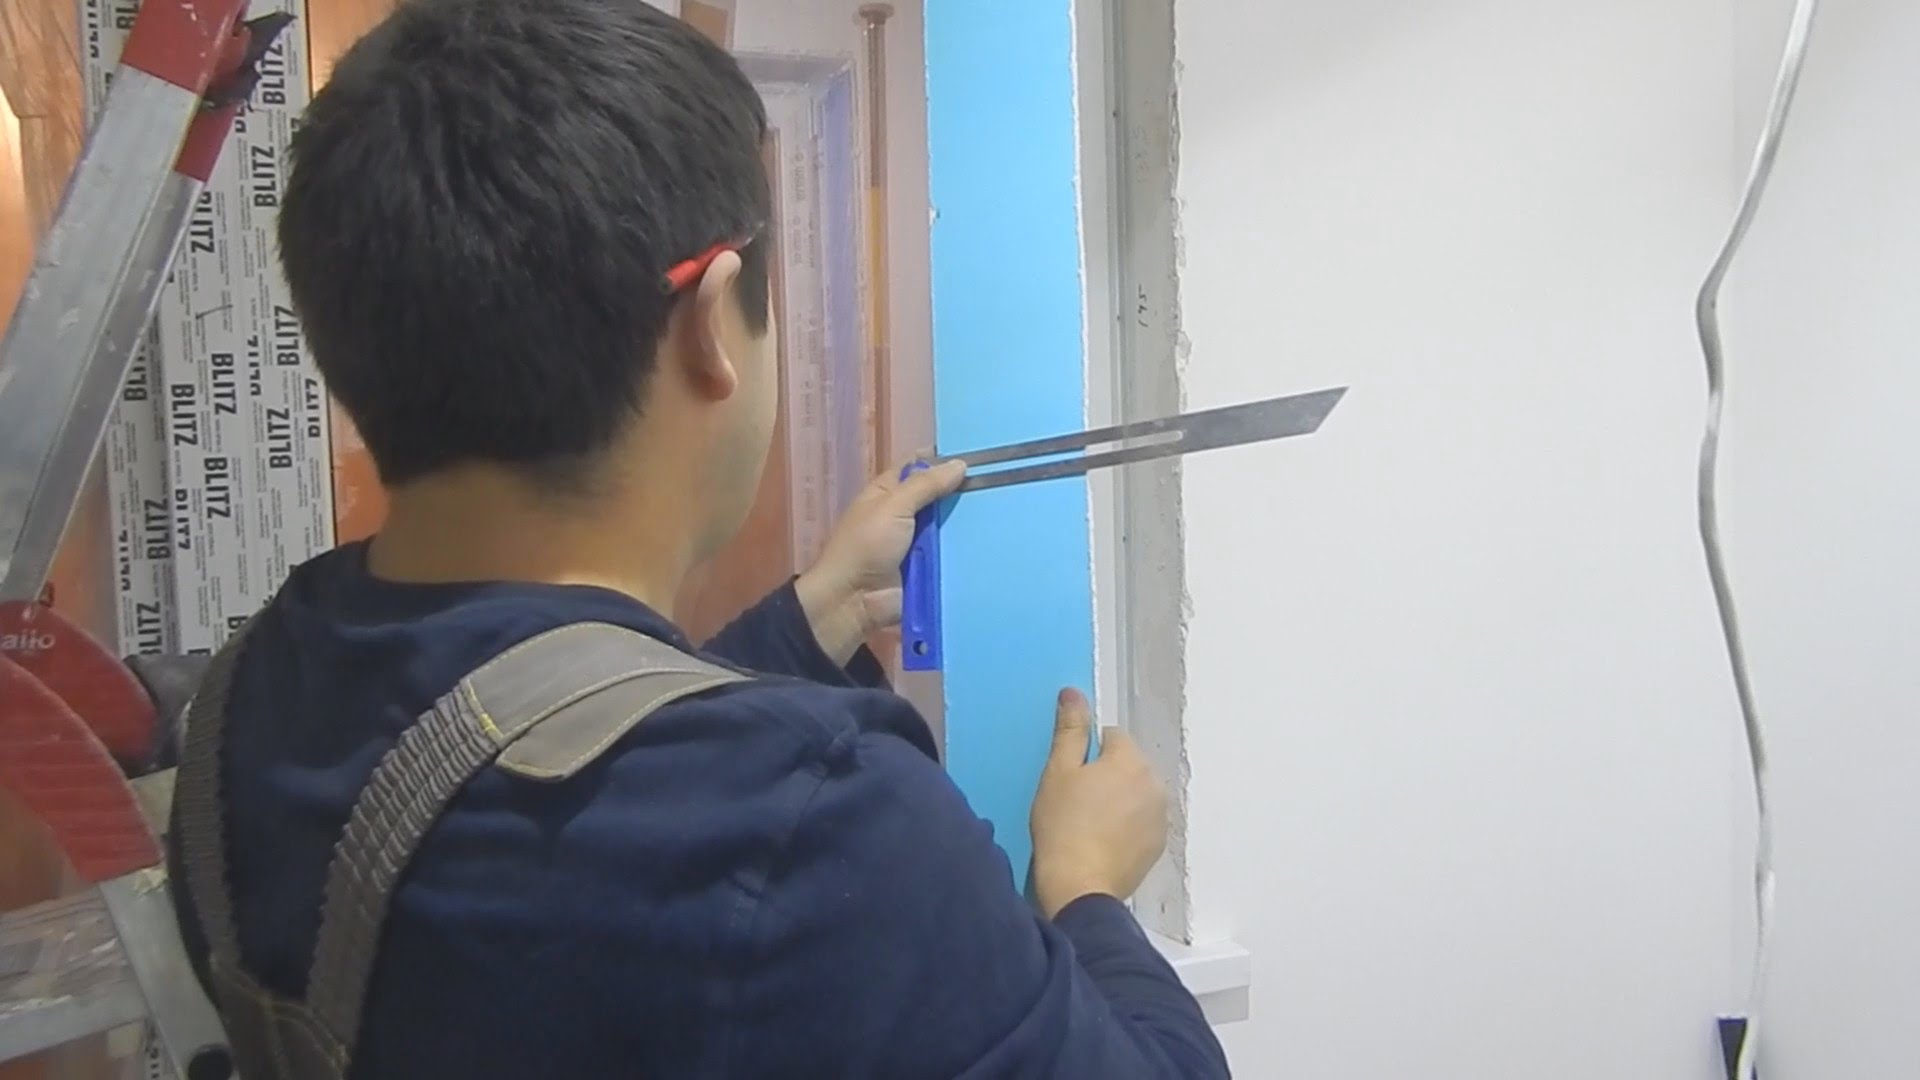
We will give a few examples when working with these or other slopes, which can help in more simple and high-quality installation. For example, when working with plastic slopes. Making the slopes of this material with their own hands, you should observe certain technological nuances. For example, it is better to select plastic panels to match the color of the window so that they do not have to be painted somehow. And also before using panels with them it is necessary to cut the mounting spike. It is best to cut them with an electric jigsaw or with a special knife.

The foam has a tendency to deform. So that this situation does not happen, and the slopes were as smooth as possible, it is necessary to choose a foam having a minimum coefficient of expansion.
Another tip - the slopes should be fixed for five to ten minutes, until the foam starts to harden.
With each type of slopes it is necessary to know certain subtleties.
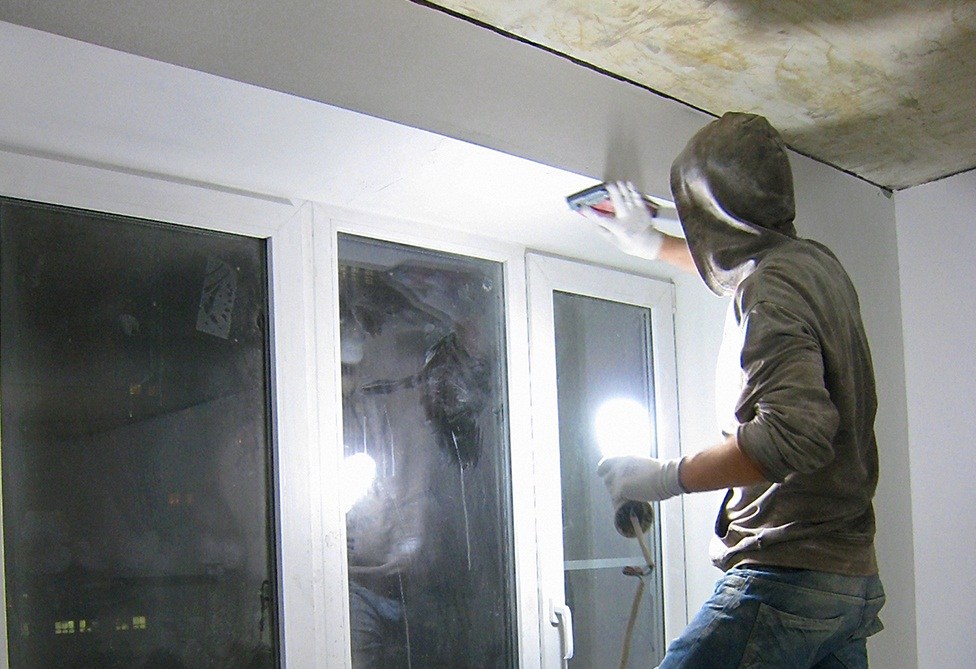
Before you begin any installation work, you must prepare the maximum surface. This process can be carried out in different ways. If the window is mounted in such a way that there is enough space around it on the slopes for the installation of finishing with insulation, in most cases it is only necessary to remove the old paint, whitewash and wallpaper from these surfaces.It is quite simple to remove the wallpaper and whitewash, after moistening them with water and allowing them to soften.
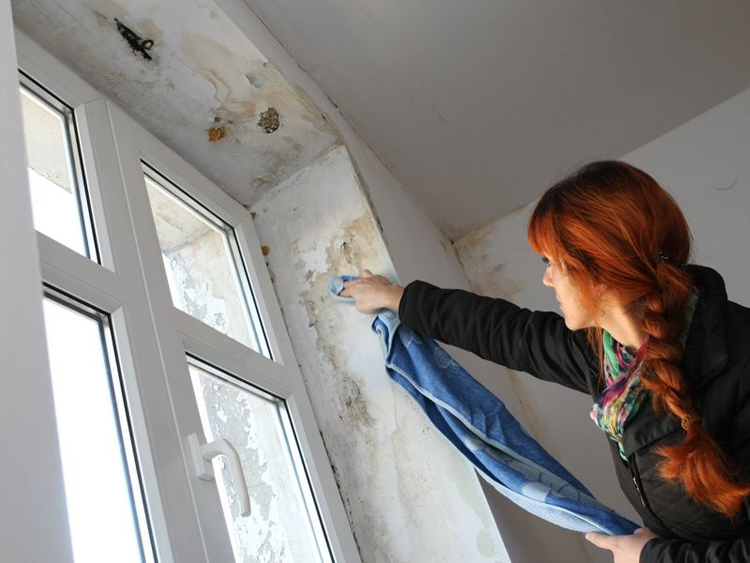
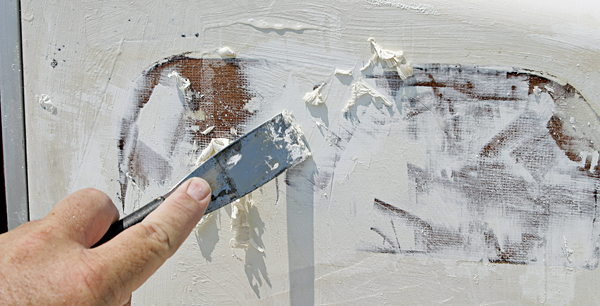
If we talk about removing the old paint, then if it has an oily or organic base, then this is done with a spatula. The surface itself should be heated with a building dryer to simplify the process. Slopes that have already been cleaned should be treated with a primer with antiseptic properties. This is done in order to eliminate the likelihood of mold forming under the finish, which not only can destroy the wall and finish, but also cause an unpleasant smell. Yes, and breathing such a smell is not safe for human health, because everyone knows about the danger of a fungus for the respiratory system.
Usually primer coating occurs in several layers. Each new layer is applied exclusively after the previous layer has dried. It is necessary to process not only smooth surfaces, but also angles that are difficult to reach. Here it is best to change the spatula to a small narrow brush.
There is an alternative, but it is more difficult: complete cleaning of the old plaster, which was previously applied to the slopes.
This method is used in cases when there is too small a distance between the slope and the window frame, which makes it impossible to open the window completely.
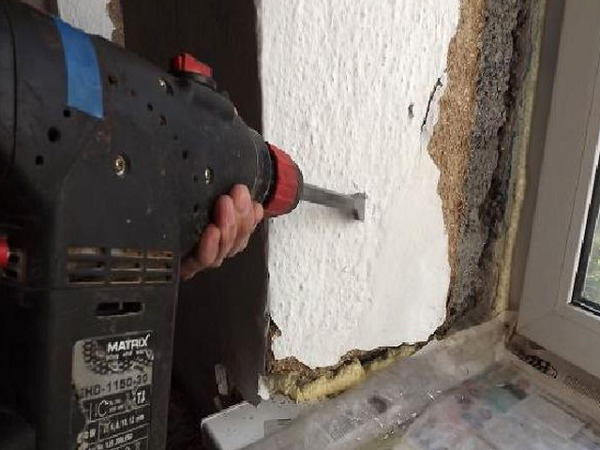
Another option when you can use this solution is the impossibility of installing the insulation of slopes or even the most simple plastic panels. To completely remove the layer of plaster in a short period of time, you can use a punch, which is put on a special nozzle, called a chisel. Its special design allows you to hook all the layers that were previously applied to the wall. The ease also lies in the fact that in this case, the plaster can be removed quite large pieces.
When this is done, dust, particles of plaster and the wall must be swept away from the cleaned slopes. It is best to use a wide brush and a soft brush for this. After that, everything should be primed with the antifungal composition mentioned above.

Instruments
Depending on what slopes will be installed and in what way, the list of materials and tools that will be needed for this will vary.True, the materials will be simpler, since the differences will be extremely minor. For the installation of any slopes will require certain tools.
If we are talking about plastering, then it will be about:
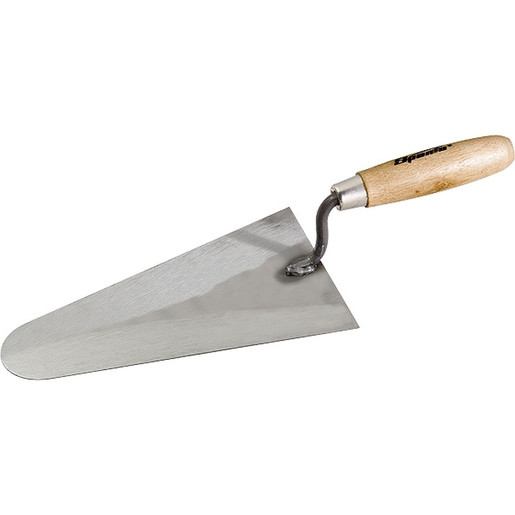
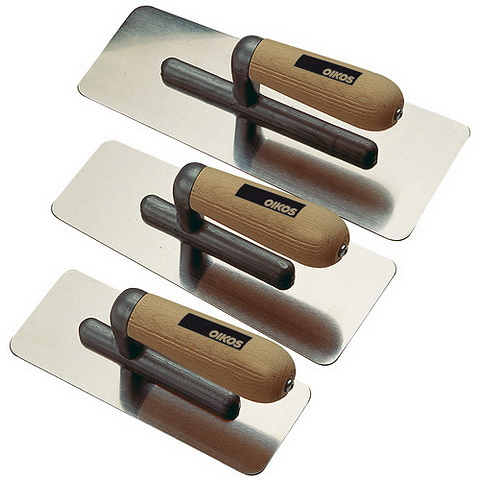
- plaster trowel or paddle, they are used for applying plaster or putty on the wall;
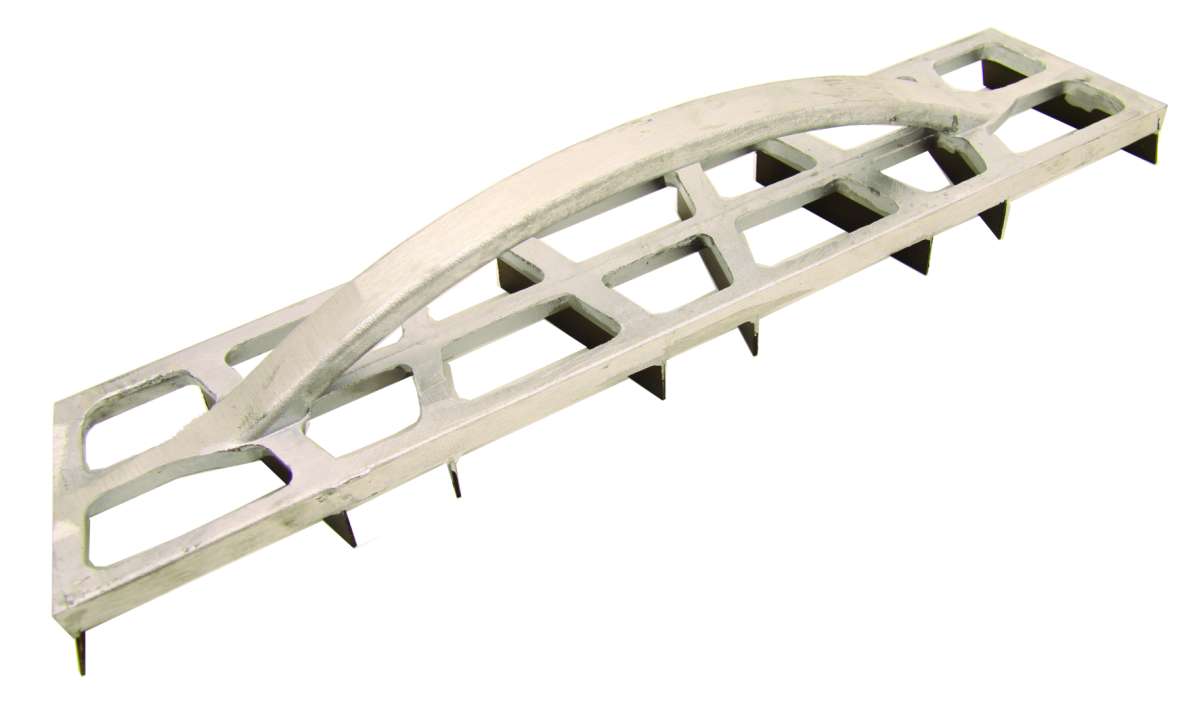
- the corner leveler, which allows to quickly align and make the outer and inner corners correct, which cause the greatest difficulties in the homing process;
- Falcon, it is used to bring the solution to the surfaces that get rid of, during the work;

- electric drill with a special nozzle-mixer, which is necessary in order to quickly and accurately knead the solutions;
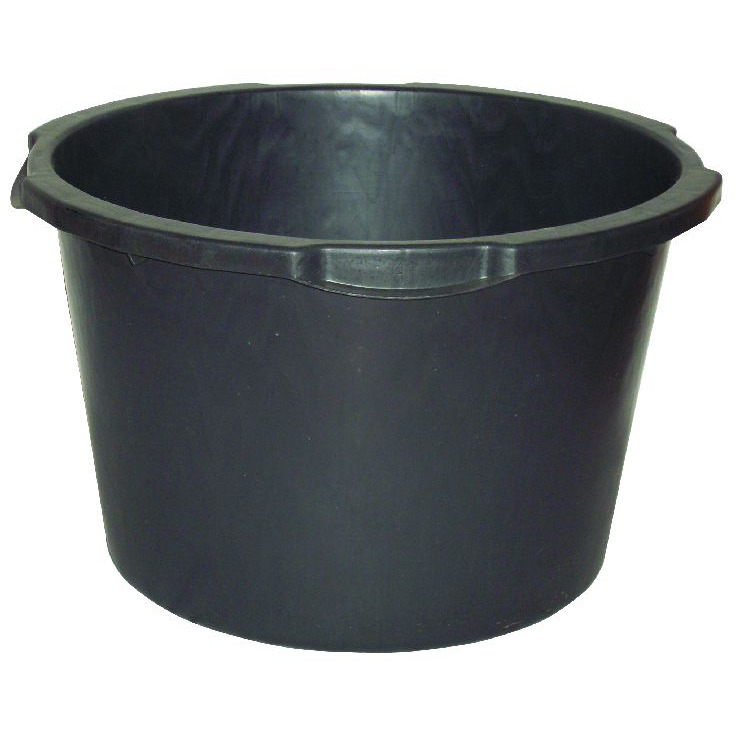
- containers for mixing solutions;
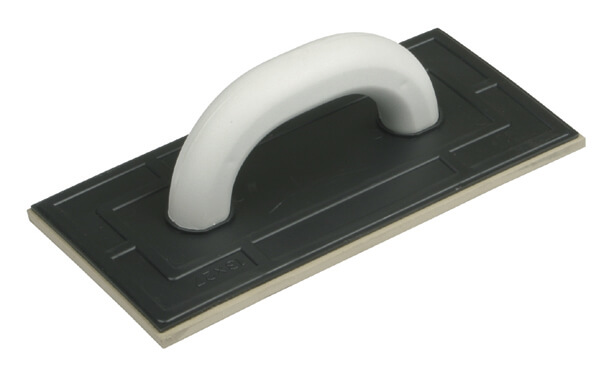
- grater, which is used for leveling and ironing puttied and plastered surfaces, making them even;

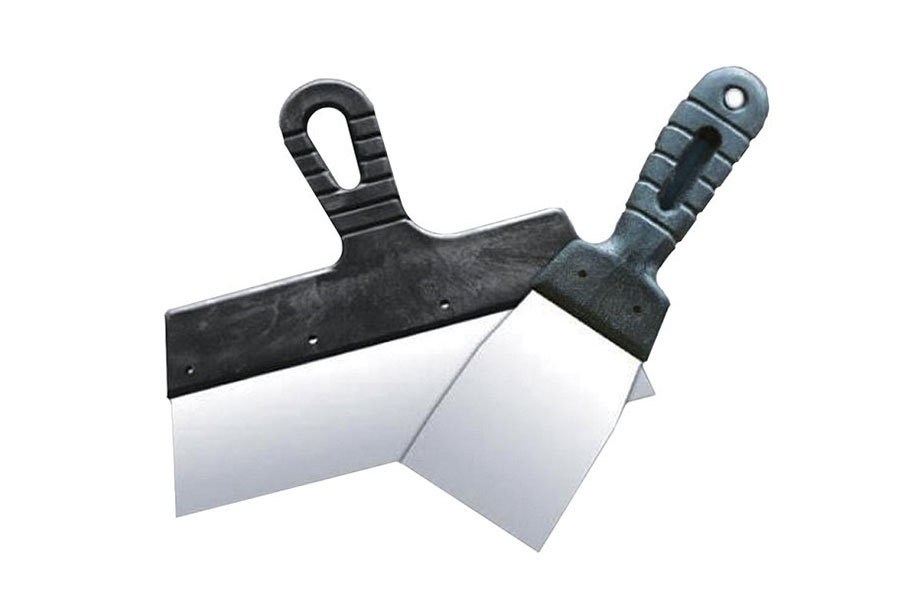
- spatulas for leveling and applying solutions;
- plaster trowel, which is used for applying and leveling mixtures;
- rake made of wood or metal profile, one of the two elements is necessary to create guides.
If you suddenly need to install PVC panels, we will need:
- special construction syringe for working with sealant;
- the gun for work with assembly foam;
- sharp construction knife;


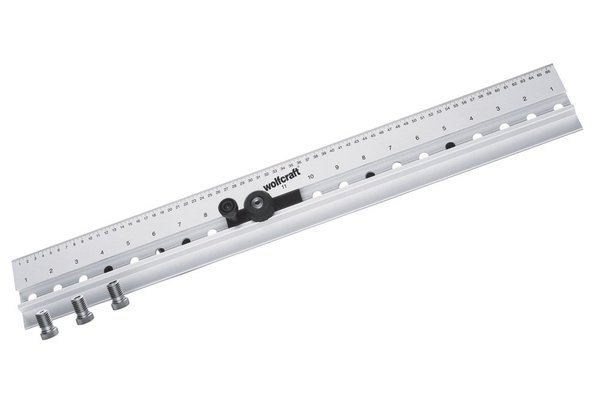
- corner and ruler;
- Roulette for adjusting blanks of panels and making measurements.


It will also be necessary to have on hand:
- construction level, which will give the opportunity to verify the creation of the most ideal surfaces;
- shears for metal, they may be needed for cutting profiles or reinforcing corners;
- wide brush that will be needed for applying a primer.


Special attention should be paid to tools that are designed to pre-prepare the surface of the slopes. These include:
- building hair dryer;
- putty knife;


- hatchet;
- special nozzle chisel for perforator.


Well, let's say a little about the materials that may be required in addition. If plastic slopes are preferred, it will be necessary to buy important components.
- Panels made of plastic. Their number will depend on the physical size of the slope. They will be needed for mounting on the sides as well as the ceiling part of the window opening. To do this, measure the thickness of the walls, as well as the width and height of the slopes.
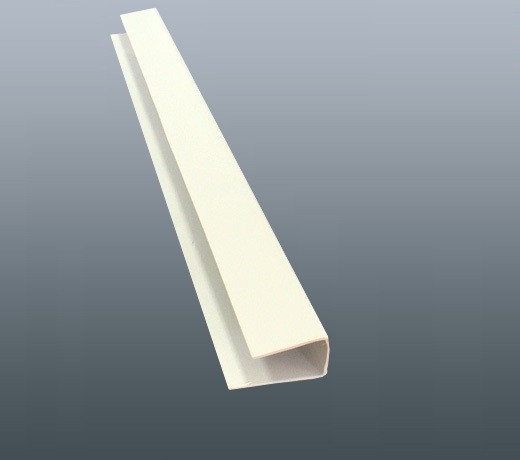
- Starting strip of plastic, which has the shape of a letter P.
- F-profile.

- Profiles for the inner corner, which are usually mounted on the joints of the panels.
- Thermal insulation material. As a rule, we are talking about polystyrene foam or mineral wool of the required size and thickness. By the way, if warmed sandwich panels are used, then thermal insulation can be not added.
- Lath made of wood or plywood.
- Screws.
- Staple brackets.

- Primer.
- Polyurethane foam.
- White silicone.
If we are talking about the installation of sandwich panels, then you need everything that is presented in the above list, except for the U-shaped and angled slats.

To finish the slopes with plaster, we need:
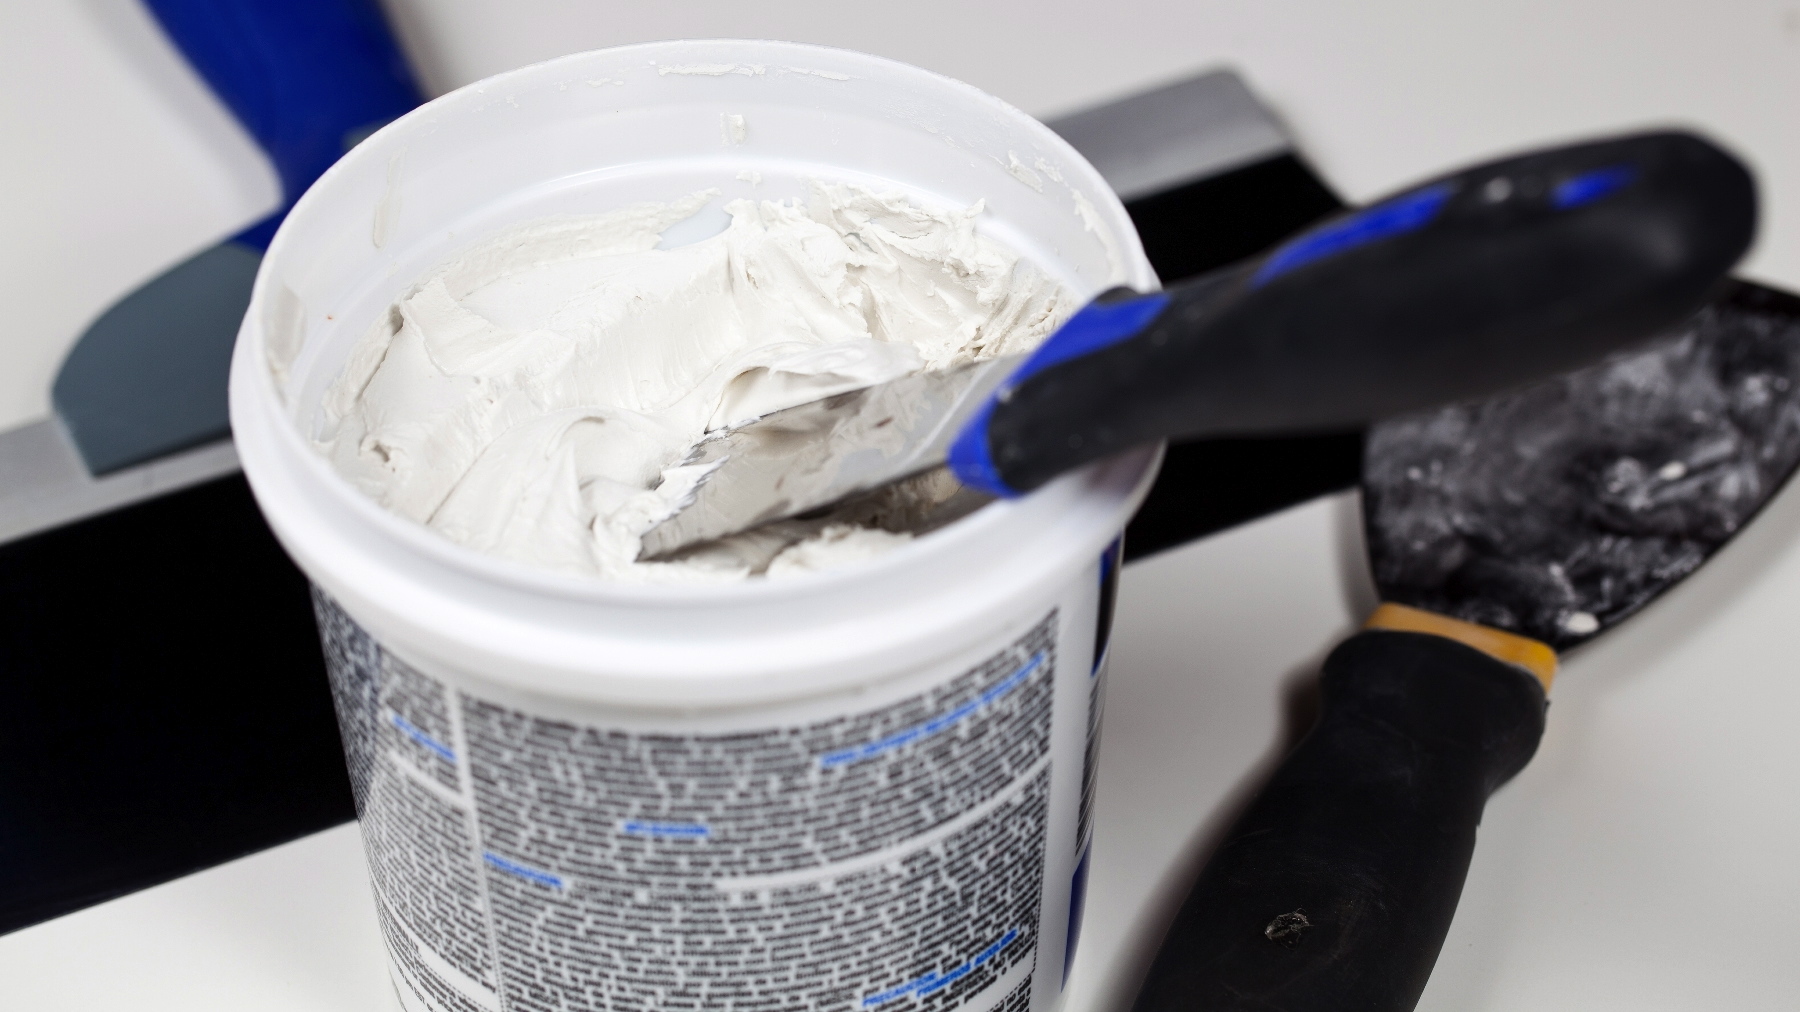
- finishing putty;
- plaster and putty composition;
- primer with antifungal properties;
- finishing decorative material;
- perforated paint profile, which will be needed to strengthen the outer corners.


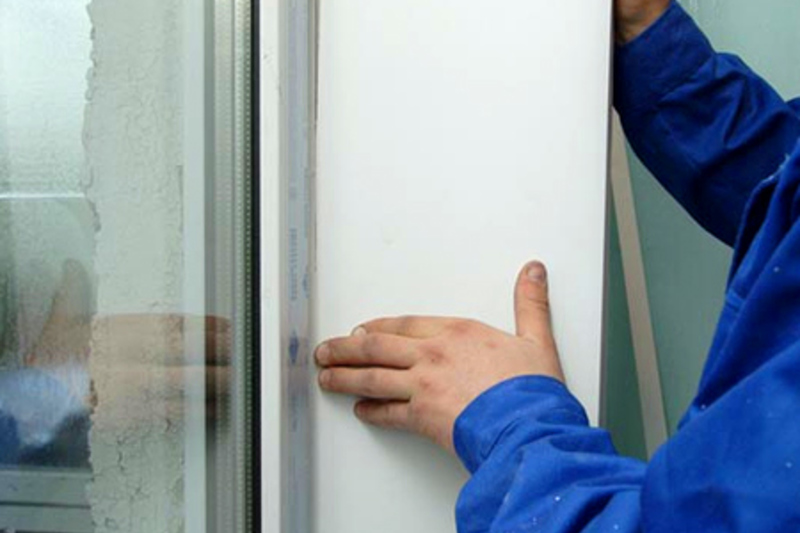
Installation
Let us proceed directly to the description of the installation process of slopes. Consider the option of installing sandwich panels in the absence of starting profiles. This method will be relevant for cases where the window is mounted in such a way that the distance from its frame to the wall is almost minimal. In such a situation, installation with a profile is either too complicated or simply impossible.
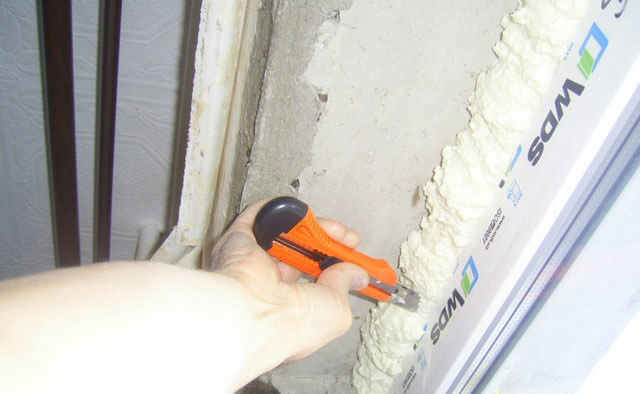
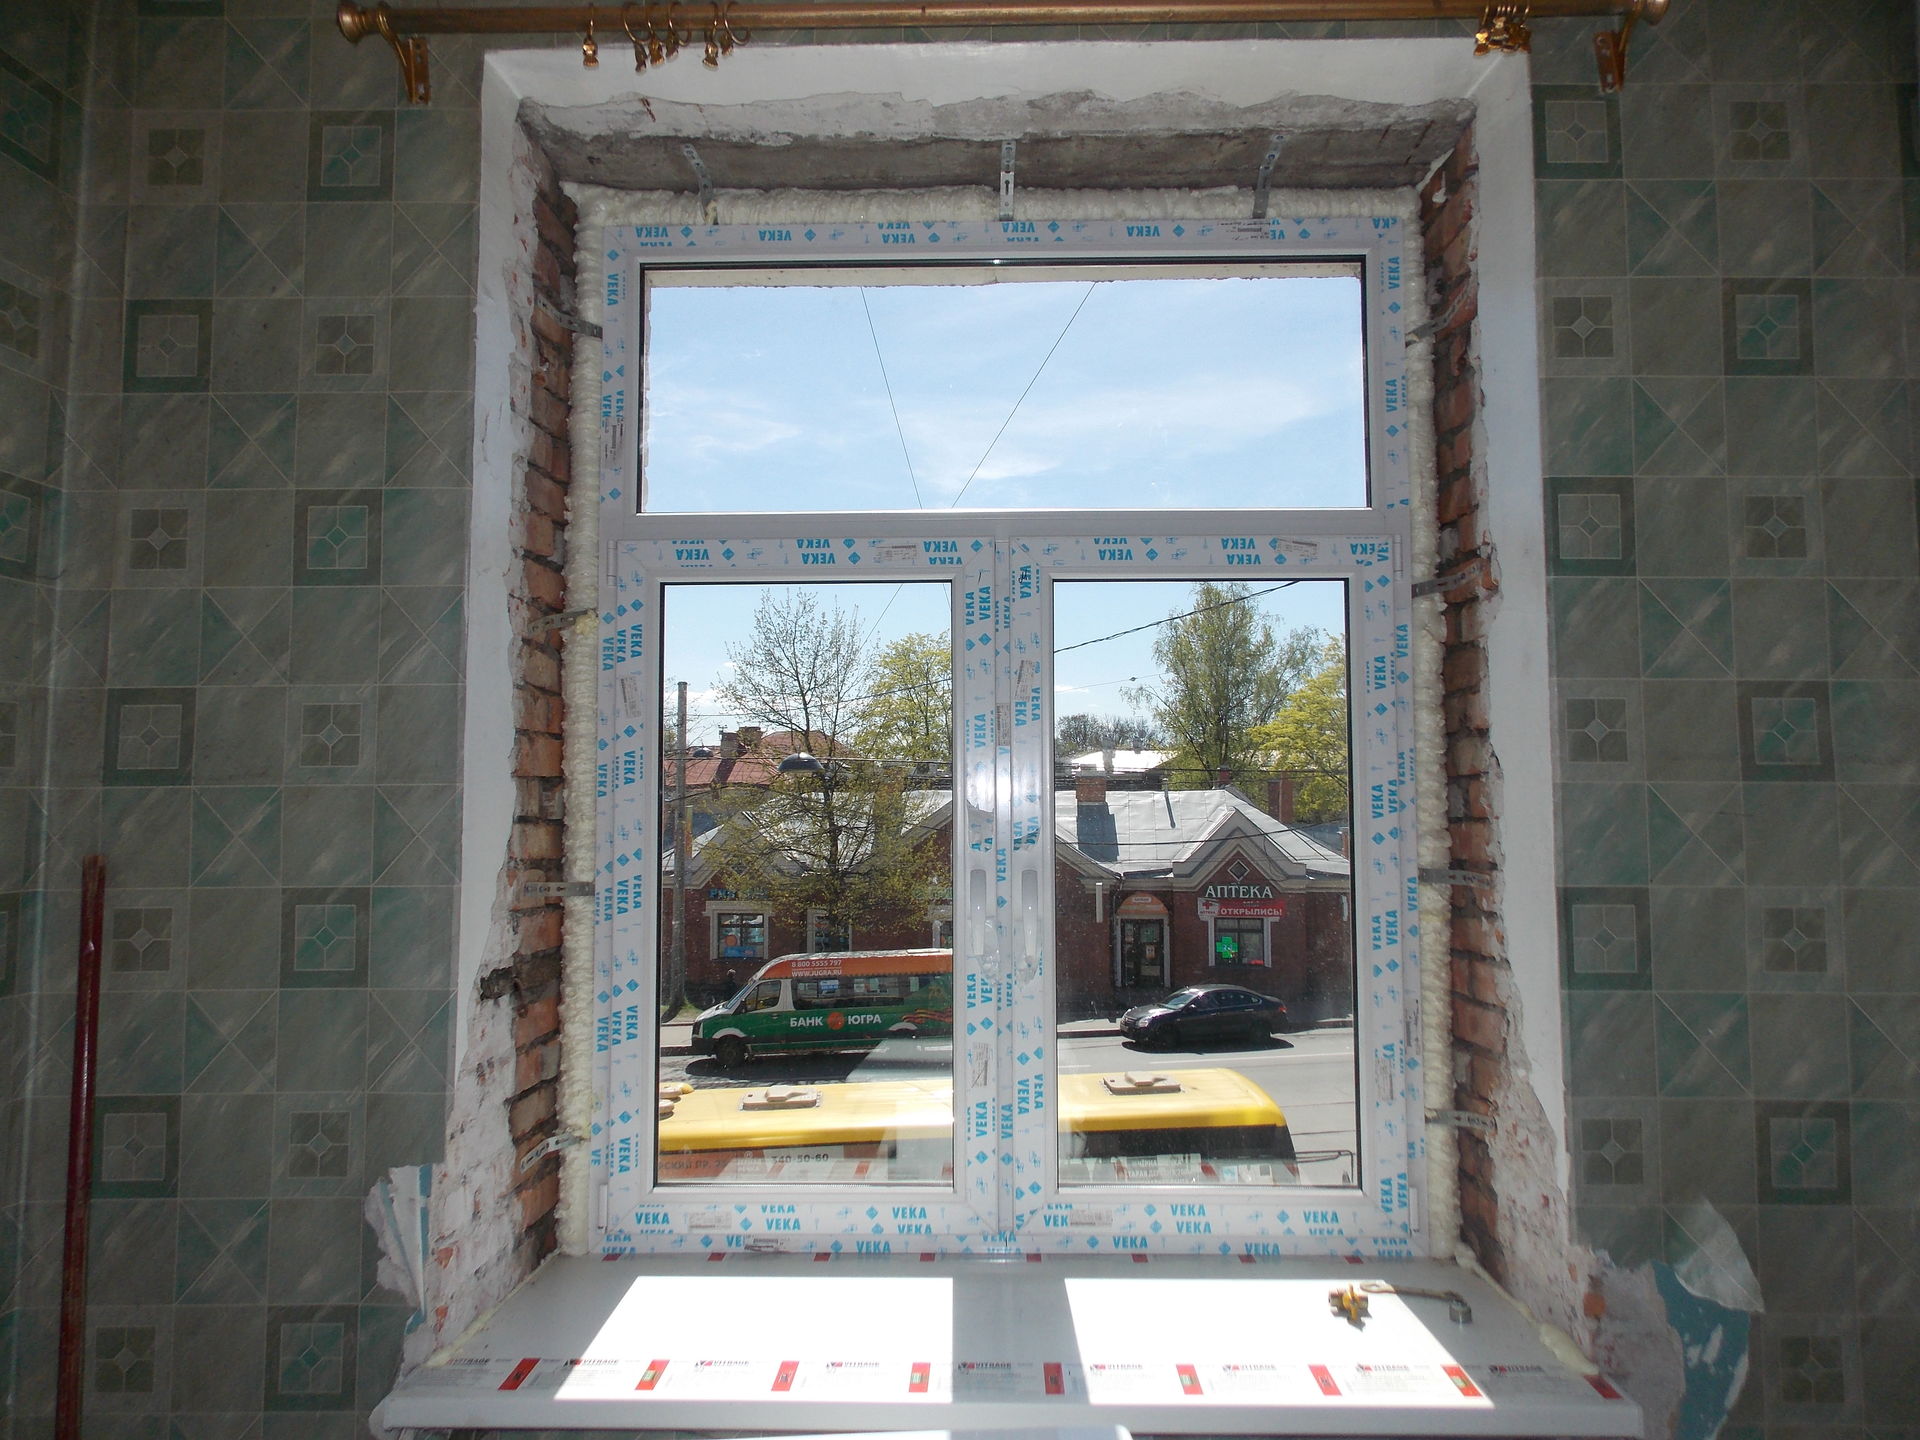
Installation of slopes begins with the preparation of the opening. It is necessary to cut out the remnants of foam with a clerical knife, but it is not necessary to cut off too much foam, as it holds the window and acts as a heater. And the interfering plaster is also removed, after which a thin rail is nailed or planted on dowels so that its wide side is closer to the slope.As a rule, it is not aligned, but simply nailed as far as possible.
Now, around the perimeter of the frame itself, it is necessary to cut the foam so that the sandwich panel can get there at a depth of about one centimeter. Cut off the plastic panels. To do this, you can make a stencil of paper. When it is ready, you can outline it on plastic. During this process, we do not forget that the sandwich panel should enter a depth of 1 centimeter and mentally add it to our stencil. That is, you need to cut with a small margin. The cutting process must be carried out with the blade on the metal. We try on everything, we make adjustments so that the plastic rises smoothly. Smooth in such a way that the panel was flush with the plaster. The edge should be as smooth as possible.
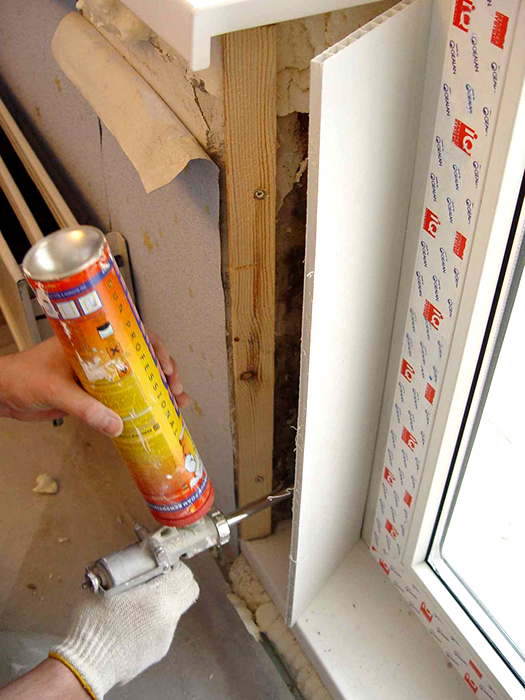
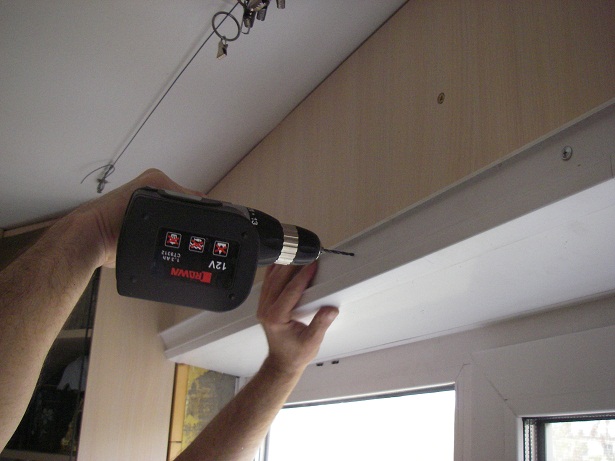
Now we postpone the strip, drill through the outer edge of the hole through the thickness of the nails, departing from the edge somewhere half a centimeter, which will make it easier to fix and not deform the plastic. After that, we take a can with mounting foam and fill the lumen with foam using short pshikov. We try to make it so that the foam gets as deep as possible, but so that it doesn’t have much, as it can swell and the plastic will be deformed.

By the way, speaking of working with foam, it should be said about a number of features.
- With smooth plastic, it will have extremely unstable grip. In order to level this negative effect, one should treat the surface facing the wall with sandpaper or prime it with something.
- Moisture is necessary for the foam to polymerize well. That is, before making the installation of plastic, the slope must be treated with water from a spray bottle. The wall must be pre-cleaned of dust.
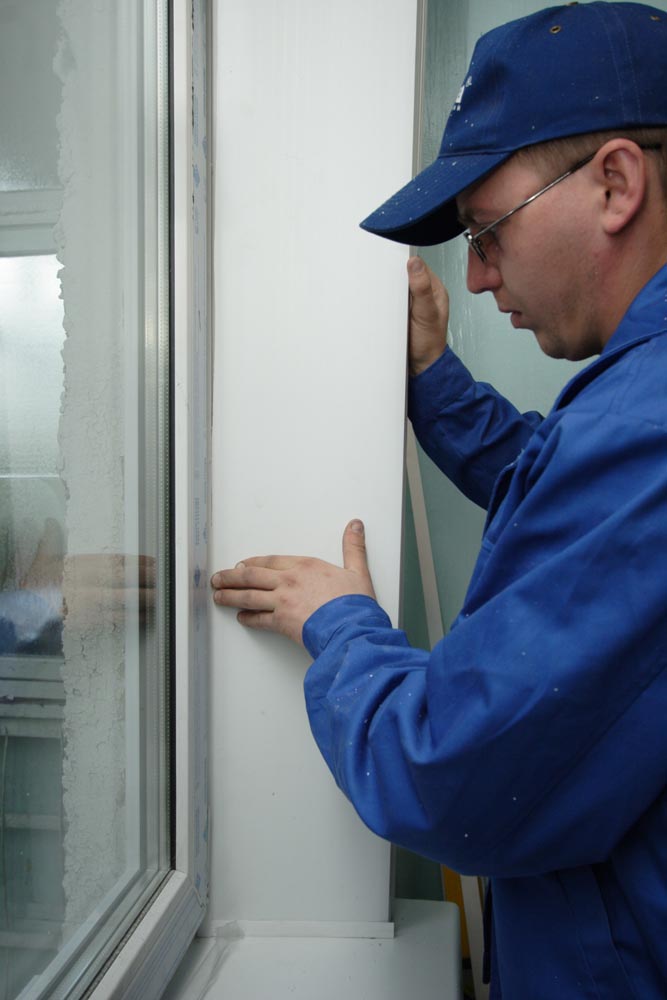
Now lift the panel, pressing the foam, insert the nails into the holes drilled earlier and fix the outer edge on the bar. The inner edge will still hold, resting on the window frame. The next step is to make a stencil to cut the plastic side. Here it is necessary to show maximum accuracy, so that the gap between the window sill and the panel of the slope was minimal. To do this, we process the edge with sandpaper attached to the bar. So it will just be more convenient.
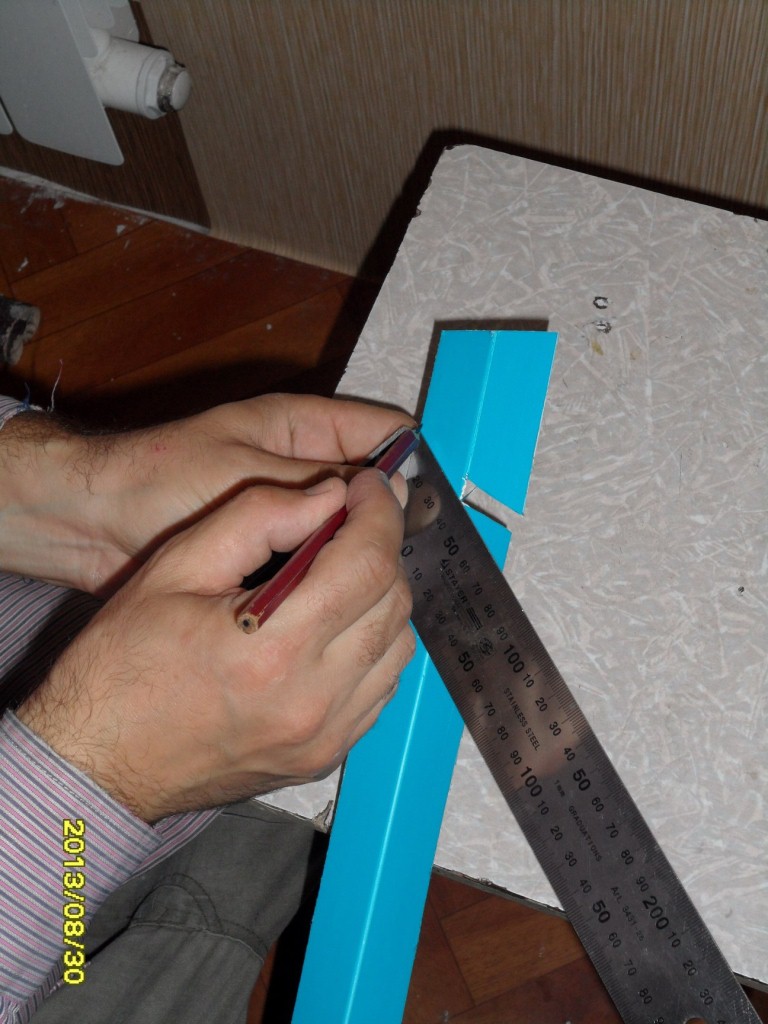
Adjust as best we can to a perfect match from below and above, put in place, thrusting one edge into the groove next to the window. When the result is good, we level the vertical edge outside with the wall so that the finish is on the same level.This can be done with a stationery knife, or draw a dash on the panel, and then refine what can be.
Now we remove and drill holes under the nails already from the outside. We put the panel in place, and fill the space below and above with foam. It does not need to be applied too much, and therefore we fill it with short zippers, trying to make it so that it gets as deep as possible.
If we talk about the vertical parts of the slopes, then we can do it differently: on the panel, which is already ready for installation, along the far edge, which will be wound under the frame, you can apply foam before installation. The band should be either in the form of a snake or solid. But it should not start from the edge, but at a short distance from it. After that, part of the plastic is inserted into the groove and is set as it should. Now the gap is filled with foam. When everything is filled, it remains to press it, align and nail it into the bar.
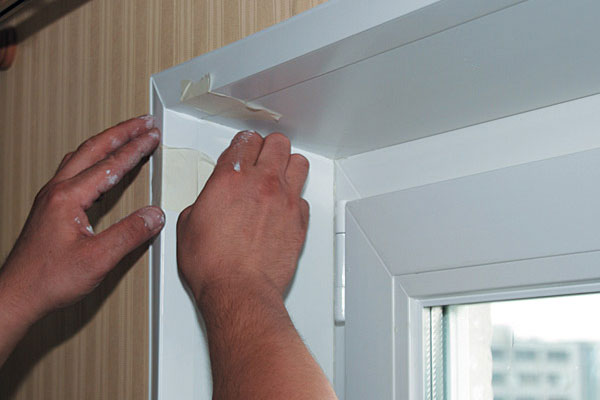
So that during the foam polymerization, it does not disturb the balance of the structure, it is possible to glue the upper and lower joints using masking tape.
But still there will be small gaps, which can be easily sealed with acrylic, using a mounting gun. To do this, push it into the slot, wipe, align, and remove the excess with a cloth or cloth.It is necessary to clean it before it froze, otherwise it will be extremely difficult to do it later. It is better to close the gaps first from above. Initially, the horizontal part of the slope is performed, after which the joints are completed, and then it can be sealed from below: on one side, and then on the other. At the end should be smeared joints with a window sill.
During noon-day, acrylic can draw in a seam. This may be due to the type of sealant, as well as in case the gaps were too large. Then you have to go through these places again according to the method described above. When the second layer dries, irregularities can be smoothed with sandpaper. Moreover, it is better to do it until everything is raw, otherwise there is a high probability of scratching and subsequent deformation of the plastic.
This completes the process of installing plastic slopes. When the foam finally hardens, the bevels will need to be puttied and aligned with the surface of the walls. Now you can remove the protective blue film.
In this case, the installation of slopes were used sandwich panels that replace the insulation. And at the same time, the opening is made organically and well.
As an example, we will also explain how to make slopes with plaster without insulation. To trim the slopes in this way, you must do a series of sequential actions.
- First, around the window niche of a brick house, you need to mount rails of a wooden lath or metal profile. It should be said that the second option will be better, since the adhesion of the metal will be lower. Rails must be installed along the building level and fastened to the wall. This is best done with dowels. The profile should protrude beyond the corners of the opening of the window for the thickness of the plastering layer to be made.
- Now we put another guide near the window frame, made of a perforated corner. It is necessary to focus on the profile, which is installed around the opening, because the plaster, which will be sketched, is leveled to the plane, which will be set by the installed guides. The corner needs to be mounted on gypsum plaster, which dries very quickly.

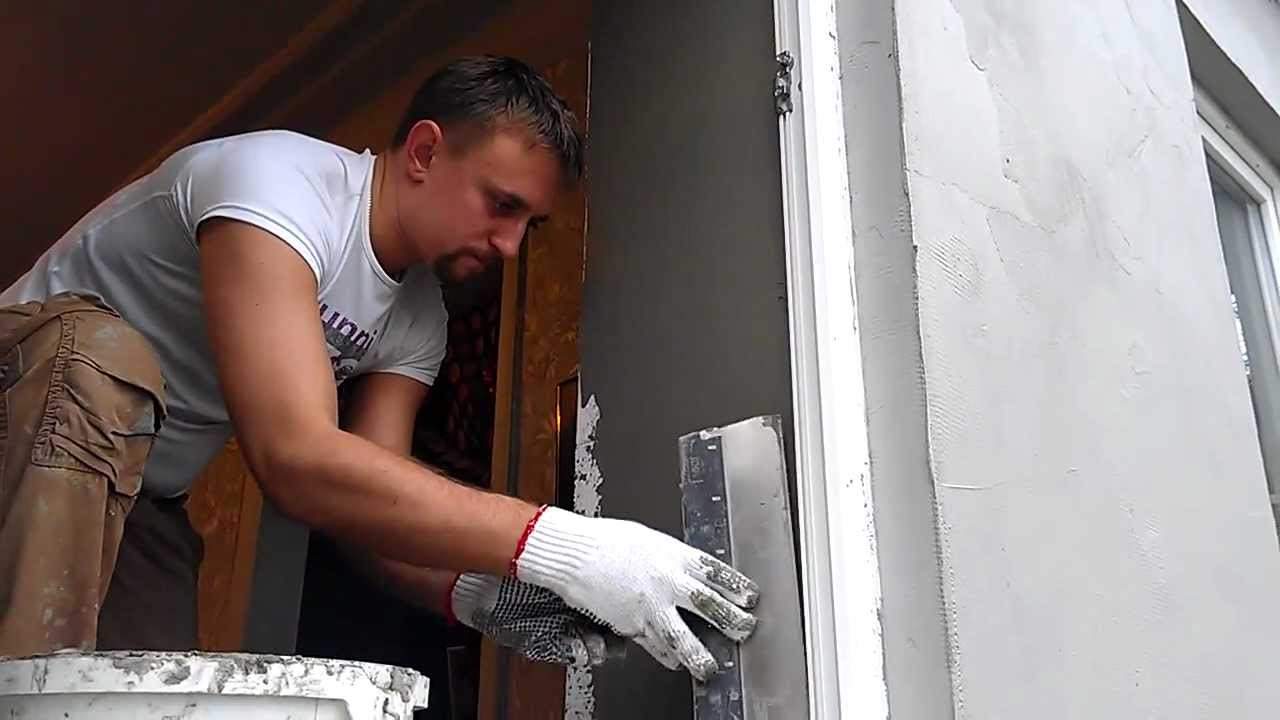
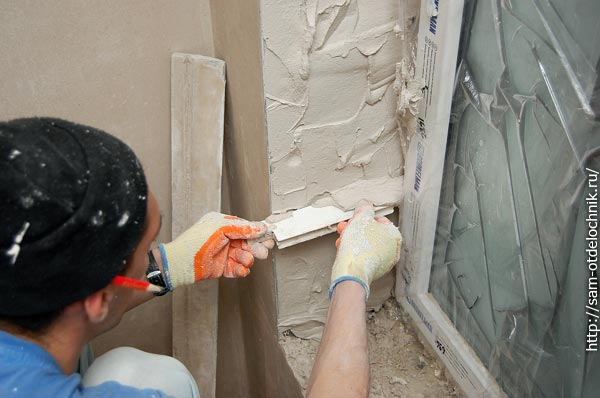
- Now the lining begins - a plaster mortar is applied to the wall. In some cases, it can be replaced with cement, in which, at the mixing stage, well-sifted sand should be added.At this stage, the main goal will be the repair and alignment of the external corner and the formation of the required layer of plaster.
- The same must be done on the part of the slope, which is the ceiling.
- When a layer has been thrown over a slope, it must be leveled using a level batten or rule. It is not necessary to align too much, since the task here is not to get a very flat surface, and for the solution to fall into all voids and irregularities, as well as the edge of a slope. This will make it possible to make an even angle. Alignment can be done after the mixture seizes. It is necessary to do it from the window sill. We put a rule on the guides and carefully raise, leveling the applied solution. Immediately remove its excess. When the work is finished, leave the slopes to complete drying.
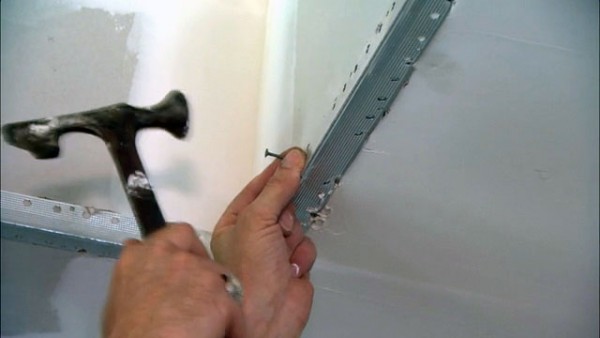
- Now it is necessary to remove the outer guides from the slopes, and to install the painting perforated corners on the corners made. They should strengthen the edges of the slopes. This can be done using putty-based plaster. Having carried out their installation in height and width of the opening, it is necessary to let the gypsum dry completely. This usually takes about 30 minutes.
- After the putty has dried, the corner will firmly hold both on the slope and on the wall. Now it is necessary to apply another layer of plaster on the surface. It should be the same height as the paint corner, installed earlier. It is also leveled from the window sill with the help of the rule. From the outside, the edge of the corner must be leveled with the wall using a solution applied with a spatula. The corners inside are made with a special angular spatula, allowing you to grab two planes at once, as well as a joint located between them. When the slopes are aligned, they are left to dry, then coated with a primer.
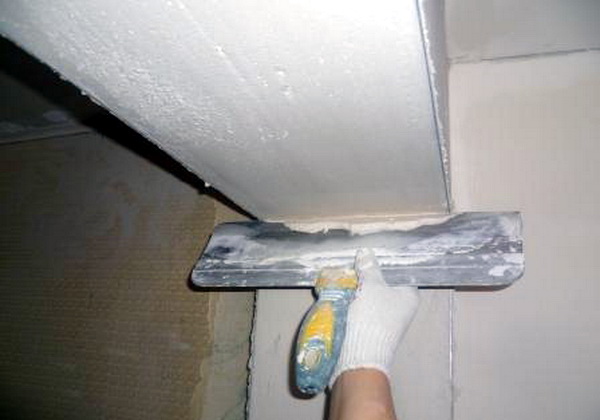
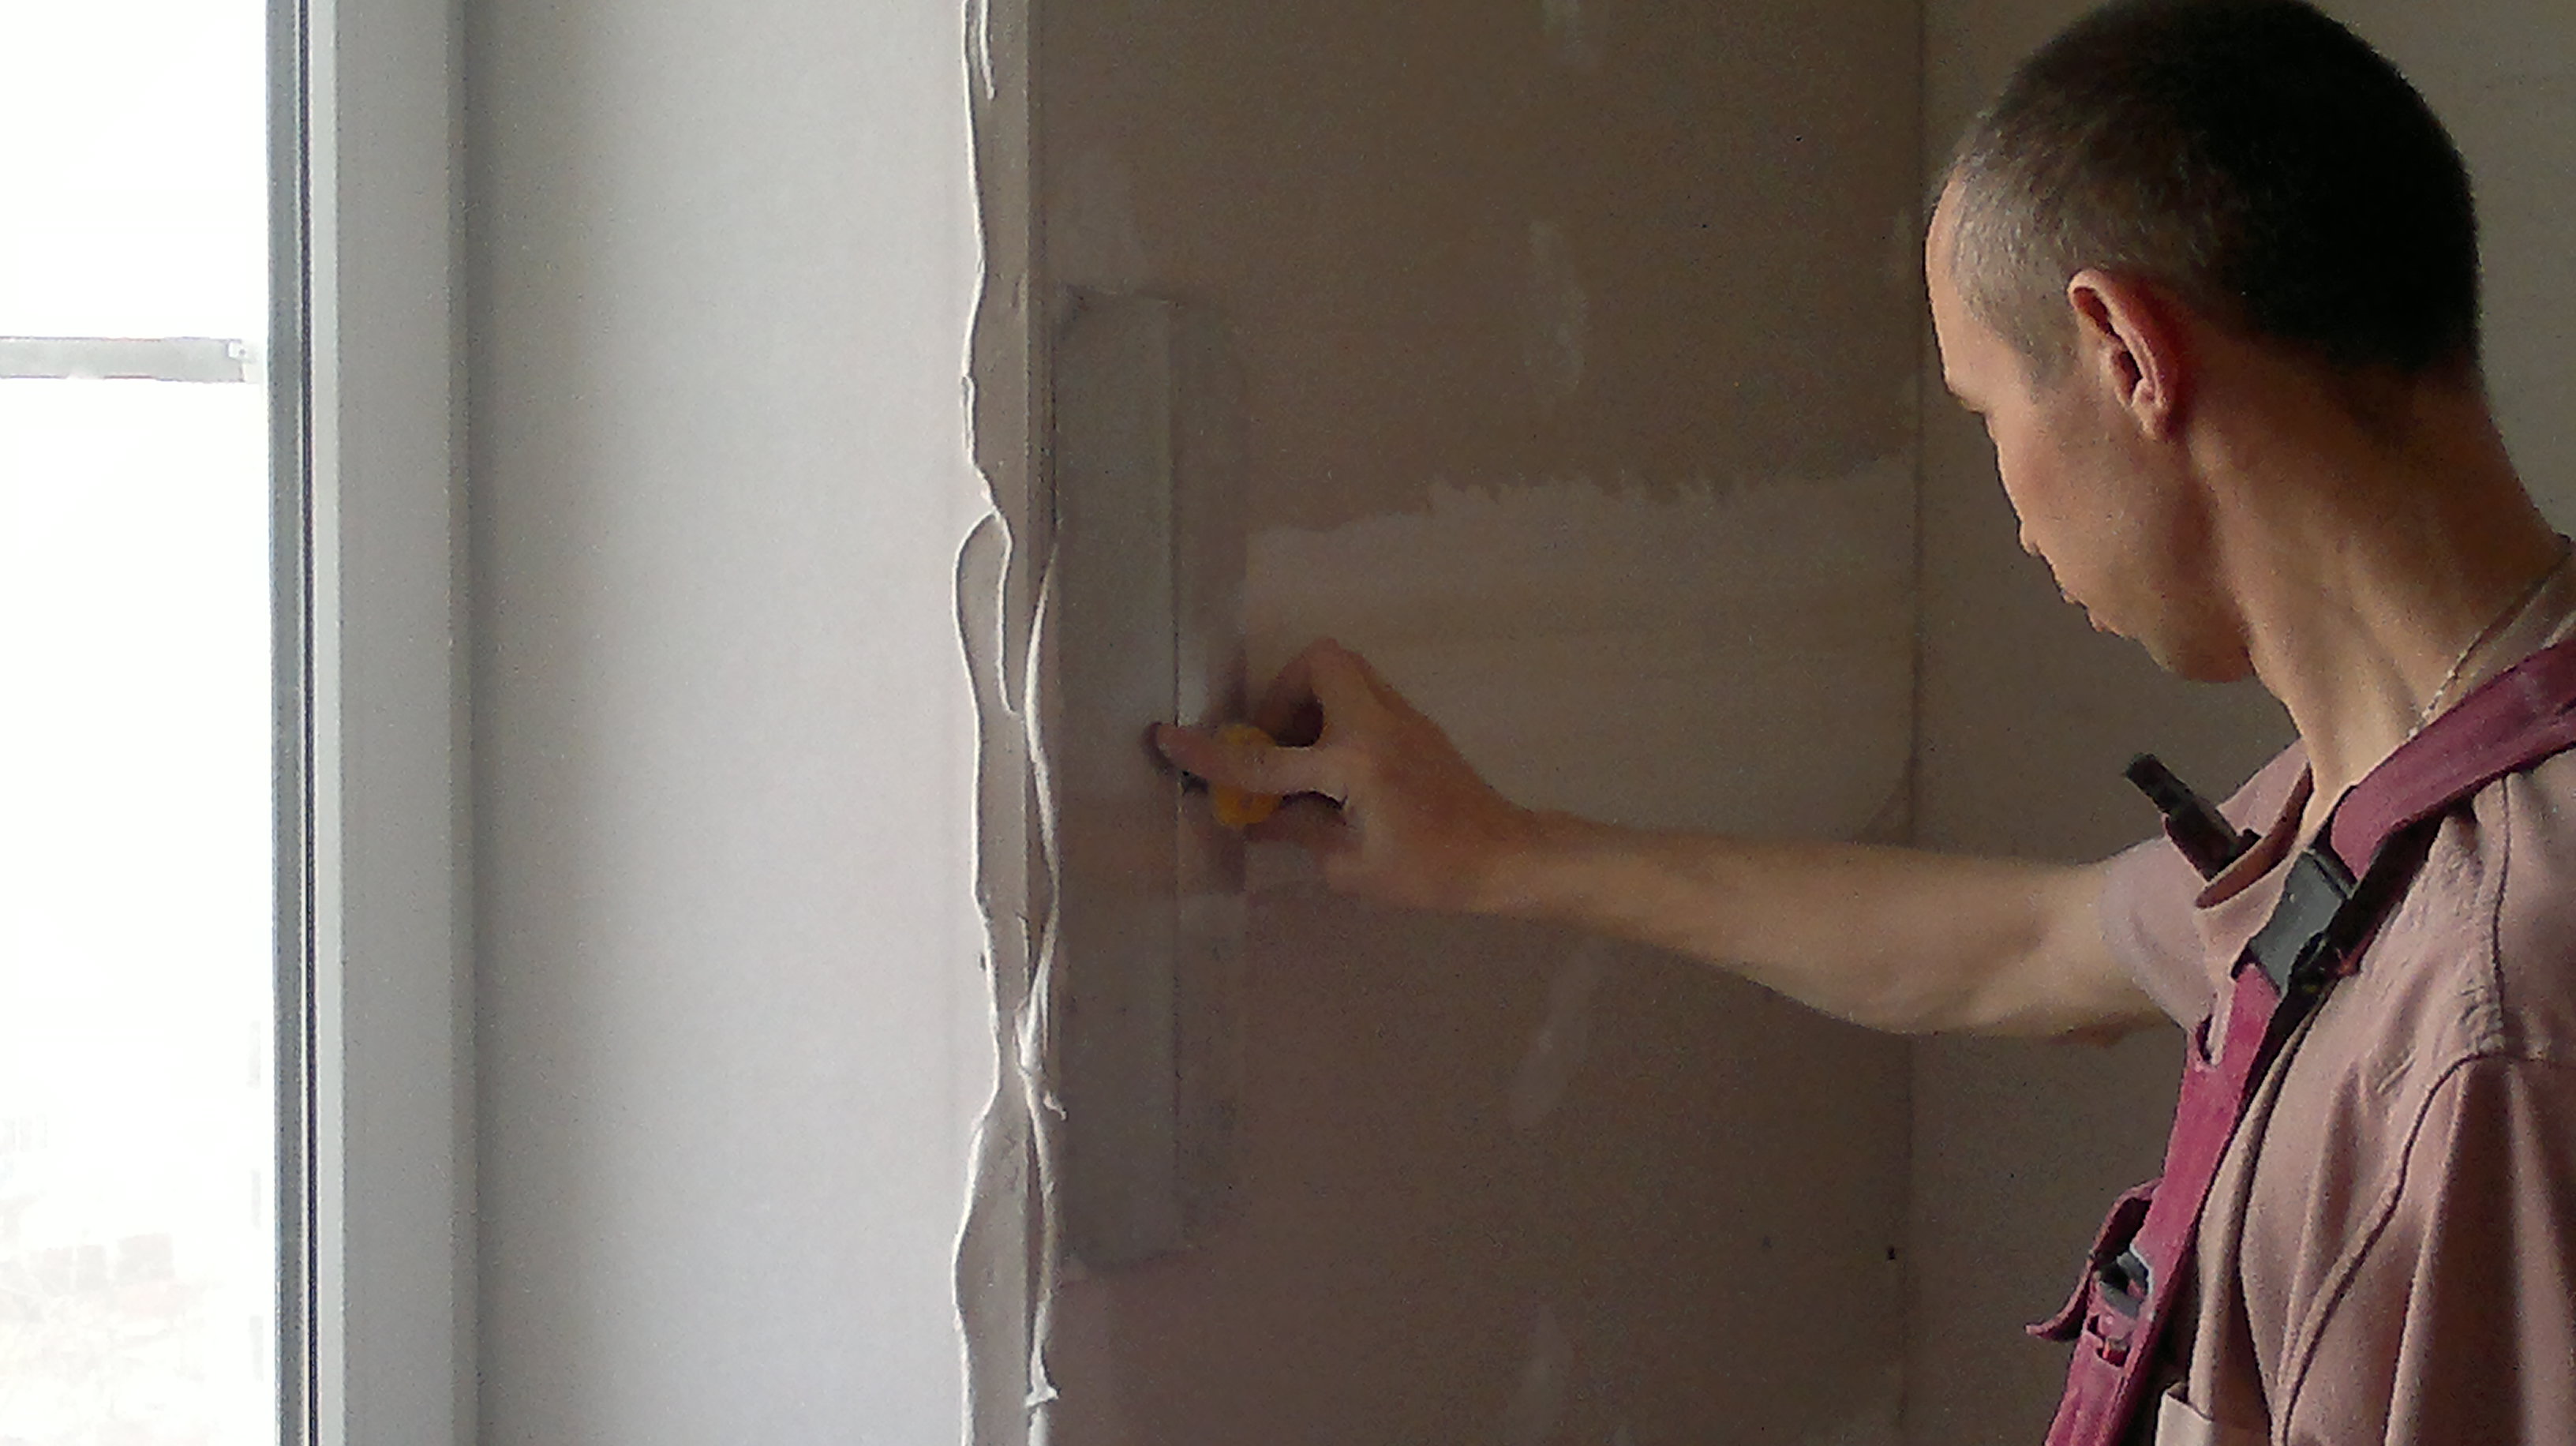
- Now apply the last layer of putty. Its thickness should be no more than one and a half millimeters. Apply finishing putty with a wide spatula with a slight pressure on it. Movement should go into the room from the window frame. If traces of the tool remain, they should be smoothed out very carefully and carefully.
- It remains for the last time to smooth the surface using the so-called grout. This process is done with the help of circular movements, which must be done exclusively counter-clockwise.After such polishing, when painting has not yet started, the slopes should be primed again. The presence of a primer will save you from the fact that the paint can be absorbed into the putty. For this reason, the coloring will be as smooth as possible.
In general, the process of creating slopes looks like this. But technologies may vary slightly depending on the materials used.

Tips
If we talk about advice, then the first thing you want to say is to determine in advance with the material that you will use. To do this, it will not be superfluous to read about the advantages and disadvantages of various types of slopes and choose the best solution. And it is also important to decide whether the material will have insulation from the beginning, or it will be done directly during the installation process. This will allow you to more accurately calculate your budget.
Another important tip - if the insulation will be done during the installation process, then you must select the material that will be used for this. It will not be superfluous to read what is best for the slopes you have chosen. This also applies to the moment of fixation of the component parts of the whole structure.
The last important advice is that it is necessary even before the start of work to understand which method of installation would be better: using profiles or not.

And only when you decide on all the above points and will clearly understand the whole chain of actions from the beginning to the end, you can begin taking measurements and purchase all the necessary materials and tools for the work.
Making the slopes on the windows with your own hands is not as difficult as it may seem at first glance. The main thing is to approach this process very carefully, with a clear understanding of your actions, as well as to make accurate measurements, and to choose the right components for the job. And then you can definitely achieve a result that will amaze not only you, but also any professional.
In more detail about the intricacies of installing slopes learn from the following video.


