The details of the process of plastering slopes
The slopes of the windows and doors of any building should be carried out in accordance with the general style concept in the premises or the design of the facade. In order for the decorative coating on them to keep well and for a long time to please the owners of the house, the surface must be prepared and aligned. Perhaps the most simple and budgetary option for buildings made of stone or concrete is leveling with plaster, especially since you can do everything with your own hands. The technology of this process for slopes is generally similar to plastering of any surfaces, but there are important nuances that must be considered.
Special features
Since the slopes will almost touch the window frames or doorframes, before applying the coating, you must make sure that the installation of windows and doors is made correctly. If you have to troubleshoot at the end of all work, then, of course, the plaster layer will suffer, and the whole process will need to be repeated anew.

Plastering slopes, in addition to the main tasks - alignment and decoration, performs some related functions:
- additional steam and moisture insulation;
- improved thermal insulation;
- additional noise protection.
Therefore, it is important to choose the right materials and tools, carefully follow the recommendations so that the resulting coating does not crack and last for a long time.
What is required for work?
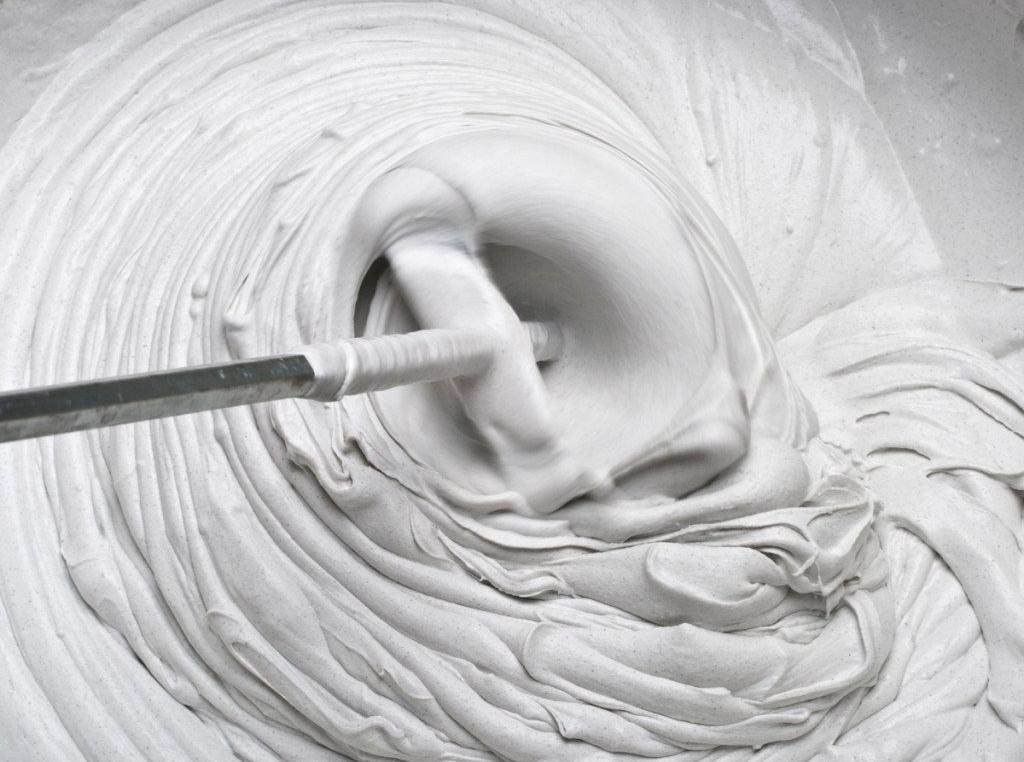
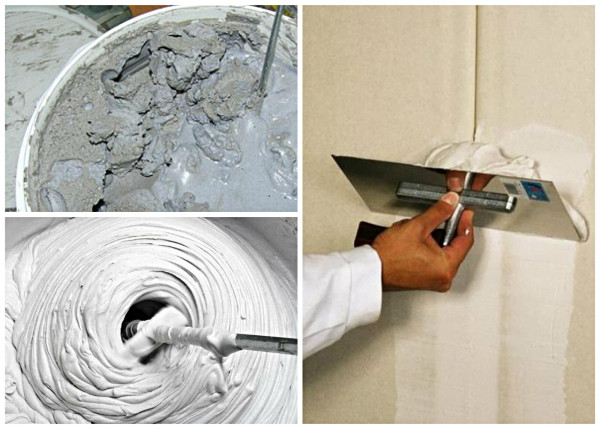
The main material - plaster mixture. Two types of plaster are most commonly used: gypsum and cement based.

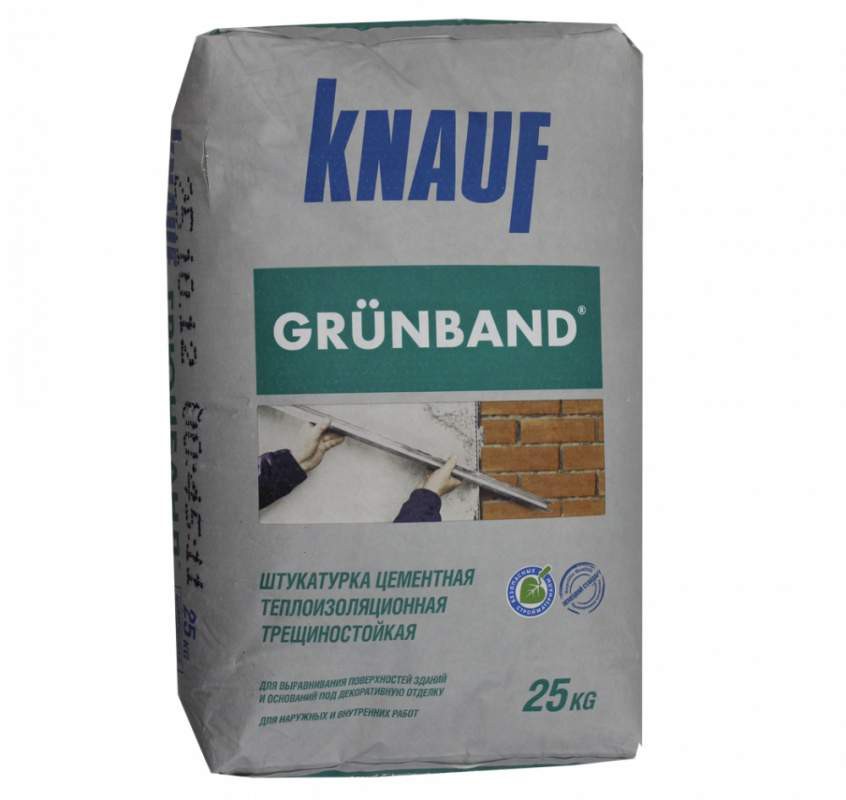
Features of the cement mixture
There are compositions for rough coatings, including coarse sand, and for fine surface finishing - with fine-grained sandy inclusions. Such solutions can be quickly prepared and are fairly easy to apply. But it is necessary to take into account that a lot of time is required for complete drying of the layer, and this will increase the duration of the repair as a whole. But the diluted mixture is set so slowly that an inexperienced performer can cope with the work. Another plus is an inexpensive price.

Properties of gypsum plaster
The composition on the basis of gypsum is also not difficult to prepare, but it dries very quickly, therefore it requires certain training of the worker. The ability to absorb moisture is also not always beneficial. If the mixture is used in the dry interior of a house or apartment, this property, as well as the ability to give off excess moisture, can be considered advantages. But to cover with such a composition the surface in direct contact with precipitation is still not recommended. For the price of such plaster is somewhat more expensive than cement, but if we consider a more economical consumption, in the end it can even go cheaper.

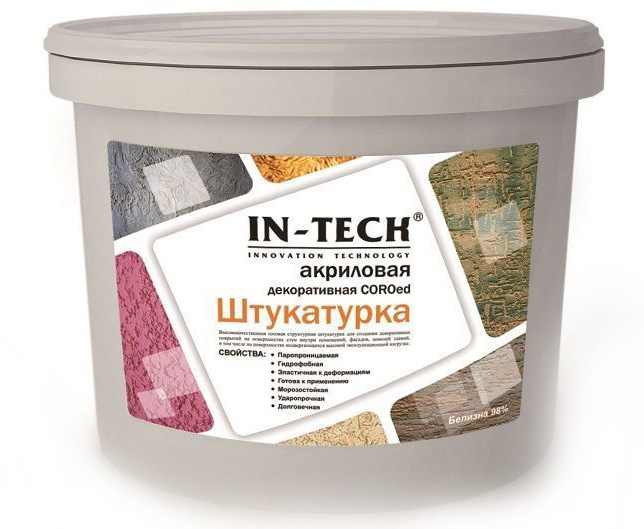
There is another option - special acrylic blends. They are universal, can be recommended for any surface. But the cost of materials is such that not everyone can afford to use them.

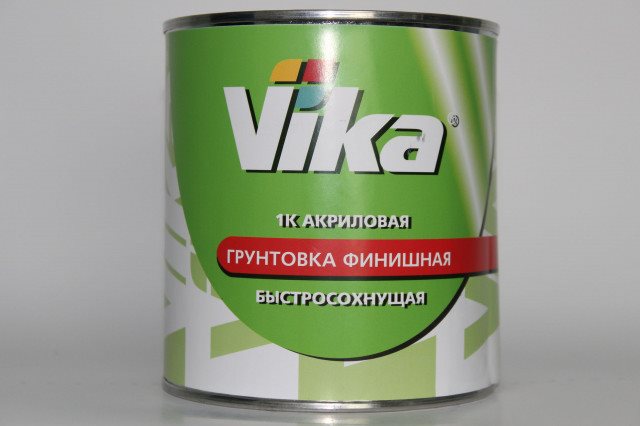
But you also need to prepare in advance the primer: deep penetration and finish. May need plaster and sealant.

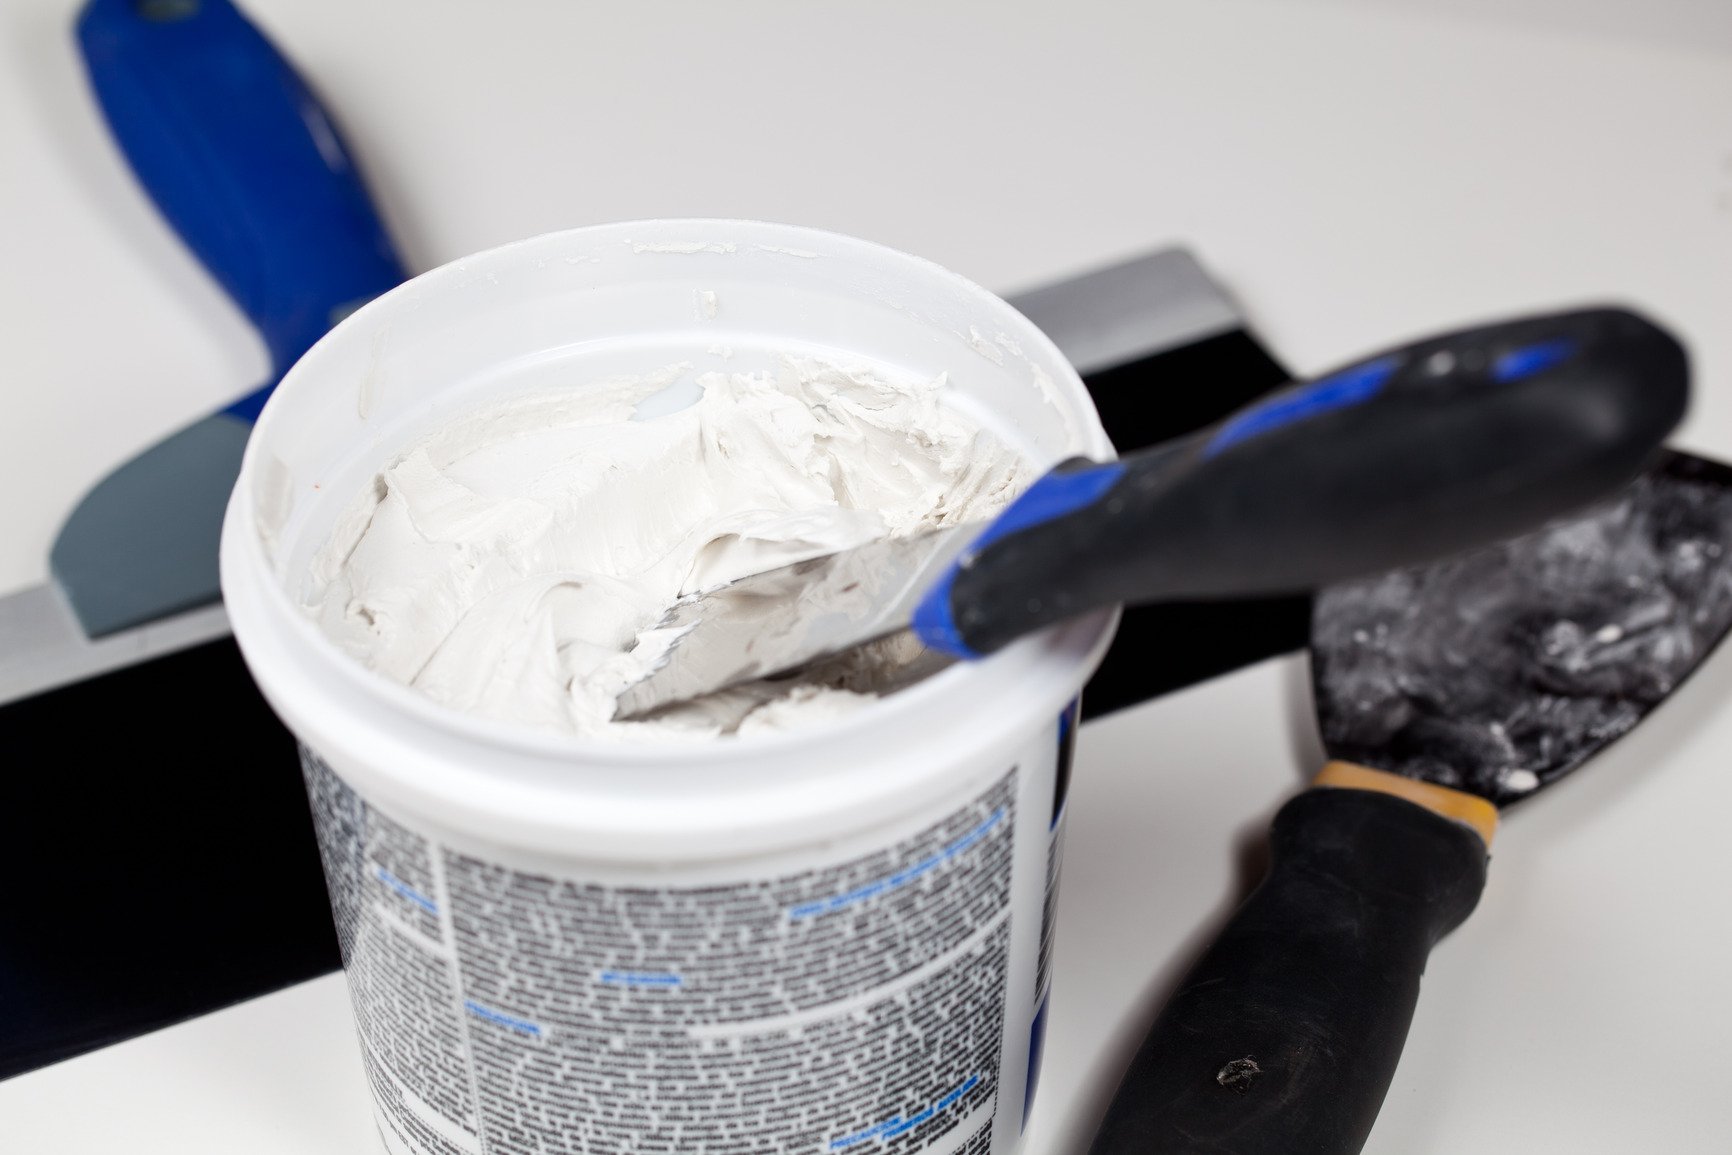
Materials
The following tools should be on hand:
- the rule of the desired length;
- level length of at least 1 meter;
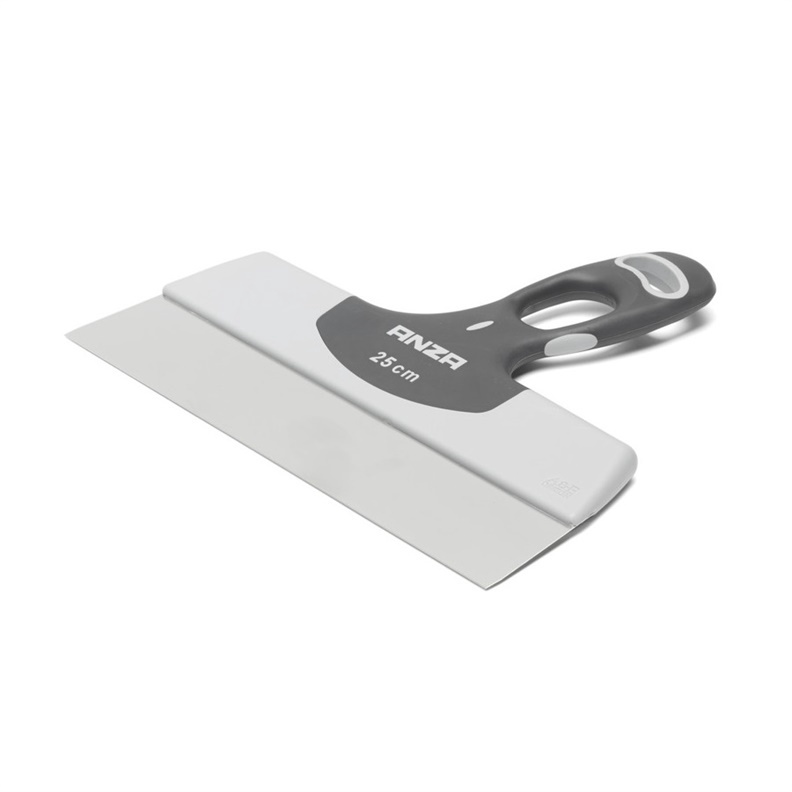
- wide spatula;
- trowel;

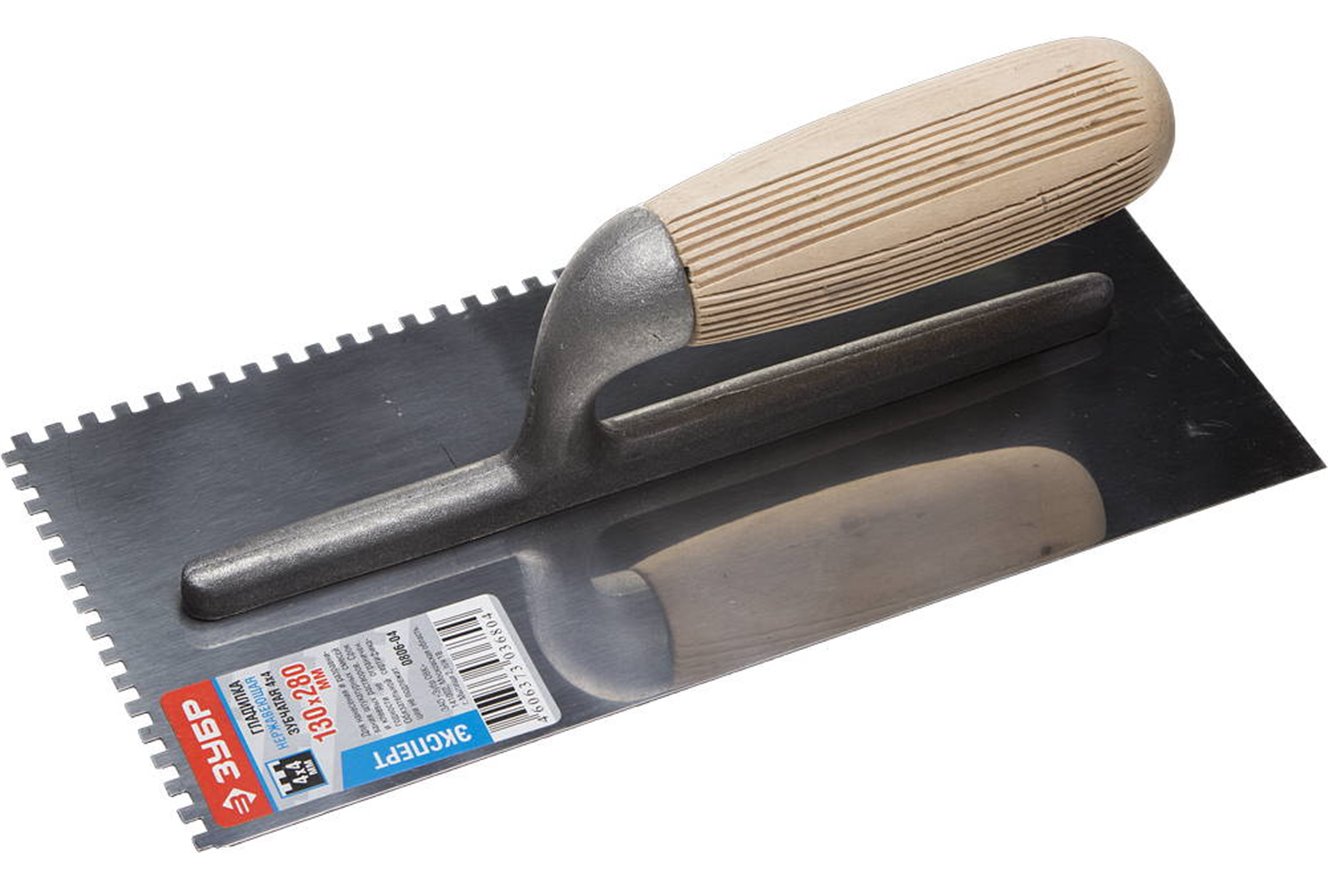
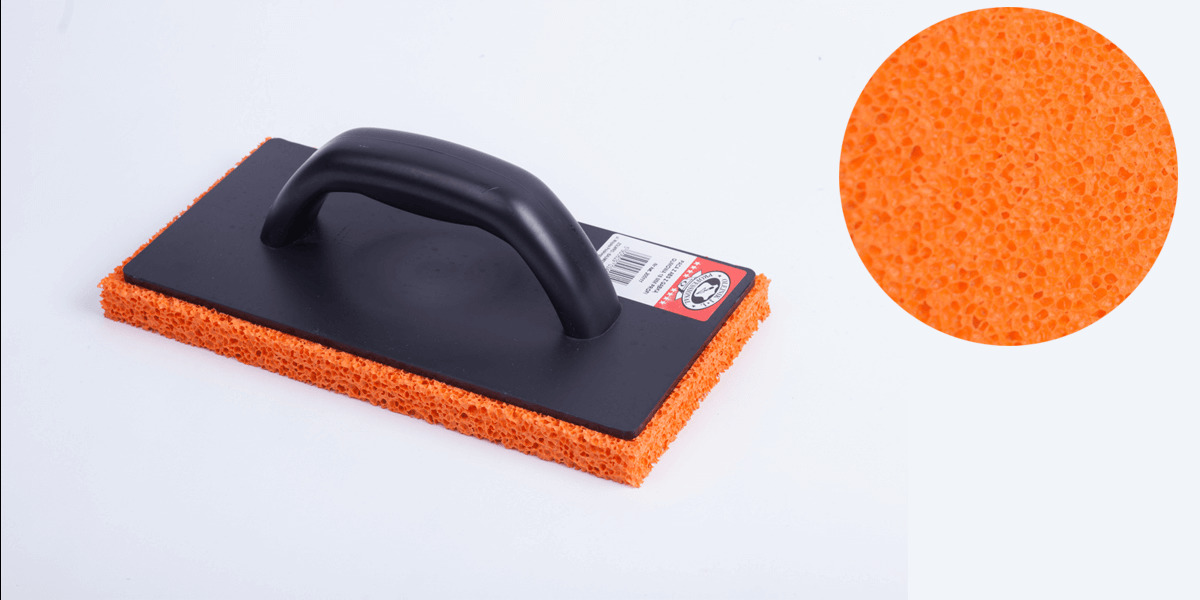
- grater;
- construction knife;
- hard brush;
- pencil, better graphite.


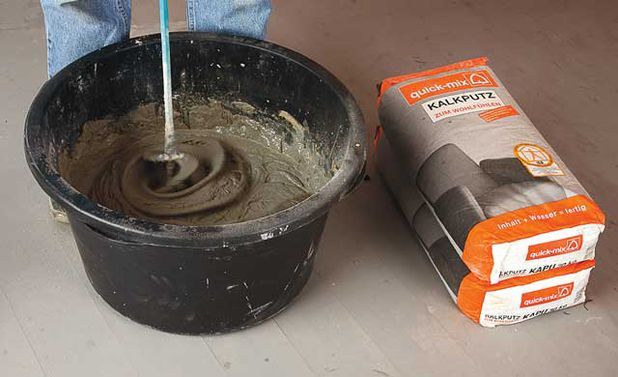
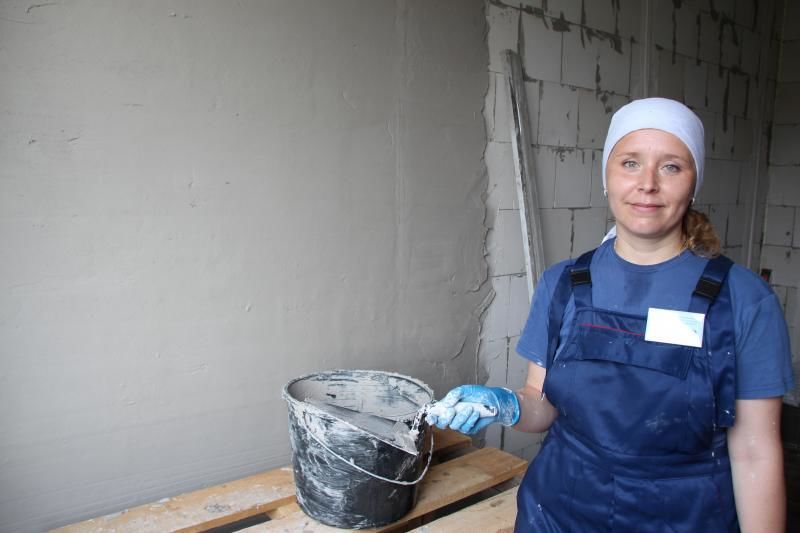
It is necessary to prepare two containers: for water and plaster mix.
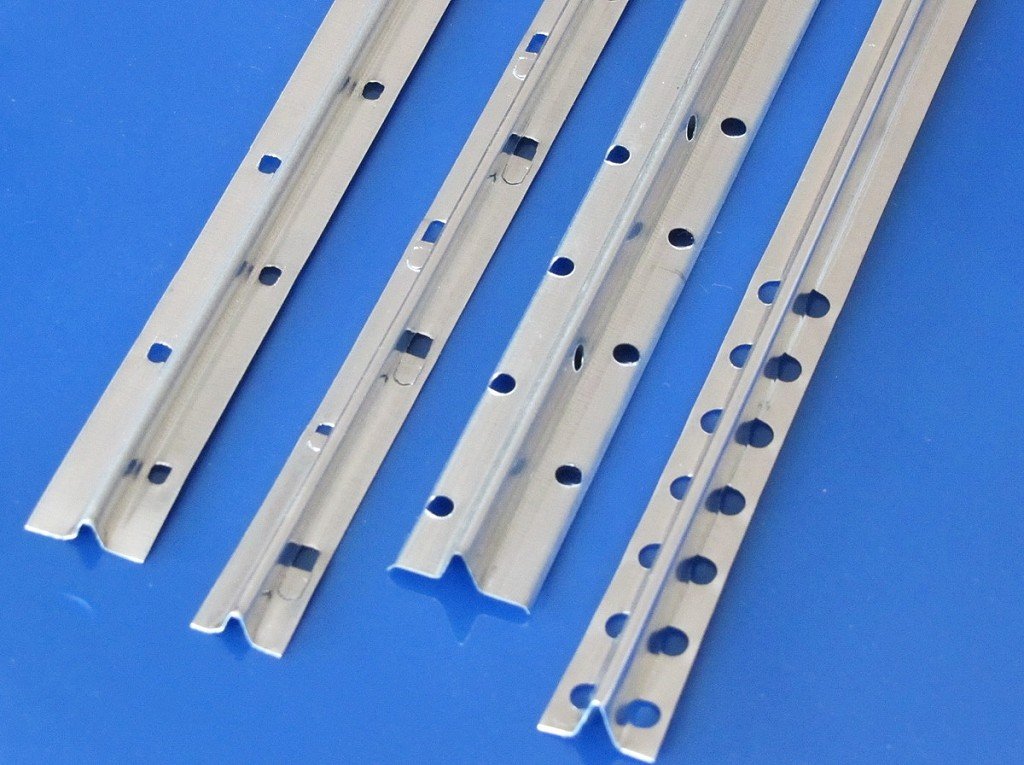
It is most convenient to plaster on beacons, which usually use flat strips, profiles or special metal corners. They immediately need to prepare in the required quantity, because if you need to plaster the slopes of a number of windows on the same wall, the beacons-frames are fixed at once on all on the same level.
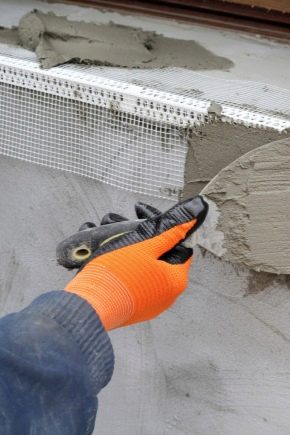
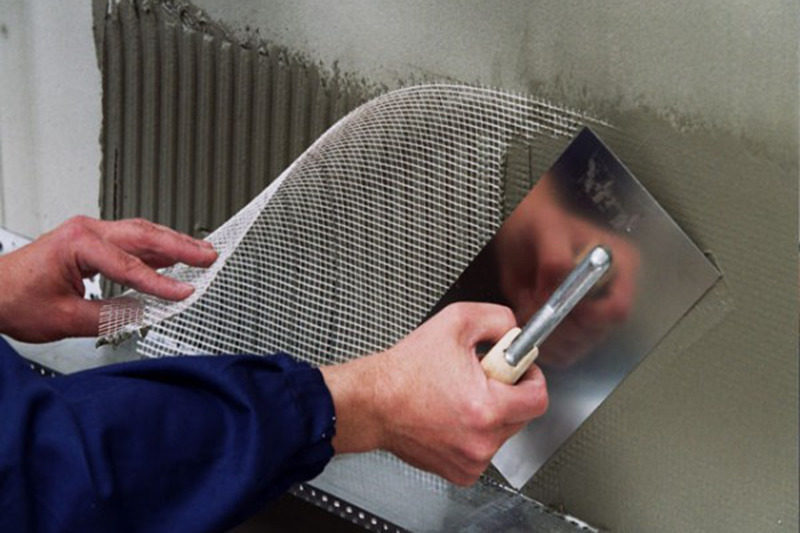
If the thickness of the plaster layer will be more than 2.8 cm, you will need a reinforcing mesh.
How to plaster?
All work must be carried out at a temperature not lower than 7 degrees. But it is also desirable to take into account the recommendations of manufacturers of materials on this parameter.
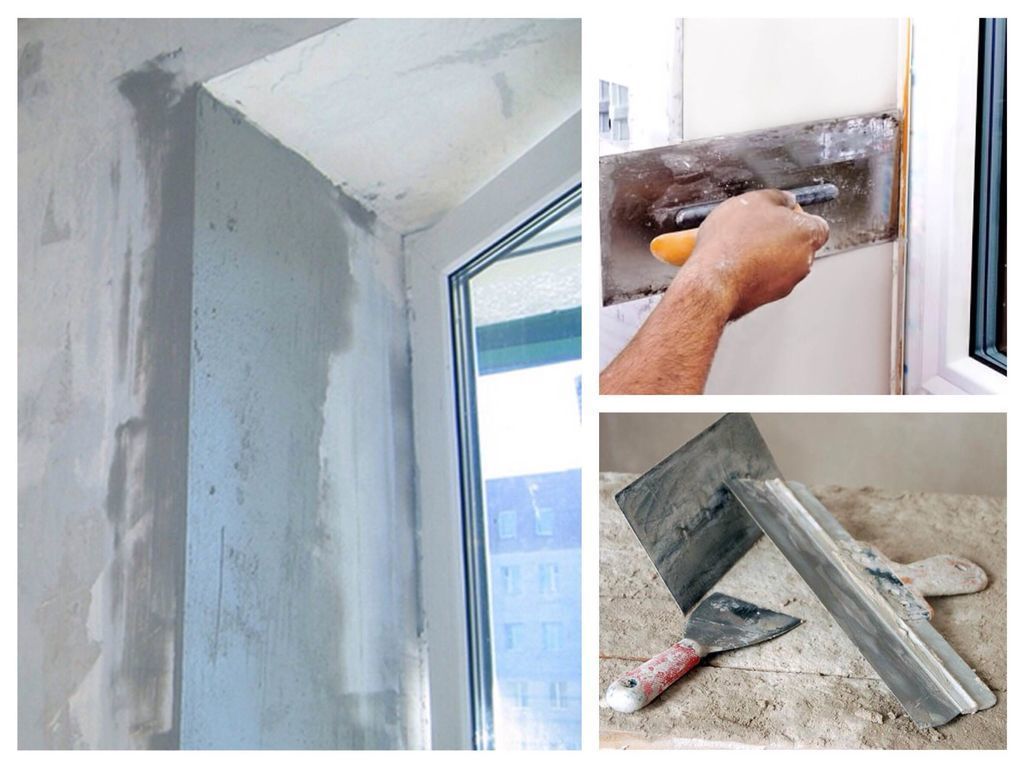
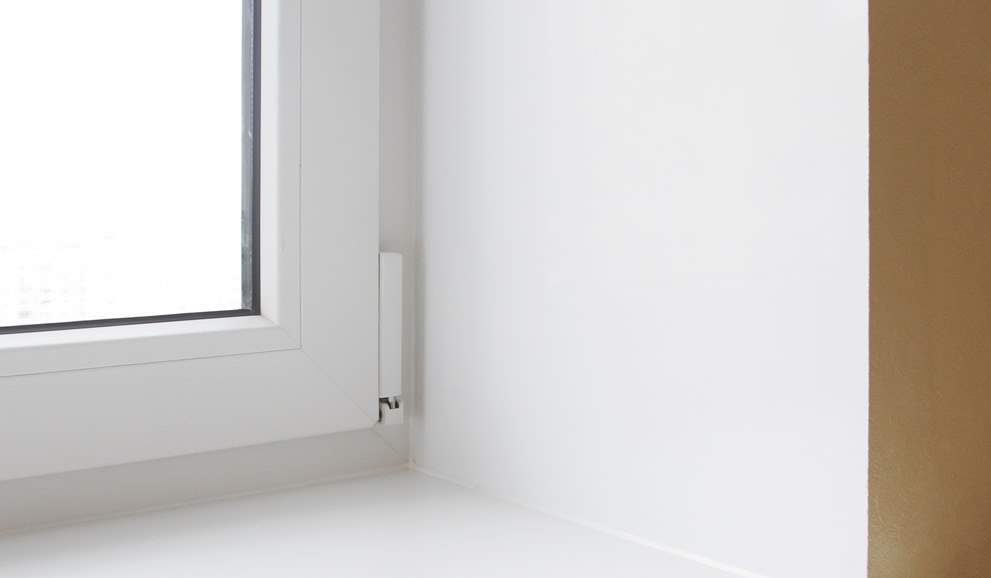
Window trim
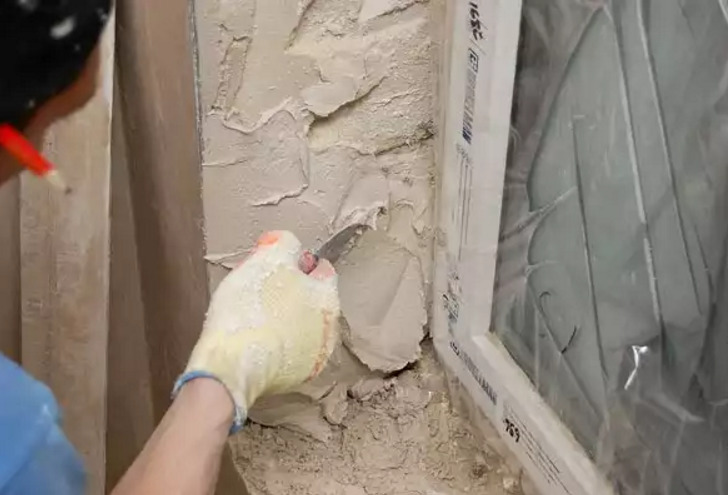
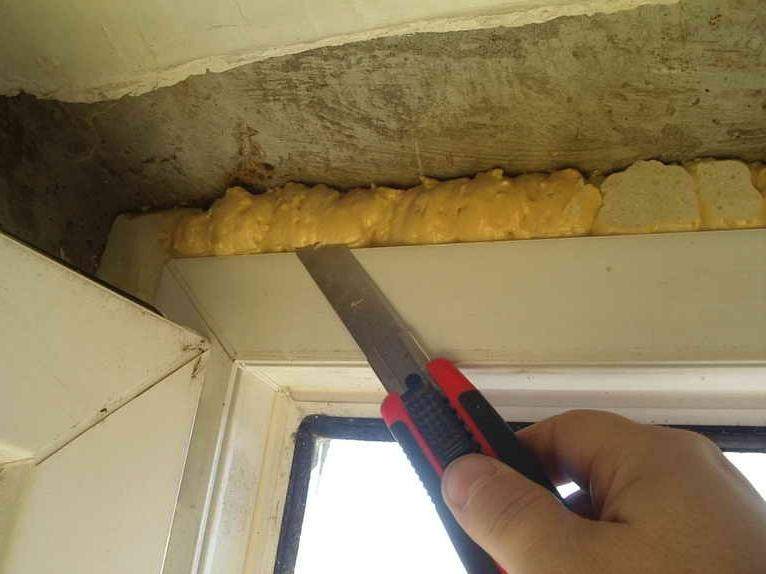
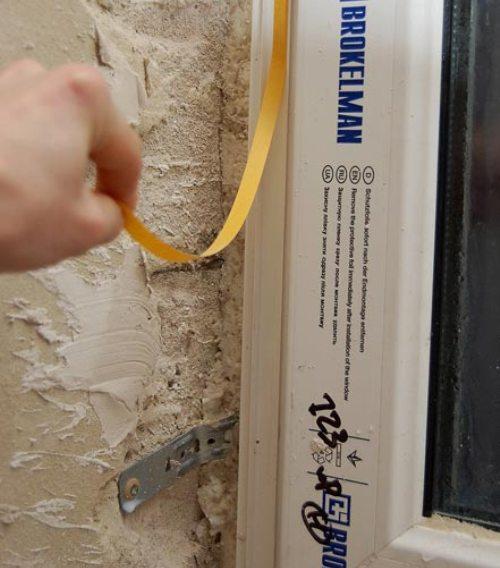
First you need to pay attention to the fact that the gap between the window frame and the wall is filled with mounting foam, which under the influence of temperature and humidity can be destroyed.In addition, the same factors cause slight deformations of the frame, and this will be enough for the covering of slopes to crack prematurely. To prevent such troubles, it is recommended to do the following manipulations. Cut off the excess foam, use a construction knife or a corner of the spatula to hold along the edge of the frame around the perimeter so that a shallow groove is formed, which is filled with acrylic sealant. With the same composition to cover the entire surface of the foam, when dried, a film of additional vapor barrier is formed.
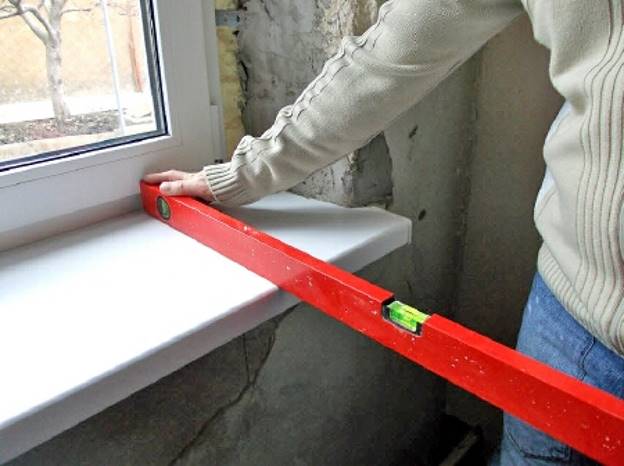
Sometimes the question arises - whether to install a window sill before finishing slopes. On the one hand, it is more convenient to work when fixed beacon bars have support on it. Another argument in favor of this decision is the ability to perform additional thermal and vapor barrier with the same solution of the area under the window sill. But on the other hand, there is a danger of damaging it in the plastering process.

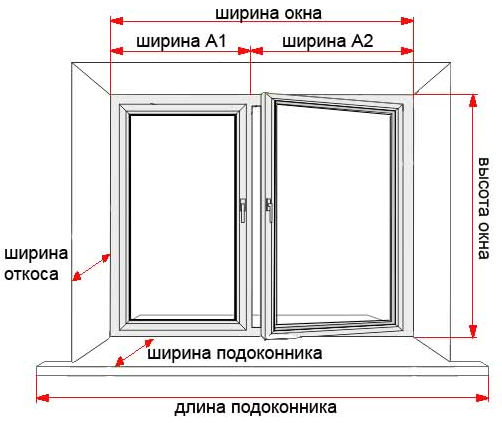
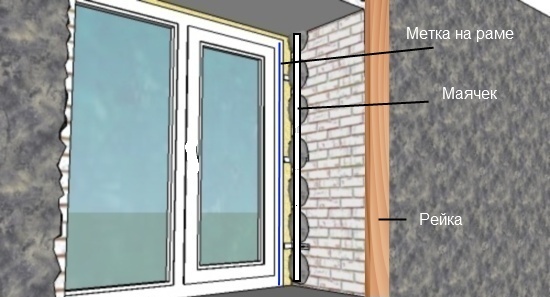
The width of the slopes depends on the thickness of the walls, and you need to consider that the angle between them will differ from 90 degrees. Deriving the so-called dawn angle creates some complexity.Its value is usually indicated in the project by the developer or designer and is 5 - 7 degrees. This is necessary for better penetration of daylight into the room.
If a specific angle is not specified, it is determined using a simple calculation: 1 cm deviation from the frame for every 10 cm of slope width. For convenience, you can draw a line-landmark pencil on the windowsill, if installed. The upper slope is most often done with a right angle.

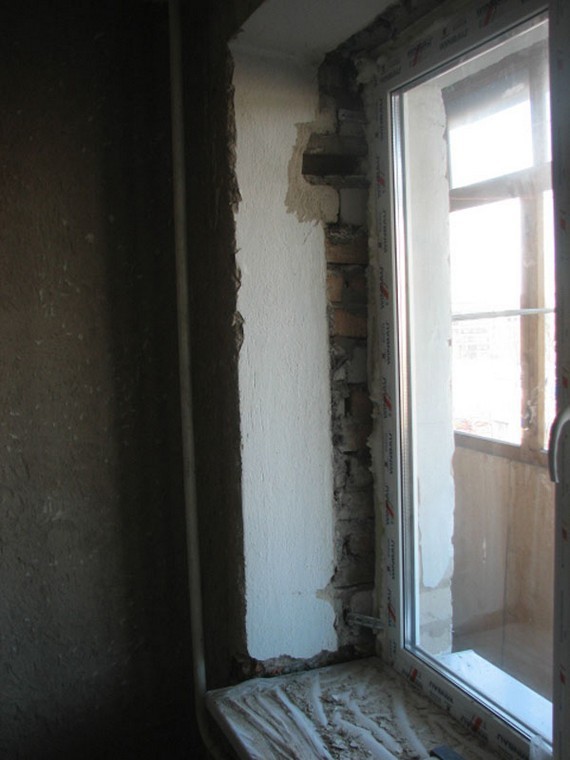
Preparatory stage
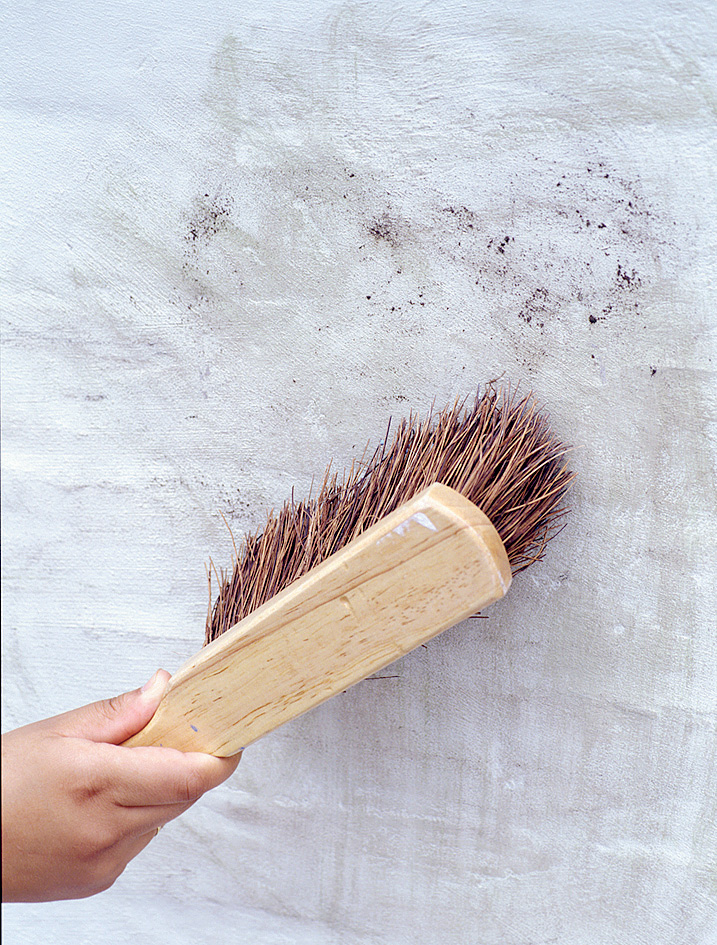
Now you need to clean the surface, it can be done with a stiff brush. It is necessary to remove all layers that fall away. If there is old plaster, it is best to tap it to find where it is moving away from the wall. These sites need to try to beat off, otherwise they may fall off in the process or after the end of the work and spoil the whole result.
All pits and potholes must be puttied. After the putty has dried, treat the entire surface with a deep penetration primer, this will improve adhesion. If a cement mixture is used, the priming stage can be lowered, and just before applying the plaster, slightly wet the surface.
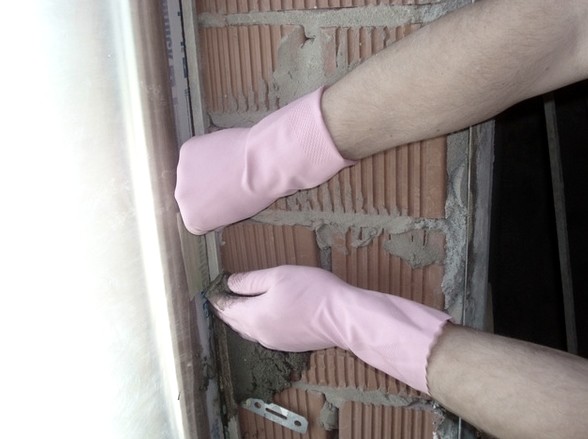
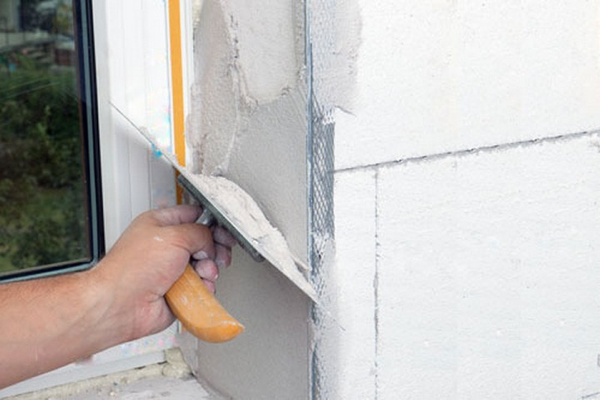
Fastening beacons
When the entire surface is dry, install the beacons. You can prepare a frame, a kind of formwork, which is fixed around the perimeter so that the slats slightly protrude over the edge. Or use special corners. If the window sill is already installed, the side panels rest on it. If not, you can screw the screw for support.
Now in the middle of each slope are established profiles or the same slats on the line of the angle of dawn. Deviations are adjusted by level and plumb. You can fix directly on the solution. To do this, throw a small amount of the prepared mixture onto the surface, set the slats accordingly and press firmly. After drying, you can continue to work.
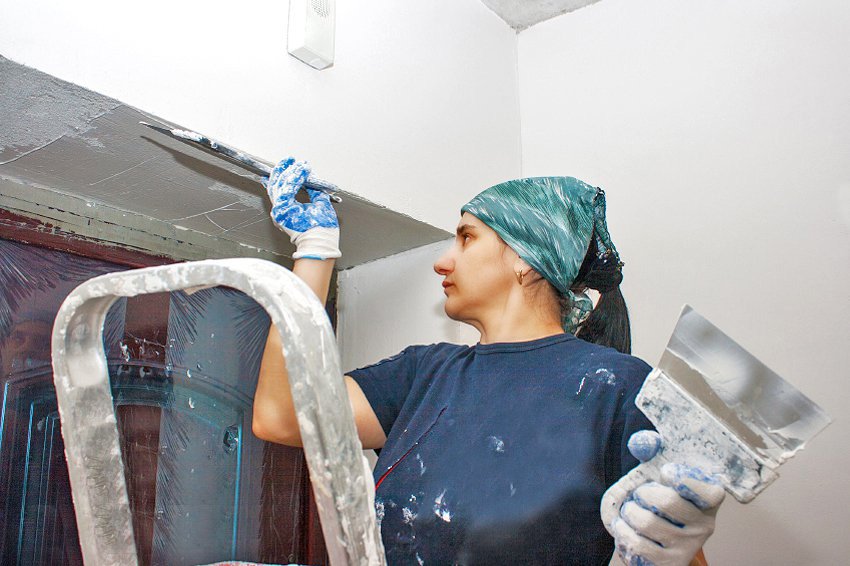
Plastering
The required amount of mortar is prepared, especially for gypsum compounds, as they quickly harden. It should strictly adhere to the recommendations of the manufacturers.
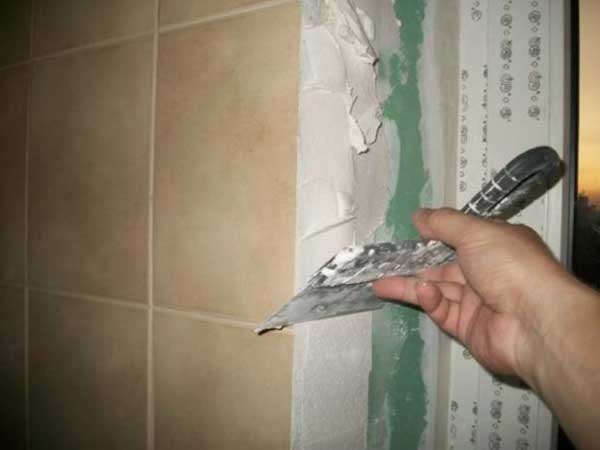
First, the first layer is thrown, the entire area between the profiles is filled. It is leveled with a spatula or bevel, swipe upwards. It is necessary to try to achieve a close fit of the plaster to the surface without the formation of voids, but also not to press very hard so as not to bring the solution.The width of the trowel must fully comply with the size of the slope in such a way that from the side of the frame there will be a small gap for the free opening of the window.

If there is no suitable tool width, you can use a specially prepared plywood template of the desired size with a cut corner.
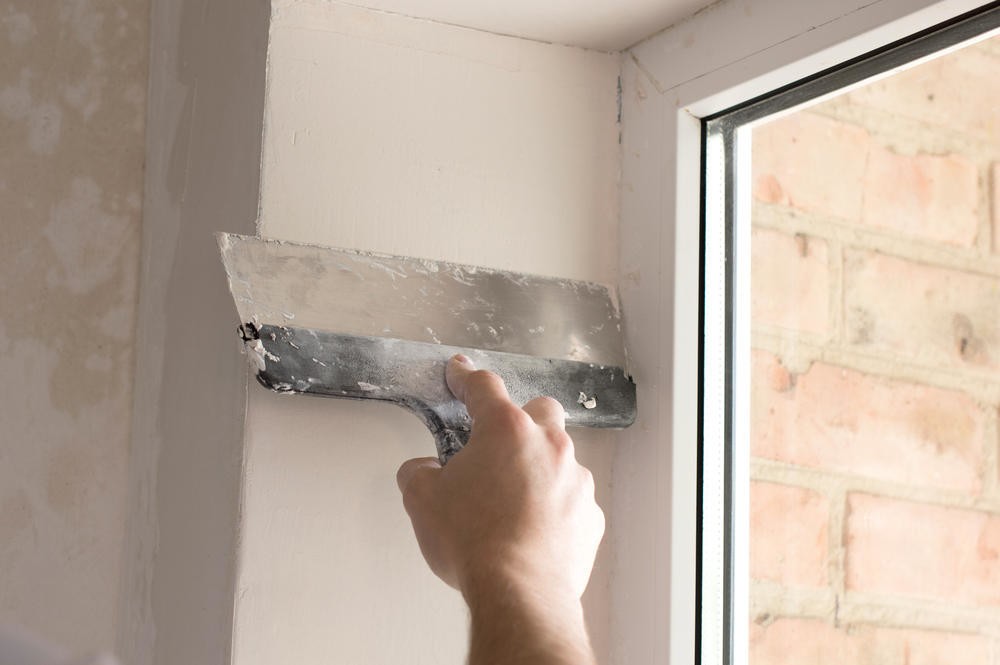
When the layer dries out a bit, you need to remove the beacons. The plaster is neatly incised and the profiles are removed. If the corners were fixed special corners, they can be left. The resulting grooves are filled with mortar, the entire layer is aligned.
If the layer thickness is more than 2.8 cm, the reinforcing metal mesh is fixed and the plastering is repeated. Sometimes for confidence, a third layer is also made, but only after the second has completely dried. The surface is carefully leveled, angles are angled with a spatula


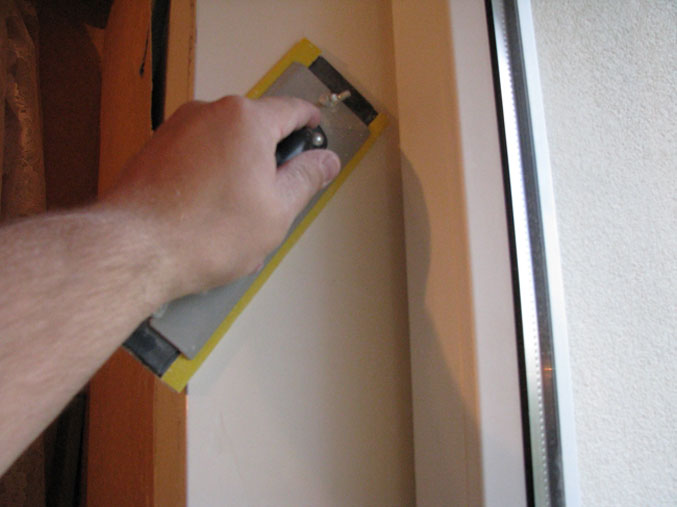
Now it remains to wait for everything to dry properly, and to polish the slopes with floats. You can fix the result by treating the entire surface with a finishing primer. Finalize the slopes can be using any decorative coating.
Doorway finish
The technological process of plastering slopes at the door is generally similar to the window trim. Most often, the angle is displayed 90 degrees, which simplifies things a little. In this regard, the layer is not very thick, and reinforcing mesh is not required. It is recommended to cut the groove around the box as well as around the frame and fill it with sealant to avoid any further cracking of the plaster.
Tips
- Given that the windows and doors are in contact with the external environment, and their slopes may be exposed to moisture, the formation of mold and mildew cannot be ruled out. Therefore, before plastering, it is desirable to treat the surface with special antiseptic compounds. If this is not done, it will be much more difficult to remove the mold that appears.


- In the process of work it is necessary to take care of the protection of window frames, glass and window sill. The easiest way to tighten them with plastic film.
- It would not be superfluous to think about your own protection either. Useful clothing, and especially a headdress, since plastering of the upper slopes is quite possible to get the mixture into the hair. Remove from the dried solution will be very unpleasant.

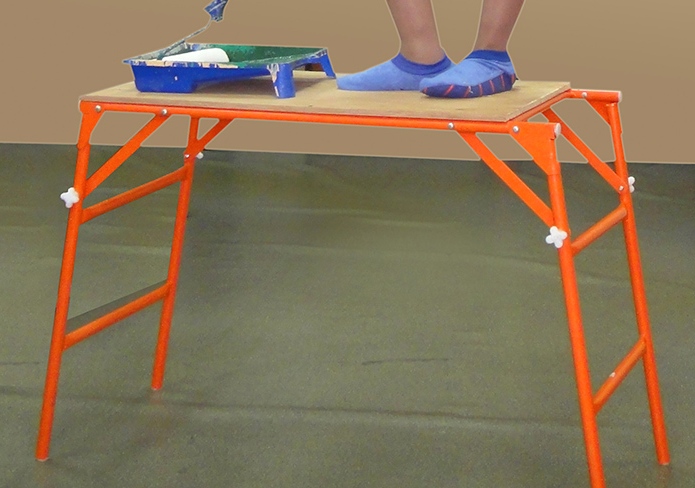
- To work with window slopes, it is better to cook goats, as it will be more convenient to plaster them than from a ladder.
If you follow all the recommendations, approach the work with full responsibility, the window and door slopes will look harmonious in the interior or decorate the facade of your house.
For information on how to make the slopes plastered, see the following video.


