Beautiful weather vane do-it-yourself: interesting solutions

Every person wants his home to be beautiful both inside and out. To decorate the external decoration of the house, they use both decorative finishing materials and various statues, trees and flowerbeds. Today, you can also decorate the roof of your private house or country cottage with a wind vane.
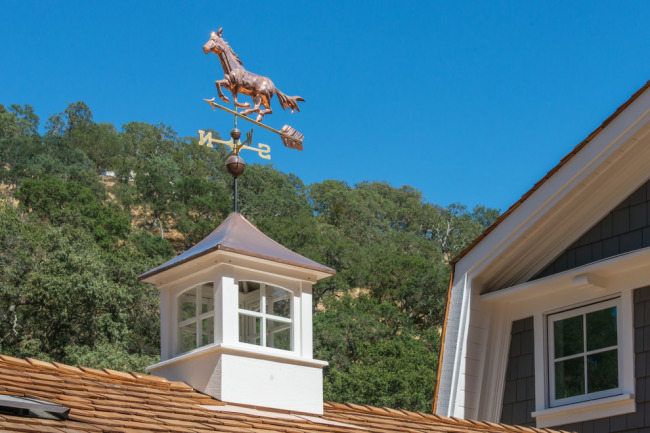
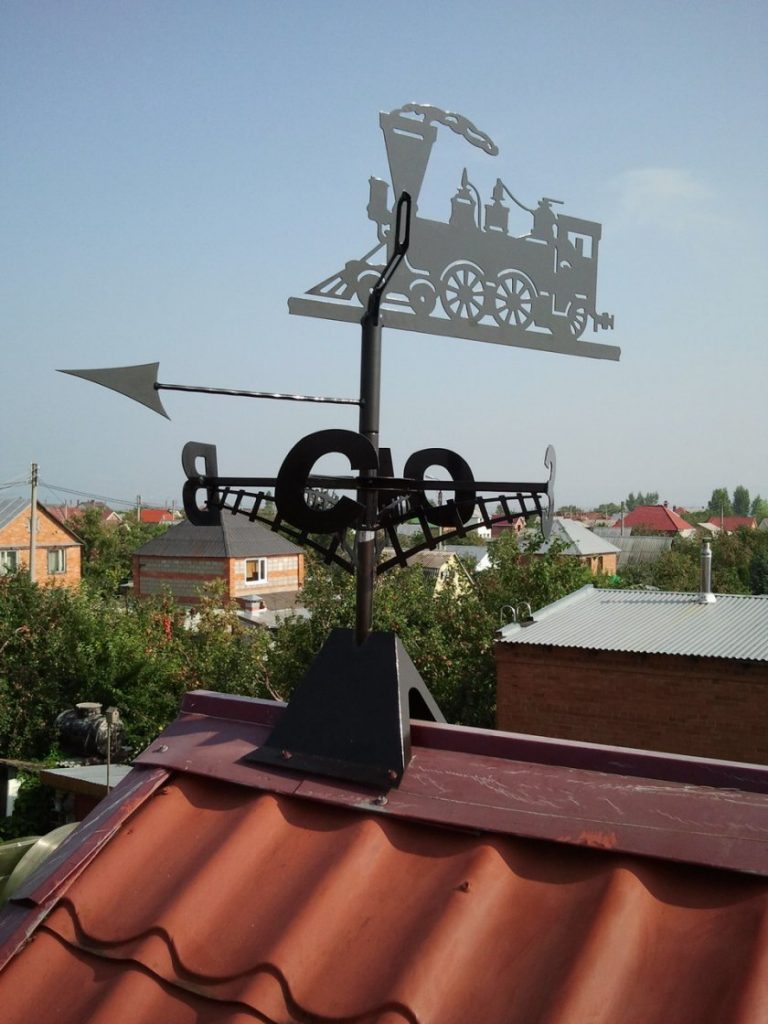
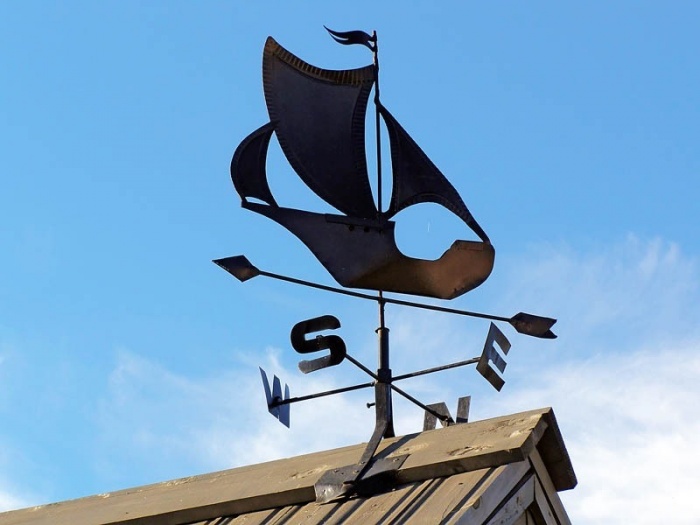
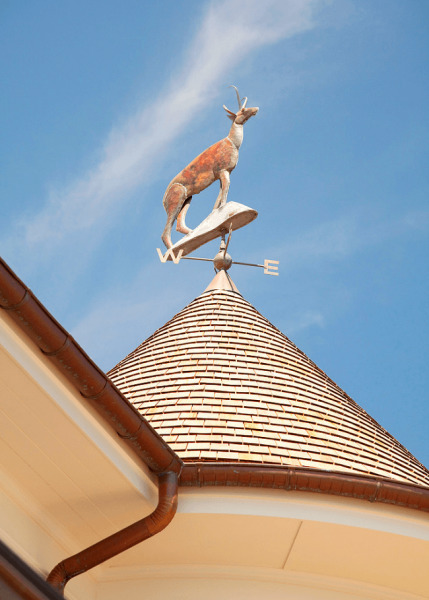
The weather vane is a flag that rotates around its axis under the influence of the wind. Previously, they were used to determine the direction and strength of the wind. At the present time, they have become an excellent and original decoration of the roof of the dwelling.

Story
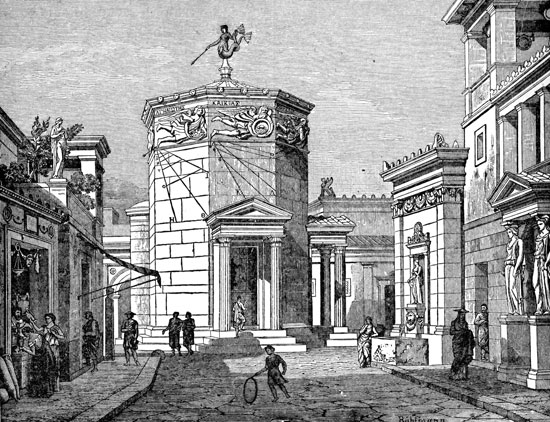
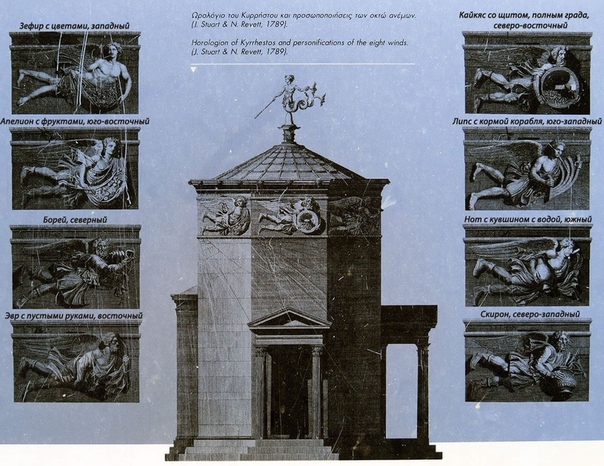
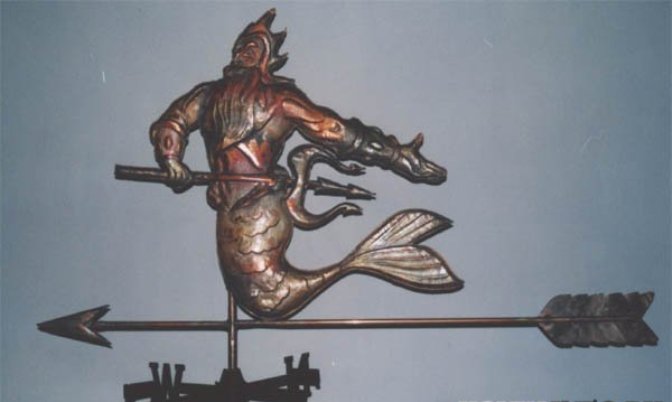
Weathervane has a rich history. There is no exact data about who and when the first weather vane was made. But today it is known for certain that the first weather vane graced the Tower of the Winds in Athens, and that was about 48 BC. This weathervane was an image of the sea god Triton and the directions of the eight winds.You can immediately understand that even the very first construction had a symbolic meaning.
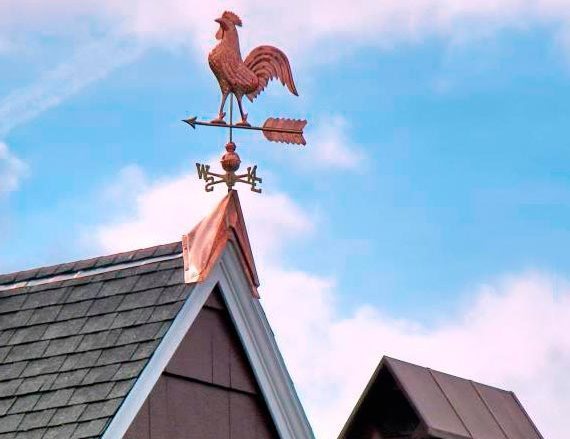
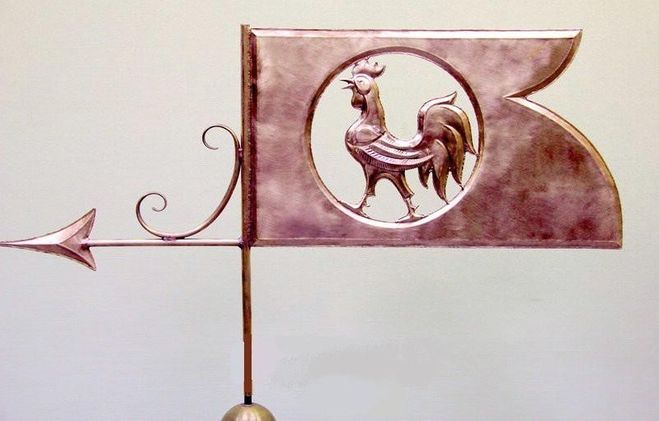
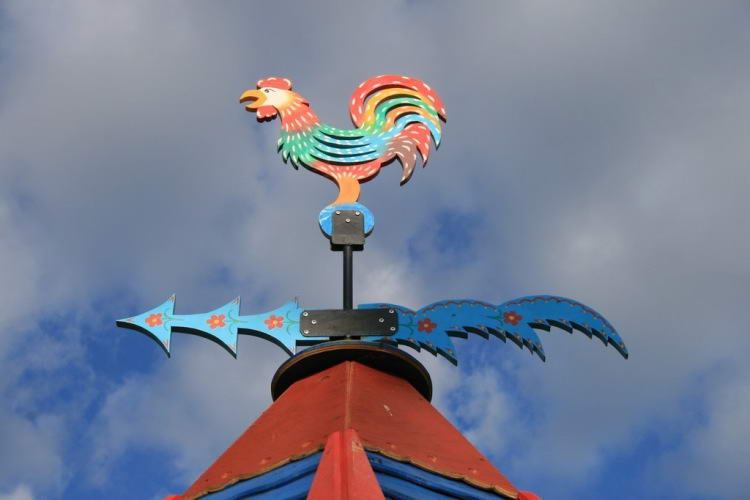
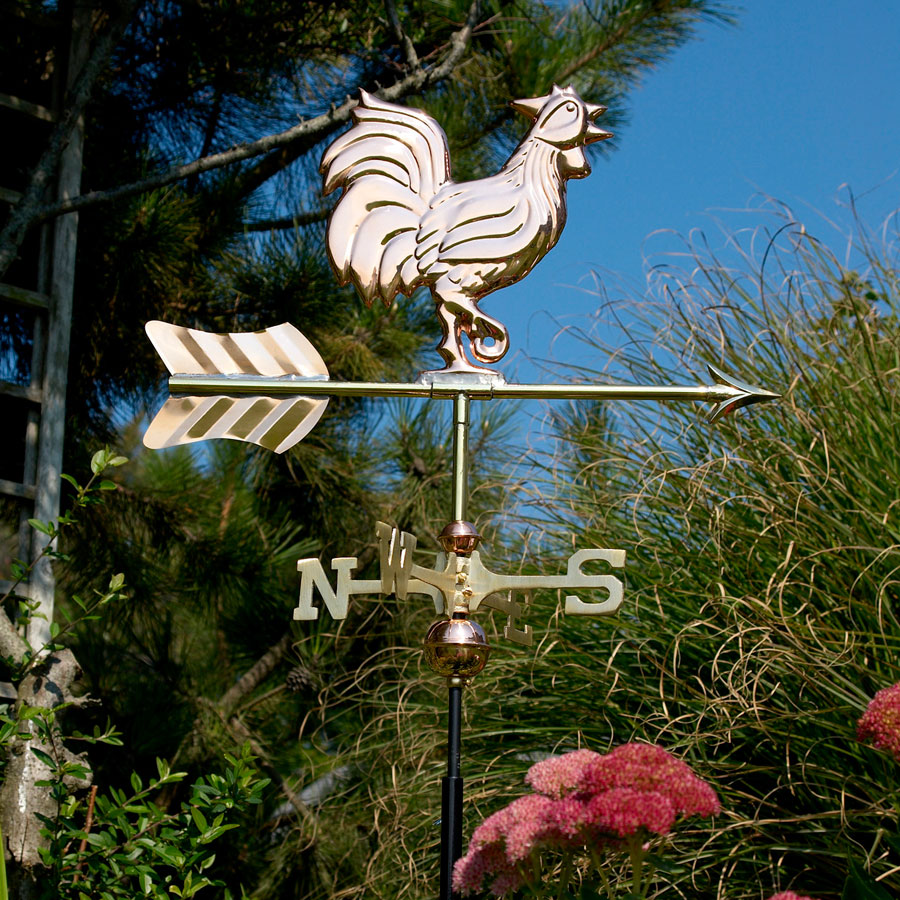
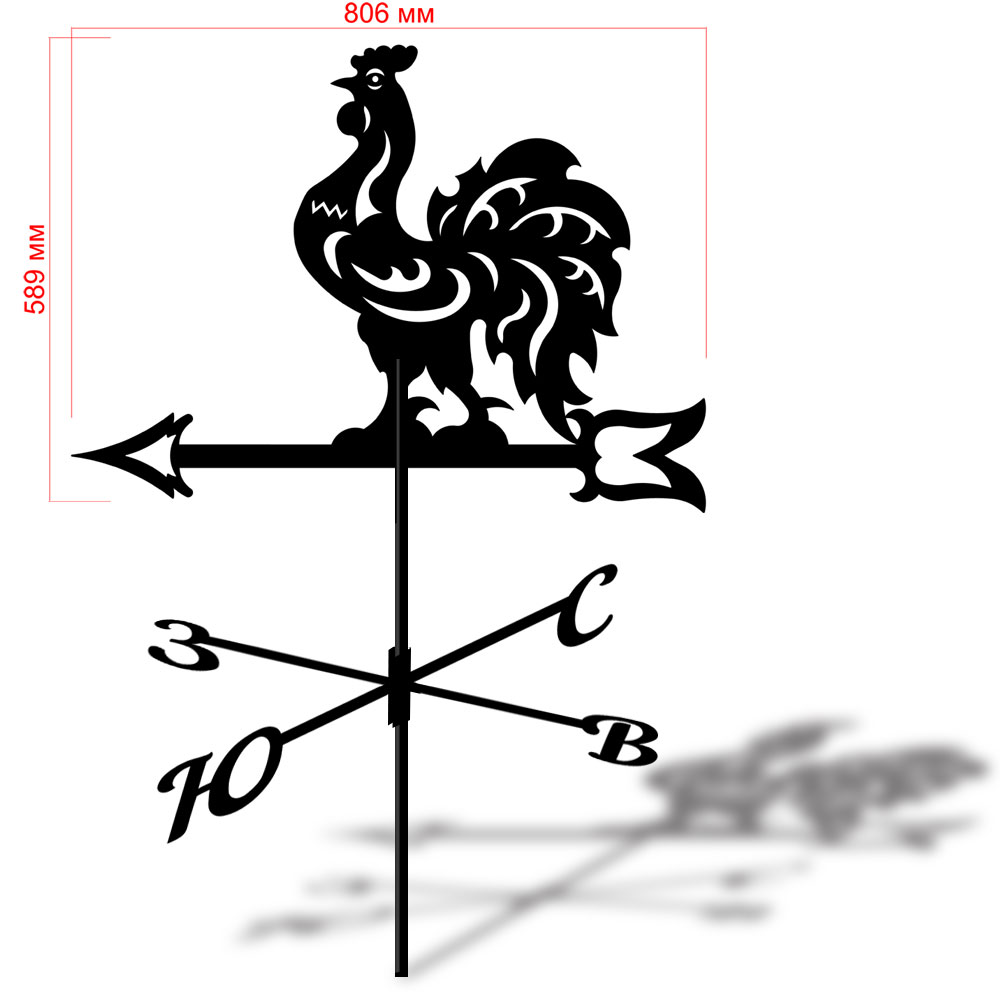
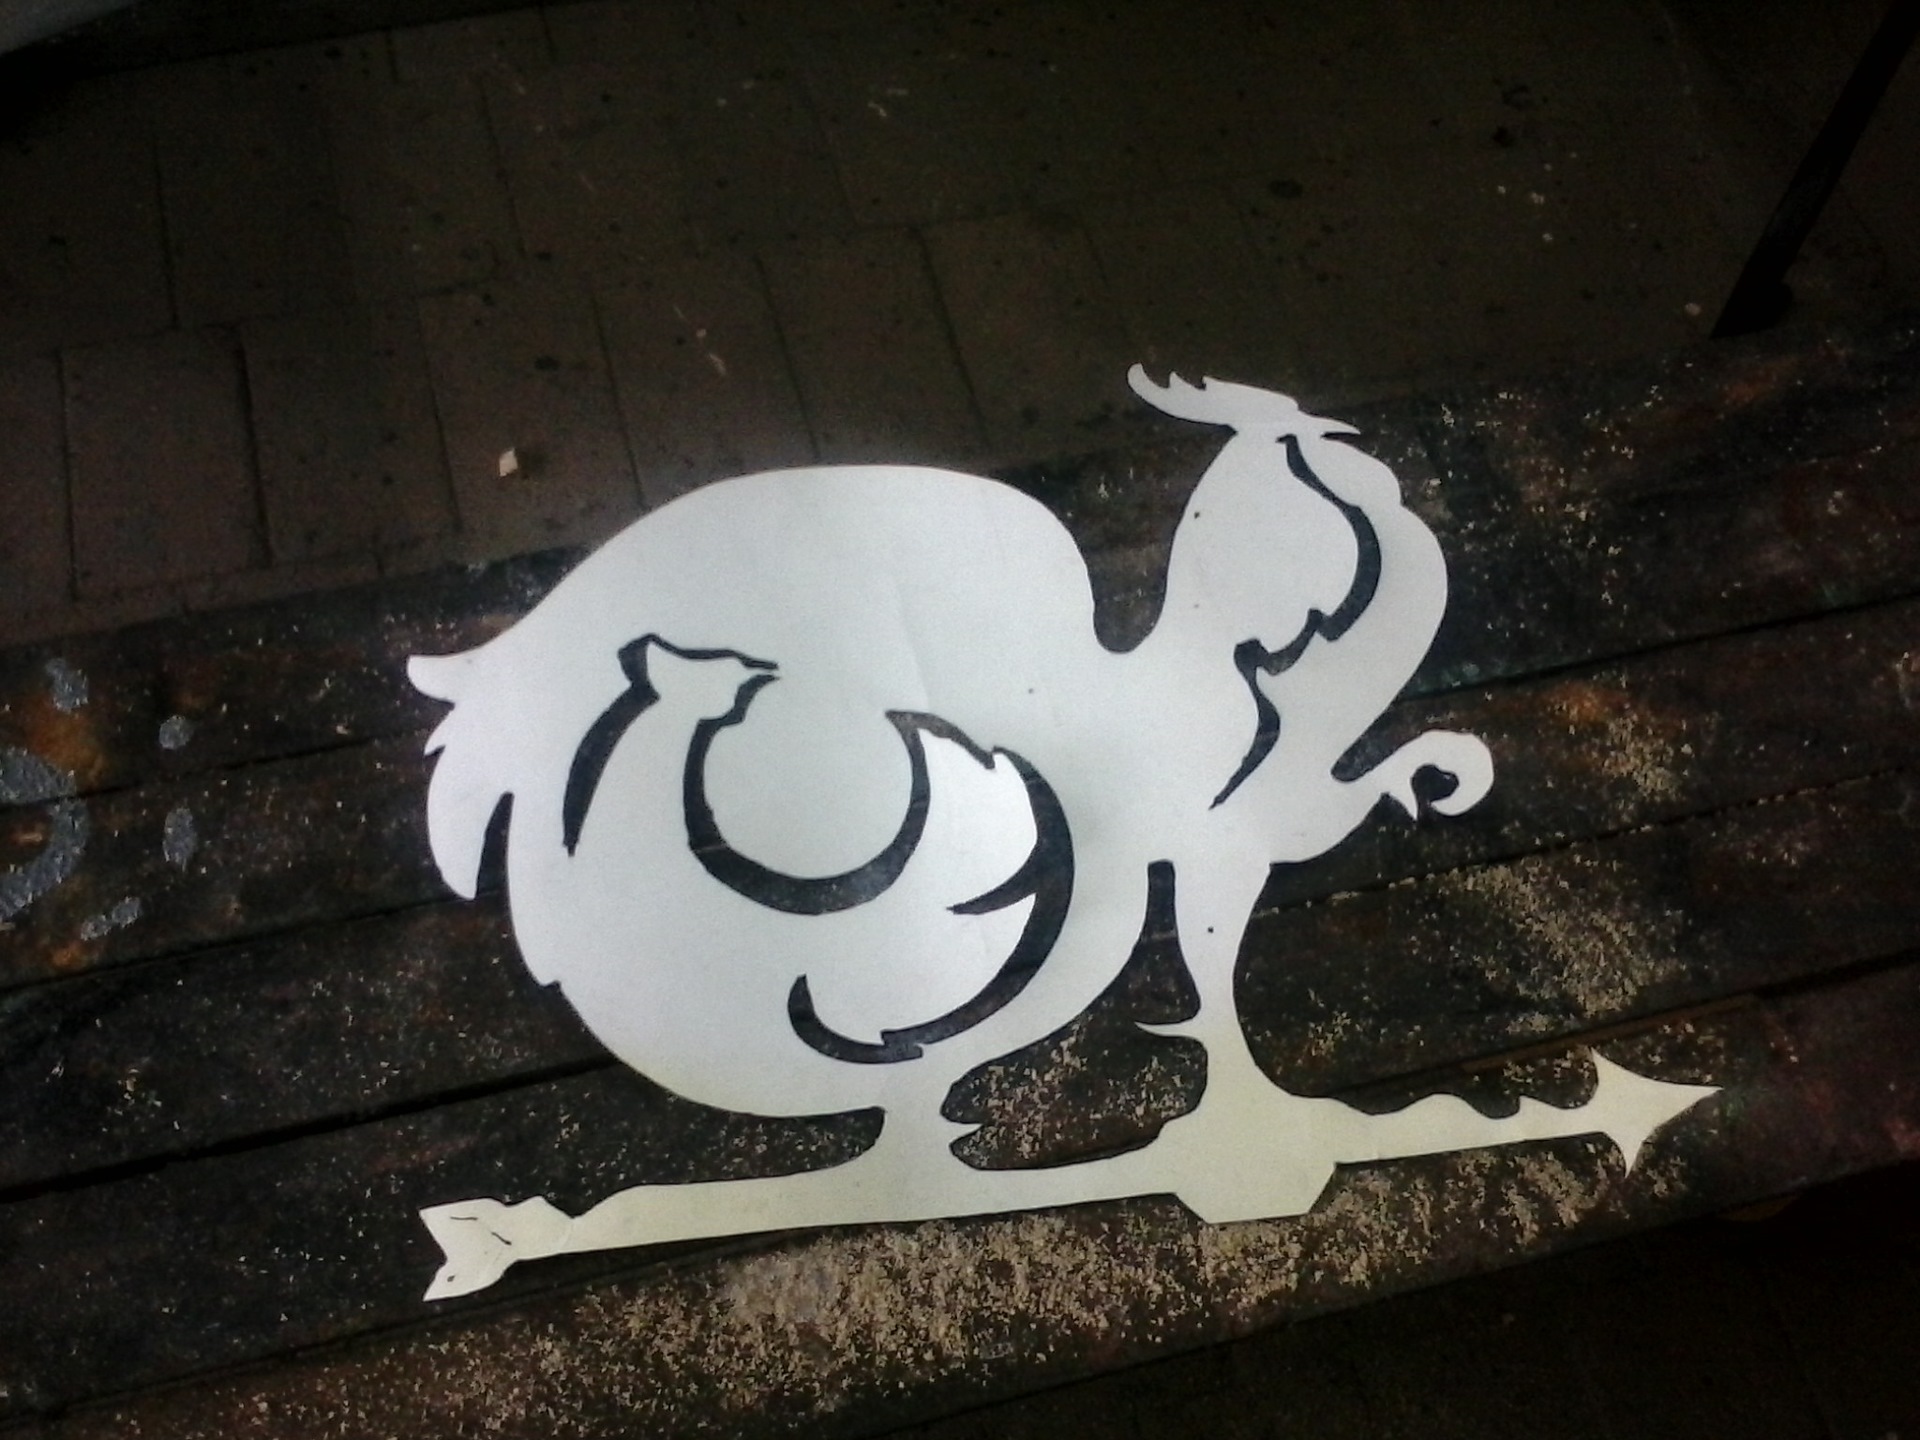
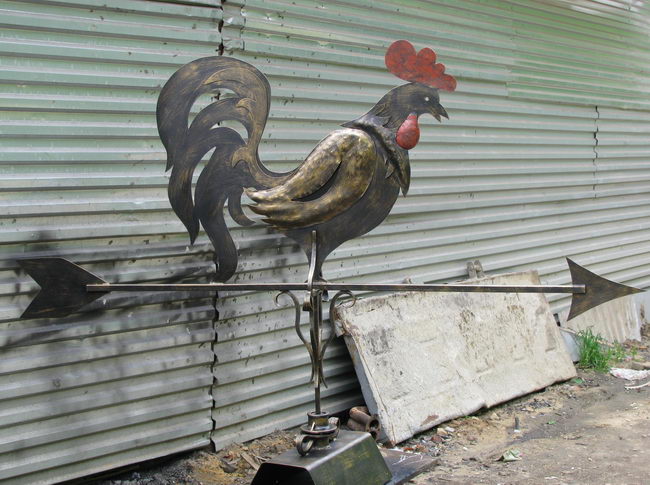
The tradition of making weathercocks in the shape of a rooster originated in England. There, since ancient times, it was considered a symbol of a new day, vigilance and had a magical meaning. The rooster is also a symbol of Christianity. During the reign, the Pope ordered to decorate all the temples with the image of a rooster, which symbolized the apostle Peter. Thus, the roofs of cathedrals in Catholic Europe began to be decorated with weathervanes depicting this bird.
The rooster is also a symbol of France, which is why its people love to decorate houses with weathercocks with this image.

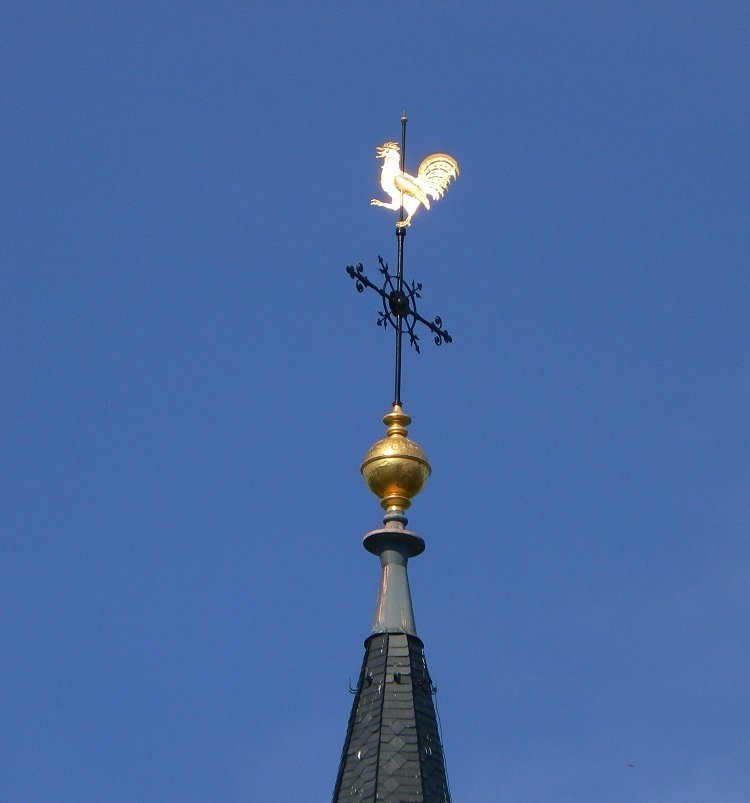
Vikings also loved this device. They made weathervanes of bronze, often gilded, depicting figures and scenes from Scandinavian mythology. Often the Vikings placed their weathervanes on ships. The symbol of the stork - the patron saint of the family hearth - was born in the Scandinavian countries.
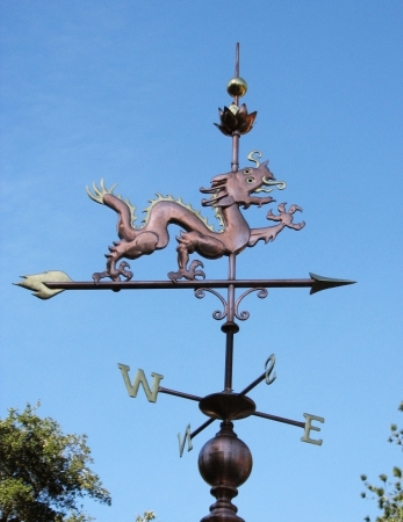
In the era of feudalism in Europe, the weather vane was performed with the image of the coat of arms of the owner of a particular castle. The Japanese and the Chinese, who had their own mythology, loved to decorate their homes with weather drafts with the image of a dragon.He brought good luck into the house and protected him from evil spirits.
In Russia, weathervanes began to appear from the 15th century as home decorations. Originally they were made in the form of a flag. But over time they began to depict animals, people and mystical creatures.
In 1782, by order of Empress Catherine II, the largest weather vane in the world was manufactured and installed. The name he was given the symbolic - Tsar-vane. But, unfortunately, because of his huge weight, he did not serve for a long time, and was subsequently melted down.
Over time, this device became more and more popular, therefore in Europe at the end of the XVII and the beginning of the XVIII centuries, workshops even began to appear in which weather vane were massively manufactured.
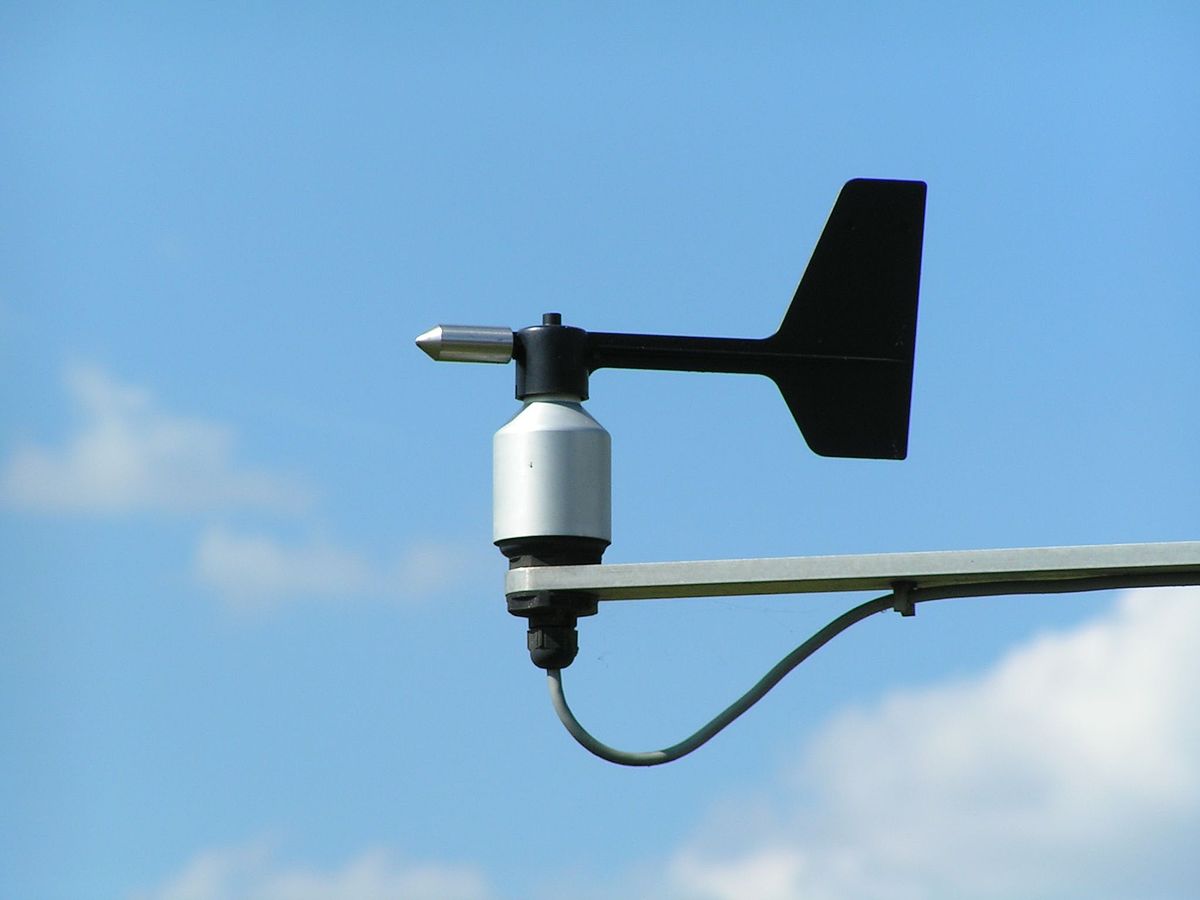
It should be noted that this trend is observed today due to the growing demand for this structure. As it turned out, weathercocks have not lost their meteorological value. Forecasts do not always correspond to reality, and modern weathercocks, equipped with a more complex structure and electronic filling, can easily determine the strength of the wind and its direction. They are most often used by modern weather services and air bases.
Today, the simplest version of this device has lost its scientific value due to the development of technology, but modern people still decorate the roofs of their homes with this uncomplicated device for decorative purposes.
Design features and principle of operation
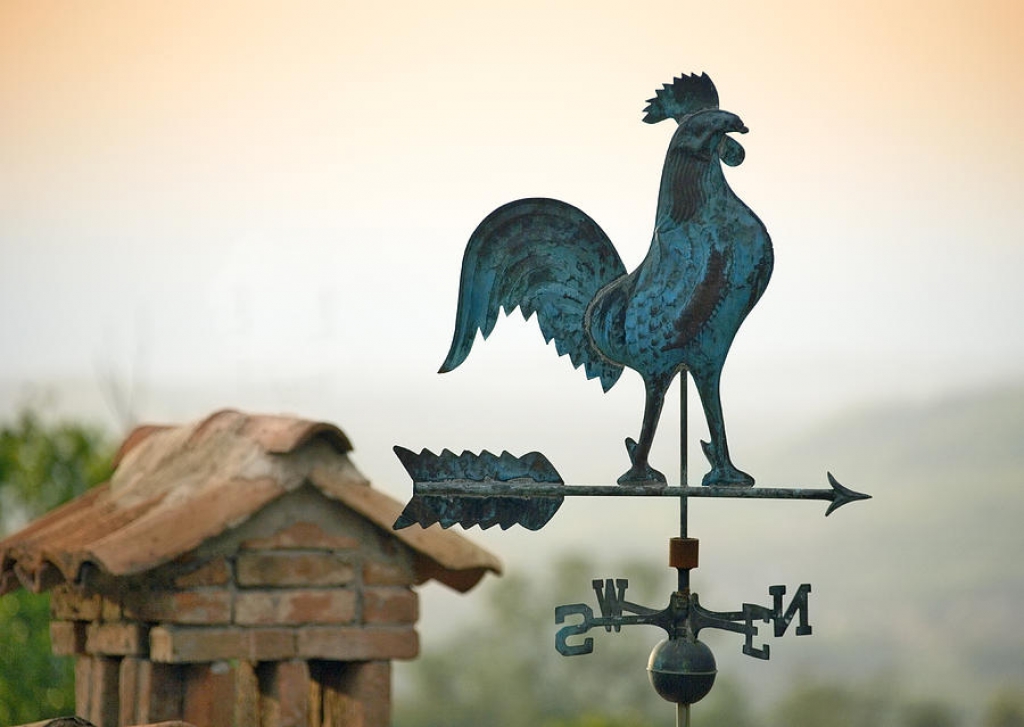
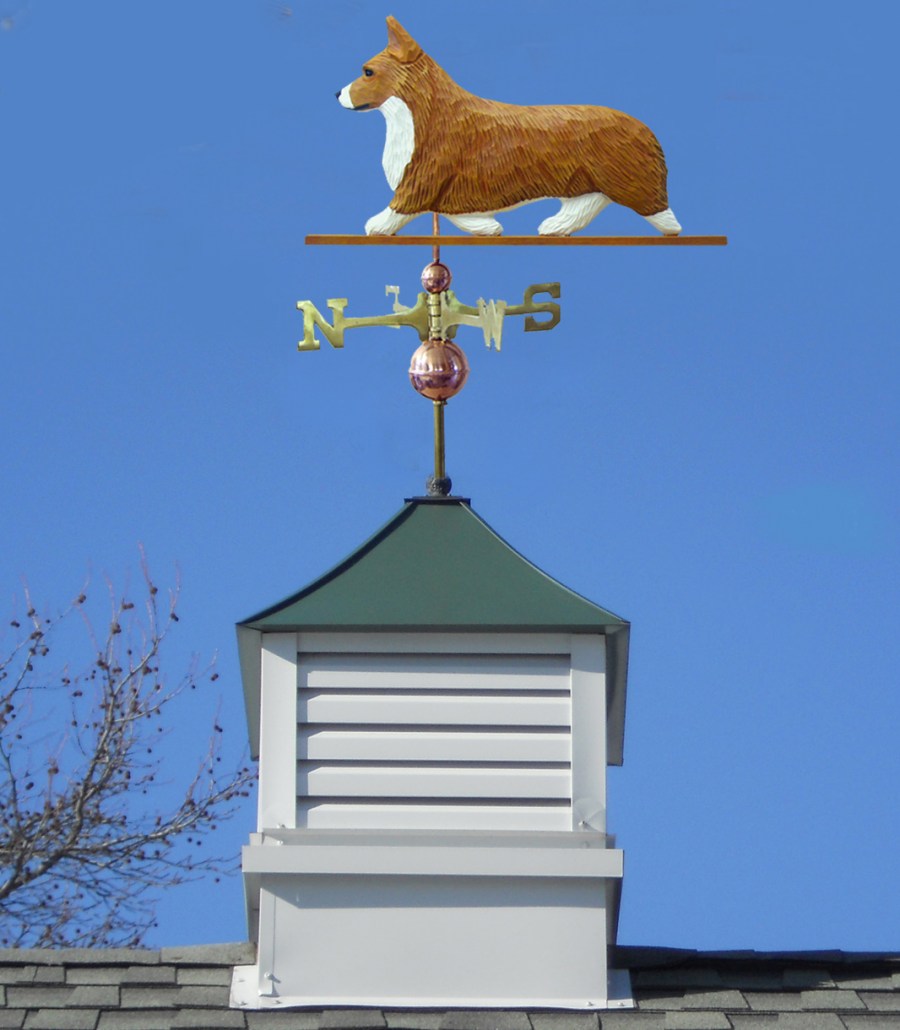
Weathervane - a simple meteorological device. Its main part is the flag, which under the influence of the wind turns in the direction of least resistance. At the base of the structure there is a wind rose, usually having four or eight directions. On them it is possible to determine exactly where the wind is blowing from. Also, the design of the weather vane can be equipped with a small fan that will create noise and vibrations, scaring small rodents and birds.
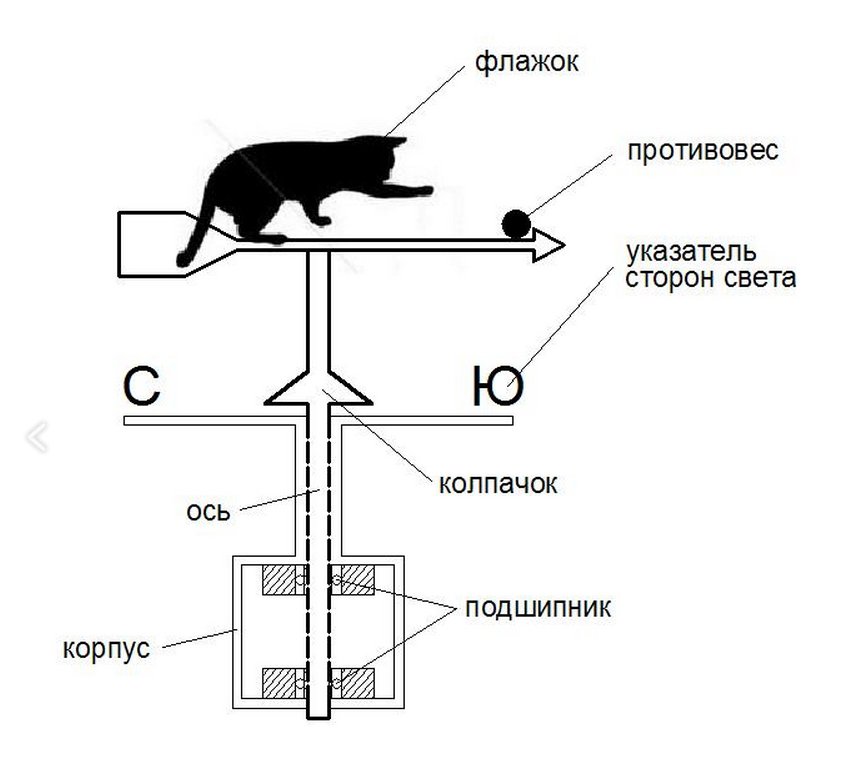
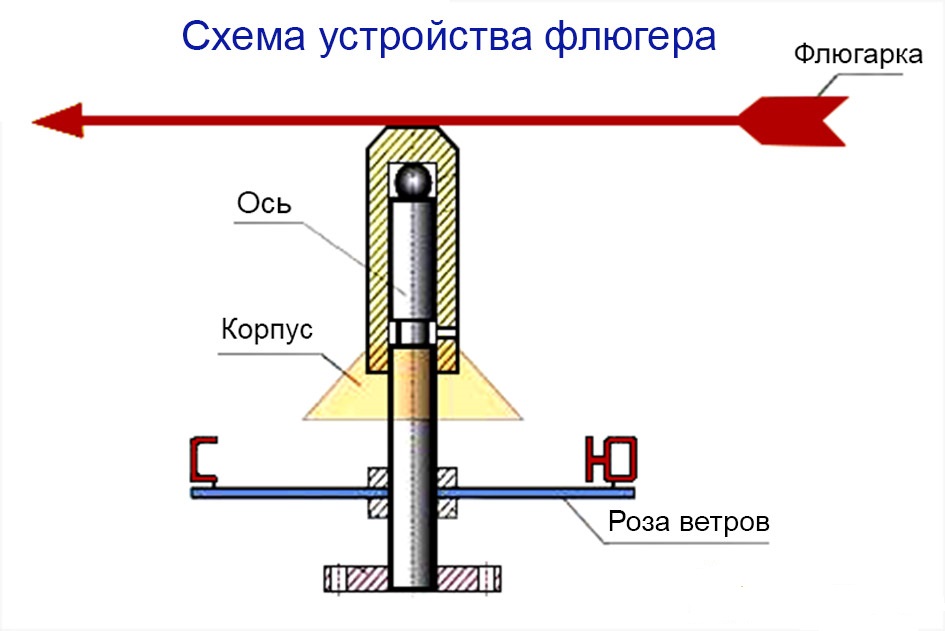
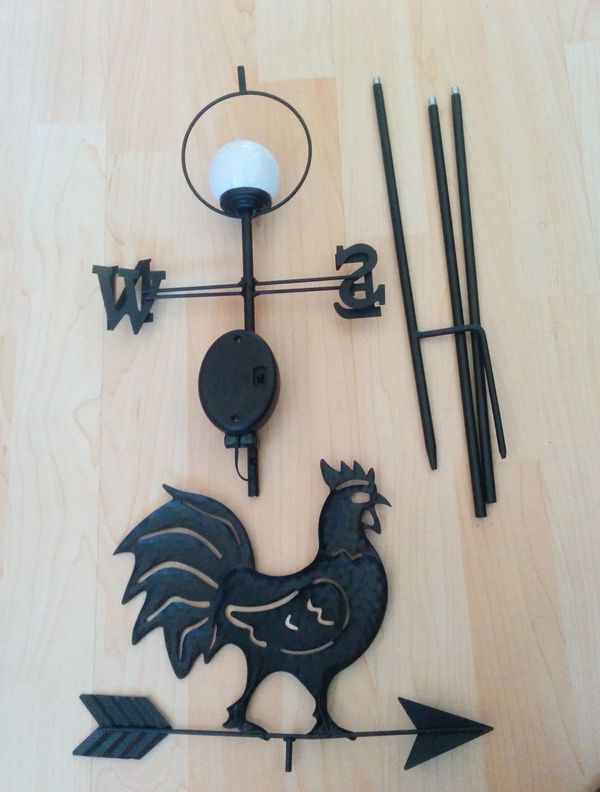
You must understand that any vane consists of the mandatory parts, which include:
- housing, which is inserted into the axis;
- bearing, which provides free rotation and is located in the housing;
- wind rose, indicating the direction of the world (without it, determining the wind direction simply will not work);
- axis connecting housing with a flag;
- a cap, which is an important part and protects the bearing from moisture ingress into it;
- a flag indicating the direction of the wind, and often representing a decorative figure;
- counterweight, which must be placed in the opposite side of the flag for its rotation.
It is better to fasten all parts of the weather vane among themselves, and also better if they are treated with either decorative paint or protective varnish for long-term operation of the device.

Choice of option
Undoubtedly, the beautiful and original weather vane can be purchased at the store. But it is also possible to make it yourself at home. To do this, select the appropriate material and develop a detailed sketch of the device.
The weather vane can be made from a variety of materials:
- plywood;
- tree;
- metal;
- plastic or plastic bottles;
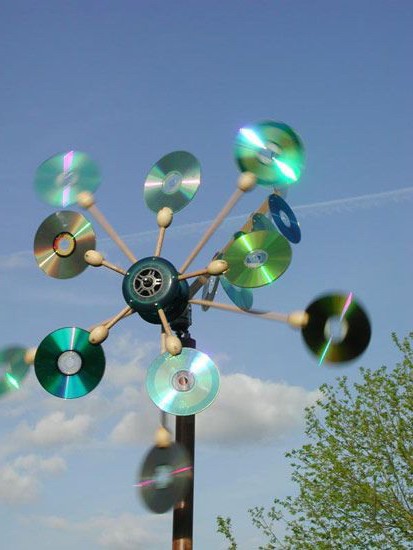
- old CDs


The last two options are suitable for small buildings that can be placed, for example, on the roof of a veranda or gazebo. Plywood and wood are short-lived materials, even if they are treated with special means.
Metal can withstand all changes in the weather and strong gusts of wind, so it is considered the most successful material for a decorative weather vane.
The most important step is the selection of a figure for the flag.After all, there are opinions that this is not just a decorative element, but also a symbol. Therefore, any image has its mystical overtones. Symbols are decoded as follows:
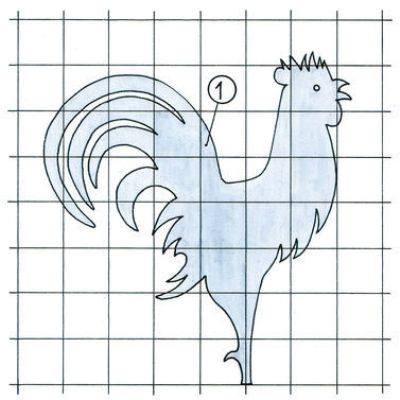
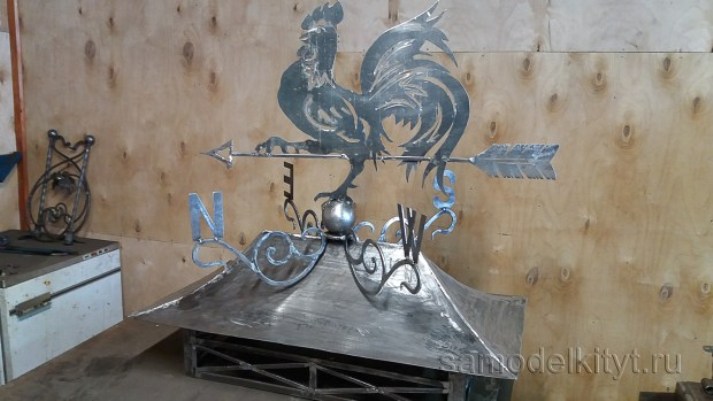
- The rooster is very popular in Russia, scares evil evil.
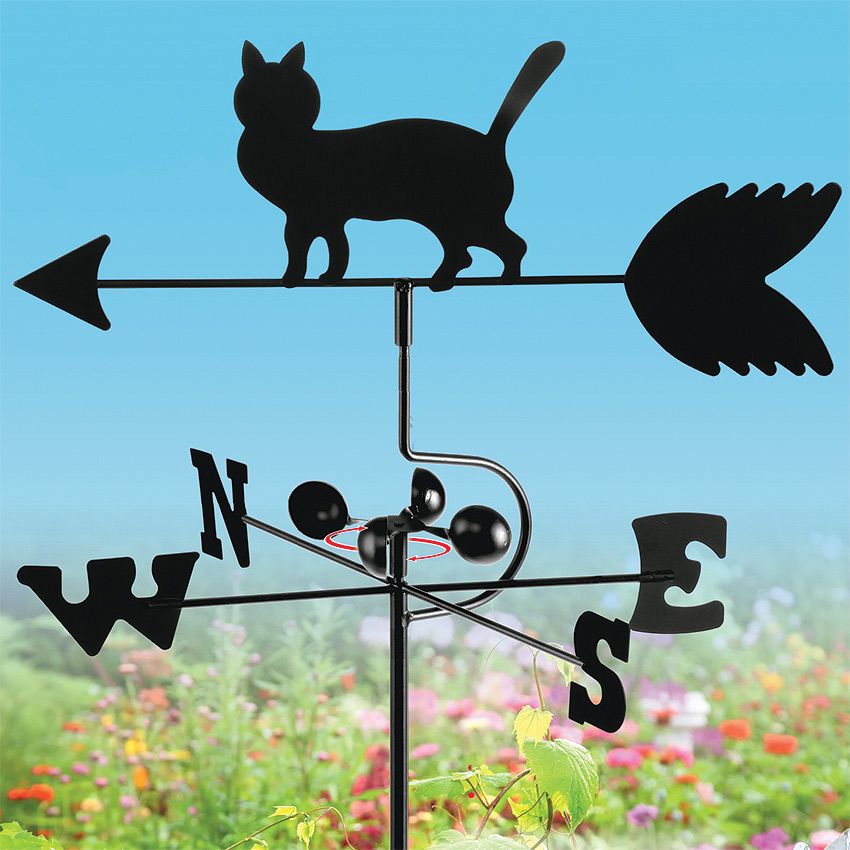
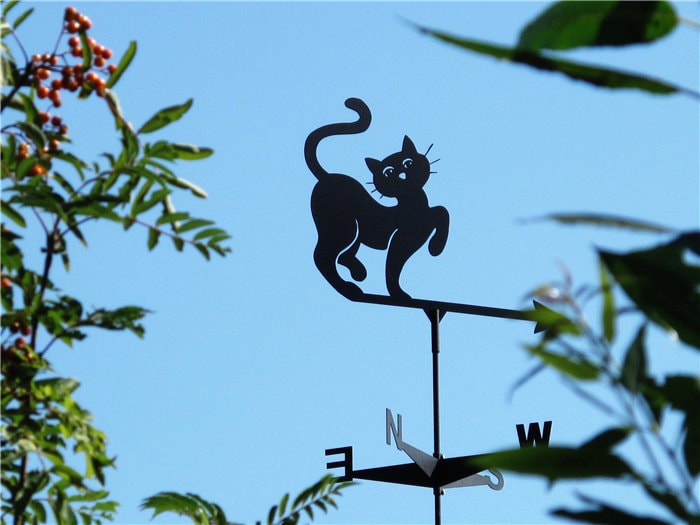
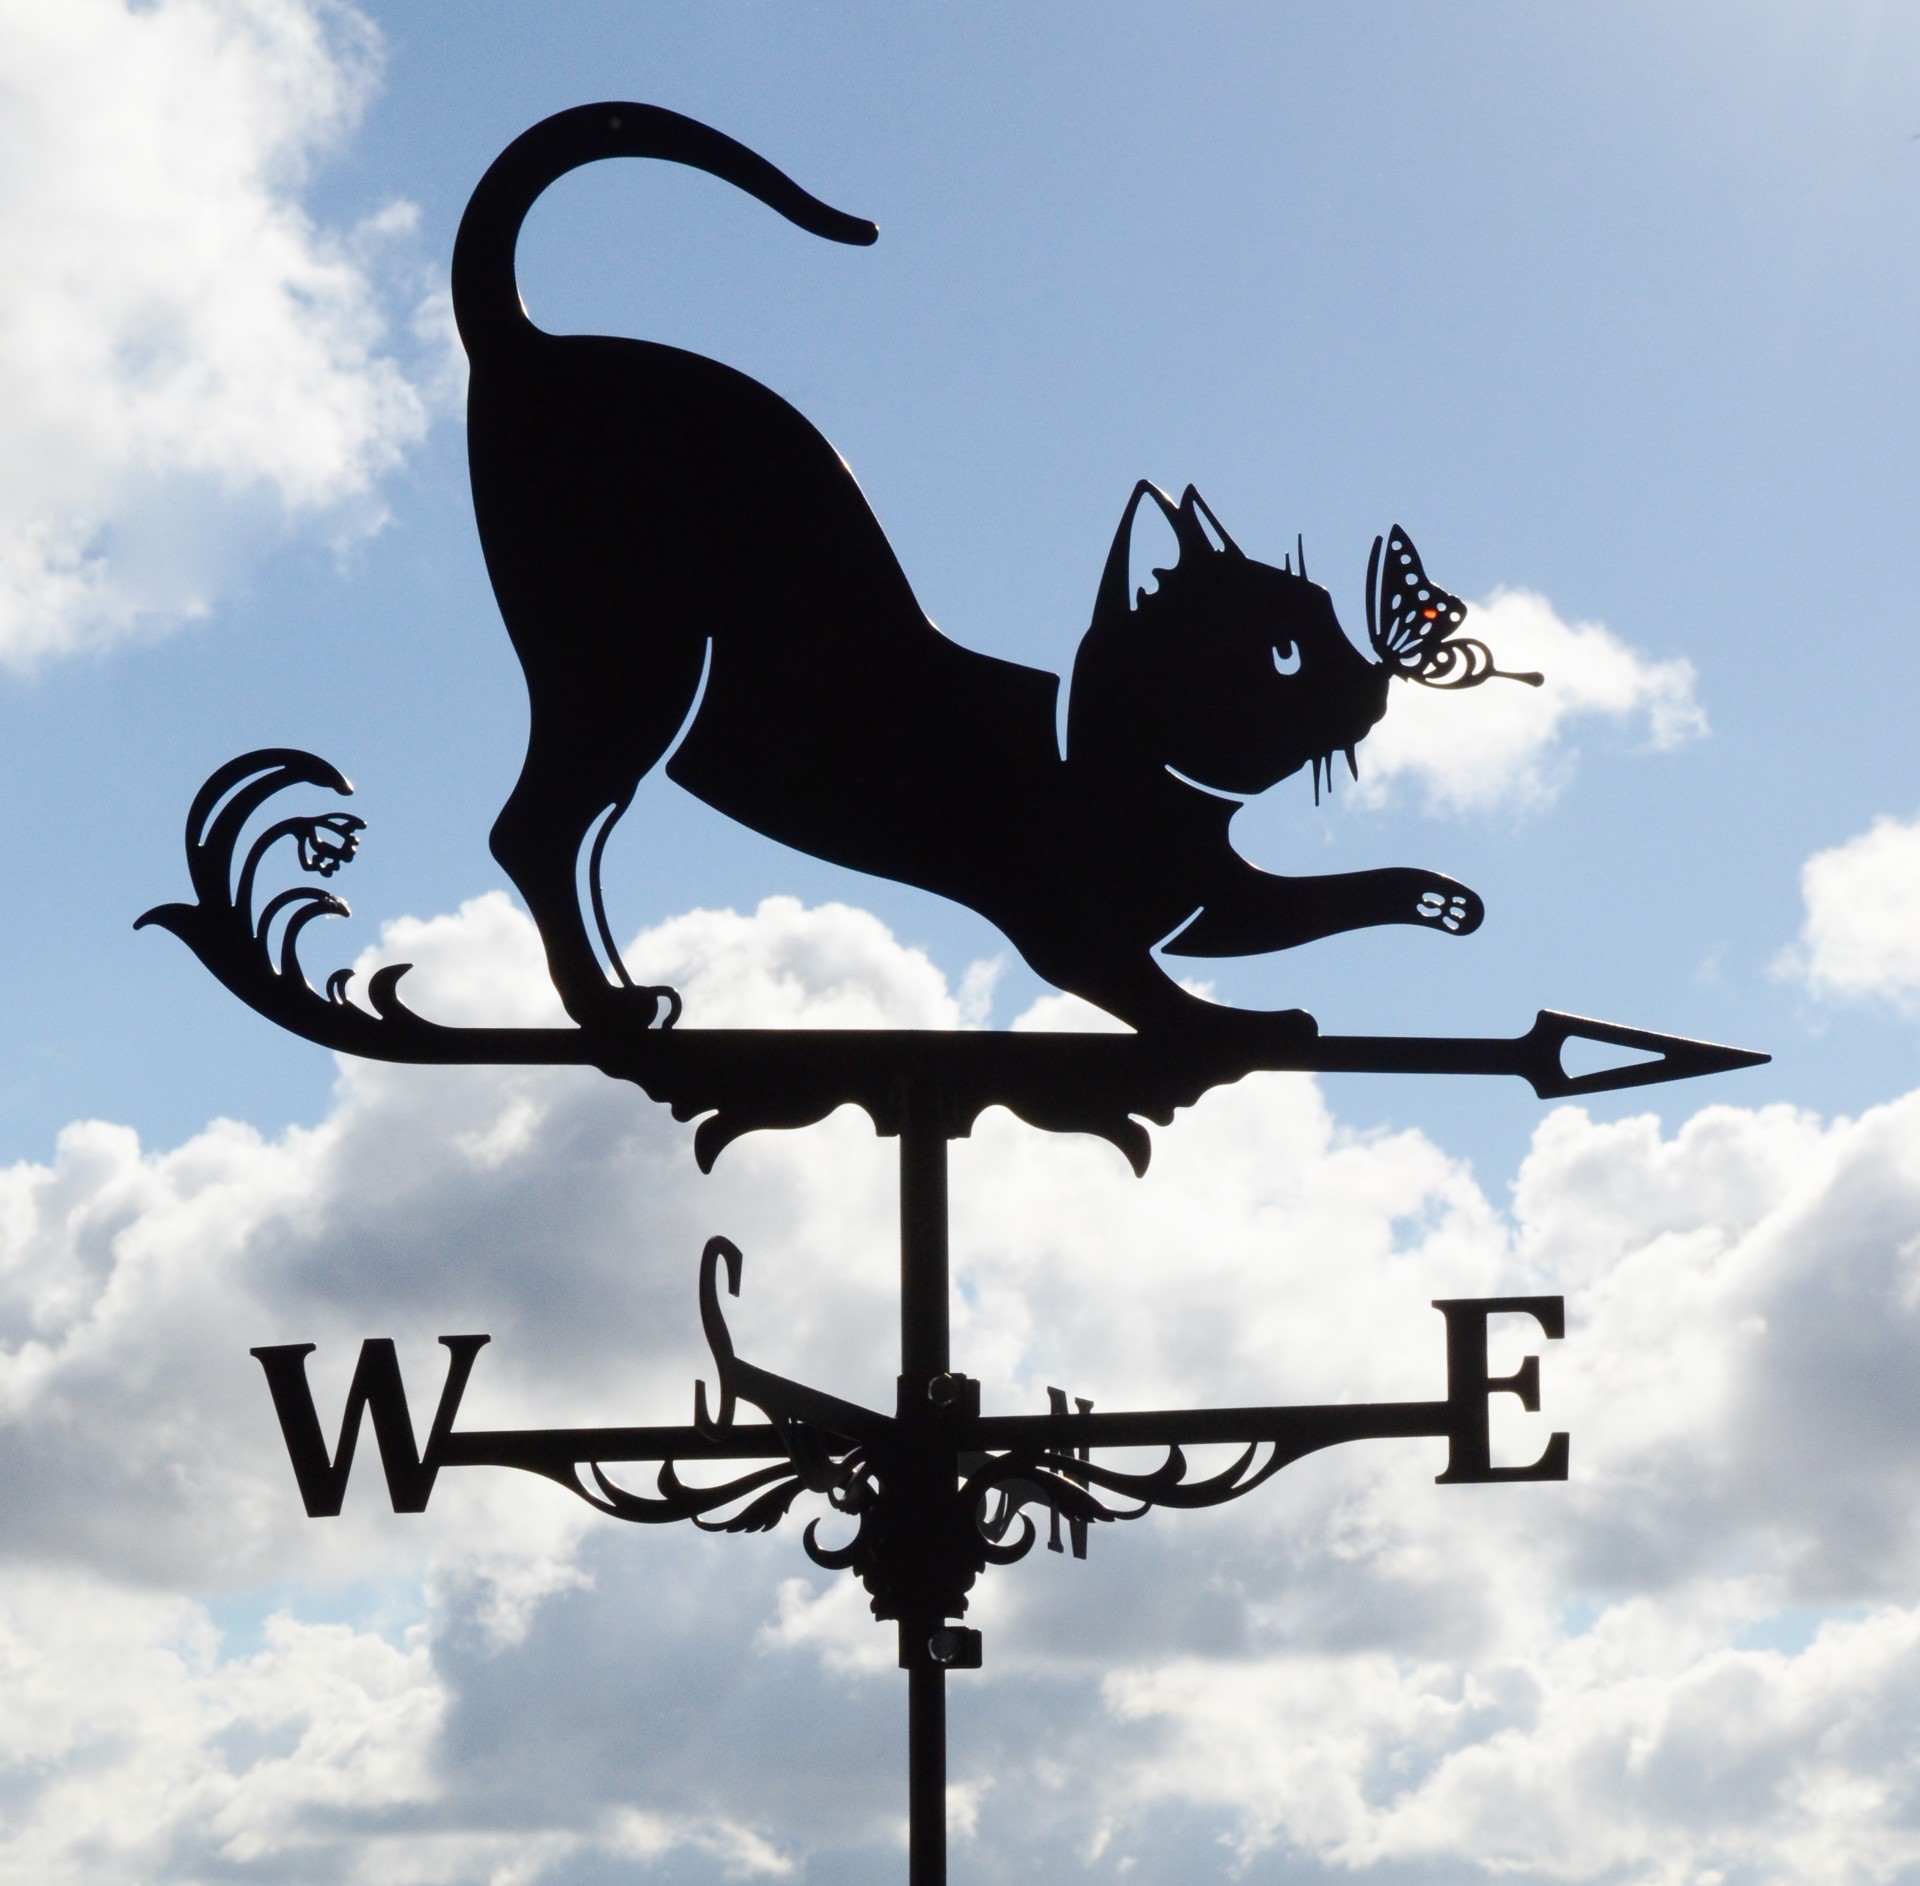
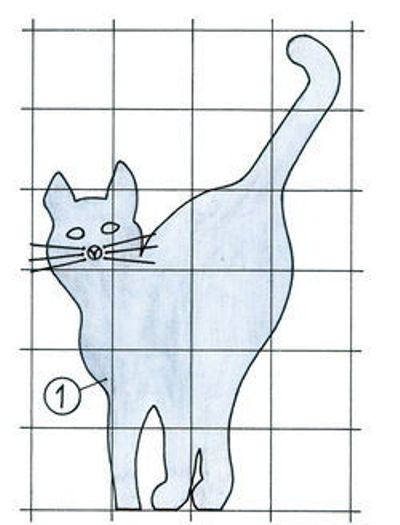
- The cat is a symbol of home comfort.
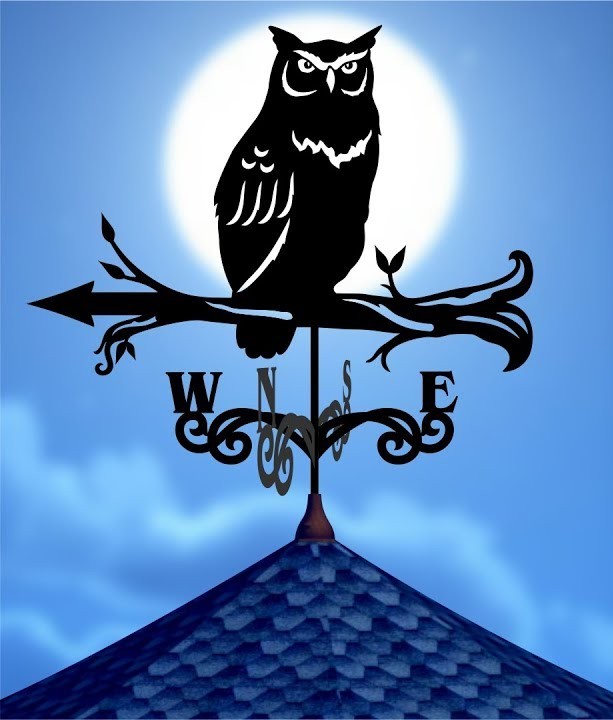
- Owl symbolizes wisdom.
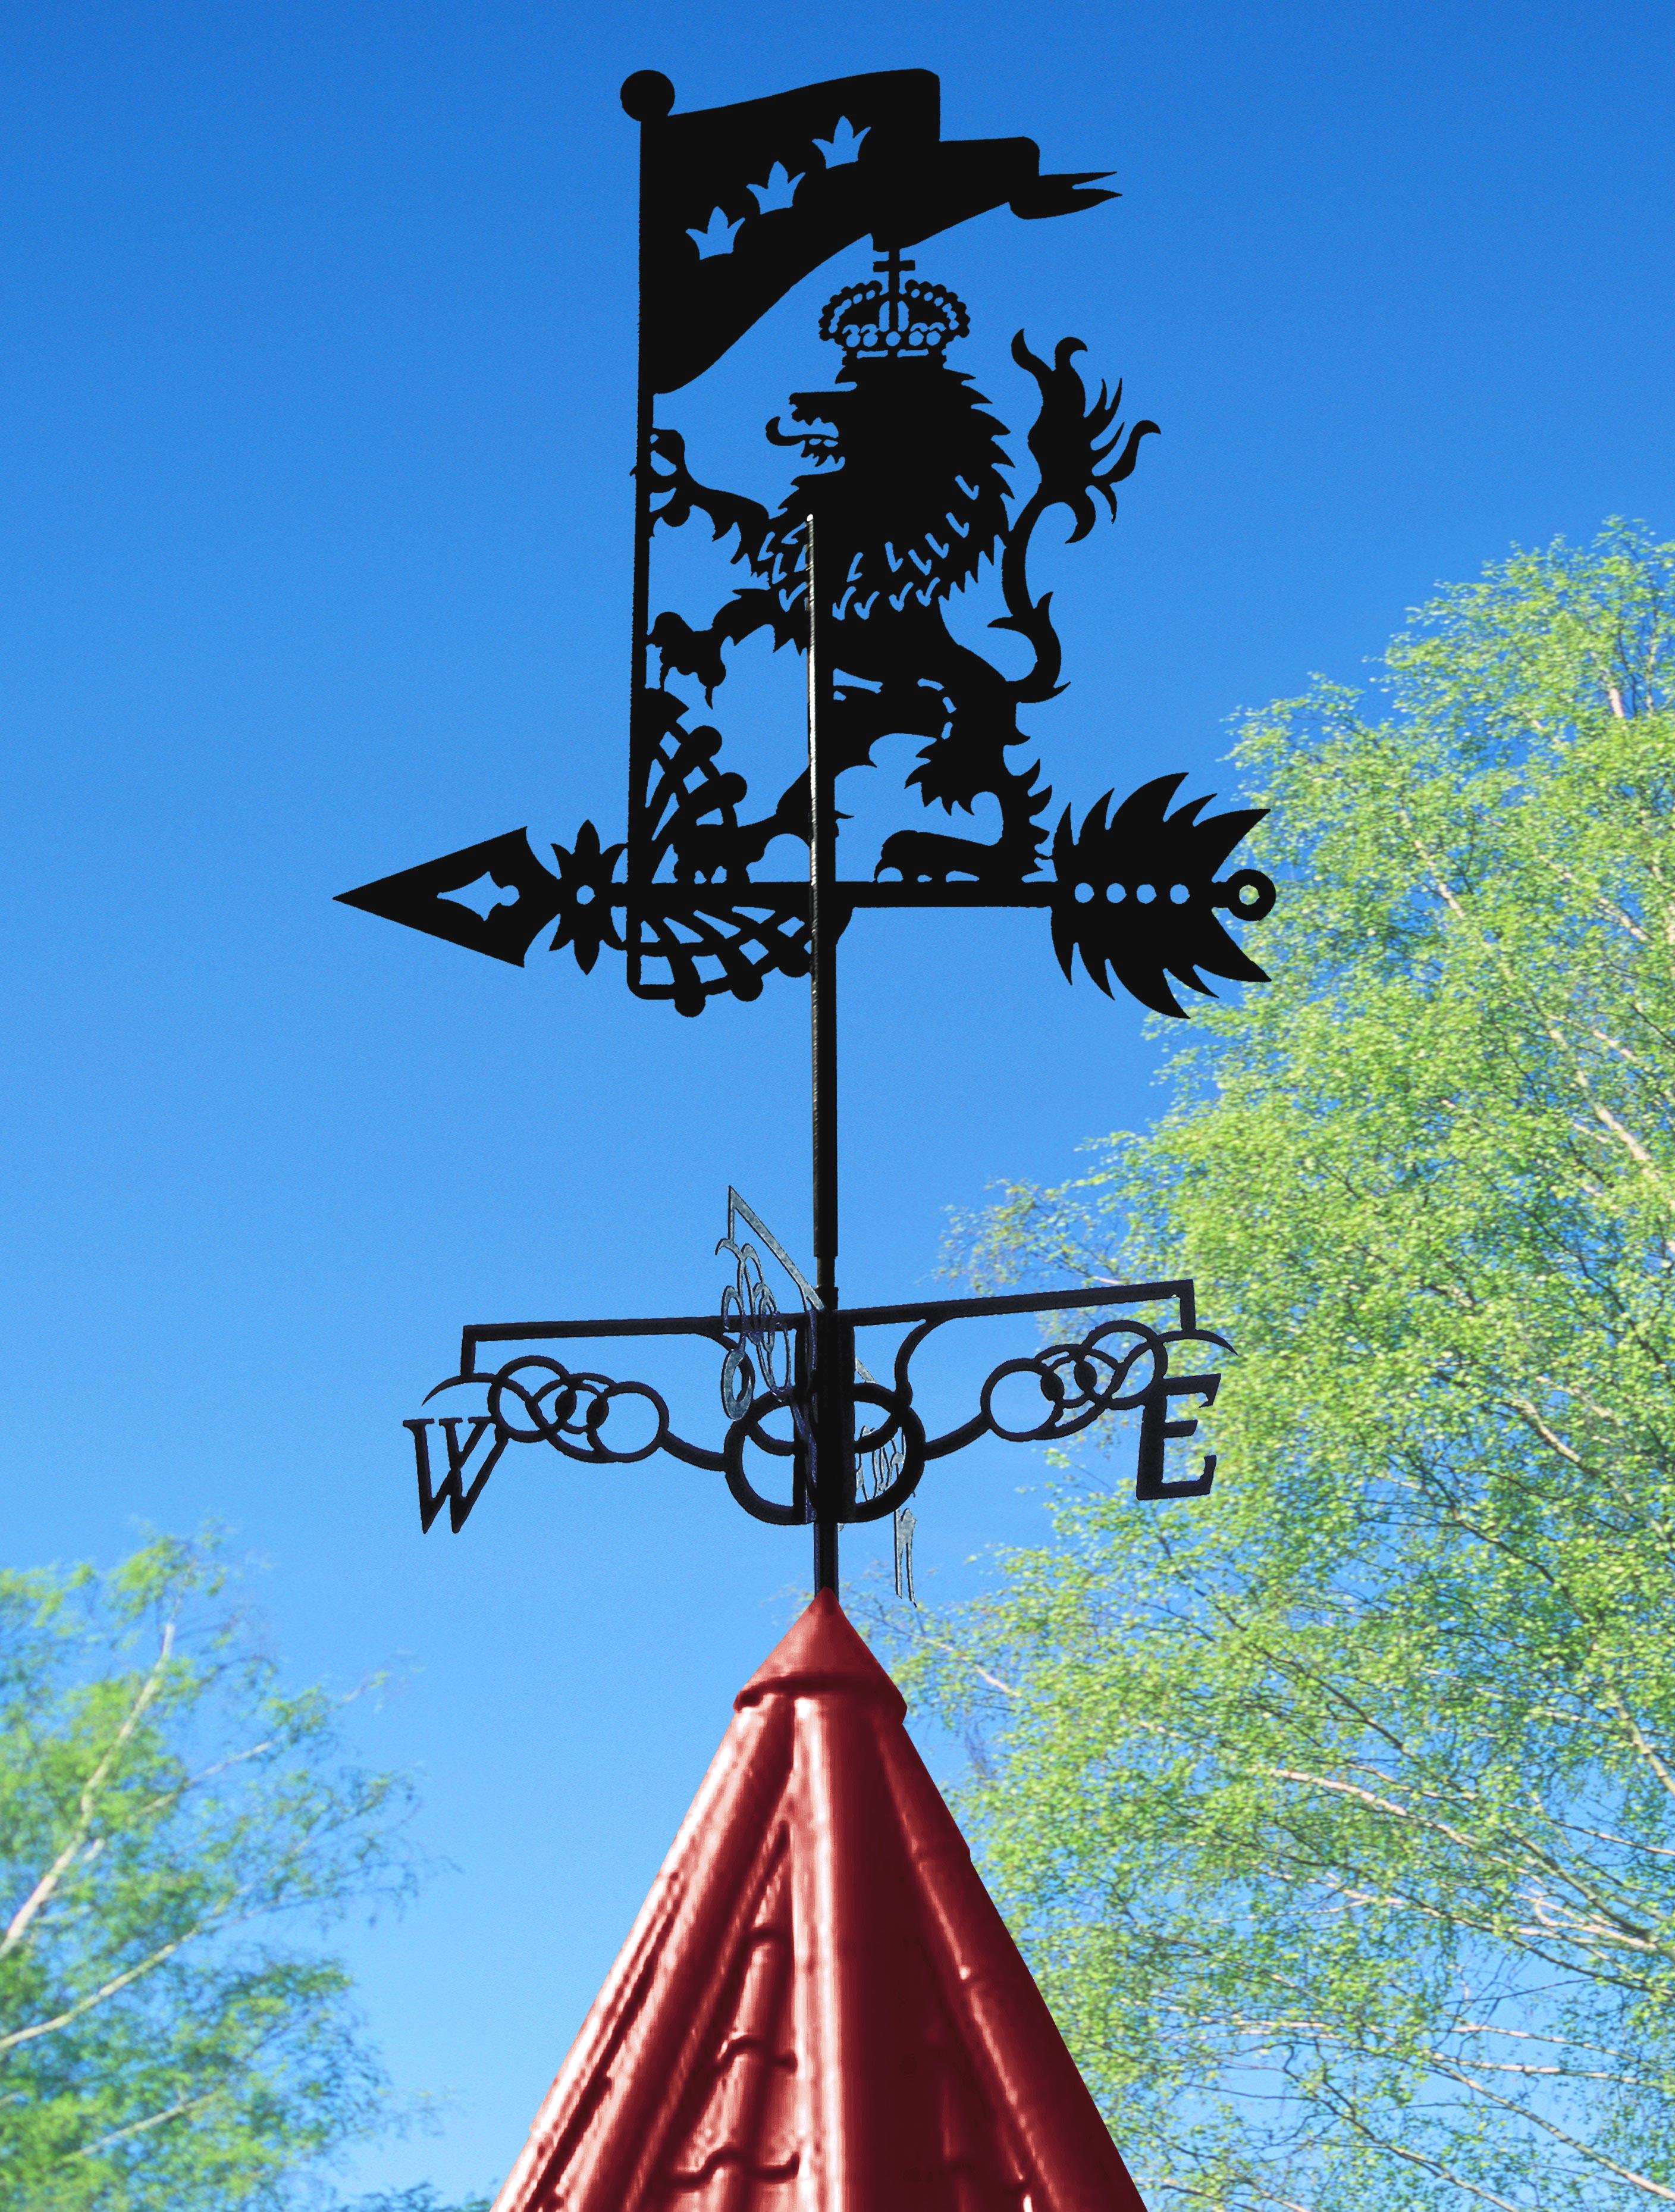
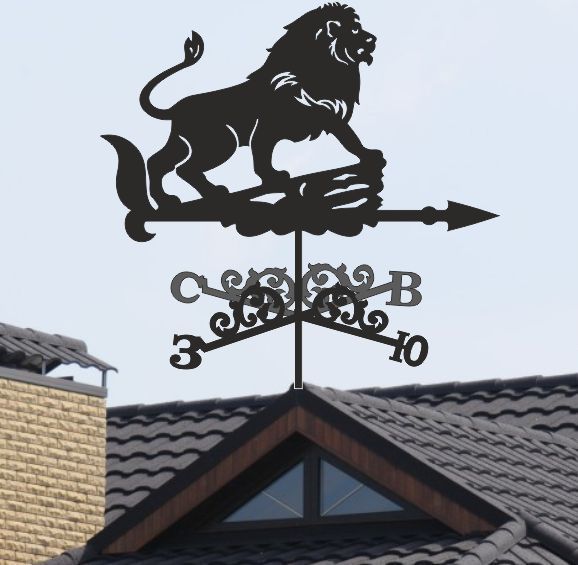
- The lion, the king of the beasts, indicates power and strength.
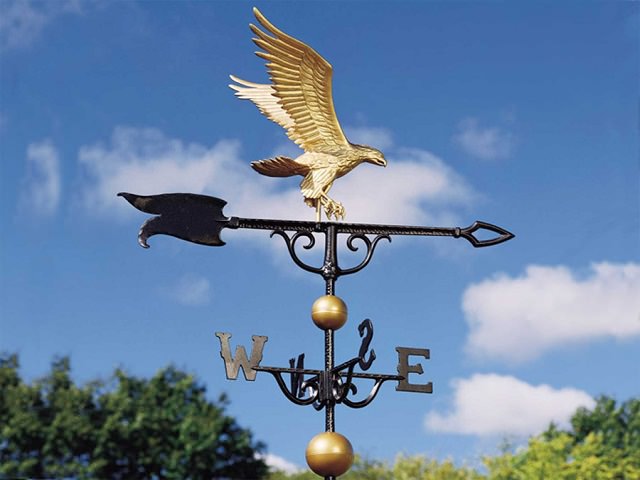
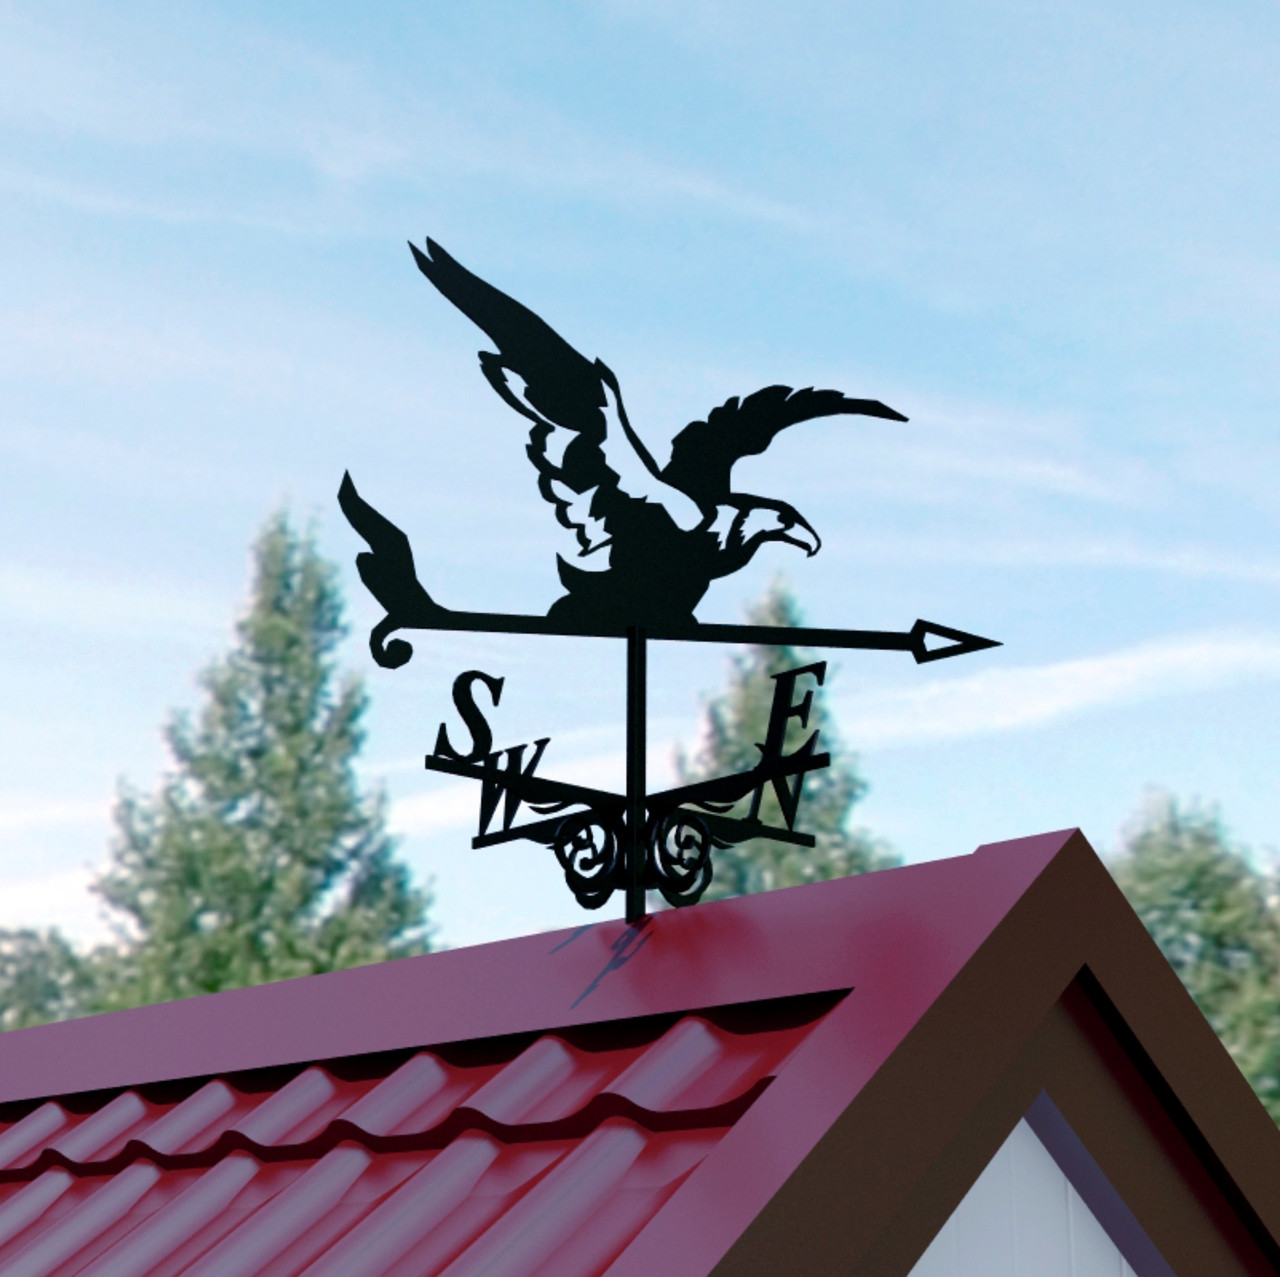
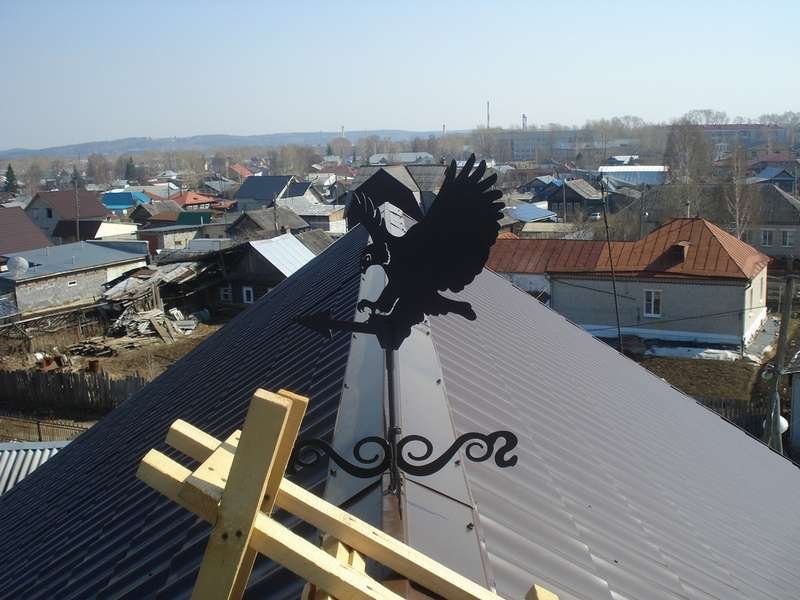
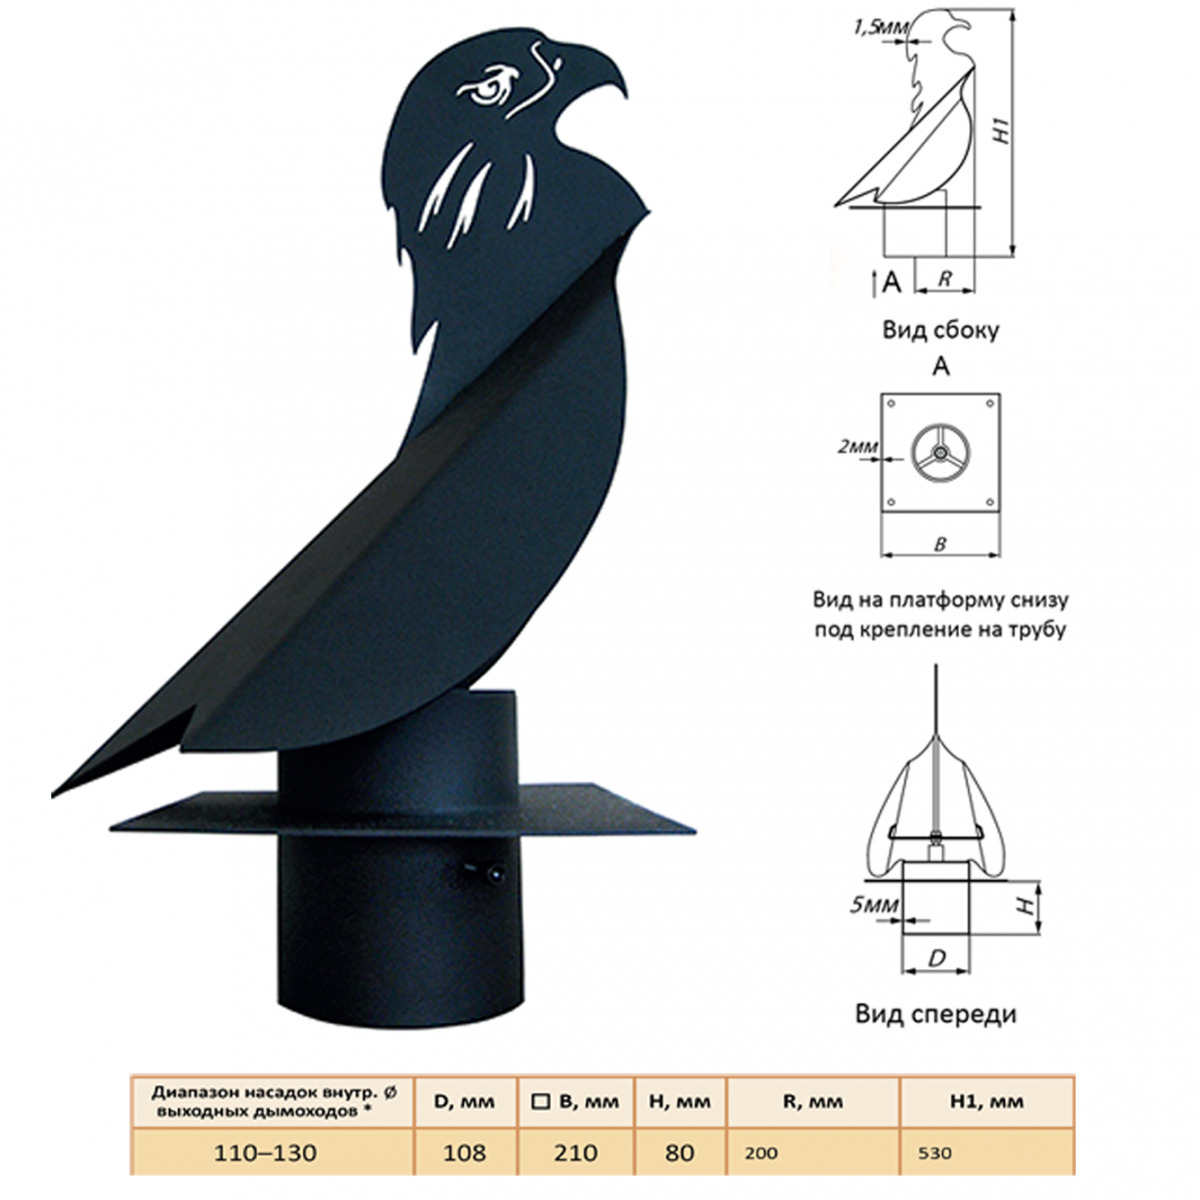
- The eagle helps protect the home from enemies.
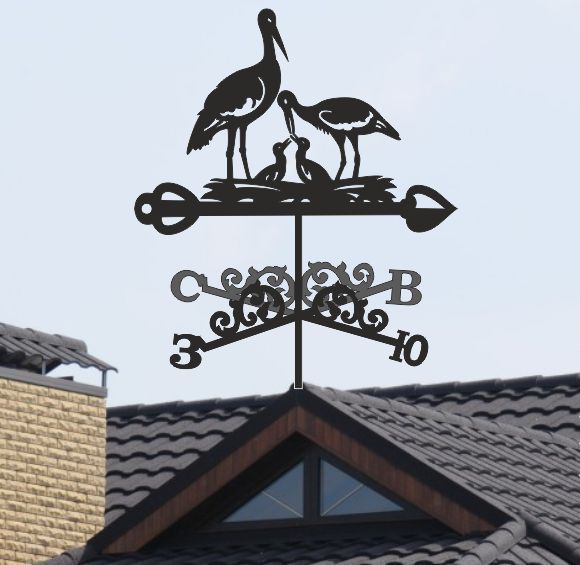
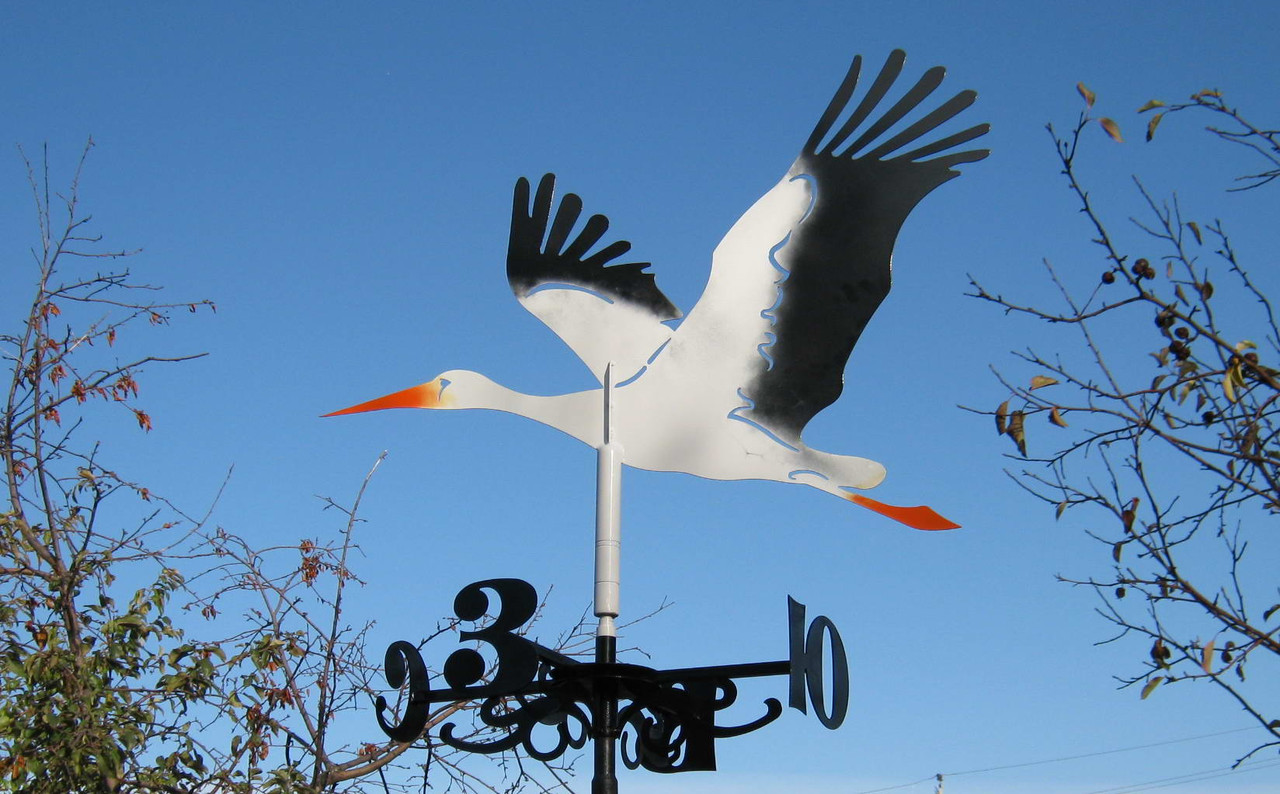
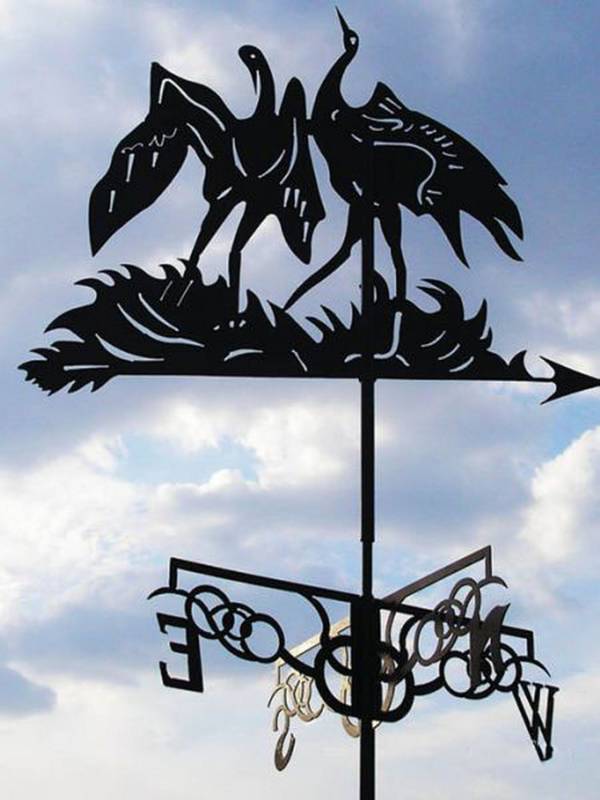
- The stork brings to the house mutual understanding and happiness.
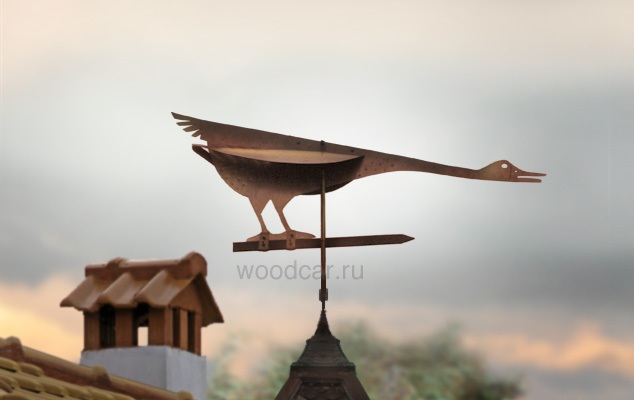
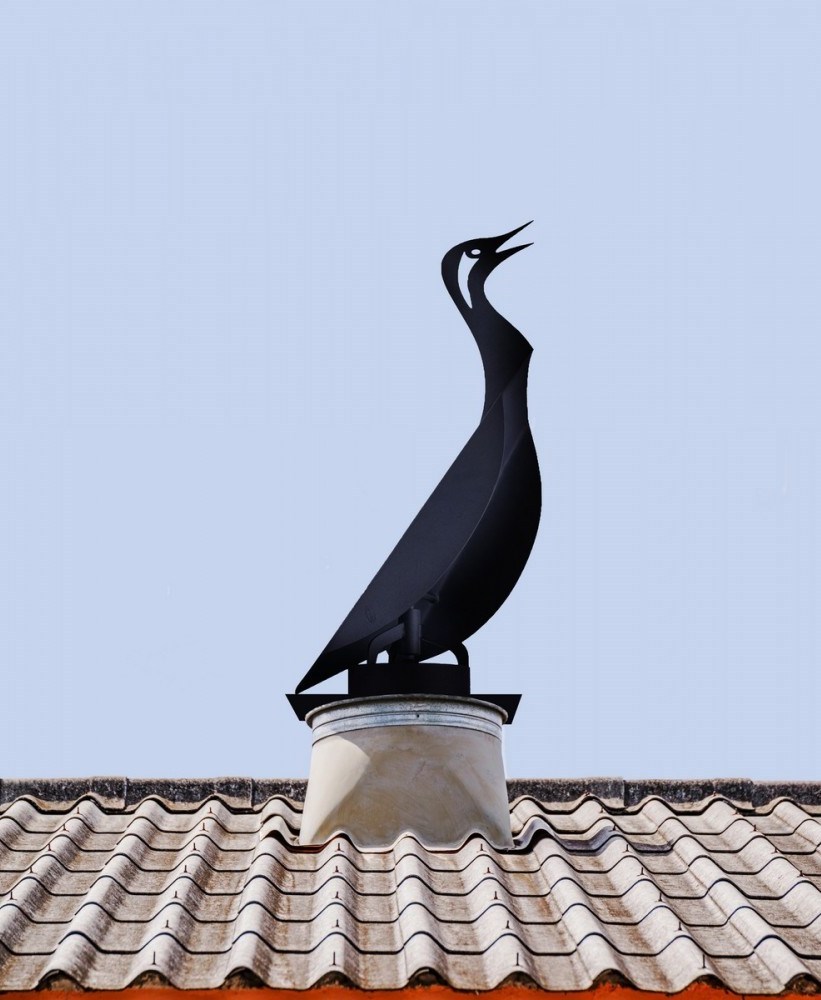
- Goose is a symbol of vigilance, love and order in the house.
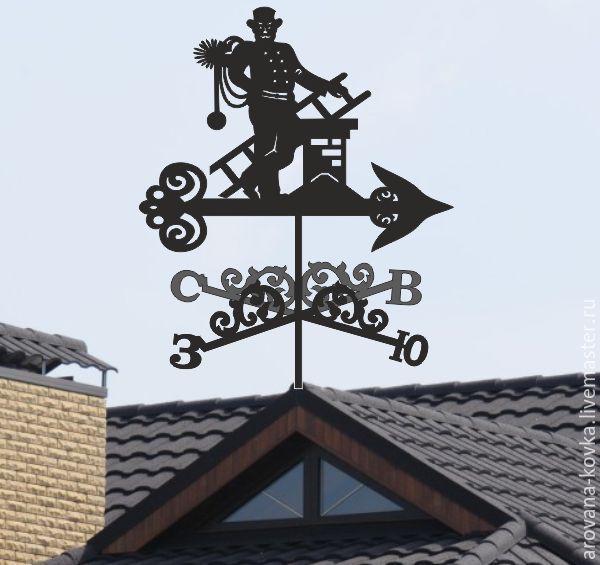
- Chimney sweep is a symbol of good luck.
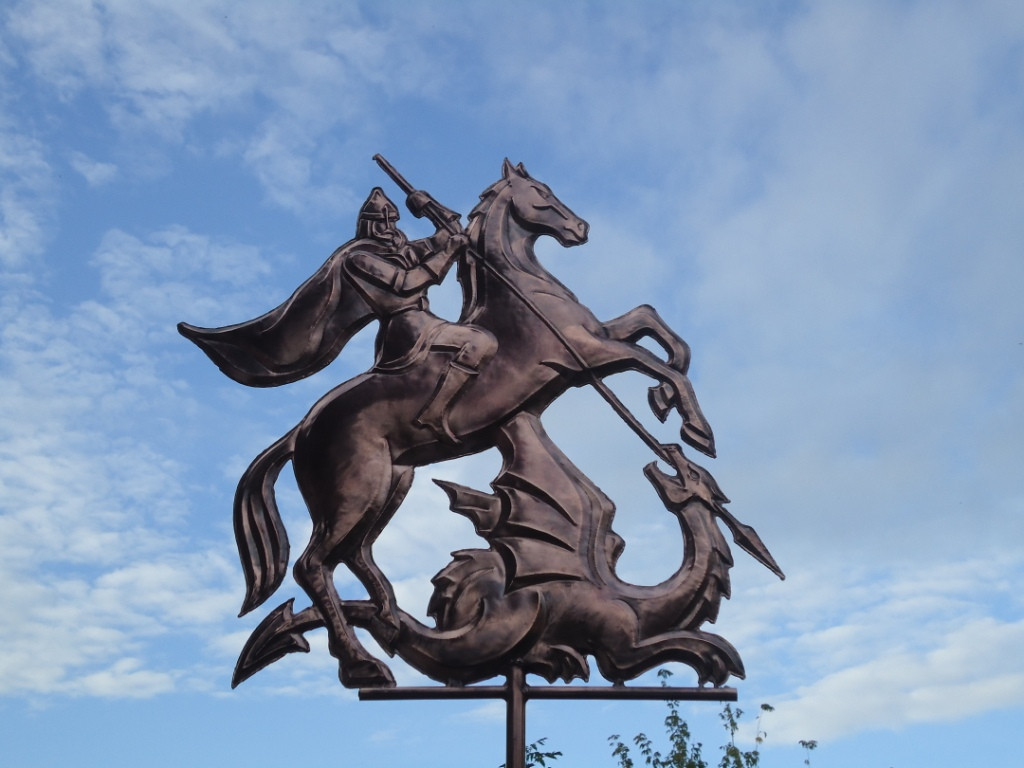
- George the Victorious protects the house from any trouble.
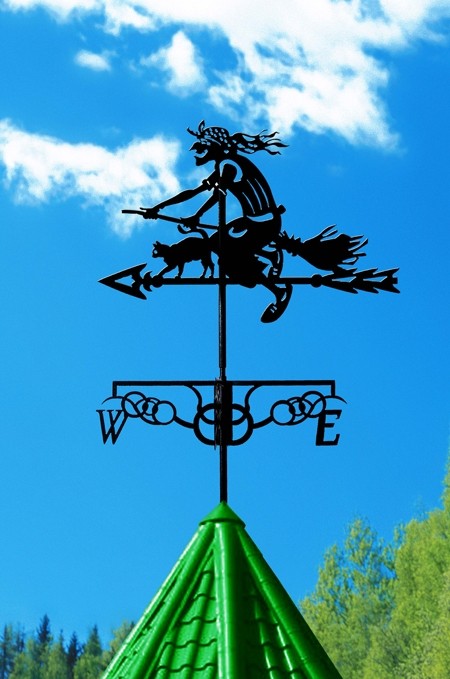
- Baba Yaga opposes the evil influence of evil forces.
When choosing a weathercock figurine for your home or dacha, it’s best to become familiar with what it can symbolize.
It should be noted that there are several basic functions that this design has.
- Meteorological. First of all, the weather vane serves to measure the speed and strength of the wind and indicate its direction.
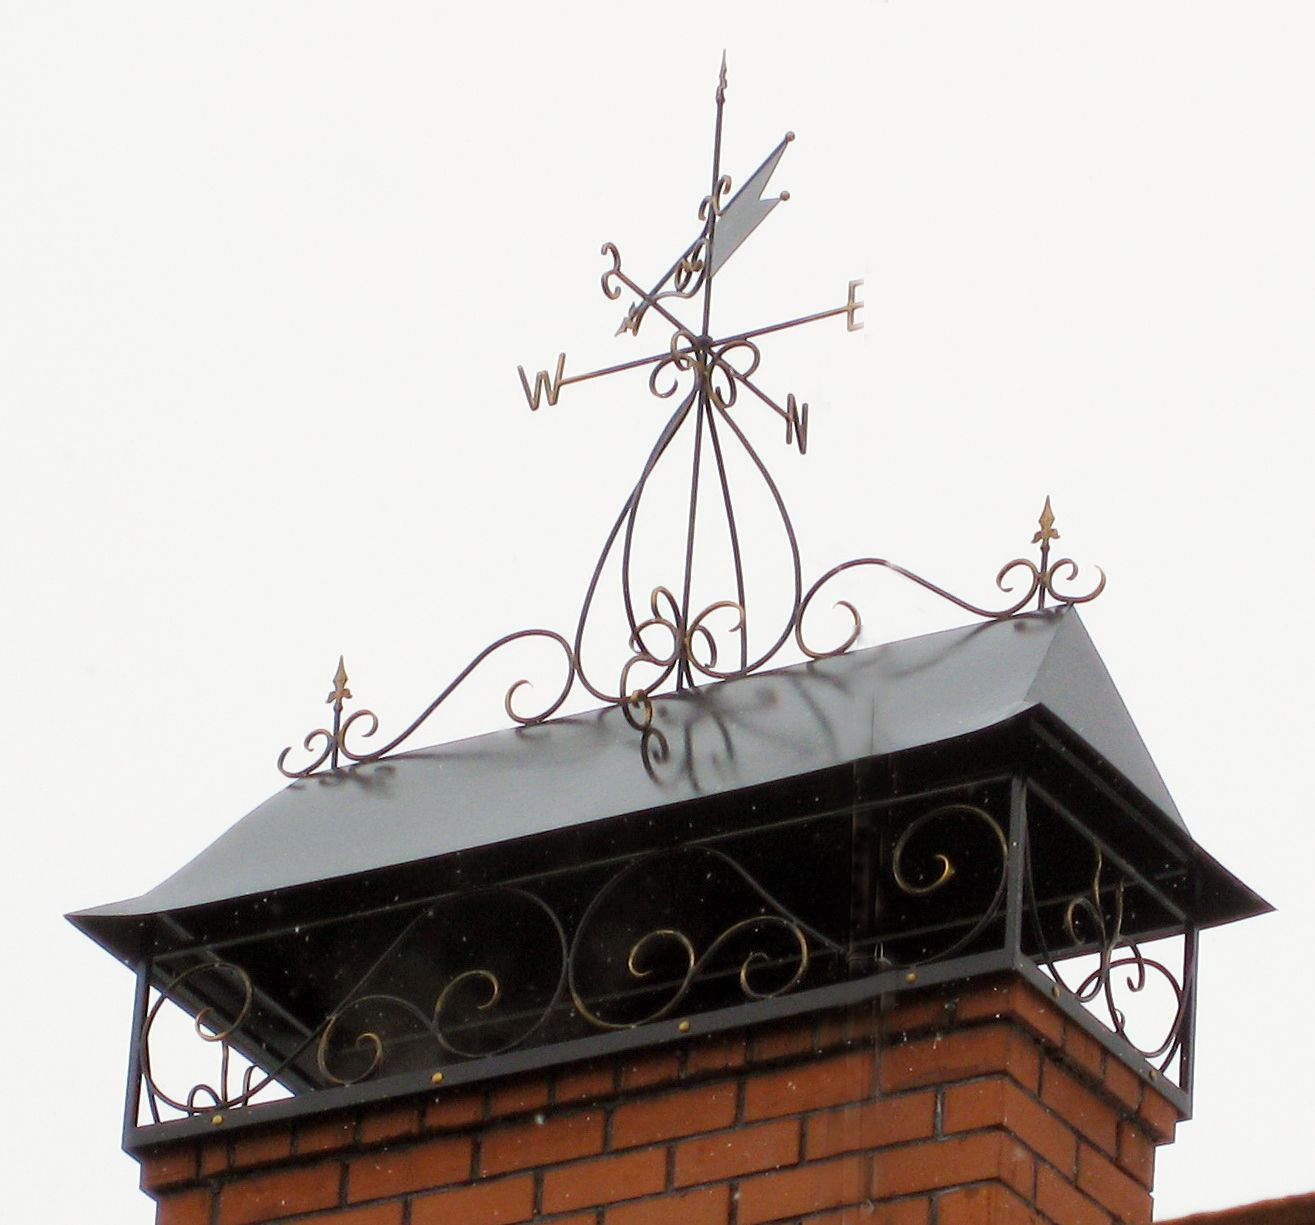
- Protective. When installing this design on the chimney, it serves as protection against strong wind blowing.
- Scaring. If you install a propeller on a vane and place this device not on the roof, but on the ground, then the vibrations will scare away moles, rodents and shrews. If you install an electronic wind turbine, the effect will be stronger.
- Decorative. This device often has a very attractive appearance, therefore it is installed on the roof as an unusual decorative element.
Materials and tools
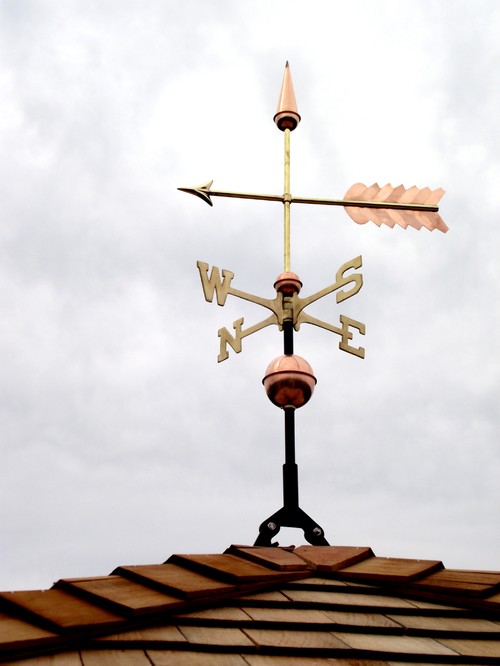
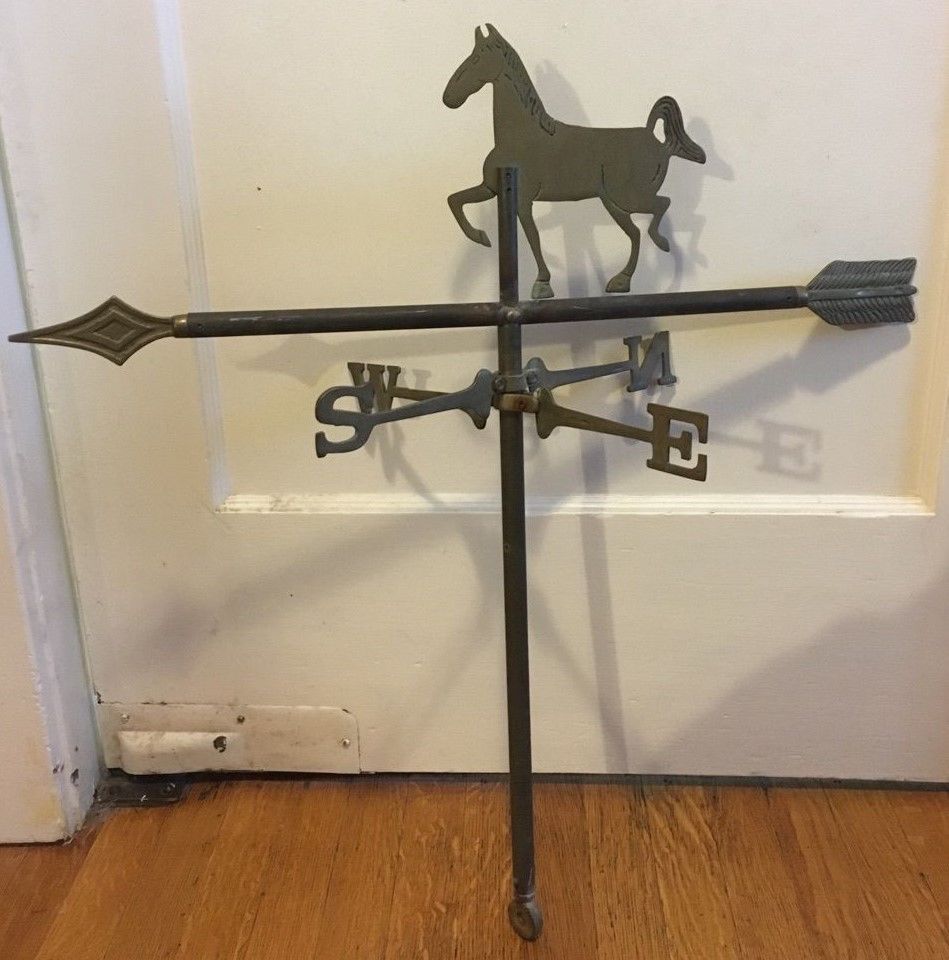
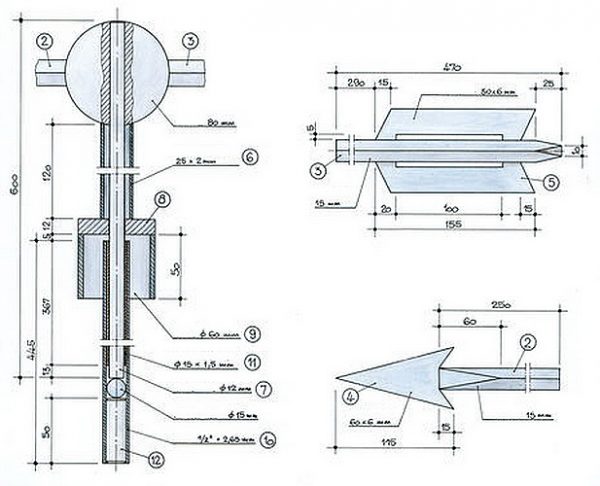
Typically, the design of a simple weather vane includes the following elements:
- Checkbox which turns in the direction of the wind. It may have a simple geometric shape or an unusual decorative design and be the main decoration of the device.
- Arrow. On it most often and placed a figure.

- Counterweight. It is located in the opposite side of the box. It must have a greater mass than the mass of the flag, then it will be able to return to the initial position.
- Vertical axis. It is mounted either on a bearing or on a metal ball, allowing the structure to rotate.
- Cap prevents water from entering the bearing.
The checkbox is best made and metal, for example, it can be copper or steel.So it will be much more durable than the product for the manufacture of which used wood or sheets of plywood.
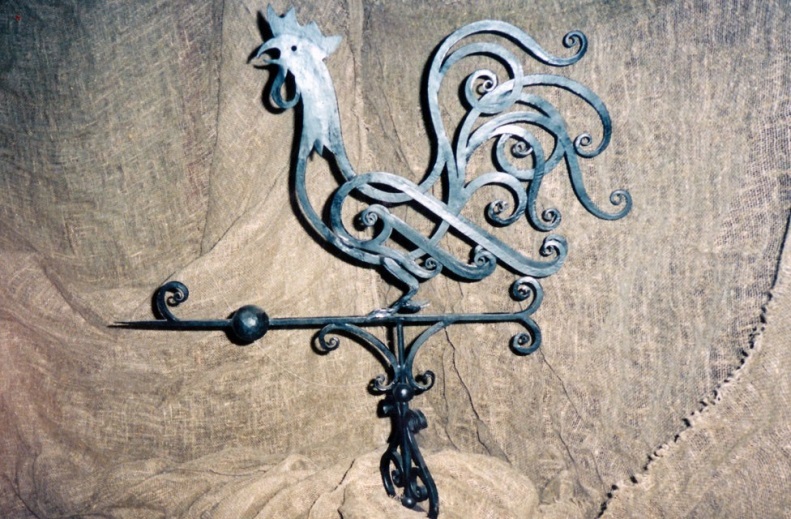
There is always an opportunity to make a forged product, but it will have a sufficiently large weight, and not everyone can do it on their own. And the work of the master will be expensive.
Any material must be treated with a protective coating, such as paint, to withstand the effects of the environment.
The base and the axis must be metal, as this is a very durable material for their construction.
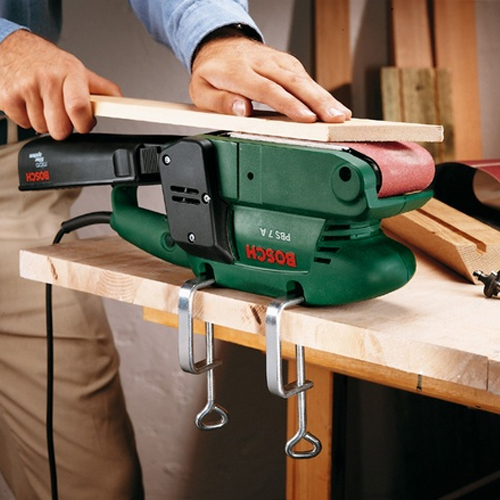
To make a weather vane with your own hands, you need special tools:
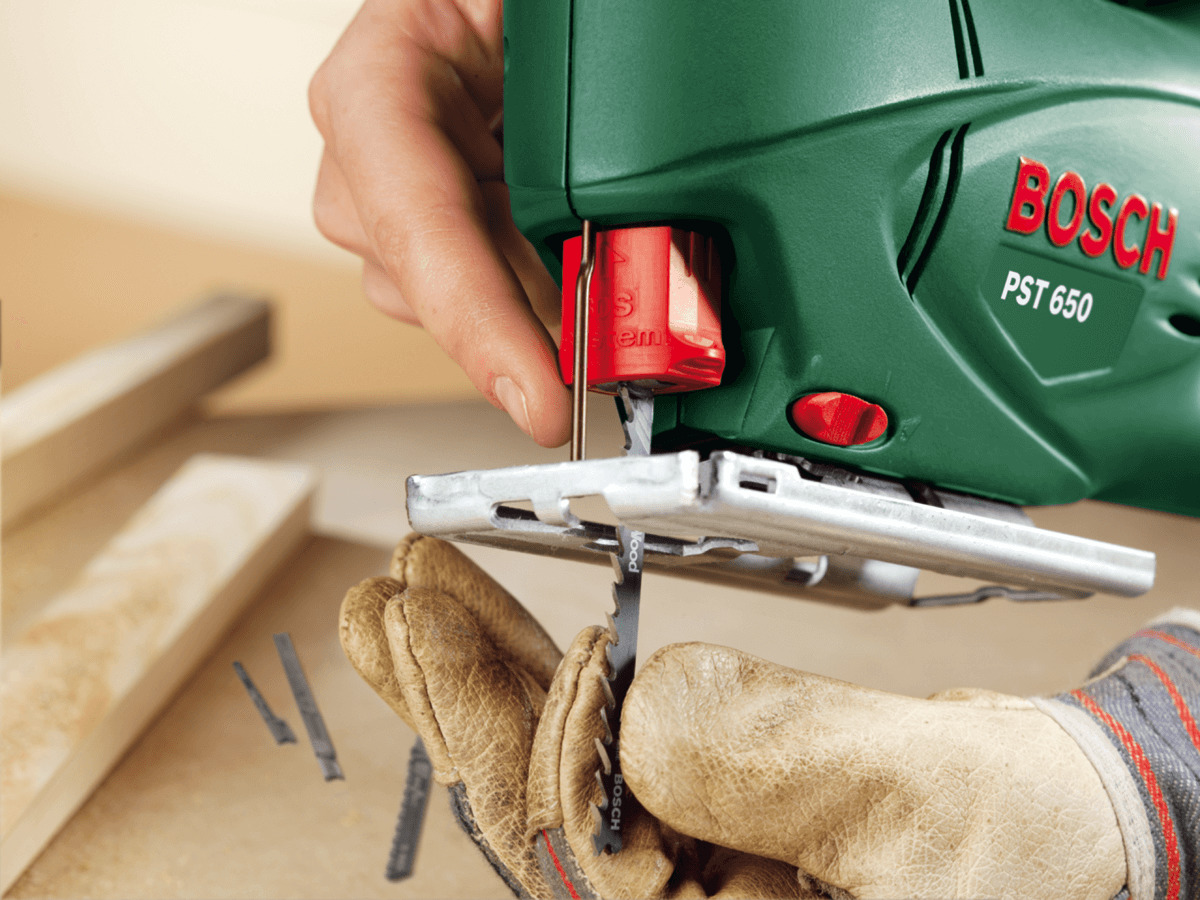
- jigsaw for wood or metal (it is useful in order to cut a flag);
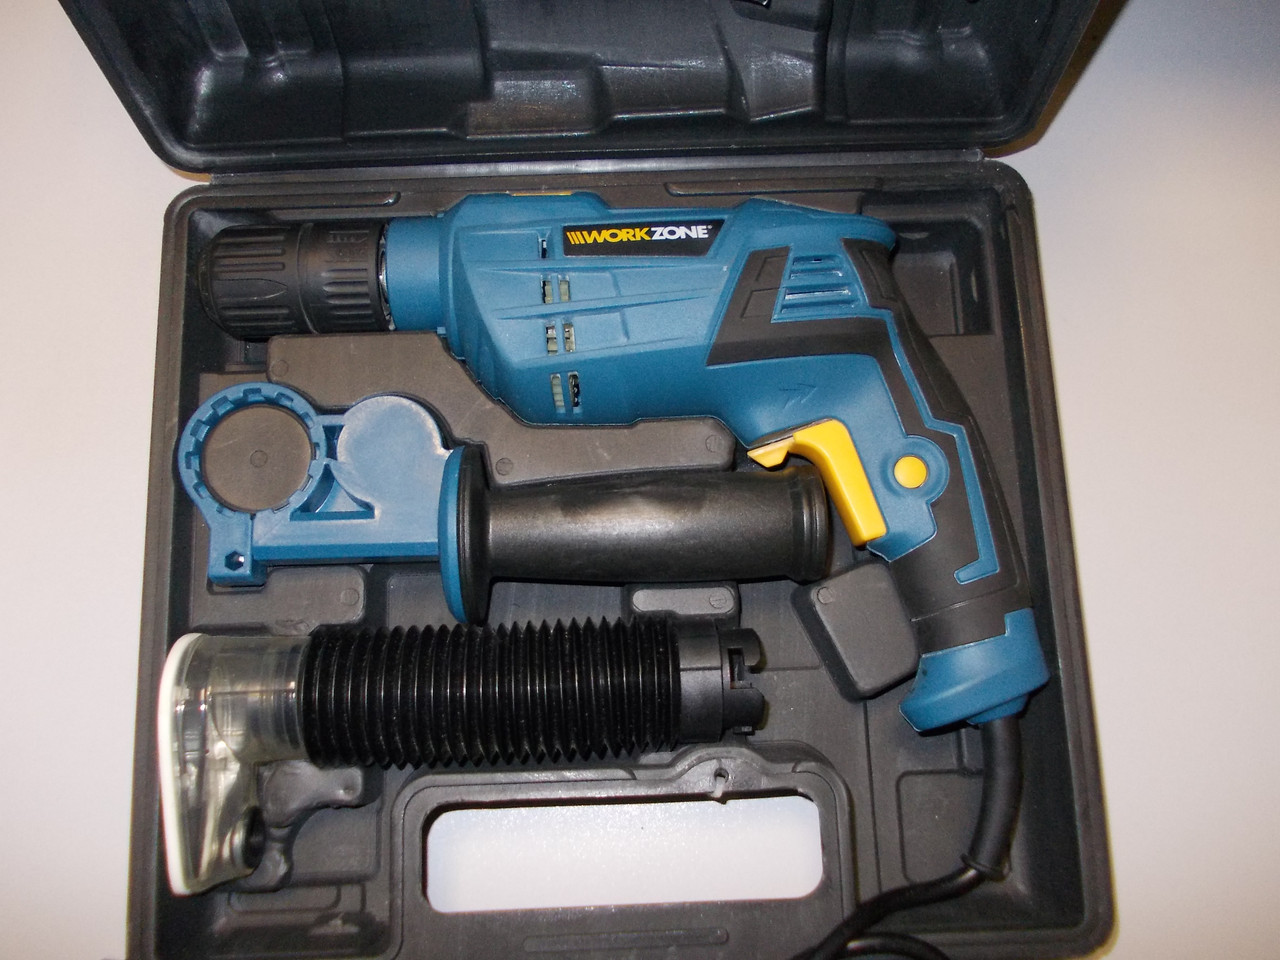
- drill;
- hammer;
- soldering iron;
- vice;
- pliers;
- grinding machine and files;
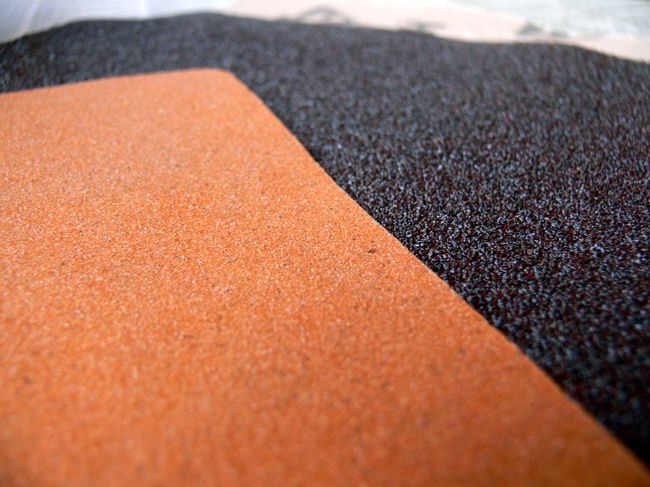
- sandpaper.
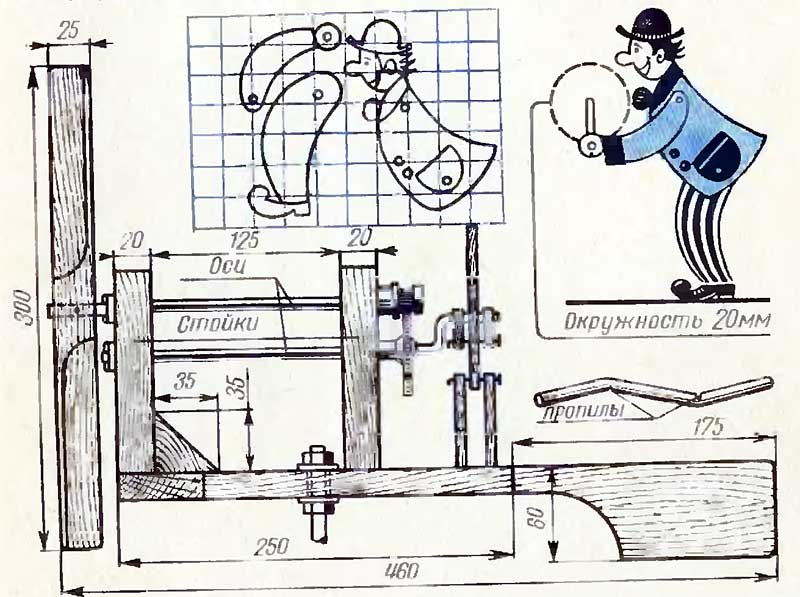
Drawing
First of all, it is necessary to decide which figure will be crowned with a weather vane. Then you need to create her own drawing. If you have never cut such a figure before, then it is better to stop at a simple variant for a better performance.
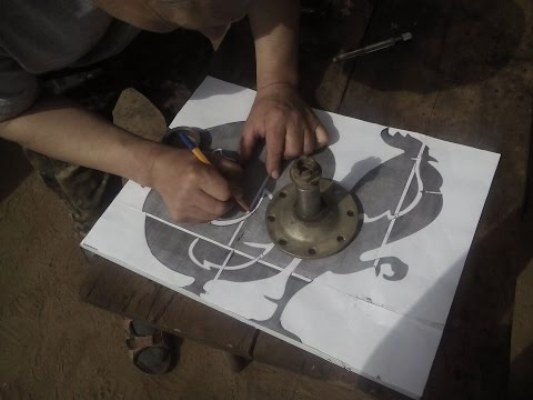
The scheme is very easy to make yourself. It is better to first draw a picture on a regular sheet of paper, and then execute it exactly in the same size as the figure, thereby obtaining a stencil. This stencil will be universal for any material manufacturing. Its size is better to choose in the range from 300 to 500 mm, otherwise the flag may break.
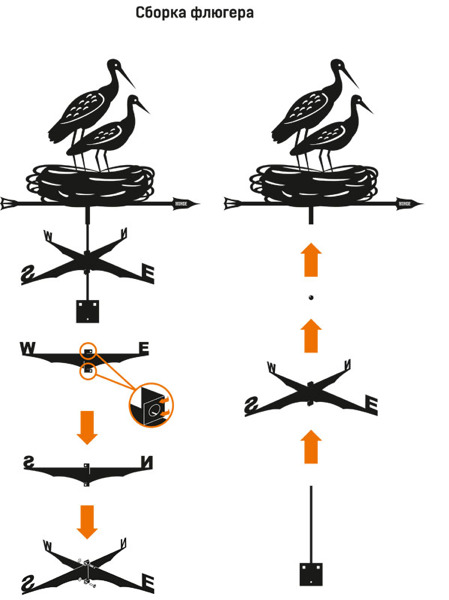
Manufacturing steps
Regardless of the choice of materials and shape of the figurine, the manufacturing steps will be the same.
The main parts of the design are the axis and its body. The rotation of the weather vane will depend on them. It is better to mount the axle on the bearing, and the diameter of its base should clearly fit the diameter of the bearing. The bearing must be closed with a housing in order to prevent moisture from entering it.
During the manufacture of the device, it is very important to observe all the technology, since its operation will directly depend on it.
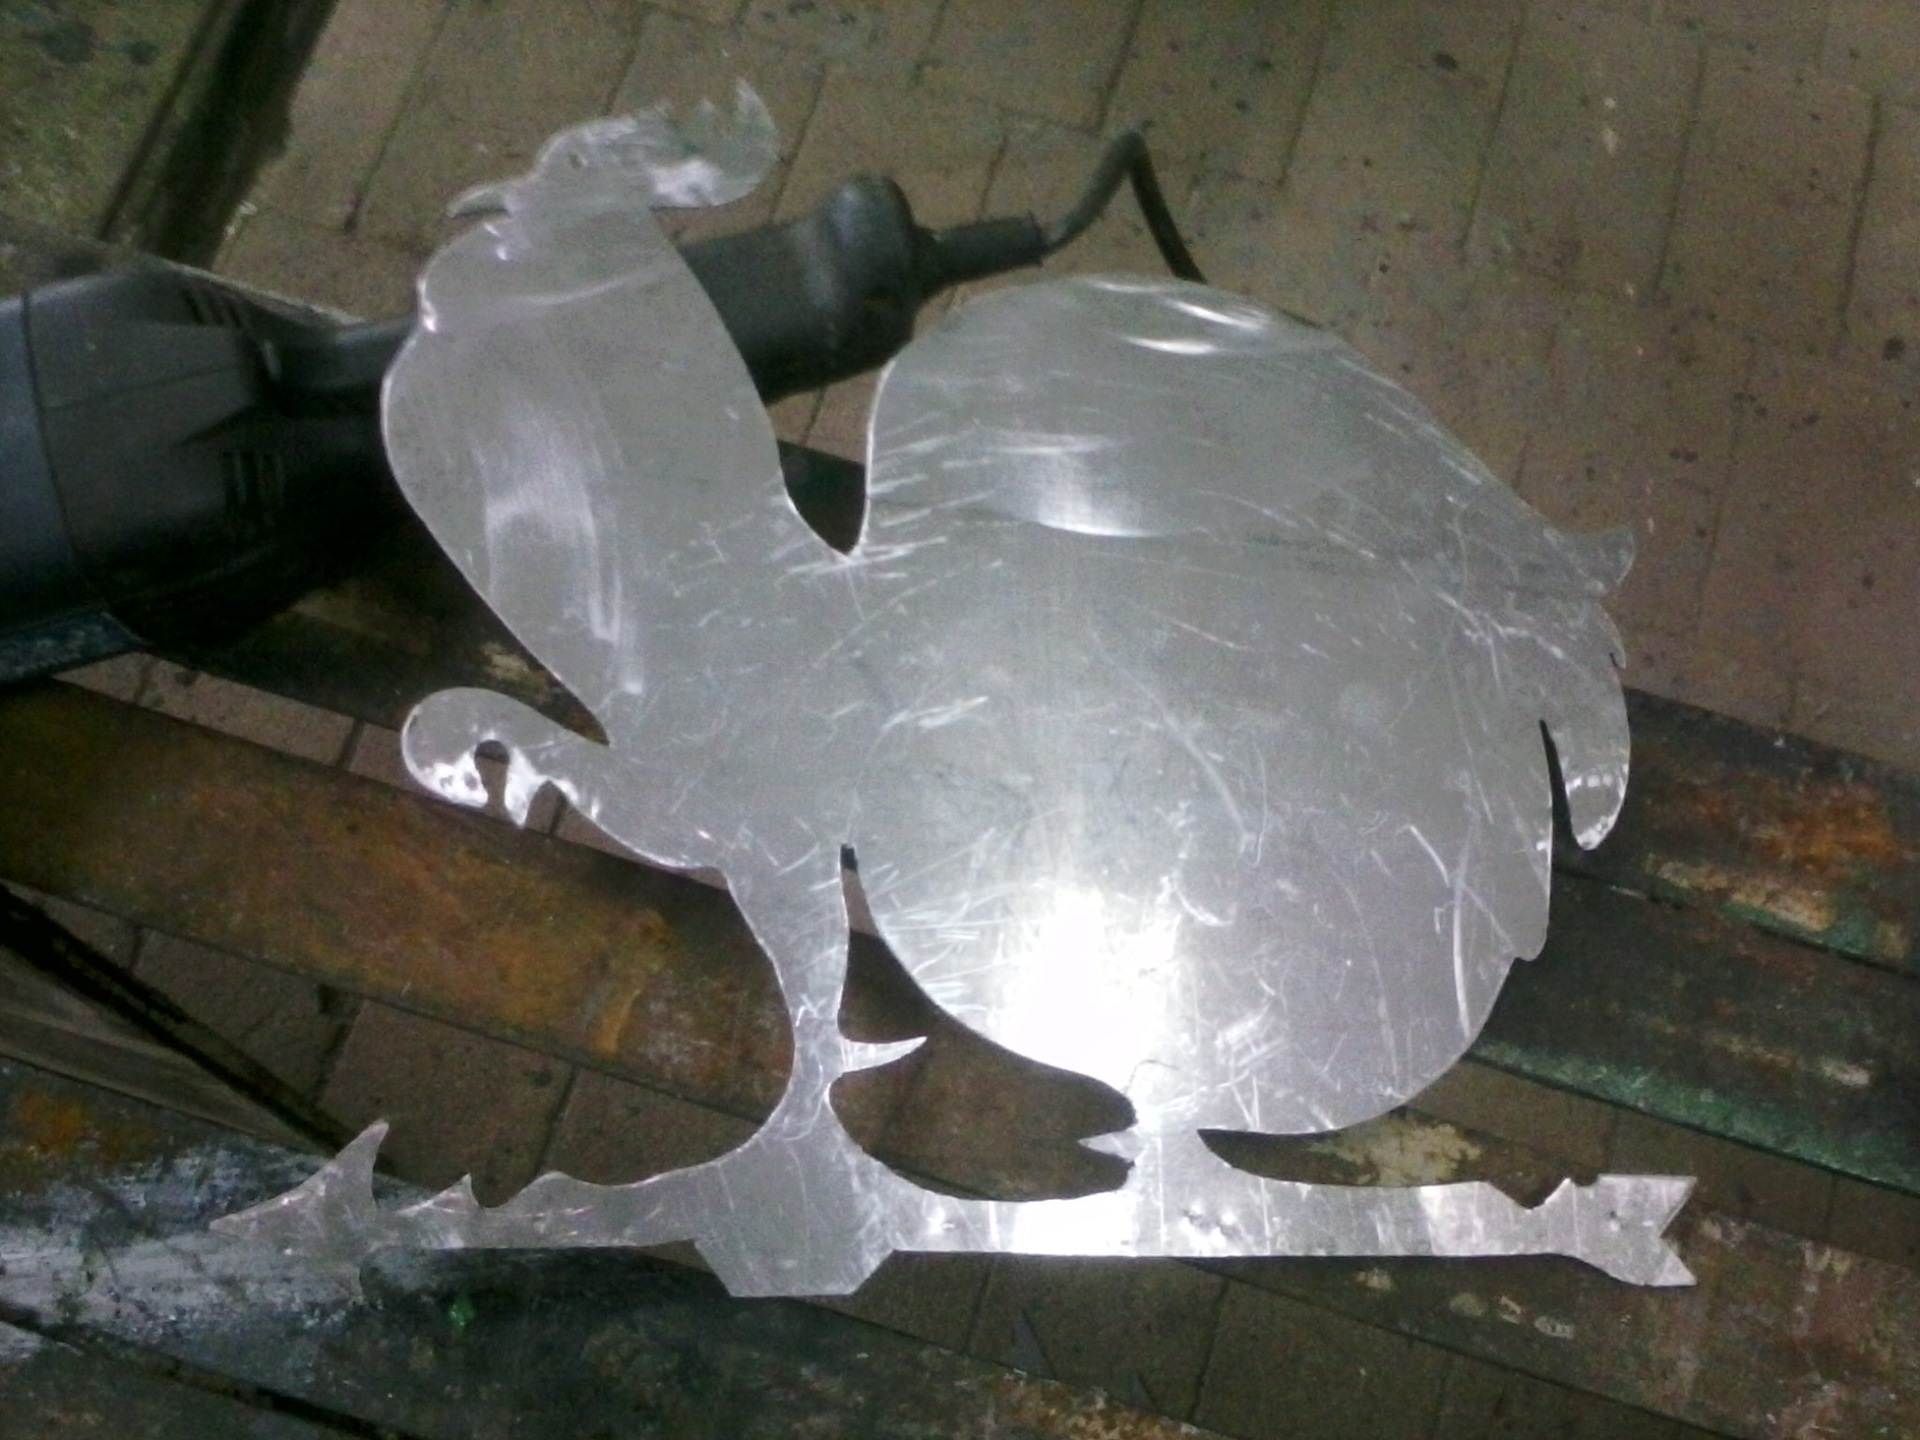
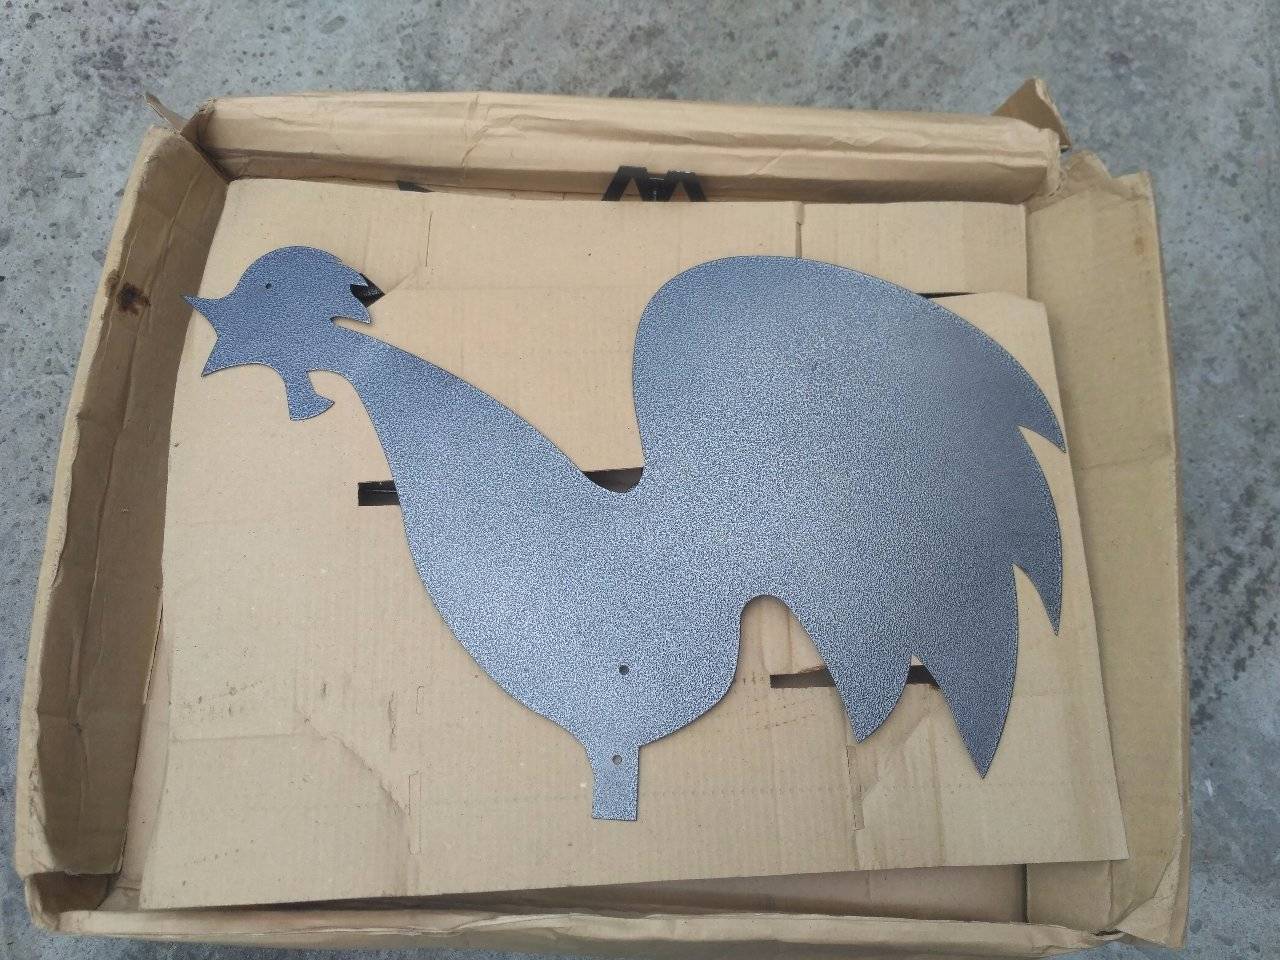
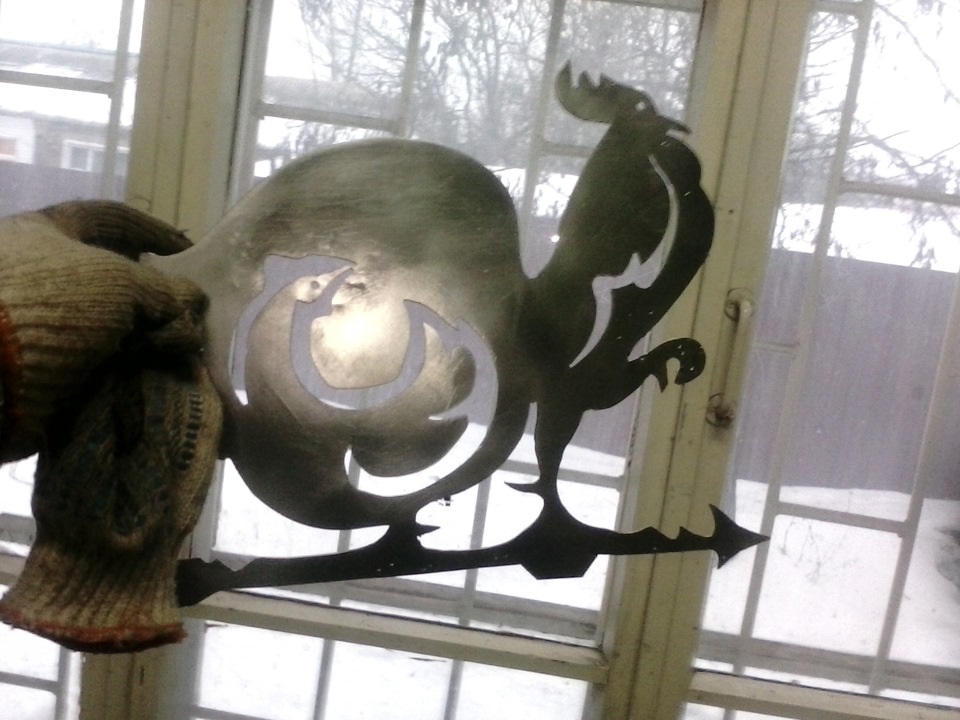
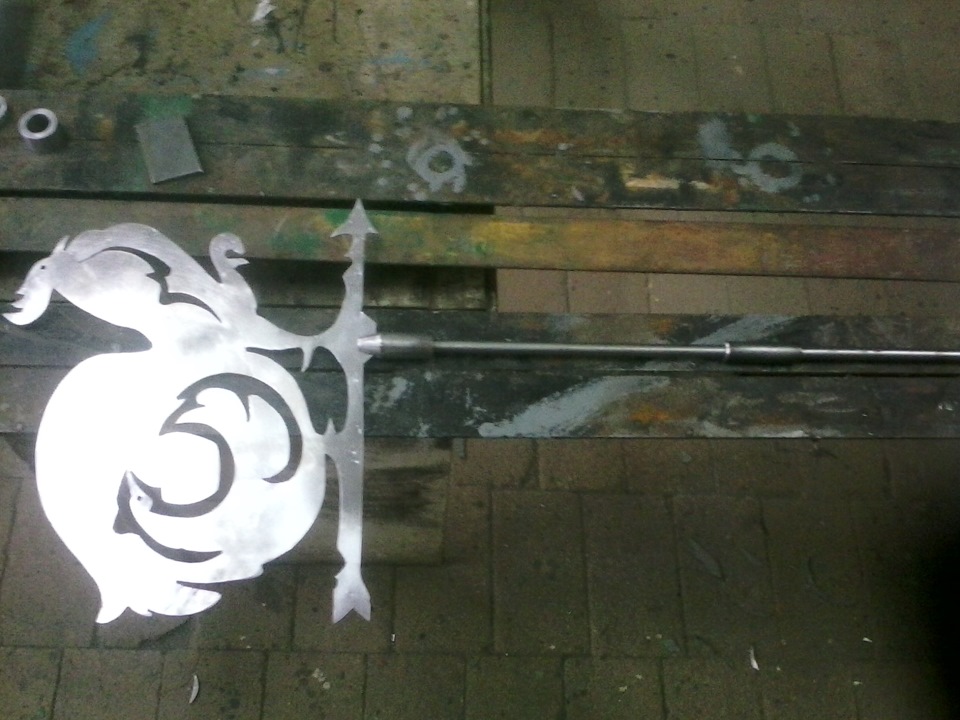
Figures, cut by stencil using a plasma cutter or sawn with a jigsaw, are very beautiful. From the old weather vane, you can make an updated version of the fan type. It will look more modern.
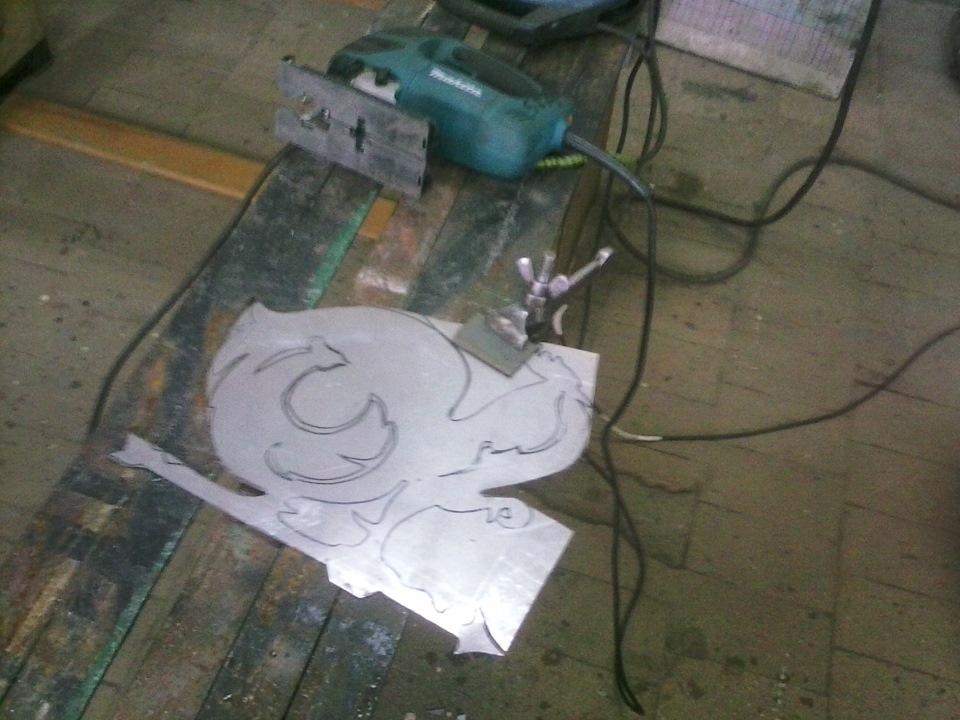
The first step is to make a flag. Pre-prepared stencil is laid on a sheet of metal, secured with clamps and cut with an electric jigsaw. Cutting the picture with an ordinary manual jigsaw is a very complicated process. Therefore, if there is a jigsaw, then it is better to use them. If you prefer metal, for example, plywood or a plastic panel, you can use a plasma cutter.
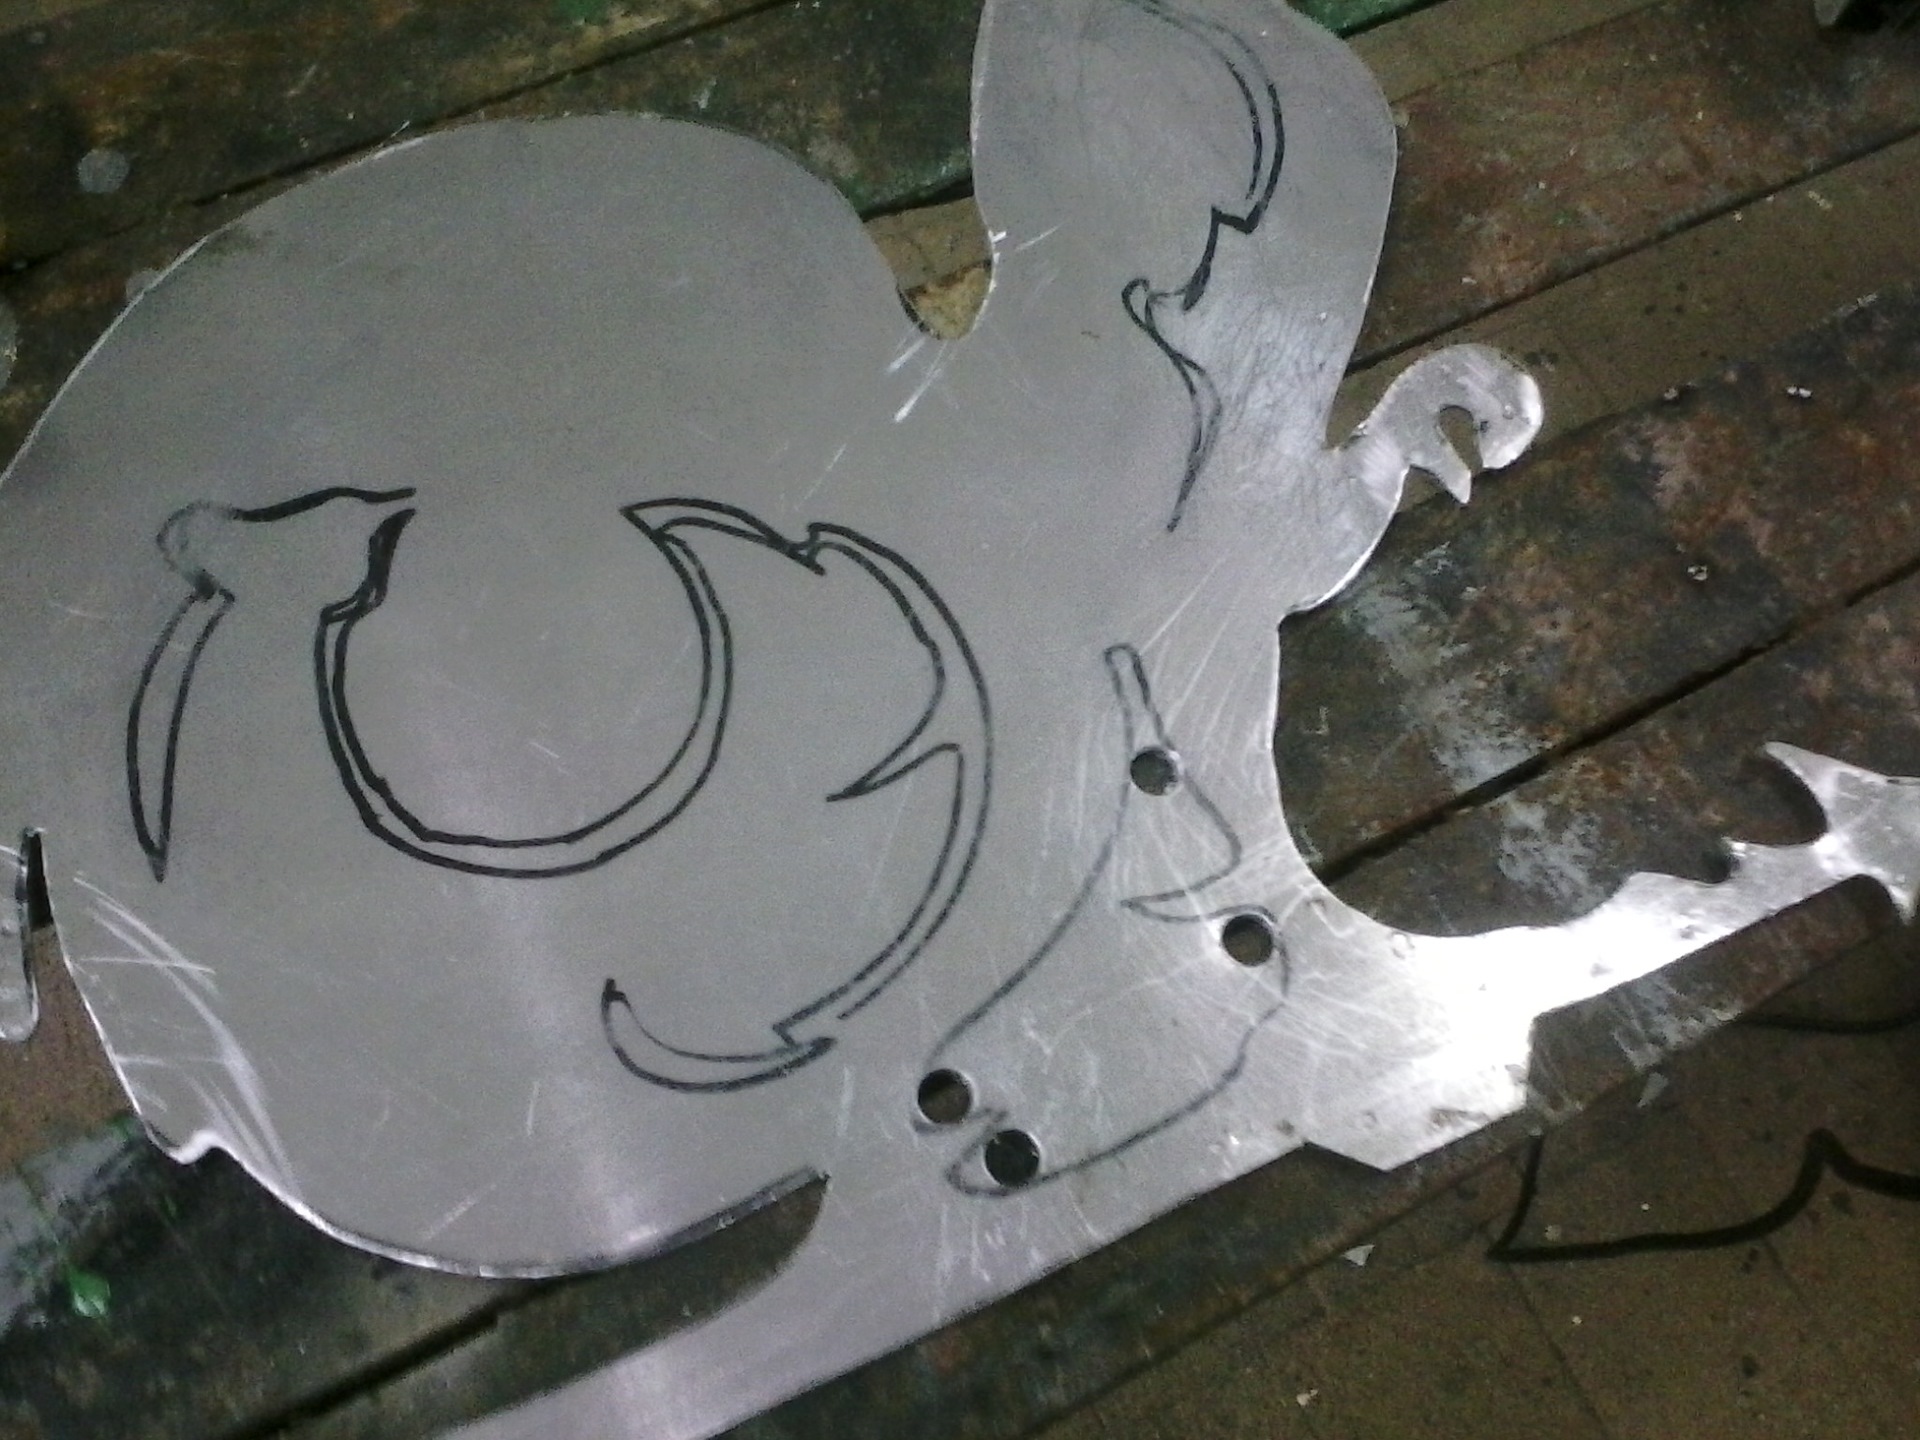
As soon as one part of the figure is cut out, it is necessary to loosen the mount and turn the sheet so that it has free access to another part. The lines must be cut carefully so that no irregularities occur. All work is best done on a metal table.
After the figure is cut, it must be polished well with a grinding machine. Small holes are cut with a drill and cleaned with a file.
After making the box, you need to make an arrow. It is also better to make metal. A stencil is laid on it and the necessary shape of the product is cut out. The arrow will include two parts, which are made separately.Both parts must be well sanded.
Both parts of the pipe are welded to the swivel mechanism. As it can be used a metal ball or bearing.
Once the arrow is fixed, you can attach a figure, prepared earlier. It is also better to do this by welding for greater structural reliability. The flag must be fixed on one part of the boom, since on the other, at its sharp end there will be a counterweight.

Support
For the manufacture of the support will need a thick metal rod. It is mounted on the end of the pipe, in which you also need to place a metal ball.
Cap
The cover can be made of any materials, the main thing is that it fully fits the size and protects the bearing from moisture.
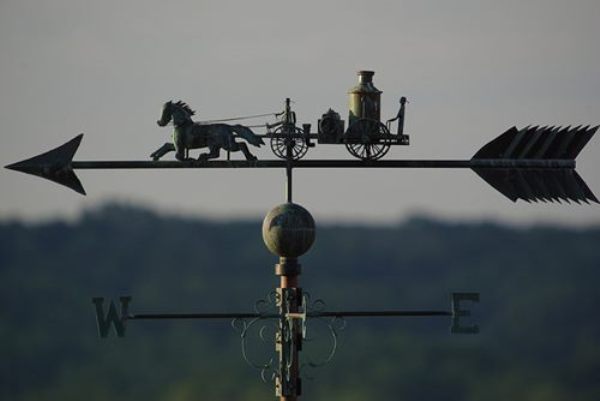
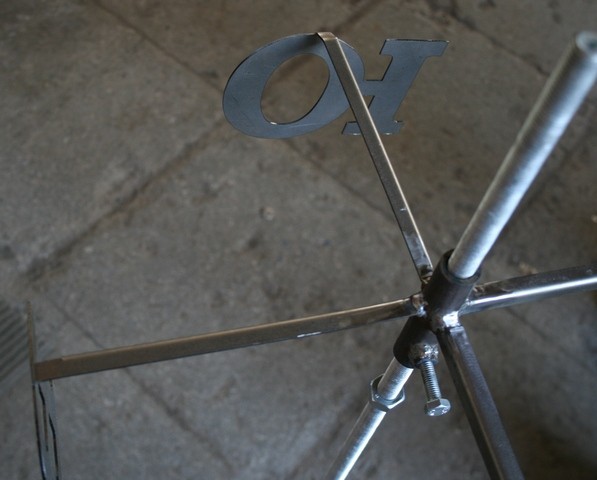
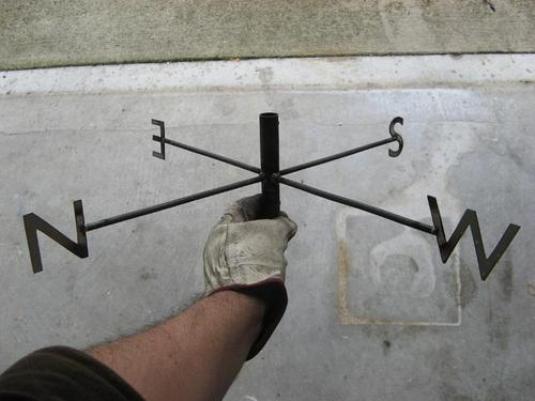
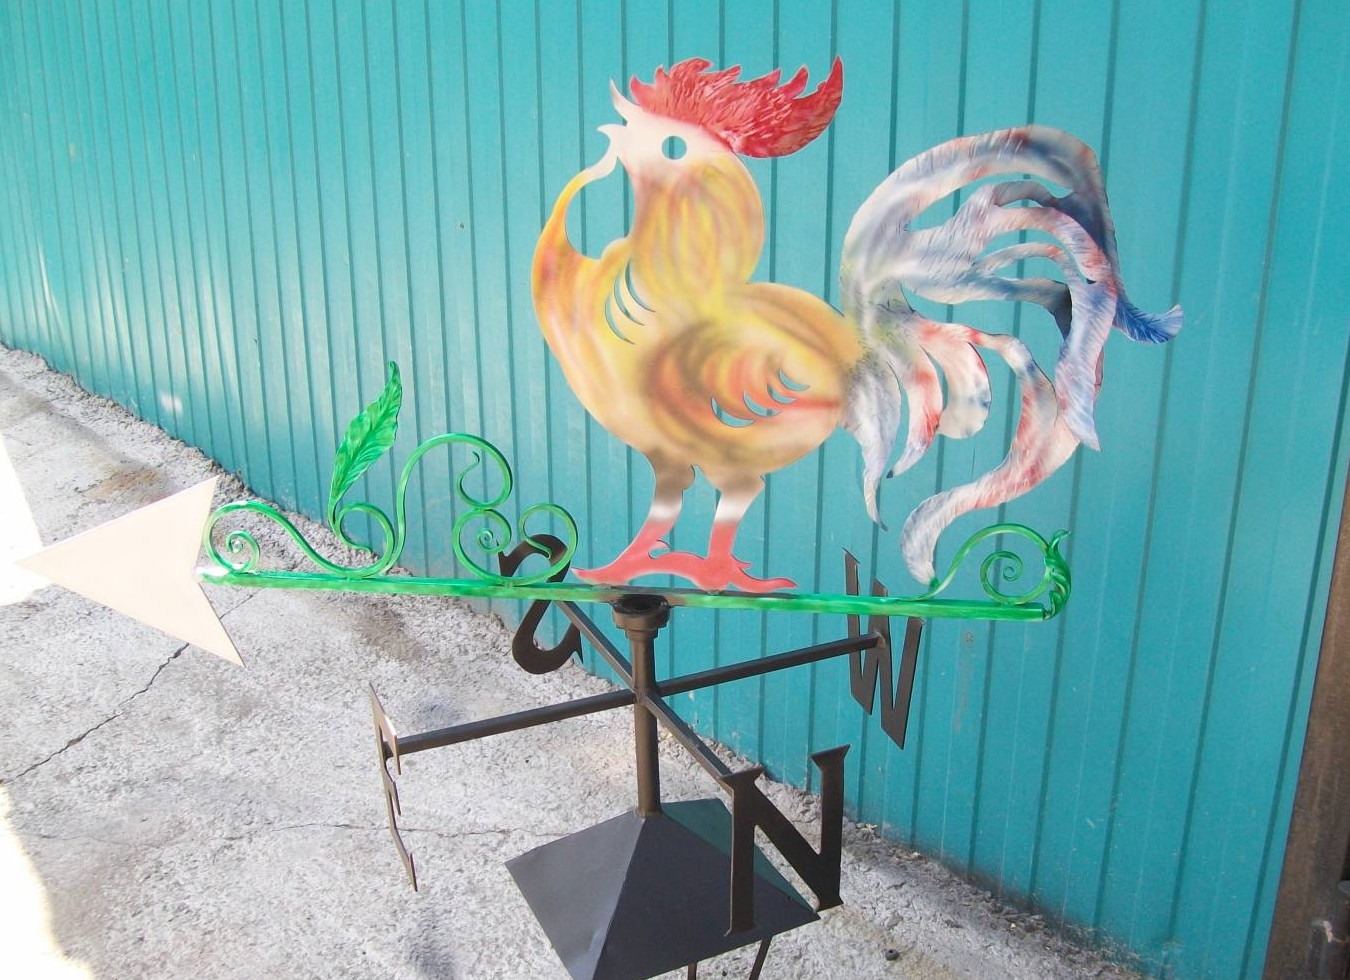
Rose of Wind
The wind rose must be made of metal rods up to 20 cm long, which must be welded to each other at an angle of 90 degrees. At the ends of these rods will be located letters denoting parts of the world. Latin letters are often used, but you can also choose letters of the Russian alphabet corresponding to each side. The height of each letter must be at least 70 mm. Wind rose is welded to the cover of the case.
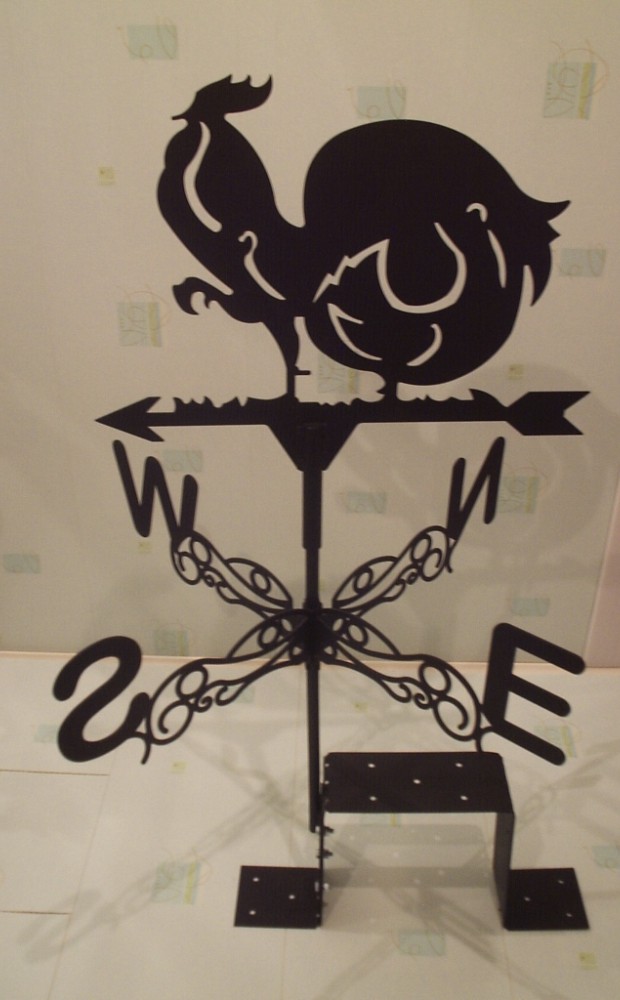
Vane
The whole structure is assembled, starting from the base and ending with the picture-flag. With the case you need to adjust the wind rose, in order for it to show reliable data. After all this, you can go to the fasteners.
Fastener
Fasteners are made only after complete assembly of the product. It is necessary to determine in advance the location of the fastener, it can be both a chimney and a roof ridge. Depending on the location, the fastening system will be supported.
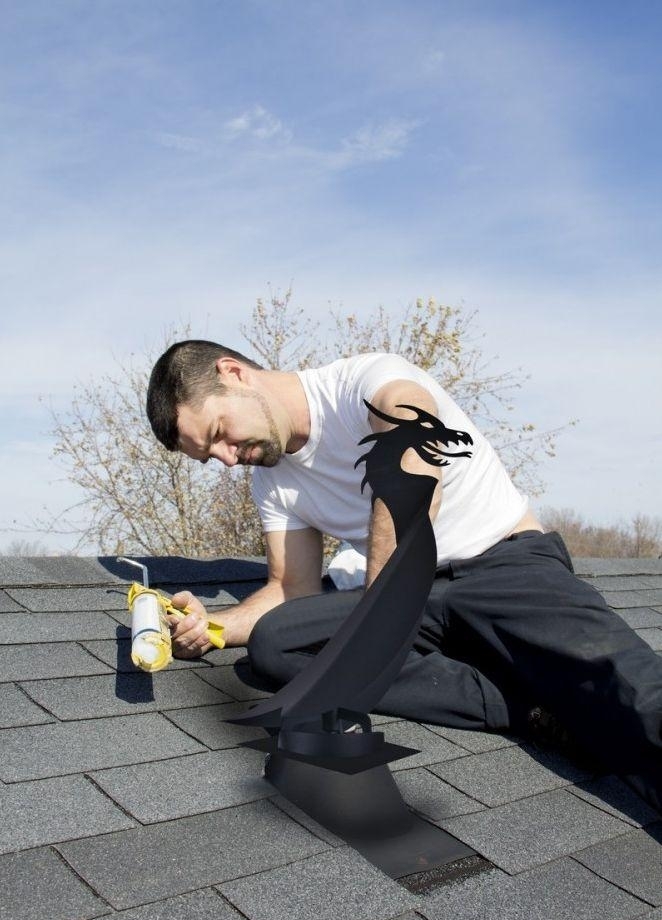
Roof mounting
It is very important to correctly install the weather vane. It must be mounted in the highest place of the house strictly vertically. If from the first time it is not possible to set the vertical axis evenly, it must be adjusted later.
Before installation, it is better to process the finished vane with paint or enamel, which will withstand environmental influences.. During the installation of the wind vane, it is not necessary to overly tighten its elements.
Excessive rigidity will not be able to withstand the wind well.
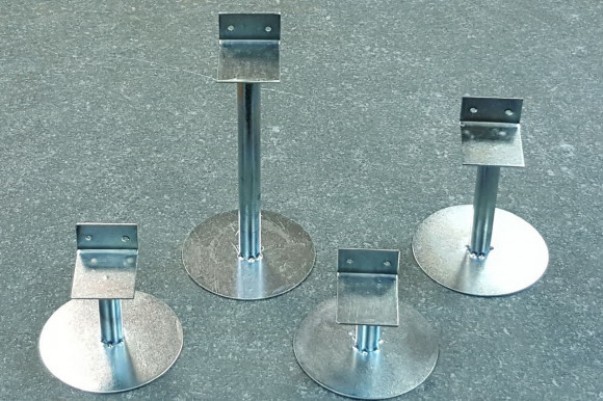
Fastening can be made several options:
- using a round base in the form of a flange;
- using plates or clamps;
- with metal slats for fastening to the chimney.
In order that the weather vane caught even the slightest breeze of the wind, it is better to install it at a height of 10-12 meters. The process of installing the construction on the visor at home is not at all complicated, but it has a number of features.
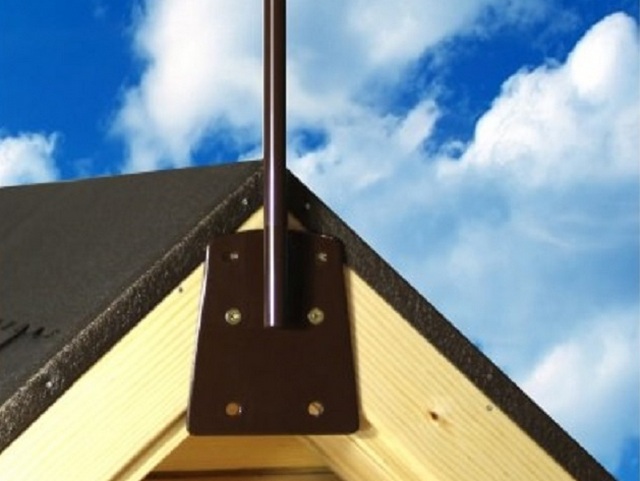
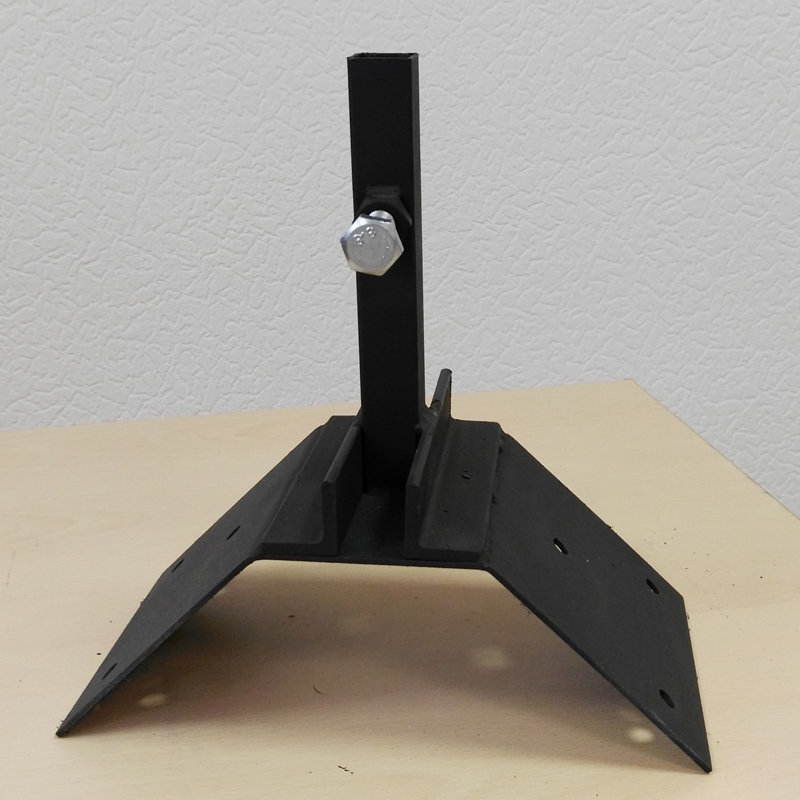
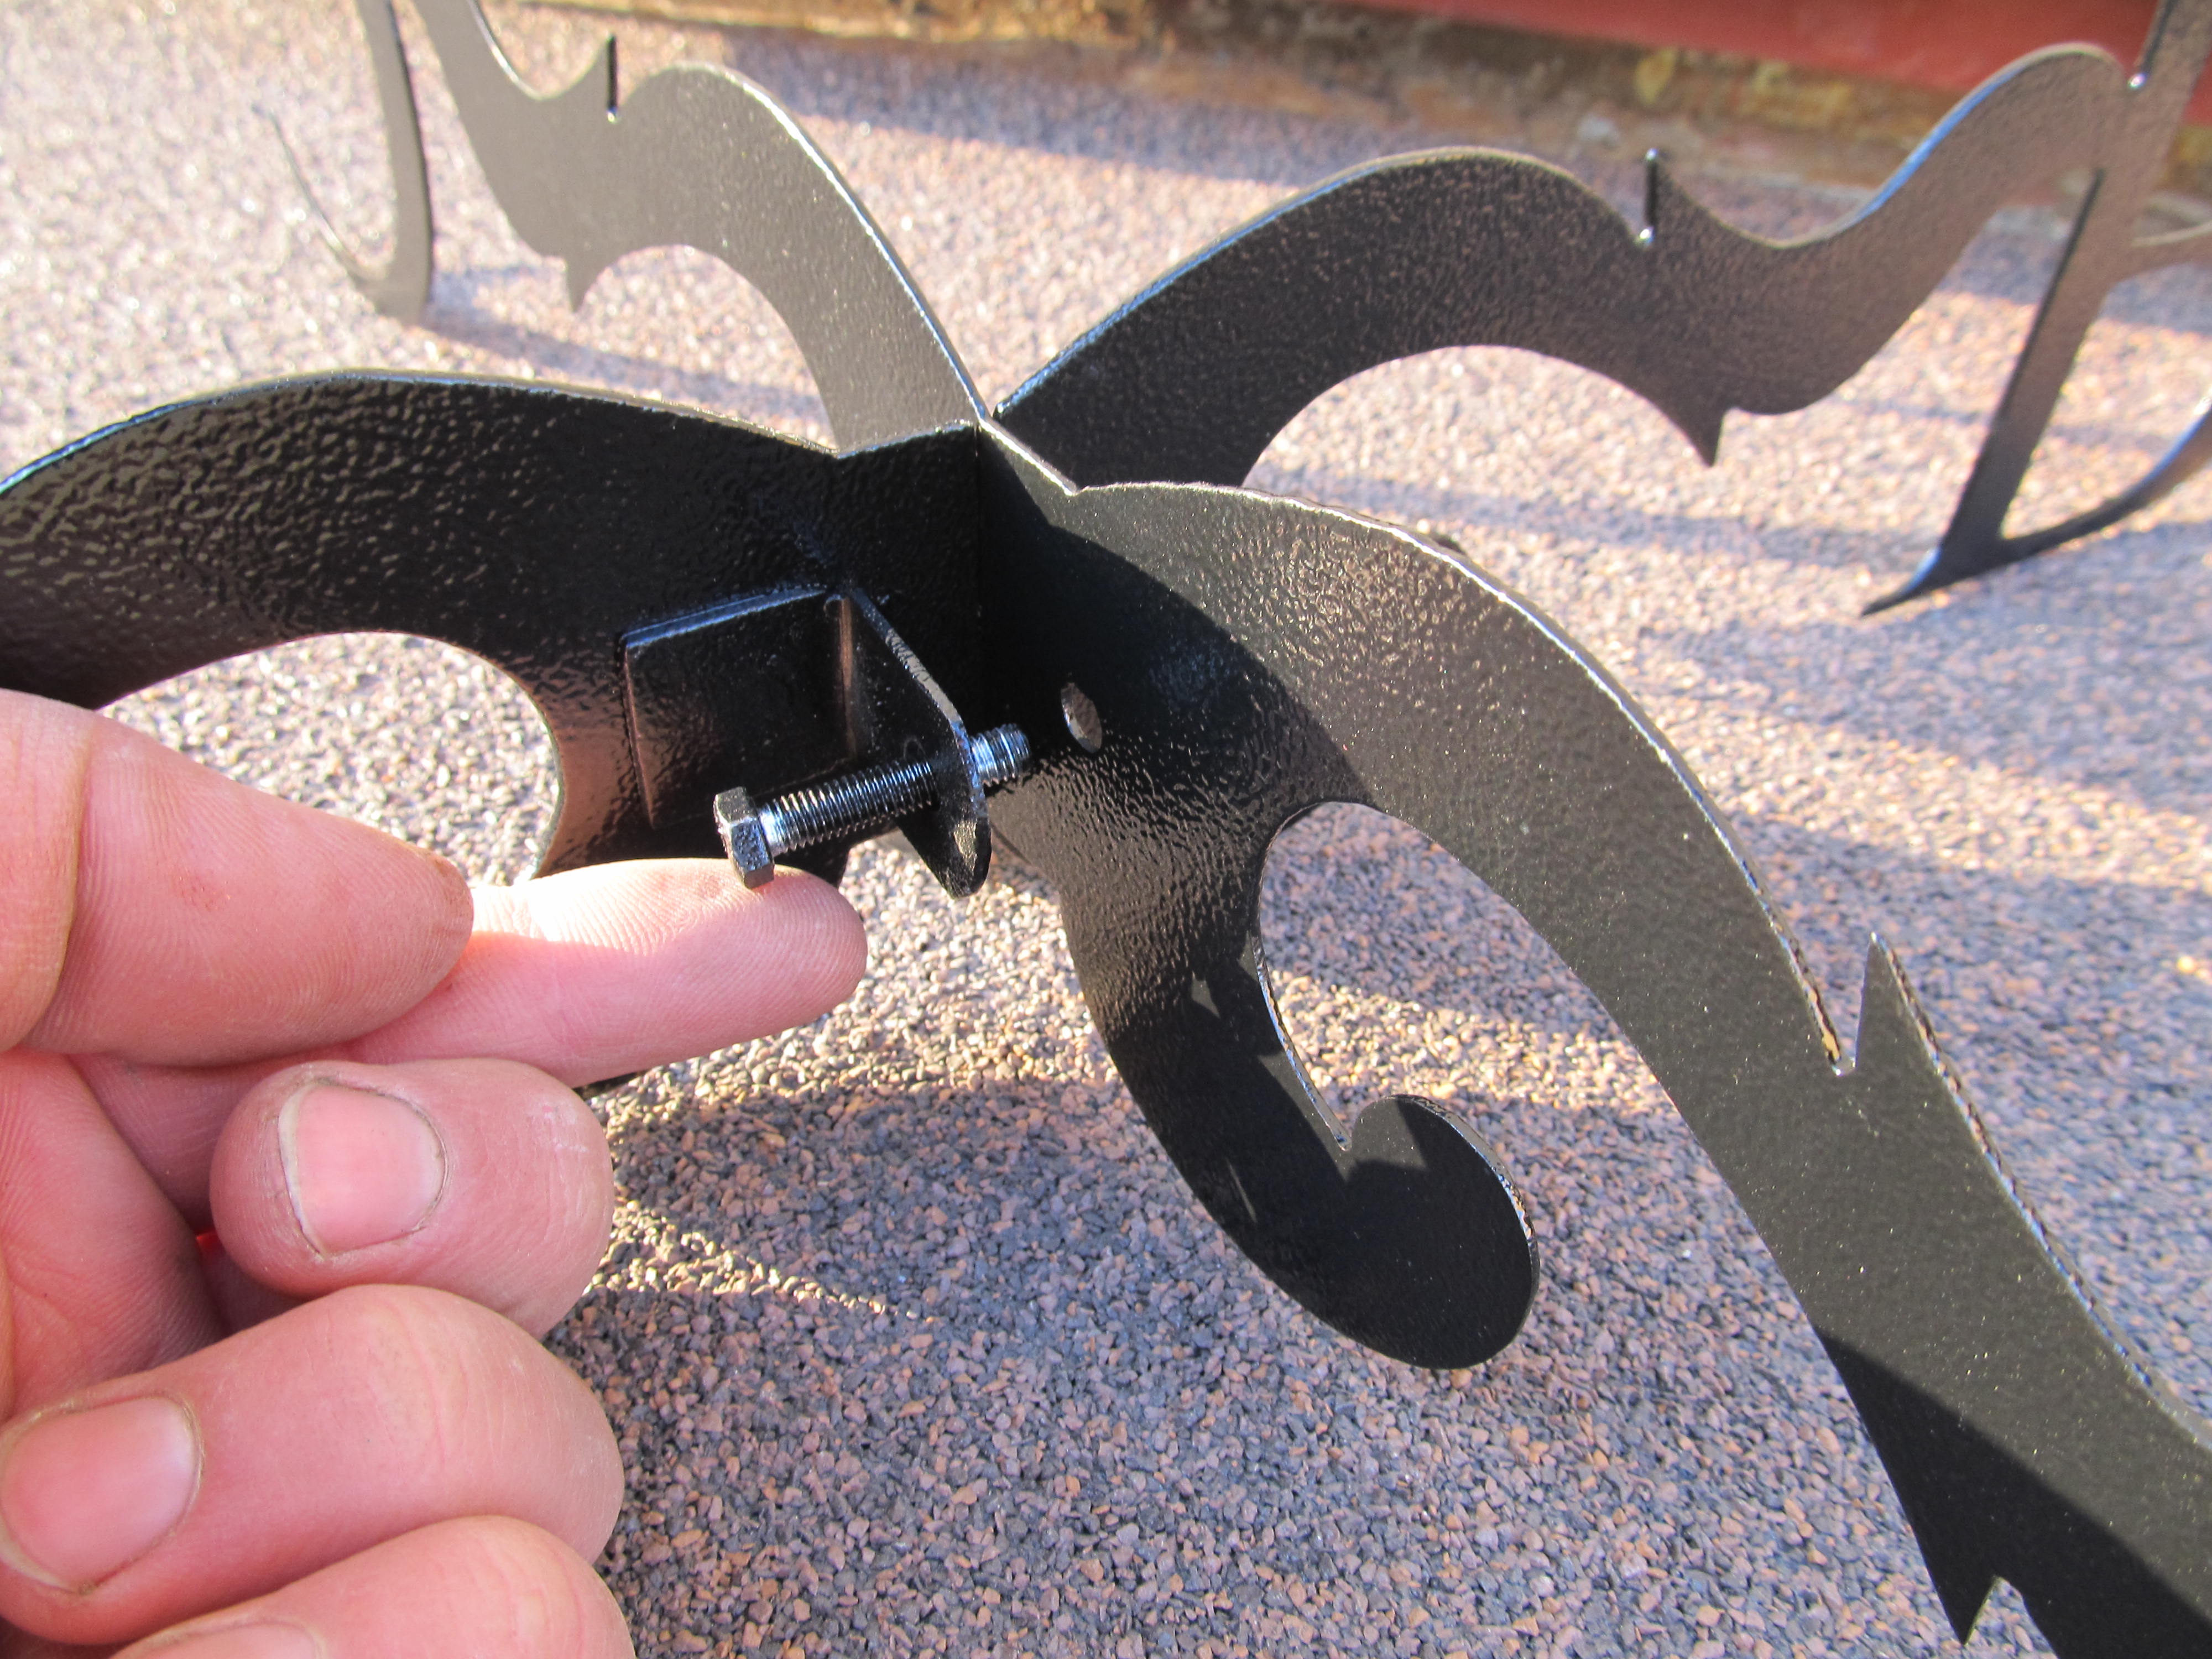
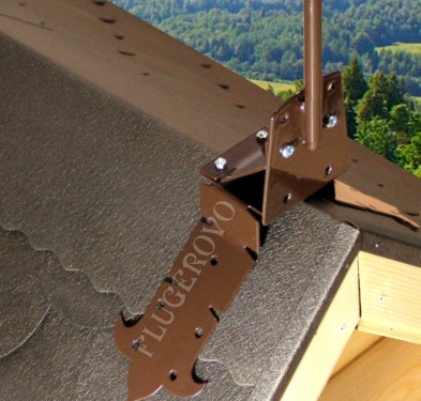
When mounting the weather vane on the ridge, you will need two metal plates. They are screwed on both sides of the ridge, a piece of metal pipe of the desired diameter is attached to them, thread is cut and a nut is put on. Then you can install the entire structure, fixing it in the hole with a nut. All parts that are in contact with each other, it is better to lubricate the grease.
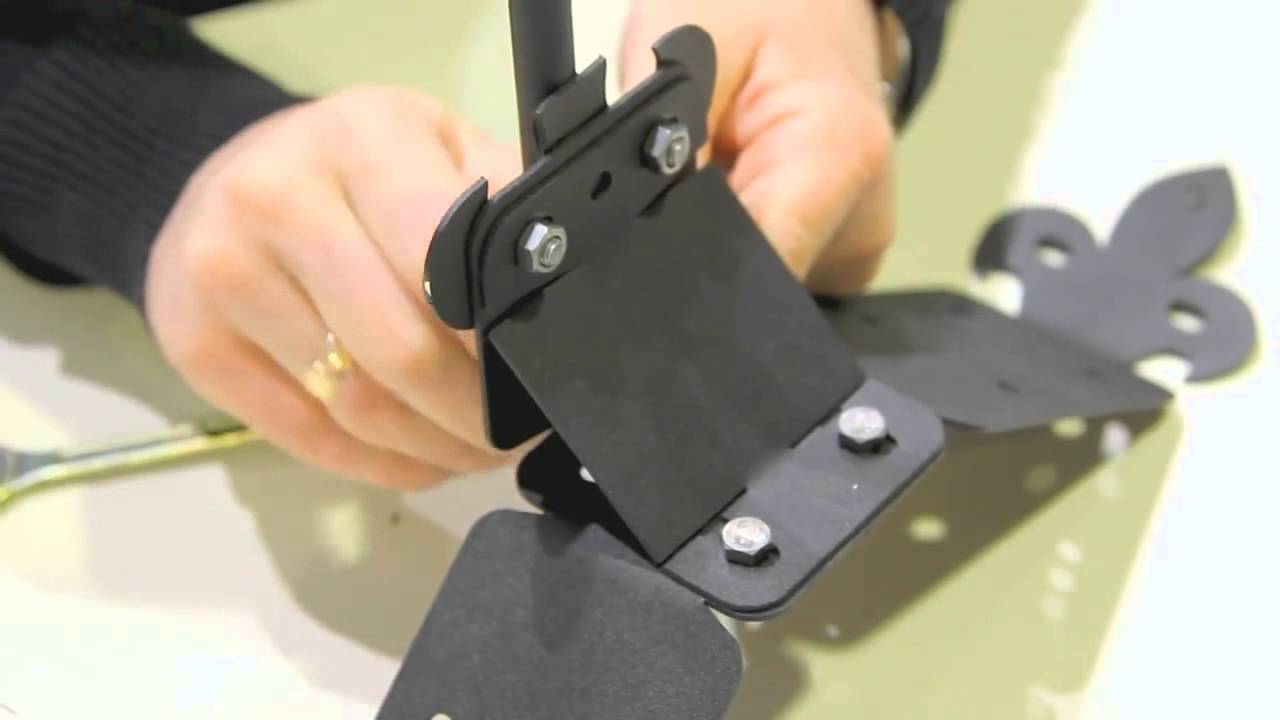
If you decide to place the vane on the chimney, then you need to consider that the thickness of the metal cap must be at least 2 mm, so that the design does not collapse. The bracket is attached to the cap with rivets. Then the main axis of the vane is screwed into the bracket and secured with a bolt and nut.
Interesting solutions
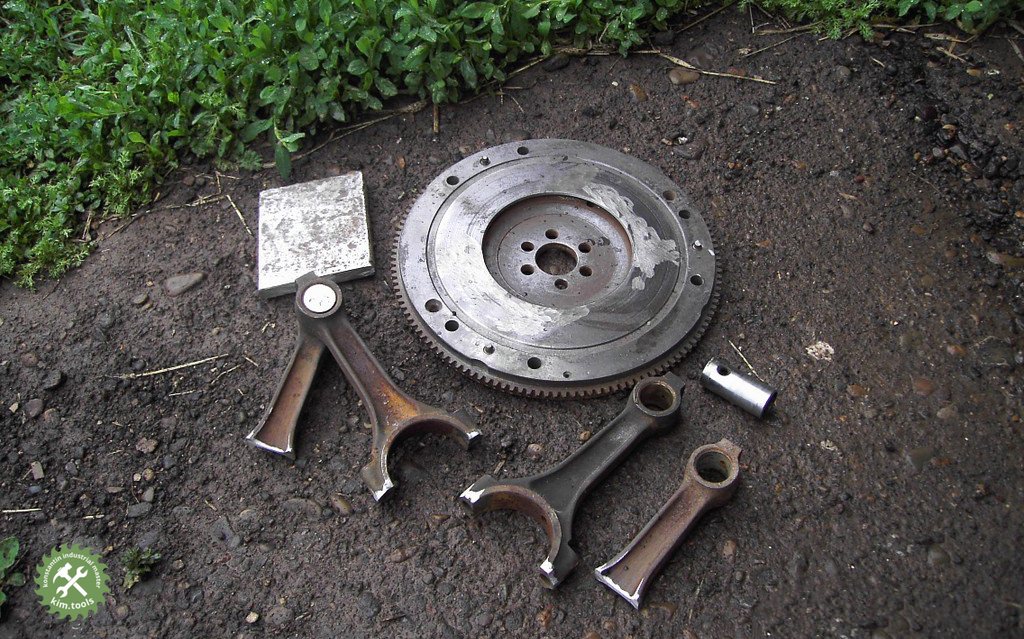
Not everyone has the opportunity to independently make a real weather vane or order it from professionals.In this case, you can make a vane with your own hands from scrap materials at no additional cost.
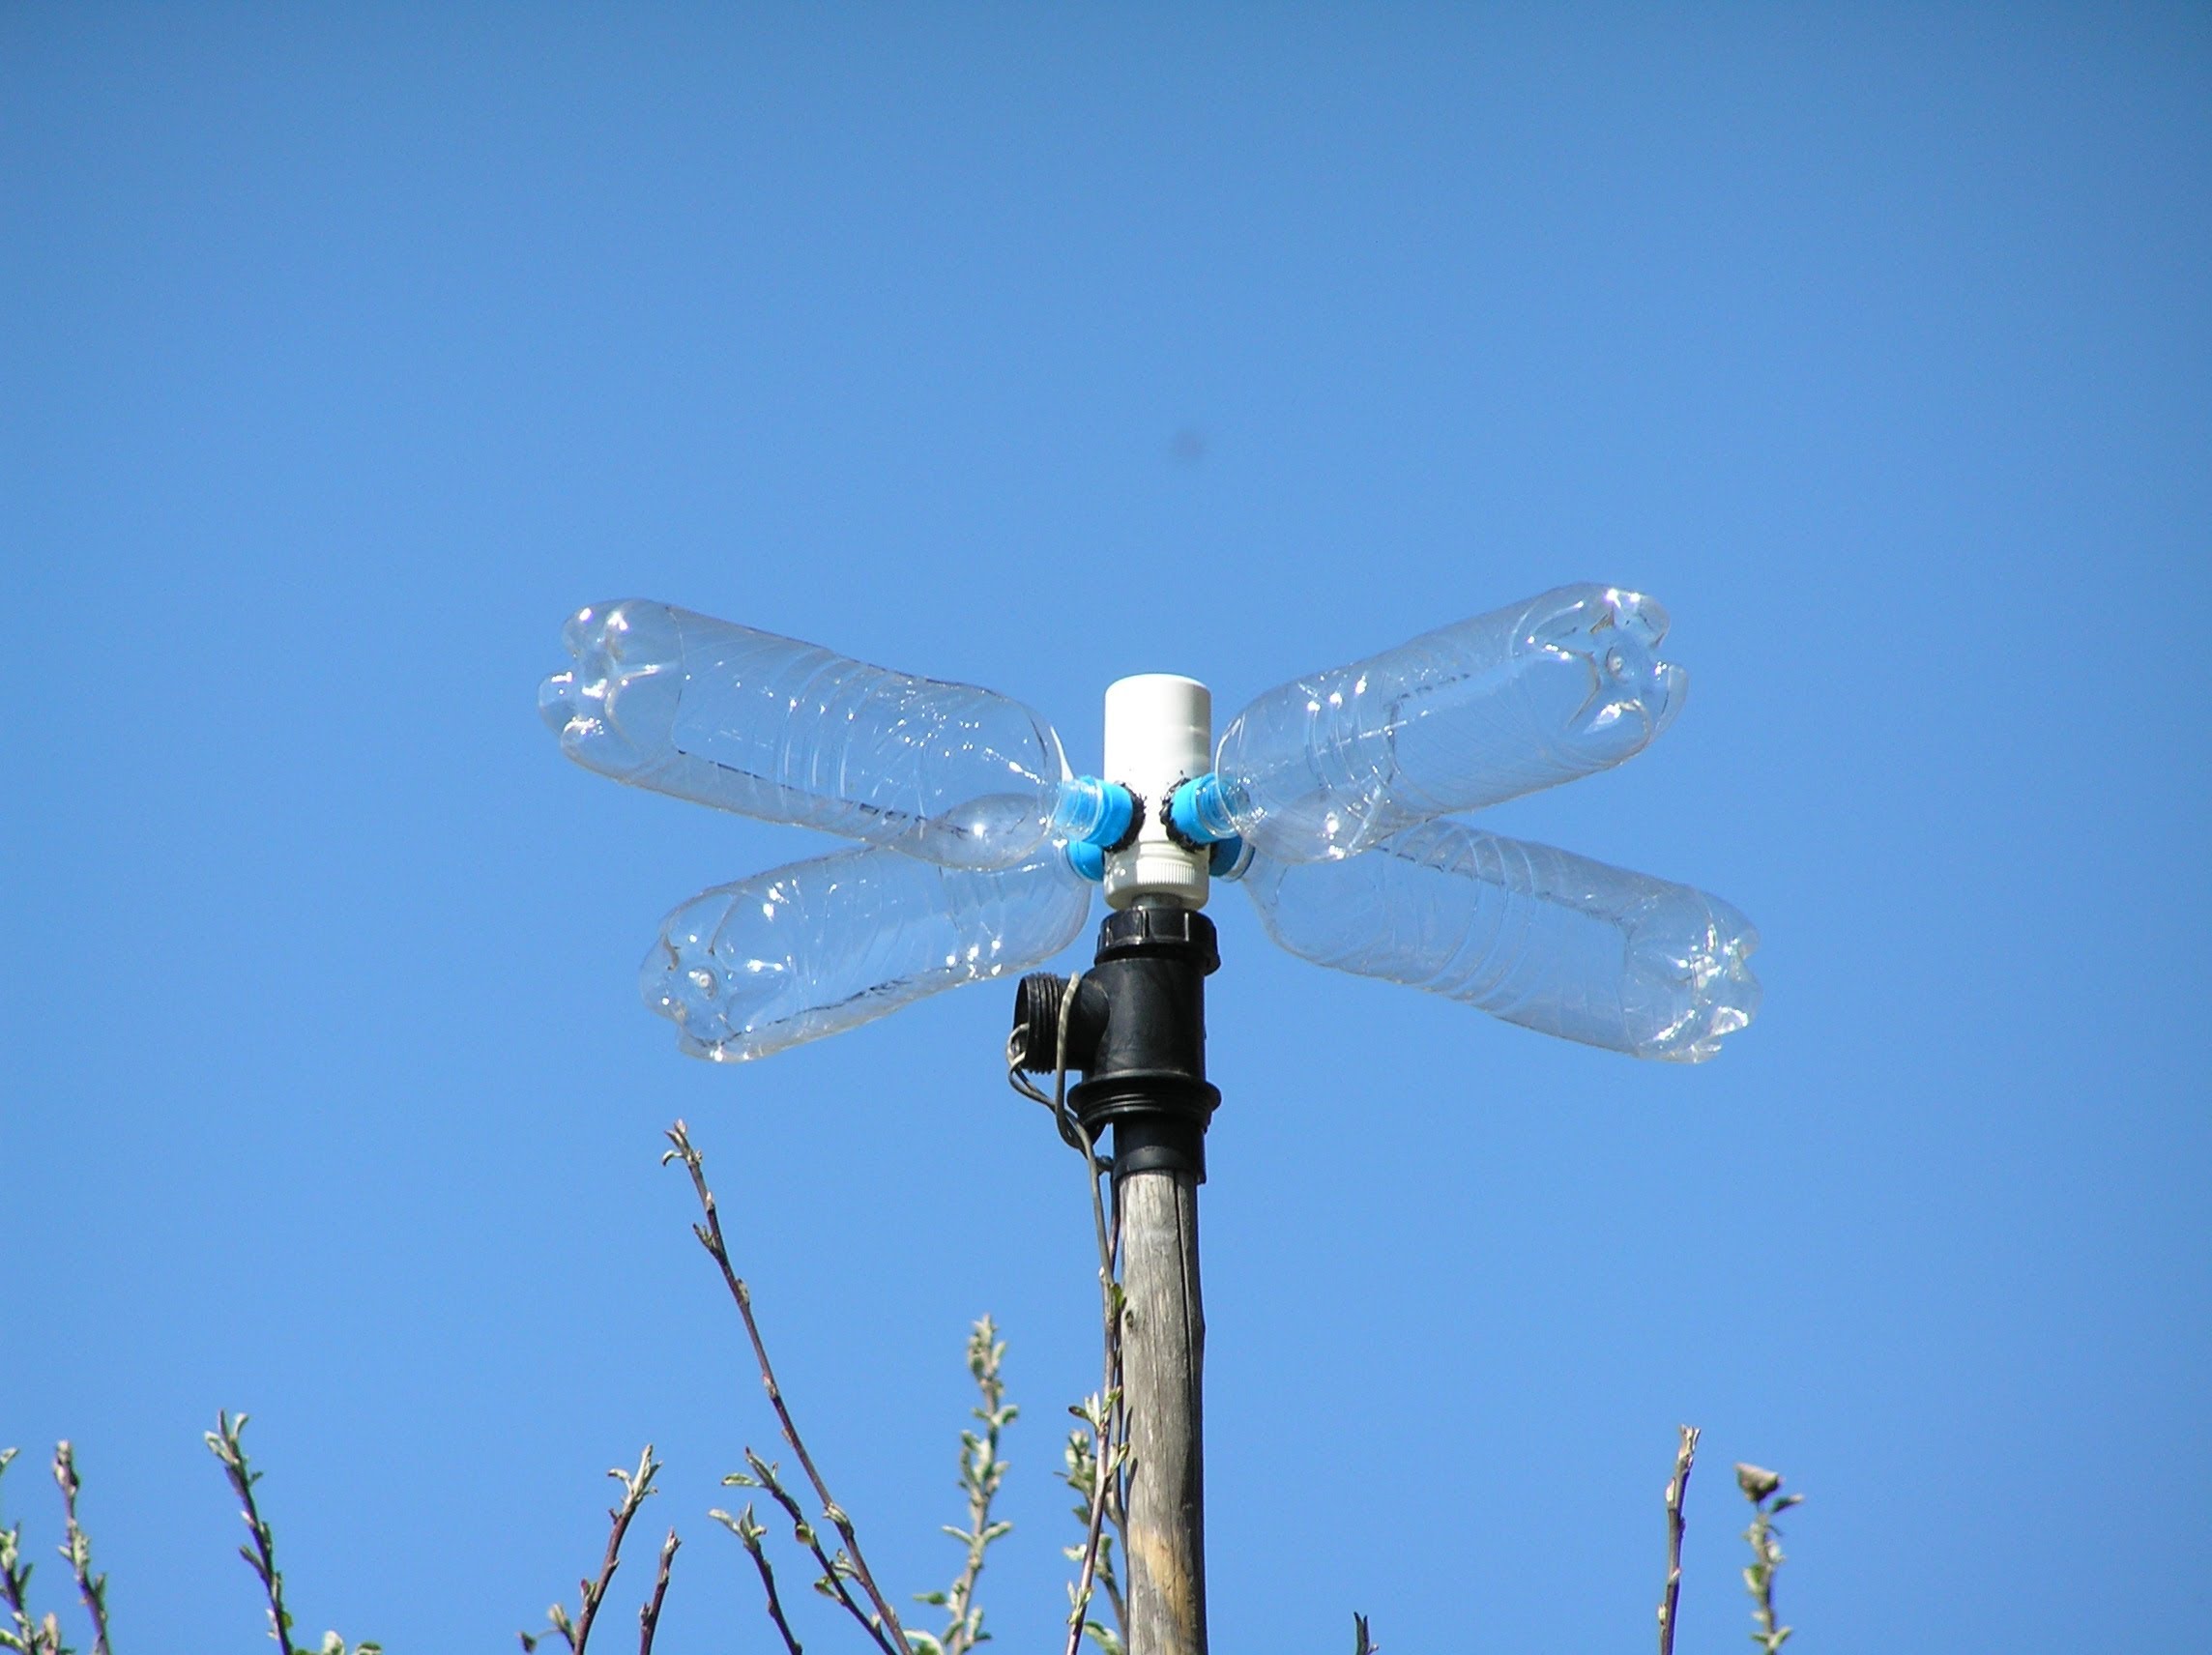
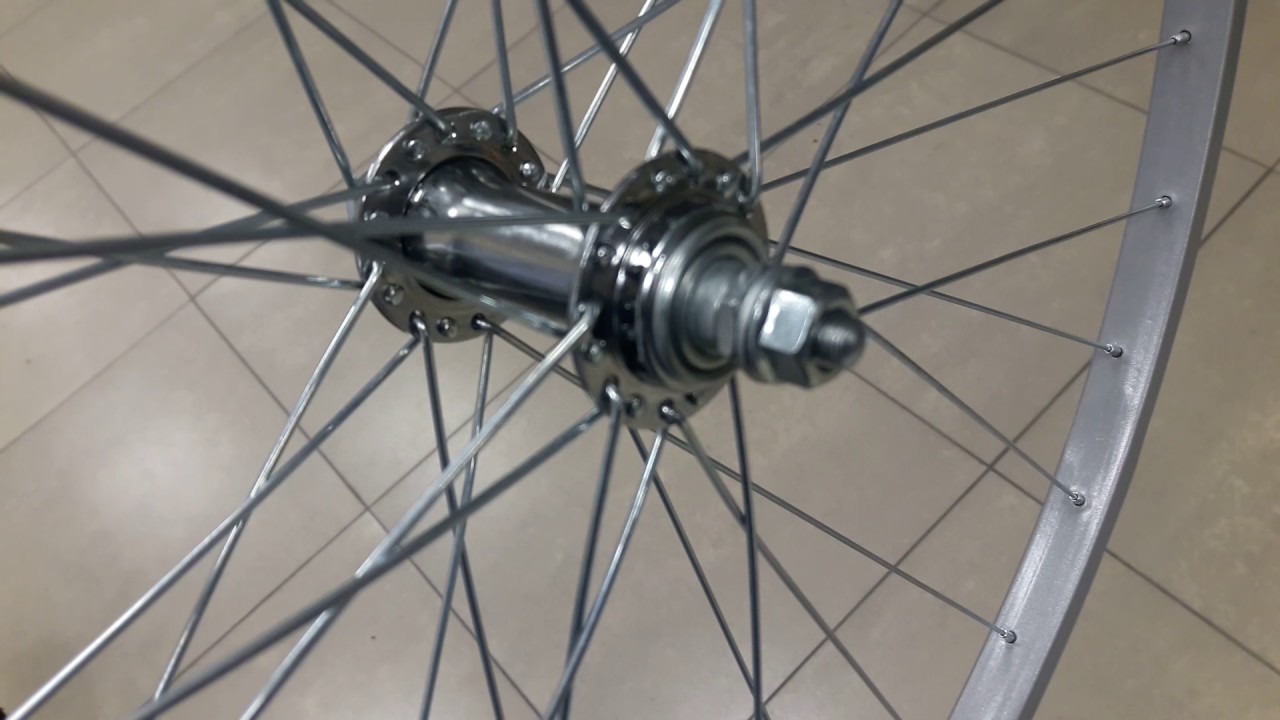
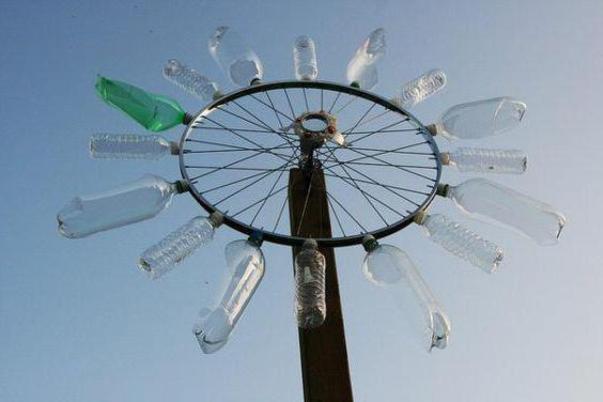
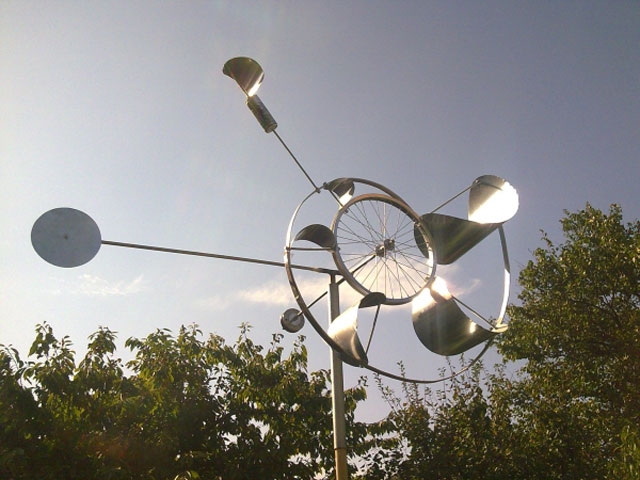
A variant of this design can be a homemade weather vane from plastic bottles. One type of such a homemade device is a vane in the form of a propeller. For this design, you will need a bicycle wheel, a metal pipe, and plastic bottles.
This weather vane is not recommended to be installed on the roof, as in the process of rotation it produces large vibrations and noise that can irritate the inhabitants of the house.
Its production will be as follows:
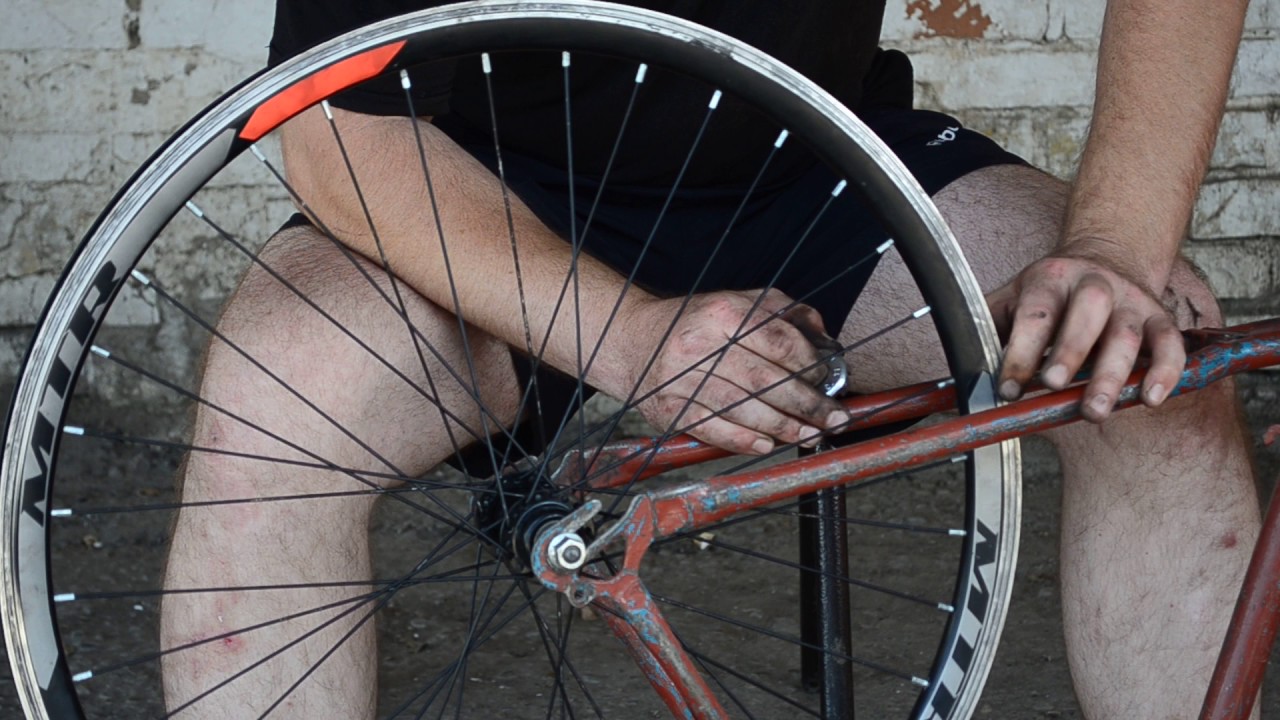
- The wheel from the bicycle is divided into four equal parts, then the places for fastening the bottles are marked.
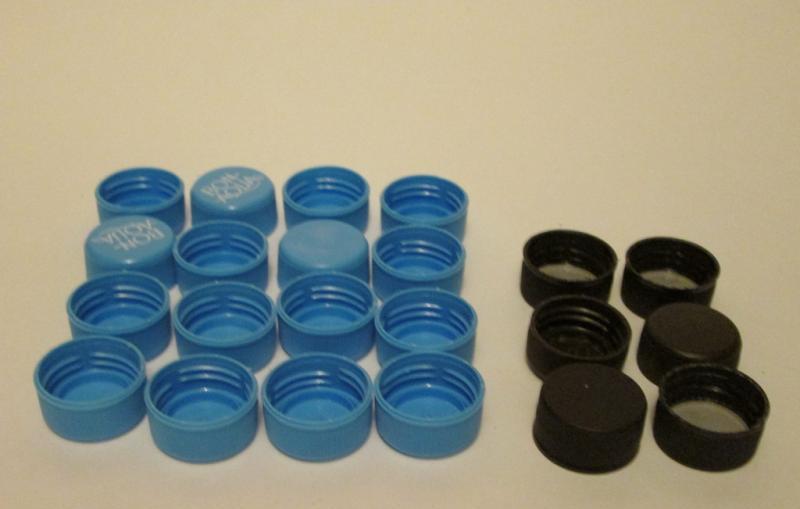
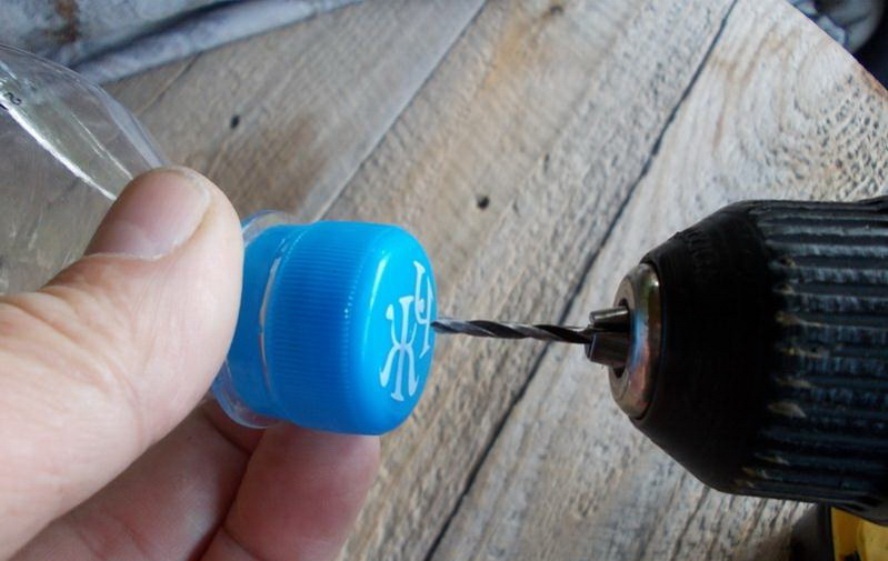
- At the next stage, caps from plastic bottles are attached using screws.
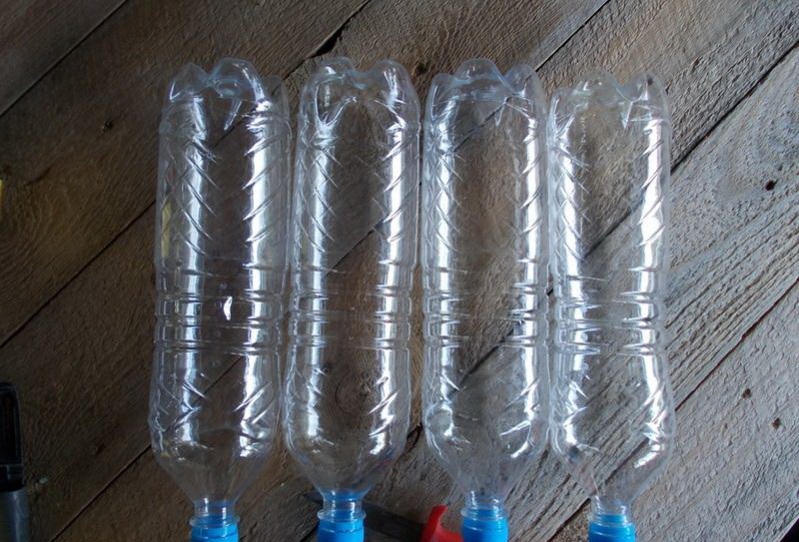
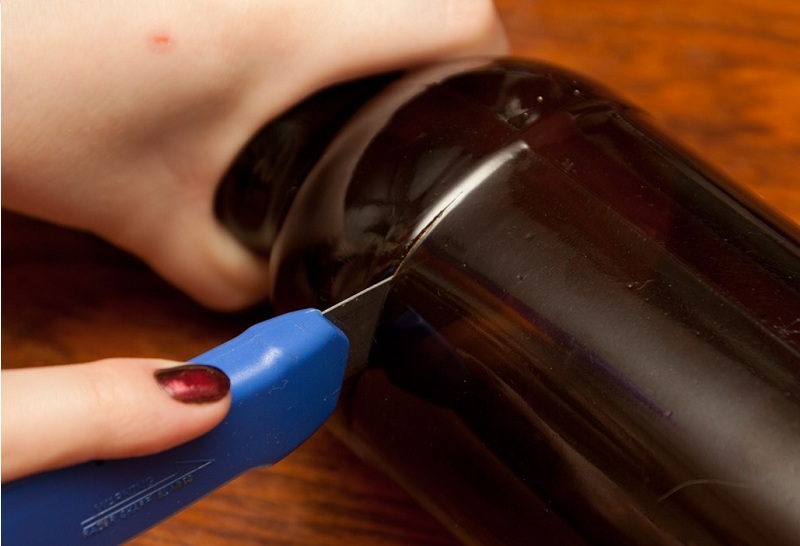
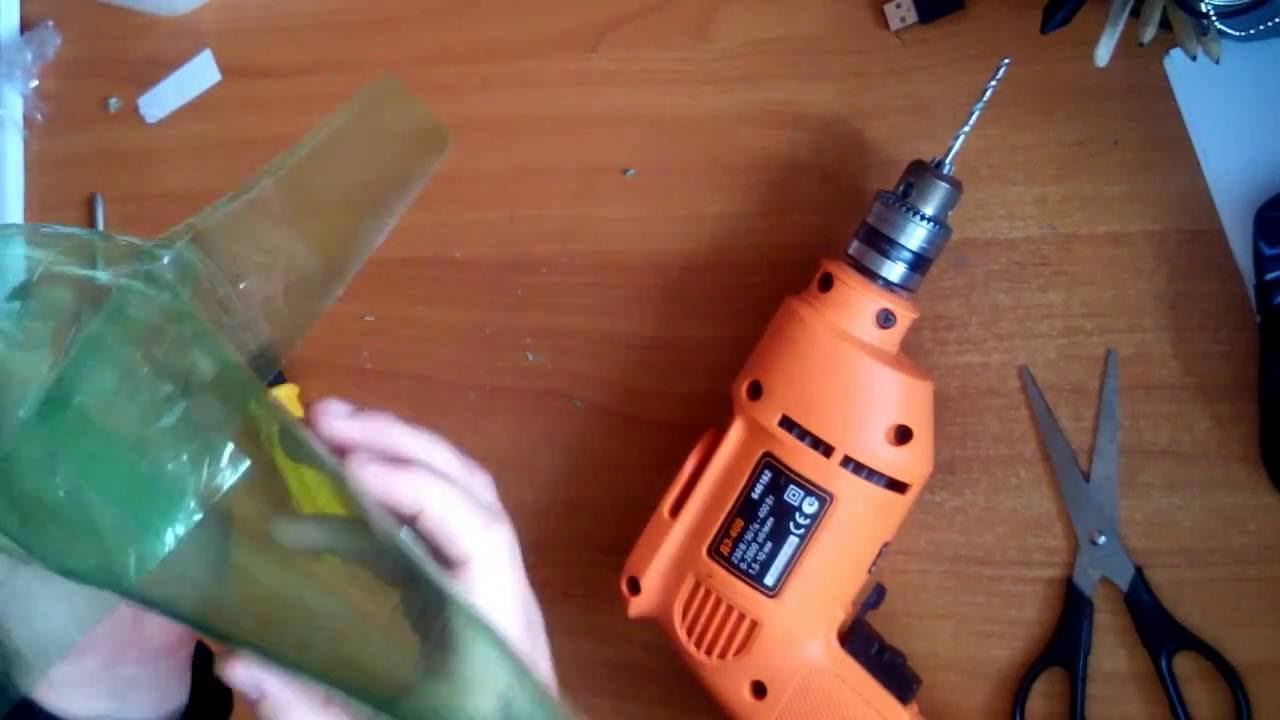
- Next, prepare the blades themselves. Bottles cut one side with a stationery knife.
- Bottles need to be installed on the wheel, twisting their necks in the caps.
- Then the wheel must be fixed on the pipe so that it can rotate, for example, with the help of a suitable screw.
- Finally, the finished vane can be installed in an open area.
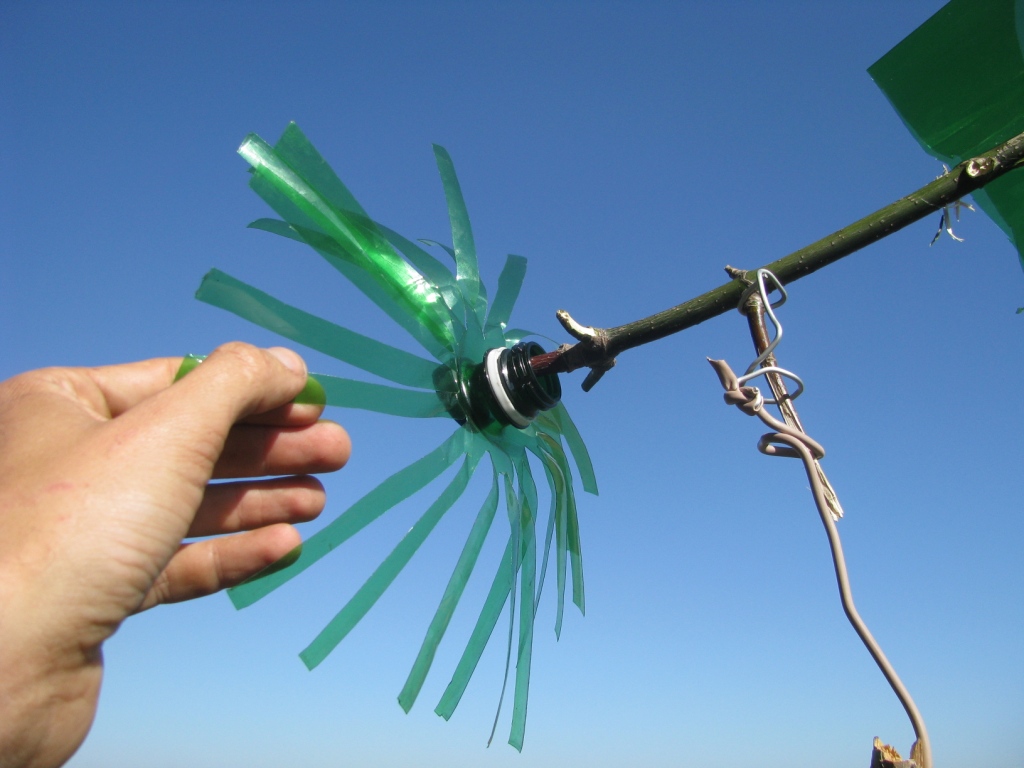
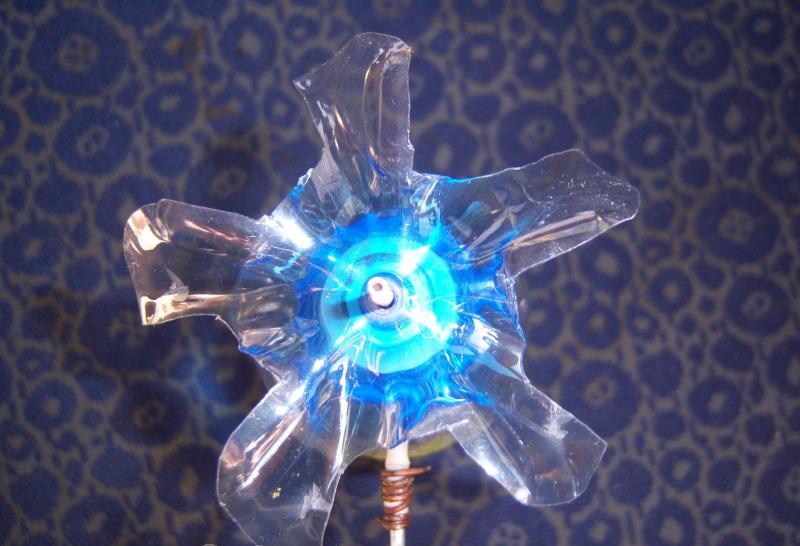
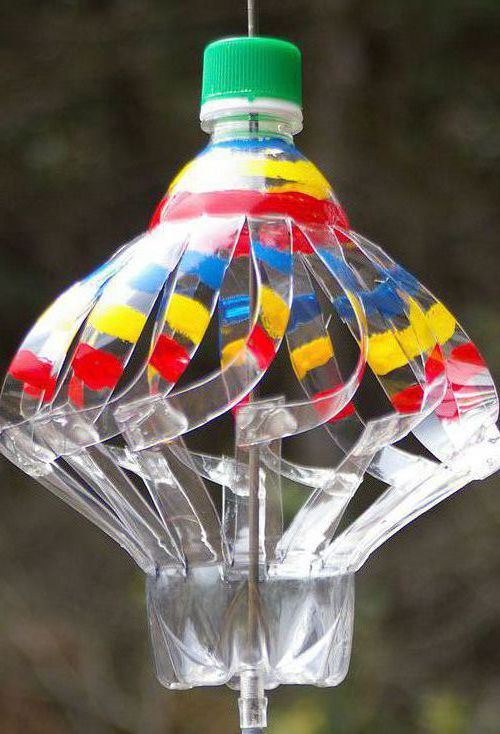
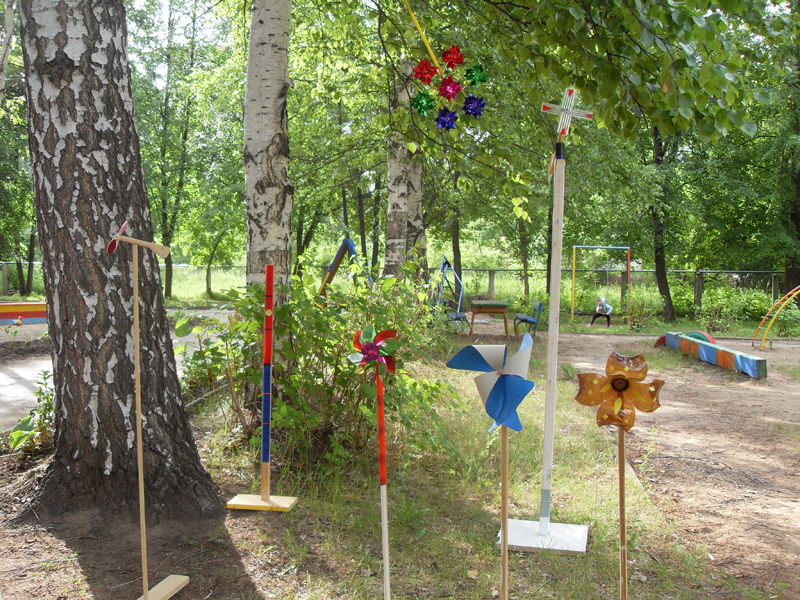
You can make a vane in the form of a pinwheel. It will require only one plastic bottle and a metal rod. Production takes place according to the following algorithm:
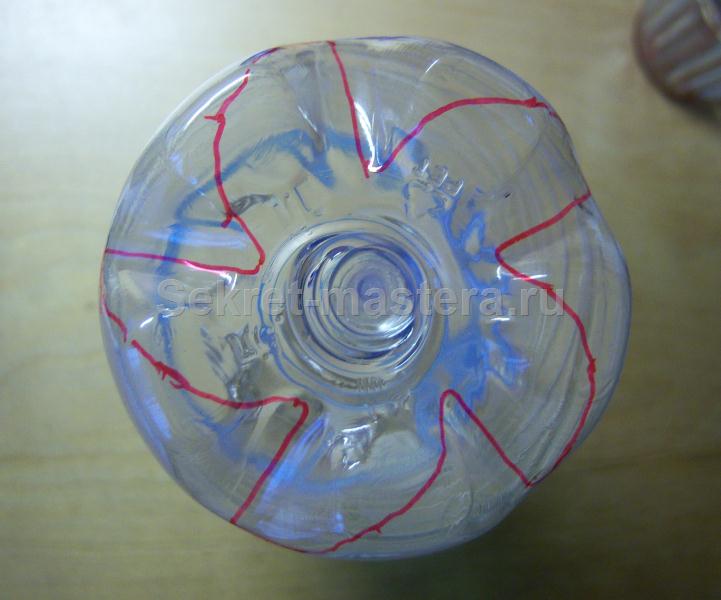
- On the bottle you need to mark the places that will be cut in the form of blades.
- Then they need to be cut to the top of the bottle so that they are sufficiently secured.
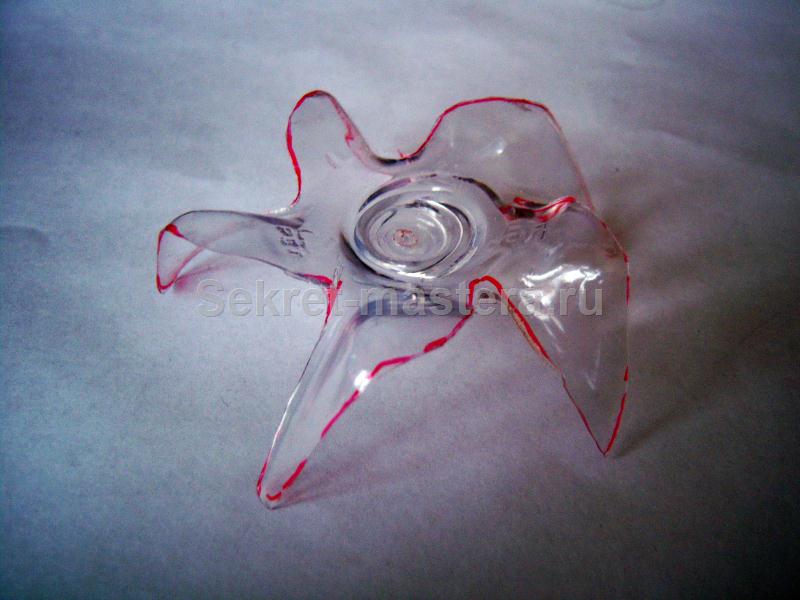
- Next, bend the cut parts at right angles.
- The bottle cap must be fixed on the rod, which will serve as the axis of the weather vane.
- Then the finished bottle is attached to the axle.
- The resulting vane can be painted with paint, decorate with colorful ribbons to give it a decorative look.
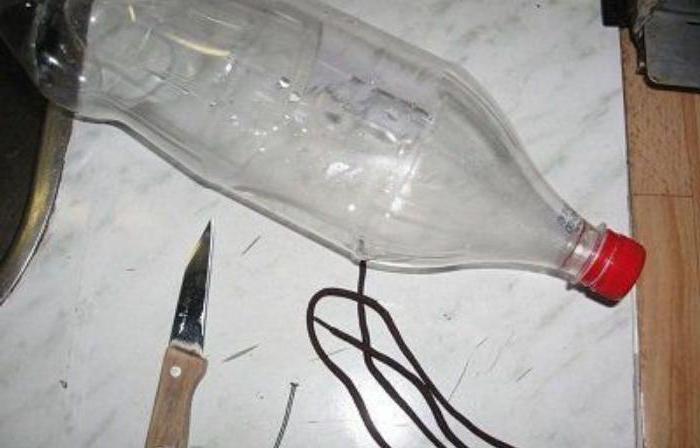
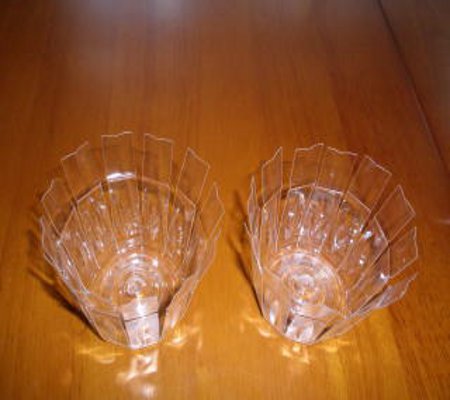
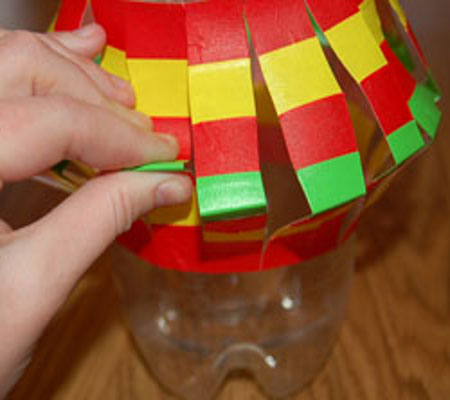
You can make another version of the weather vane from a plastic bottle that looks like a white bottle. The installation process looks like this:
- Take a two-liter bottle.
- Measure about 100 mm from the top and bottom of the bottle.
- Using a clerical knife, make vertical cuts around the entire circumference.
- It is necessary to make holes in the bottom and cap of the bottle in order to attach it to the metal rod in the future.
- Then cut the strips of the bottom and top of the need to bend at one angle in different directions.
- A rod is inserted into the holes, its length should be shorter than the length of the bottle.
- Then the bottle is flattened, and nuts are fixed on the rod at the bottom and at the top of the bottle for fixation.
- Now you can fix the finished windmill anywhere.
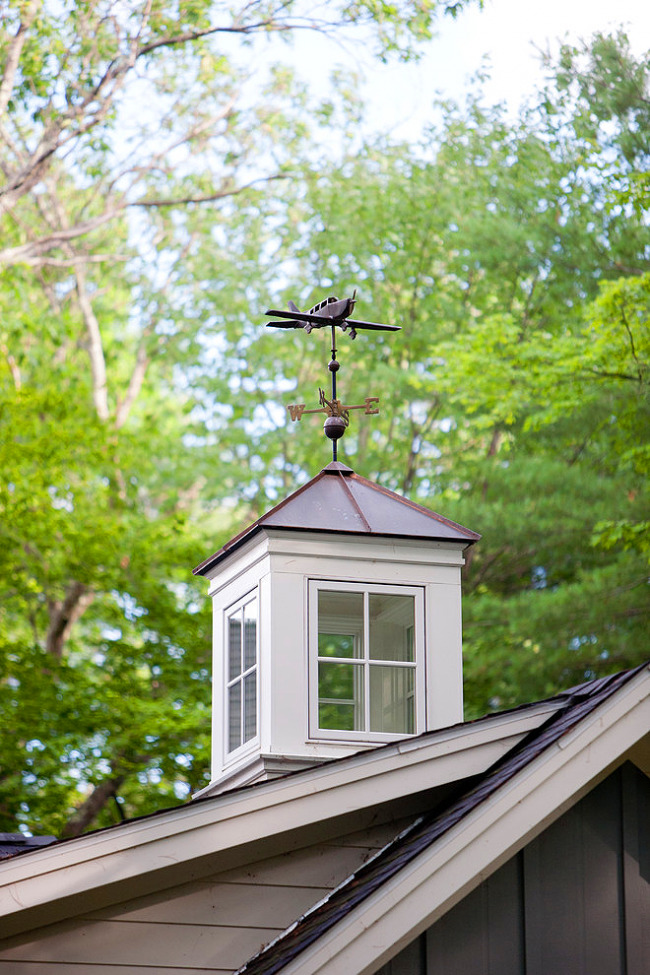
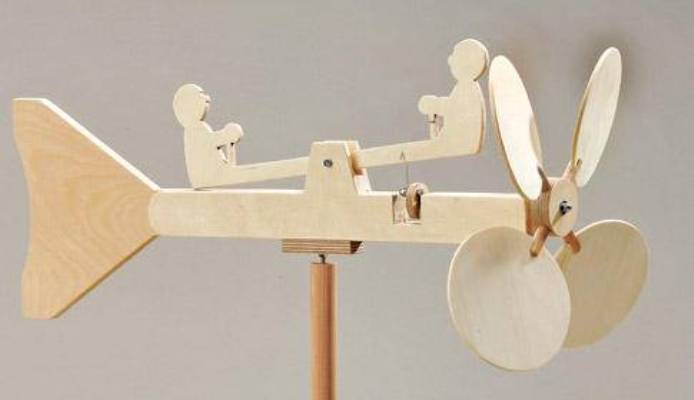
For your suburban area, you can also make a dynamic weather vane, for example, in the form of an airplane. Its main part is the propeller. The body of the aircraft can be made by hand from metal, cut from wood or plastic. As for the propeller, it should always be made of iron. It should be freely attached to the body, for example, using a screw or soldering to the nose with a small pin.
It is possible to install such a weather vane both on the roof of a house, gazebos or greenhouses, and in a flower bed or garden. The main thing is to see how his propeller is spinning.
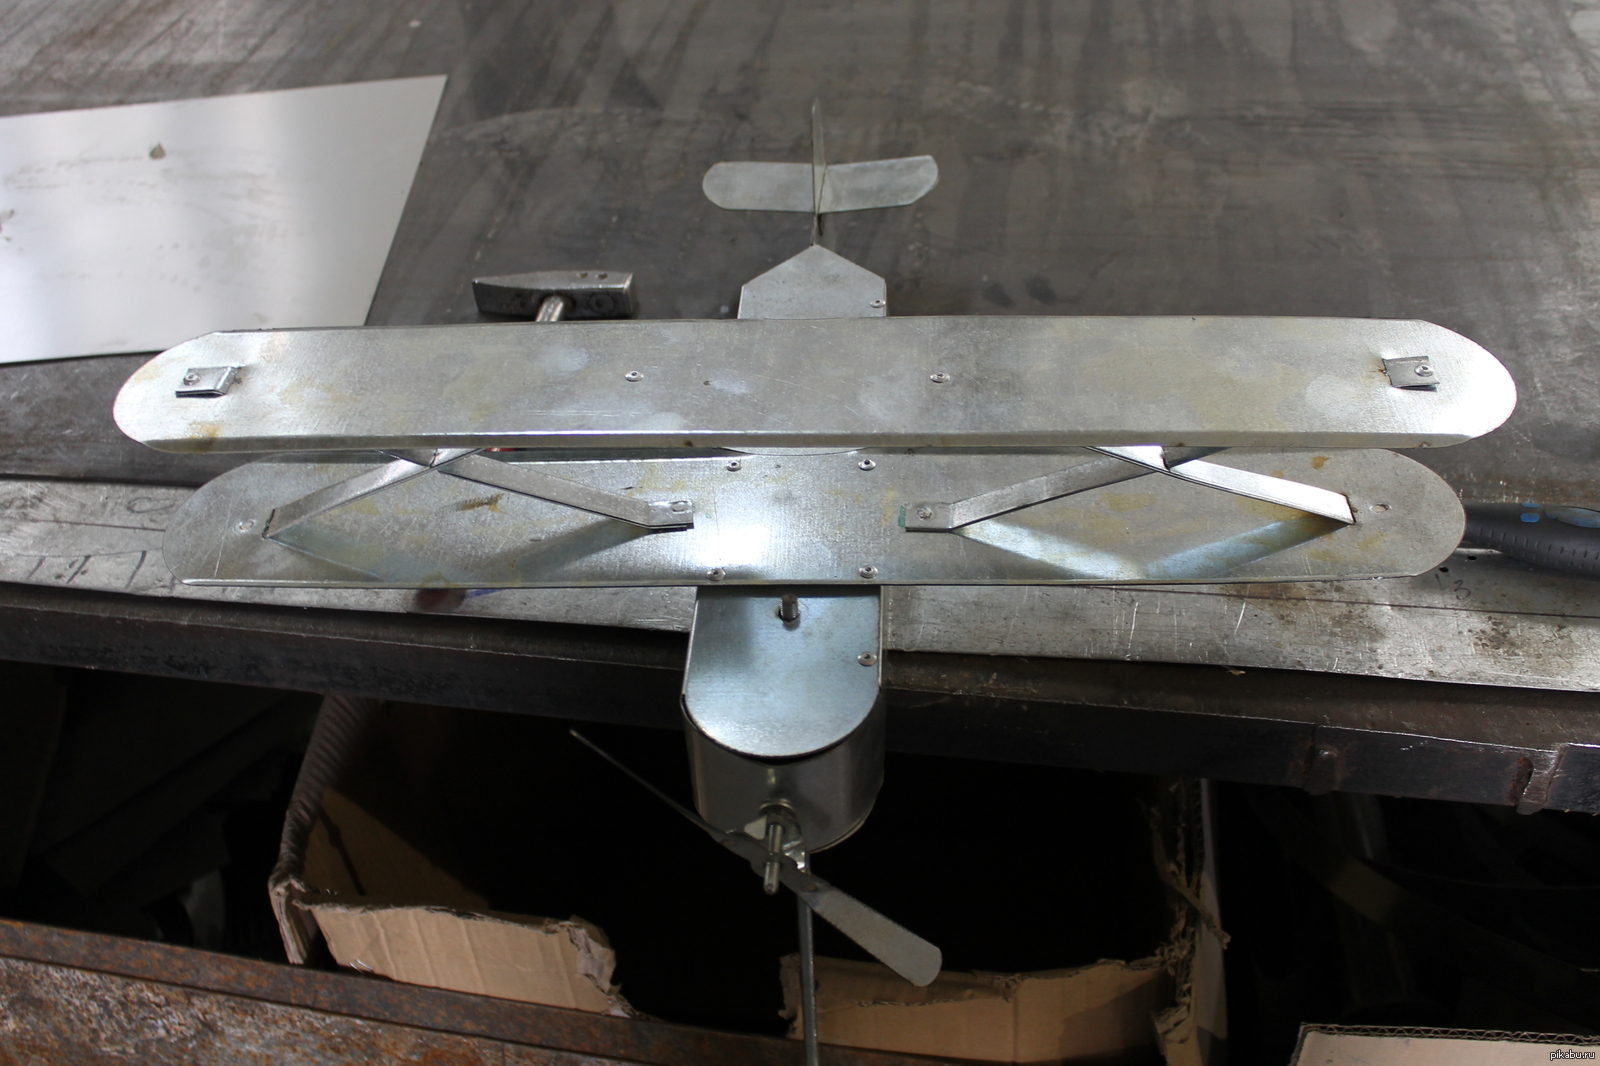
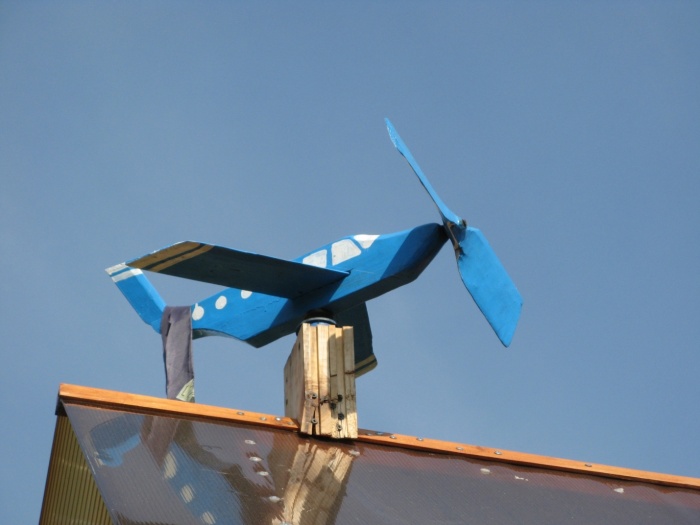
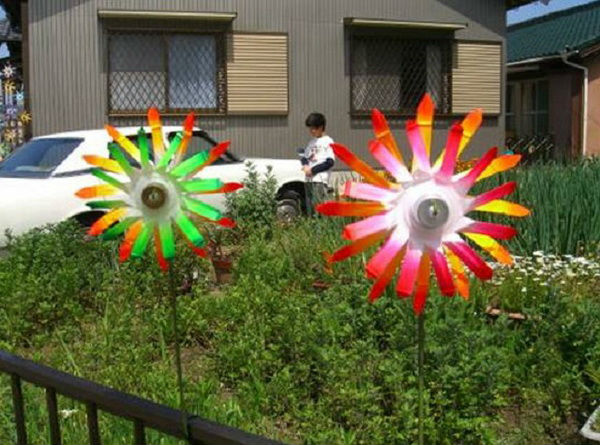
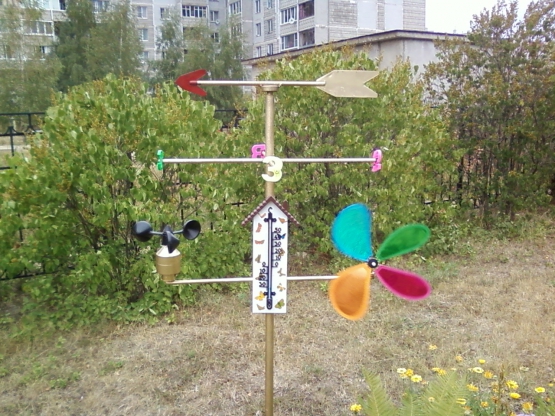
As you can see from the examples, it is possible to decorate the courtyard or roof of the arbor with the help of a windmill made of scrap materials. The forms of such weathervanes can depend only on your imagination, so you can make windmills in the form of the sun, a propeller, flowers and even an airplane.
If you plan to install a full-fledged weather vane on the roof of the house,it is better to make it either independently of metal, or to order from a master who can make a beautiful forged weathervane.
Before independent production of this design, you can familiarize yourself with the following useful tips:
- For the manufacture of weather vane, it is better to use wood, galvanized steel or copper.
- Weather vanes are of several types, for example, meteorological, chimney, but often people use decorative designs of these devices.
- The axis of the structure must be very durable, because it is subjected to heavy loads.
- Weather vanes are of several types, for example, meteorological, chimney, but often people use decorative designs.
- Image for a weather vane, you can choose any, depending on personal preferences.
- For many people, the weather vane performs not only a decorative function, but also has a mystical meaning, is a talisman of seven and a dwelling.
- In order to properly make a weathervane with your own hands, it is better to make a design drawing in advance.
- For the manufacture of a small vane to give, you can use the tools at hand, for example, plastic bottles or CDs.
- The vane must be very well balanced, otherwise it may not work properly or even not spin at all.

- During the installation of the structure, it is necessary to position the wind rose according to the cardinal points, for this you need to use a compass.
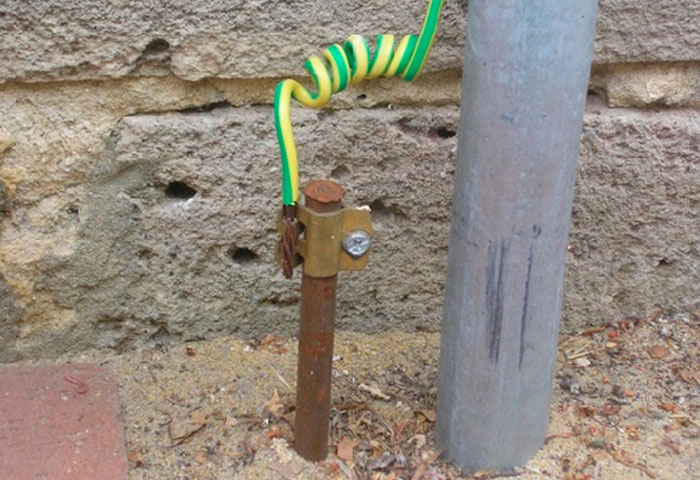
- It is better if the weather vane is grounded, for this you need an insulated wire with one side attached to the weather vane, and the other end to dig into the ground to a depth of about two meters.
- When installing the weather vane on the roof, it is very important to do everything carefully so as not to damage the tightness of the roof.
- It is best to install the device at the highest point of the house: an end, a ridge, a spire or a pipe.

In conclusion, it can be noted that the weather vane, which began its history many centuries ago, has become firmly established in the life of people, and even today, when modern technologies have a high degree of development, they are visible on the roofs of many private houses and cottages.
If you decide to install a weather vane on your site, then this design will give your home an identity and a special atmosphere.
How to make a weather vane with your own hands, see the next video.


