The process of making an electric barbecue
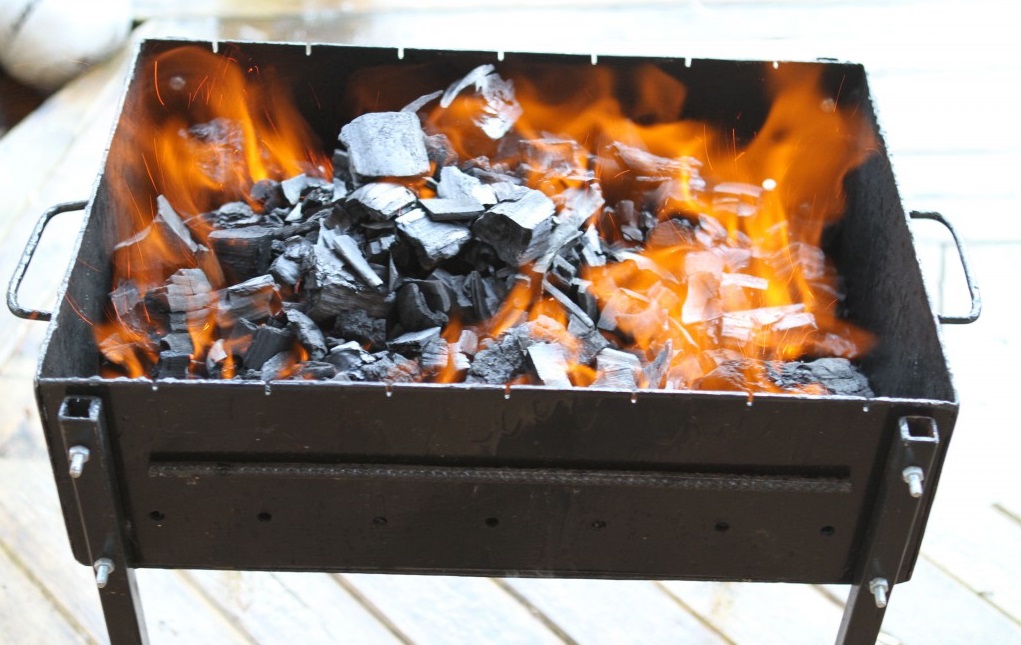
May weekend, a trip to the cottage or nature is often associated with kebabs. For their preparation need a grill. But often buying a finished product in the store will be expensive. The solution to this issue will be self-made electrical apparatus. About what materials and tools you will need to use, described in this article.
Varieties of braziers
Depending on the design and possibility of movement, there are:
- stationary;
- portable grills
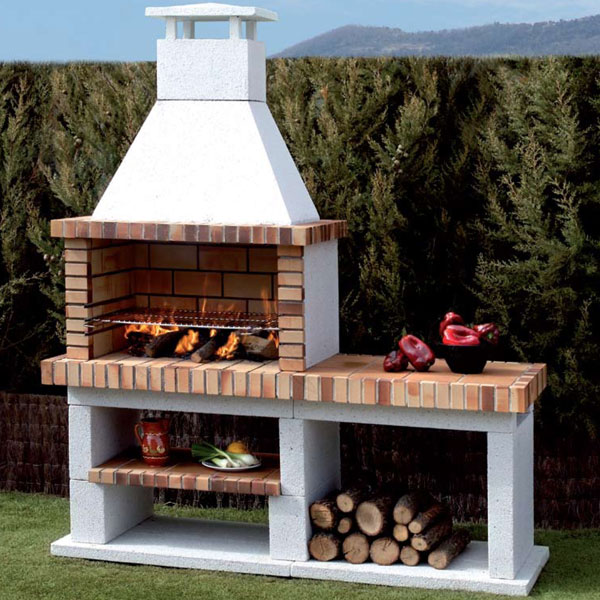
The first type is a brick or solid metal structures., the bases of which are recessed into the ground or the floor of the arbor. If the brazier is installed under a canopy, then cooking becomes possible even in bad weather.The latter have mobility - they can be moved to another place, taken with them for a picnic. They are easy to clean. But at the same time, due to the small thickness of the metal, the service life of such structures is small, unlike the previous version.
According to the type of fuel, there are gas, electric models or products on coal. Each species has its own advantages. Specialists in cooking kebabs believe that the use of an electric motor only harms the end result, and the meat is not as good as when using a conventional wood-burning roaster. There is some truth in this, but cooking in this case will be long.
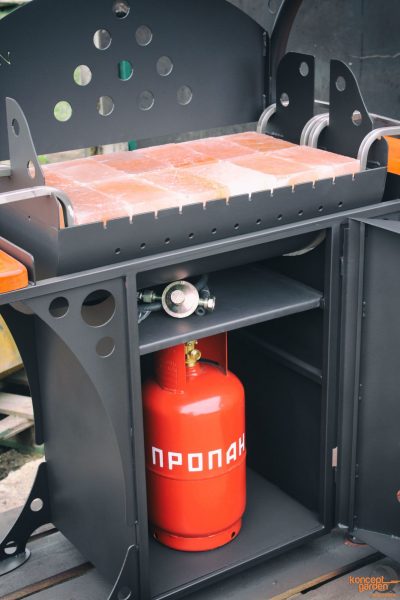
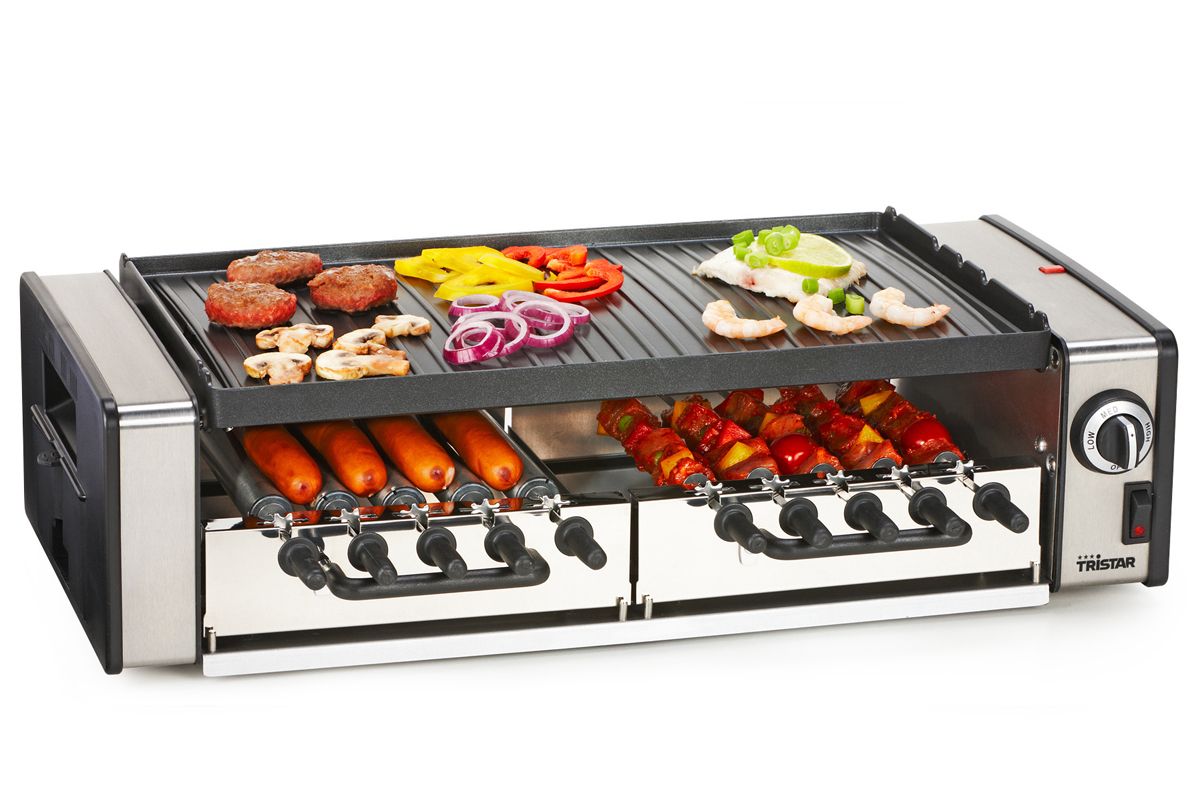
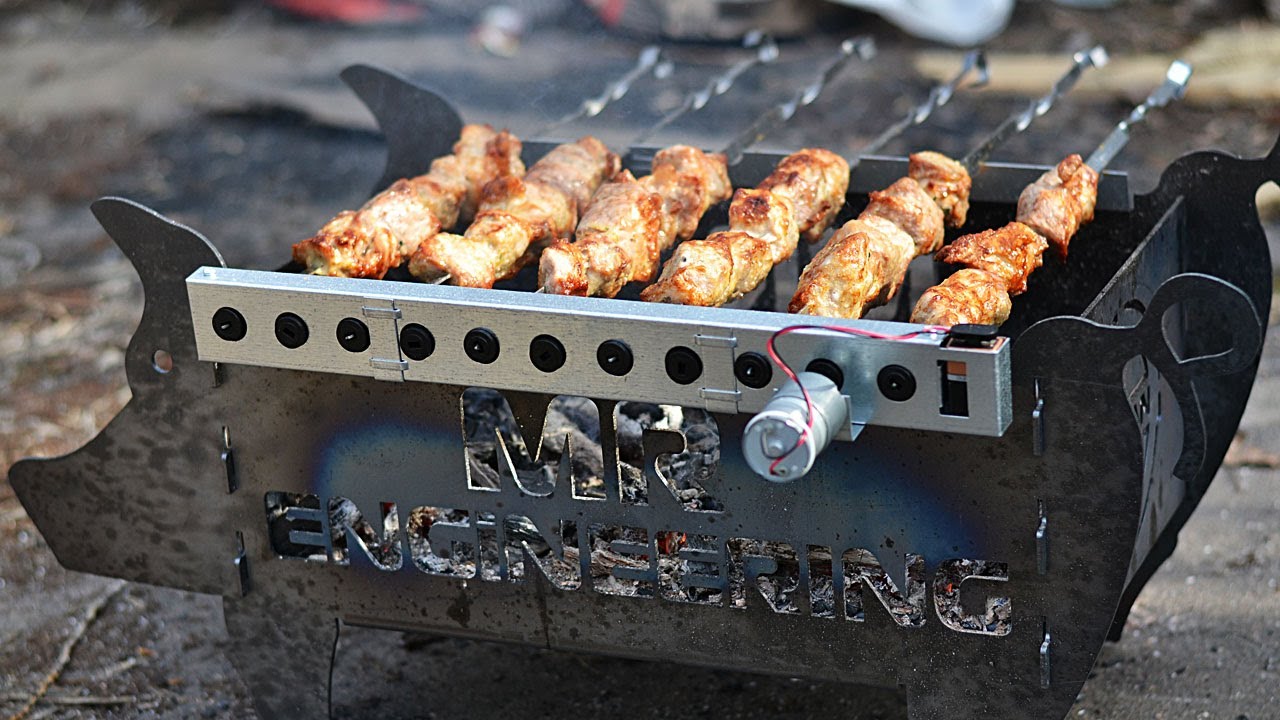
The gas model is also good in its own way, but at the same time you need to constantly take a gas cylinder with you. It is rather unsafe. When using electric skewers, the positive point is the saving of time. Due to the electric rotation of the skewers, the meat is juicy and moderately roasted. Also in this case, the fat will not drip on the coal, respectively, the pieces of meat will not burn. There is no need to closely monitor the process, since it is automated.
If you properly assemble a home electronic grill, the result will be no worse than using the store option.

Assembly stages
To make a classic model of a barbecue, you will need:
- 4 plates of steel 4mm;
- metal corners;
- fastener elements;
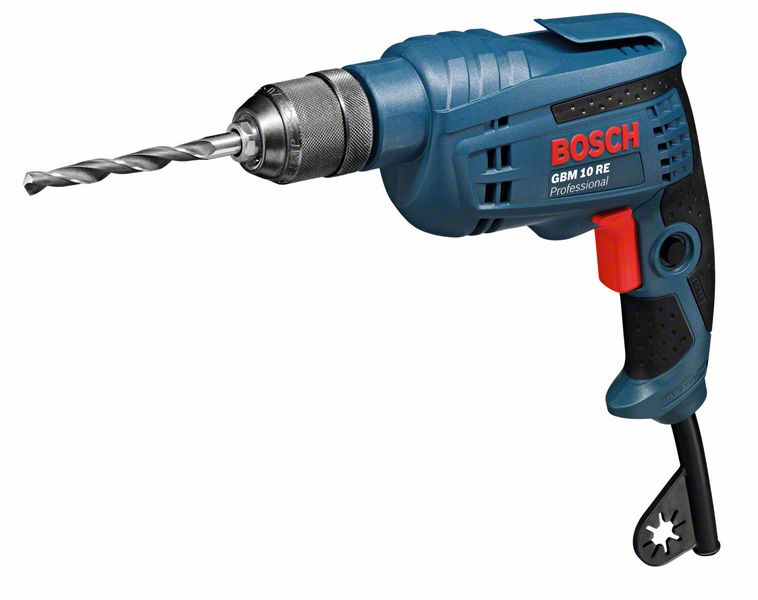
- electric drill;
- welding machine;
- Grinder (angle grinder).

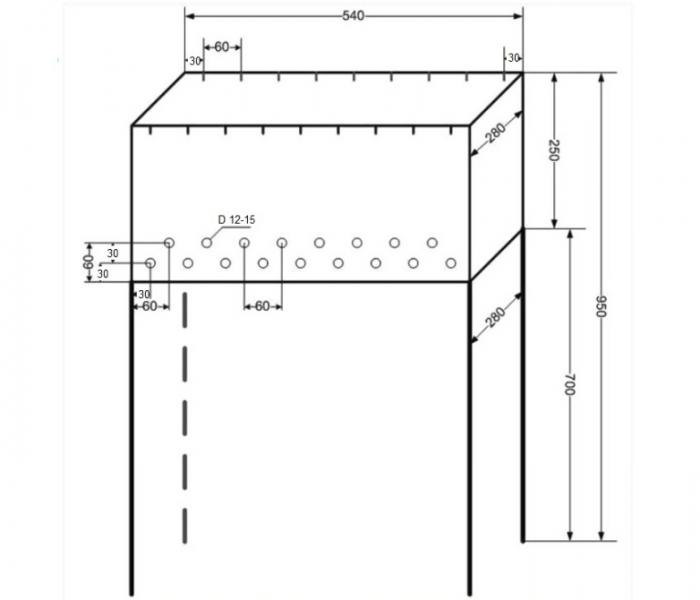
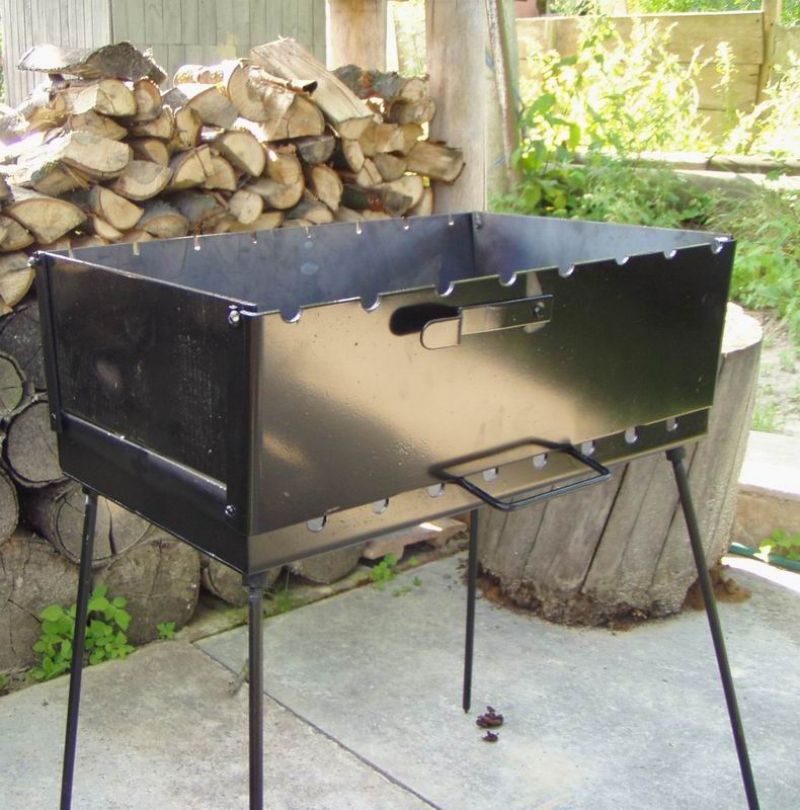
Start with the manufacture of walls. Cut with the help of angle grinders 2 pairs of strips 35 cm high. Longitudinal (long side) and transverse (short end) sides are obtained. Choose the length of the product based on personal preferences, but remember that on average between 6 and 10 skewers should fit on the design at a time. It is recommended to first draw up a drawing on paper, and after that embody the idea of the project. The bottom of the barbecue is prepared last.
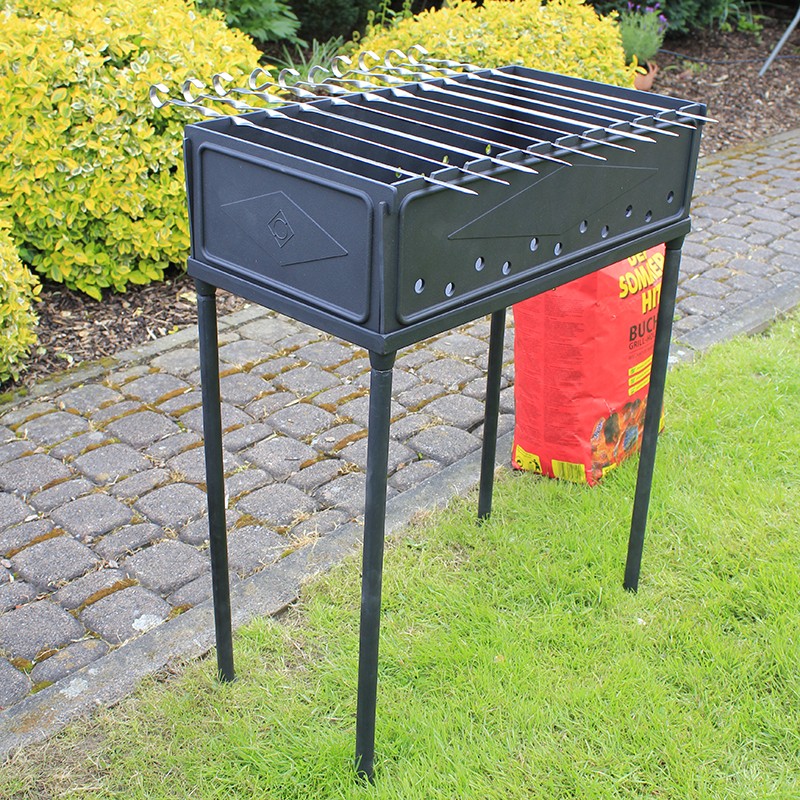
Under the skewer it is necessary to drill a hole in diameter of 1.5 cm in one of the side parts. In the bottom plate also make 2 rows of holes in a staggered manner. Using the corners, fasten the sides, and for greater tightness, the bottom and sides must be joined by welding. Then, from a corner measuring 25 by 25 centimeters or a metal pipe with a caliber of 30 cm, you make legs 60 to 110 cm long and attach them to the body with fasteners.

It is recommended to make a rack from a pipe, because it will be easier to mount and dismantle the brazier every time it is necessary. After all the steps, the structure should be coated with a special paint for metal. So it will last longer and will be less susceptible to corrosion.
Paint material must be heat resistant.
Here are a few matching colors:
- Certa is able to withstand temperatures of + 900C. May have the name of OS-82-03T.
- Rust-oleum - up to + 1093С. Matte black, white or silver.
- KO-8101 - up to + 650C. The palette contains 12 colors.
- KO-8111 withstands thermometer readings up to + 600C.


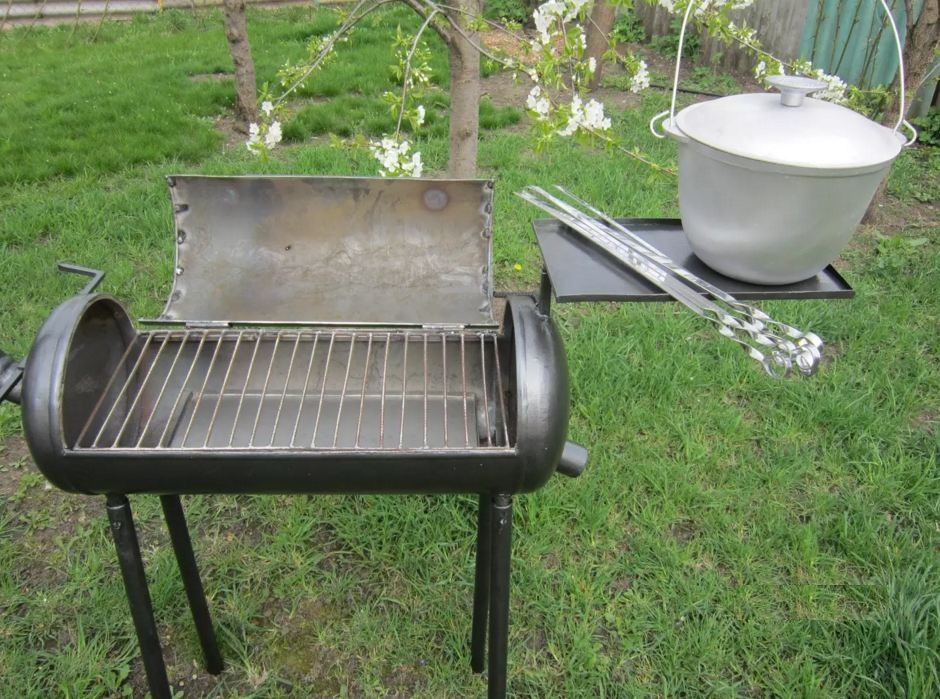
It is not necessary to make a brazier from solid metal sheets. It can be made with the help of several parts of the metal, fastened together by welding, or use an old metal barrel. From it you can make either one barbecue with a lid, or two separate braziers. After that, the structure should be decorated with unusual elements or simply painted.
How to choose the right metal for the brazier?
If you follow the advice of professionals, it is better to use heat-resistant material. So you can prevent the deformation of the structure. Indeed, in the process of cooking design is exposed to high temperatures.
Another high-strength, durable and heat-retaining element is cast iron. But, as a rule, finished products from it turn out heavy, and it will be difficult to transport them. But to create a stationary barbecue, this option may well be suitable.

There is a lot of controversy over galvanized steel. When heated, the material can release harmful substances into the atmosphere, and according to some masters, they can get into the meat when cooking. However, most users tend to think this is a delusion, because the material can not be heated to such an extent that zinc begins to stand out.
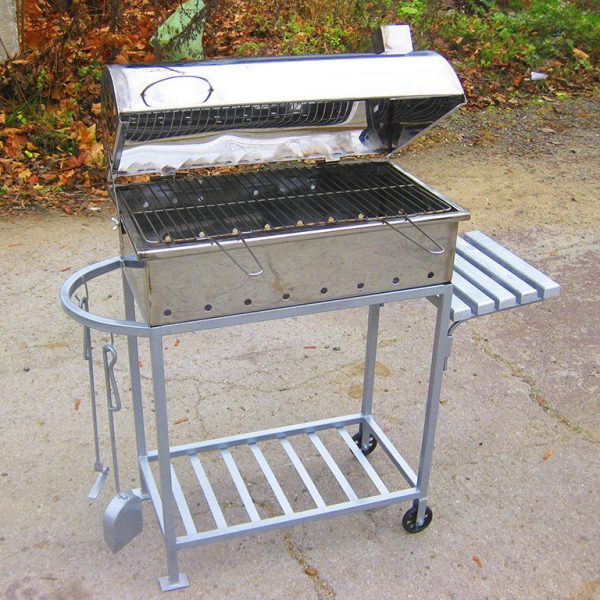
The most widely used option is stainless steel. Such products are not subject to corrosion, and they can be left in the open air even in rainy weather. The material is durable - the duration of their service is several decades. From an aesthetic point of view, the design will be harmoniously combined with any landscape.
The choice is made on the basis of personal preferences. Or apply those materials that are currently available.
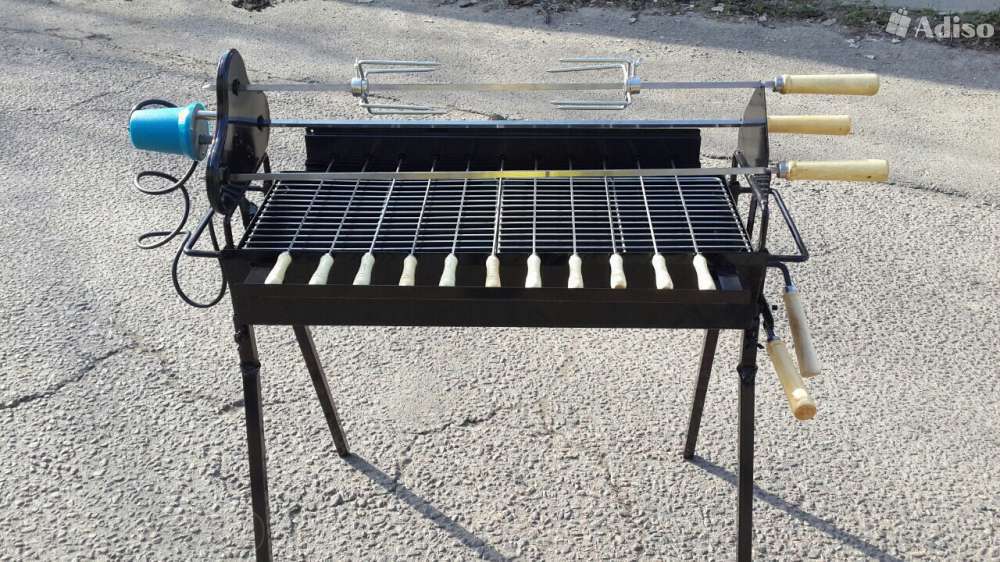
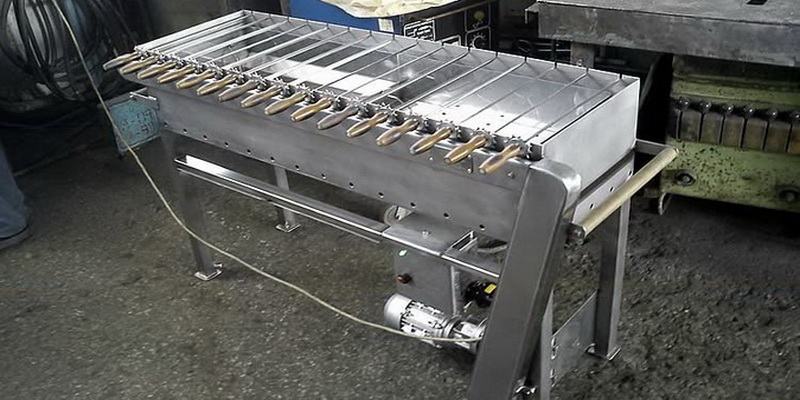
Installation of electric drive to the barbecue
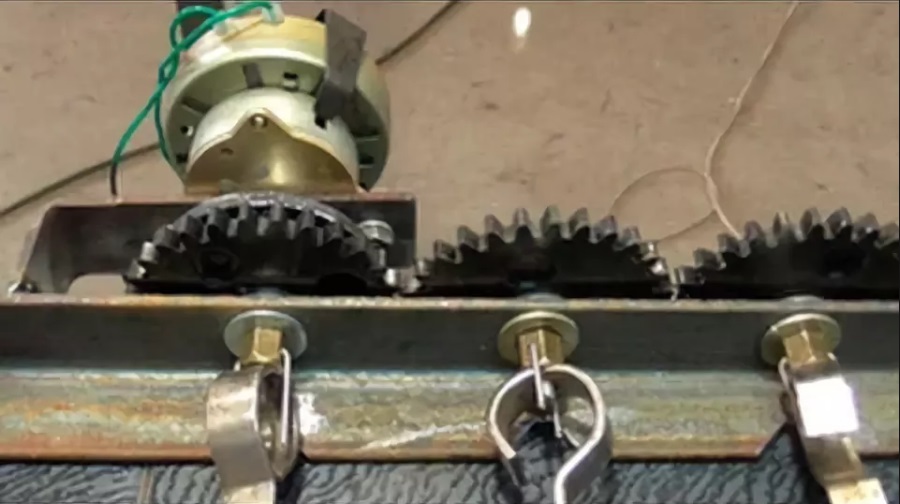
As a motor, you can use a window washer motor or a motor that drives the wipers. The side of rotation does not matter. The voltage should be 12 volts. If it is larger, the rotational speed will be, accordingly, higher, and the meat will not be roasted to the desired degree.
The design will cease to be mobile, and there is a risk of electric shock. Depending on the model of the motor, it can be powered by electricity or a battery.
To skewers rotate, in addition to the engine, you need gears, chains, a source of electricity. To the motor shaft install the pulley or the main sprocket metal belt. They must be different in size, due to this the rotational speed will decrease. The engine joins from below to the shashlik box.
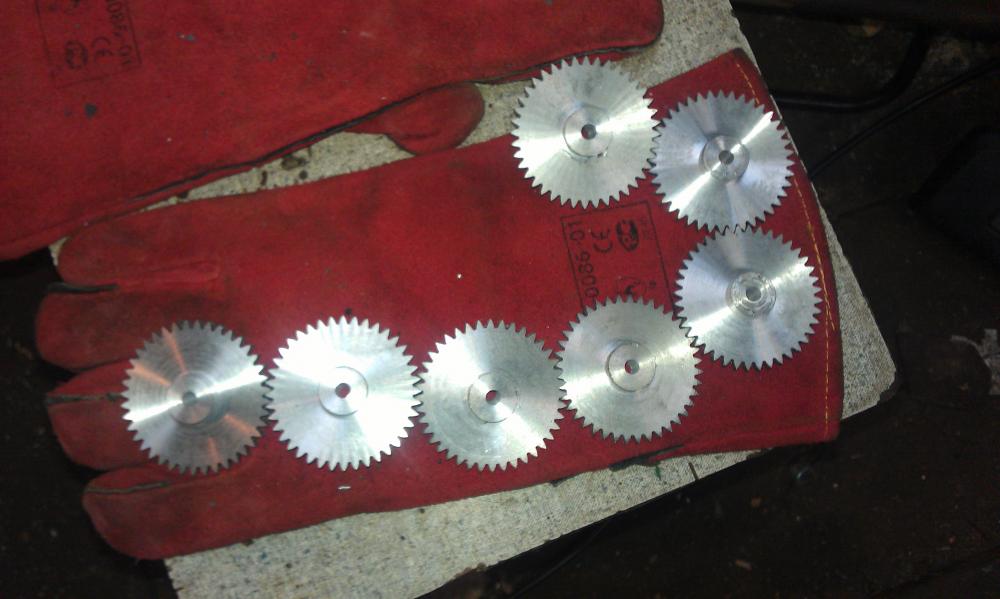
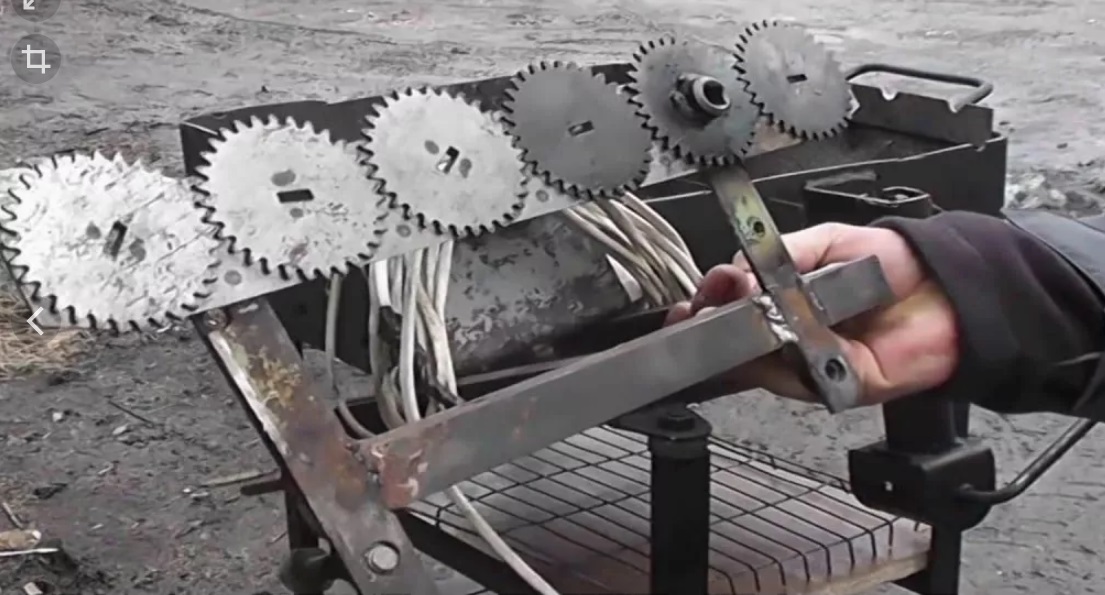
Attaching gears
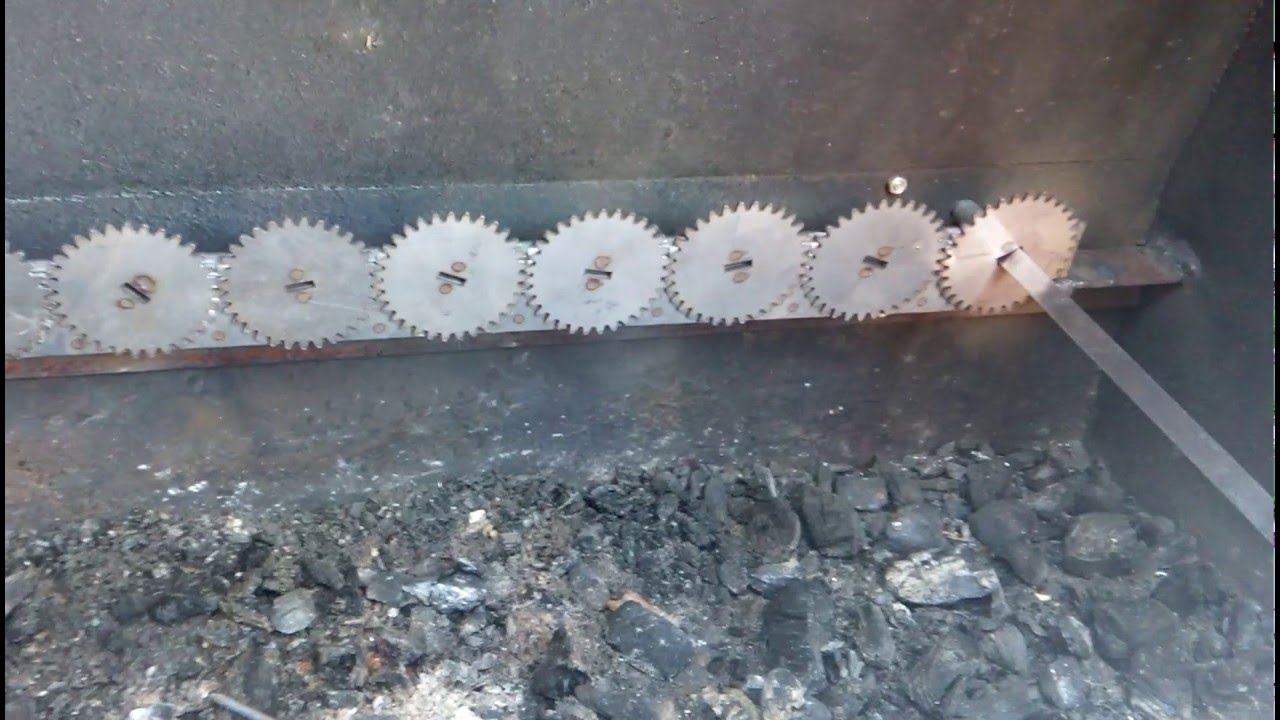
In order for the electric pulley to function properly, it is necessary to assemble the gears into a single system, assembly algorithm which looks like this:
- Attach one gear, then attach the chain to the motor housing.
- Next, attach the other gear to the wall of the electro-angular.
- Attach the remaining gears in sequence.
After all the manipulations, you can check the performance of the resulting barbecue grill. When you turn on the device, the 1st gear starts. Further, the moment is transmitted to the subsequent gears. As a result, the skewers rotate at the same speed. To adjust the degree of their rotation, you need to tighten the belt.
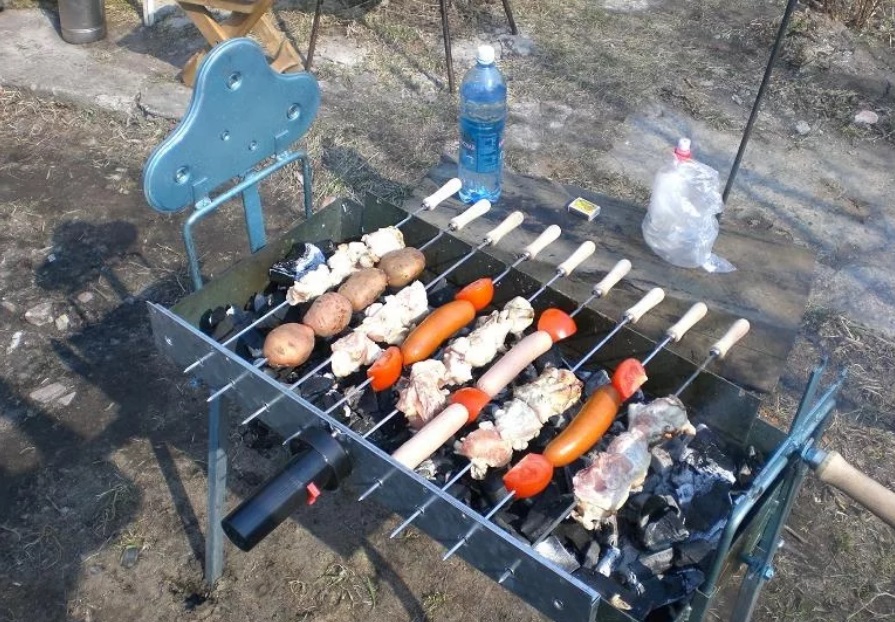
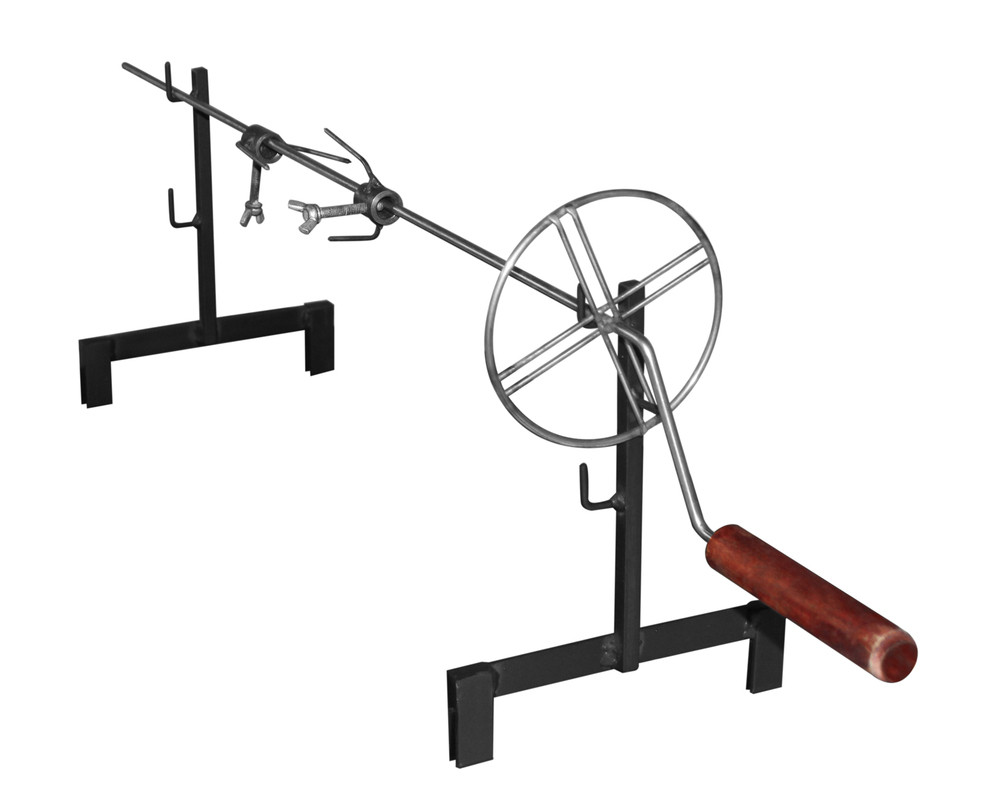
Making a spit and rod
These tools are designed for different purposes. Skewer is used for cooking large pieces of meat or poultry, and skewers - for small pieces. The length of the spit should be 15 cm more than the width of the electric barbecue so that the rotation of the tool would not interfere. The optimum thickness is 15 mm. The width of the rod is selected depending on the pieces of meat that you plan to cook.
The skewer can be flat, round, square or in the form of a corner. For the smallest meat pieces fit a flat shape. Thanks to the square, it is convenient to prepare minced meat dishes, because of the special design the product will not slide off. The round version is not convenient, because when cooking, the meat turns over and slips off the skewer. The tool must be strong, otherwise pieces may fall into the grill when turning over.
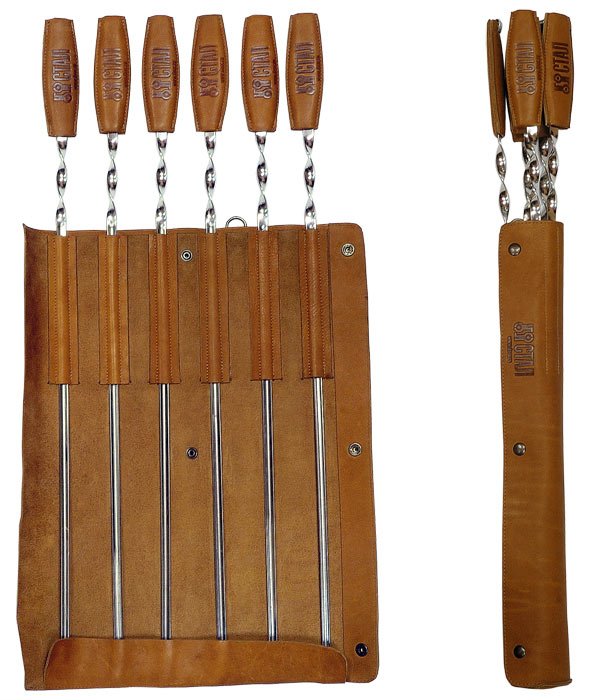
Skewers can be purchased at the store or make yourself.
For this you need the following materials:
- hammer;
- pliers;
- chisel;
- steel bar;
- forging tools for metal processing;
- emery machine.
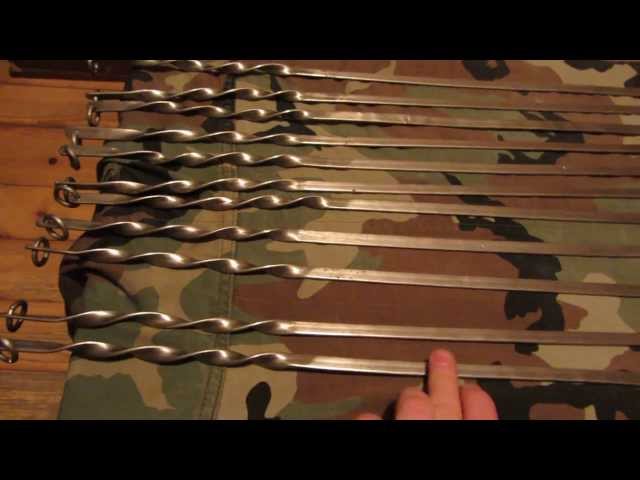
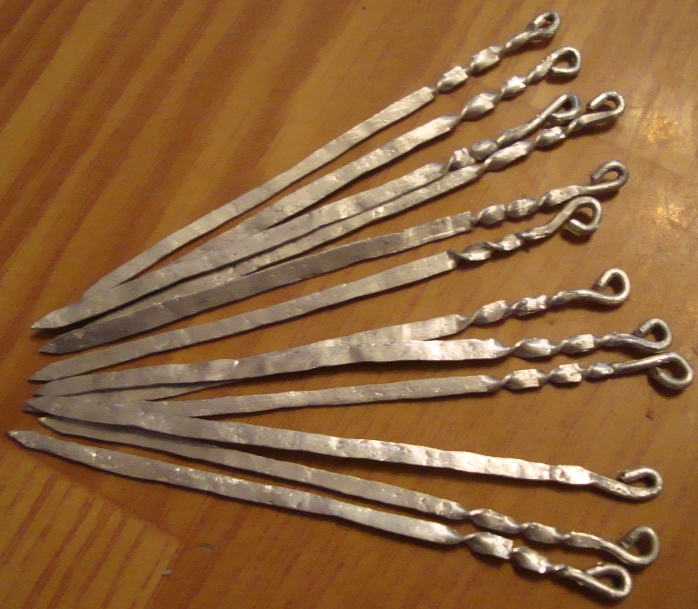
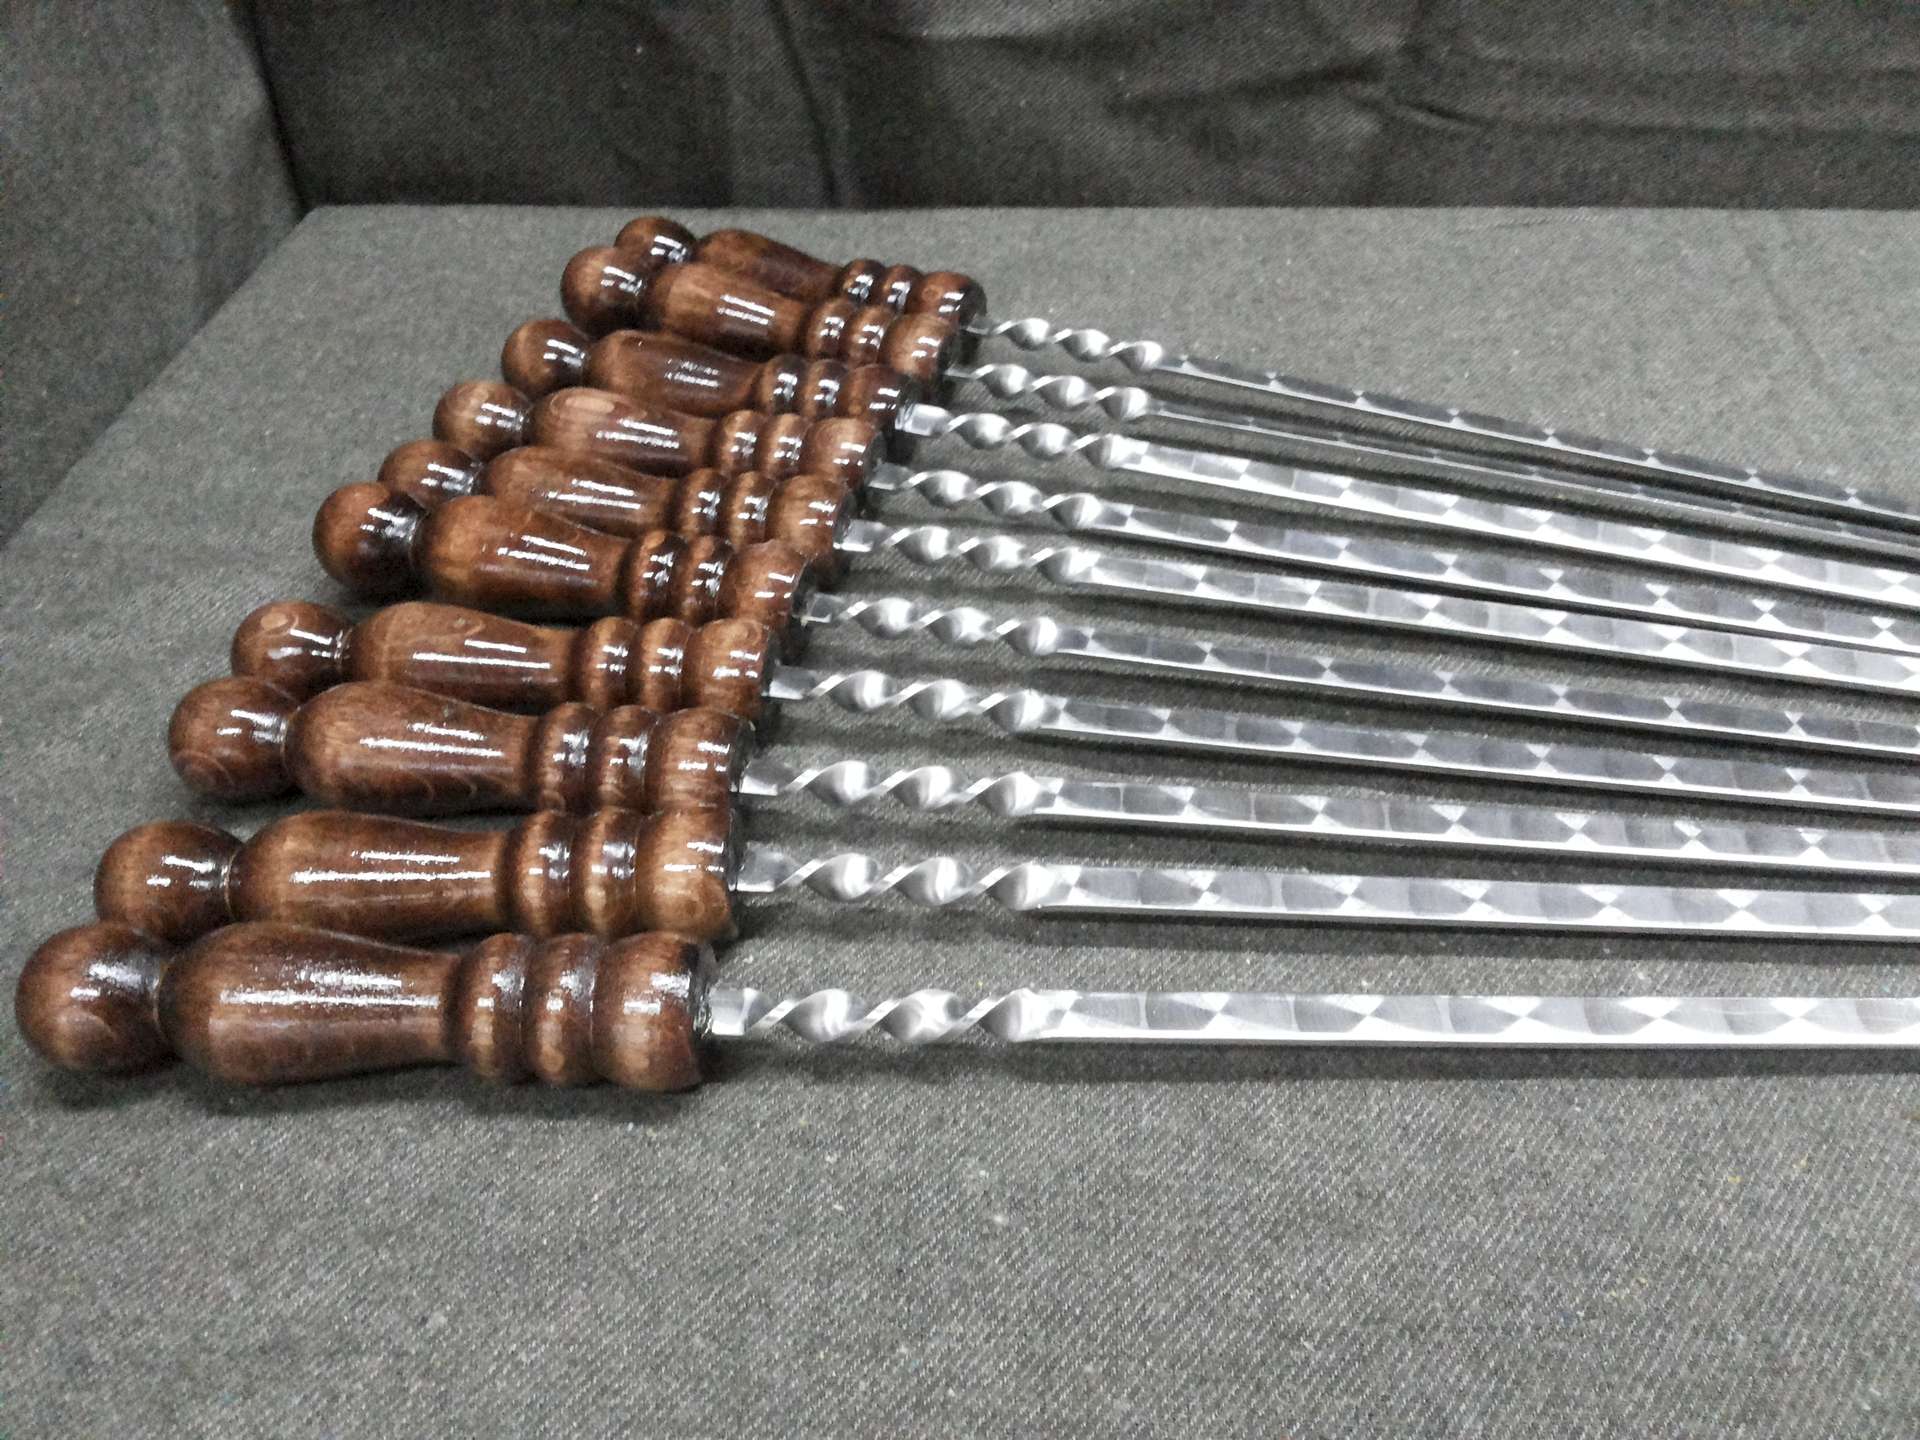
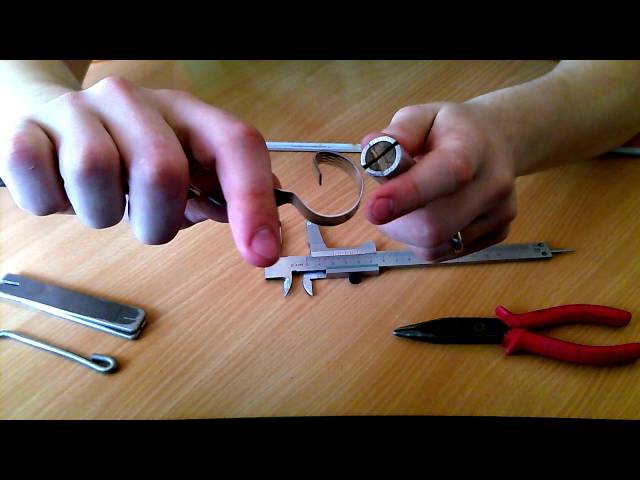
First, from a rod with a caliber of six mm with a chisel and a hammer, 6-10 lengths of 70 cm should be made. For the convenience of working with metal, it is better to preheat it in a furnace or in a divorced campfire. Then you need to wait a bit until the material cools down, otherwise it will easily break and you will have to do everything again. After the material has cooled down a bit, with the help of a hammer and an anvil you need to give the future skewer a certain shape. The thickness should be within 2.5 mm, 10 cm must be retreated from the opposite side.
This part will be a handle, it with the help of pliers should be bent in the form of a circle or in the form of a spiral. Next, the machine needs to process the main part of the skewer, the end you need to sharpen a little. After the finished product is lowered first into the source of fire, then immediately into cold water.
All stages of preparation carried out. You can begin to test obtained electric kebabs and homemade skewers and skewers.

Based on all the above information, we can draw certain conclusions.
- For self-production of an electro-angular one does not need a lot of skills and skills. Everything is quite simple. The main thing is to first create a plan on paper, and only then to put it into practice.
- It is not necessary to use solid metal on the brazier, you can use individual parts and weld them together or find the use of an old metal barrel. The best option is stainless steel. Products are not subject to corrosion, and they can be left in the open air even in rainy weather. The material is durable - the duration of its service is several decades. From an aesthetic point of view, the design will be harmoniously combined with any landscape.
- If you do not want to construct a brazier for a long time, you can purchase a ready-made and self-attach electric motor.
- As a motor, a window washer engine or a motor that drives the wipers will work. The side of rotation does not matter. The voltage should be 12 volts. Depending on the model of the motor, it can be powered by electricity or a battery.
- If there are no skewers and skewers - no problem. You can make them yourself from available tools.
- Electric charcoal grills and indoor grills are not used at home.
Independent production of an electro-angular does not take much time., and the end result will delight constantly. After all, no longer need to closely monitor the process of cooking meat. Only occasionally, to verify the correct operation of the mechanism, it is possible to conduct an inspection. If you no longer need the engine and want to fry the meat pieces in the usual way - on coals, then it is possible. The electrical part can always be removed and installed again when the need arises.
How to make a brazier with an electric drive, see the next video.


