Felling in a bowl: features of construction technology
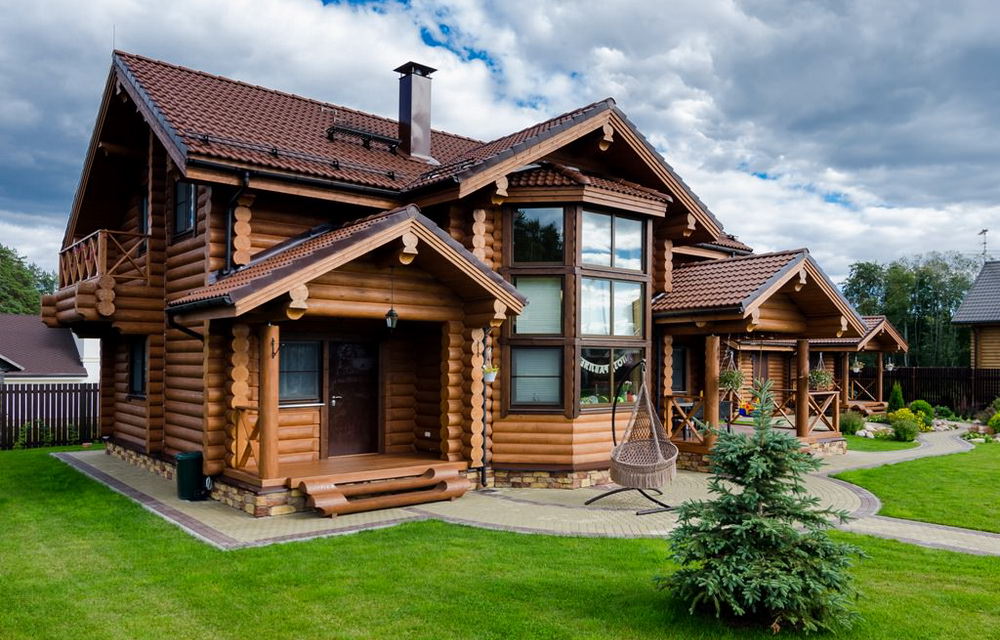
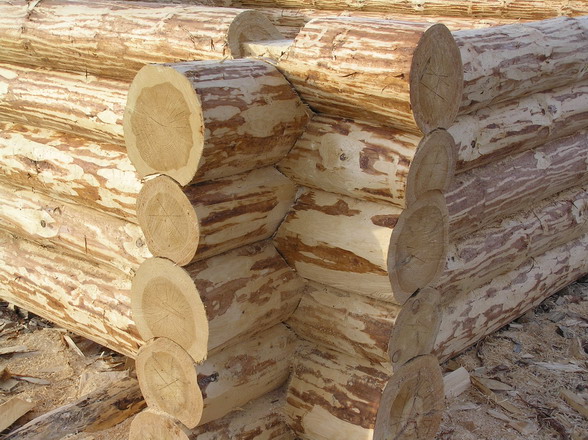
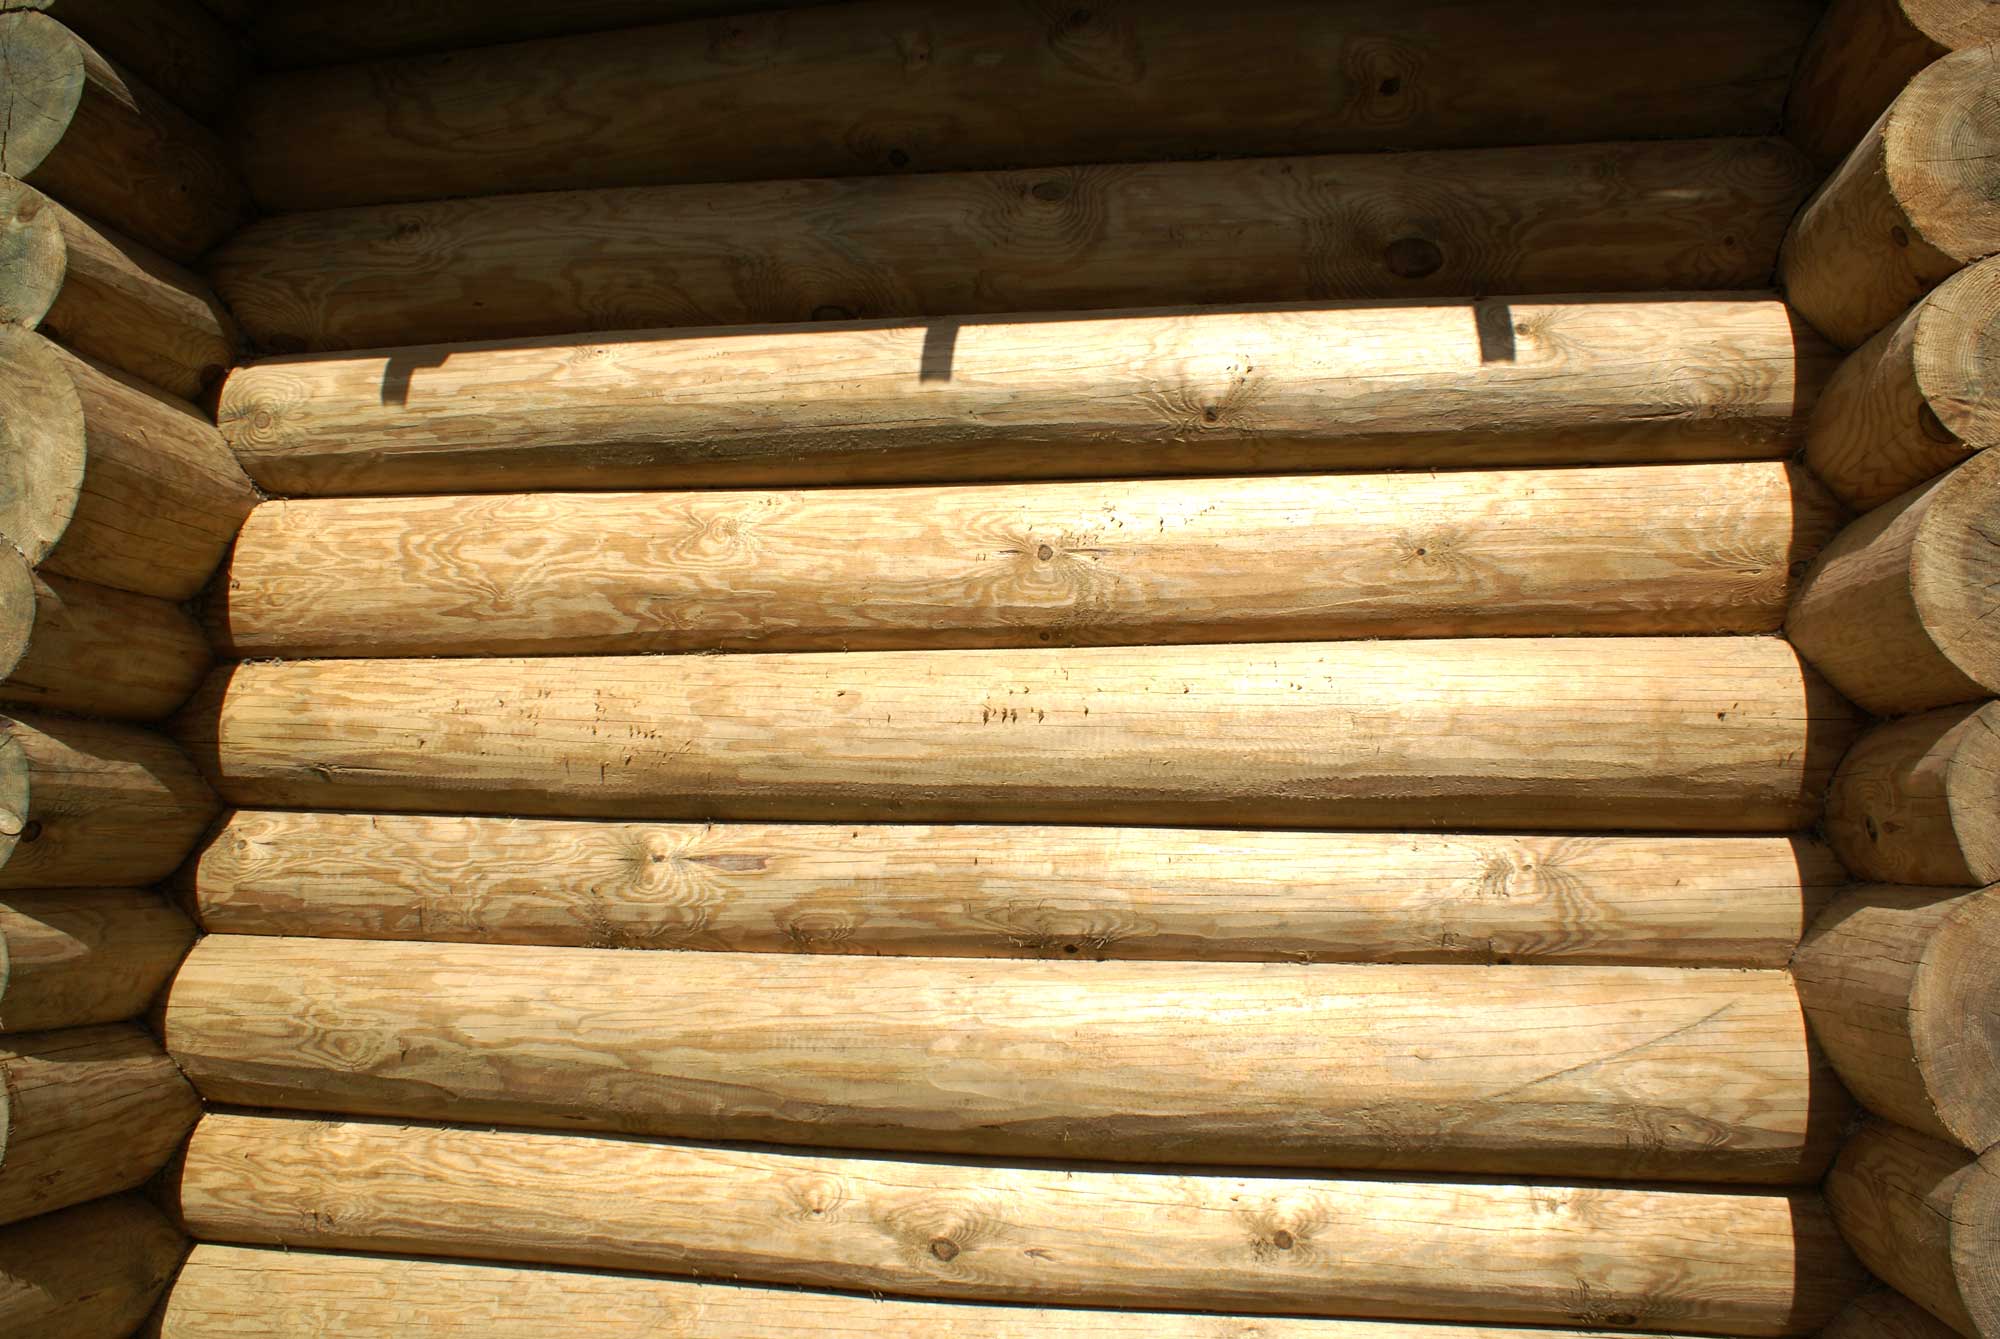
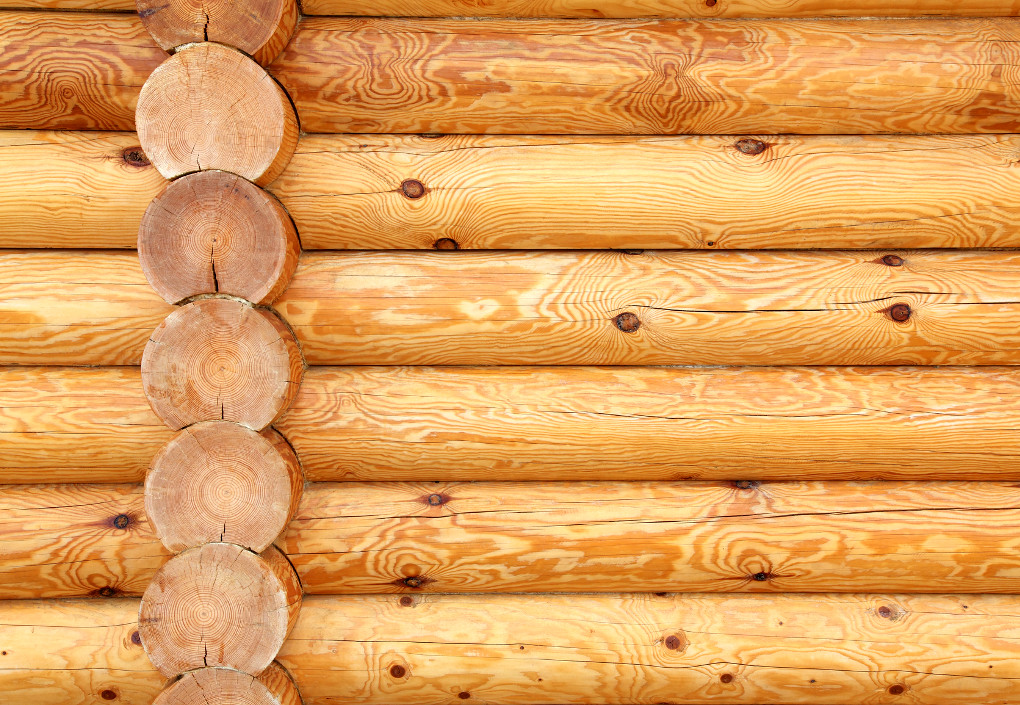
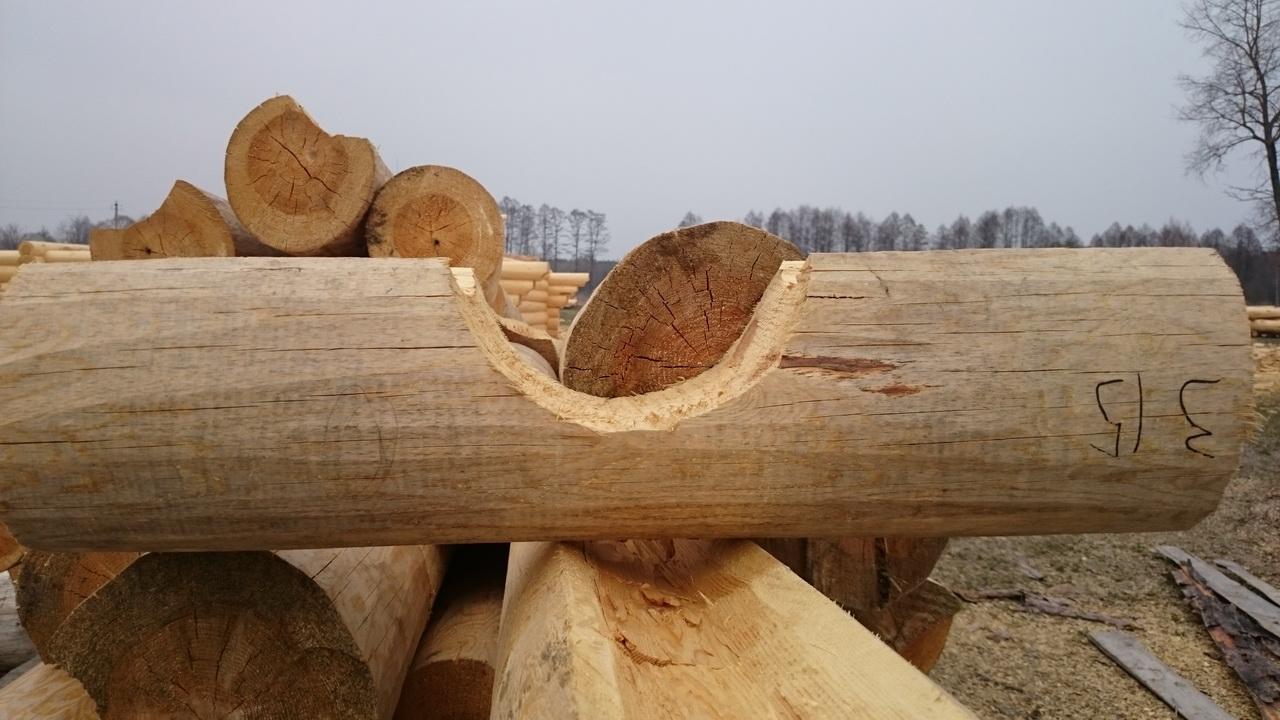
Our ancestors also preferred to build houses in Russia out of wood, and nowadays this building material has not lost its relevance. This is determined by the fact that wood is a unique, natural and environmentally friendly material. Most of the wooden buildings erected by Russian architects without the use of nails cutting into the bowl. This method received the name, as the logs are connected in a single structure. The principle of such a felling is that in the log, which is located below, a recess having a semicircular shape in the shape of a bowl is cut down. The top log fits into this bowl in such a way that the angle is straight. A frame built on this principle is not only durable and warm, but also beautiful.
Construction methods
There are two types of construction of the log house method in the bowl.
- "In Oblo" - another name is Russian felling. The bowl is carved in the lower crown. In most cases it is smooth, but sometimes a small protrusion in the form of a spike is left in the bowl to prevent a possible displacement. This method was used in the construction of most architectural monuments that have survived to our days.
- "In okhlop" or Siberian cabin. In this case, the bowl is cut in the lower part of the upper log, which is placed on the lower log. Thus the building process takes place.
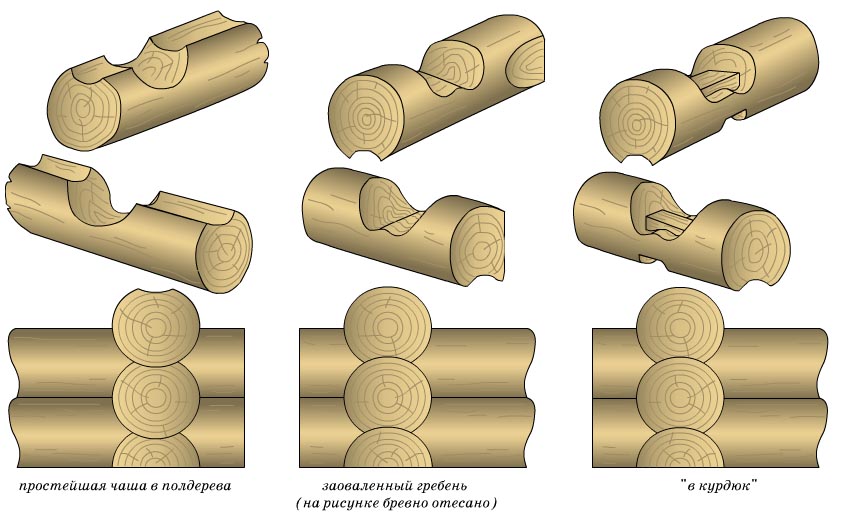
Experts recommend the use of Siberian logging in the construction of houses. They explain this by the fact that it is more reliable and better protects the house from moisture and cold. But the use of modern types of heat and waterproofing, as well as competent heat engineering calculation allows to minimize this disadvantage.
Learning to chop your own hands in a Canadian cup is a snap if you follow the recommendations of experts. The article provides step-by-step instructions on how to make a log house, its correct size, for example, 6x6 cm, work technology and technology, how to sheathe this construction material.
Advantages of the construction of the felling method in the bowl.
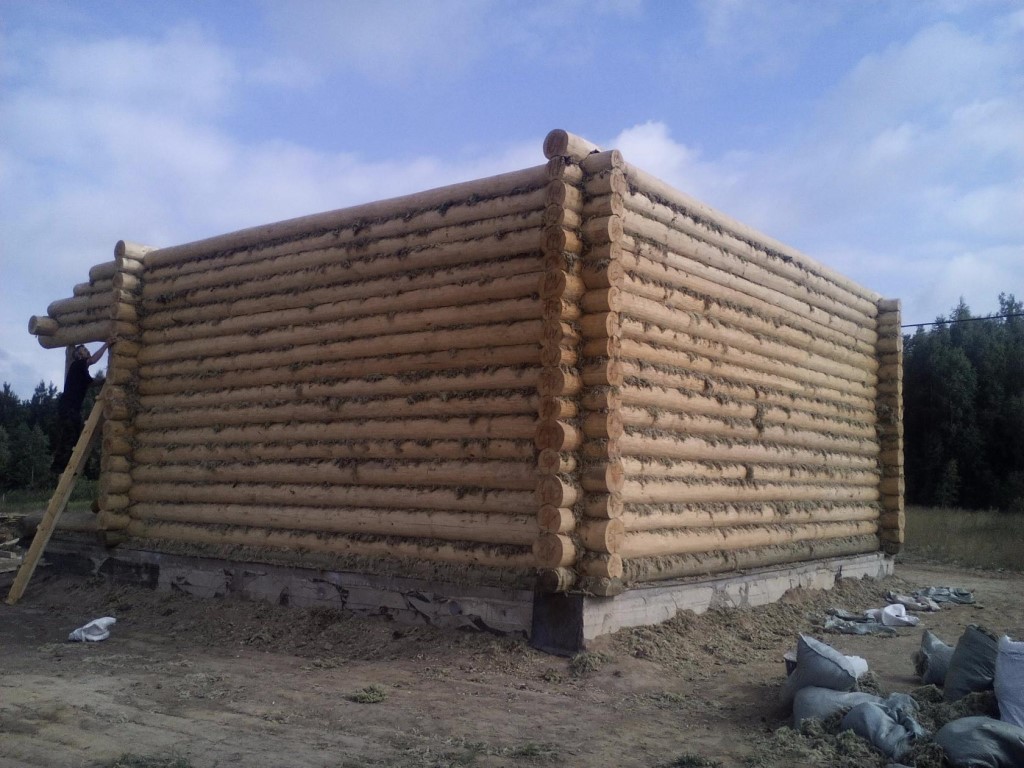
- It turns out very strong knot mount.As a result, the design is very stable.
- Such houses have a high degree of thermal insulation, as the corners are not windable.
- Houses built in this way are environmentally friendly.
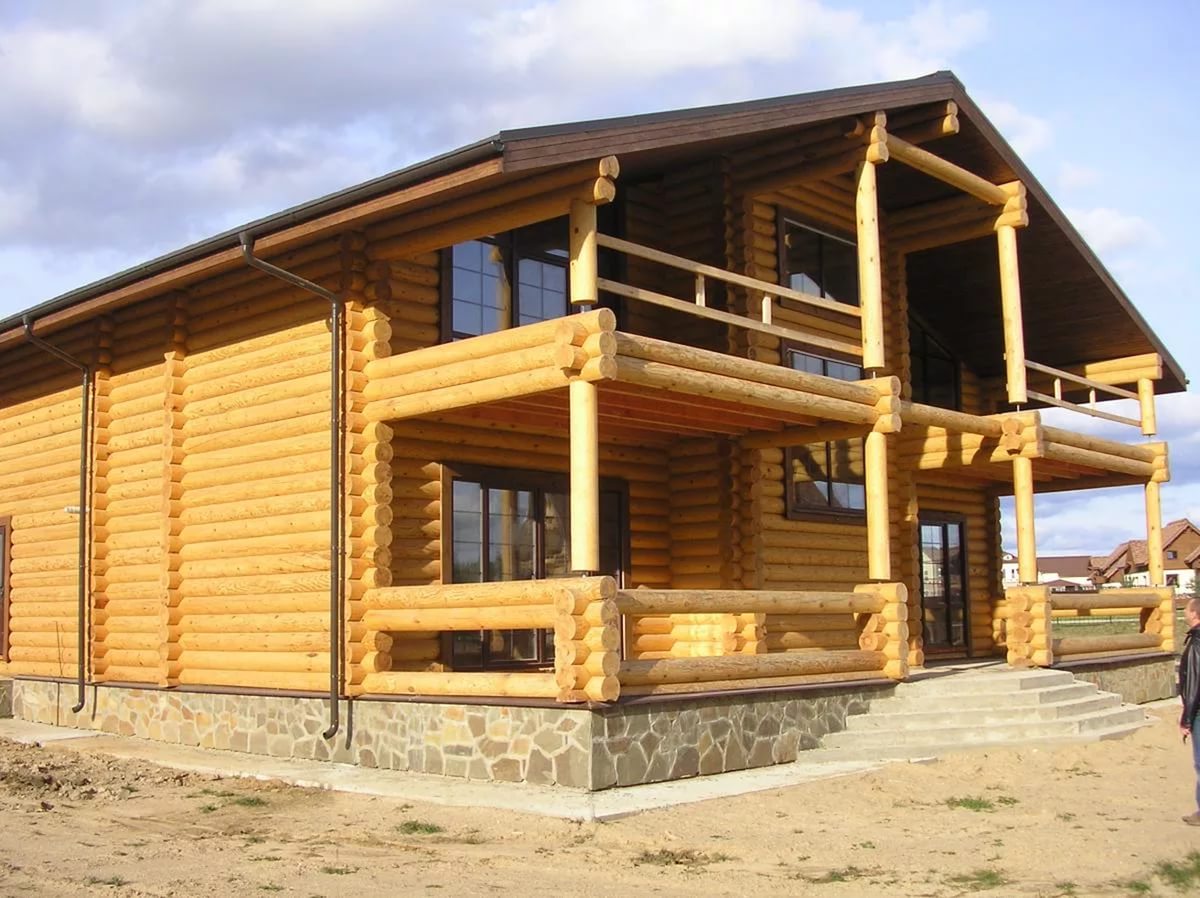
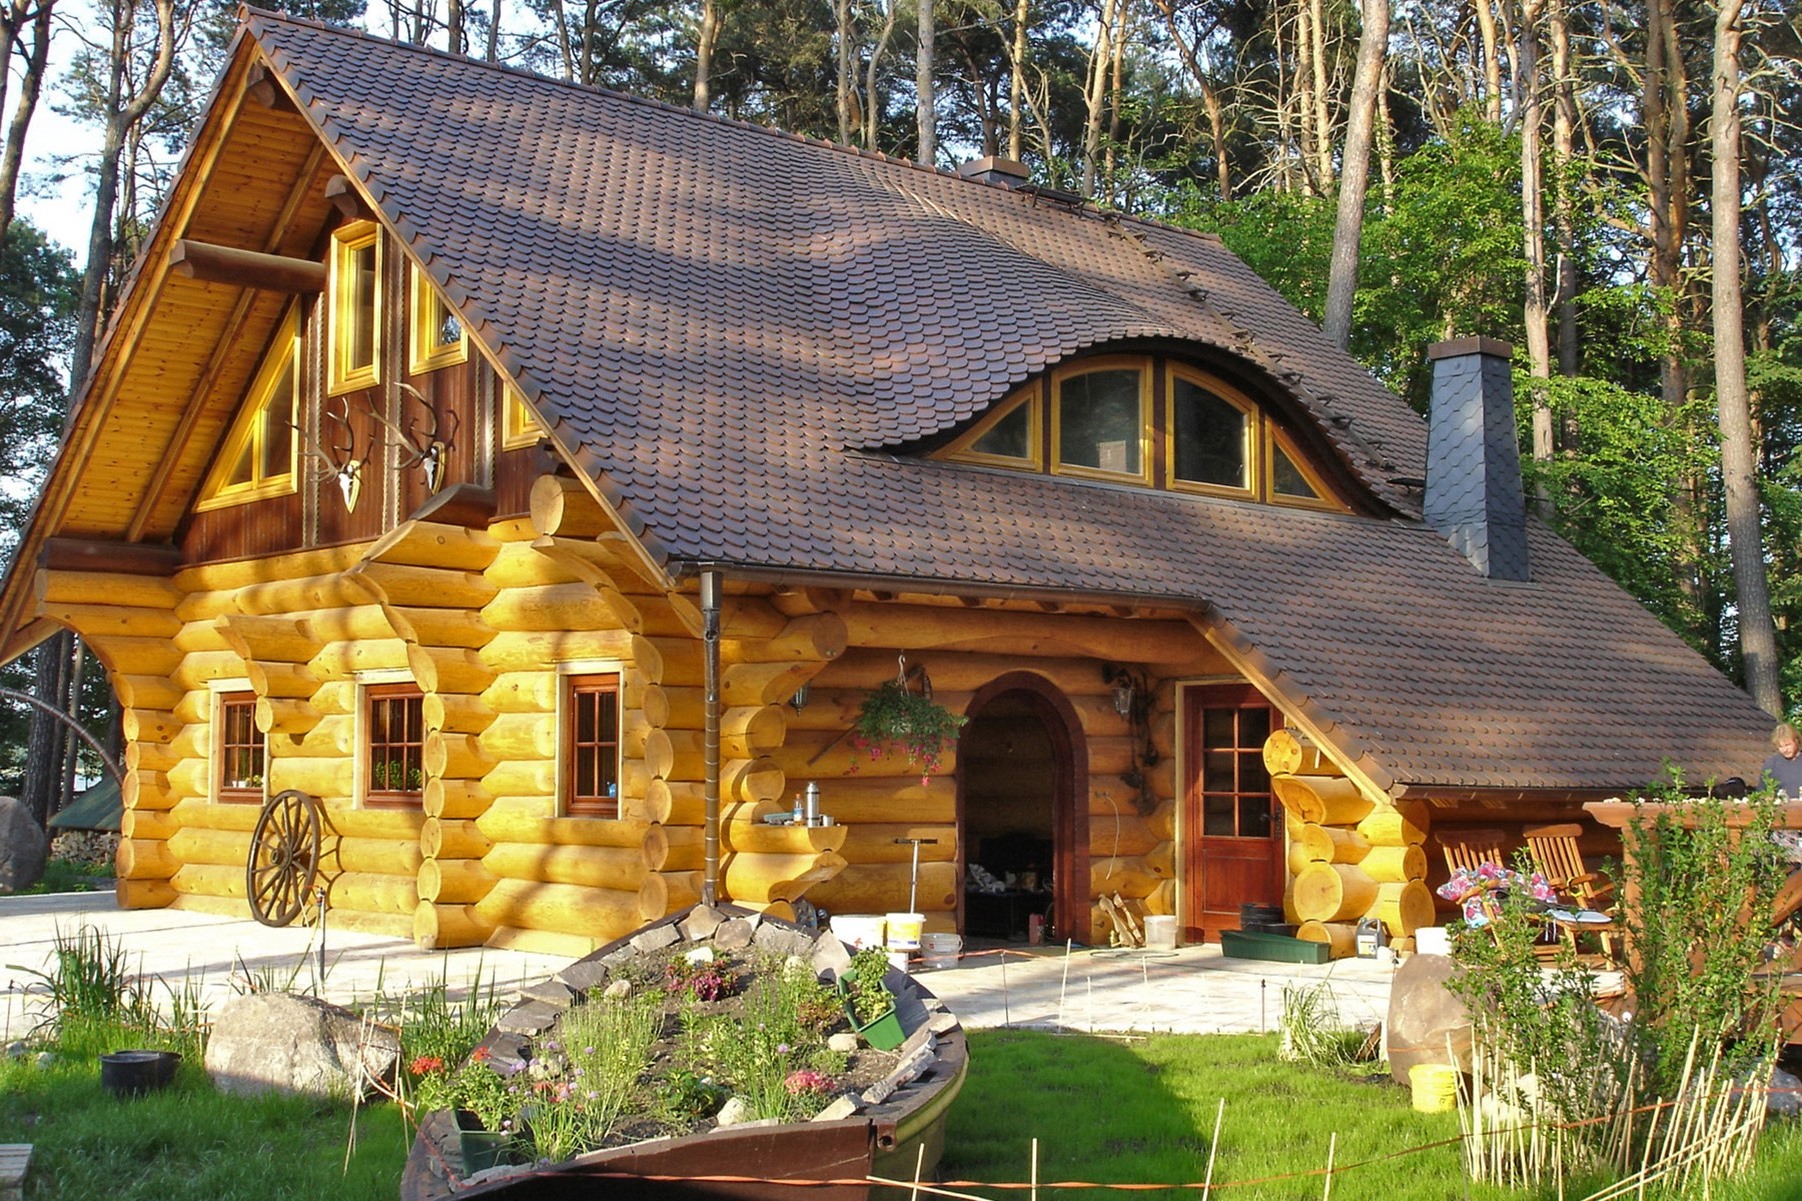
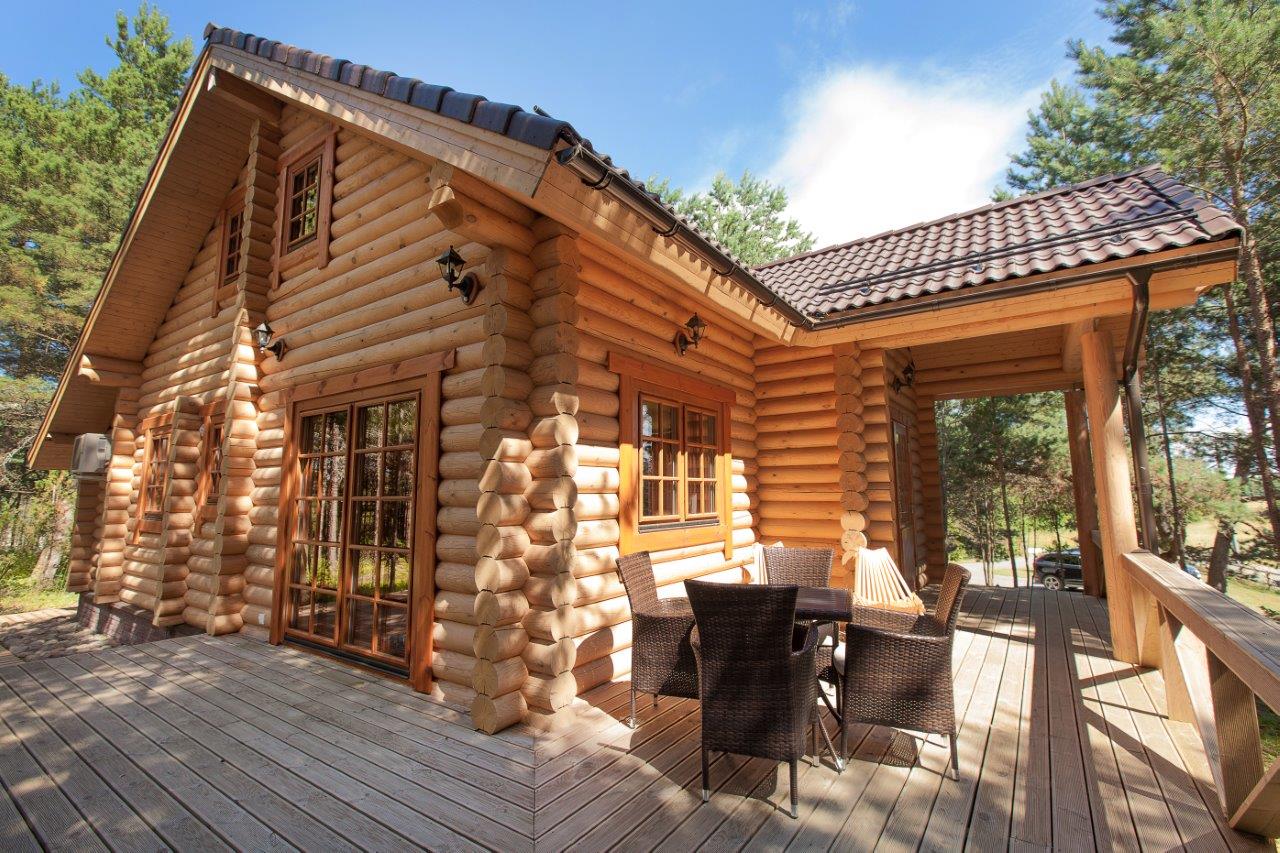
- The result is a beautiful and stately building of wood.
- No additional finishing is required, as the tree itself is a beautiful material.
- The stability of the structure allows the erection of several floors.
If we compare the construction method in the paw and in the bowl, then it is better to use the second construction method, since it proved itself from the best side, and our ancestors built the houses using this method.
It is worth noting the disadvantages of the method.
- Only professionals can build houses in this way, as this is a rather complicated job requiring professional skills.
- Difficulties arise in the external decoration of the log house, since the corners protrude for a considerable distance.
- The useful length of the rims is significantly reduced due to the presence of protruding angles, which leads to a significant increase in the cost of log. This disadvantage acts as the main one when choosing the method of construction in the paw or in the bowl. But the house, cut into the paw,requires additional thermal insulation, therefore, significant savings on this will not work. In addition, a log cabin built into a paw is not sufficiently stable.
The choice of material for construction
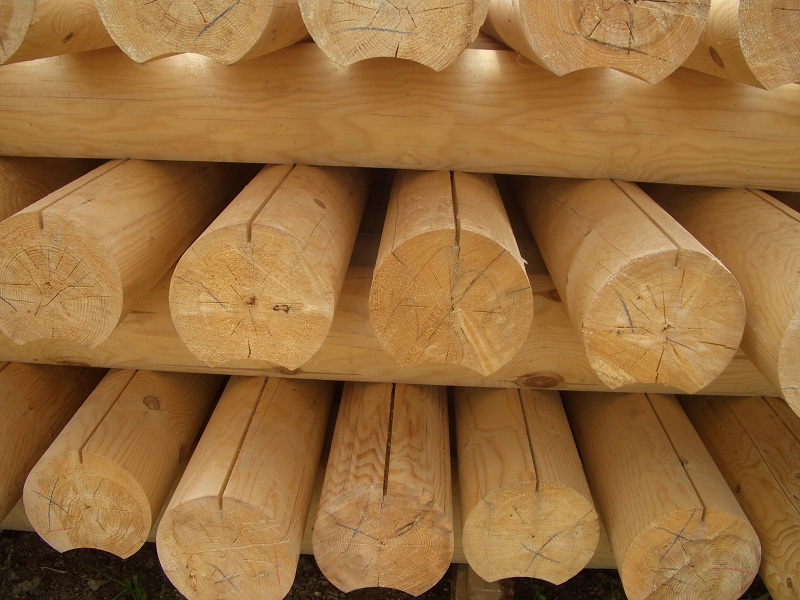
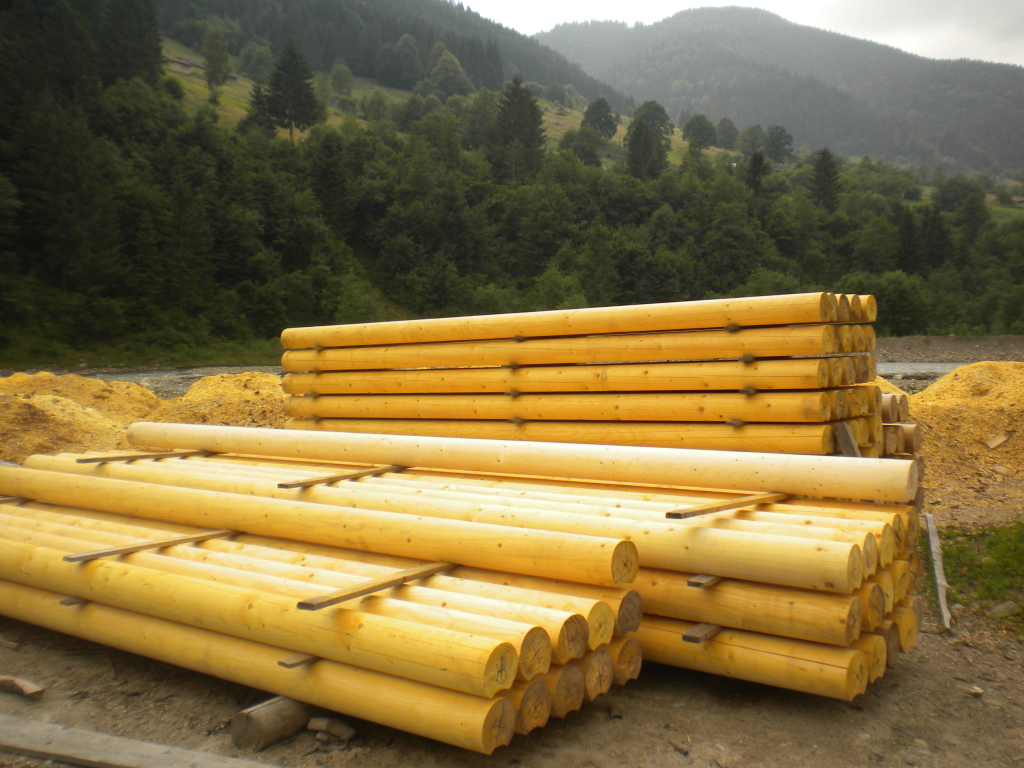
Coniferous materials are used as a building material in the construction of a log house by the method into a bowl. In most cases, pine is chosen for construction., which has a smooth trunk, the same thickness, a small number of defects, as well as resistance to rotting. Preference is given to material harvested in the winter in the northern latitudes. This is due to the fact that in winter a small amount of sap is contained in the tree, so the workpieces crack less when dried.
Building material should have approximately equal dimensions.
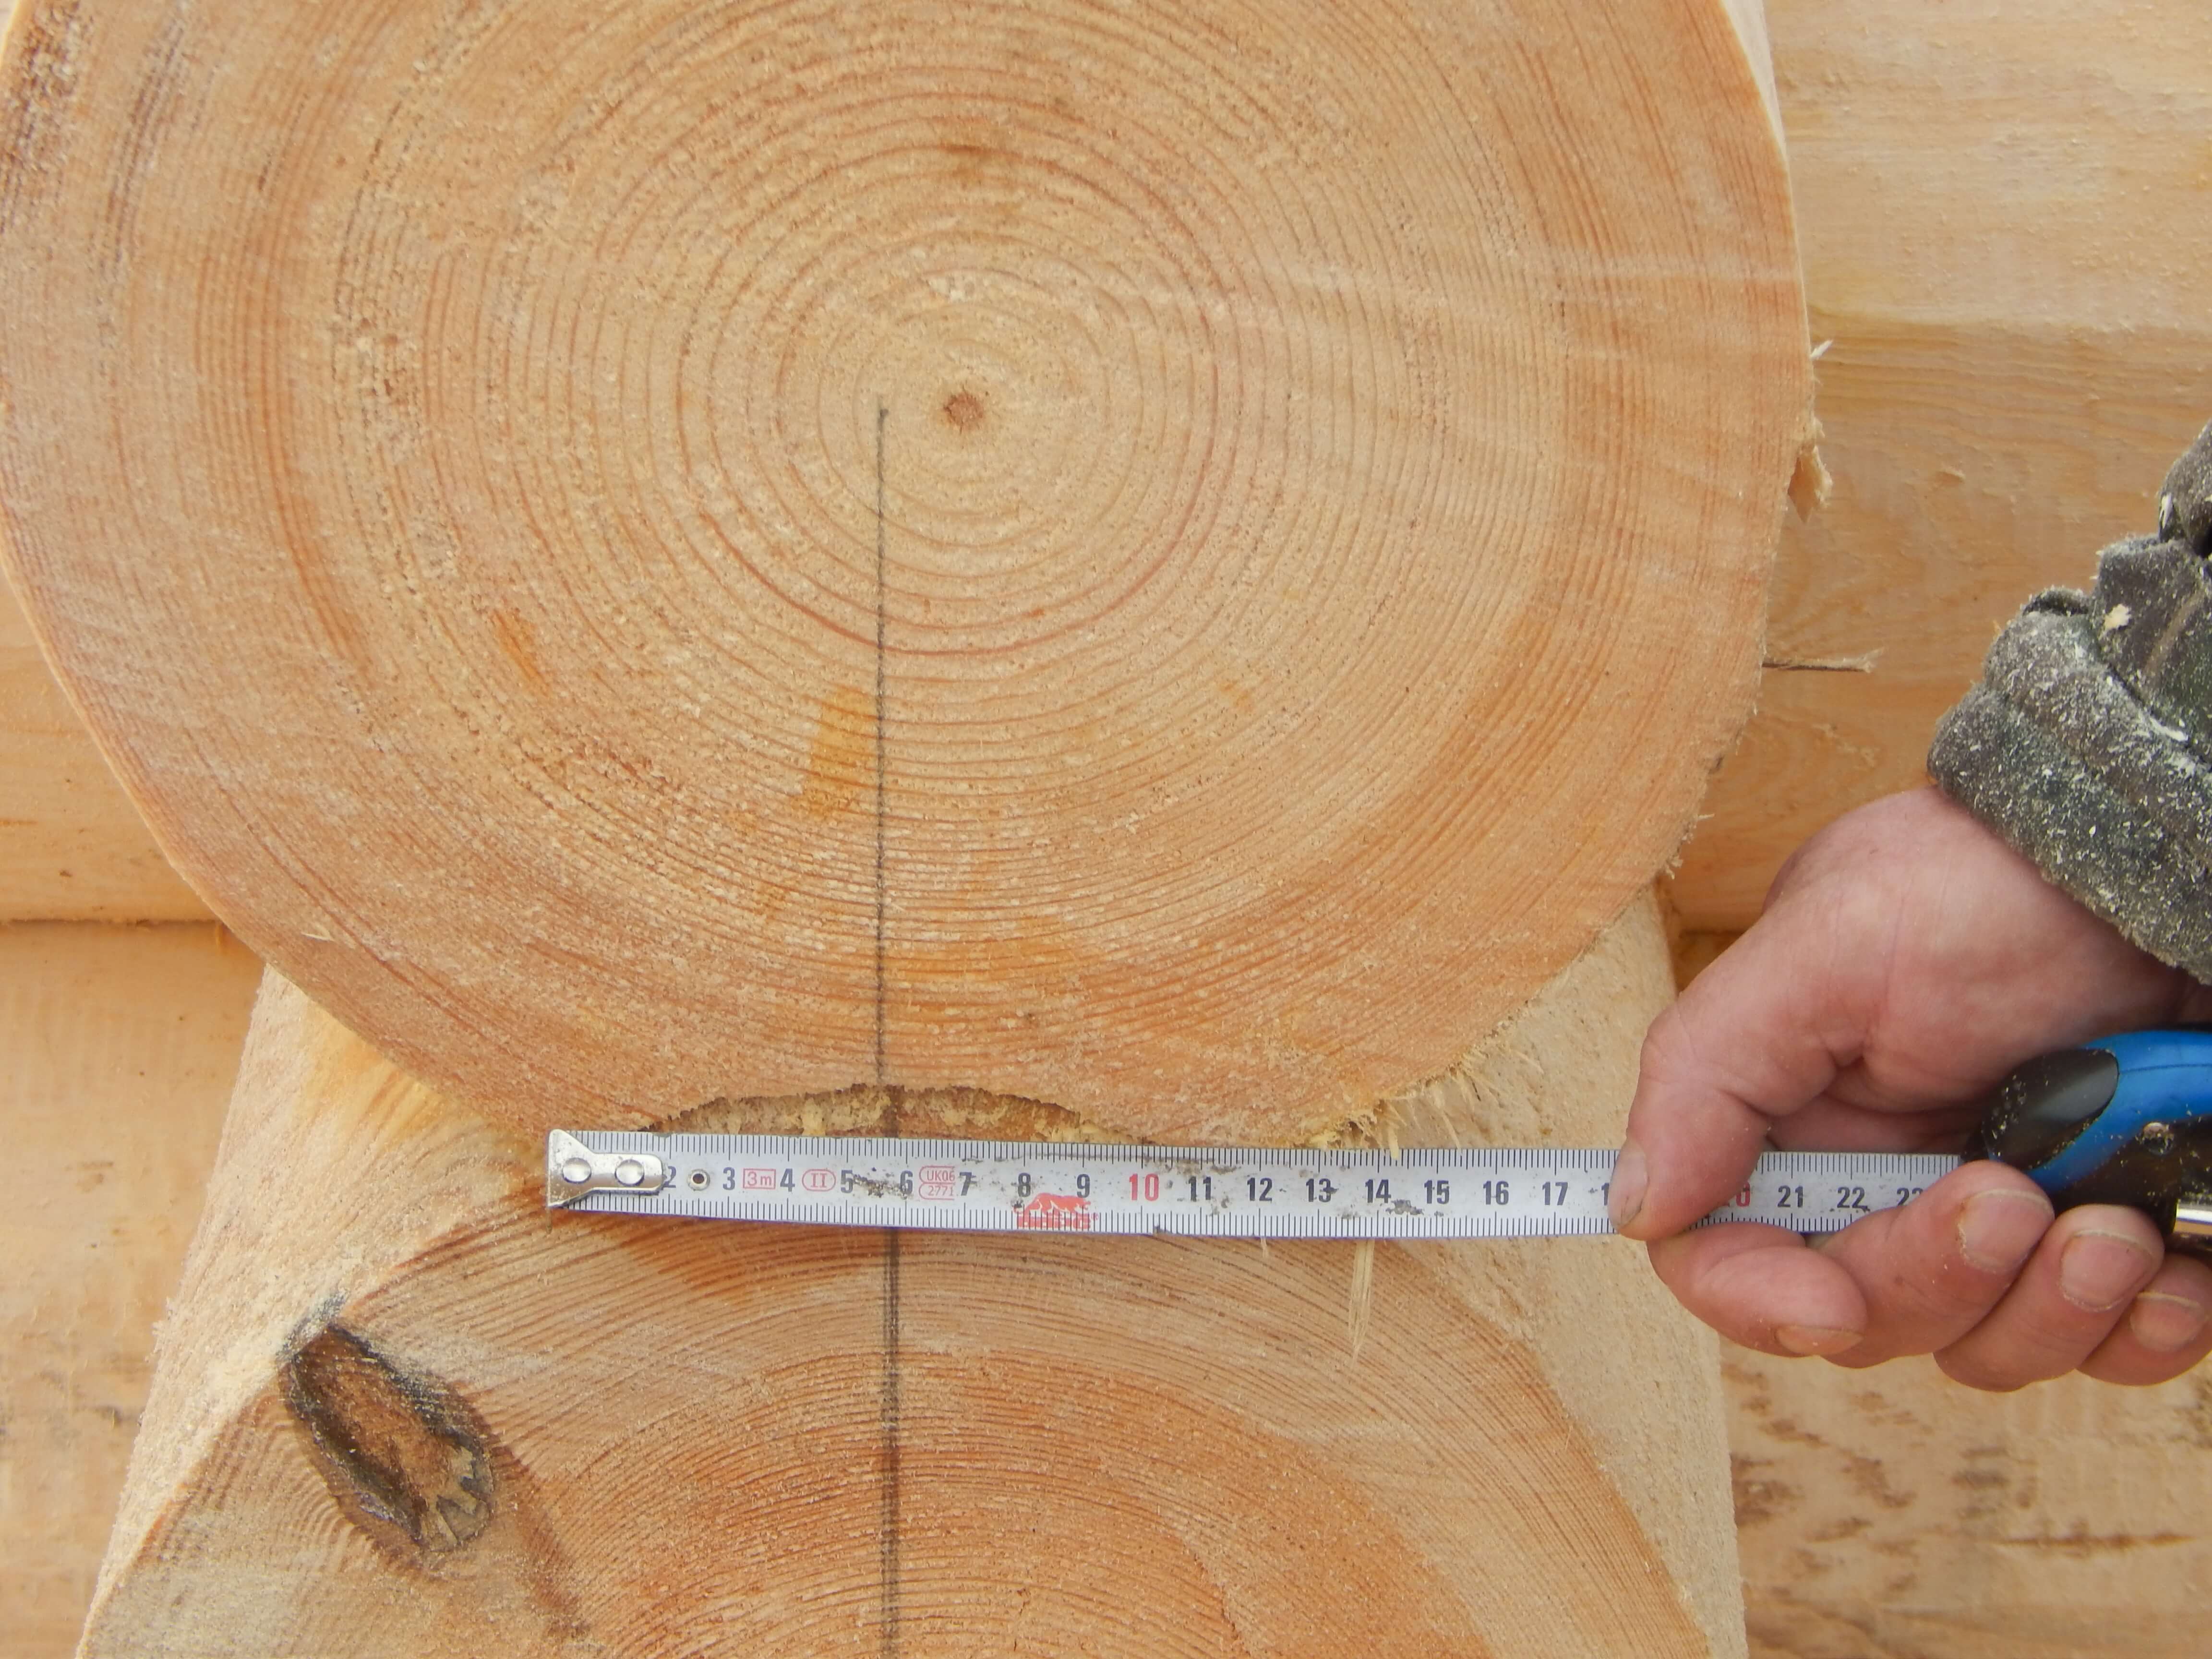
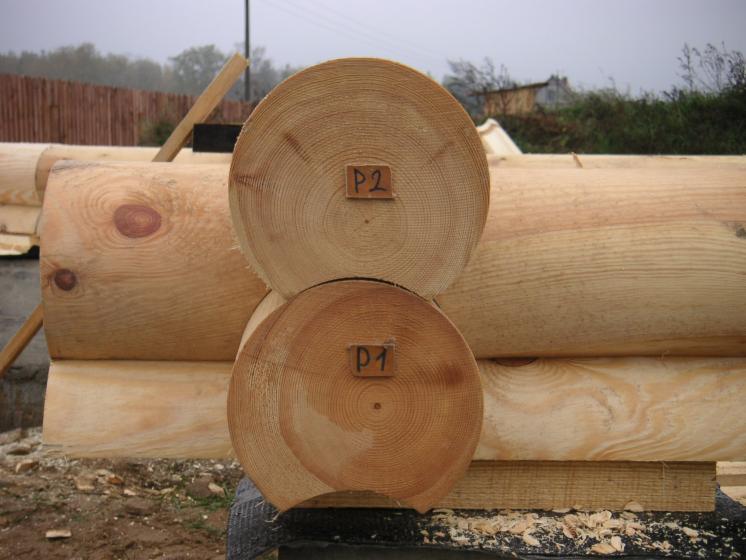
Professionals recommend choosing a pine thickness equal to or greater than 22 cm. The larger the billet diameter, the better, as the number of key elements in a wooden house decreases, and the insulation in the house increases.
Billets are subjected to careful processing, for this they are sanded and stosed. In order for the log house to be resistant to climatic conditions, they try to orient the material along annual rings. Material that has thin rings is placed outside, while those with thick rings are placed inside.
Thus prepared material is subjected to drying, covering it from precipitation. To dry the material requires at least six months.

Marking methods
An important role in the construction of the log house has the correct markup. Specialists for marking use a tool called the trait. This tool has a handle and two rigid plates, the ends of which are sharpened. The distance between the plates varies. With the help of a line, two parallel lines can be drawn.
To perform the marking, two logs are laid on the ground, observing the parallelism between them. It is necessary that the edge of the third log, which is laid across parallel logs, is positioned so that the distance from the edge of the log to the bowl is at least 25 cm. Check that all logs are placed correctly in the crown. To facilitate the markup, all the logs are braced together. In the event that the bowl is cut in the upper log, the line is pushed so that the distance between its plates is equal to half the thickness of the lower log.
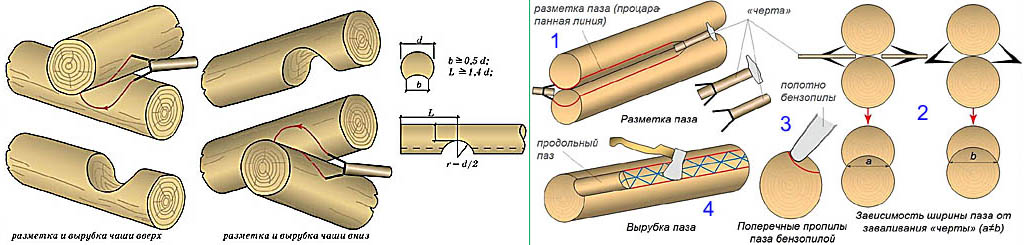
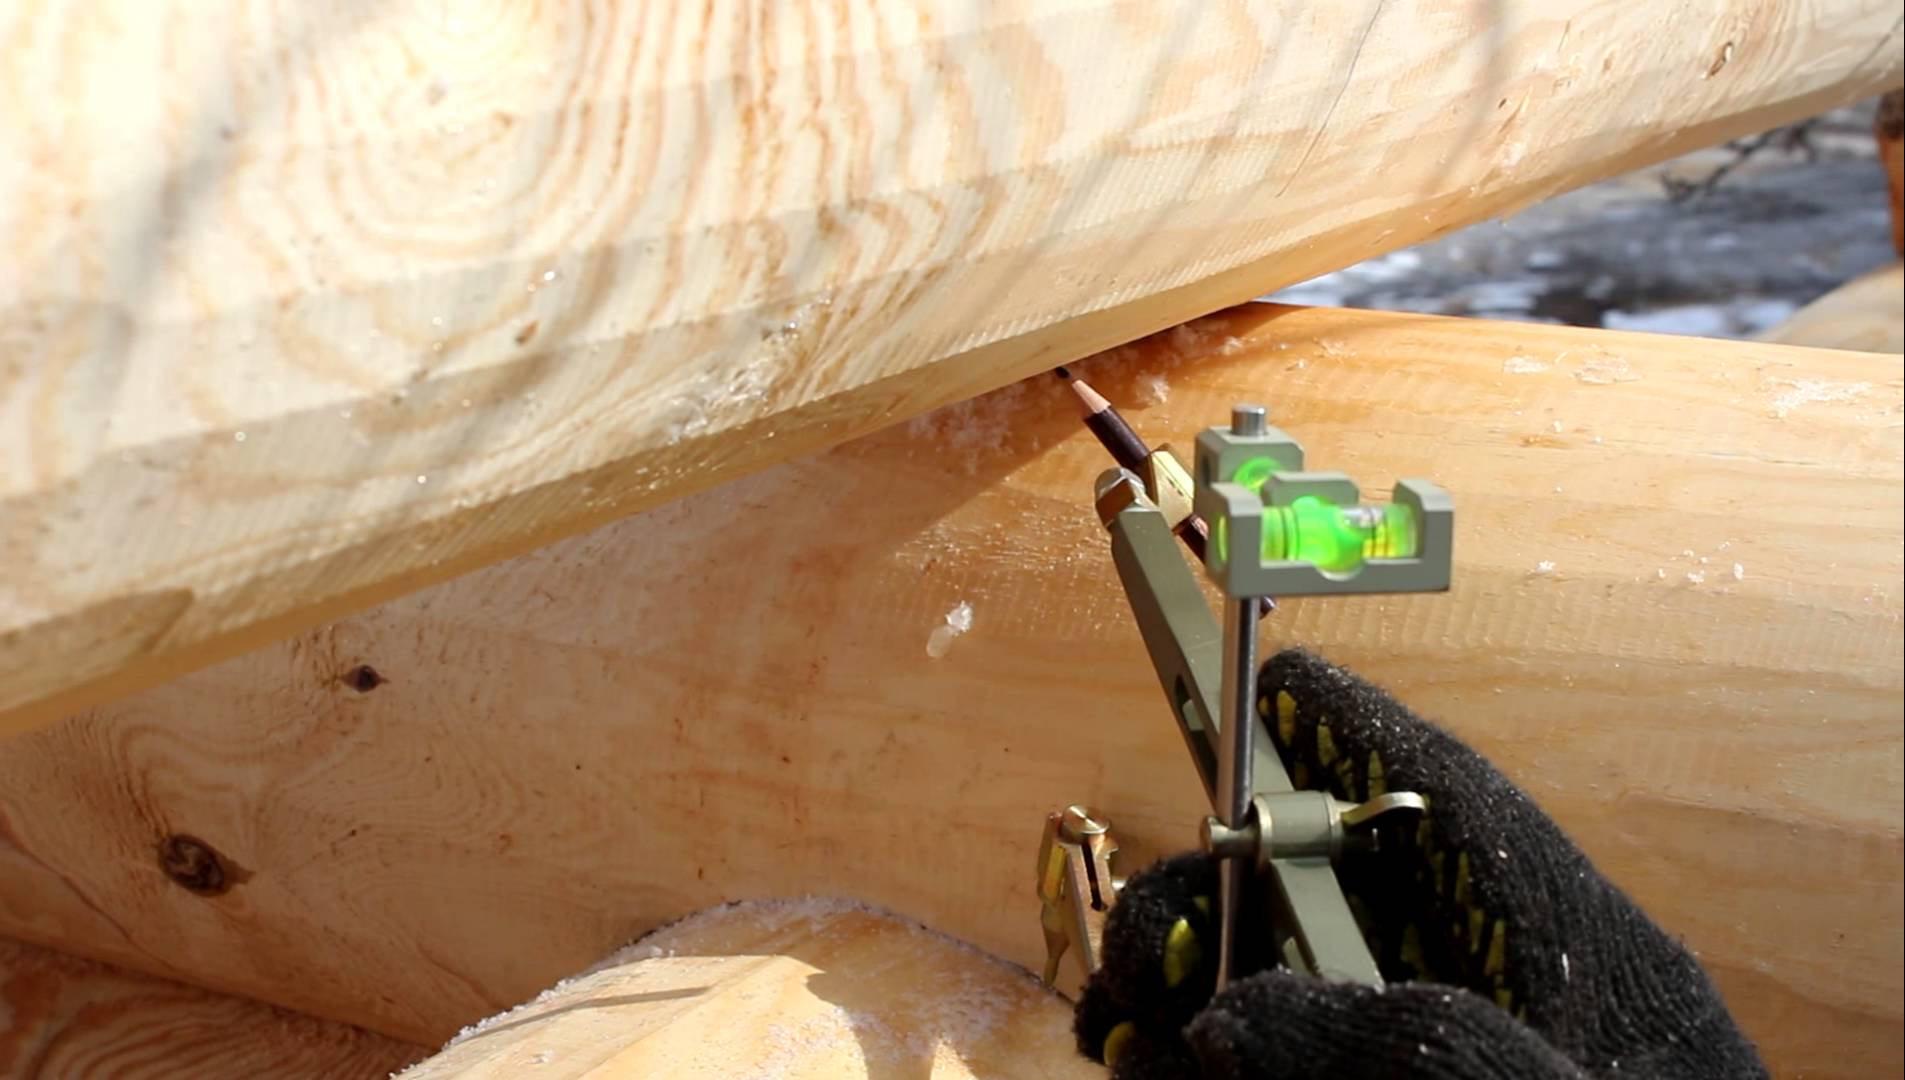
When working on the markup, they try to have one dashboard on the upper log and the second one to rest on the lower log.In order to outline the contour of the bowl, one leg of the tool touches the arc of the log located below, while the other leg marks on the log above, parallel to the line. Thus, the contour of the future bowl will be obtained. They mark out a special semicircular groove along the log so that the logs are in close contact with each other.
In the event that the bowl is cut in a log located at the bottom, one plate of the line outlines the lower part of the log located at the top, and the second plate outlines the bottom element. Between the plates of the tool, a distance equal to the thickness of the log located above is selected.
Experience requires experience, so sometimes traditional markup tools are used.
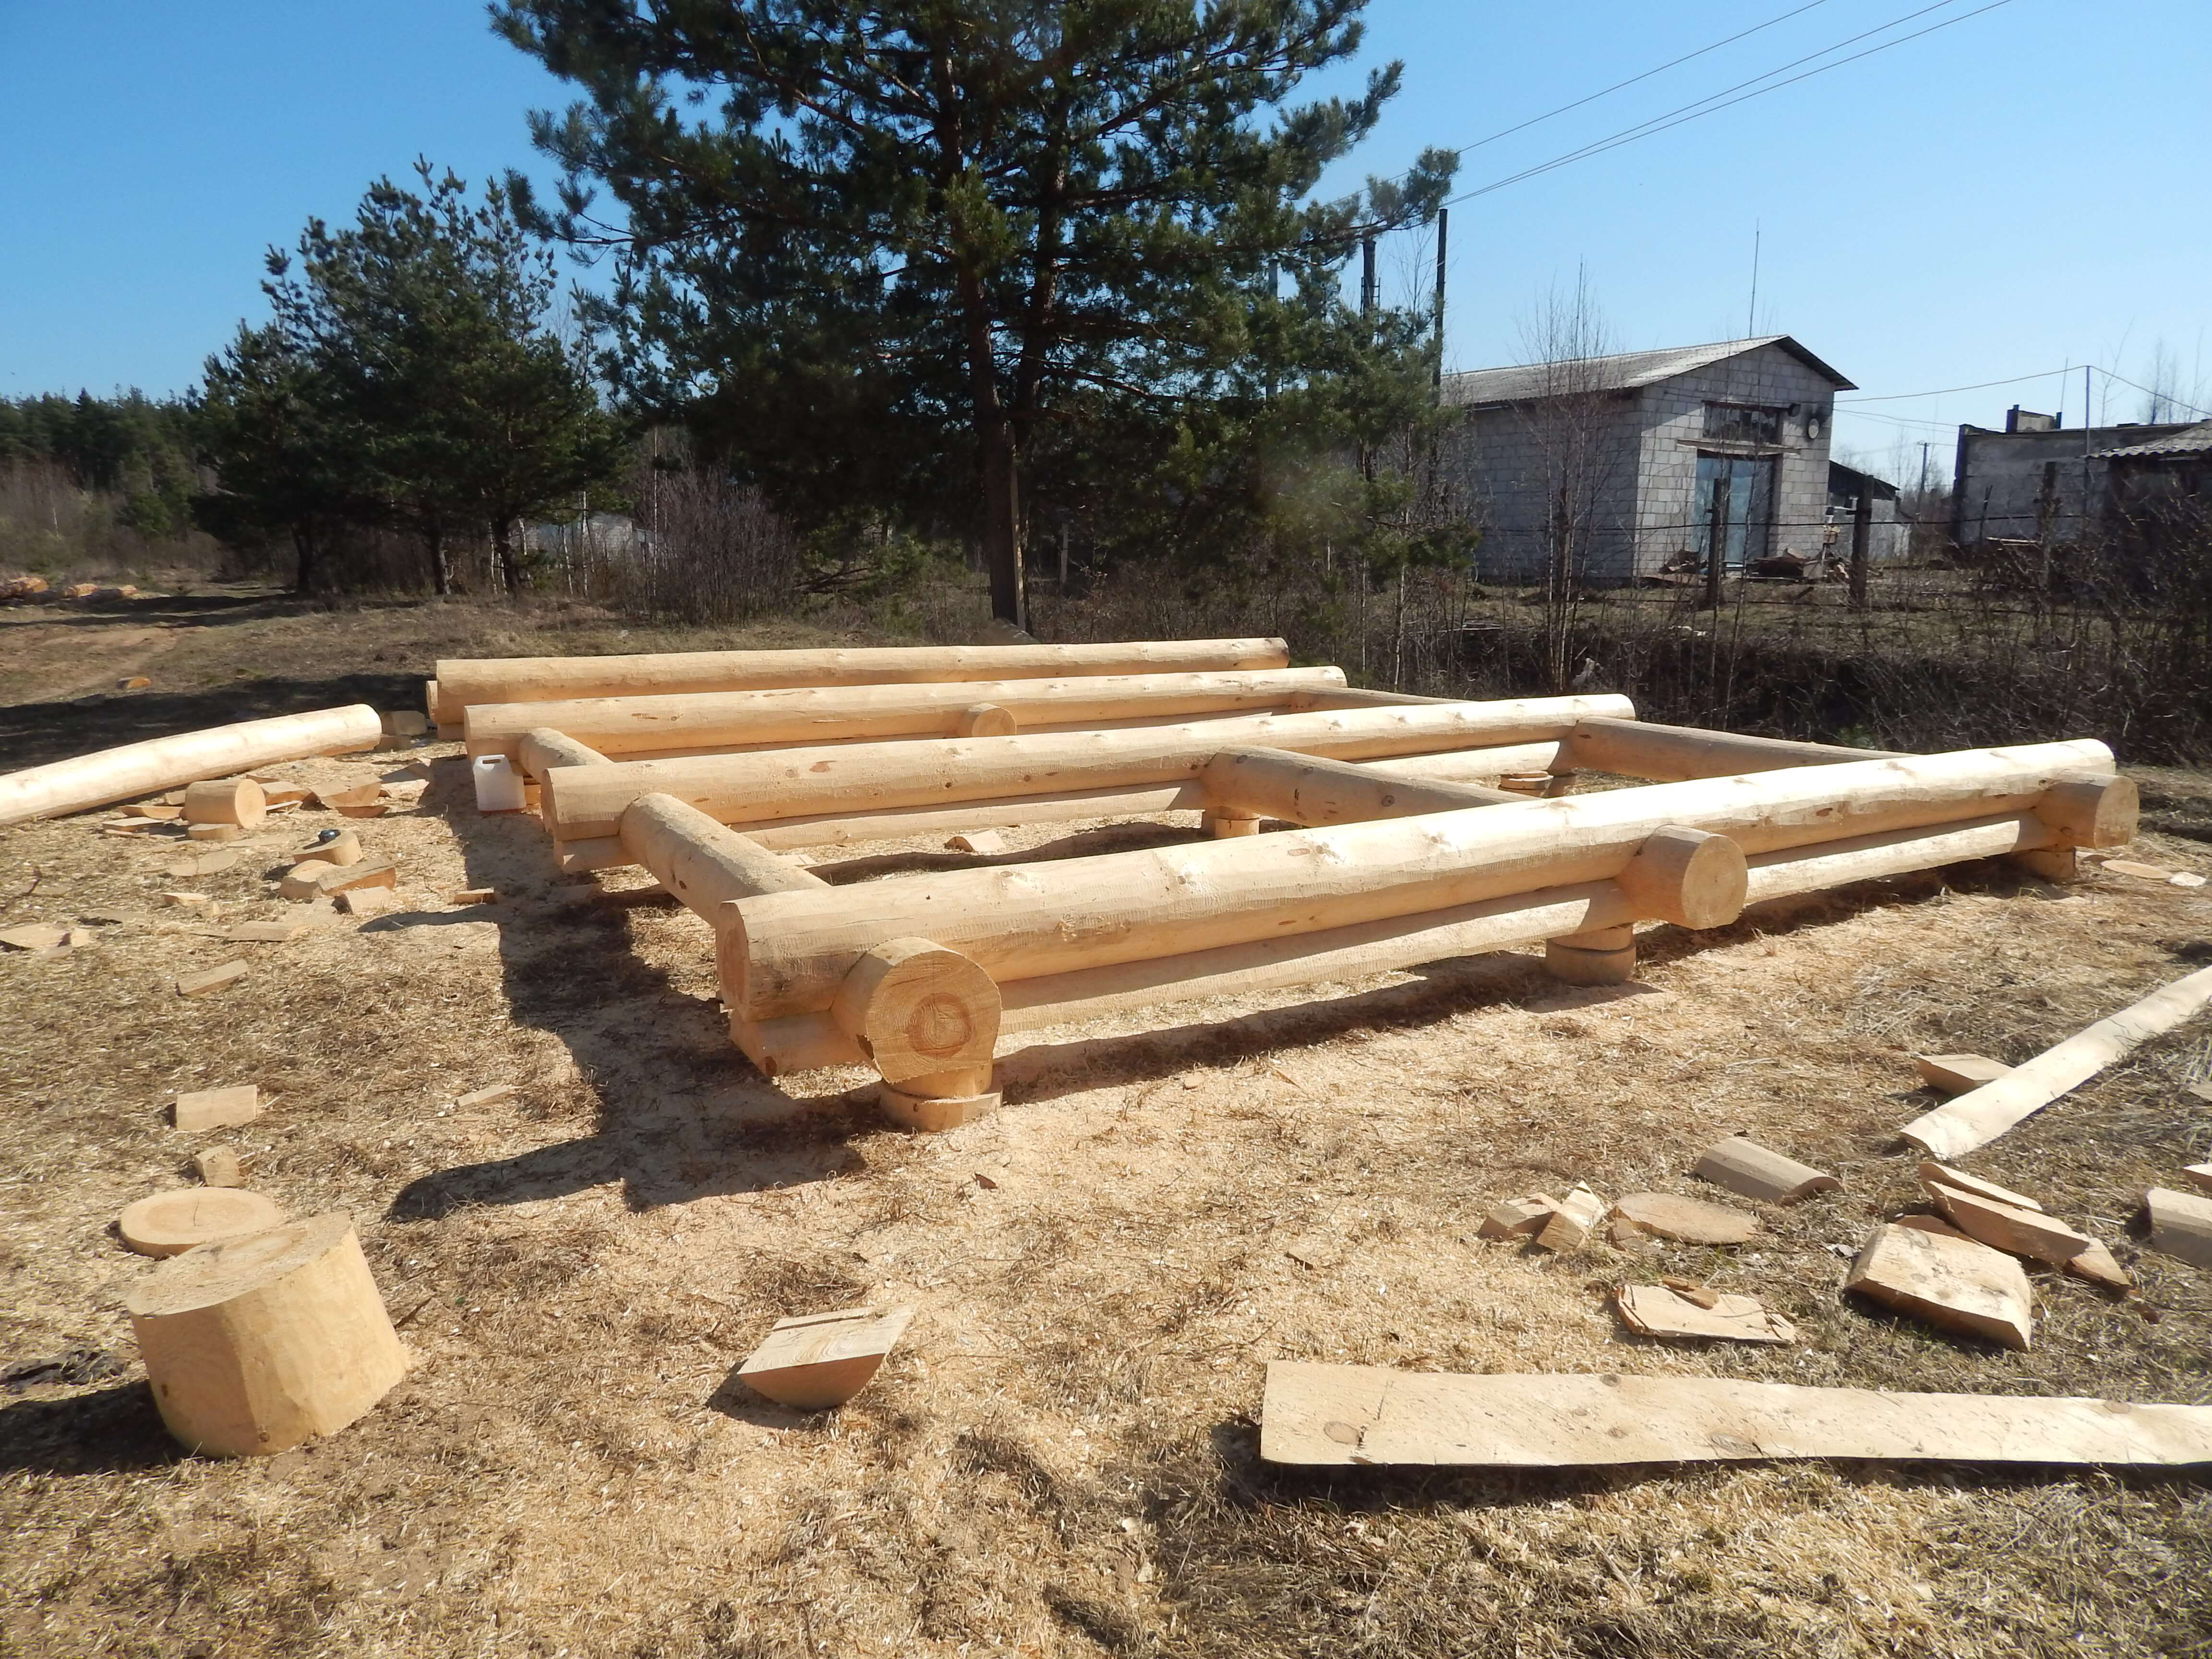
The process of assembling a log house using the method in the lower bowl.
- To assemble the structure, it is first necessary to prepare the foundation. Waterproofing is laid on the upper surface of the foundation.
- On the material of waterproofing make laying boards of larch. These boards are immersed in an antiseptic solution. Then control the horizontal level of the laid boards with a level.
- Make the installation of logs on the boards along the sides of the house under construction. Ensure that the distance between them is the same and equal to the length of the transverse log. The length is measured using a tape measure, and horizontal position is determined using a level.
- After checking the structure with the help of the level, two transverse logs are laid on it.
- Logging is done using a carpenter's dash.
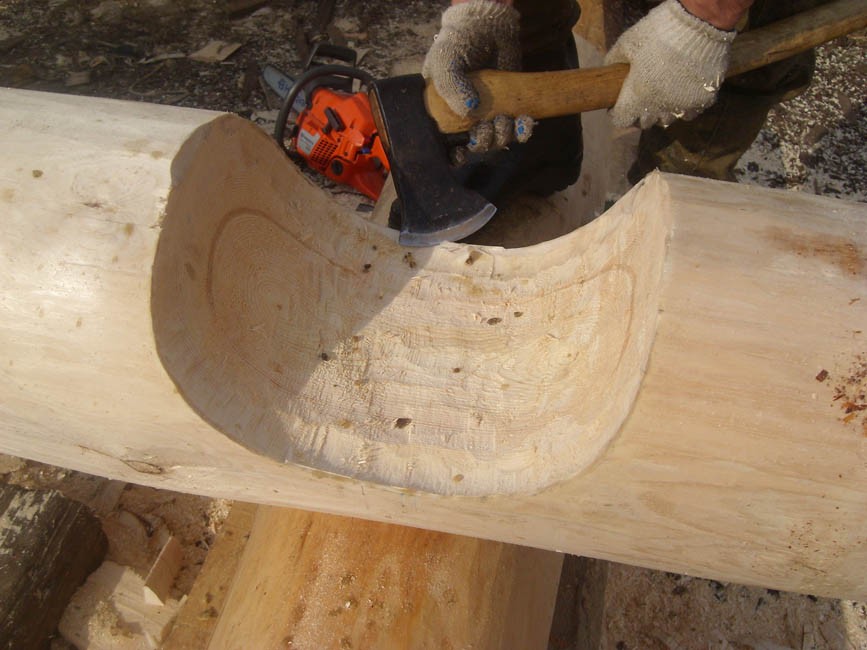
- Start cutting the bowl. Cut out the recess with a saw and modify with an ax or chisel. Handle the bottom of the recess in such a way that it is as smooth as possible, so that when the top element is laid, the gaps are minimal.
- Check the degree of conjugation of logs, after which the upper log is removed. Then a semicircular longitudinal groove of small depth is cut down in the lower log. This work is done with a rounded ax.
- After the lower crown is worked out, they proceed to work on the second crown. Make laying logs komlemi and maintain their horizontal position.
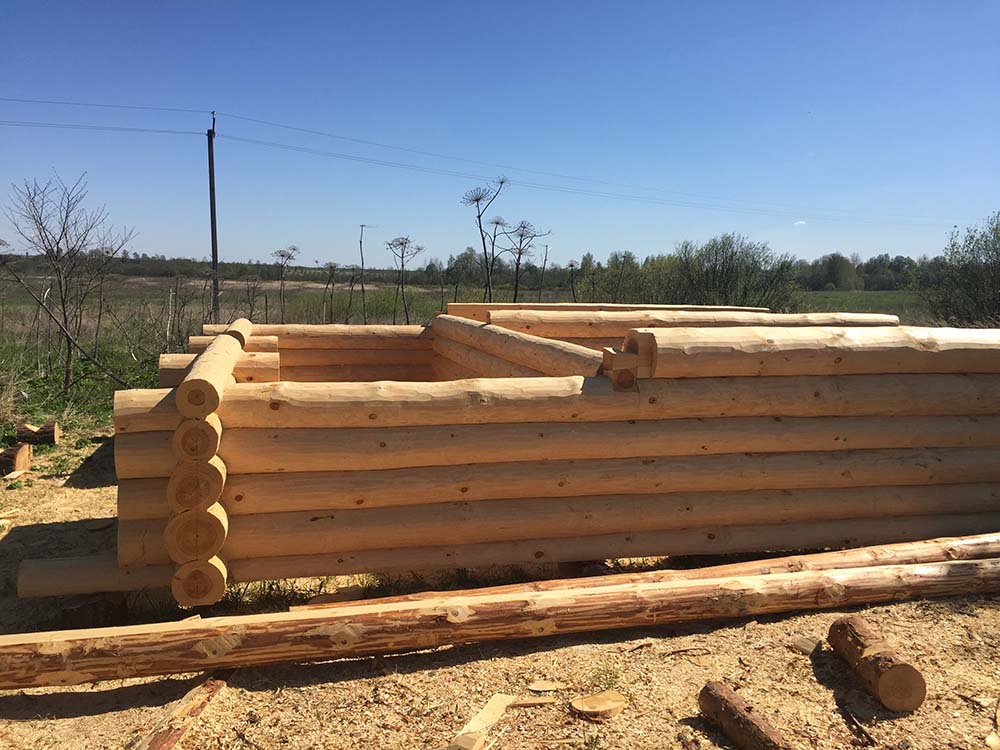

- Work is underway on the following crown. Make laying insulation in a longitudinal groove. Currently, jute or linen ribbons are used as insulation.In the past, our ancestors used moss for these purposes. For a more snug fit of the upper logs, tap on it with a wooden chock. When laying the crowns carefully ensure that they are horizontal and vertical.
- Using special clamps, in staggered order, they fix the laid crowns. Clamps driven into the prepared holes with a sledgehammer. Noglins or “Force” spring assemblies are used as clamps.
- After the work on the assembly is finished, the caulker of all seams is produced, and the excess insulation is removed. After about six months, this operation is repeated.
- When all work is completed, all wooden elements of the structure are antiseptic. This procedure is repeated twice.

Useful tips
- Often a log house is first built on bare ground, and the horizontal position is checked using the building level. It is necessary to ensure the horizontal position of logs laid at the bottom of the log house, while using boards of the desired thickness.
- If the building material is a rounded log of the same diameter, then it will be convenient to use a template made of tin, which simulates the upper log when working on cutting the bowl in the lower log.This template will allow not to repeatedly raise heavy logs during the construction of the log house.

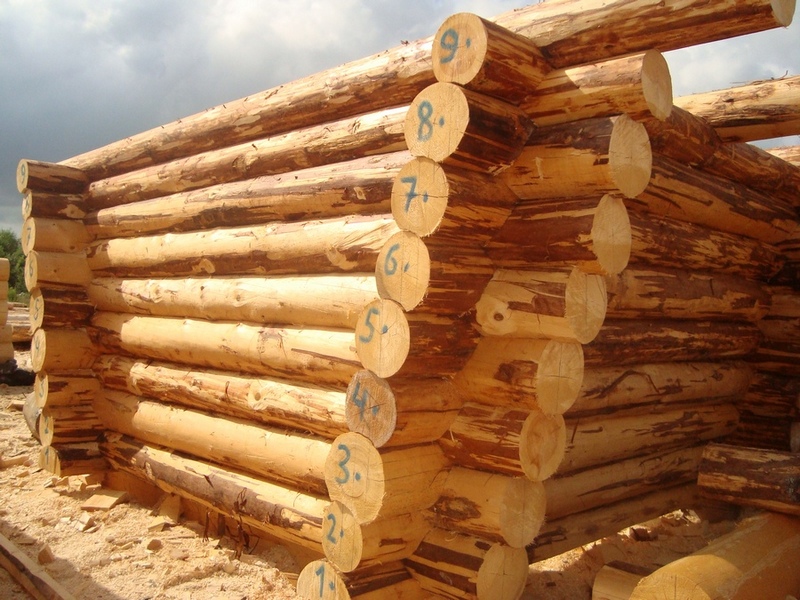
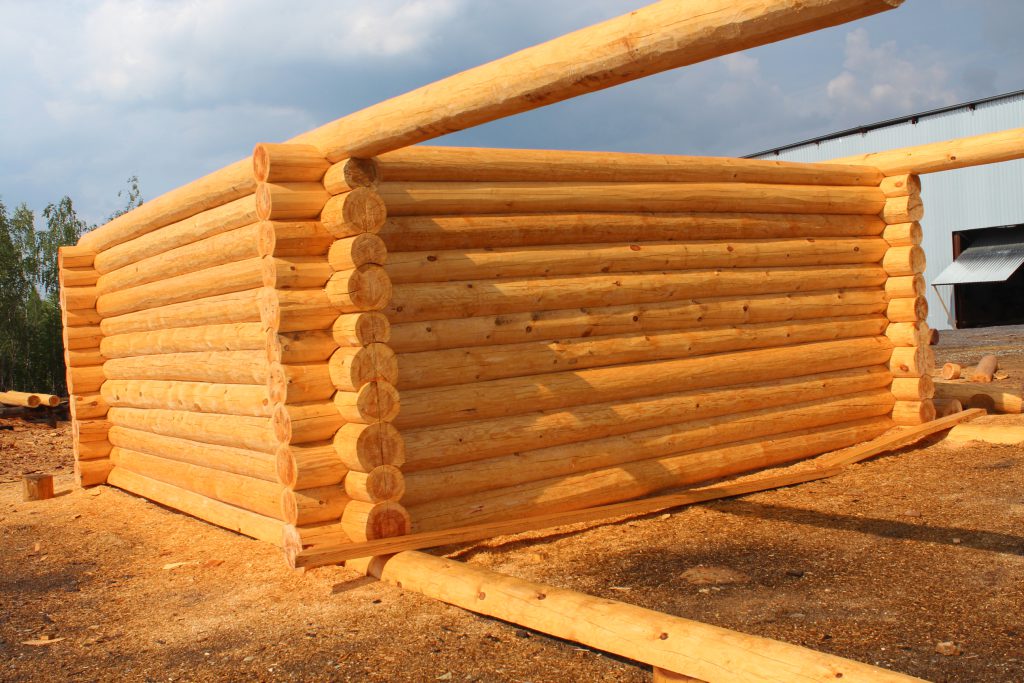
- Work on a log house in a bowl is considered completed when the frame of the building is assembled. Next comes the dismantling of the numbered felling. When work on the foundation is finished, the numbered frame is built in the final version.
- During the dismantling of the rough log house, each bowl and groove is covered with an antiseptic. This operation is performed twice.
- Use in the construction of logs natural insulation. They remove moisture, prevent the formation of condensation and protect the wood from rotting.
- If you make a mistake when sampling a groove or bowl, then this is easy to fix with a layer of insulation. At the same time, you should not forget about the horizontal position of the crown logs, which must be adjusted.
You will learn more about this technology in the following video.


