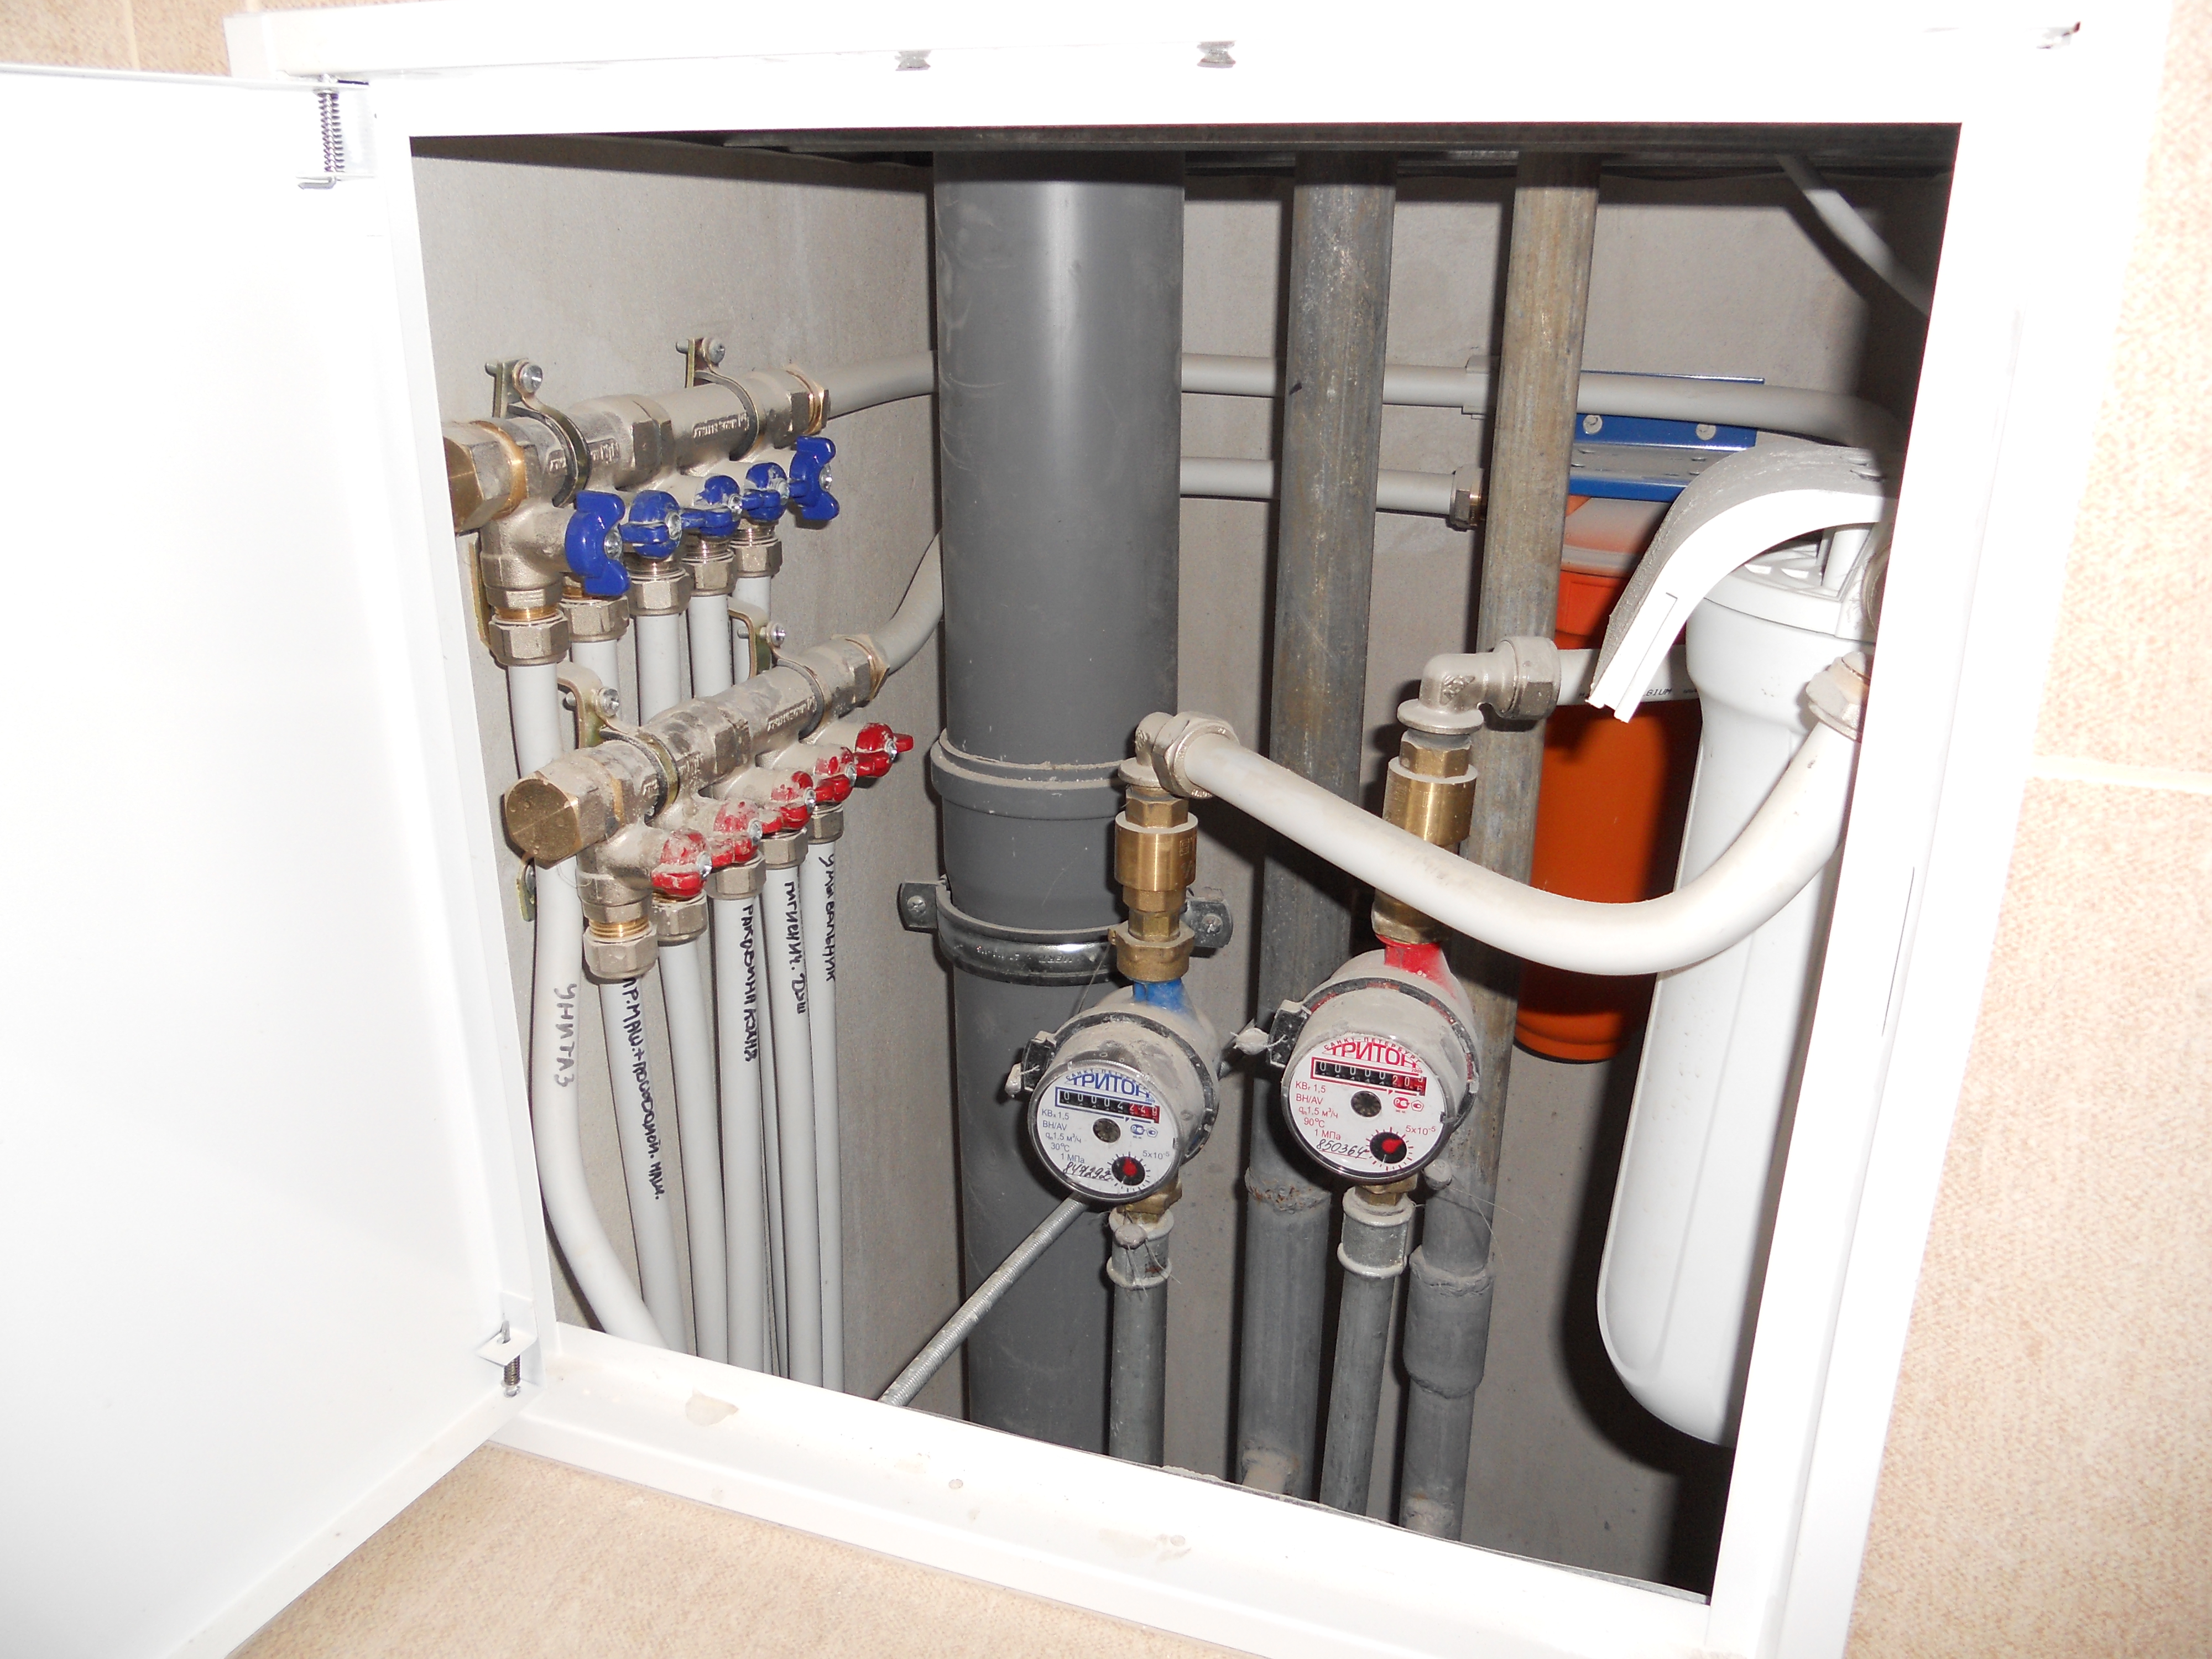
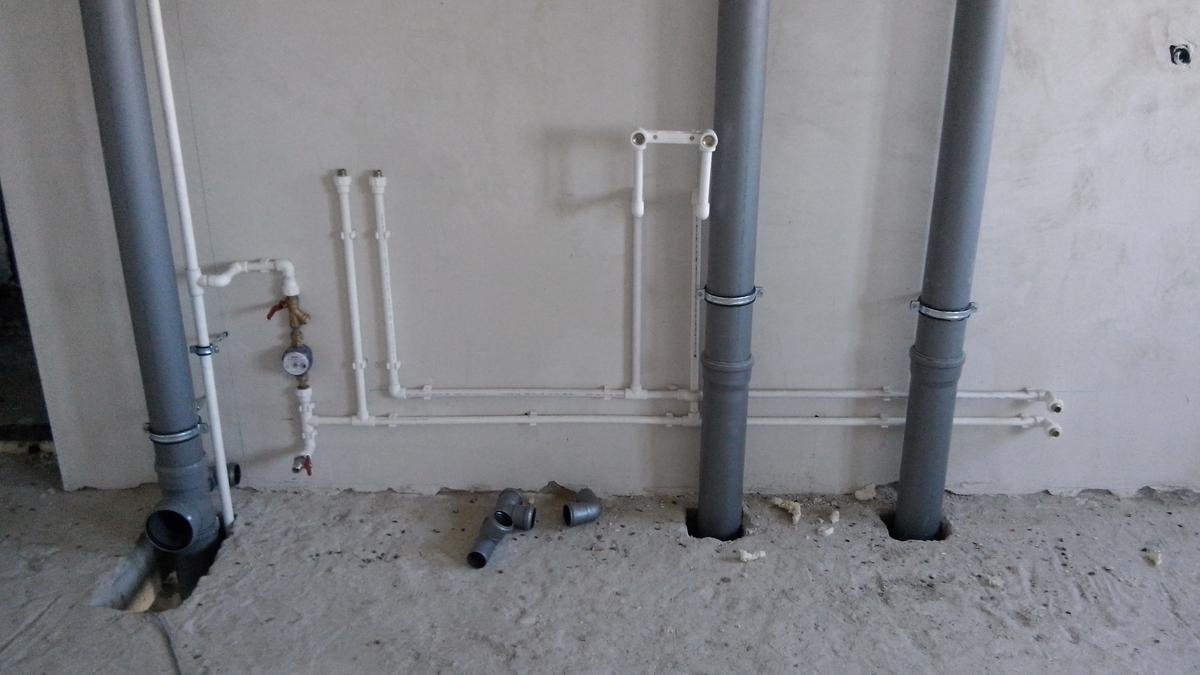
The details of the process of replacing the riser in the house
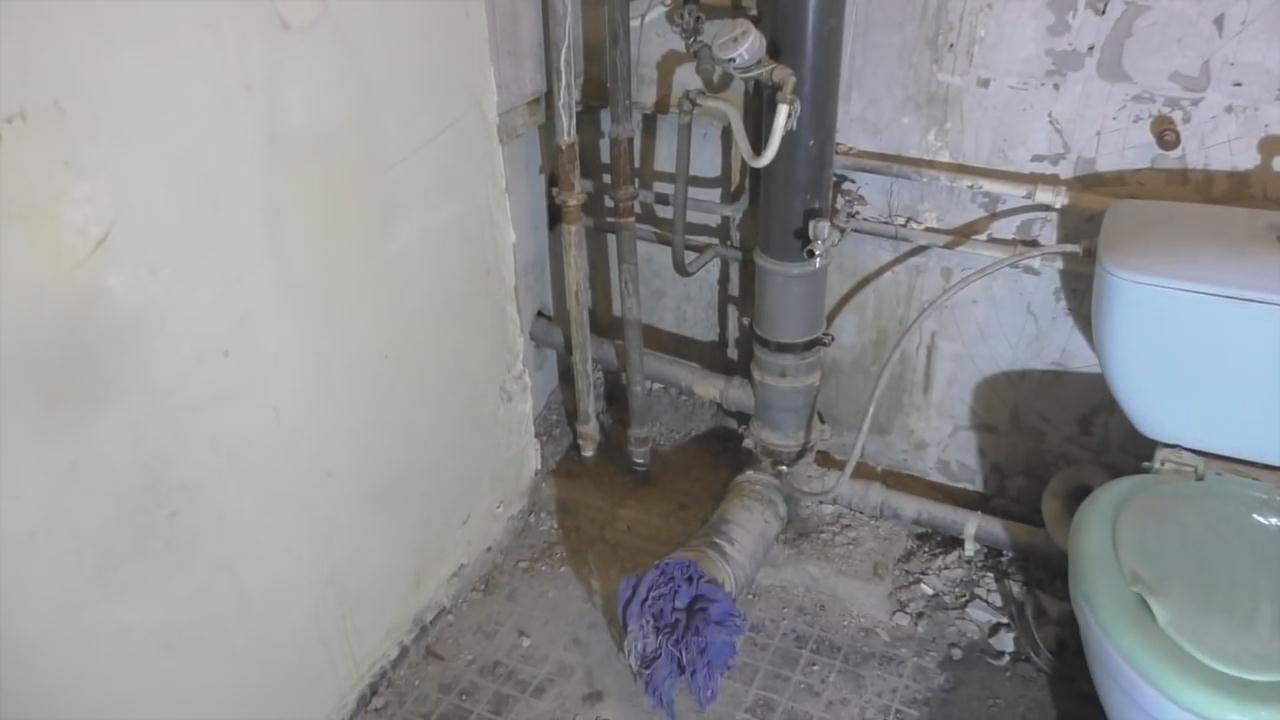
In all the old houses, especially in those that were built in another state, absolutely all pipes should be replaced, and especially the sewer riser. This is due to the fact that the metal wears out, because water with additional impurities washes it, and various components are deposited on the walls with a thin layer. This leads to unpleasant odors both in the apartments themselves and in the entrances and corridors. But you can deal with this problem quite easily.
Special features
Since metallurgy is highly developed in our country, a huge type of alloys and components is available. At the time of the development of technology in the USSR, in terms of price-quality ratio and durability, first place was occupied by cast iron. Therefore, most of the pipes were used of cast iron.This material has many advantages, but depending on the quality of the water, the service life of the metal is about 40 years.
Water is an aggressive medium due to the presence of salts and minerals in it, as well as due to the effect of oxygen on the metal after washing with water. With the development of technology, the materials have also changed, so now mostly pipes are made of plastic or metal-plastic, which are not only more durable, but also more aesthetic. Replacing the cast-iron version is quite complicated, which must be considered before starting to work. After dismantling and installation of the riser, it is also often necessary to replace the toilet bowl, taps and ventilation, but it is not so difficult to change them.
Kinds
Replacing the old metal riser with a new metal one is extremely inefficient. Today, the metal is considered very expensive. Steel pipes, as well as galvanized, have a service life of not more than 20 years, after which they will have to be repaired or replaced with new ones.
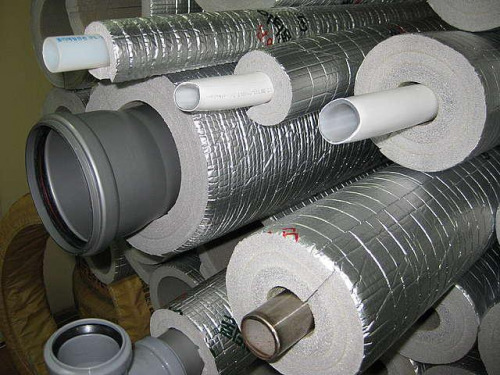
It is worth paying attention to pipes made of such material as polypropylene and polyvinyl chloride, because quite a lot of structures are made from them, including pipes.The service life of these components ranges from 40 to 50 years, but in a softer environment it reaches 80 years.
Important: for complete disposal and preventing the emergence of new smells and odors, it is necessary to install insulation, which, as a rule, comes along with the riser in the kit, but it is also sold separately, while its price is not particularly high.
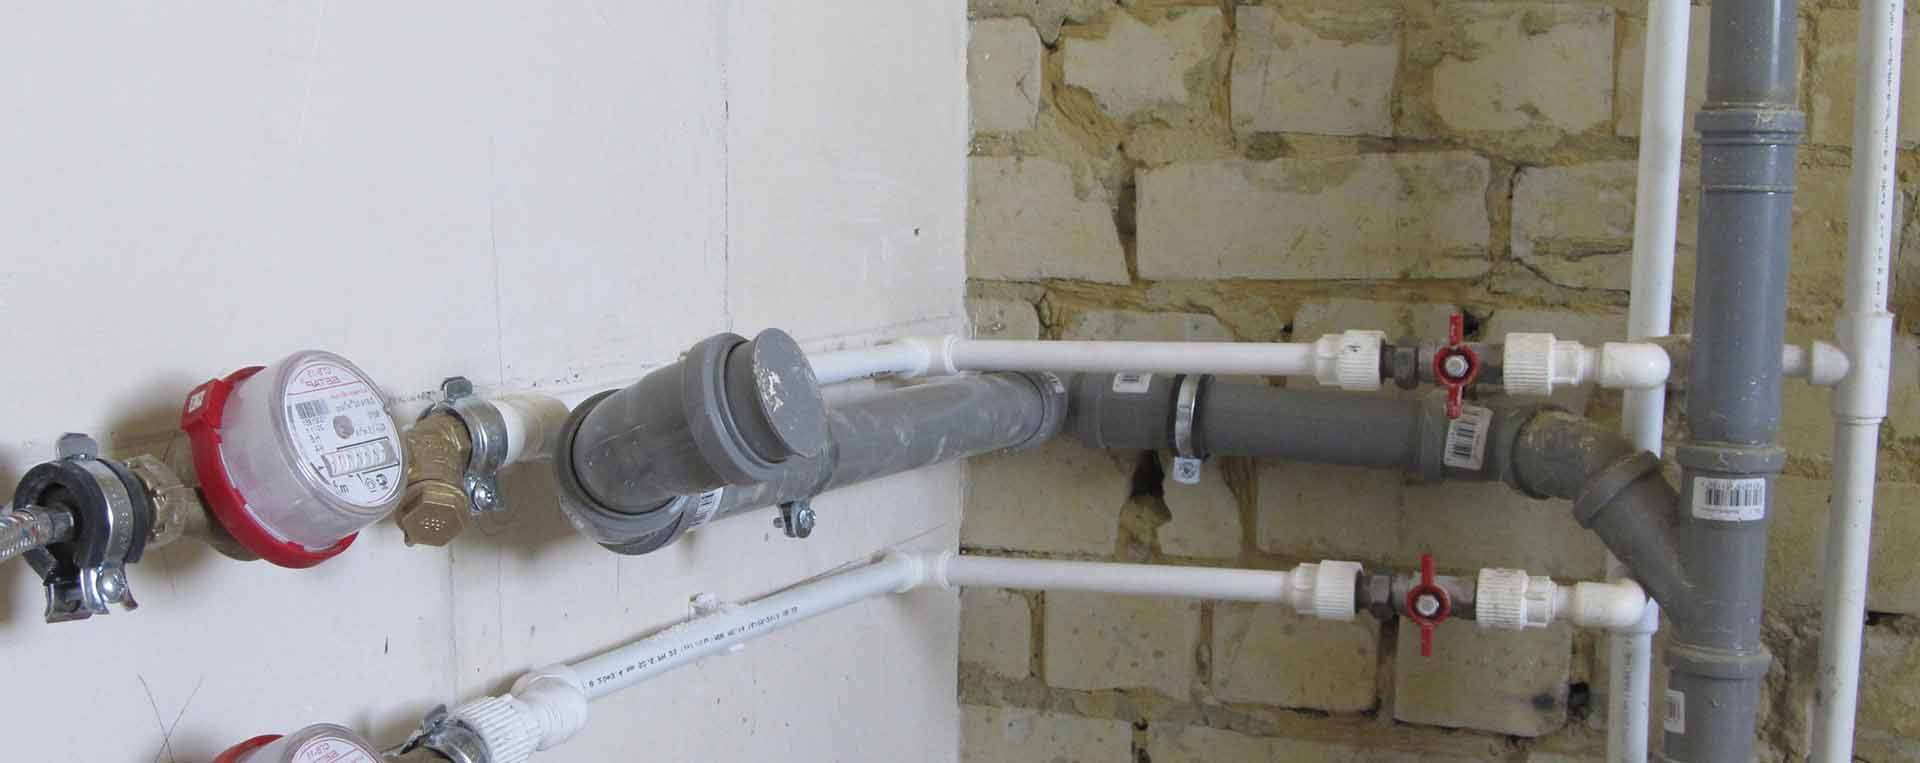
How to choose a pipe?
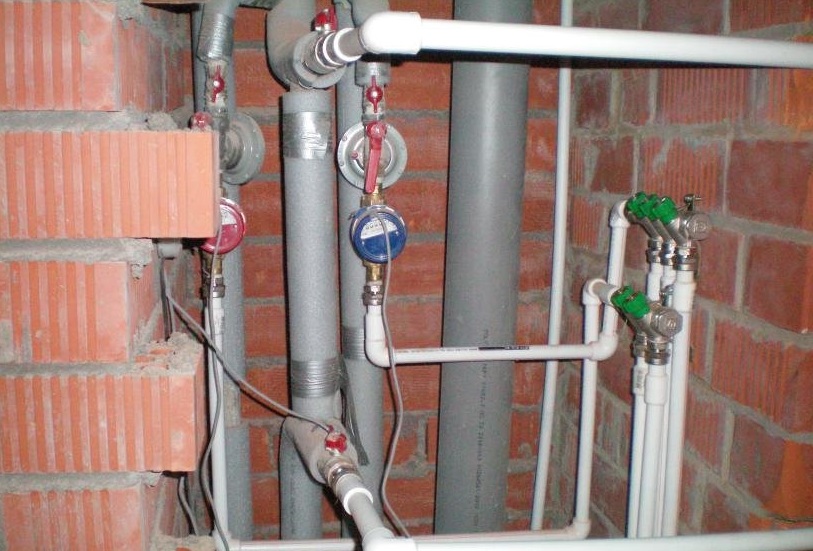
When buying a new apartment or when it is being overhauled, it’s worth starting with replacing pipelines with plastic ones, which will be the best investment in repairs, since in case of malfunctions of old pipelines, complete or partial work is being done to dismantle decorative elements and finishes. And there will also be certain inconveniences with the overlapping of the general access valve on the water and the riser, which will serve as a bad start in relations with the neighbors, because it is better to do everything at once with high quality than constantly bothering the residents with water. If the budget is limited to repair, then the dismantling and replacement of a faulty or damaged riser should be done first, otherwise the investment will only increase.
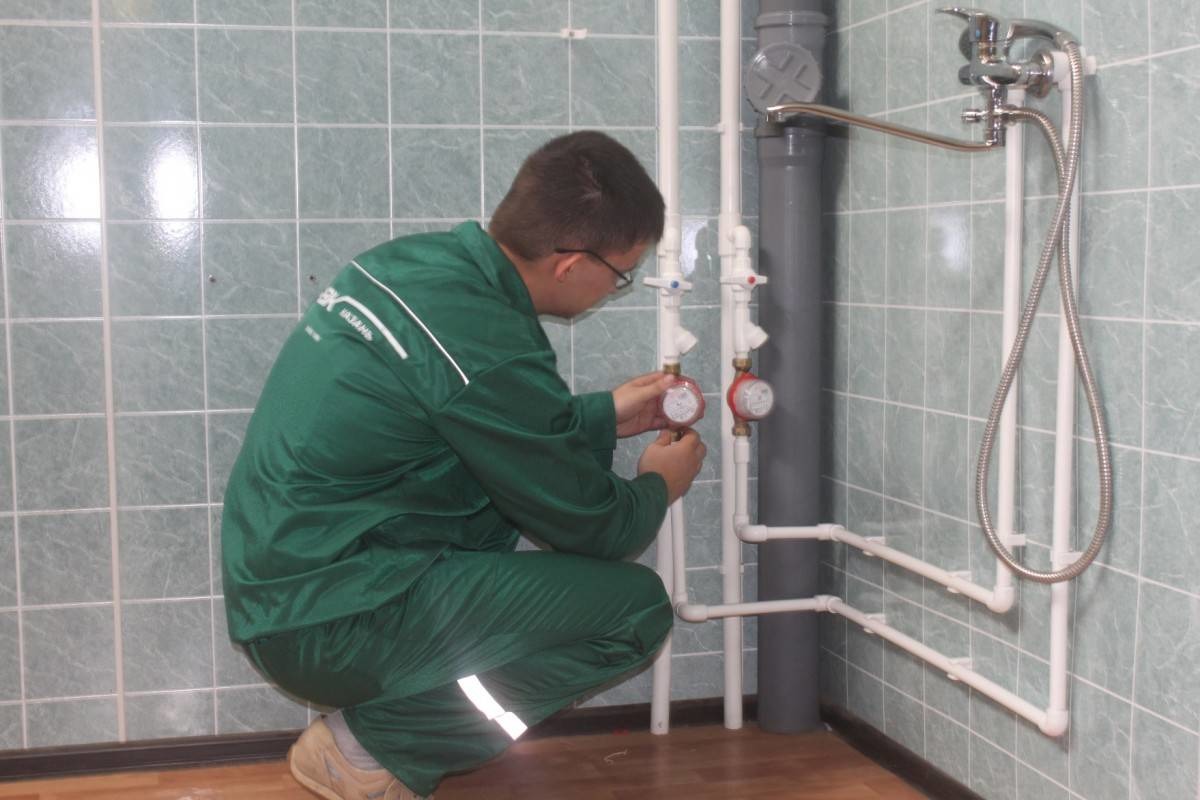
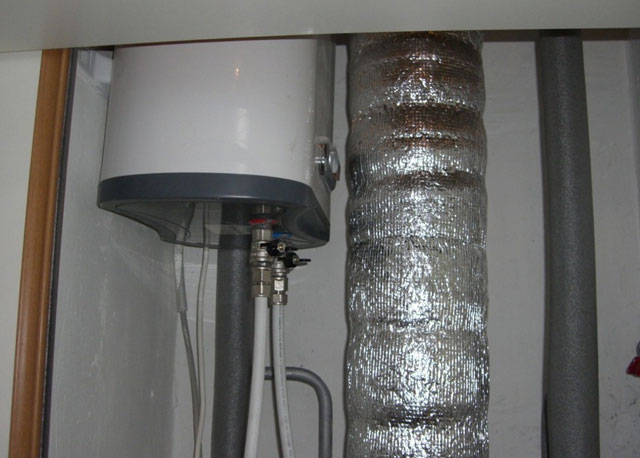
The riser in a private or multi-storey apartment building can be changed independently, which will allow to achieve a constant good hot and cold water supply.If you use a hot-water version of the DHW, then there must be thermal insulation. Thanks to the recommendations of experts, you can do the work easily and quickly.
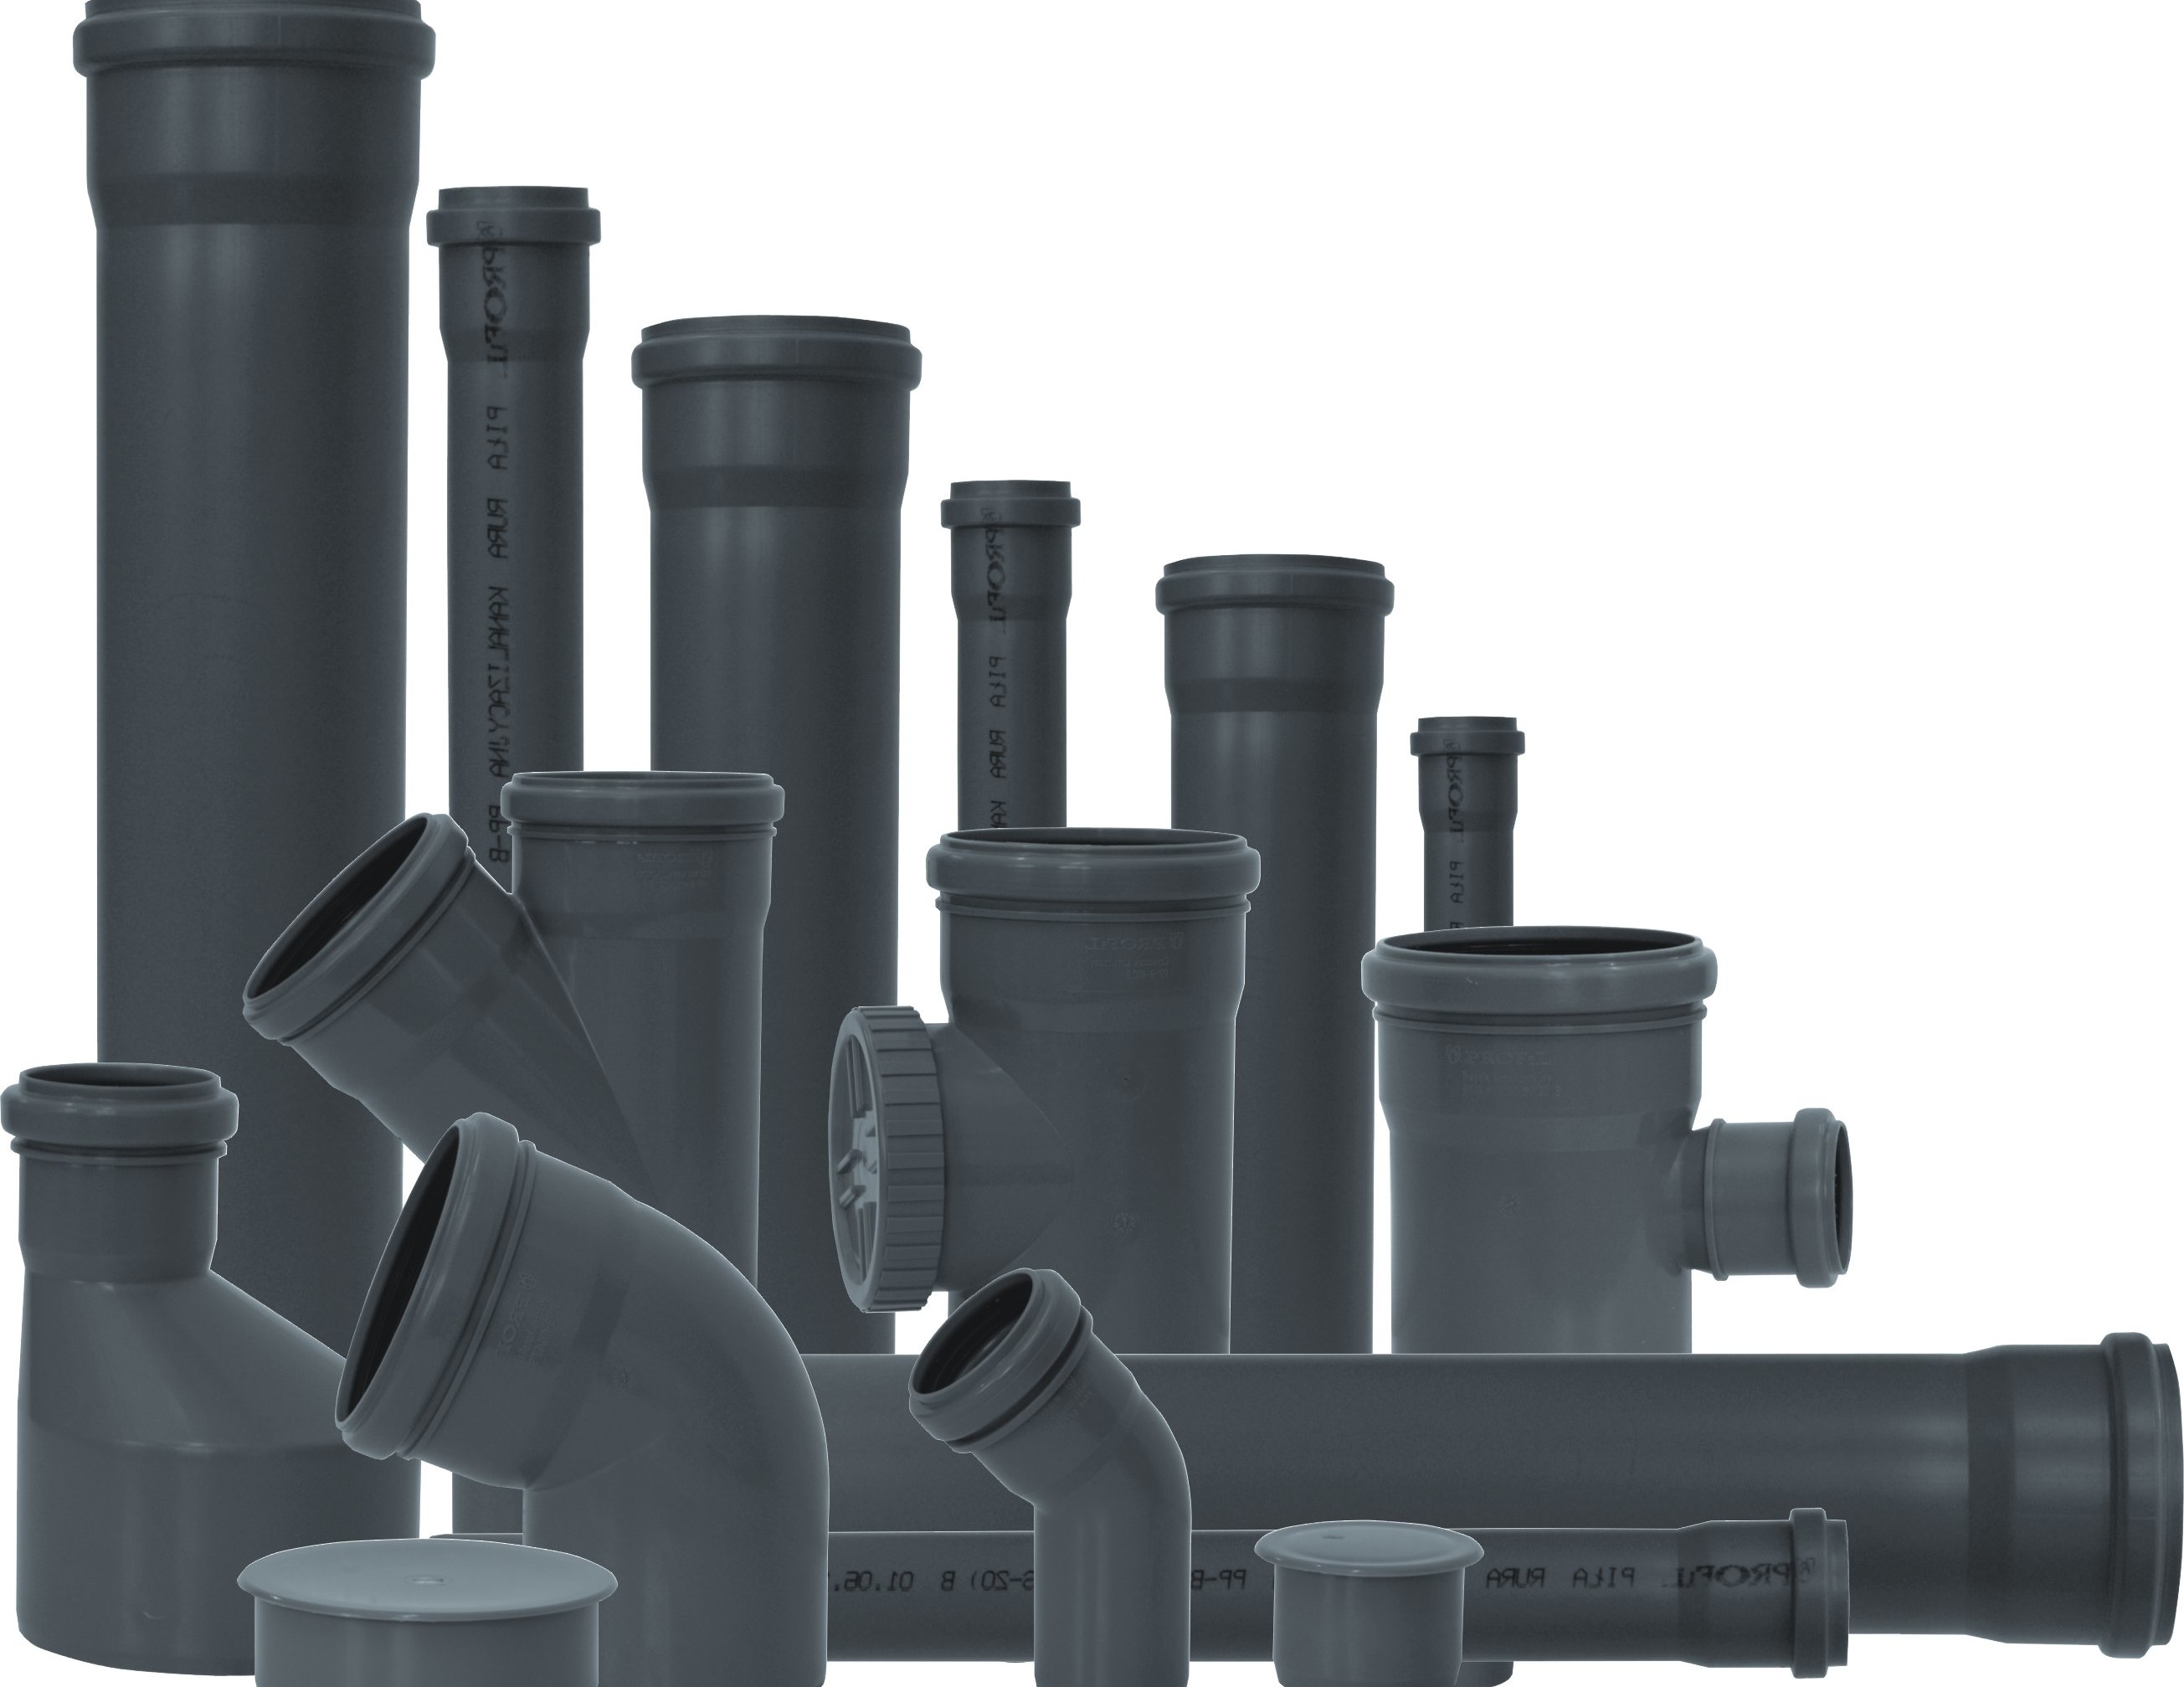
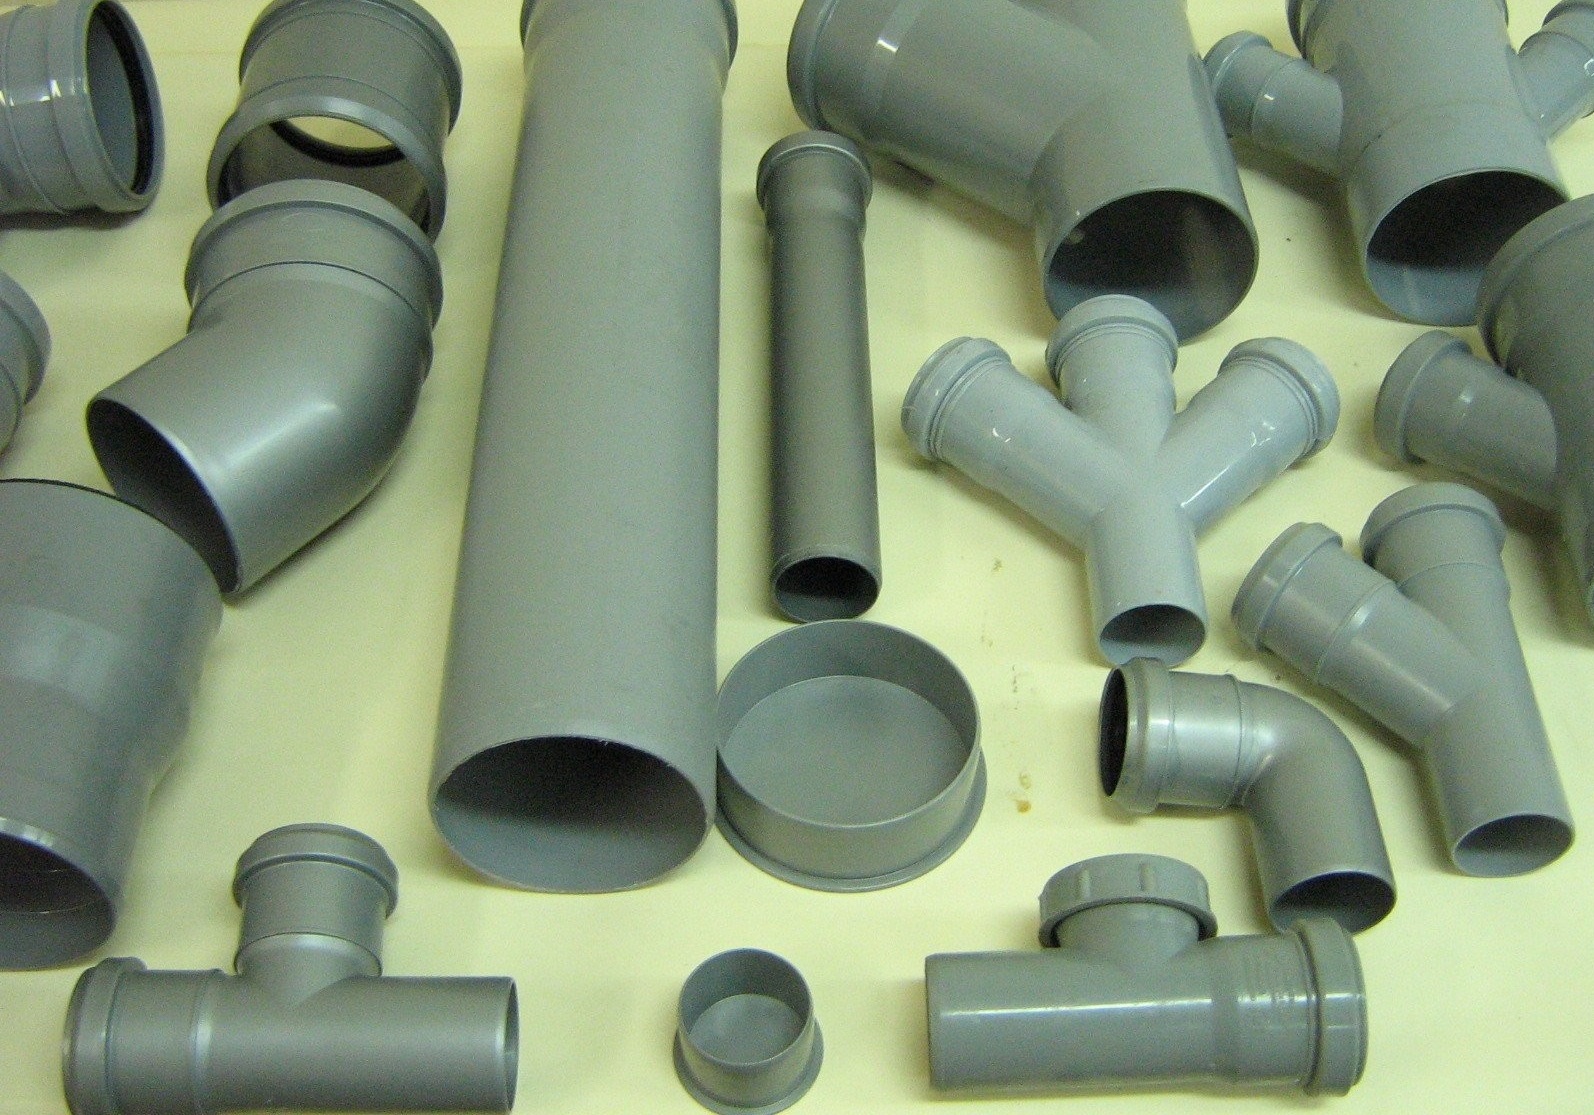
At the modern construction market there are several variants of pipes for sewer riser:
- plastic (polypropylene);
- polyvinyl chloride;
- metal.
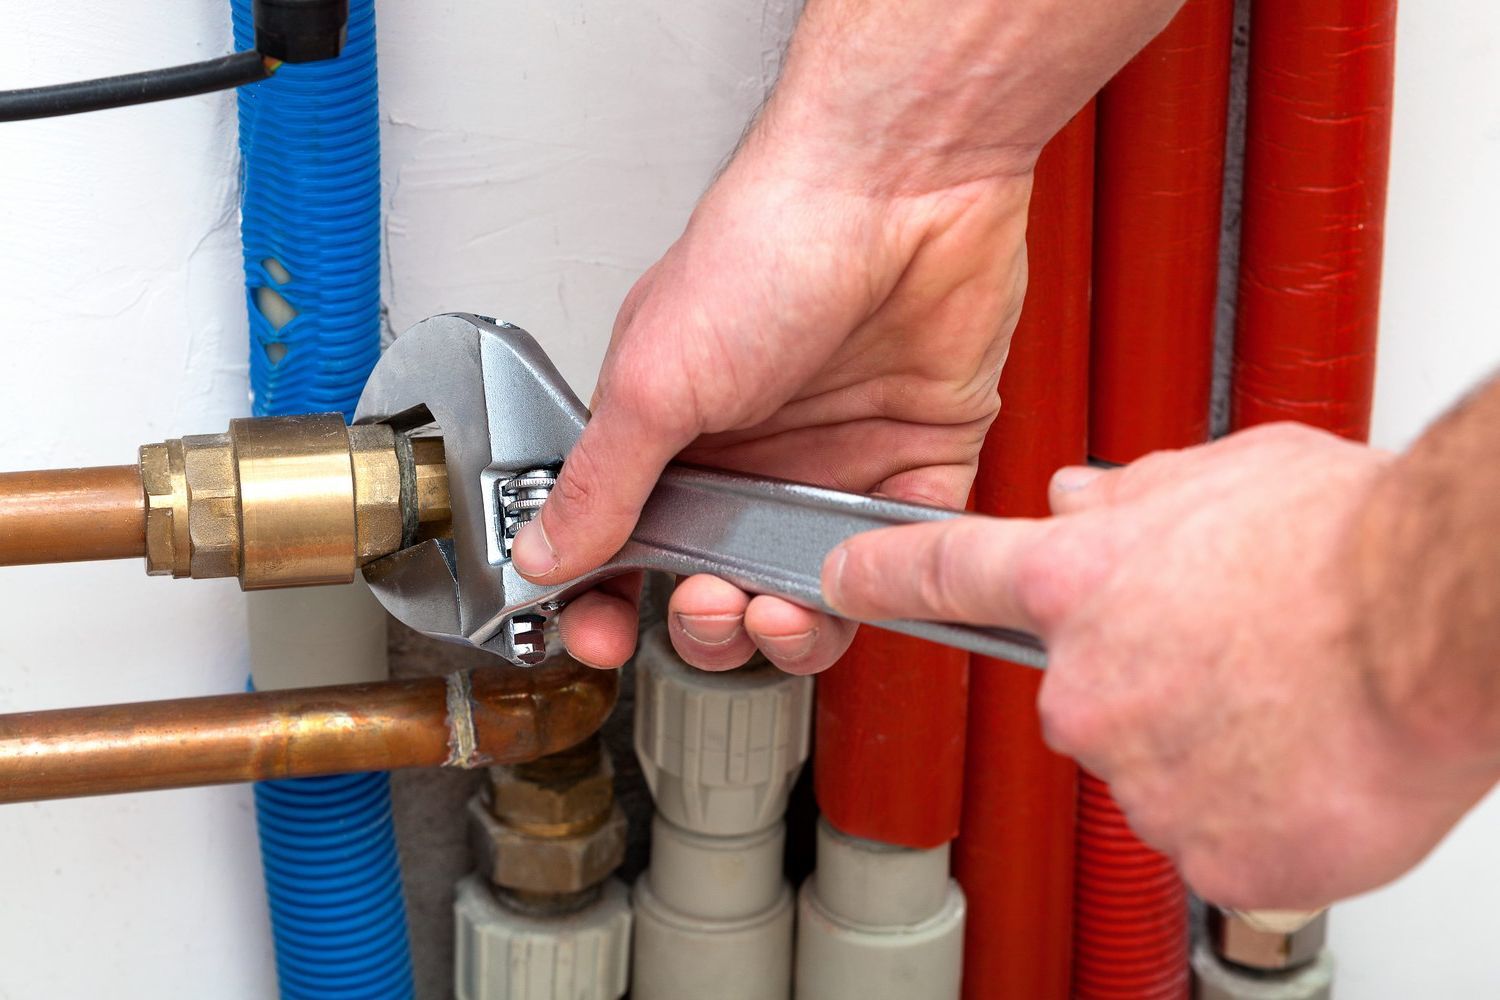
The best solution would be to use PVC or plastic pipes. Metal pipes will be much worse both in sound insulation and in service life.
How to replace?
Before starting work, you must purchase the material itself, as well as buy or rent the tools you need to work.
Do not forget that the replacement of such communications as a common house riser and sewer riser should be done quickly so as not to cause difficulties in the admission of water to the neighbors.
This is especially important for lower floors. When dismantling the sewer riser, it is necessary to notify the neighbors above that they do not use the sewage system (do not flush, do not drain the water). If they take advantage of it, then there is a risk not only to flood their apartment, but also the neighbors from below.
Tools are required for both assembly and disassembly. If there is no large finance for the purchase of tools, then the easiest way out will be to borrow them from friends or rent them in the store. So, to replace the riser will need the following tools:
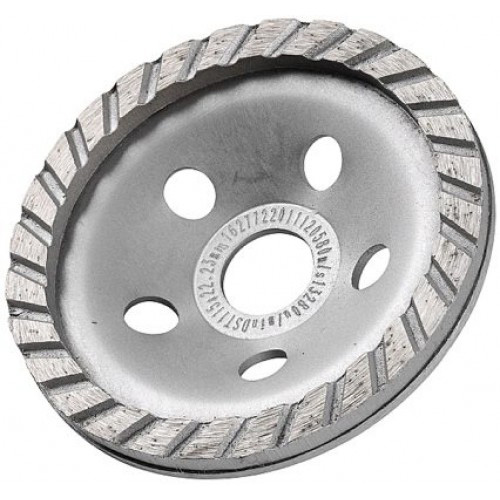
- impeller - it is not recommended to take more because it cannot be used in hard-to-reach places. Preference should be given to a model with a disc for metal;
- chisel;
- flat screwdriver for extracting small items;
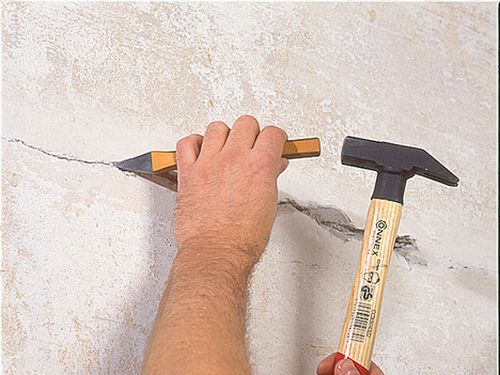
- hammer and chisel to expand or repel certain elements;


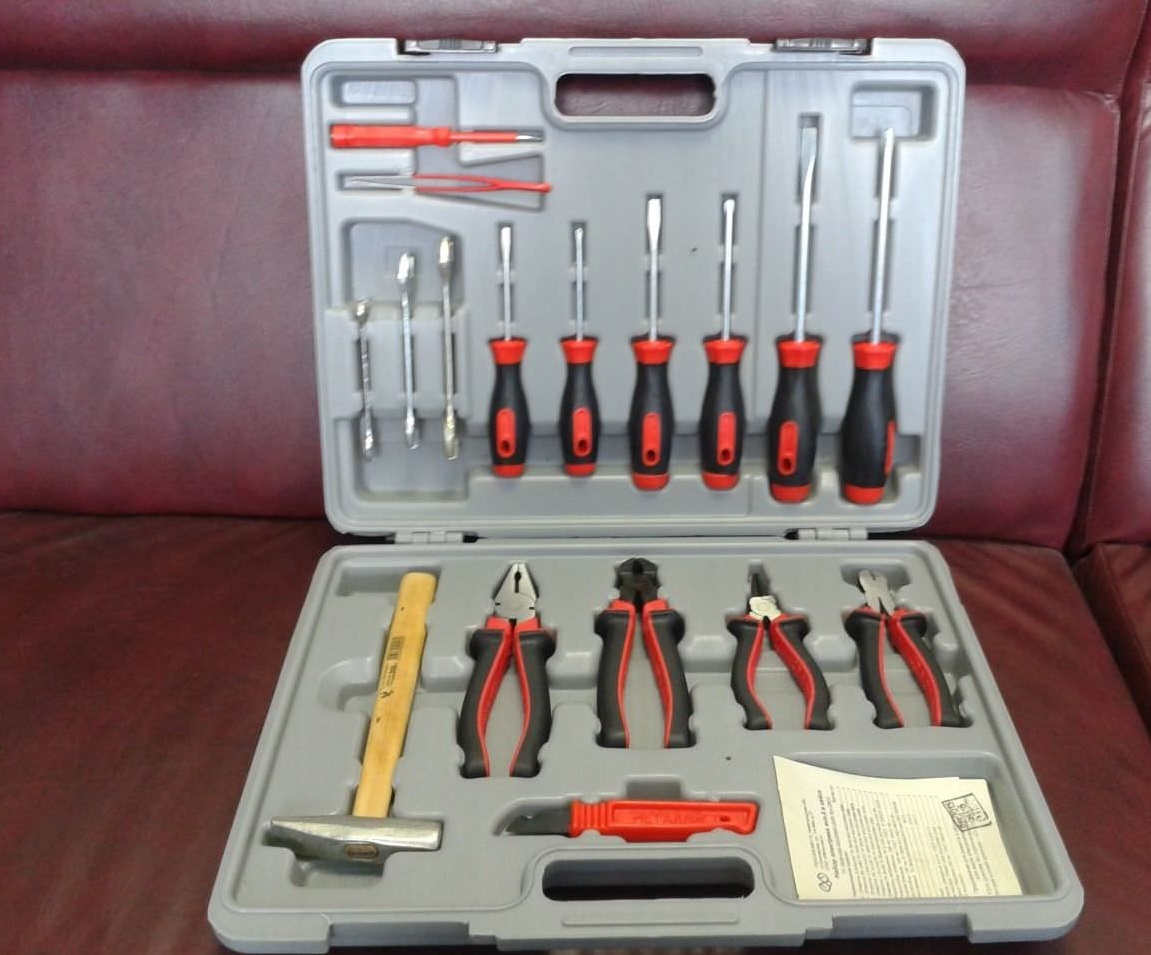
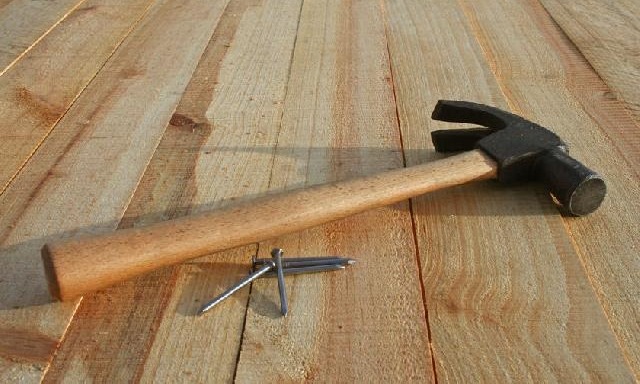
- hammer with a nail puller;
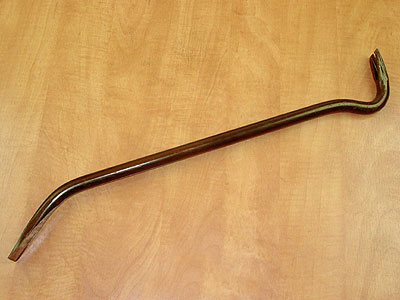
- scrap, preferably small, which is called the mount;
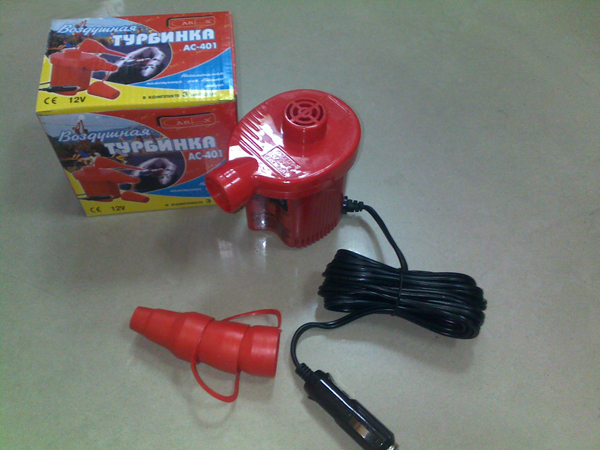
- perforator (one of the required tools) with a drill for concrete and a spatula 2 cm;
- polyethylene film to close the resulting holes in the pipes (not all neighbors follow their word);
- metal grinding disc for impeller;
- personal protective equipment according to SniP by type of work performed.

If the apartment is located on adjacent floors, as well as between them, then when replacing the sewer riser and pipeline, it is worth talking with the neighbors about their presence in your apartment at the time of the work.
In some cases, you may need an emergency entrance to a nearby dwelling to do some work. Sometimes neighbors ignore requests for the temporary cessation of the operation of plumbing equipment and highways, which leads to certain unpleasant consequences.
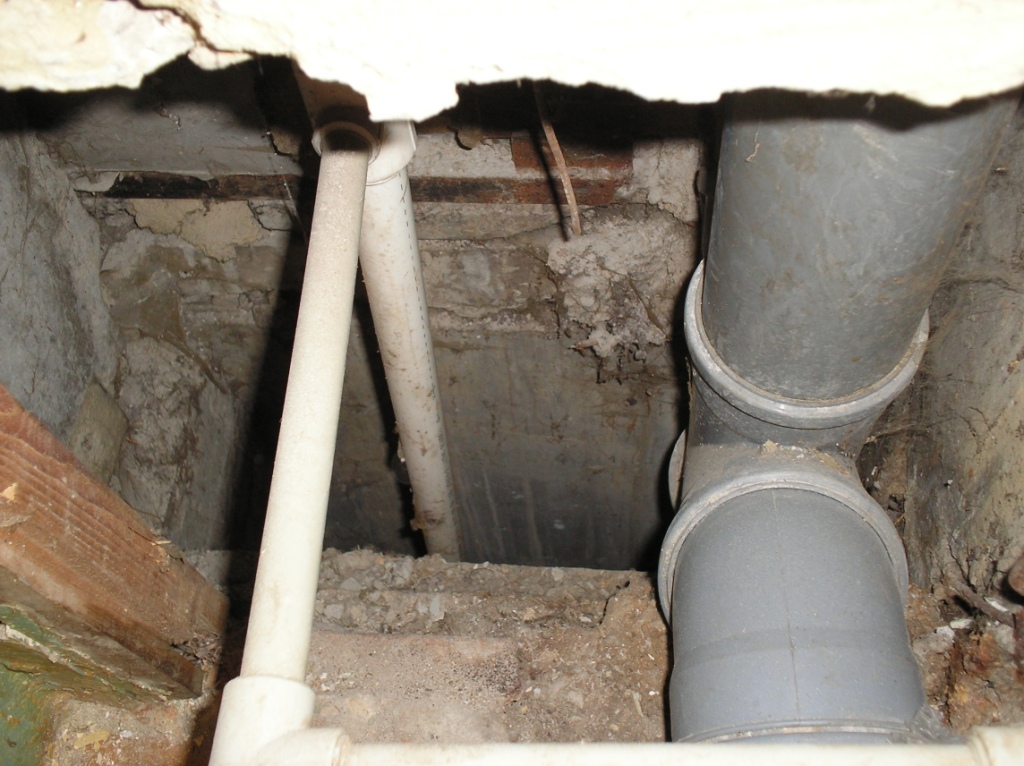
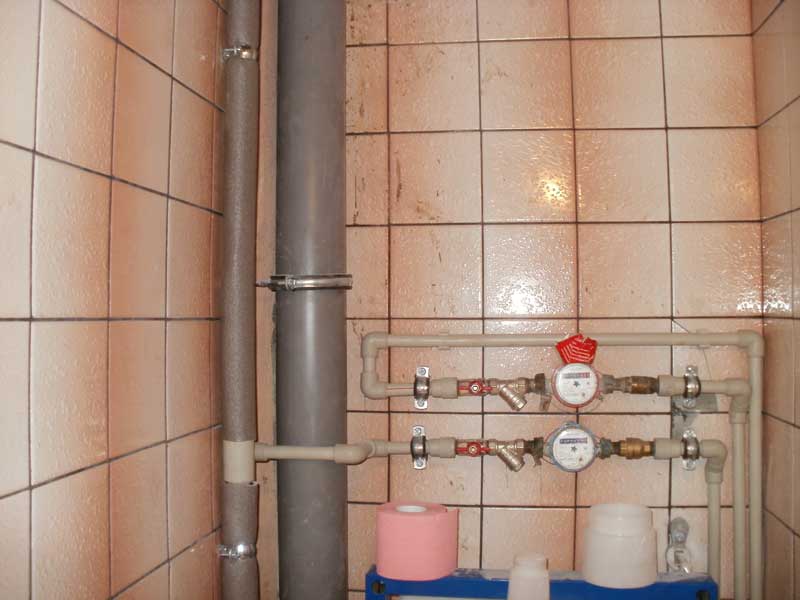
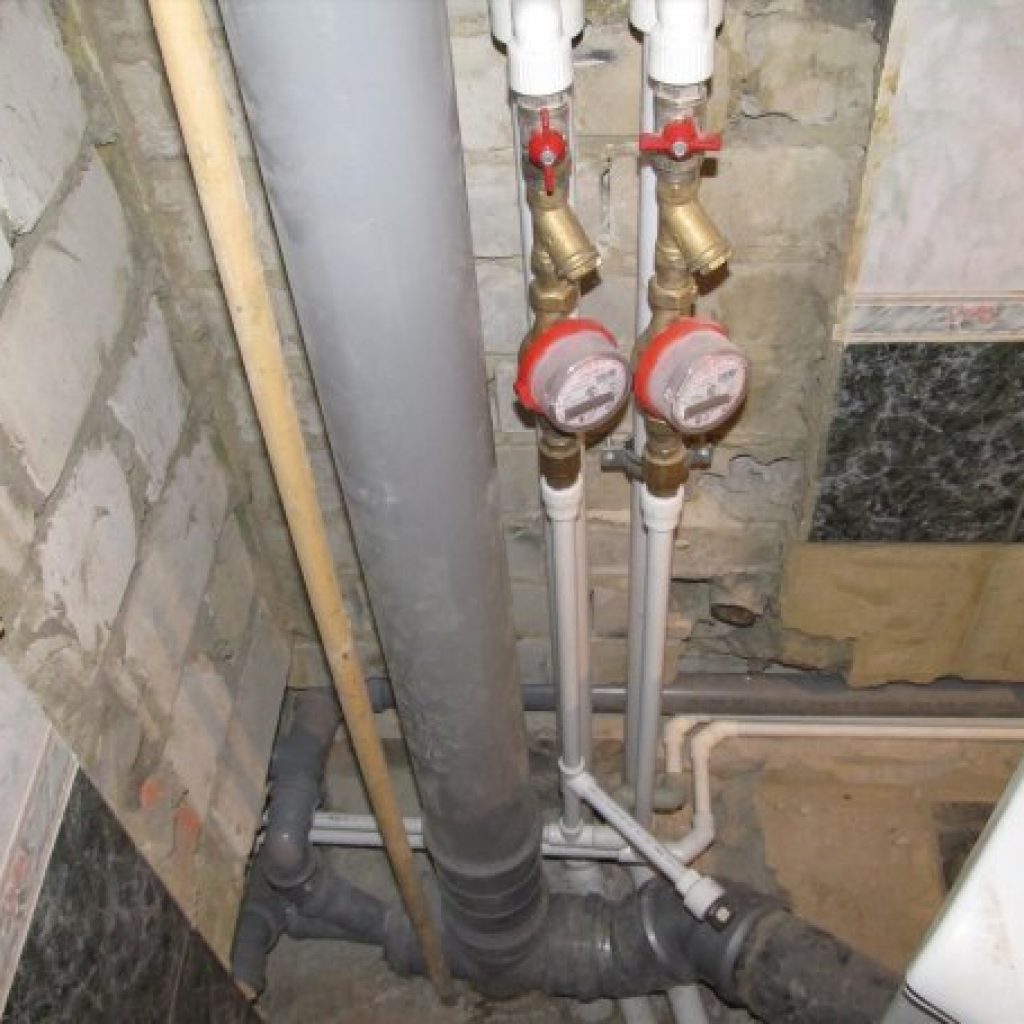
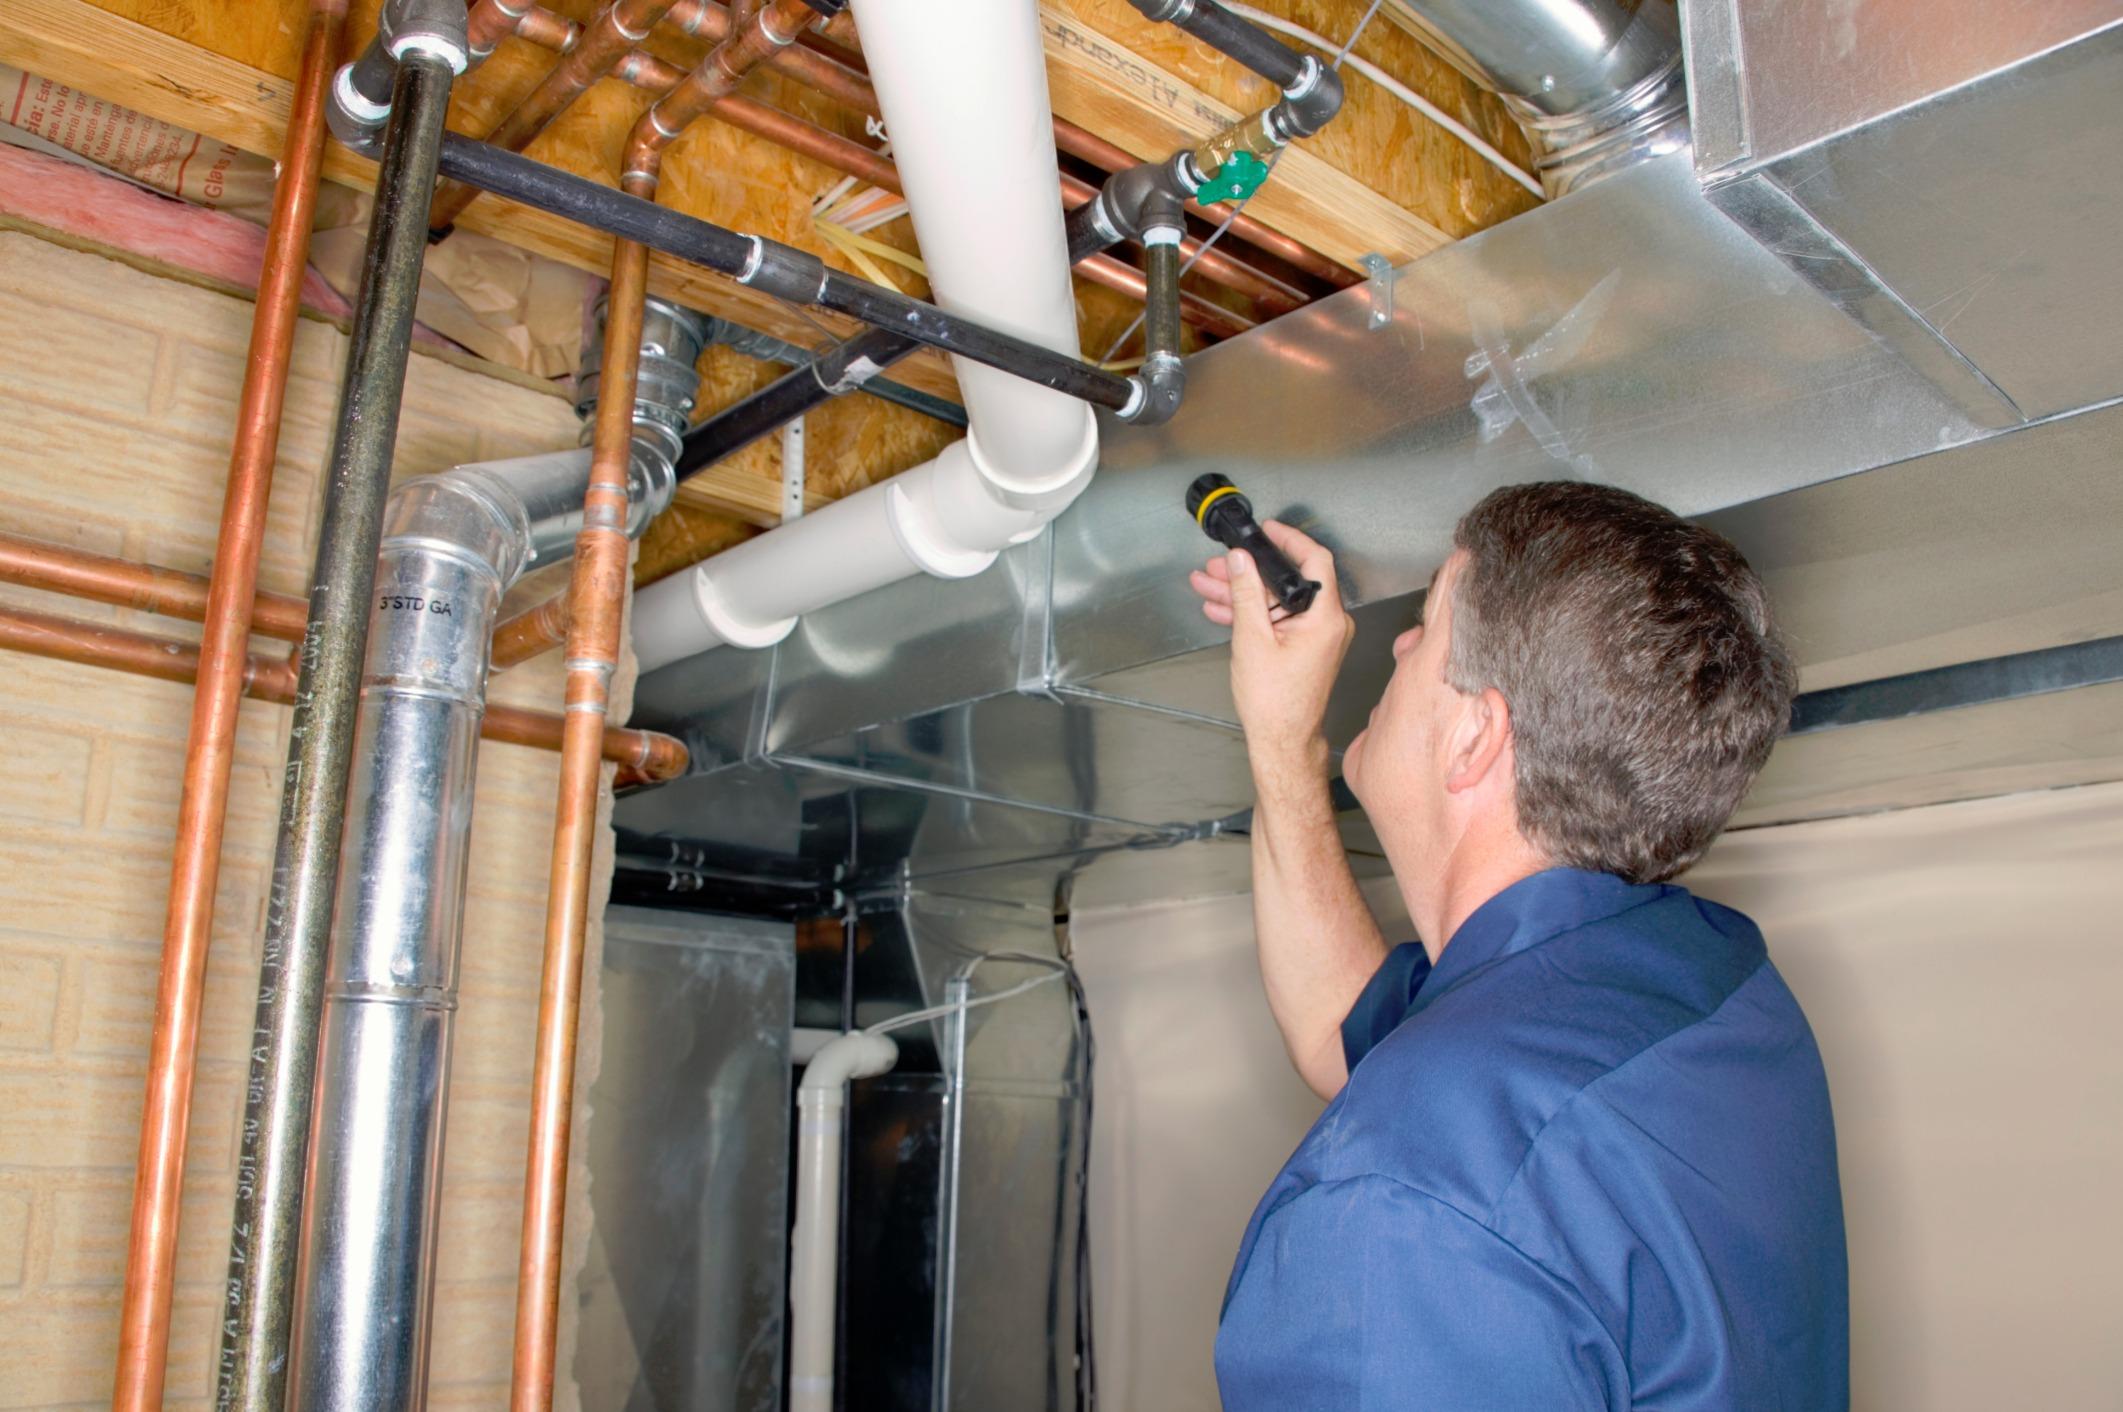
Before proceeding with the dismantling of the riser and structures, it is necessary to examine the sewage system.
- From the ceiling, it is necessary to indent 10–15 cm, as well as from a triple junction (tee) or double (in German houses) - approximately 80 cm. After marking the required points, two files are made using a turbine. Their depth should be half the diameter of the pipe, but no more.
- Next, you need to insert a chisel first into the upper cut, after which you need to hit hard with a hammer so that cracks appear. The same should be done with the bottom cut. After these actions, the pipe will crack and you can safely remove it.
- That part of the trimming pipe, which sticks out in the ceiling, you must plug the plastic wrap or package. If there is no film, then you can even use cloth.
- The lower part of the pipe with decoupling, tees and doubles is dismantled with scrap. Fastenings are loosened, which allows quite quickly remove it from the mount.But often these pipes are tightly coupled with concrete, so you should use a perforator to detach the metal from the wall. If the pipe does not lend itself to scrap and a sledgehammer, then you can cut it down low with an impeller, but it is advisable not to touch the thread, retreating 3 cm from the fork of the pipe.
- Using a chisel should break off the remnants of cement and dismantle the tee.
- It is necessary to prepare the ends and exits of the pipes, cleaning the communications from pollution, rust and other things. This is necessary for better coupling of new communications.
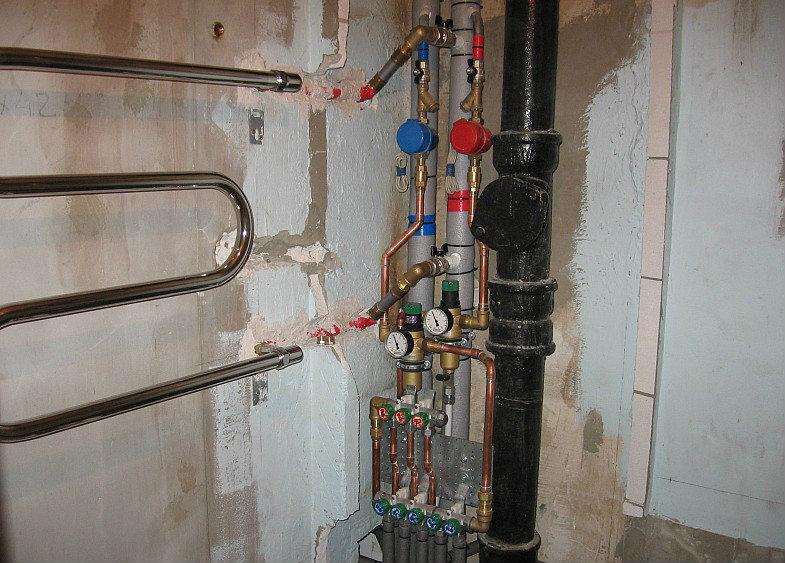
Installing a new riser
After this type of work, you can proceed to the main - the installation of a new riser. Installation should be done as quickly as possible, but in strict sequence. The first thing to make sure is the availability of tools and materials. If they are not available, they should be prepared as soon as possible.
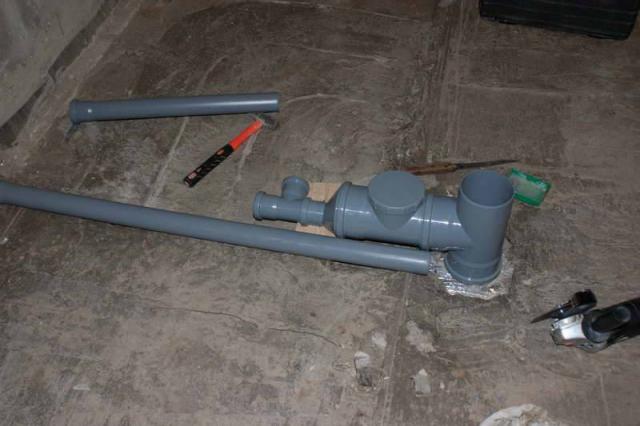
To install the sewer riser, the following materials and tools are required:
- plastic or metal-plastic pipes, the diameter of which should be 110 cm;
- tee or twin pipe from the same material as the pipe with bends;
- Adapters from dense rubber (the so-called cuffs), which serve for tight fixation of old metal stumps of pipes and new, plastic pipes;
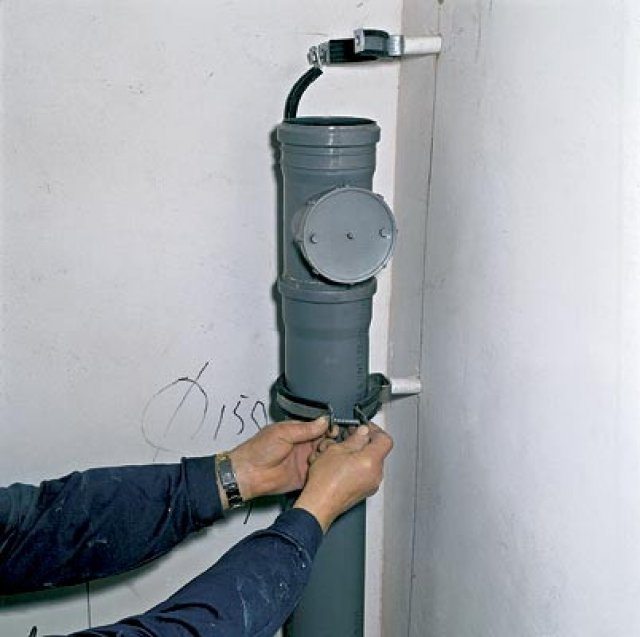
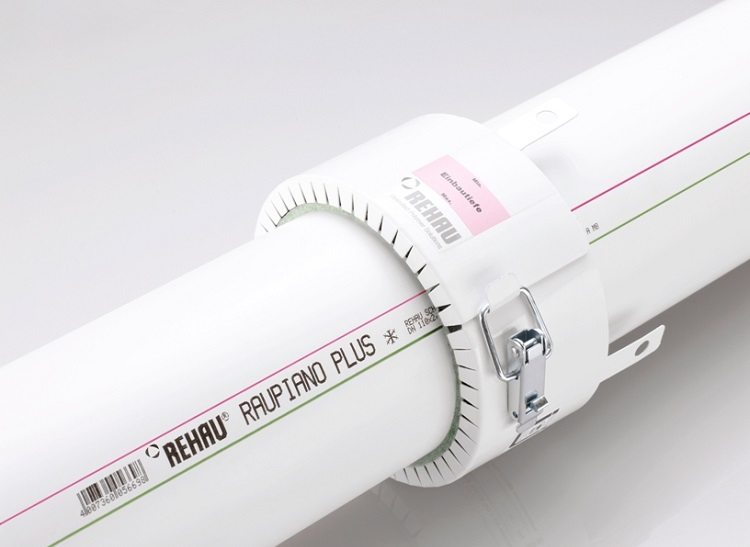
- special fasteners (clamp) for the riser, made of stainless steel;
- special lubricant, although suitable and ordinary liquid soap. Necessary for lubrication of pipes for their smoother and faster entry;
- horizontal building level.
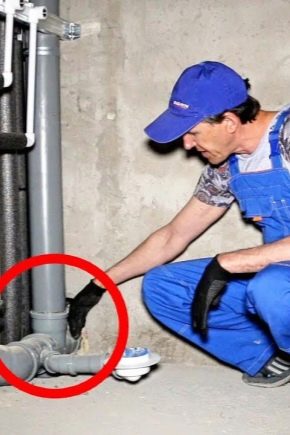
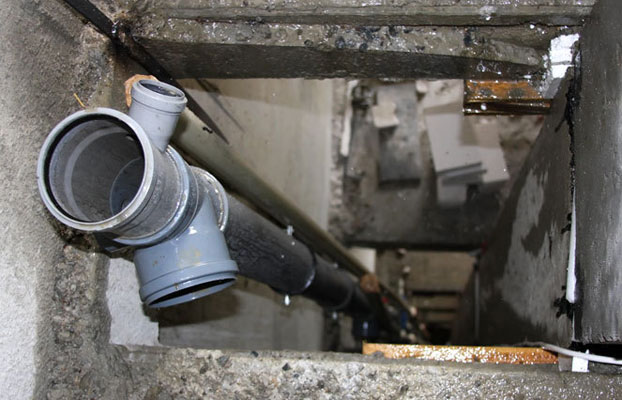
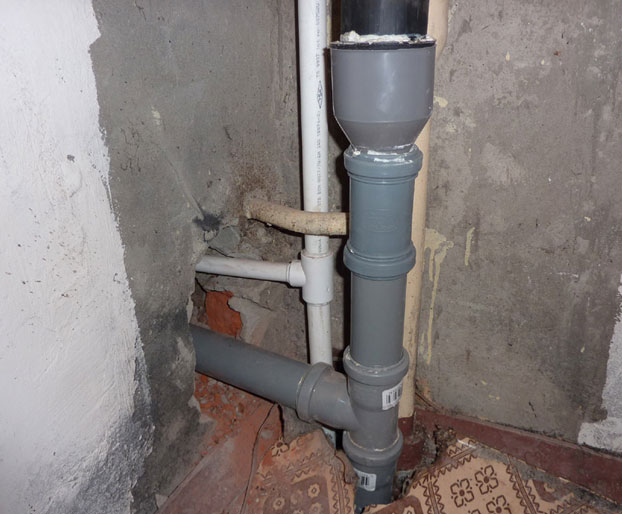
After preparation, you can begin to assemble the sewer riser according to the following algorithm:
- installation of rubber seals - gaskets (cuffs) in trimming pipes both on the ceiling and at the floor level;
- further, it is necessary to attach the adapter directly from the old tower to the new one on top, and to attach a tee (double) from below. These elements must be connected as tightly as possible. It is advisable to put the seal not on the dry, but on a special winding, fumka or sealant;
- After that, the plastic element should be secured with stainless steel clamps. For ceilings up to 3 m, three clamps are sufficient: at the top, bottom and in the middle of the pipeline, at the rate of one clamp per meter.After this, the system should be pre-assembled;
- the tee (double) is lowered into the compression tube, without which it will be impossible to connect cast iron and plastic;
- Each attachment point is lubricated with a sealant, but not a fumka, since it goes exclusively on the thread and will be completely ineffective. It is necessary to wait for the sealant to fully set. Usually, this process takes several hours, but with some sealants, full hardening occurs in a few tens of minutes;
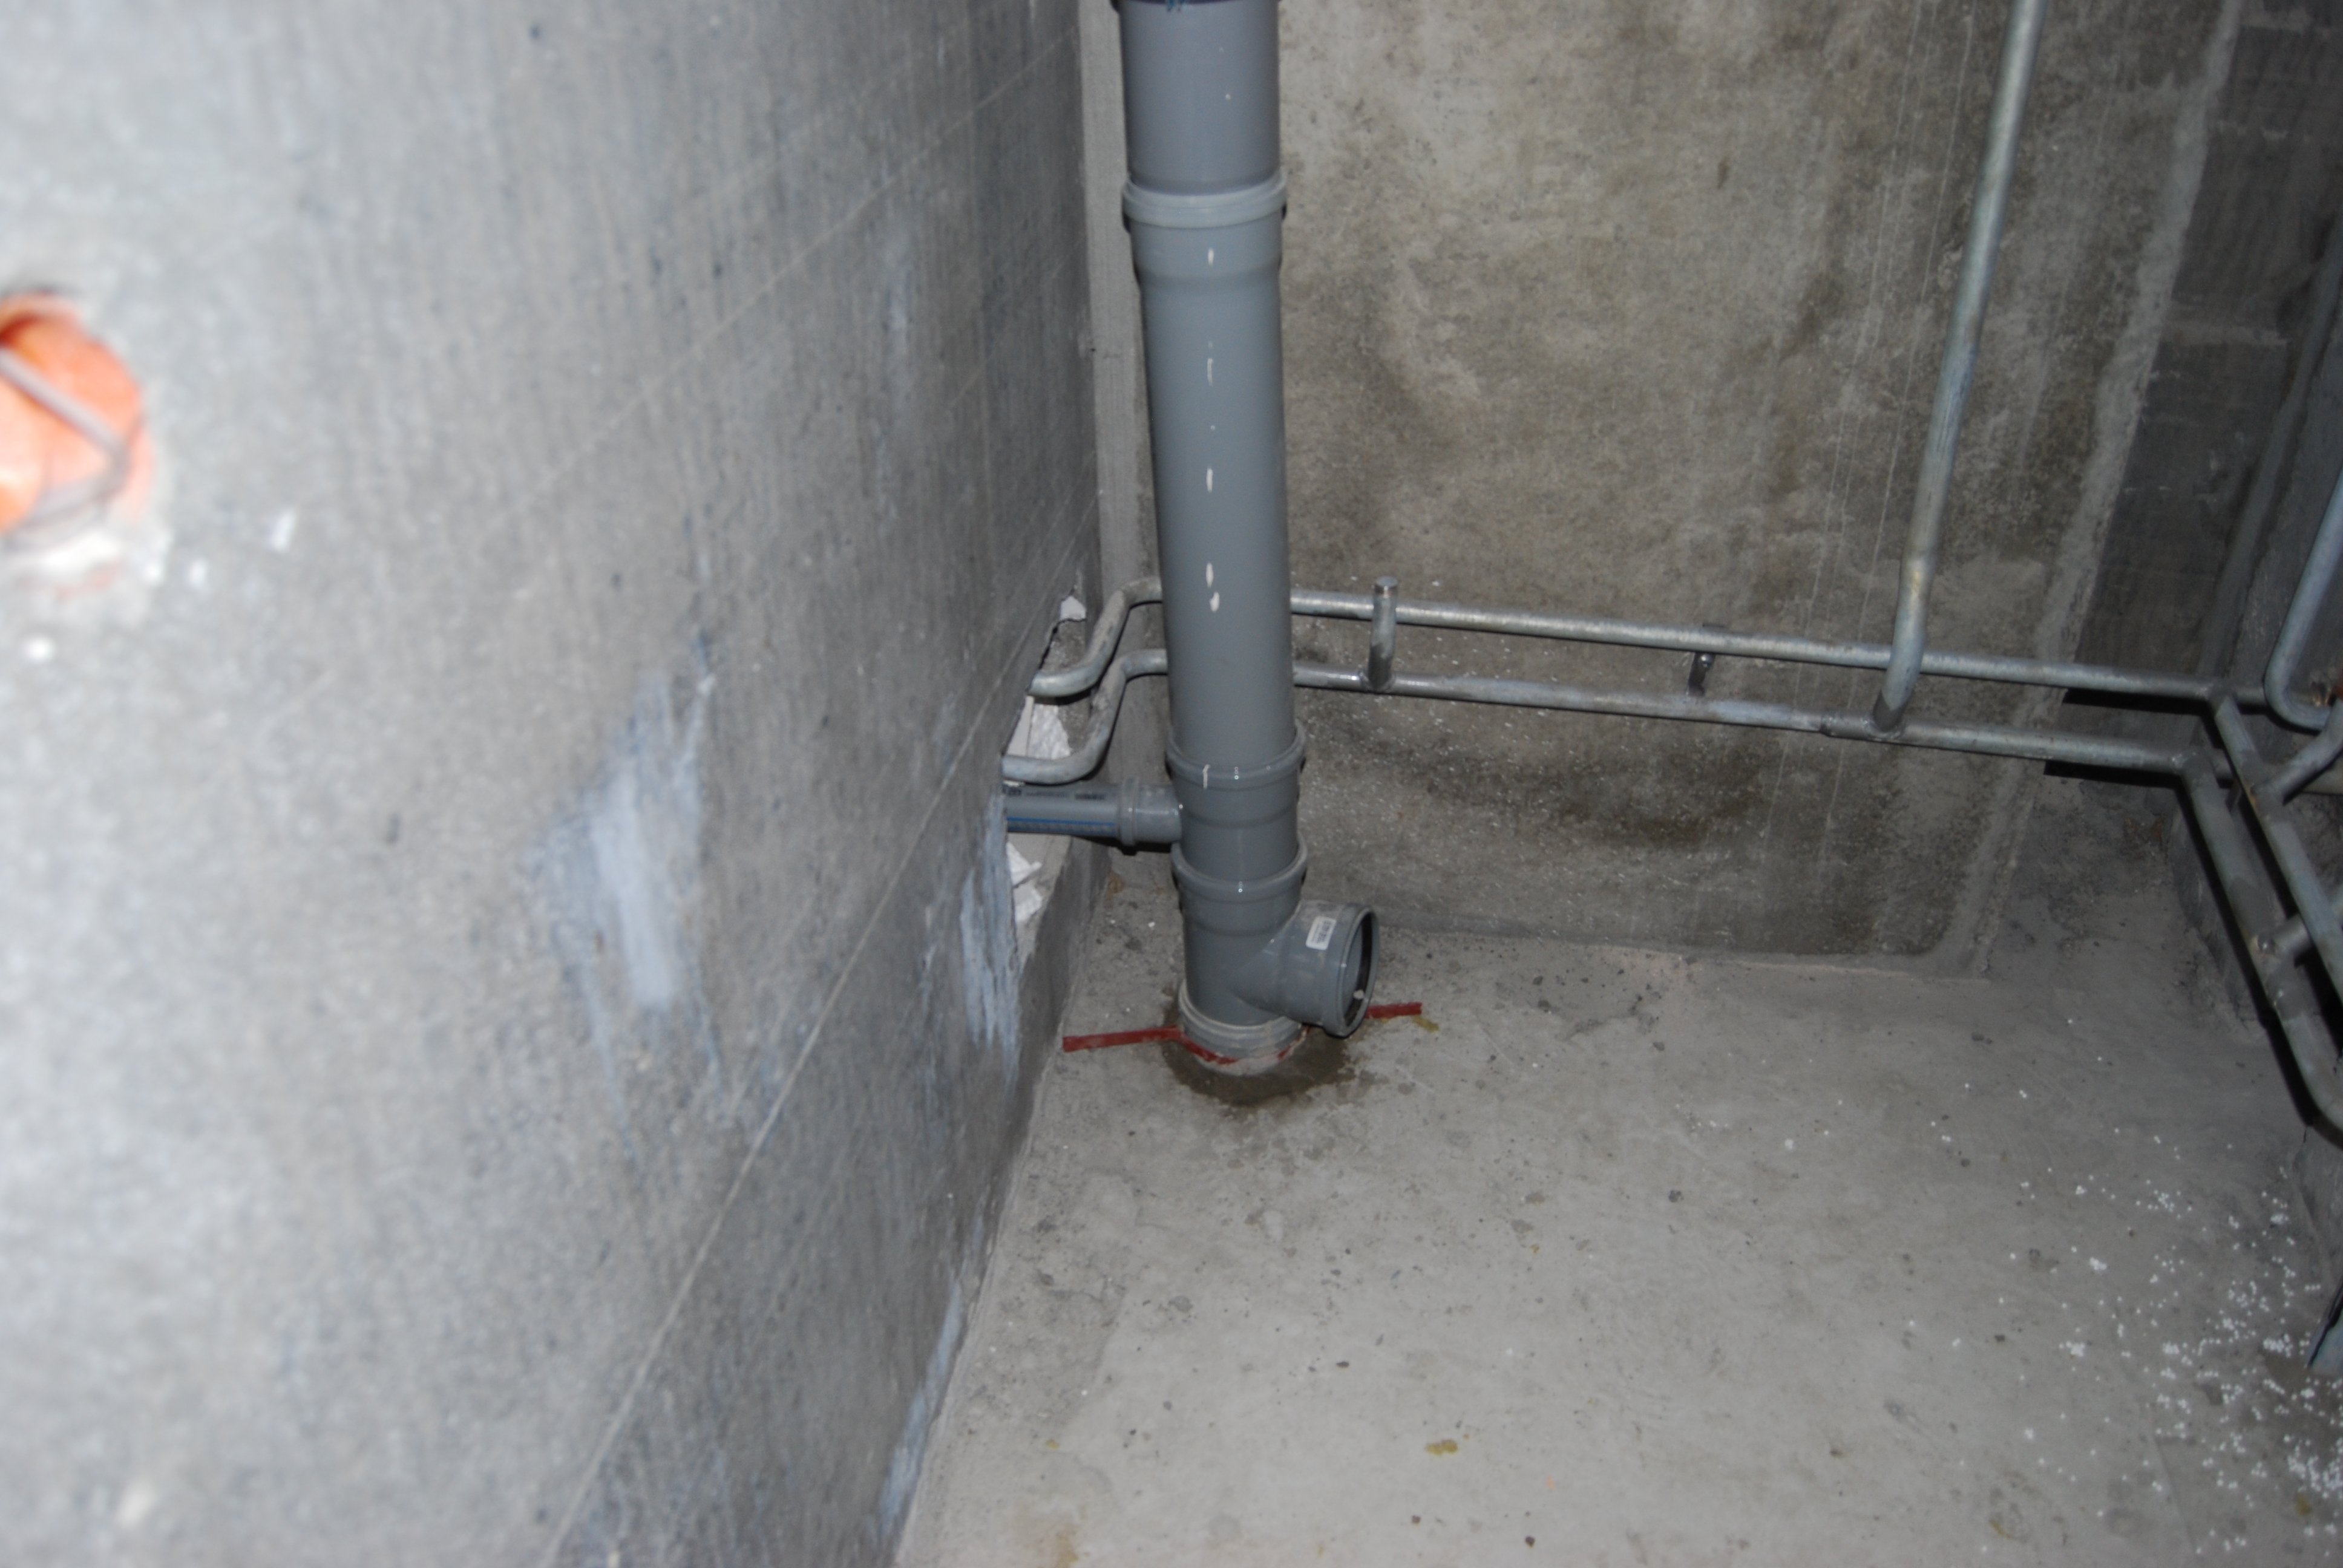
- securing the entire structure, it is necessary to apply water pressure to the pipes, removing the valve and letting in water. If successful, the water will not get into the room, as well as the smell, because the design is sealed and holds pressure.
Soundproofing sewer riser
It should be noted that polyvinyl chloride and polypropylene pipes are preferable in all respects to metal ones. They are much more reliable, are easy to install, cost at an affordable price, and also look decent. However, absolutely all plastic sewer pipes have the only significant disadvantage - they are noisy.For this reason, when installing a new riser, you should immediately worry about sound insulation.
Noise elimination is completely easy. If it turned out to self-reinstall the riser, and with sound insulation difficulties will not appear. But unfortunately, there is no general way to form noise insulation for all plastic risers. Depending on the sound specifics of the structure and the nature of the system itself, its isolation methods may differ.

Causes of noise
Many are interested in the question of why plastic pipes are rattling, and the old metal does not make a sound at all. The experts performed the analysis and found not one, but a number of factors that caused the appearance of third-party sounds. There are several reasons for the formation of sound in plastic pipes, such as:
- blows - the content of the pipes, which was lowered together with the water, pulsates against the walls and makes noise;
- atmospheric phenomena - the breeze “howls” in the riser, it rains or there is hail;
- resonance - the pipe accepts and delivers third-party sounds;
- vibrations - pipes perceive and give vibrations to structures under the ground of motor transport.
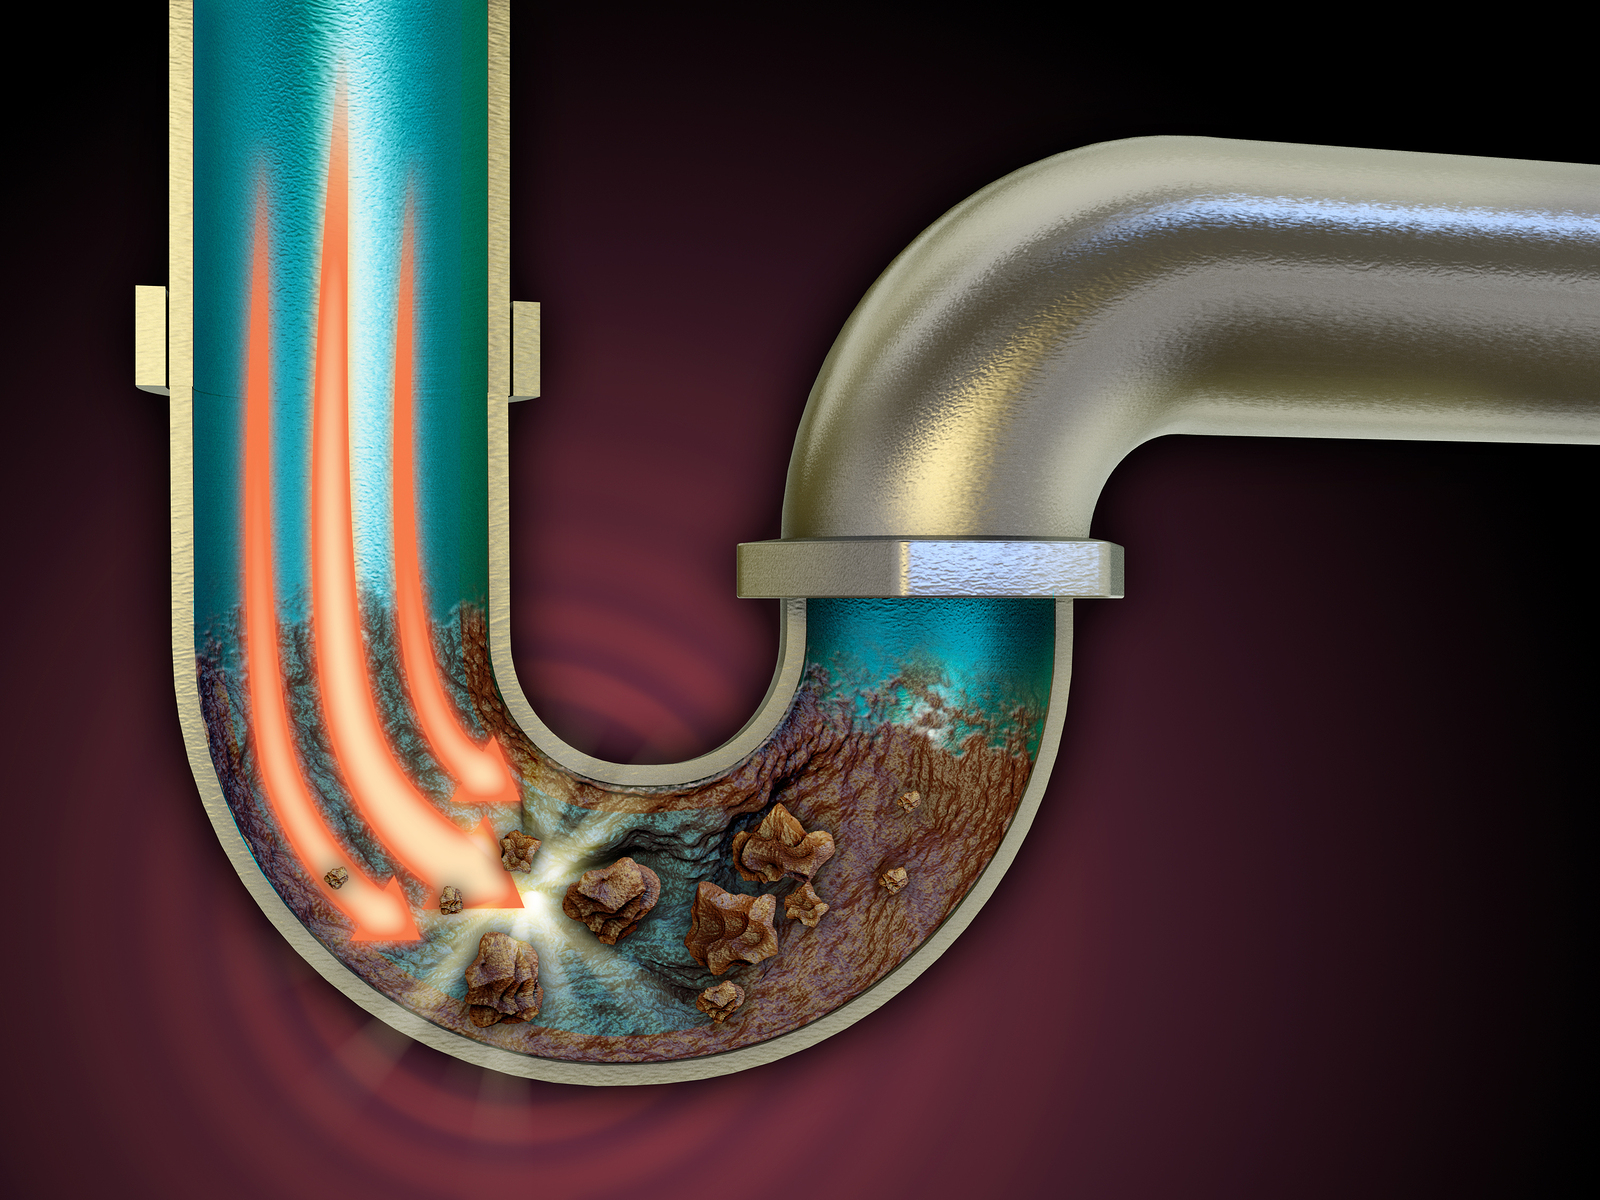
Pipe configuration predisposes to the formation of noise. It receives, translates and carries sounds. In addition, a significant role is the material from which it is made. Metal pipes, which up to this time stand in the bulk of Soviet-built buildings, do not thunder directly because of the peculiar composition. They are made of an alloy which structure includes not only metal, but also grains, non-uniform in properties and formula. For this reason, the metal tube absorbs sound as the grains rub against each other, reducing pulsation.
Metal pipes are very quickly covered with bloom inside, which performs the function of an excellent sound insulator, although it prevents the movement of sewage.
Soundproofing installation
Sounds from the pipes of the plumbing, the riser in the apartment arise from the pulsation of the pipe itself. Therefore, the main problem of noise insulation should be the closure of this vibration or bringing it to the minimum amount.
The first step is to make sound insulation sewer riser, since the most powerful and noticeable pulsations are reproduced directly by him.In an ideal situation, in order for the pipes to produce practically no sounds, they are required to be sound absorbing. Some plumbing companies are engaged in the creation and construction of specialized pipes and pipes made of plastic with the addition of rotisit powder.
This component produces a material that is very similar in properties to cast iron, because the particles of minerals rub against each other and absorb pulsation.
Microcalcite (dull white powder) is the best material for sound insulation of pipes., limestone comes second, followed by limestone with minerals. Such pipes are more expensive than simple options, so before buying you should examine and check the certificates, you need to pay attention to the performance, structure and size of the noise drop in decibels (sewage insulation reduces sound by 25–35 dB).
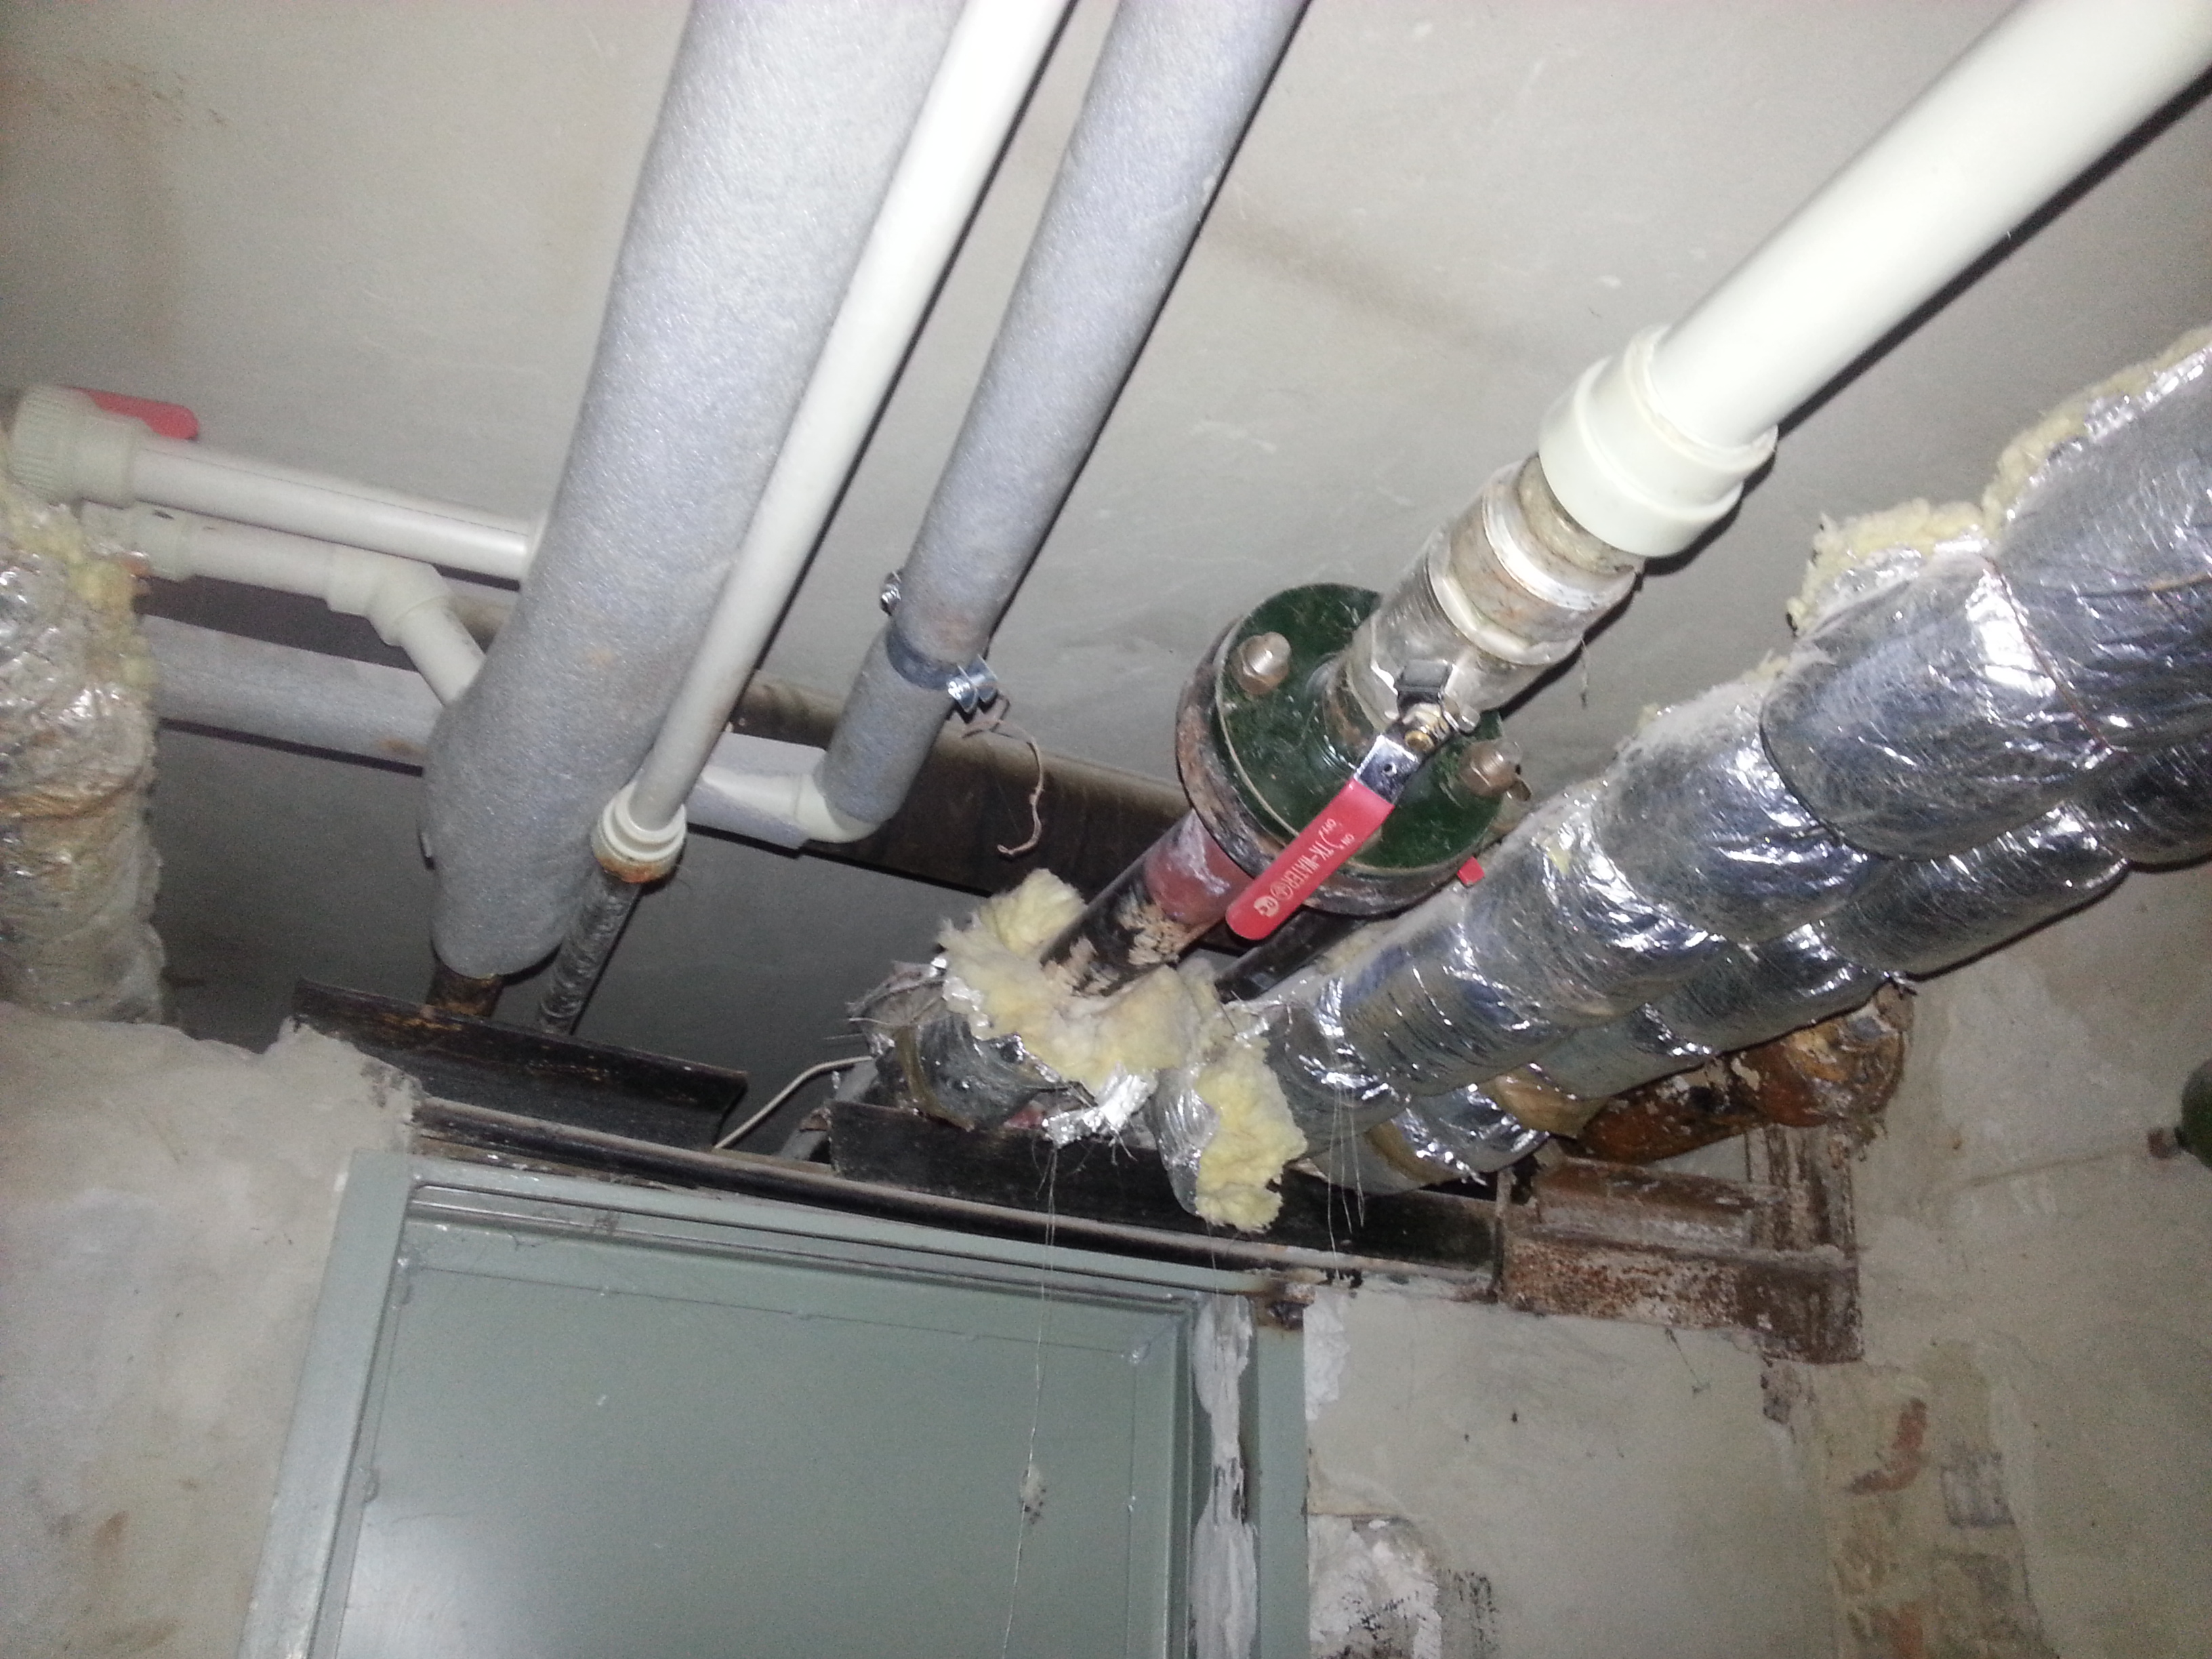
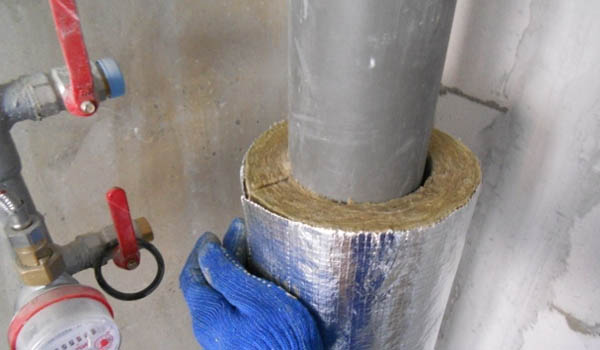
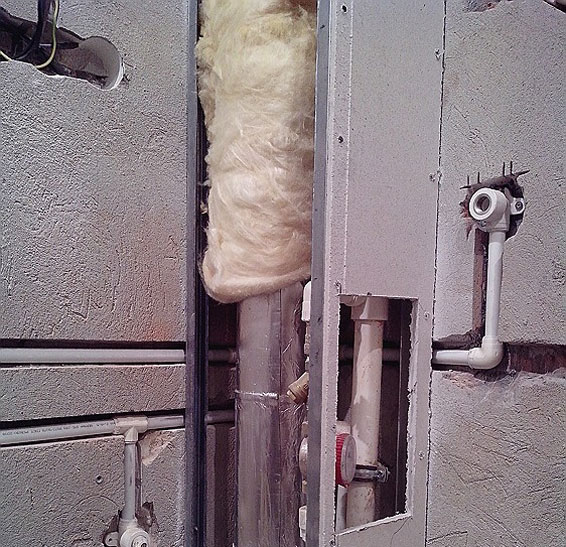
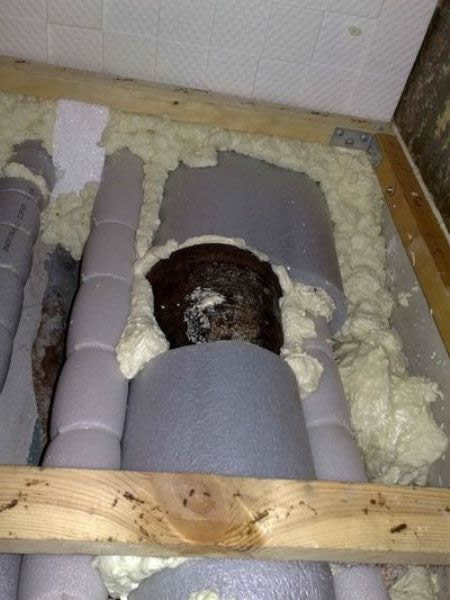
The main disadvantage of such pipes is not a high price, but a short service life - in general, only 15–20 years. To eliminate the unpleasant gurgling sounds in the pipes, you should use polyurethane foam or a special "shell" from the foam.In this case, both the riser itself and the wiring should be wrapped, since the pipe tubes can transmit sounds very well along its entire length.
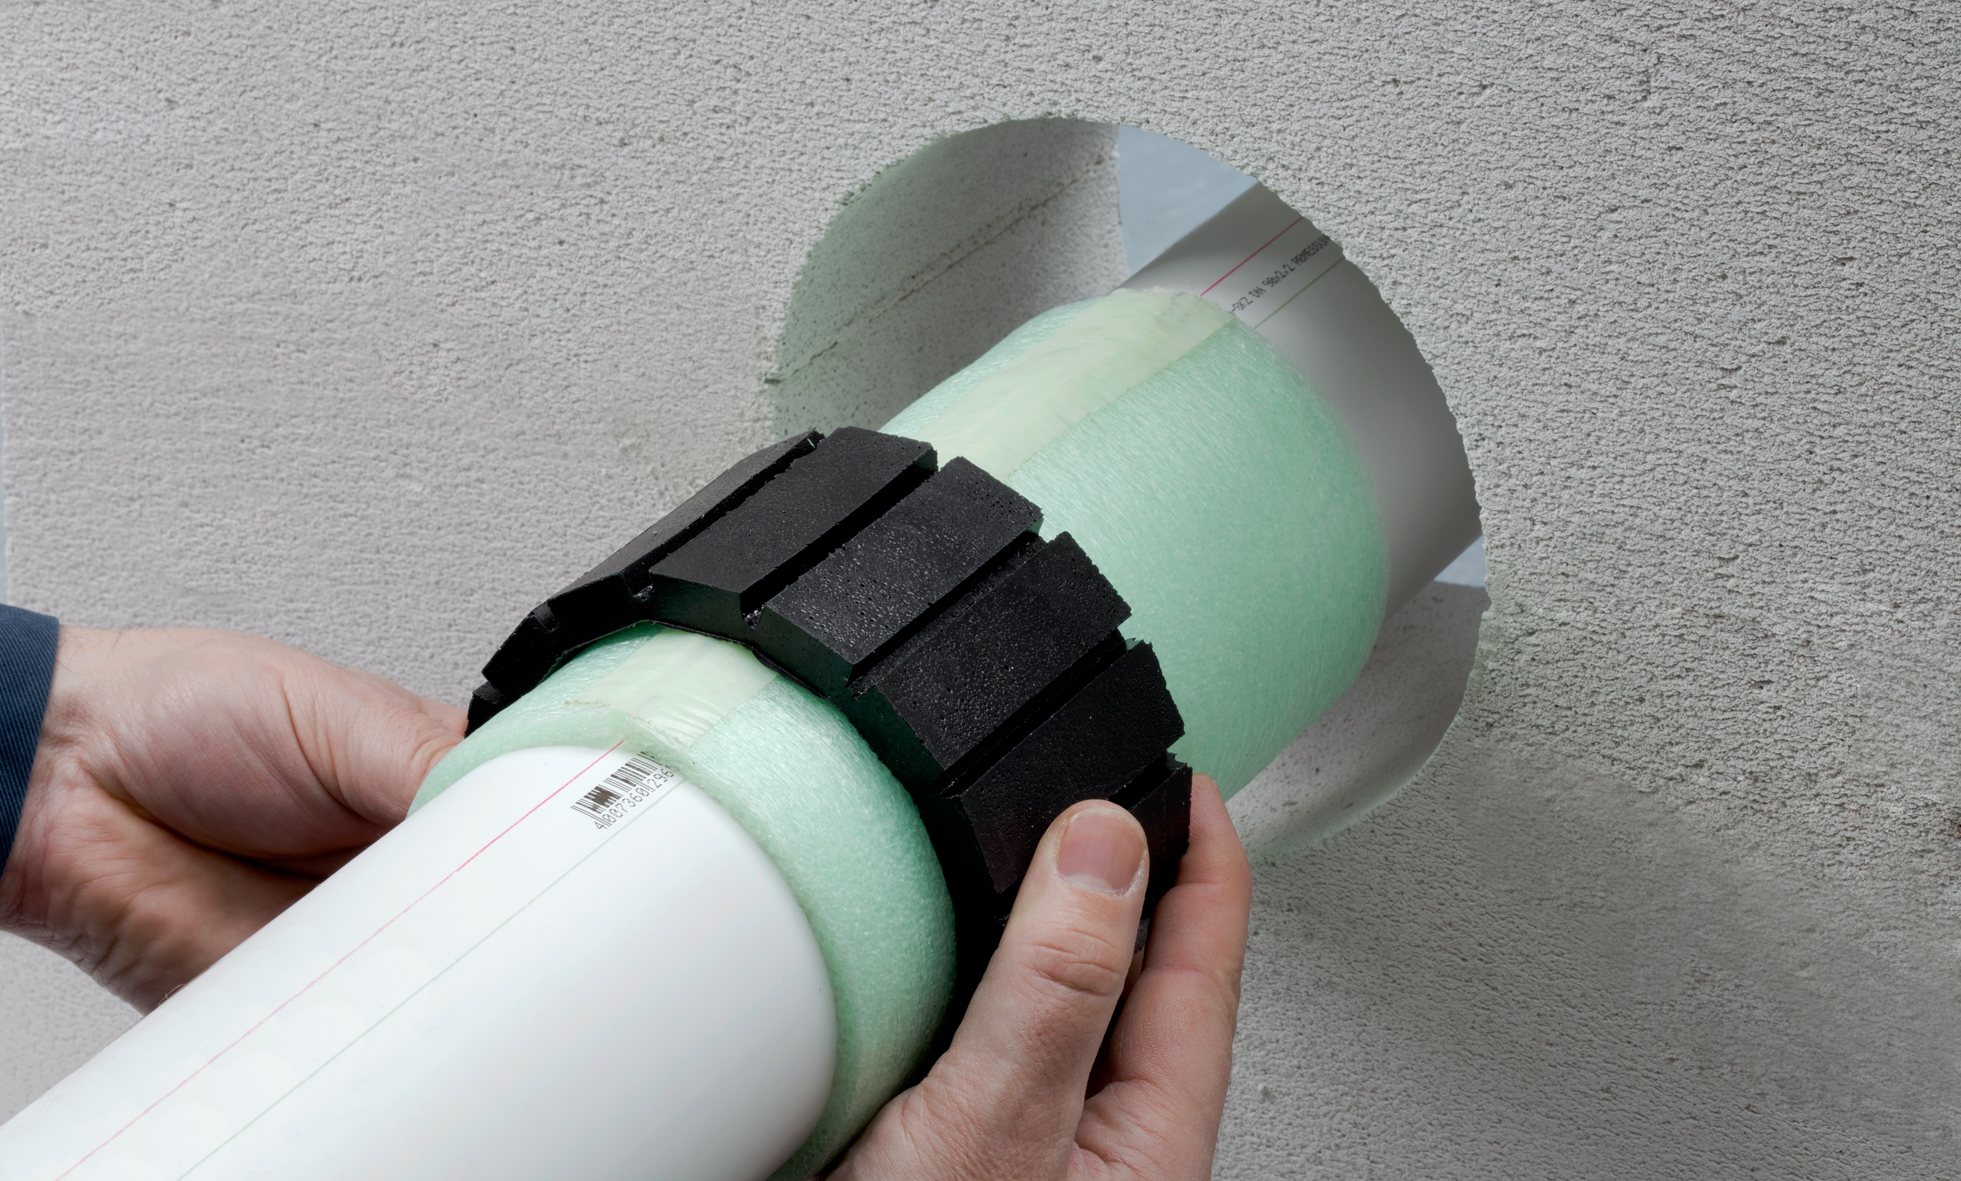
Polyurethane foam insulation is more expensive than using foamhowever, it gives the opportunity to work with meandering and rotten areas. It is sold in rolls, which must be cut into pieces of the required length, wrapped around the riser and secured with foam or mounting tape. Instead of polyurethane foam, often used foamed polymer, which is represented by porous gray tubes. This polymer absorbs sound waves and protects pipes from freezing. However, this material is very short-lived. So, already after the first warm season, it begins to bulge and foam, and by the end of the second warm season there are defects and destruction.
If you want to use mounting foam to create sound insulation, it is better to discard this venture, since the foam almost does not absorb sound vibrations.
In addition, it is not applicable for this type of work, because its use in open form in the rooms is extremely unsafe, because the foam causes significant damage to the respiratory tract.At first glance it may seem that the replacement of sewage is a very difficult and long-lasting work.
However, even a self-taught person is quite capable of doing such work. But if you are not completely confident in your own abilities or have not had experience with old, rotten and rusty pipes, then it is better to use the support of professionals. It will be much cheaper to pay for professional services, rather than spending a lot of money later on to rehabilitate the neighbors of finishes and equipment after flooding.
Tips
Through the process of replacing the riser in the house, you should pay attention to a few tips from the experts.
- You can make sound insulation from simple collars by placing soft rubber under them or pieces of the old car tire. Everything you need can be purchased at the hardware store or found in your garage.
- Before performing any type of work, it is necessary to check whether the valves are closed, which block access to water, and also to make sure that the neighbors have already used the bathroom and no new waste is foreseen for the whole time of the work.
Installation and disassembly of the old riser is not difficult. Adhering to the advice of professionals you can do all the work qualitatively, without creating additional difficulties. Although the best option and is considered to invite to replace the riser experts in this field.
About what the subtleties of the process of replacing the riser in the house, see the following video:


