How to cut and properly lay slate?
An important element in the construction of any building is the roof, so the roofing should not only have an aesthetic appearance, but also be reliable in operation. Today, the construction market is represented by a huge range of finishing materials, and each type differs from the others in quality, cost, and also in shape, size and color. At the same time, slate deserves special attention, since it is the most affordable coating that can be easily installed with your own hands, having equipped both residential and commercial buildings. In order to perform the installation of the roof, it is enough to acquire the desired type of slate and adhere to certain laying technologies.
Coverage: features
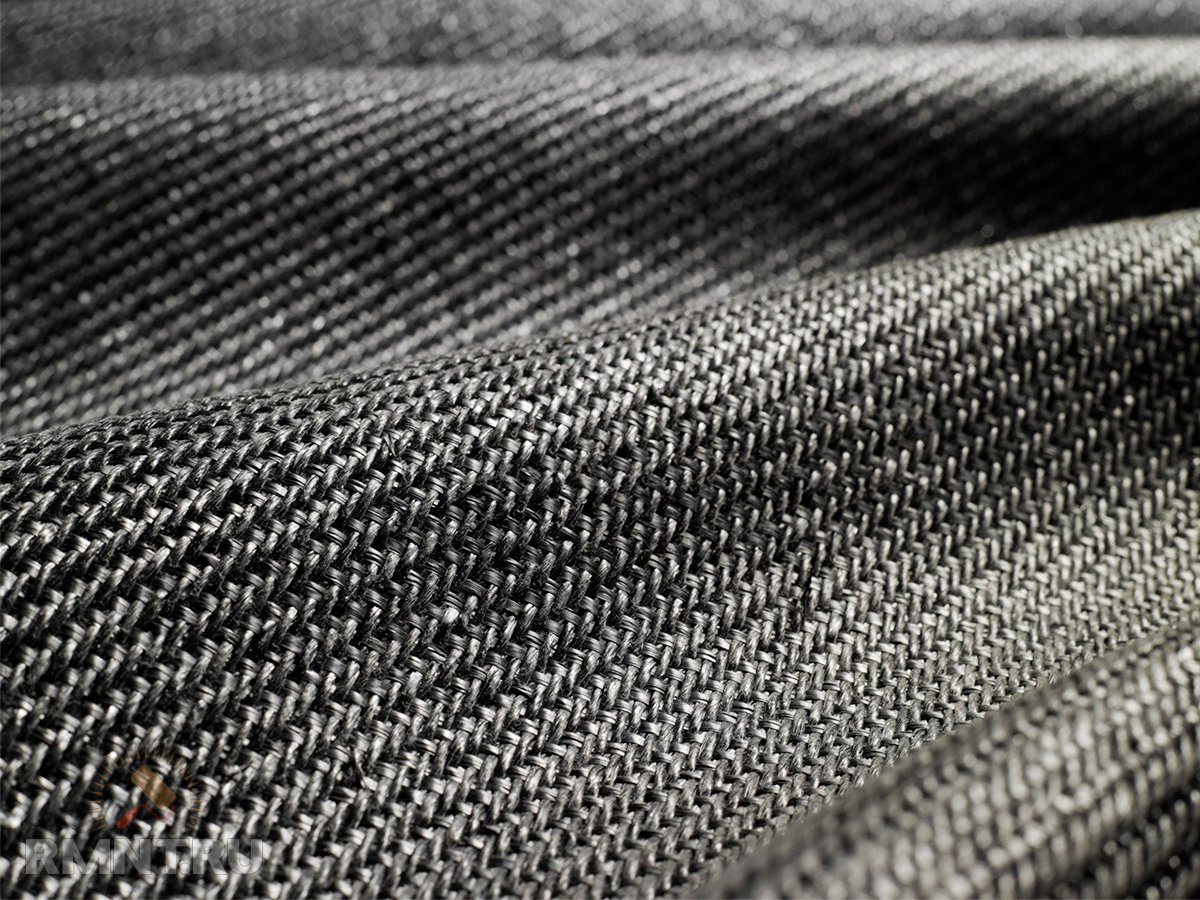
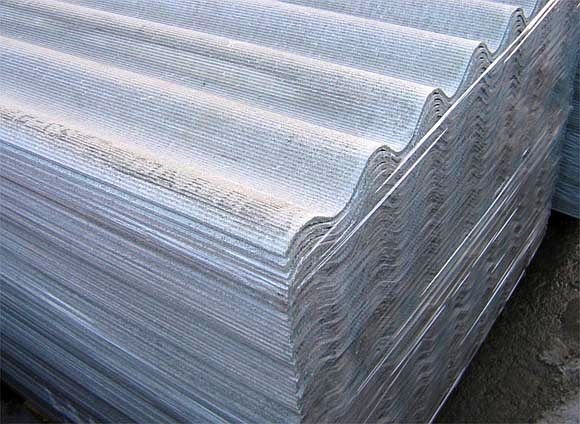
Slate is a unique building material, which is made on the basis of asbestos fiber. A distinctive feature is its price.
Compared to other types of coatings, it costs almost two times less and characterized by many positive qualities, among which are:
- incombustibility;
- high strength;
- long service life (many manufacturers give a guarantee for products up to 10 years);
- easy and quick installation.
As for the shortcomings of slate, they are few.
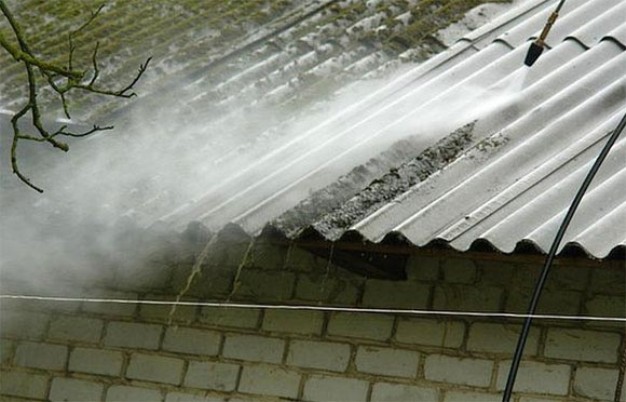
- The material is able to absorb moisture, so after a few years after installation, various lichens and moss may appear on its surface. To avoid this and build a durable roof, it is enough to cover the sheets of material with a special protective layer.

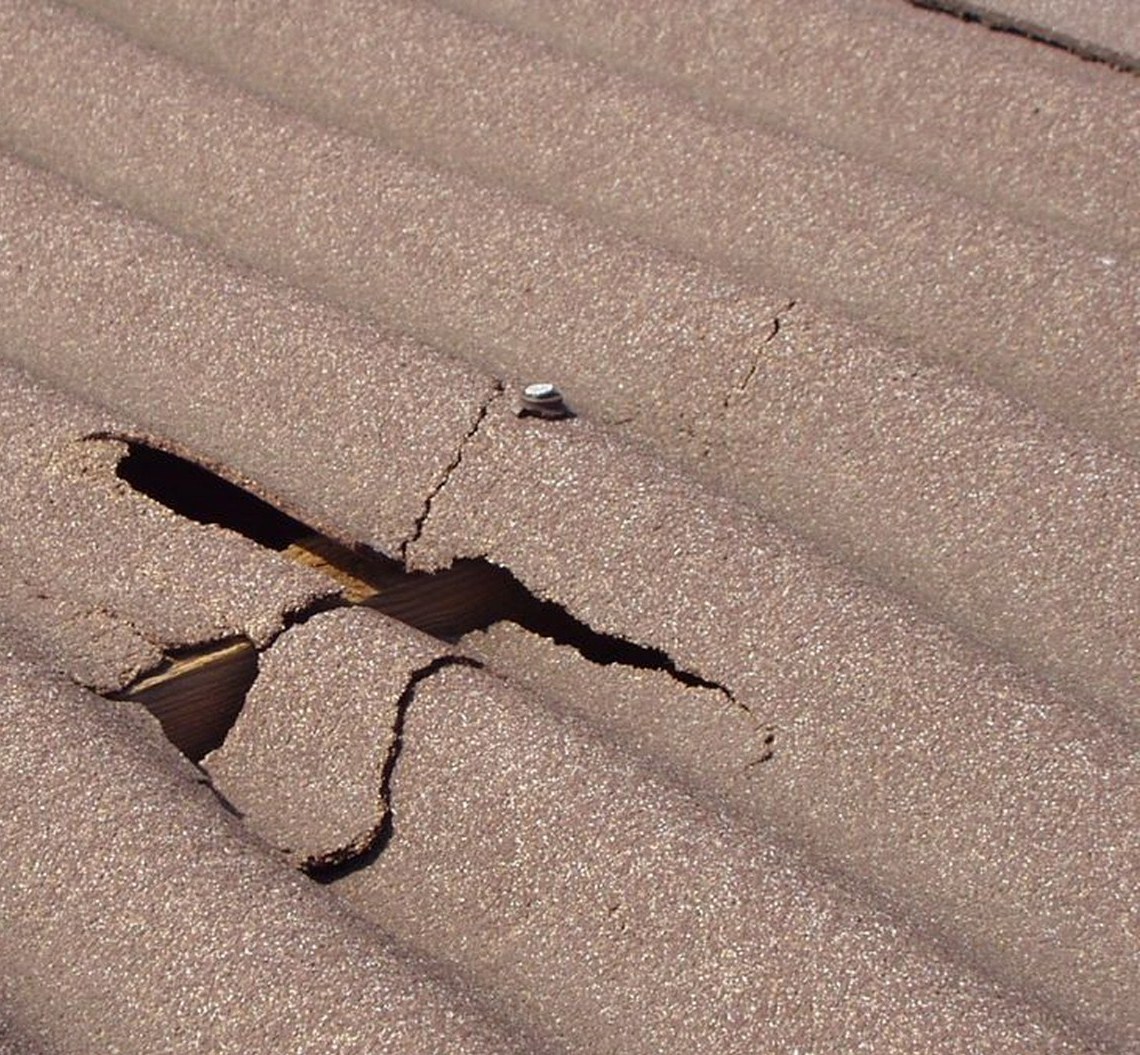
- Fragility. During the installation of the slate, it is necessary to correctly lay and fix the sheets; this should be done carefully, as from blows to the nails, cracks and chips may form on their surface. It is also desirable to provide a roof device and choose the appropriate pattern for laying the product, in which it will be easy to perform the work yourself without any help.This is done at the design stage before building a house.
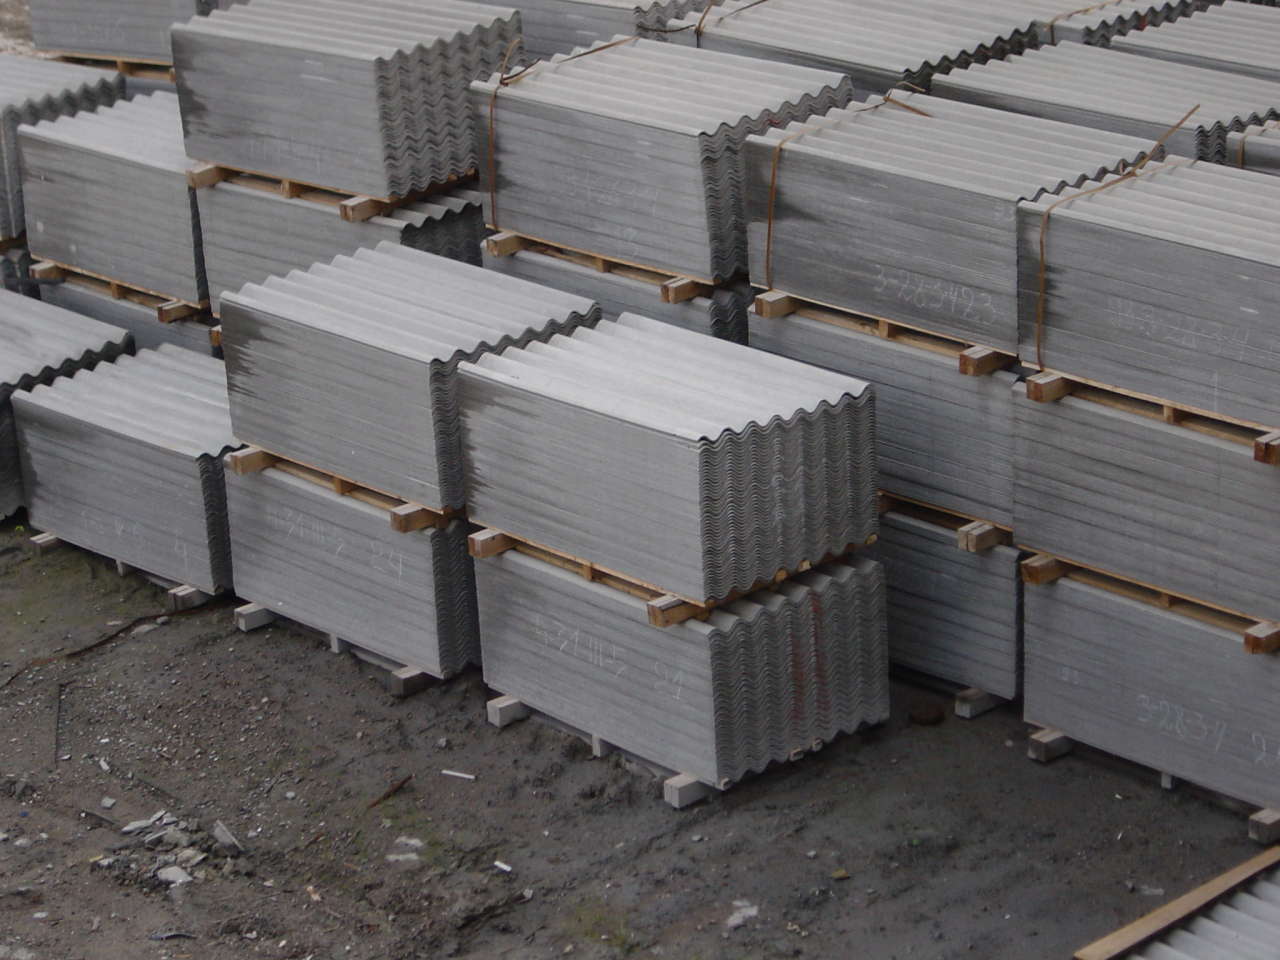
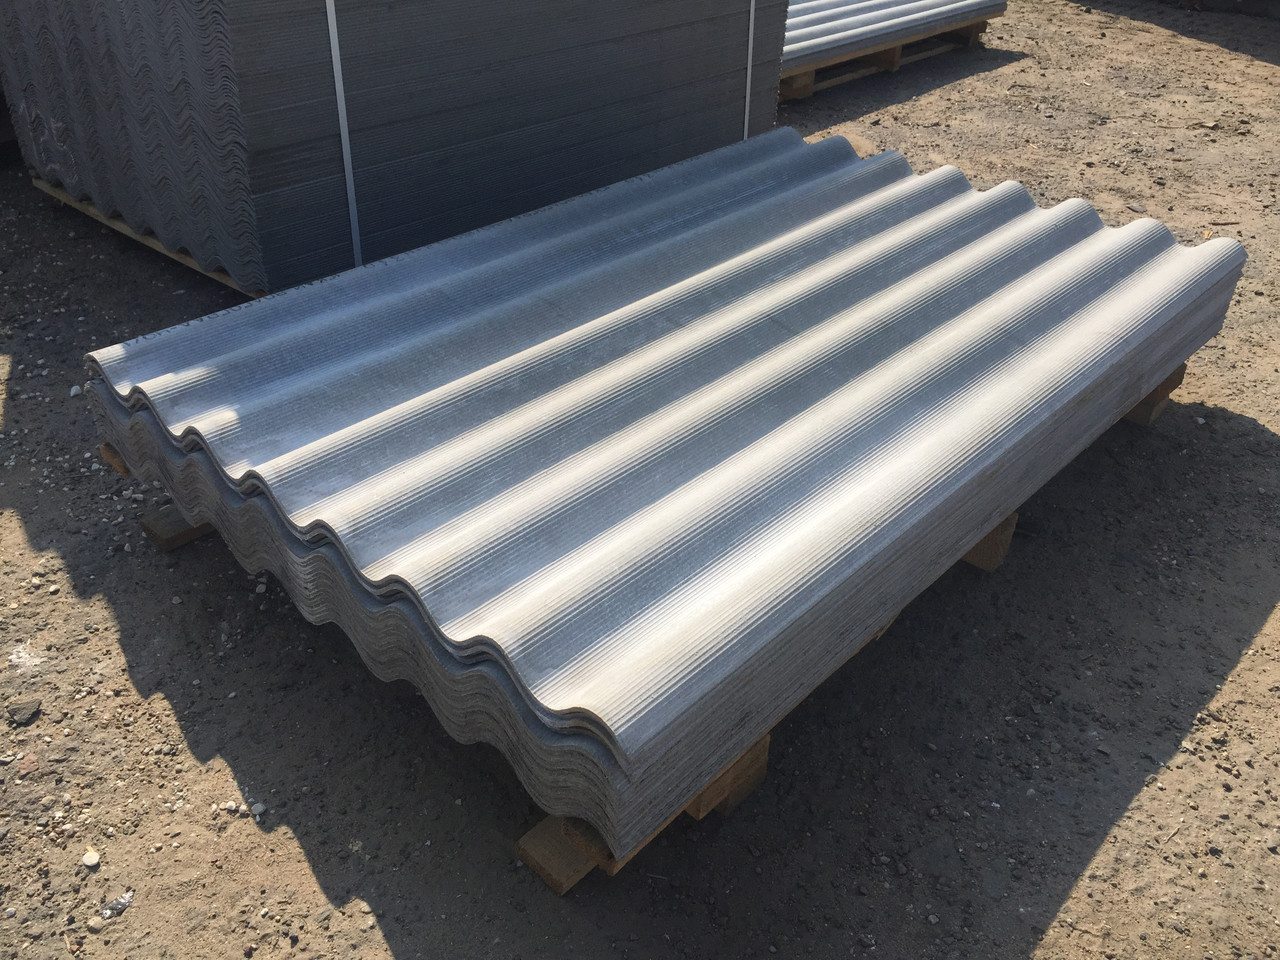
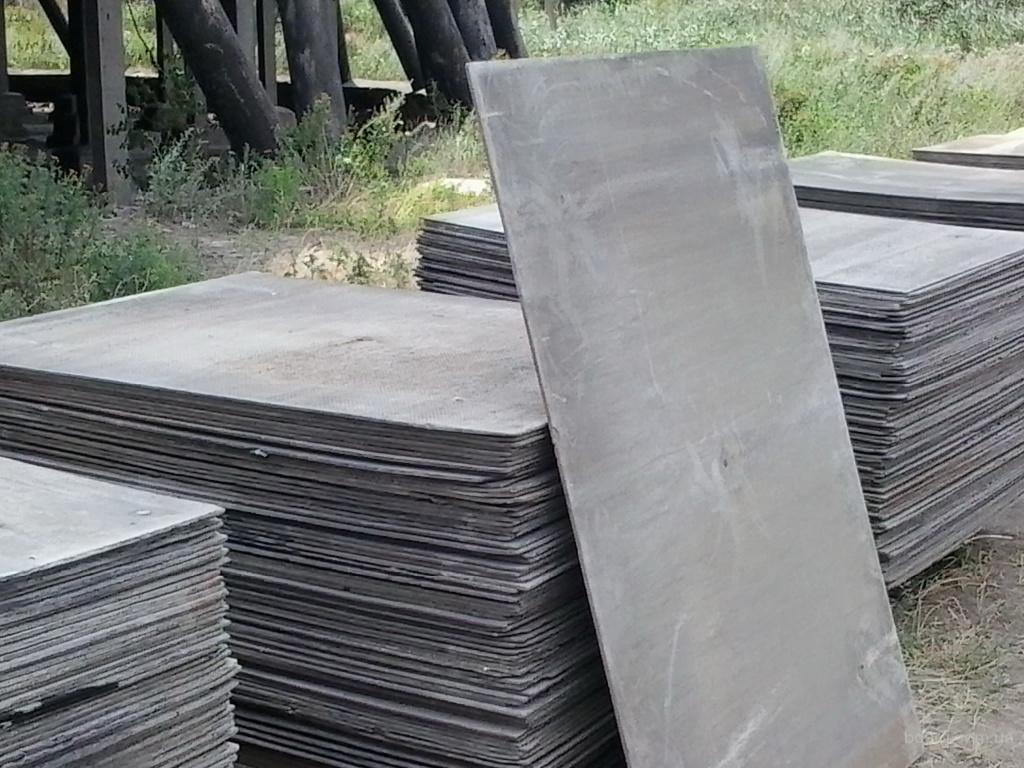
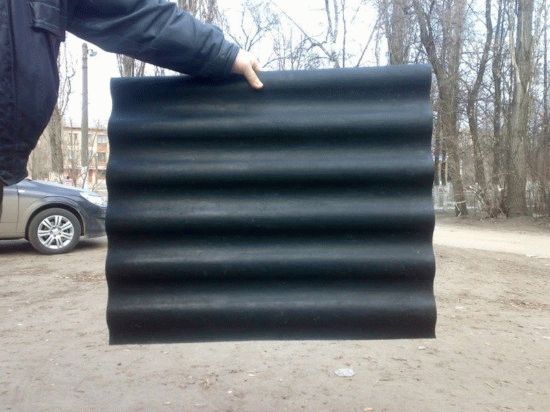
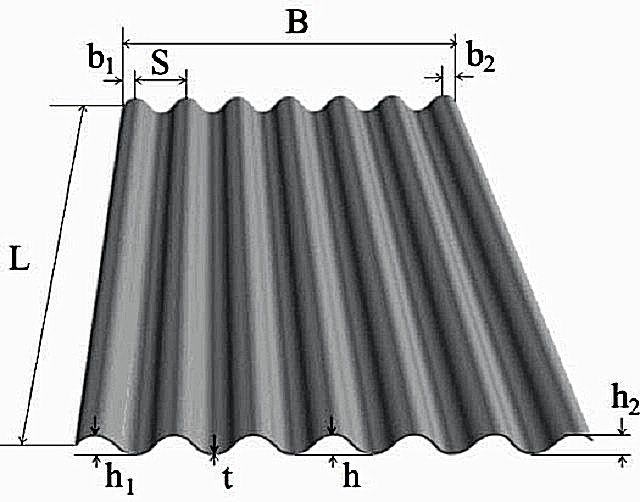
Slate produced with a smooth and wavy base. Sheet sizes depend on the number of waves, they are from 5 to 8.
The most popular in construction is considered the mother of 8 waves, it has the following dimensions:
- length - 1750 mm;
- thickness - 5.8 mm;
- width - 1130 mm.
As a rule, the weight of one sheet does not exceed 26 kg. With such parameters, the coating is overlapped. This saves material and significantly increases the usable area.

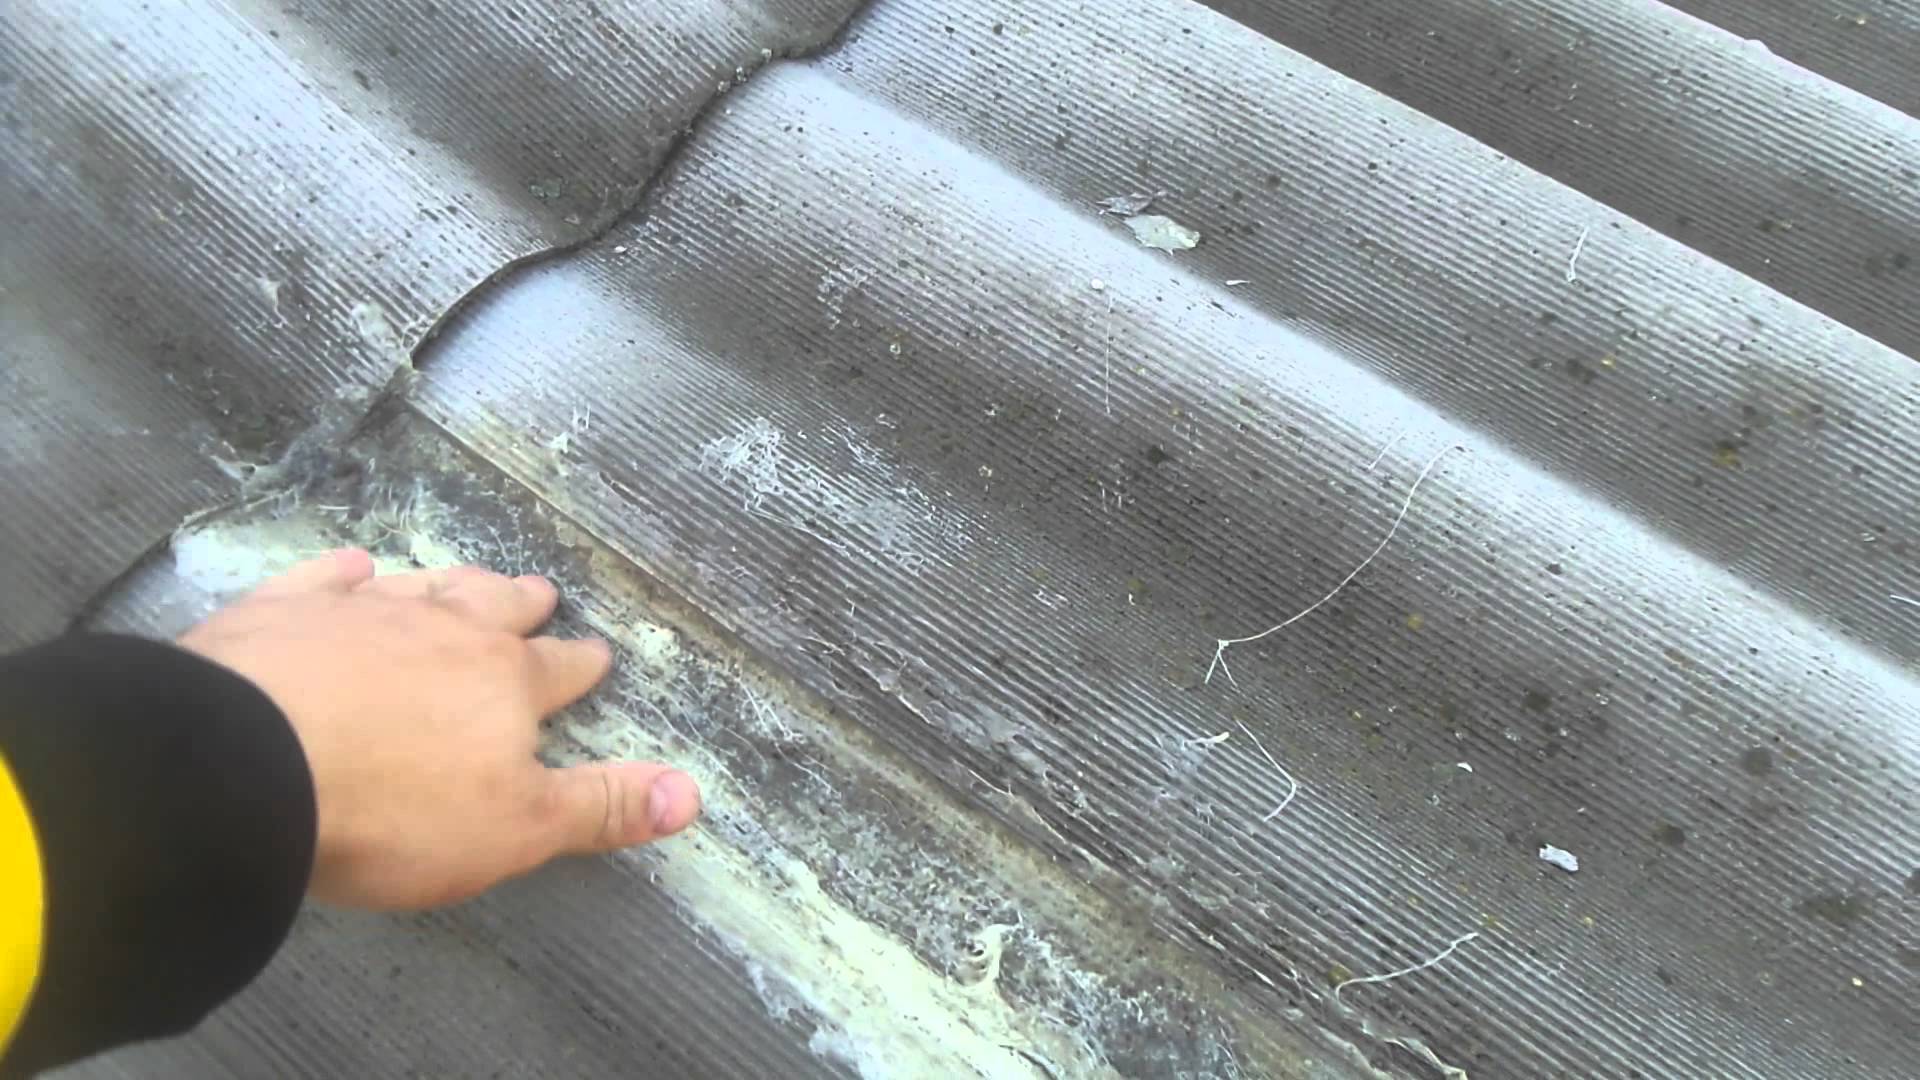
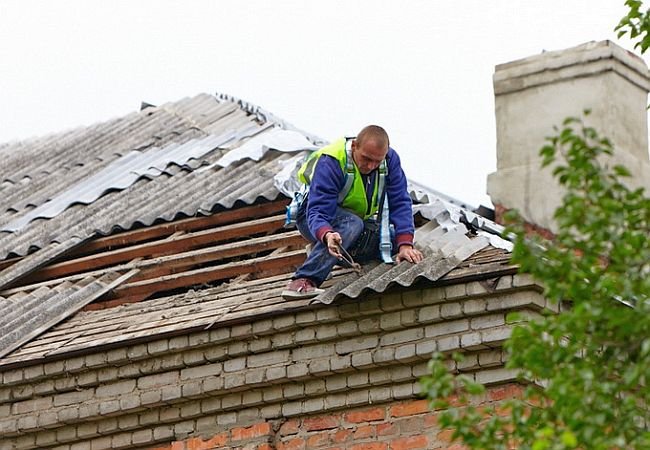
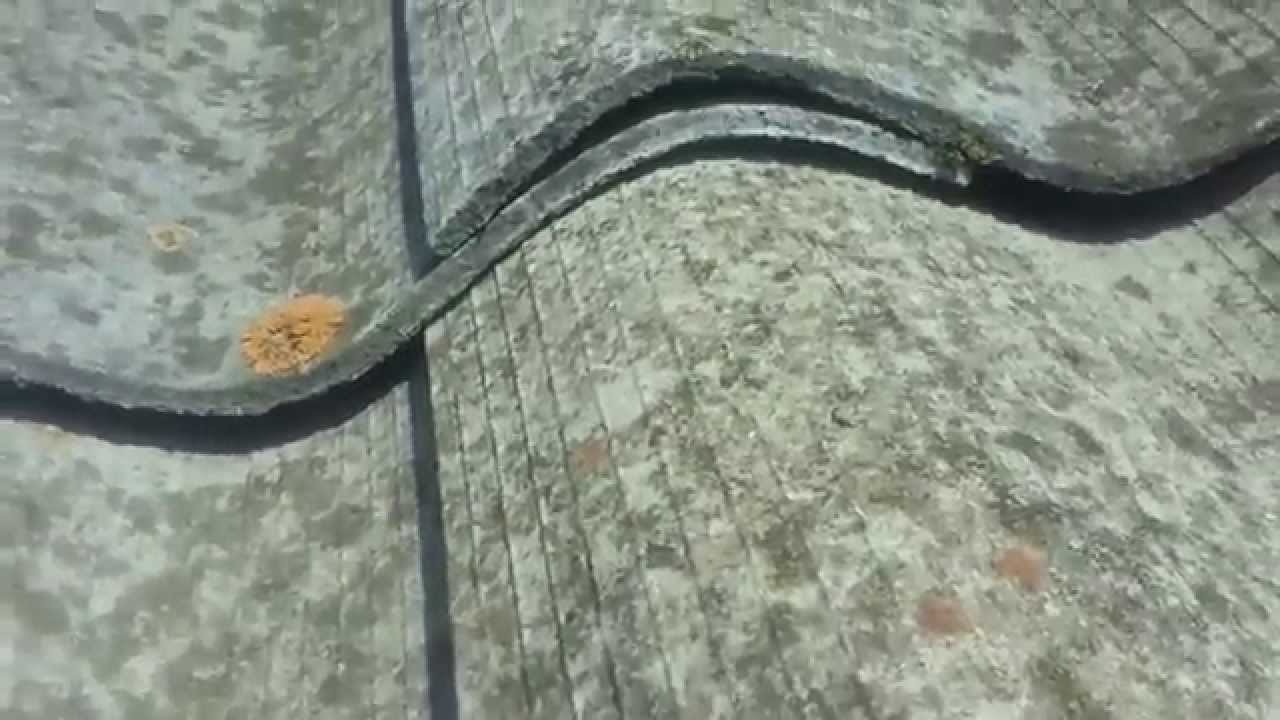
Dismantling and repair
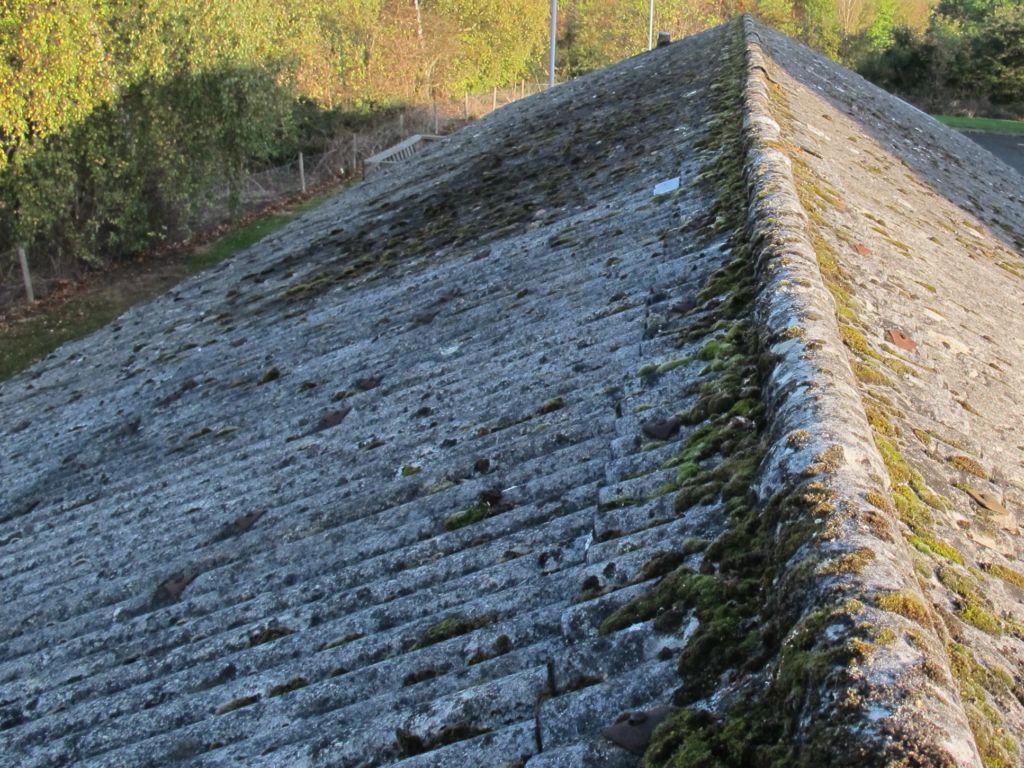
Although the lifespan of a slate roof exceeds several decades, over time it may lose its smoothness and grow into lichen from moisture. As a result, the coating gets a dark color and collapses, so it needs to be replaced or repaired. To repair slate, they usually dismantle damaged sheets or impose new ones on top.
To eliminate small defects, you can simply fill up the cracks or chipped with a special cloth moistened with oil paint. It is applied with a thin layer to the damaged areas and after drying it serves as an excellent sealant.
In addition, the cracks are removed using acrylic blends, they are usually combined with reinforcement elements.
In the event that on the construction of the roof has significant damage that can not be corrected by sealing means, make a partial or complete replacement of the sheets.
Stage of work is as follows.
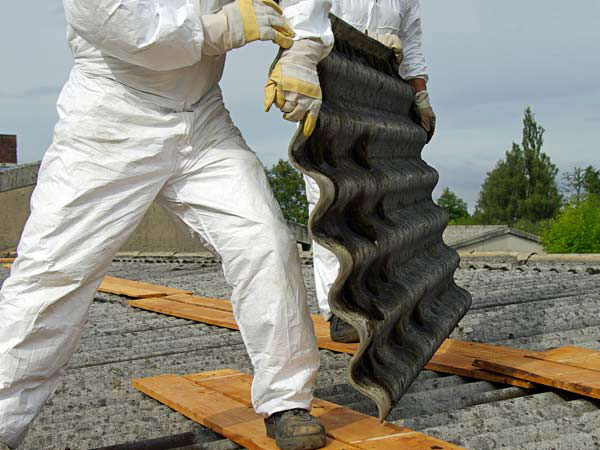
- Dismantling of the old coating. With the help of the nail puller, all fasteners are removed and the damaged slate is removed. If there is a lot of it, then several rows should be dismantled, performing work from the top down.
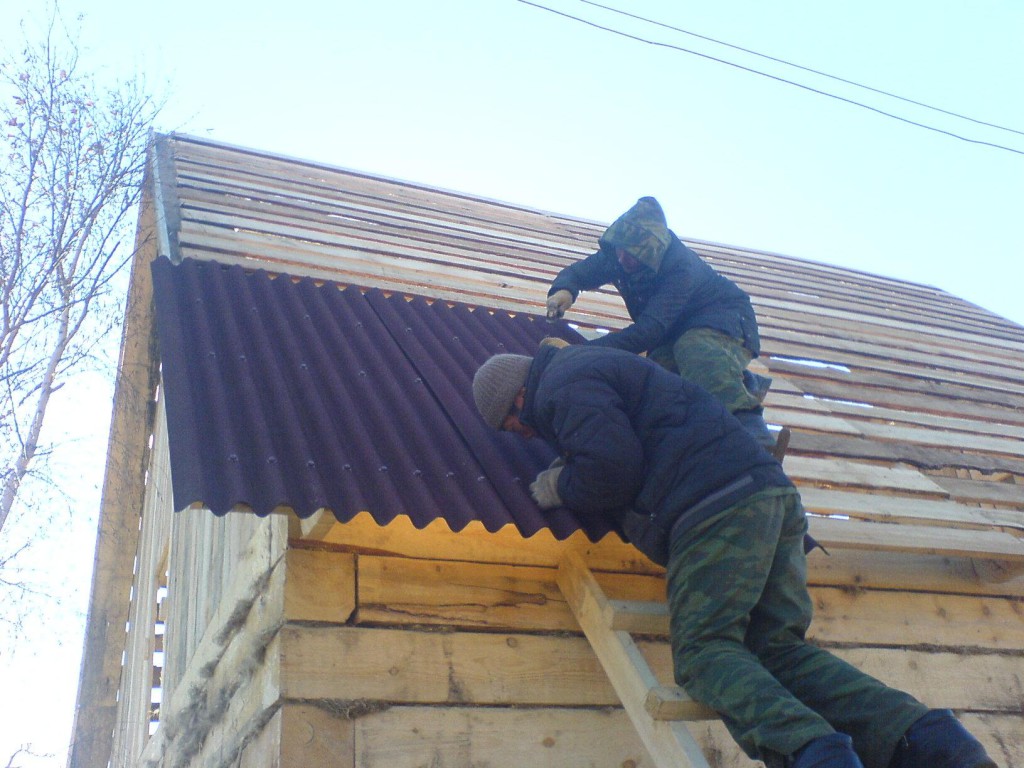
- Set new material. In order to secure the sheets, it is best to apply overlapping. In this case, the nails in the slate are not completely clogged, leaving a small gap of up to 3 mm. Installation is desirable to carry out together or three, as the sheets must be submitted and held.
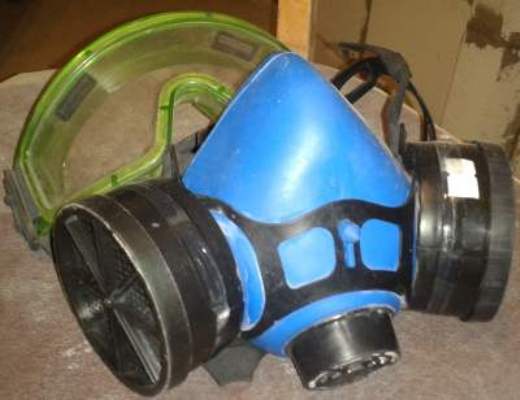
During the repair of the roof must comply with security measures. You can not dismantle the old slate in the rain, its surface becomes slippery, and you can fall. In addition, it is important to check the strength of the whole structure and make sure that it does not break under the weight of several people. It is also worth paying attention to the fact that asbestos is included in the product, so the work should be carried out in a respirator.
Quantity calculation
Before you lay the sheets of slate, you need to correctly calculate their number, which should correspond to the size of the roof.
To date, SNIP standards include the use of dibasic grades of material:
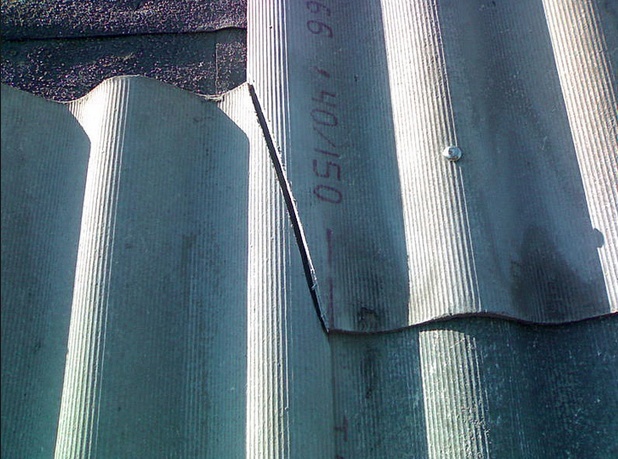
- 54/200: spacing of slate waves - 200 mm, height - 54 mm.
- 40/150: a step of waves - 150 mm, height - 40 mm.
Based on the above parameters, you can easily calculate the consumption of sheets.
To do this, perform certain actions.
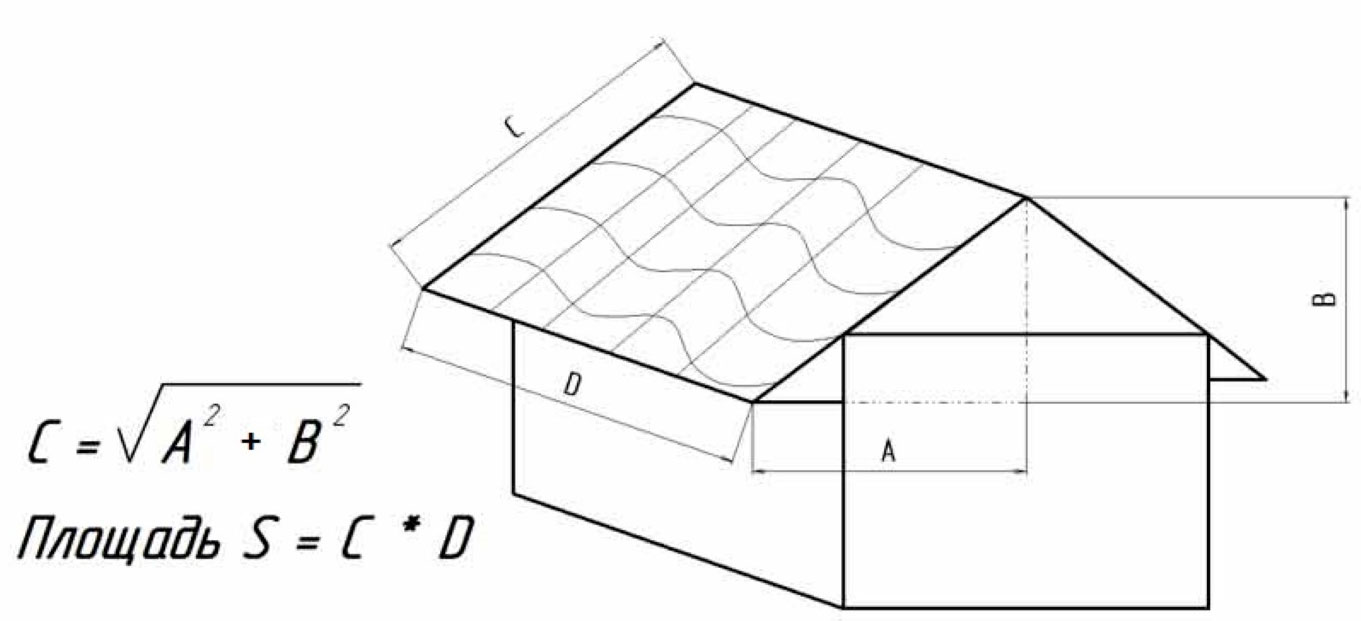
- The width of the slope is measured. For the calculation also take into account the front protrusions. The resulting number is divided by the width of the sheets and rounded up. Then add another 10% to run.
- The distance from the ridge to the track is determined. It is divided by the height of the slate and added 13% for vertical overlaps.
- Calculates the number of sheets to be purchased. The number of horizontal rows is multiplied by the number of vertical ones. To the result obtained add 5% - it will be a small margin for trimming. If measurements are made correctly, then installation waste will be small.
What and how to cut?
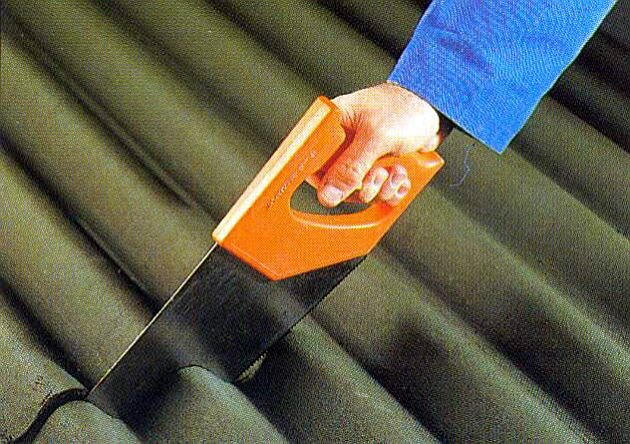
Roofing work is always accompanied by cutting material.At the same time, it is necessary to cut and cut slate in a different way, starting from simple trimming of edges and ending with curly trim. This type of coating is specific, it is made on the basis of mineral fiber and has a soft structure, therefore it needs careful handling. To cut the sheets correctly, you should prepare the tool and make accurate measurements of the roof before work.
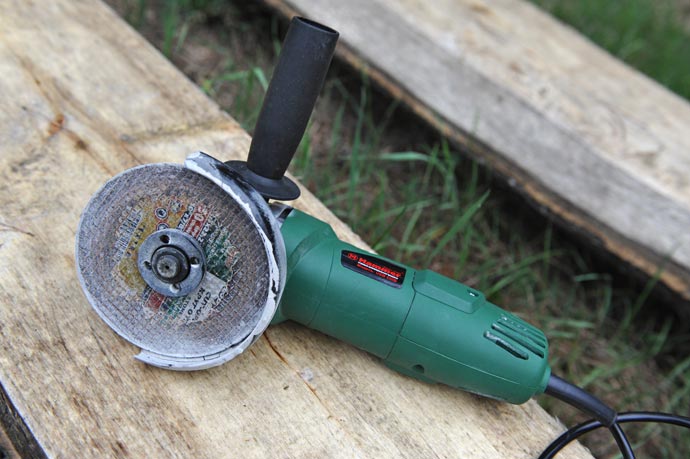
At home, this can be done with a jigsaw, handsaw or grinder.
It is impossible to cut the material by thermal method using hot wire or heated rods. As a result of temperature fluctuations, slate sheets in the places of heating will start to be pricked. It should be noted that the more cement mix will be contained in the product structure, the harder it will be to cut it.
In the event that sheets are cut with a circular saw, then the following rules must be observed:
- The speed of rotation of the edge should be minimal.
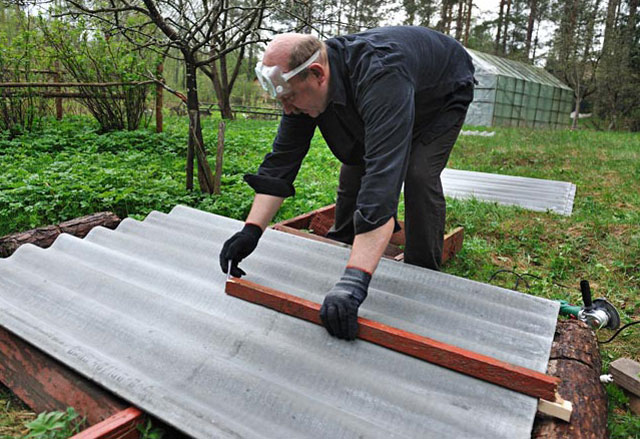
- Sheets should be laid on a stable base in such a way that they do not mix during work, otherwise distortions can lead to splitting of slate. It is best to lay a metal or wooden support under them.
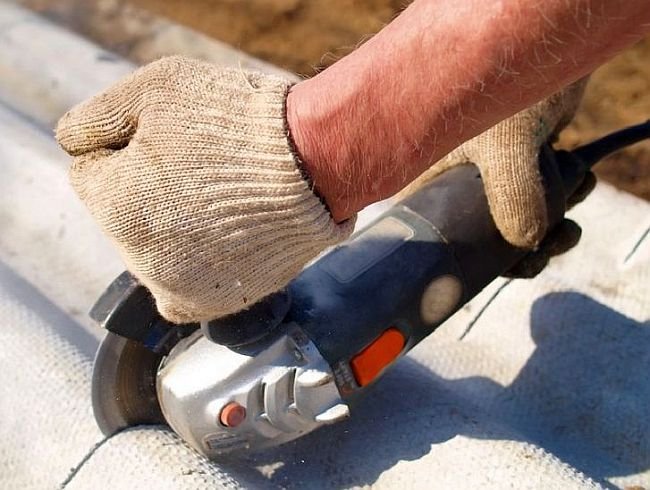
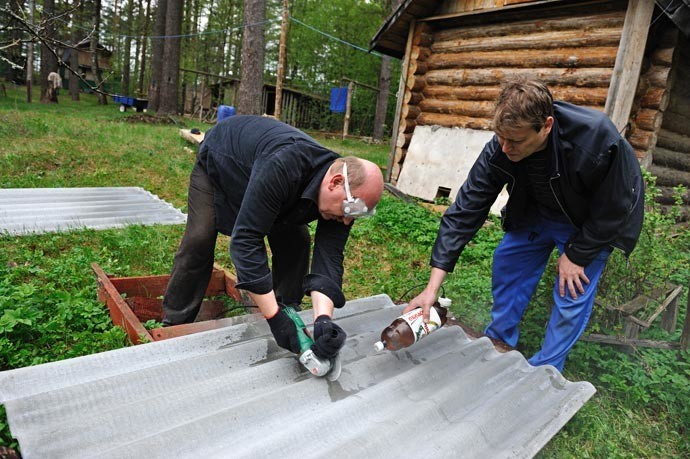
- Cutting should be done in a respirator that protects asbestos fiber dust.
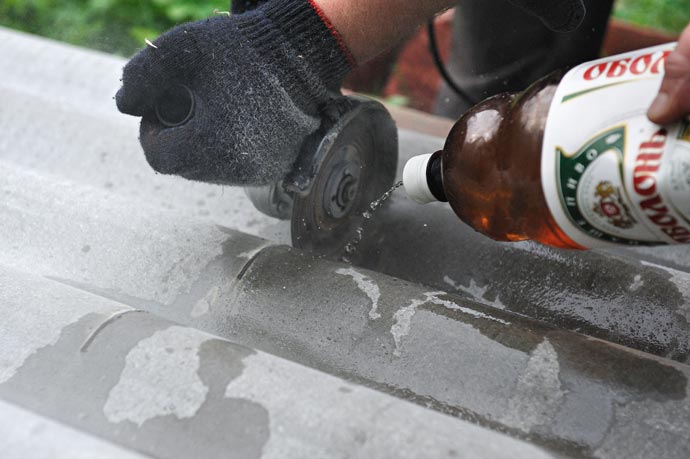
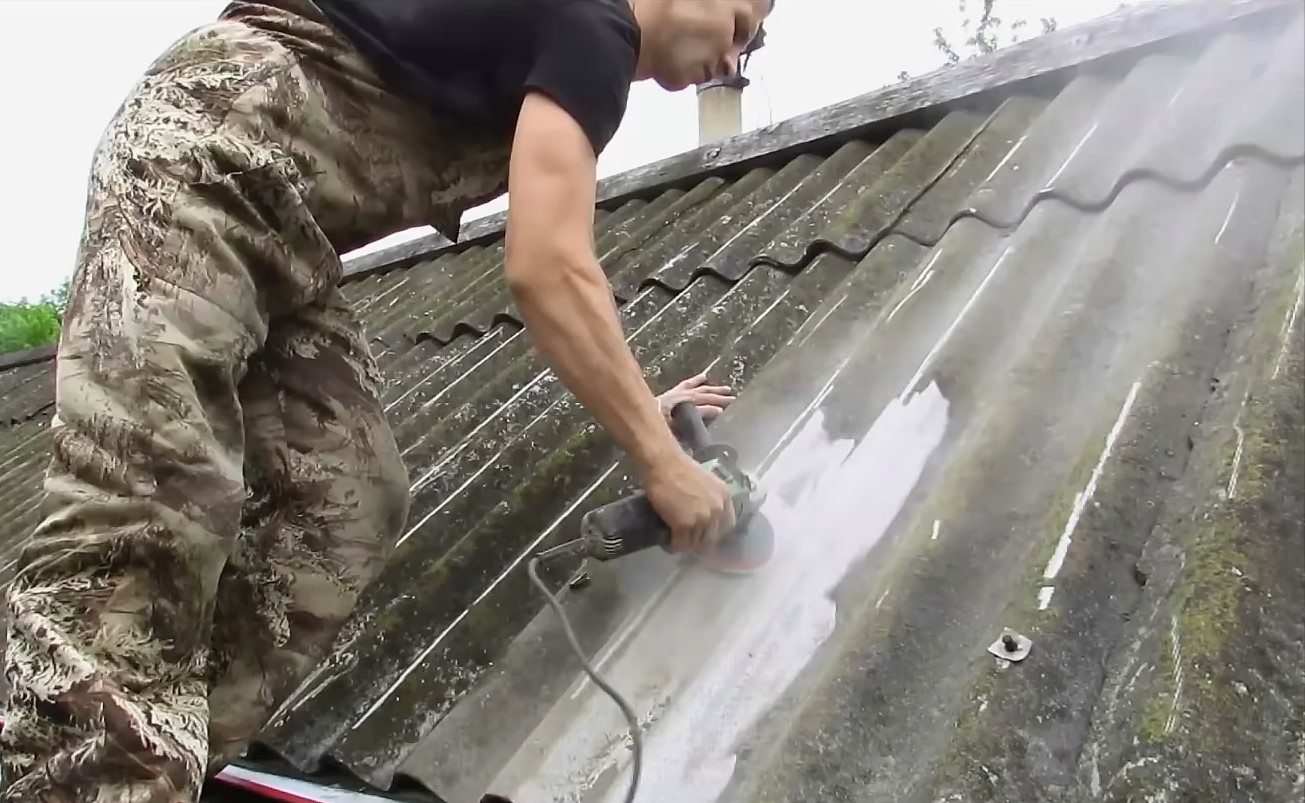
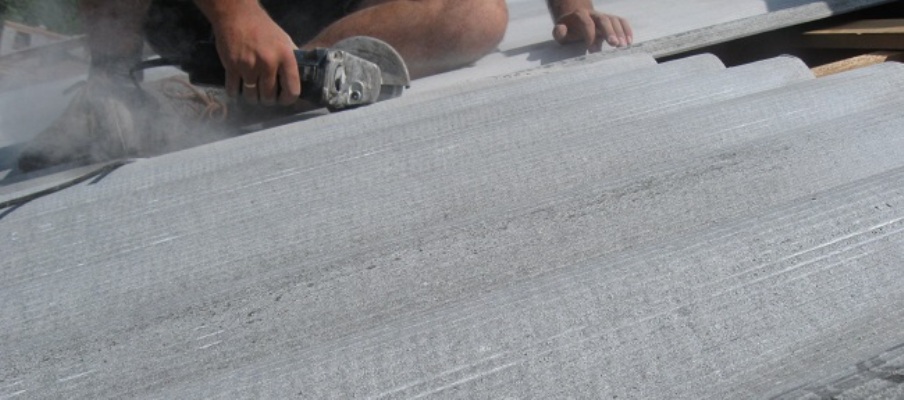
Many craftsmen also cut slate with a grinding machine. This tool is high-speed and allows you to quickly cut not only slate, but also concrete and stone.
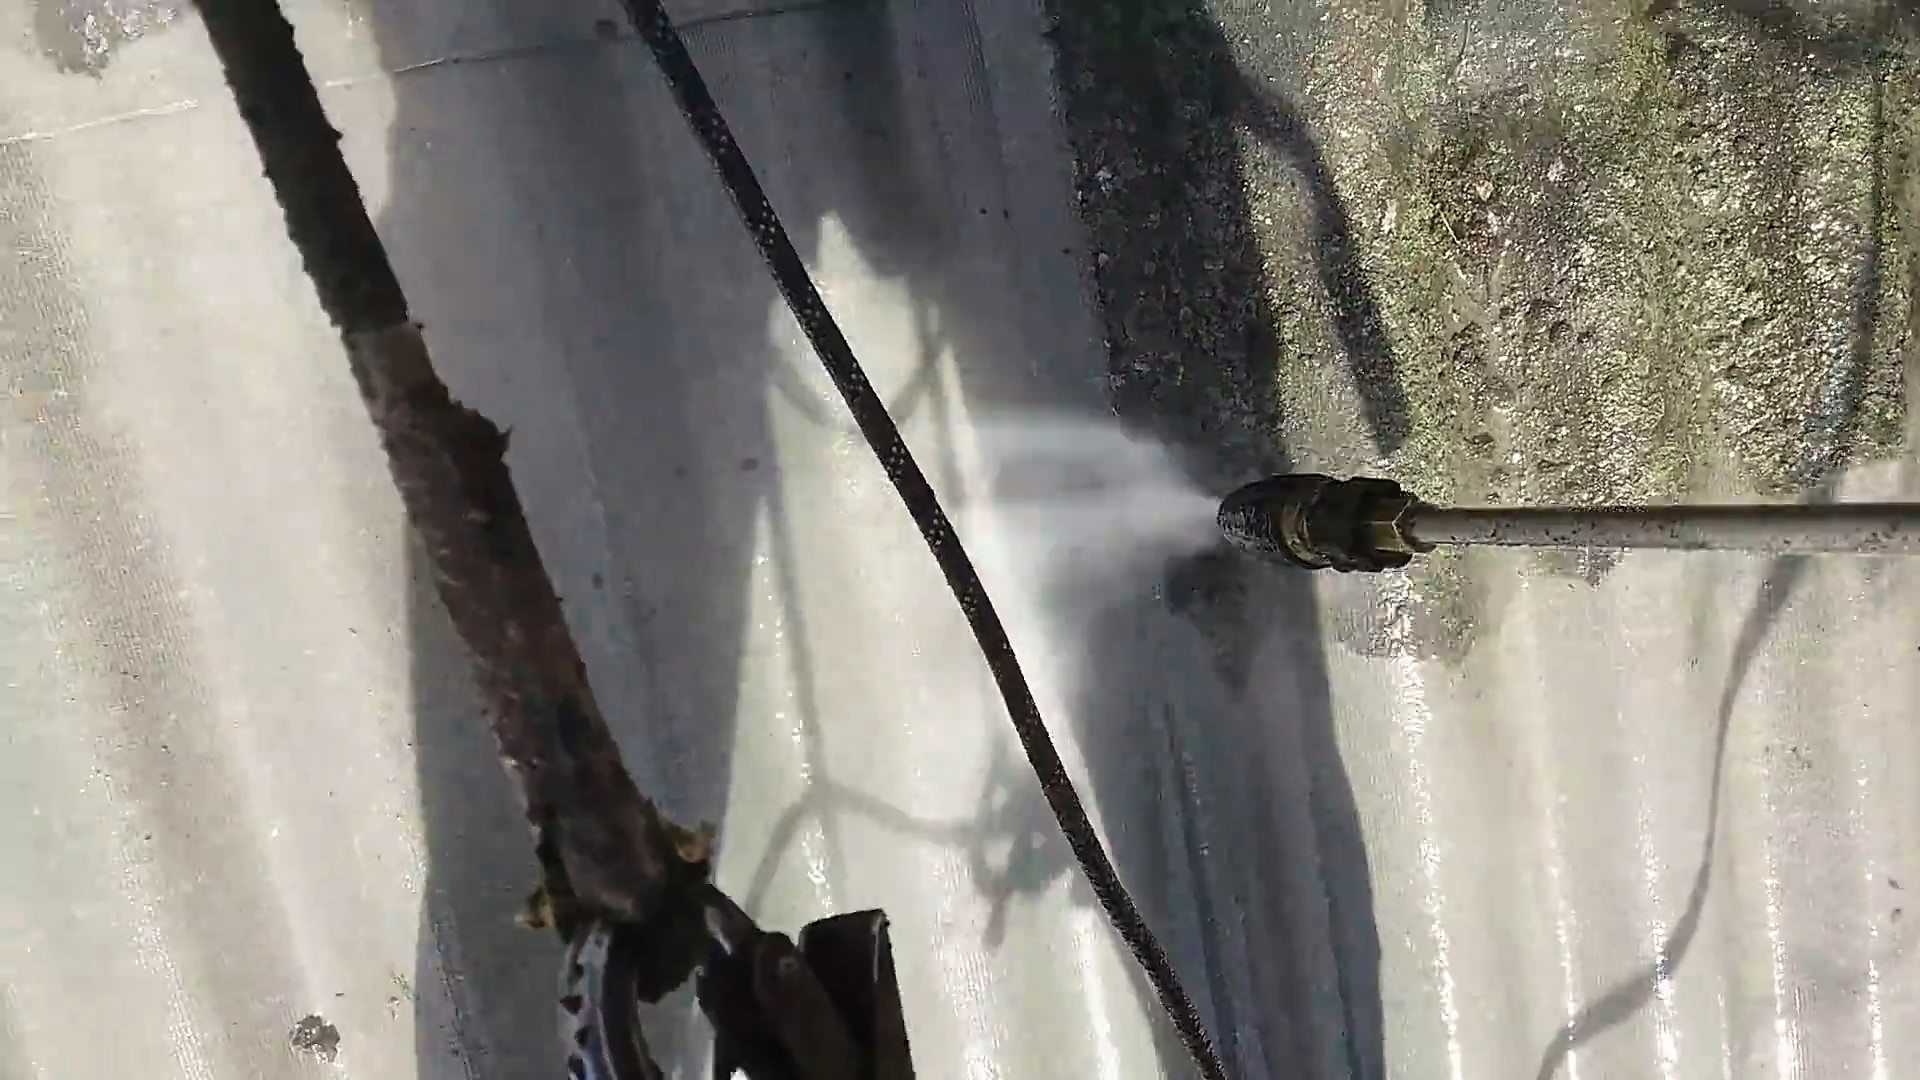
To speed up the workflow, it is recommended to moisten the material first. For this, a cutting line is drawn, a rope or cord, previously soaked with water, is put on top of it and kept for 10 minutes. After this, a small incision is made and filled with water.
After 30 minutes, you can proceed to the final cutting of the sheet, while it will be much easier to implement, applying minimal effort to the tool.
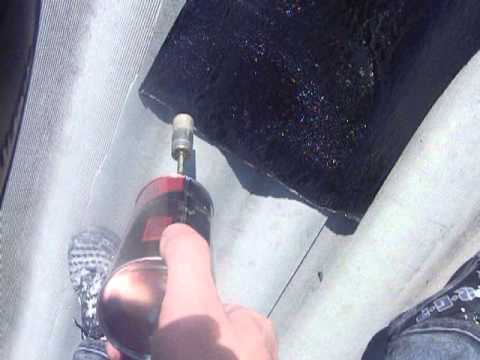
Training
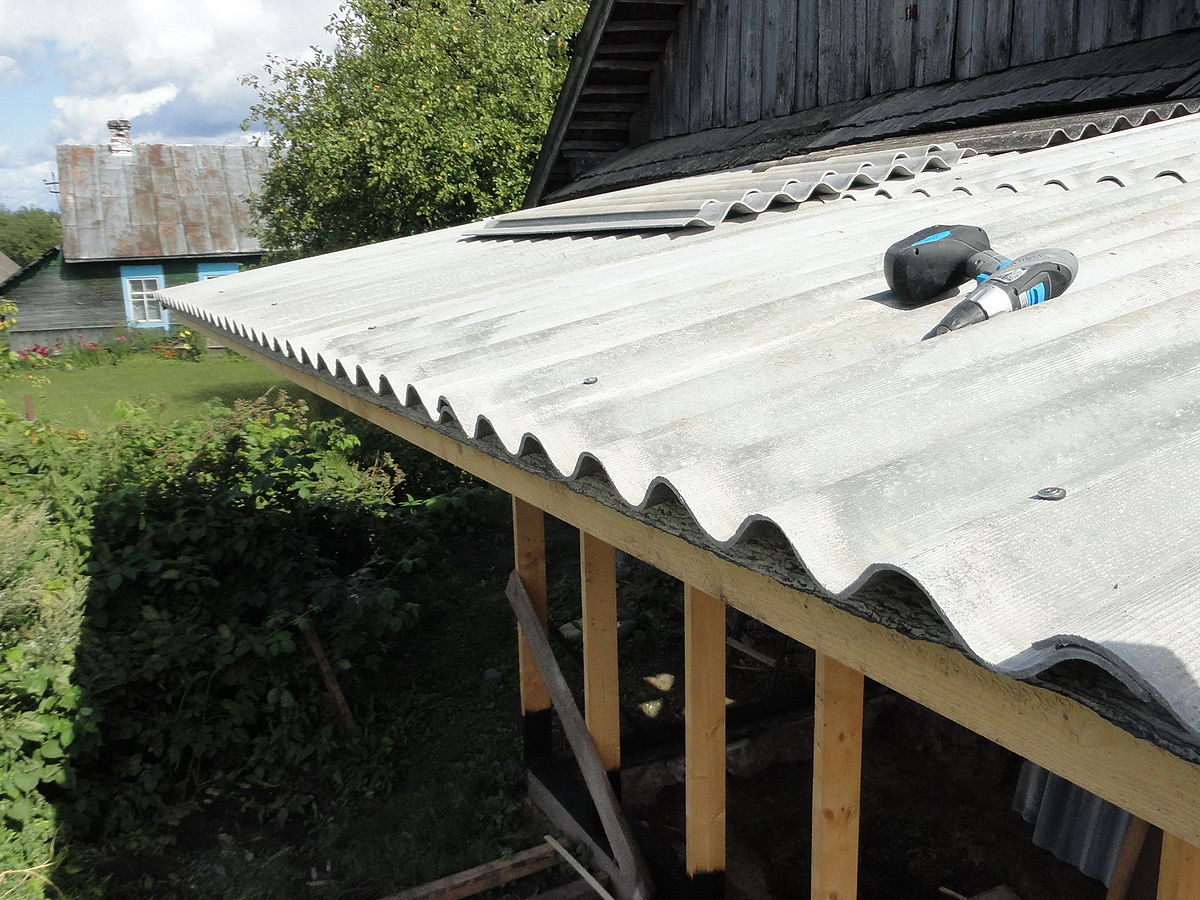
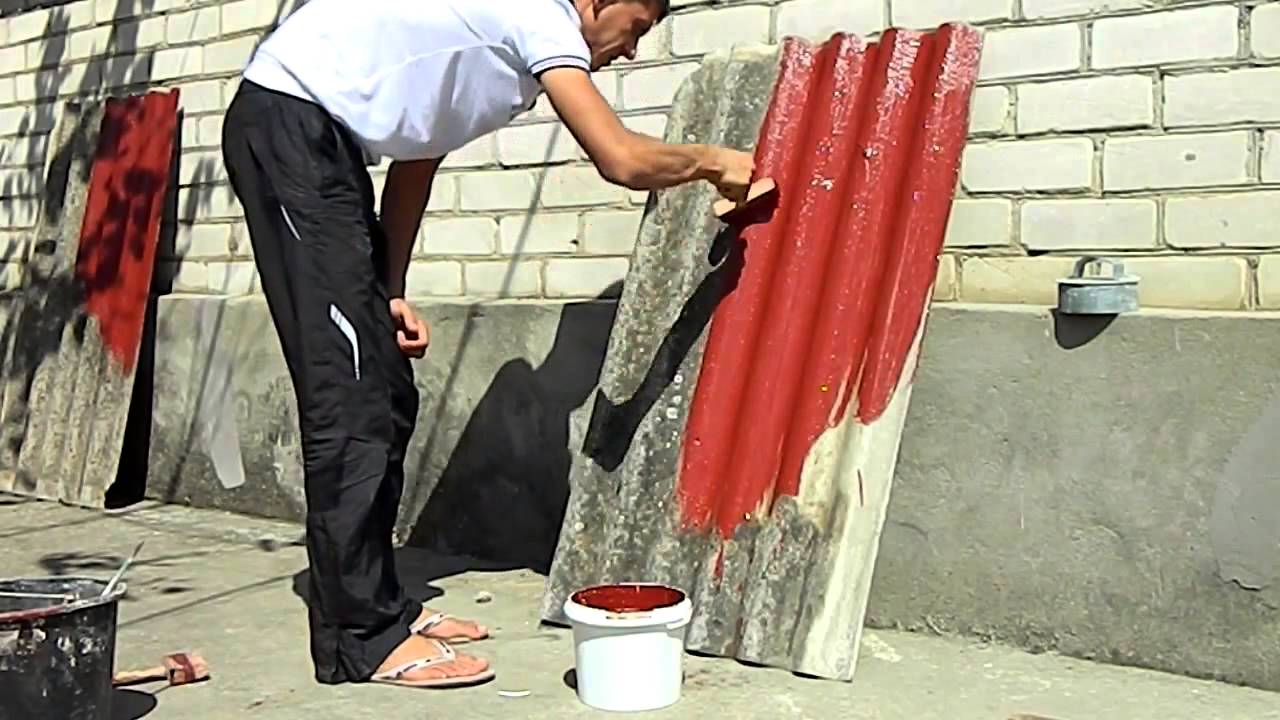
Laying slate with your own hands begins with the preparatory work. To do this, the acquired material is impregnated with a special solution or coated with paint on acrylic and alkyd basis. The ink mixture will cover small cracks and the surface will become smooth, it will be easier for the snow to roll off in winter. Since the slate under the influence of temperature is subjected to deformation, it is necessary to hammer screws into it with a small clearance.Therefore, prior to installation, pre-drill holes, this allows you to simplify the mounting on the roof.

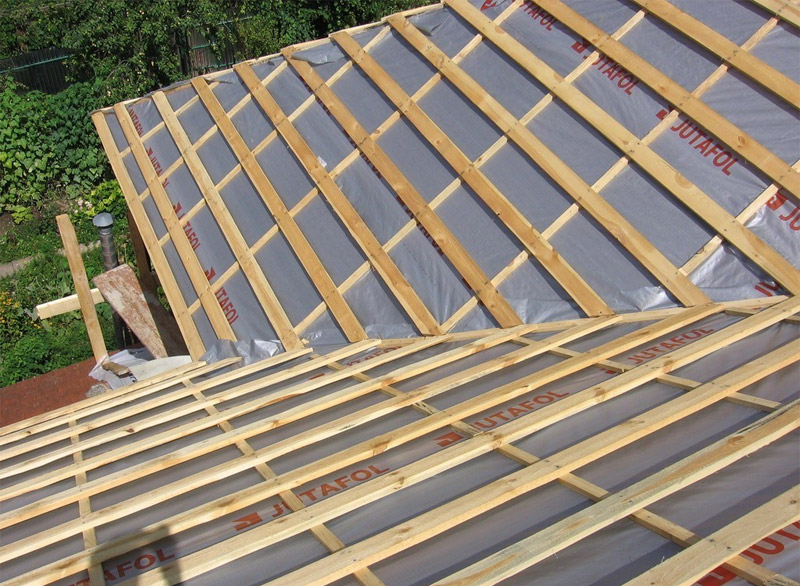
They also pre-do the gutters, with a finished roof they are difficult to mount. Particular attention should be paid to the installation of the batten, in order to save material consumption, it is recommended to make not a solid frame, but to install the grid at intervals. To increase the life of the roof, an additional layer of thermal insulation is made of roofing material or film.
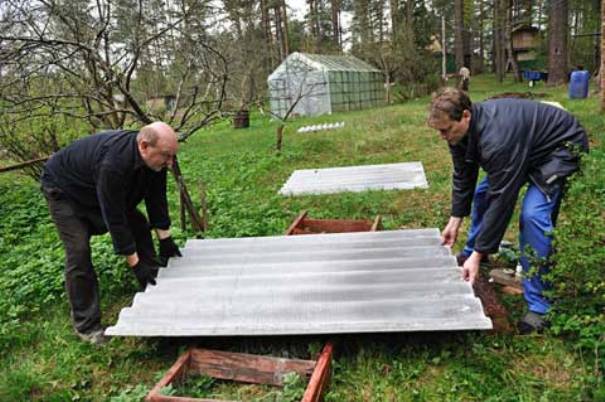
After the slate and base are prepared, you need to consider options for how to raise sheets on the roof. It will not be easy to do this alone, so you will need several helpers, strong ropes and a ladder.

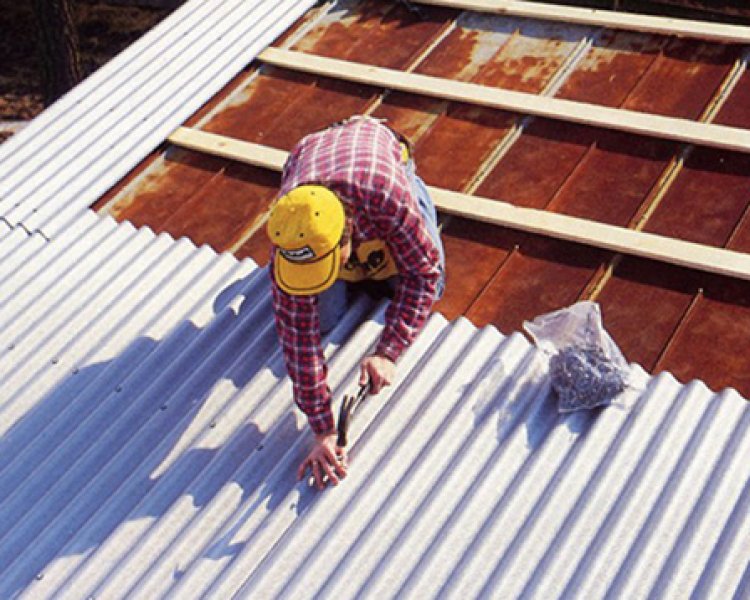
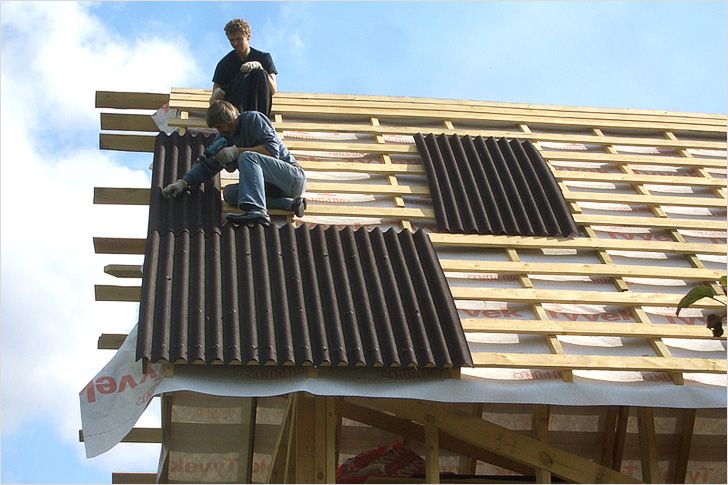
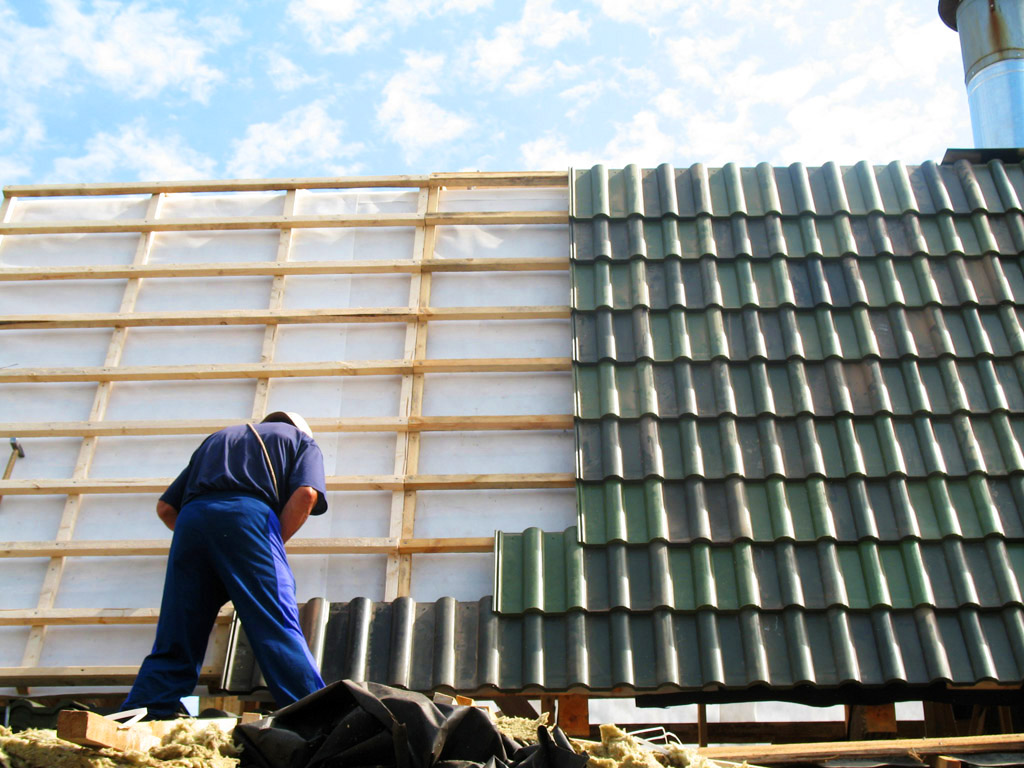
Scheme and equipment
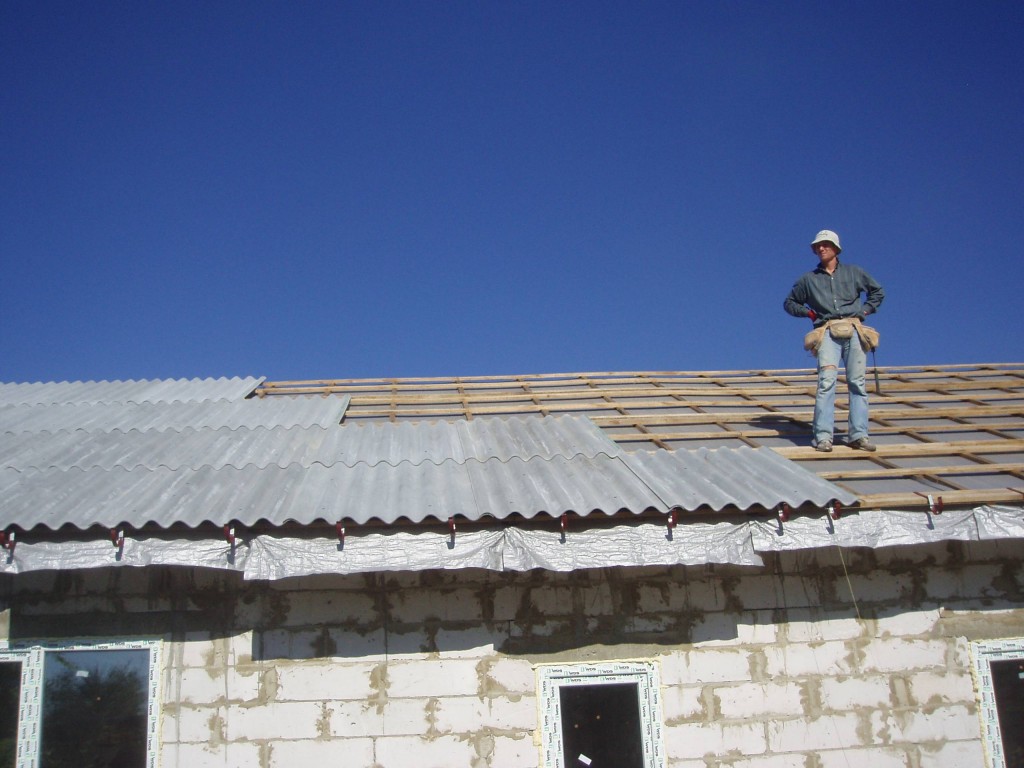
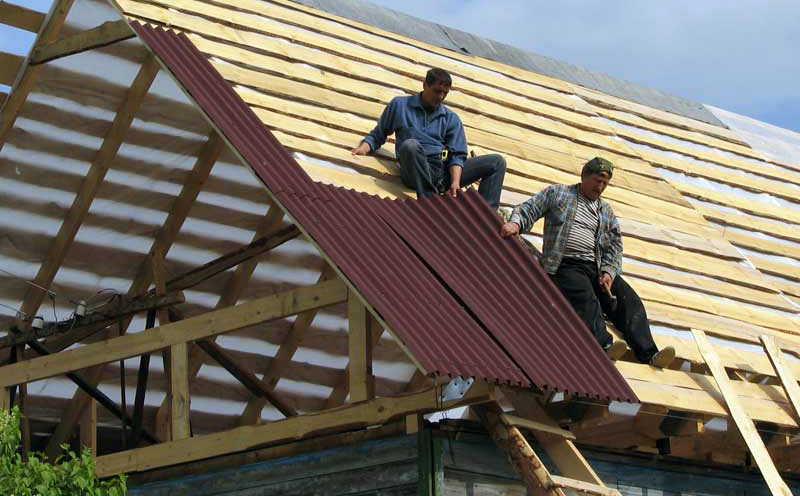
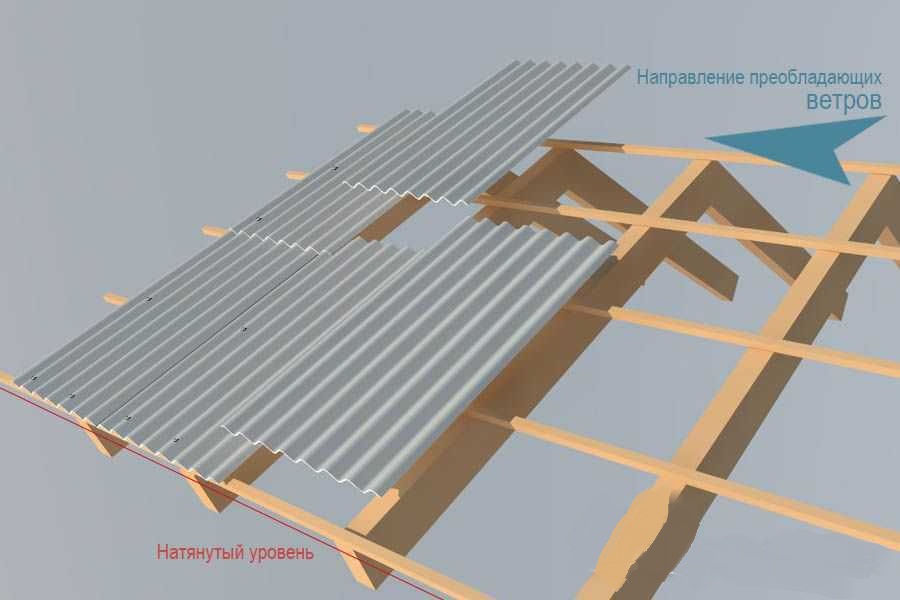
Installation of slate, as a rule, is carried out from the bottom row with an upward movement. This scheme allows you to lay the sheets in such a way that water does not fall under them. In addition, each subsequent sheet in the horizontal row is superimposed on the previous overlap, which must necessarily be one wave and have a tilt angle of at least 5 degrees. Some masters do overlap in two waves, in which case the consumption of slate increases, but the roof is much stronger. Installation of slate with offset is also allowed.
Rooftop
Lifting slate to the installation site is a time consuming process, since the material is large in size and weight. It is more convenient to perform such work together. The strong ladder is established, the sheet is tied up with the rope equipped with a hook.
One person holds the slate down and the other pulls it by the rope. Lift the slate should be carefully and slowly, so as not to damage its surface and not get hurt.
In addition, the rope must be reliable and withstand the weight of one sheet.

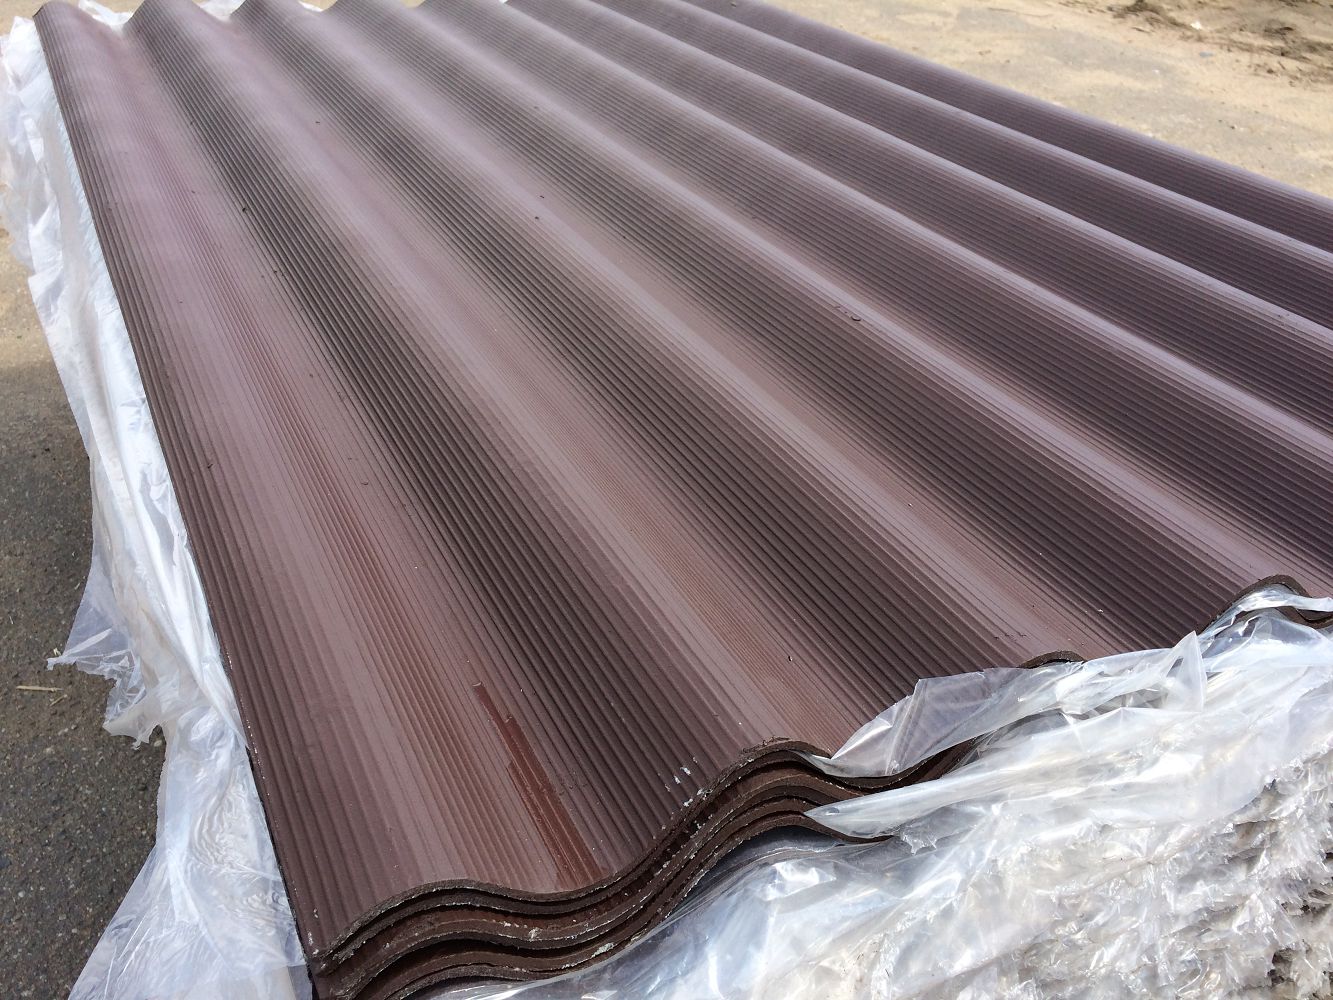
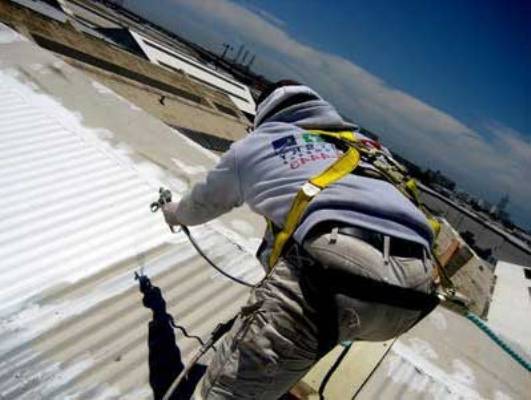
Sheet processing
An important point when installing a slate roof is the processing of its surface. The protective layer not only extends the life of the material, but also retains its aesthetic appearance for more than a decade. So, as slate is made from artificial raw materials, which include asbestos fibers and a mixture of Portland cement, the material has high strength, but is characterized by low water resistance and thermal conductivity. To improve its resistance to temperature extremes and alkalis, the surface of the sheets is coated with special solutions. First, the slate is dried to a moisture level of 6-7%, then the base is cleaned of contamination, primed and painted with painting compositions.
Perchlorovinyl compounds are good for coloring materials. They are usually applied in the summer, when weather conditions are favorable for drying. It is recommended to coat the slate surface in two layers, applying the solution in strips. The first band is painted from top to bottom, and the second - from bottom to top.
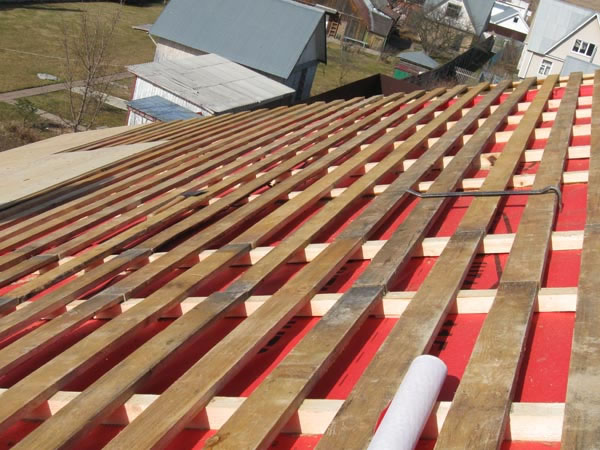
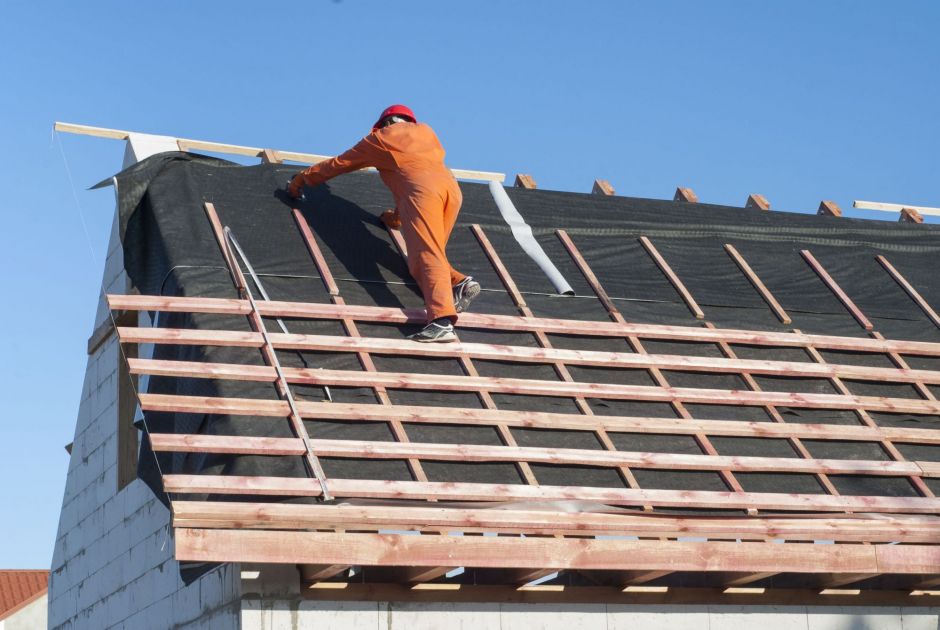
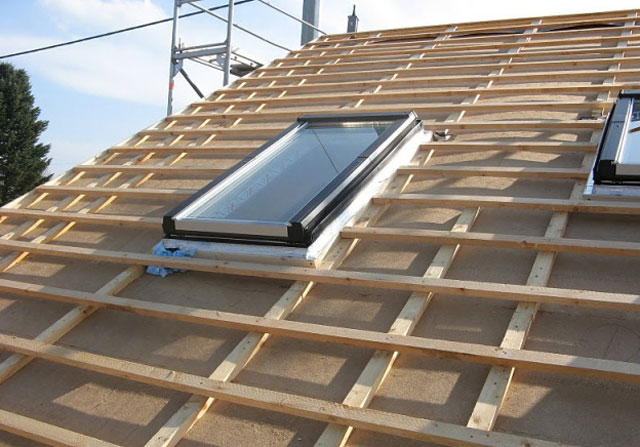
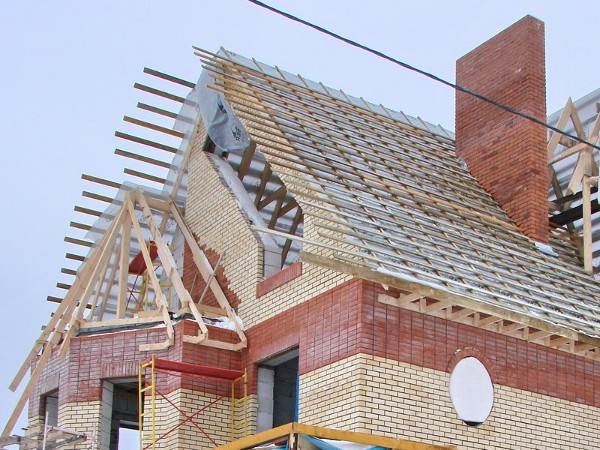
Creating crates
An important element of roofing structures is lathing. From its quality depends on the life of the roof, as well as the ability to withstand loads. Lathing for slate roofing is most often made of solid wooden bars 25 mm thick or board, as it must withstand considerable weight.
A huge role for its installation is played by the angle of inclination of the roof, depending on which design has certain properties.
- Angle 5-10 degrees. This roof is characterized by a continuous crate, for which additional supports are used. Snow can accumulate on the roof in winter, so boards must withstand the load. They are nailed tightly to each other, leaving no gaps. As a rule, boards for at least 20 mm thick are selected for the batten.
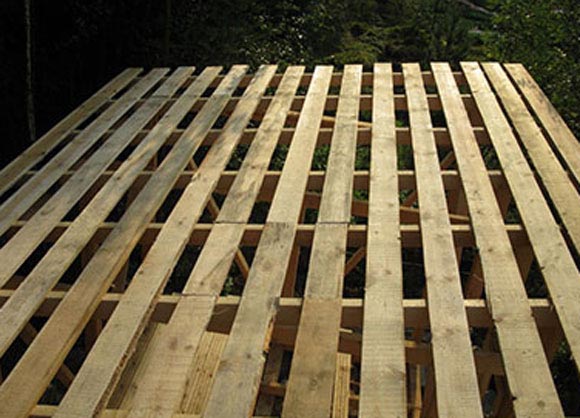
- Angle 10-15 degrees. The greater the slope of the roof, the less will be the load on the construction part and the crate.In this case, the manufacture of a “sparse” batten is allowed, in which gaps between 450 mm will remain between the boards. Unlike the previous version of the design, it is best to use not boards, but timber with a cross section of 60 × 60 mm.
- Angle> 15 degrees. Such a roof will have to withstand minor loads, therefore, during the manufacture of the batten, a 600 mm pitch is made between the boards.

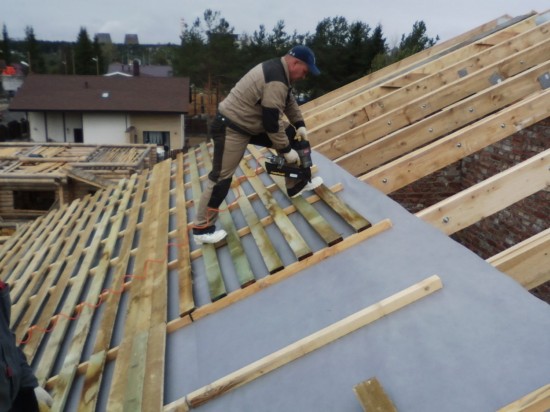
As for the process of installing the batten, it is not particularly difficult. Boards or cant attached to the previously nailed rafters, observing the step chosen depending on the angle of inclination of the roof. Particular attention in the performance of work should be paid to the boards in the plane placed exactly, so they are fixed under the tensioned thread. To do this, the rafters are mounted, and a thread is pulled along their edges.
The distance between the bars is measured using a tape measure, it should be the same everywhere.
For the roof to last reliably for many years, you need to choose high-quality wood for the batten and be sure to treat it with an antiseptic solution.
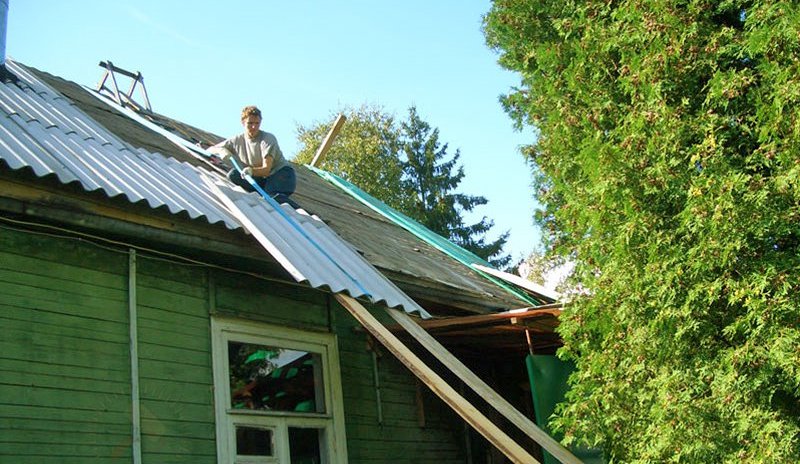
Laying: ways
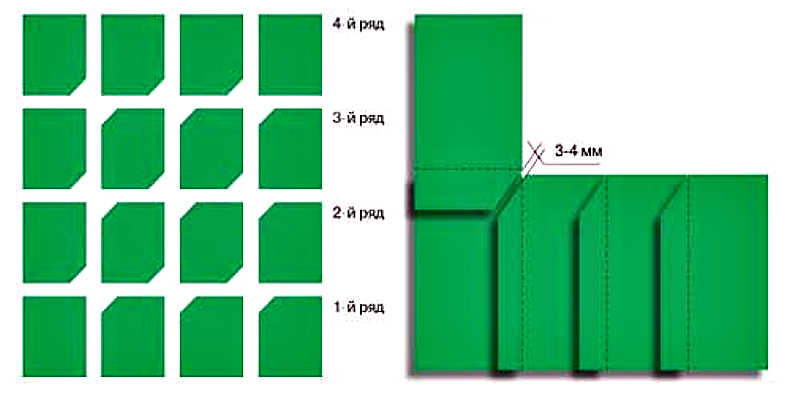
To date, the wizard used several ways of laying slate, with the most common of them is laying with an offset.This is a simple installation option, with which you can cover the roofs of large areas. Difficulties in performing work arise only in the case when it is necessary to fix more than two sheets of material in one place. Therefore, for this situation, the optimal technology is the “cramming” laying technique, in which the shift is made to half a sheet, taking into account the angle of inclination of the roof.
Before you put a sheet of slate, it is cut to the desired number of waves. Cutting the material with trimming allows you to get a smooth and beautiful pattern across the roof, reducing waste to a minimum. It is best to cut the sheets in half, in this way it will be easier to stack and follow the step. In addition, it is much more convenient for a half to overlap in one row.
For self-installation of slate, there is a special instruction, adhering to the guidelines which, you can quickly and accurately cover the roof. The first method of laying is as follows: the first row begins with a solid sheet, then you need to put half, the third row is made whole, then half is spread again.
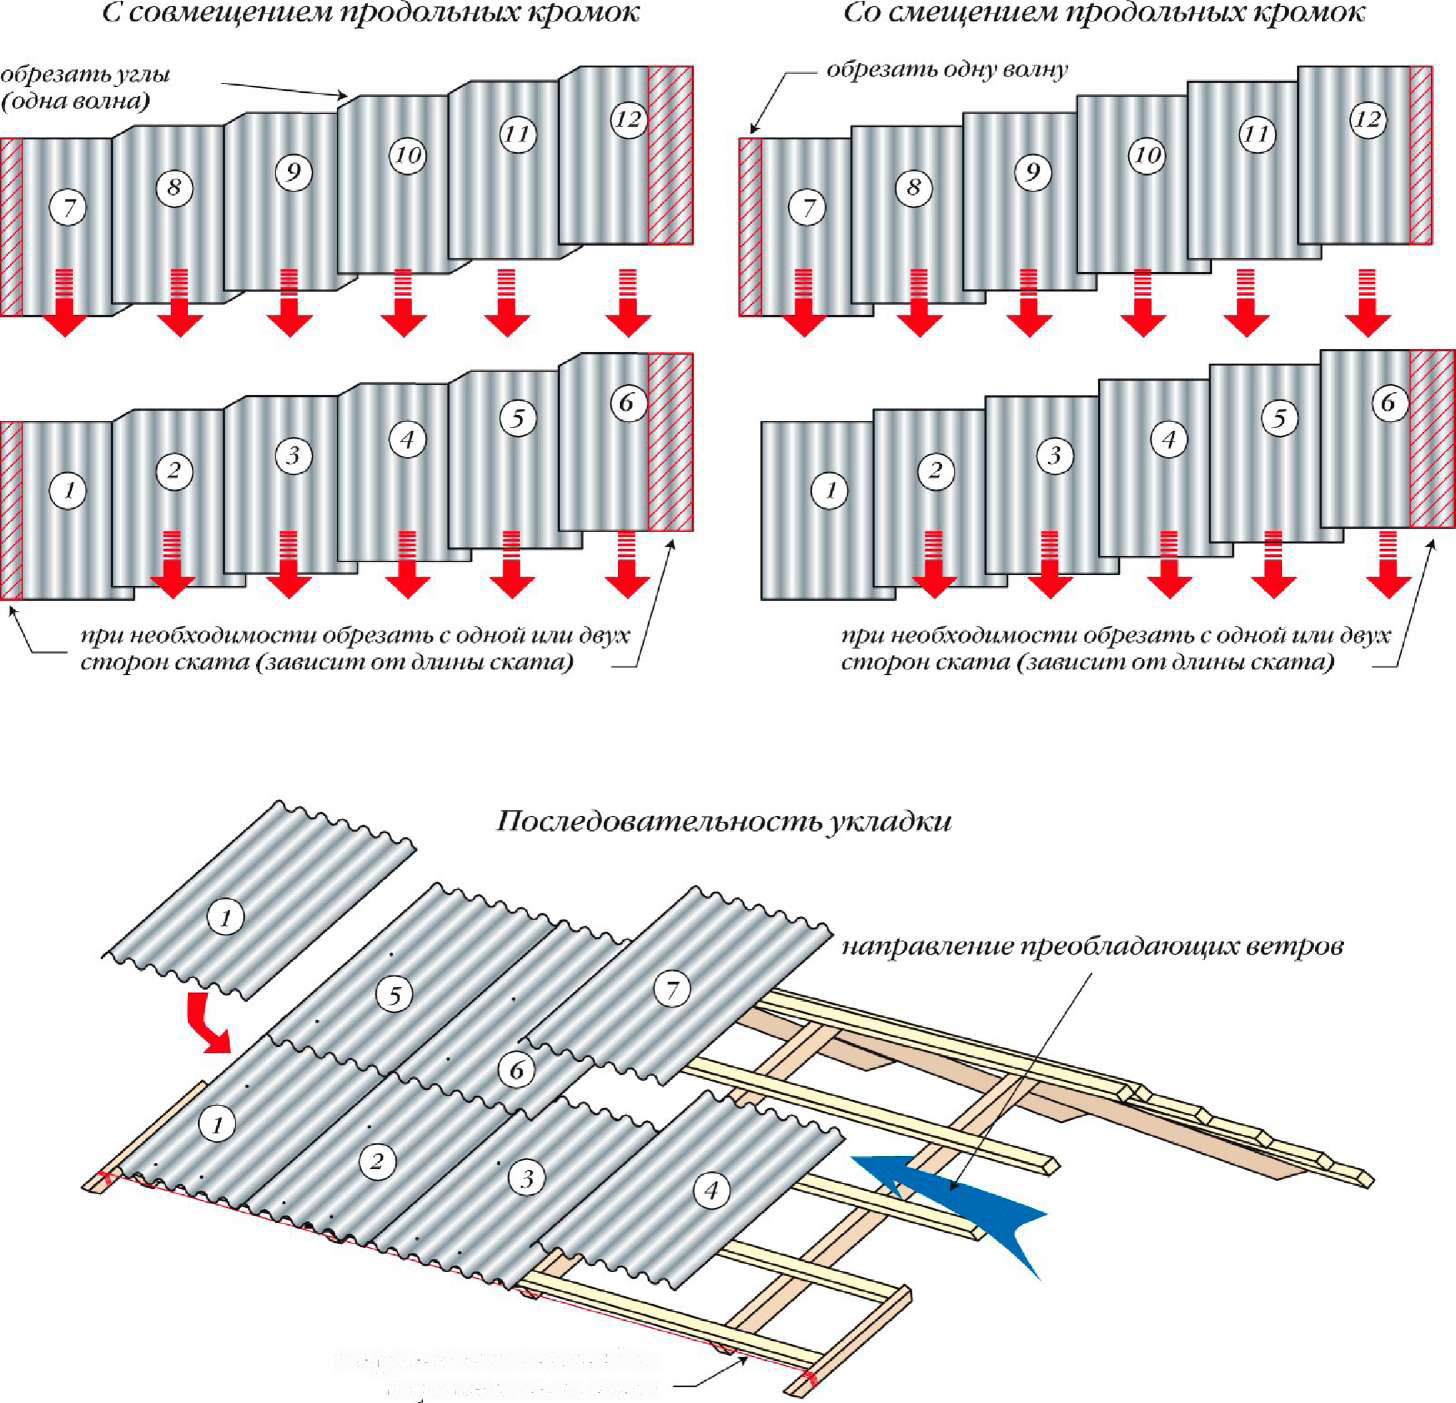
This technique is good because the installation allows you to simultaneously put the sheets in two rows, and the offset occurs automatically. According to this scheme not only slate is laid, but also ondulin. Work is done quickly, but to simplify it, you need helpers.
As for the laying of slate method "without offset", then it is the most used and budget, as it is practically without waste. In this case, you only need to trim the bottom corners of the sheets, which will be located in the top row. For the installation of the second row should be drilled holes for dowels. It is possible to block the roof both horizontally and vertically.
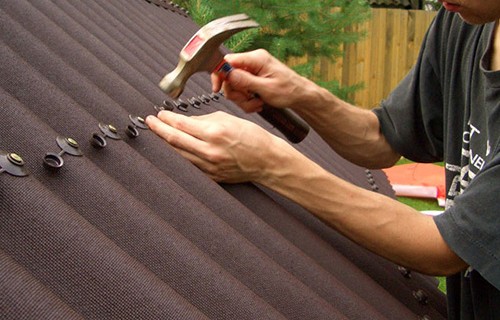
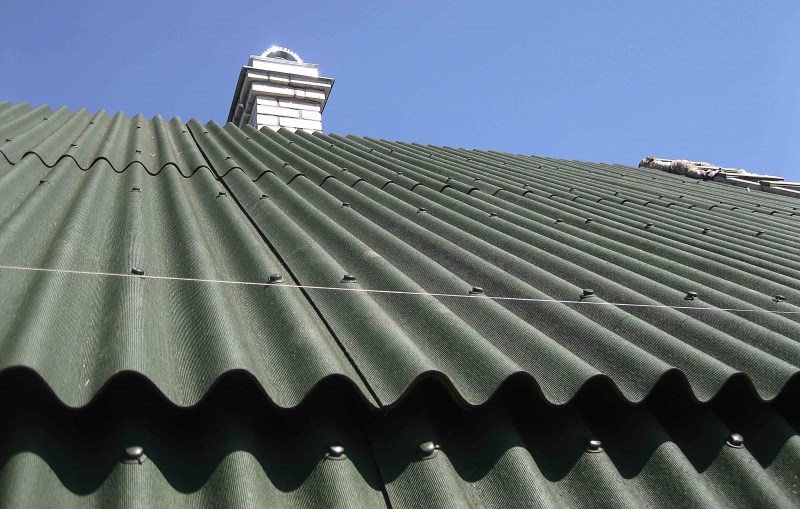
It is recommended to nail the sheets with special nails that have a round cap and a rubber gasket, the diameter of the nails should not exceed 3 mm, and the length can be 1-2 cm.
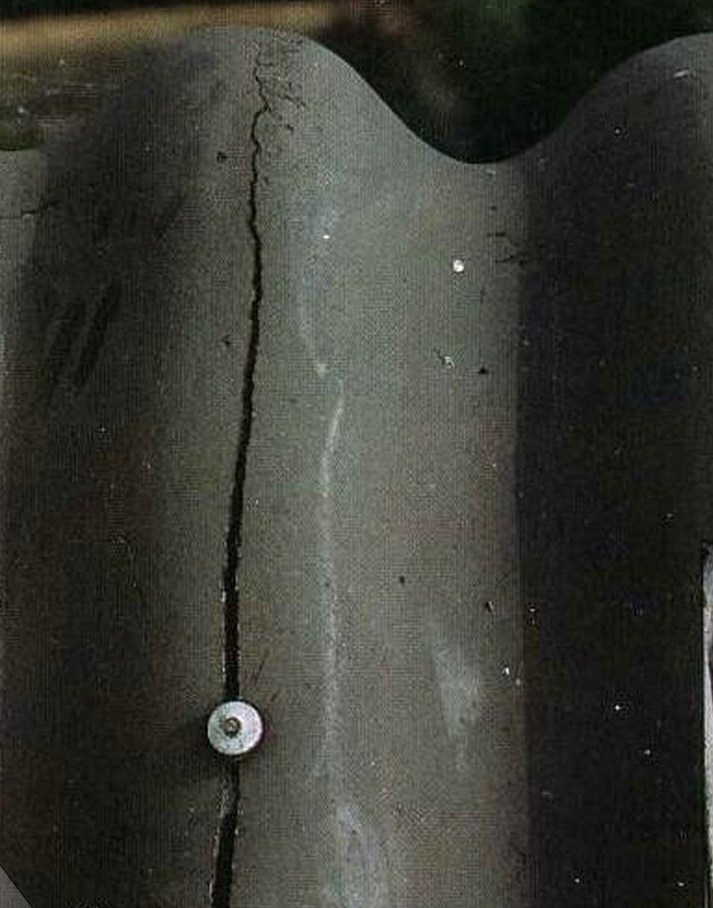
During the installation of the material, it is important to take into account not only the angle of inclination of the roof, but also the design features of the batten and the height of the slate waves, since this will depend on the strength of fastening nails to the boards. Nails should be fixed in the upper part of the crest of the wave so that water does not leak.At the same time it is impossible to hammer them closely, because the slate as a result of temperature differences may shift and give cracks. To this end, it is recommended to leave small gaps of a few millimeters between the screws and the slate sheet.
Each of the above methods is good in its own way and is characterized by positive points. Therefore, when there is a question about the roof overlapping, you should first make calculations and choose the most suitable option.
How to fit slate tightly, see the next video.


