Thatched roof: types and features of laying
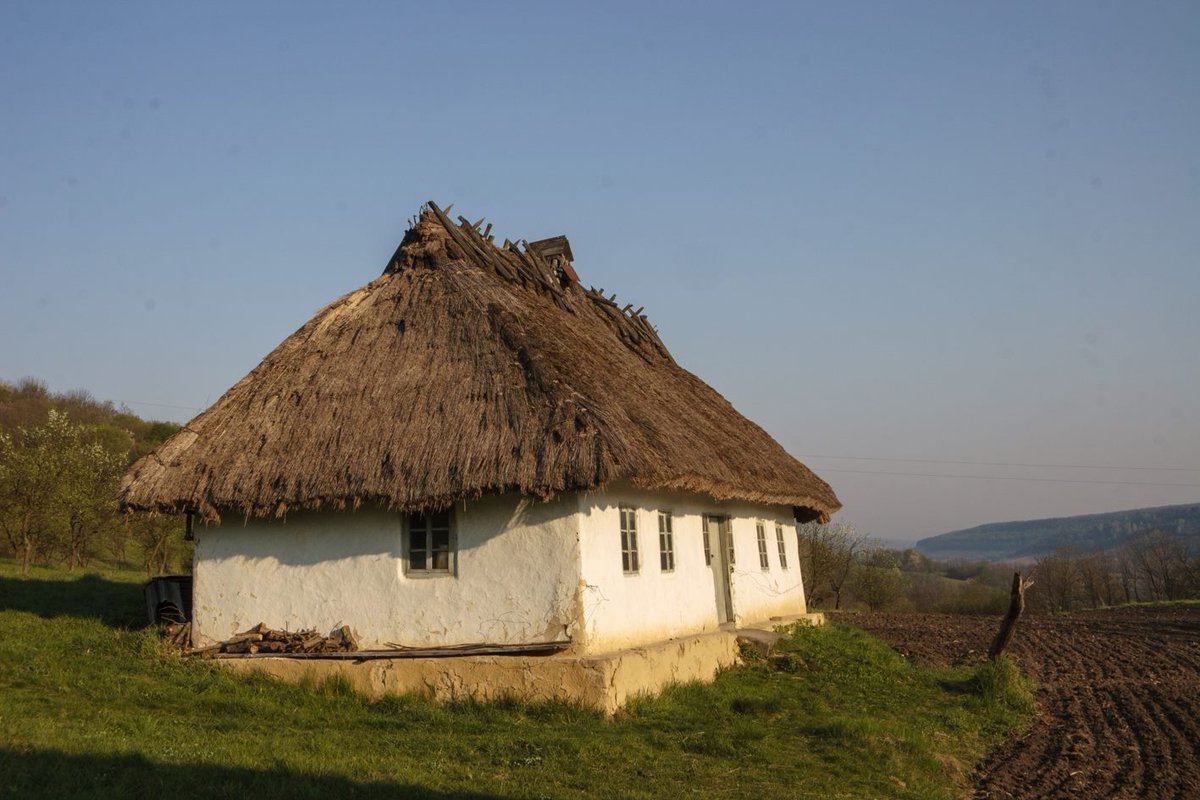
In antiquity, thatched roof was a sign of the low welfare of the owner of the hut. Nowadays, the situation is reversed. Now this roof indicates a high status and wealth of the owner of the property. Such materials are very popular in European countries, and more recently this fashion has reached Russia.
Features and myths
There are a large number of erroneous opinions about the consumer properties of straw as a roofing material. Therefore, many misconceptions and myths need to be debunked.
Myth 1. Thatched roof ignites with the slightest spark
In practice, before the reed or straw is laid on the roof, the material is impregnated with special fire retardants. After this treatment, the flammability of straw can be compared, for example, with popular Ondulin today.
Myth 2. Rodents like to live in the straw (mice and rats)
This is not true. The material fits very tightly, while each is pressed tightly to the pole with wire. Under such a coating can not penetrate not only rodents, but even external moisture.
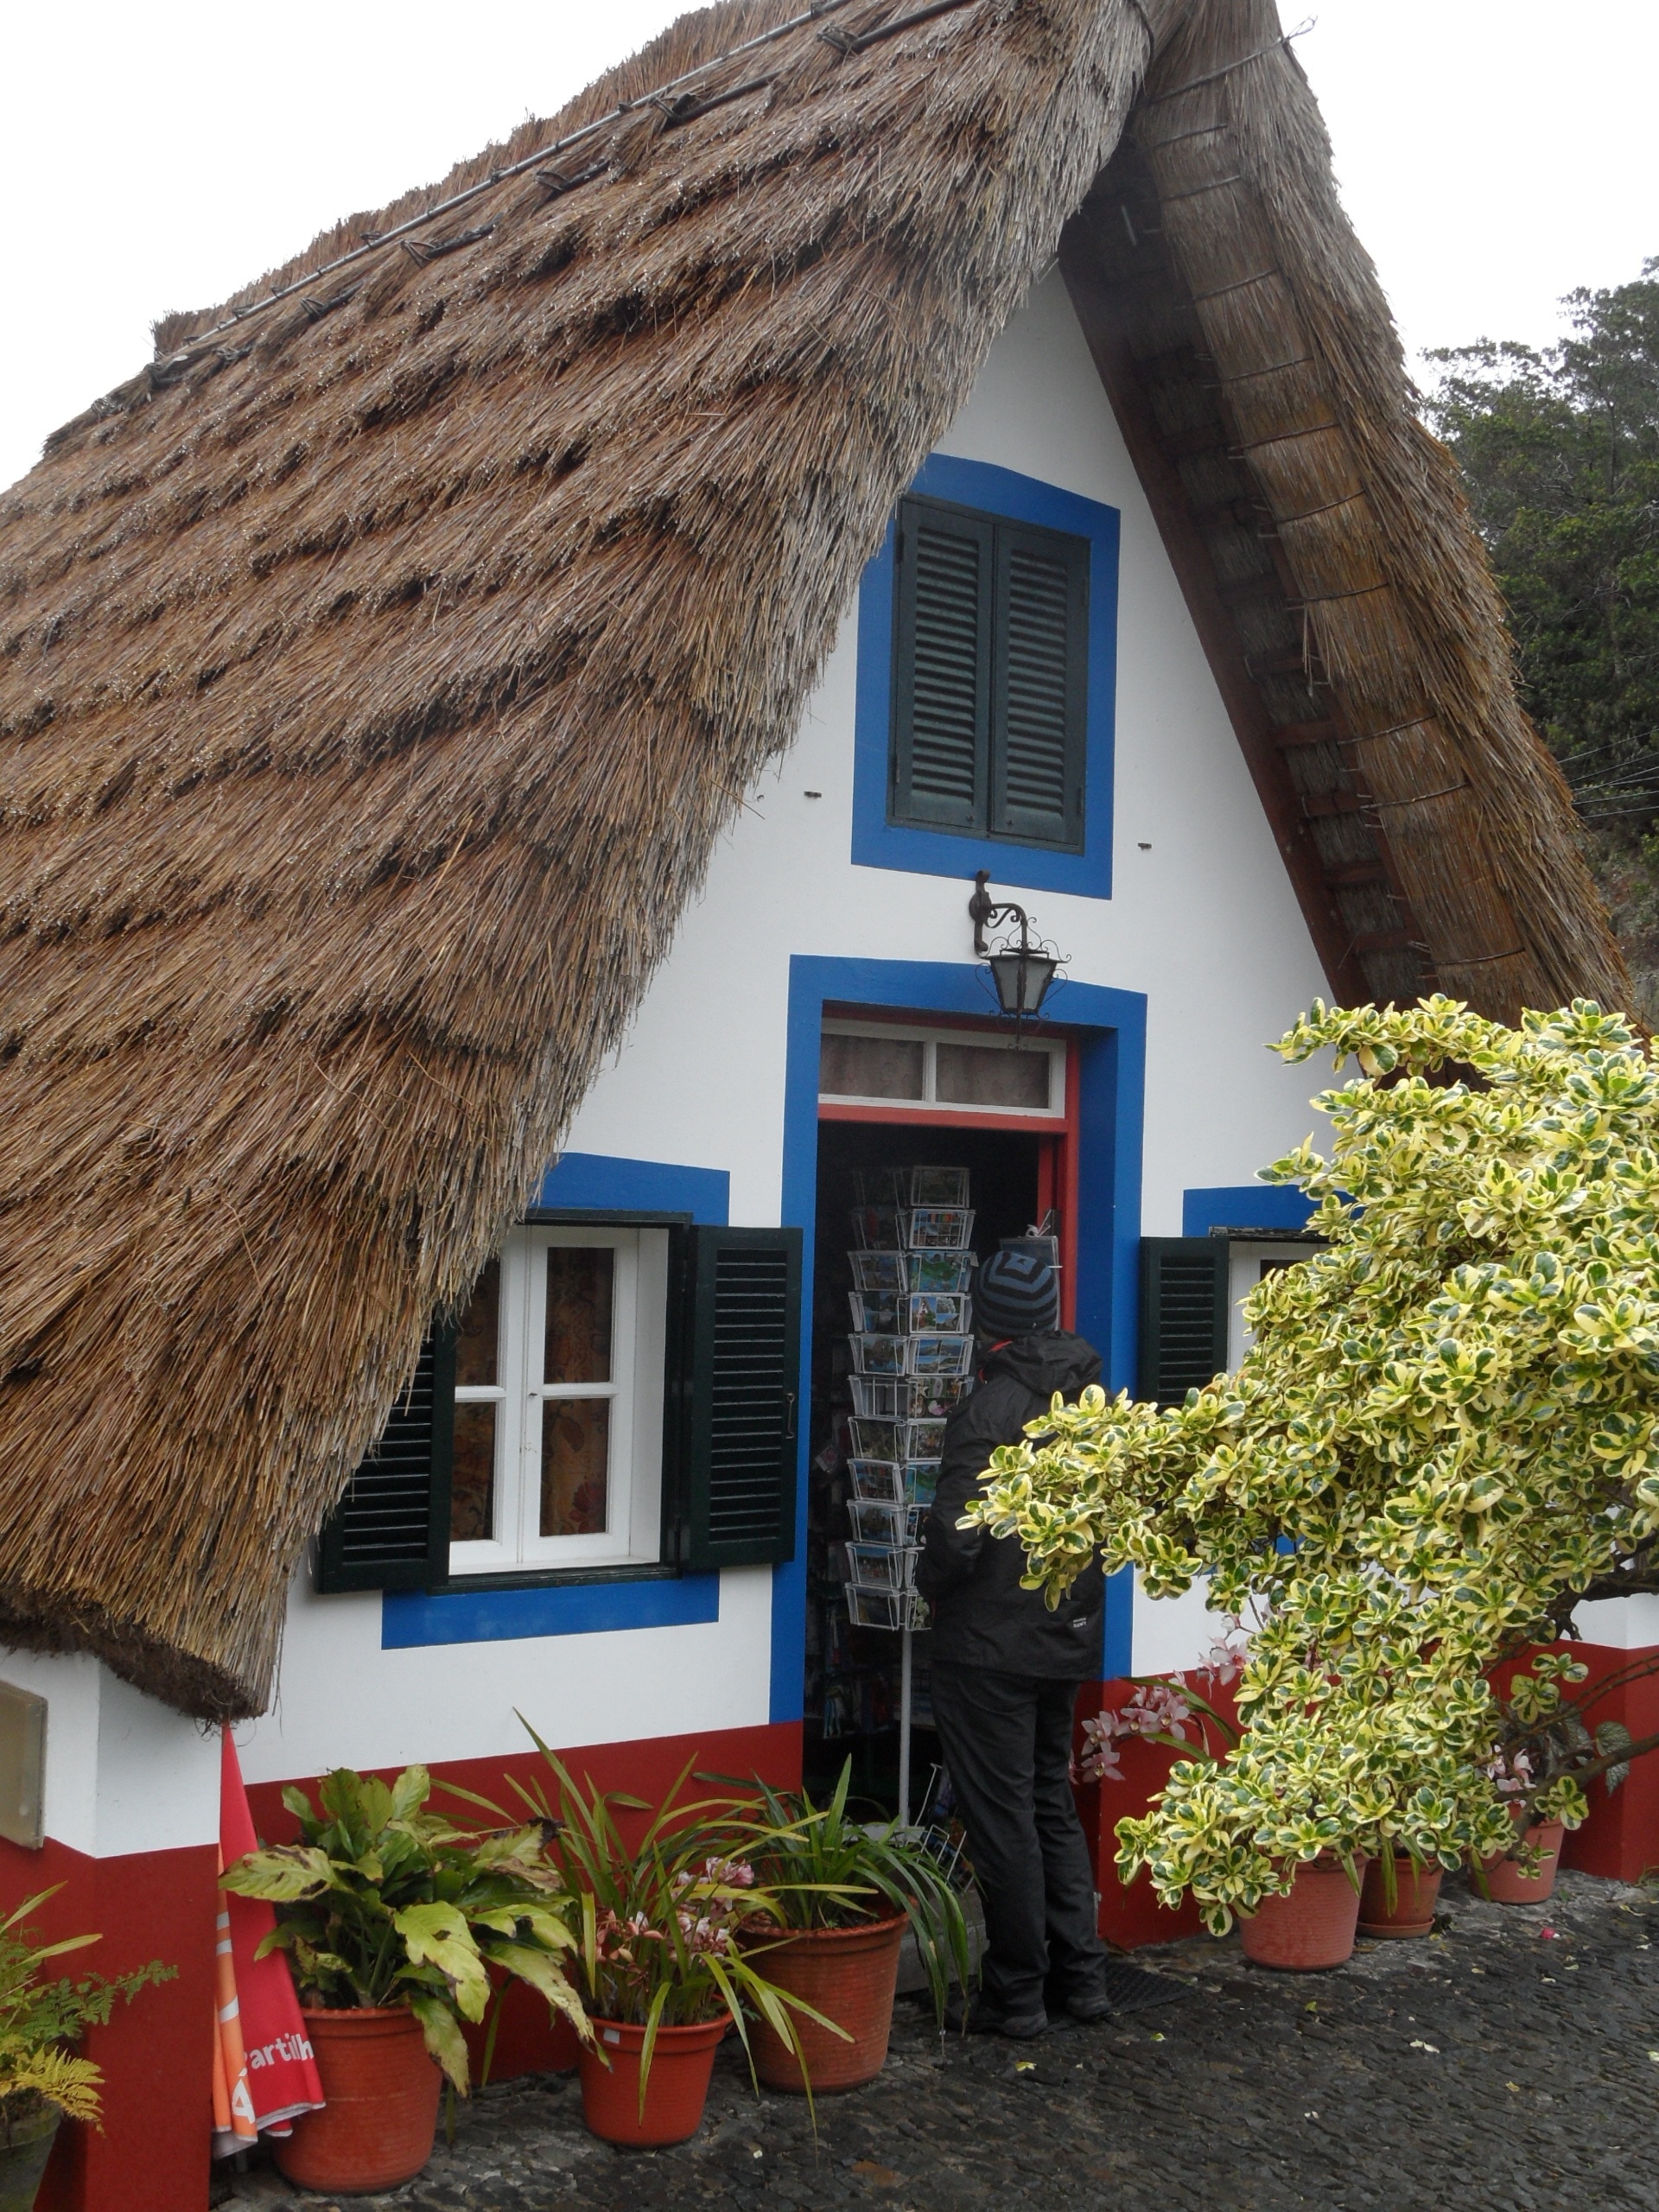
Myth 3. Thatched roof indicates the poverty of homeowners
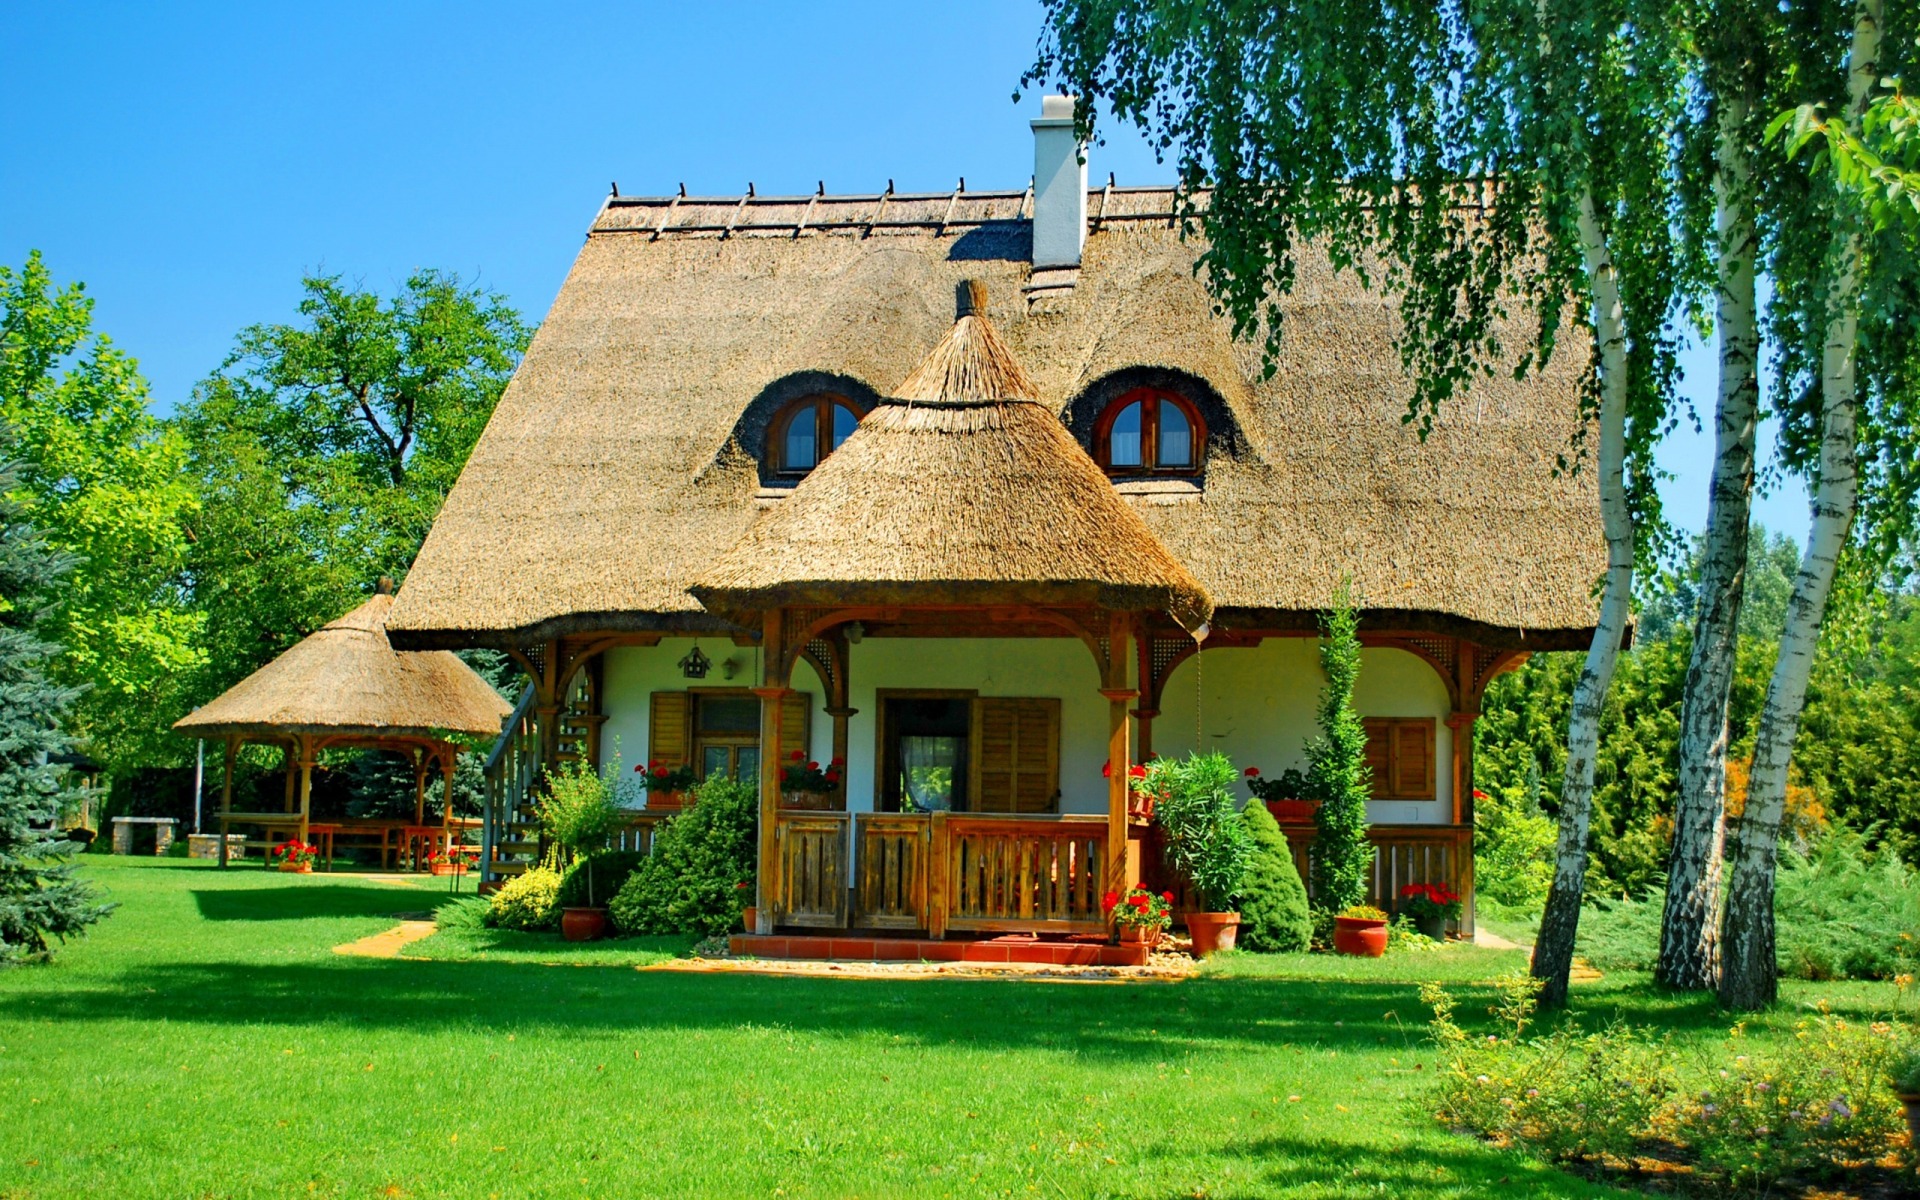
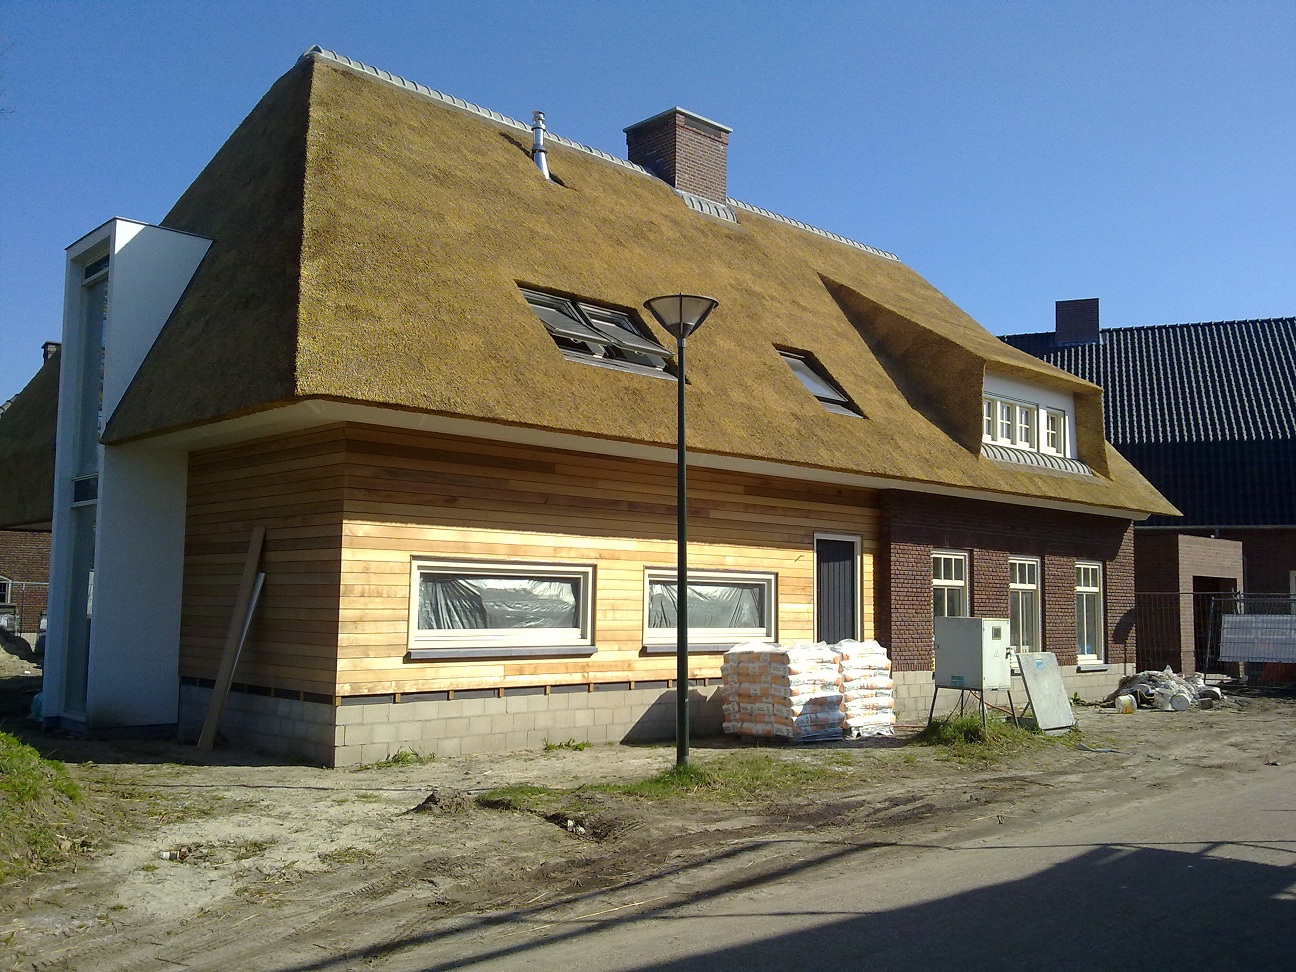
Country style today is very popular, especially in America and in Europe. That is why the straw roof today does not make the house a “village shack”, but shows the taste and originality of the owners of the house. The coating can look very interesting, especially if you approach the installation and the overall design of the house and landscape creatively.
Advantages and disadvantages
The use of straw as a roofing material has both advantages and disadvantages.
The advantages include some performance.
- Straw is a safe, environmentally friendly material that does not emit harmful and toxic substances during use, does not contain radiation.
- The roof of the straw is strong and durable. At the same time it is lightweight and does not create a load on the wooden rafters and floors. Weight 1 square. m. is only 35 kg.
- Coverage is low cost, since straw and reed are affordable and cheap materials.
- Straw contributes to the creation of a favorable indoor microclimate. The coating thickness of only 30-40 cm reliably protects the house from the heat in summer and from frost in winter.
- Flammability and hygroscopicity of the material due to the fact that it is processed on both sides of two types of fire retardants (external and internal). These impregnations are not washed away by rain and snow. On the contrary, the components create a moisture-proof layer, due to which water does not fall under the roof during showers and melting snow crust.
- The straw does not interfere with air circulation, therefore there is no need to additionally install the duct system.
- Straw has a long service life (over 50 years). It is resistant to the effects of adverse weather conditions, in such a roof fungi do not breed and mold does not form.
Unfortunately, the disadvantages of this variant of the roof are also available.
- Straw is rarely used as a roof covering, so nowadays it is difficult to find a good specialist who is familiar with all the subtleties of the installation of this material.
- Installation work usually takes more than 2 weeks.
- Such a roof requires protection from birds, otherwise they may begin to build nests on the straw. Necessary to install the grid, which often spoils the appearance of the roof.
- Straw is more expensive than porcelain tile.
Some prefer a coating of artificial straw. It is durable, has an attractive appearance, but requires additional sound, steam and waterproofing.
Kinds
Depending on the material used, there are several types of thatch roof.
Reed
This version of straw cover is very popular. Reed grows in humid places, so nature itself has endowed it with hygroscopicity and resistance to high humidity. Reed coating acts as a kind of air conditioning: it reliably protects against heat in the summer months and retains heat in the winter cold. In addition, the reed is characterized by durability and long service life.
Reed
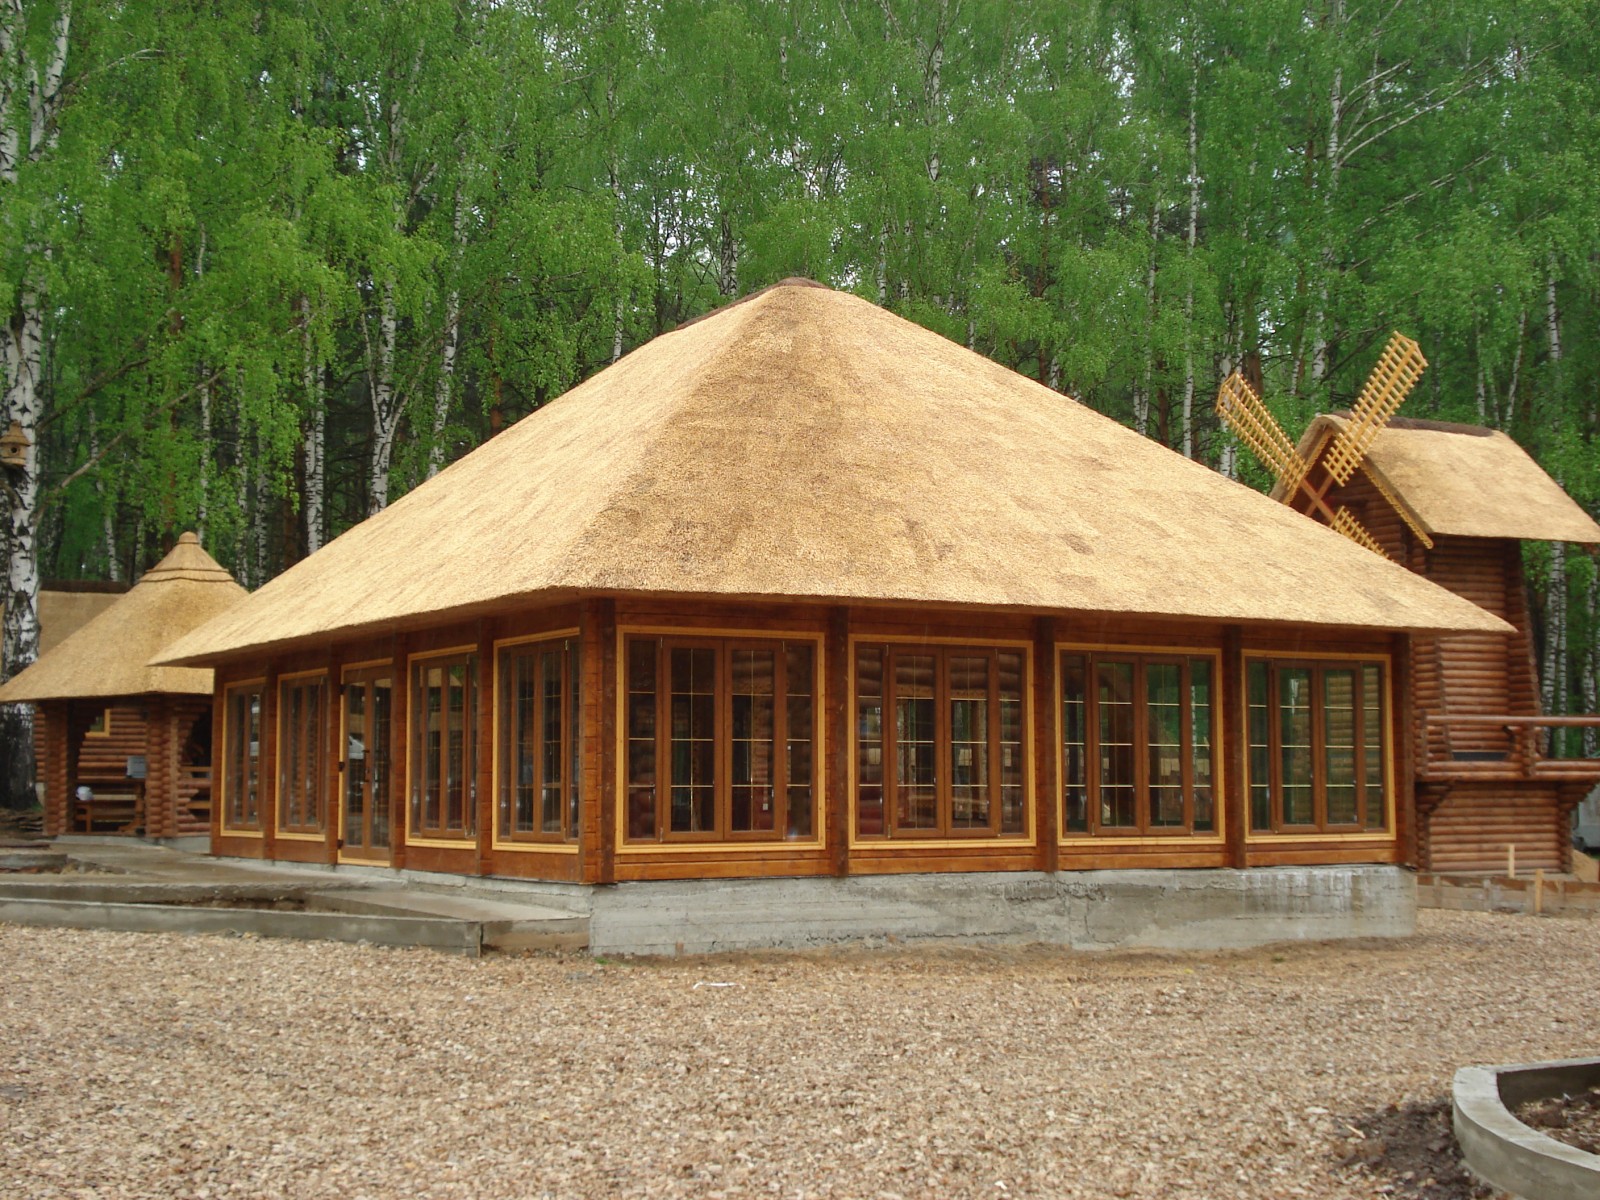
This is perhaps the most stylish and exotic coating. The house "in a fluffy hat" seems to be filled with a special atmosphere of comfort and summer heat. The charm of the reed can revive any landscape and become a highlight of the garden interior. Reed roofing brings people closer to nature.Natural beauty truly transforms the structure and invariably causes admiration.
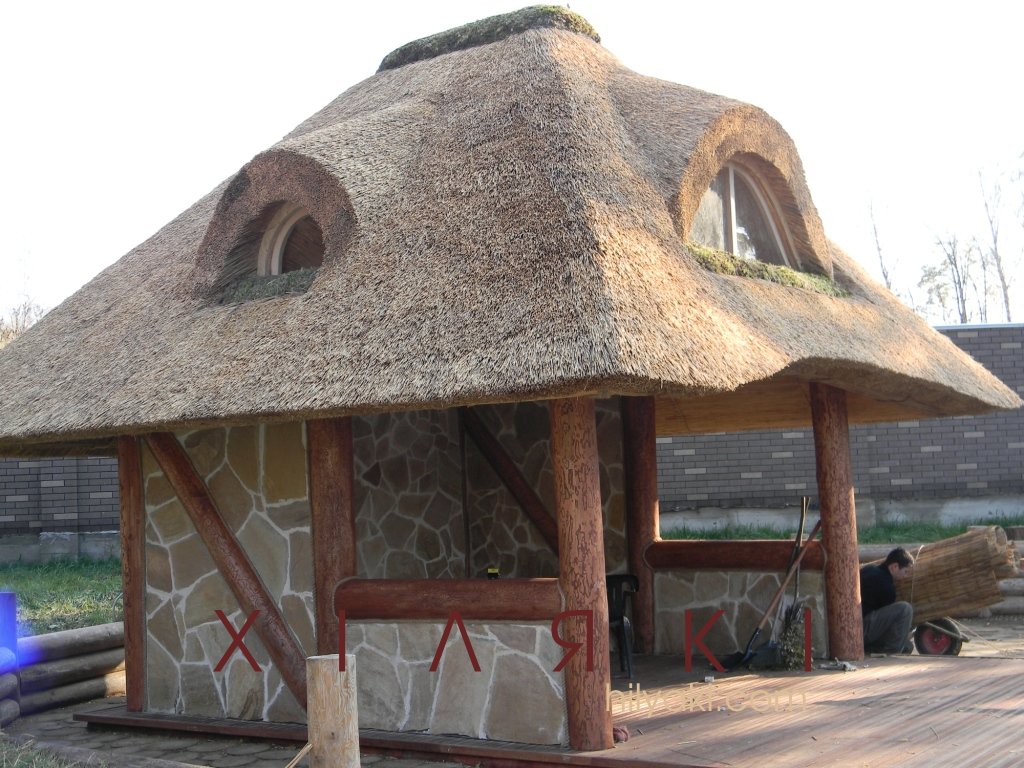
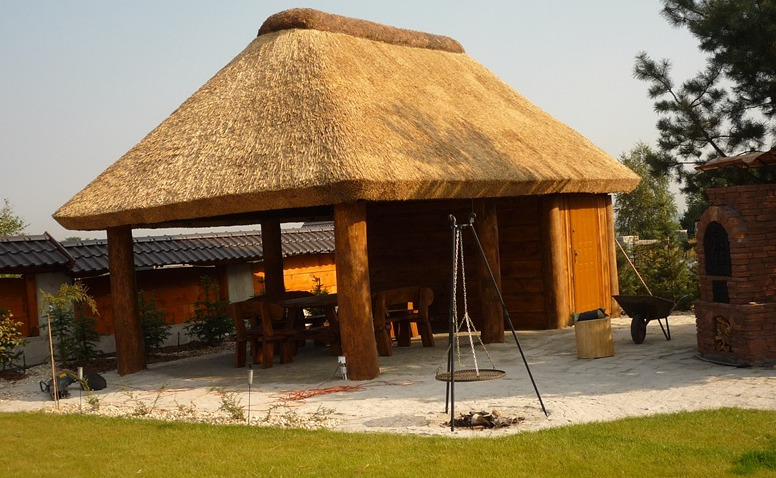
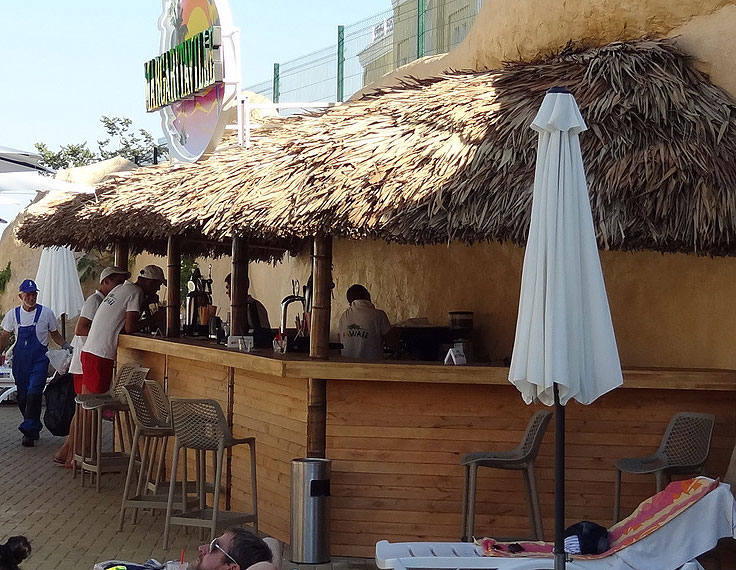
The honey-yellow shade of the coating changes color over time, however, this does not reduce the aesthetic appeal of the roof. Reed allows you to maintain a favorable microclimate in the room, provides noise absorption and thermal insulation. This material is also used in the construction of baths, gazebos, for arranging cafes and restaurants.
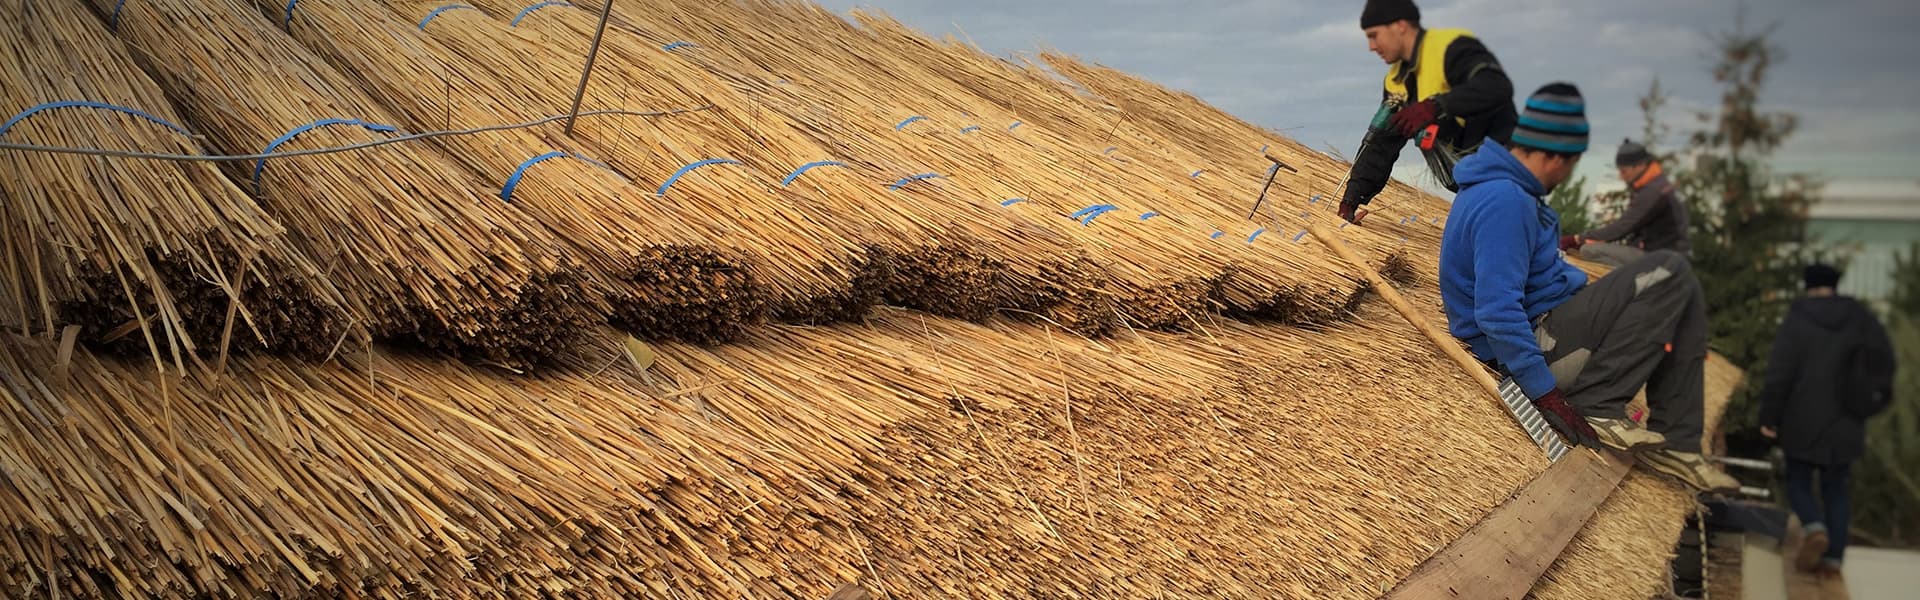
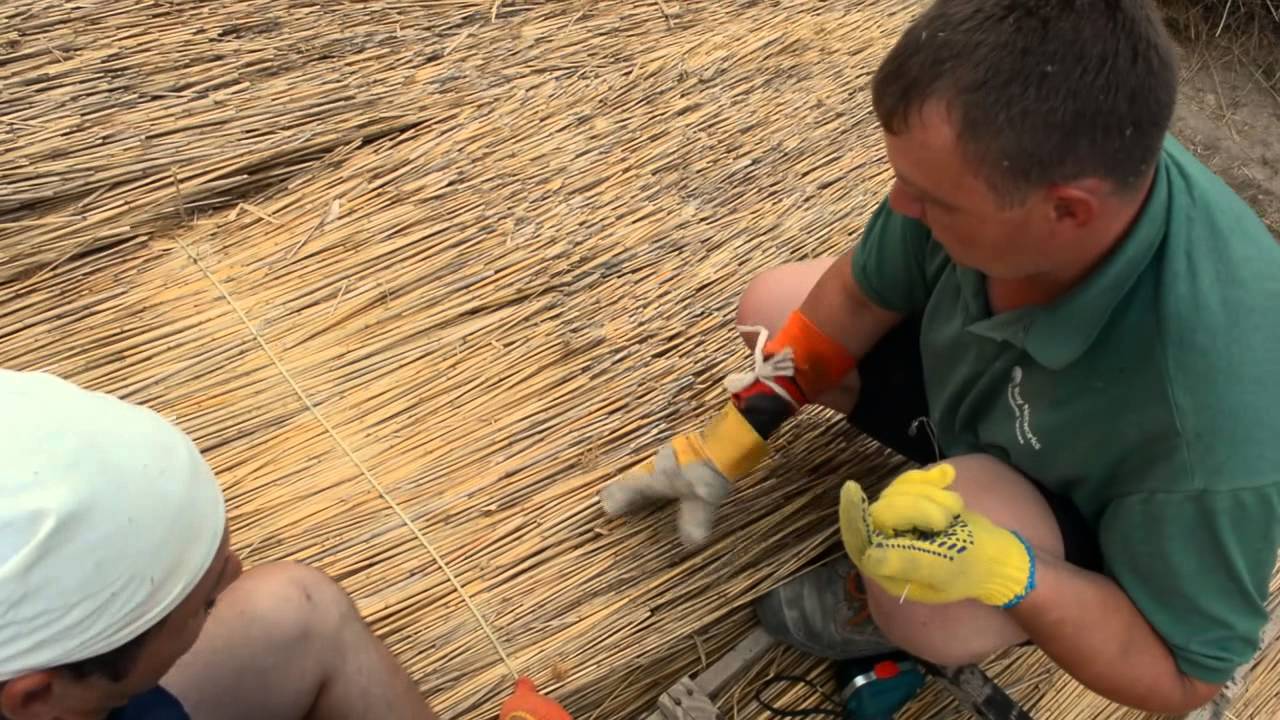
Mounting technology
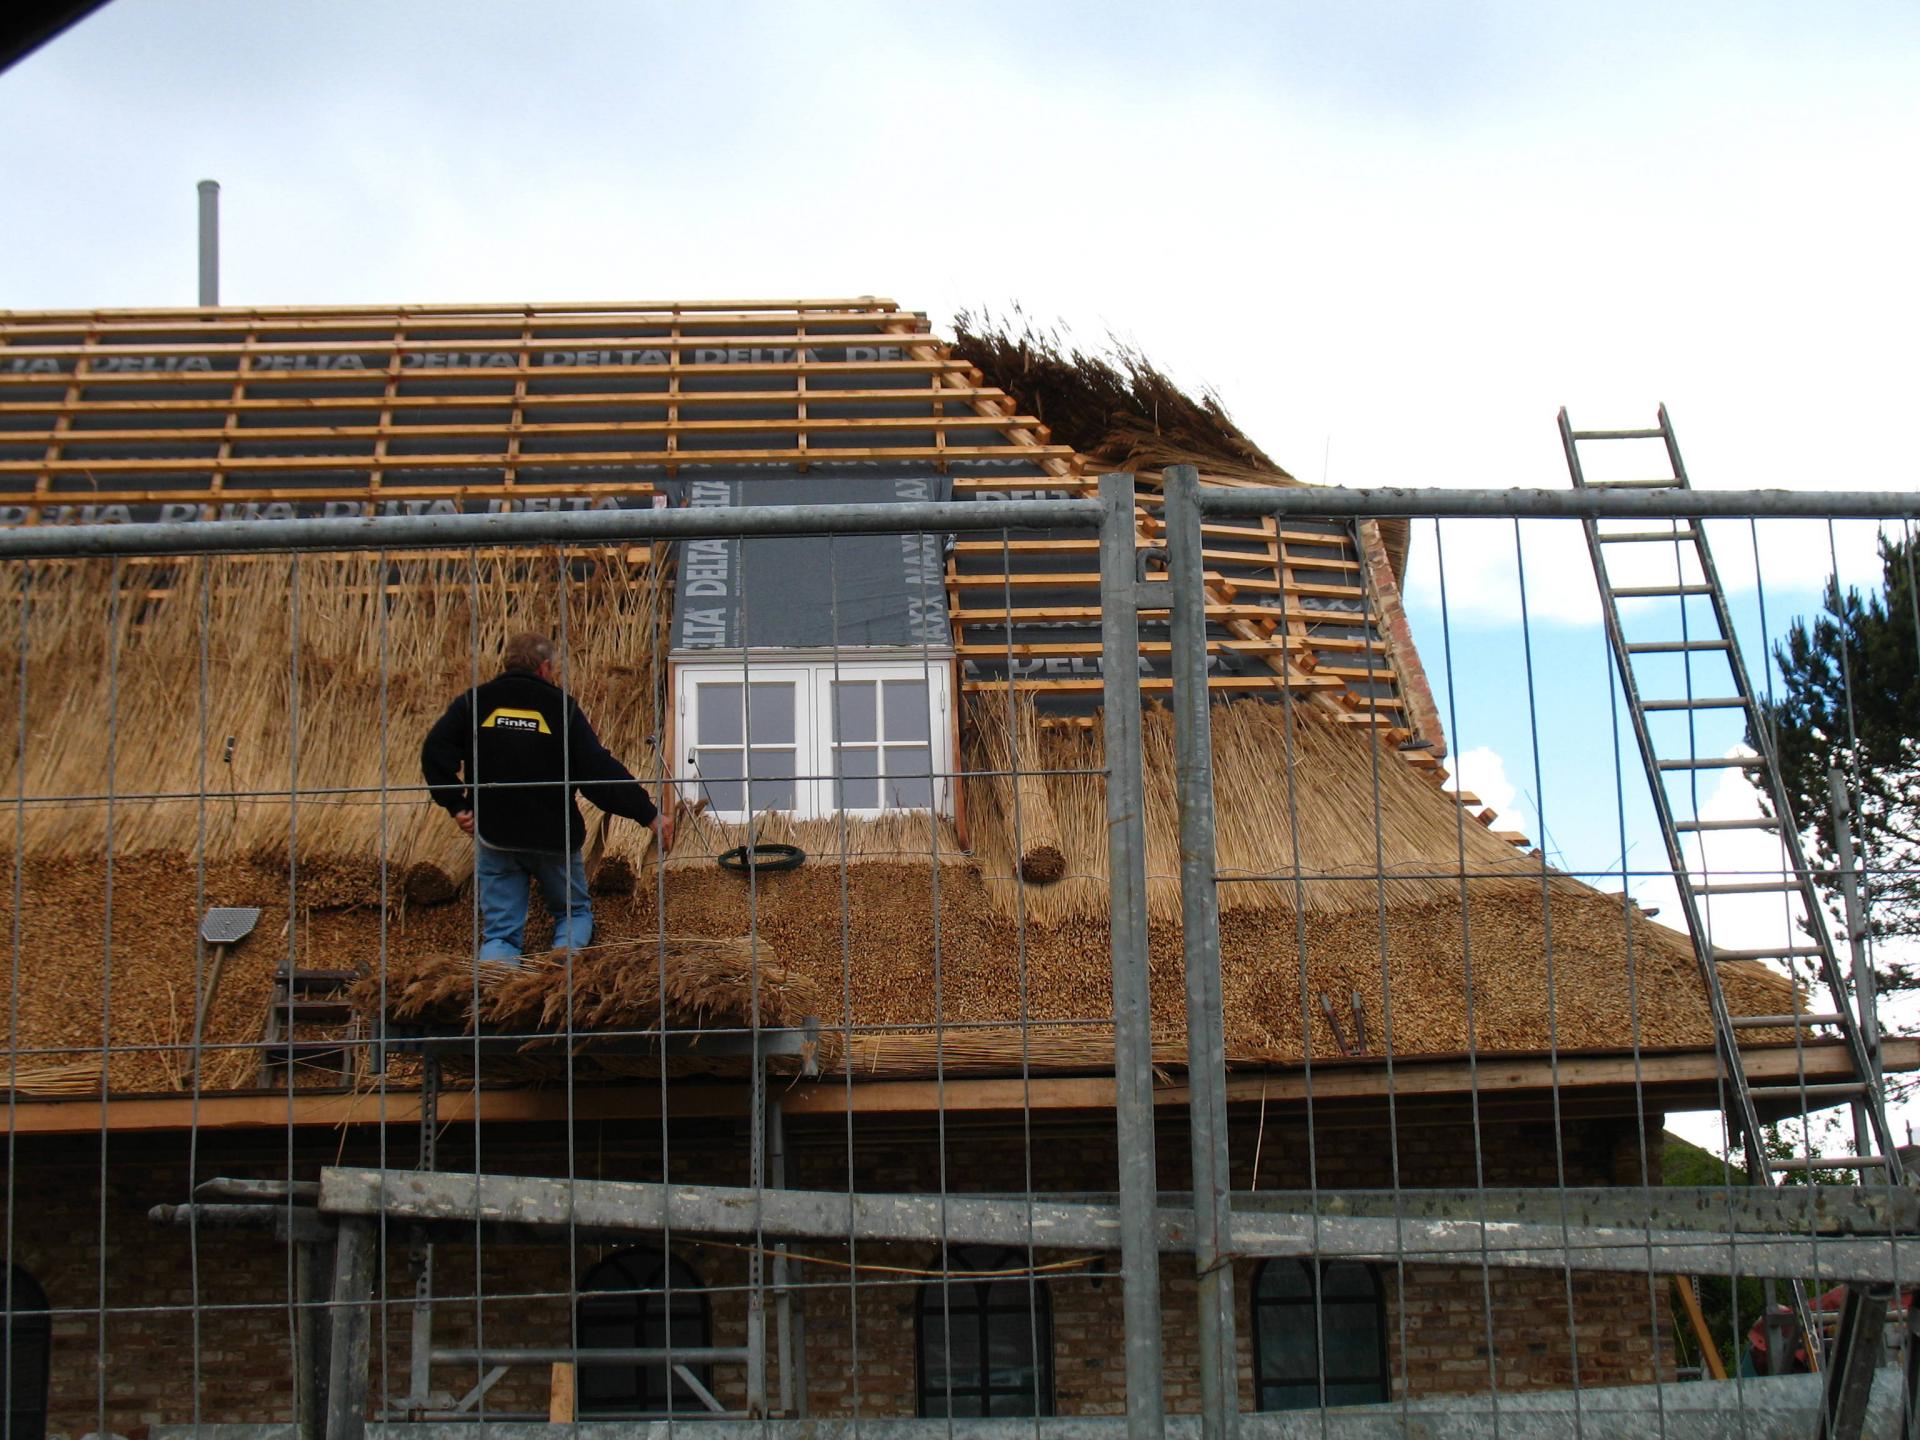
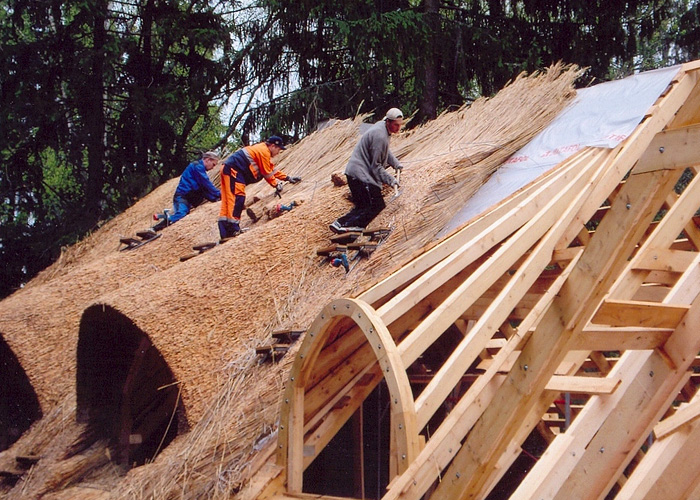
Modern roofing technology involves several different ways to cover the roof. Regardless of which method is chosen as the base one, for the beginning a wooden crate is installed with a section of 6x6 cm bars.
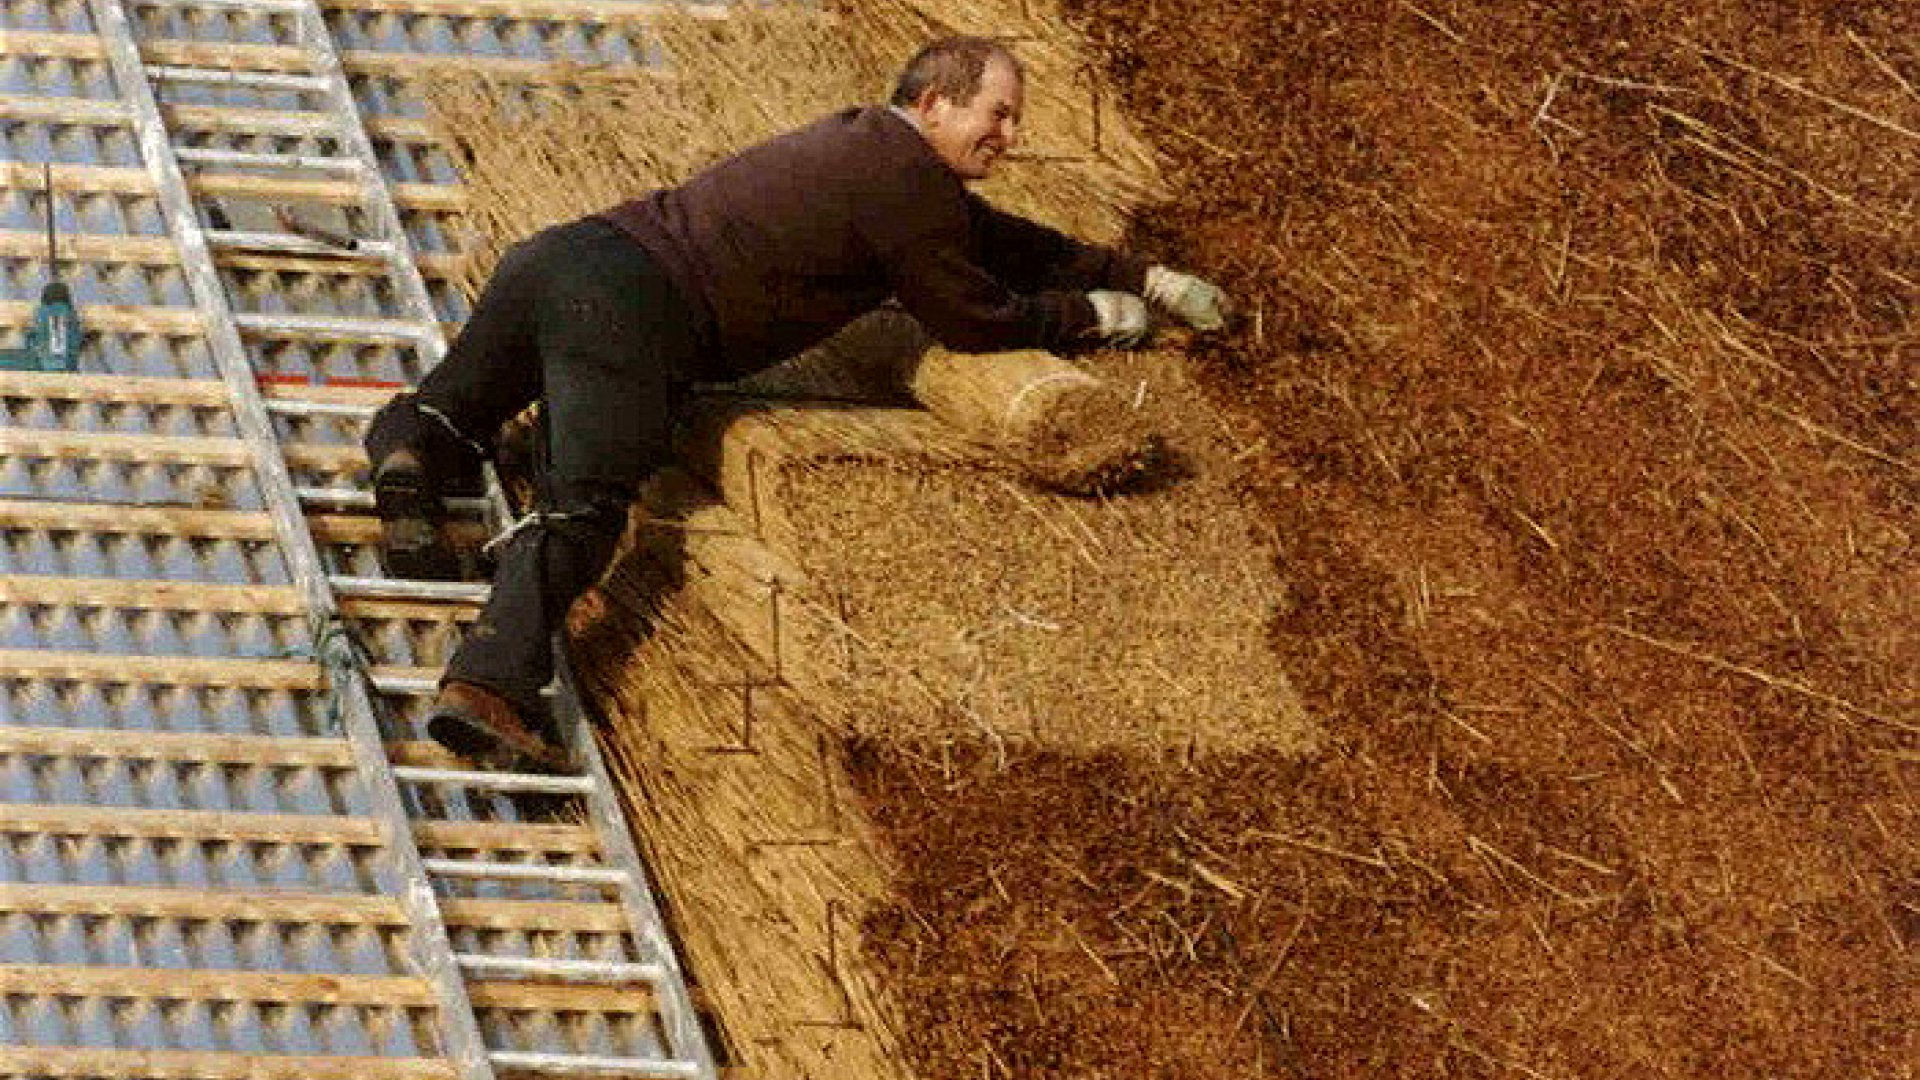
Straw begin to mount from the bottom edge of the roof. The optimal angle is considered to be a slope of 40-45 degrees (not less than 30). This is a guarantee of quality and speed of laying. The sheaves are placed on the frame and spread evenly over the surface. Then they are fixed in one of the following ways.
Using nails
This is the simplest method. The layers of straw on the roof overtighten with a special wire of aluminum, and then fixed with nails.It is important to note that with this method of installation, not any long nails are used. The fastener should have a special hook instead of the usual cap, which grabs the wire and pulls it to the crate. Installation of a straw roof in this way can be carried out independently, without attracting additional workers.
With screws
This method is considered more reliable. It is based on the use of screws and stainless steel wire. For installation, pre-cut pieces of wire with a length of 50-60 cm. Then the blanks are bent in half and make a loop in which the screw is installed.
The technology of laying straw in this way involves several stages.
- Layers of straw prepared and processed by flame retardants are spread onto the skeleton.
- The material is spread over the surface in an even layer.
- The screw is fixed with a magnetic bat, guided through the coating directly into the beam and screwed.
- Straw is pressed to seal, and protruding ends of the wire are twisted together.
This method also does not involve the participation of assistants. All work can be done by one person.
Using needles and loops
This method is based on the use of two special tools.
- A pointed needle from a metal tube with a diameter of 1-1.2 cm. In this case, part of the rod is removed in such a way as to obtain a semi-circular tray.
- Wire hinge with wooden handle.
This method also does not require helpers, but to speed up the process, you can attract several masters and start installation at the same time from different sides.
Beginners are recommended to use another method of roofing equipment. This requires the presence of two people. The first passes the wire through the flooring from one end of the frame beam, and the second guides the thread through the crate of the roof from the opposite side and leads it upstairs. After that, you only need to tighten the straw stalks and twist the ends of the wire (it is more convenient to do with pliers).
The method of installation of straw in this way also includes several steps.
- On one side of the wooden timber frame, a needle is inserted through the straw at a small angle, and from the other end a loop is inserted. It is necessary to put a loop on the bottom of the needle to the touch.
- A piece of wire is threaded into the needle in such a way that at the exit from the opposite side it can be caught in a loop and led out onto the upper layer of straw decking.
- The ends of the wire are pressed against each other, twisted, and then bent and pressed against the frame.
It should be noted that the speed and productivity of work in a pair is not higher than with an independent arrangement of a thatched roof, however, from the point of view of labor costs, this option is optimal for beginners in working with such material.
Tips and tricks
Installation of a straw roof has several important nuances that must be kept in mind.
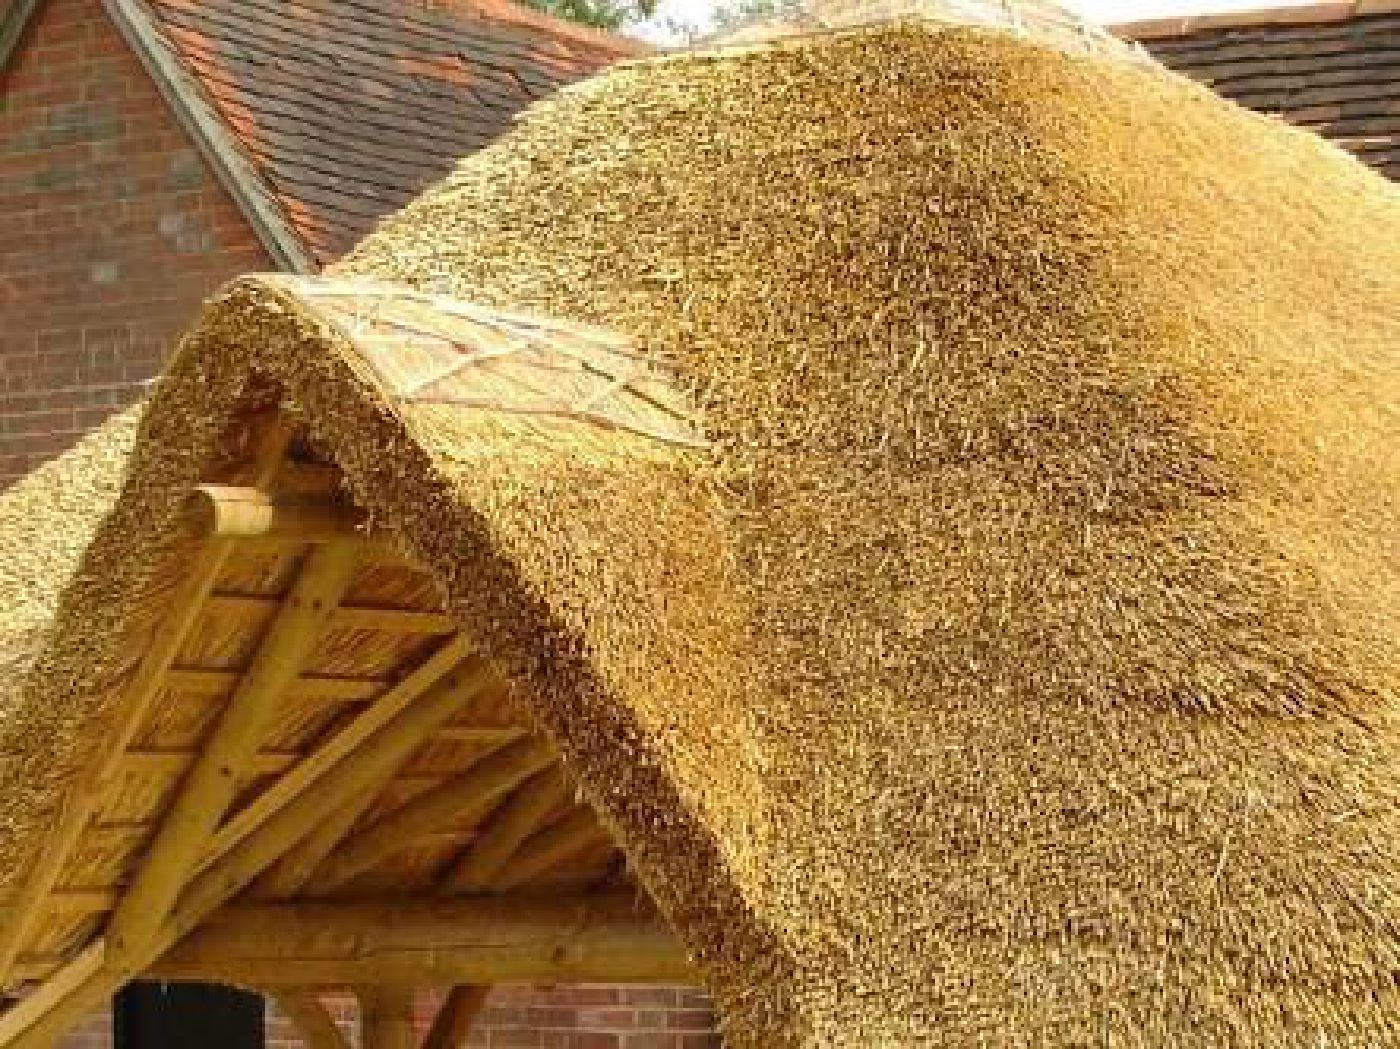
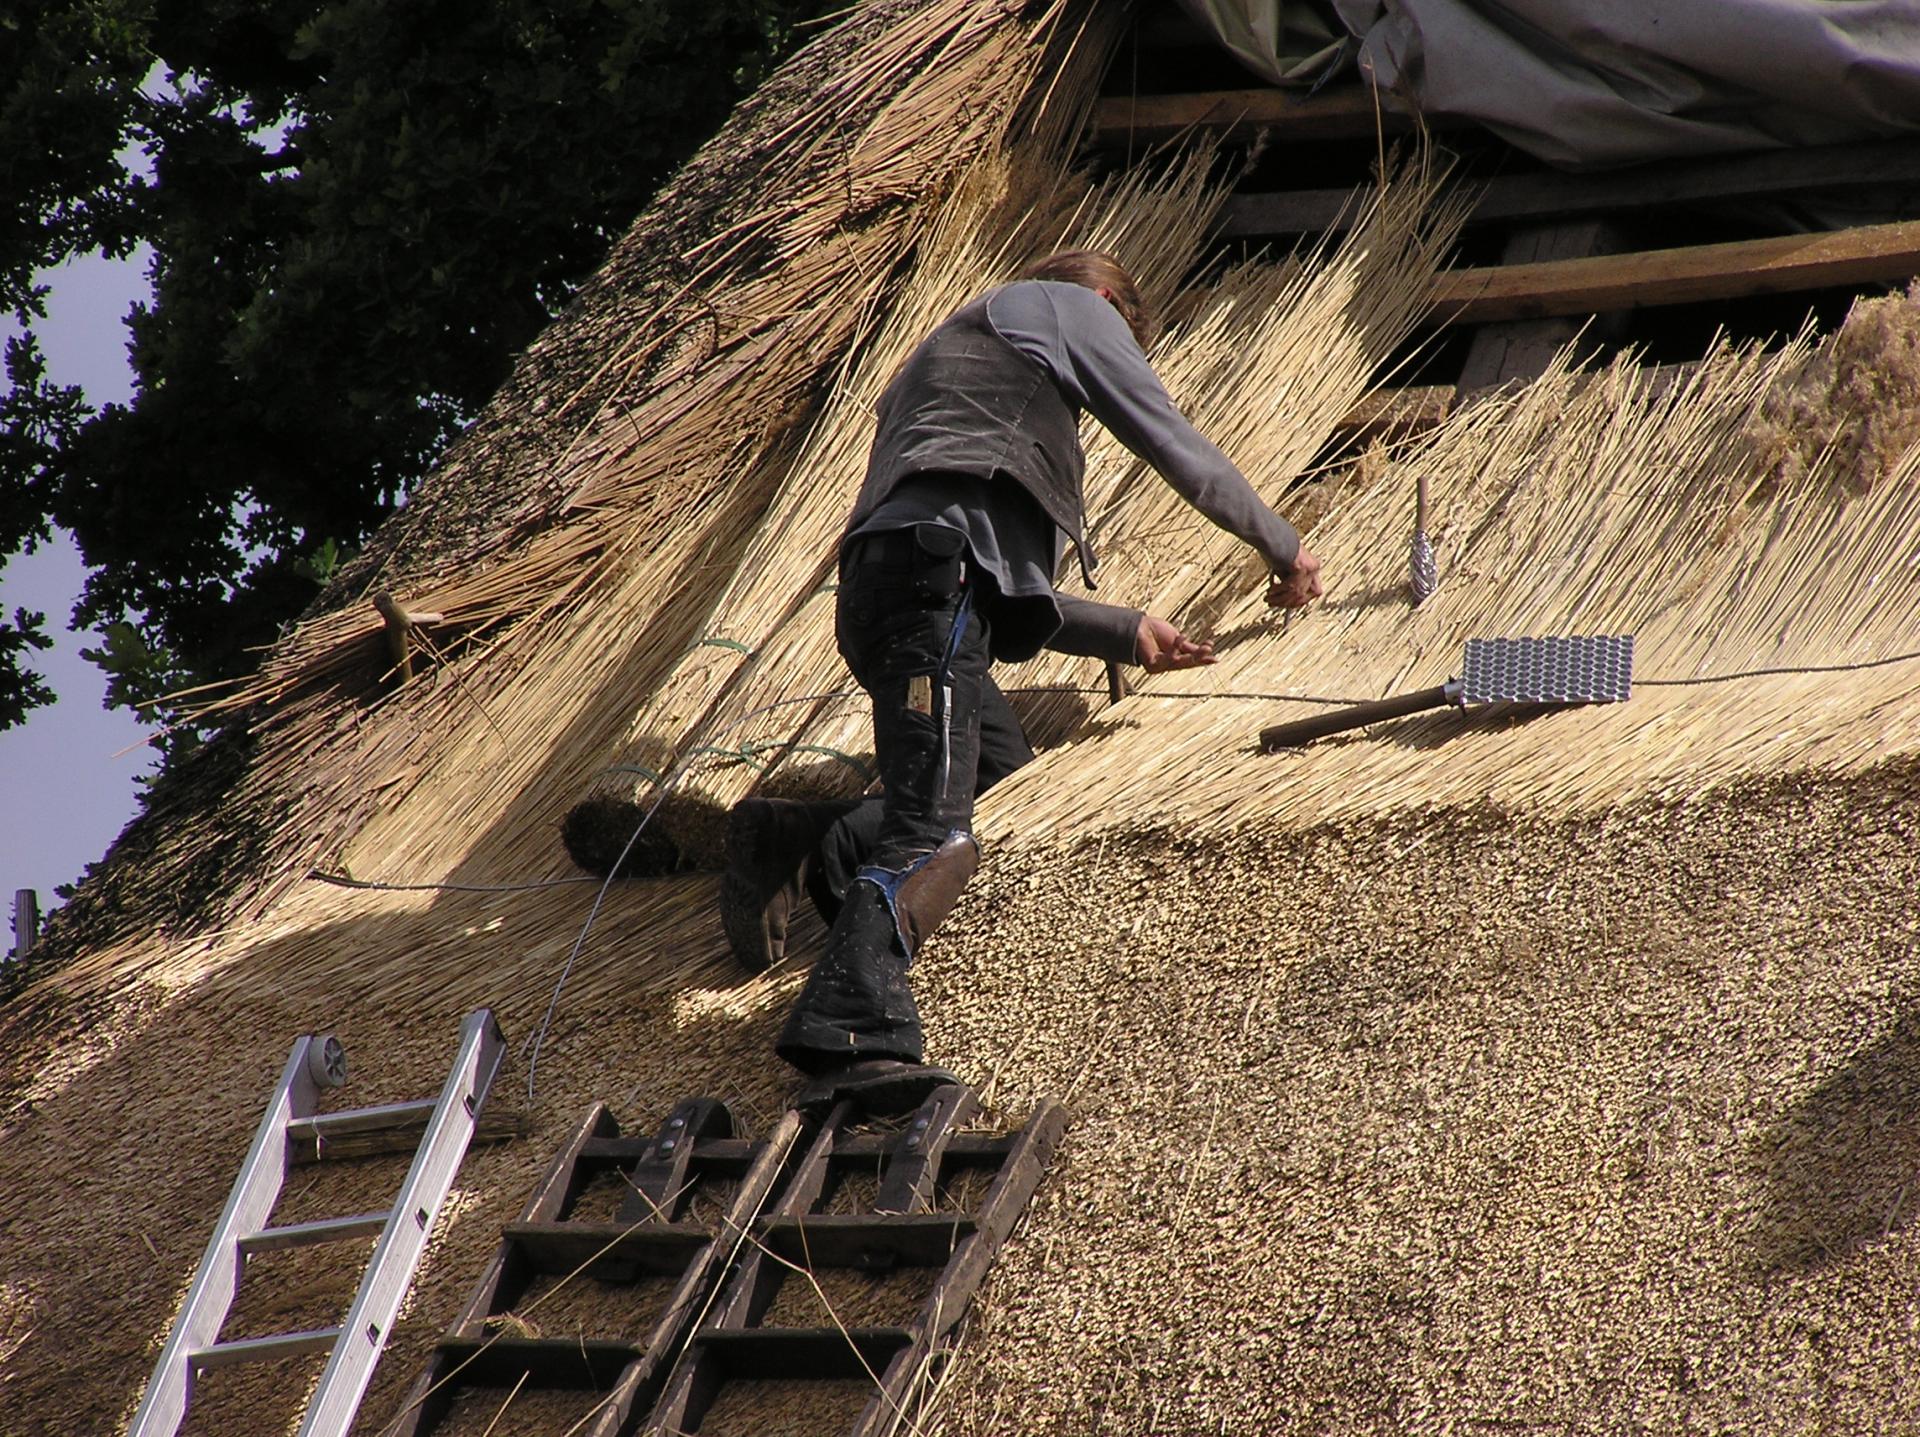
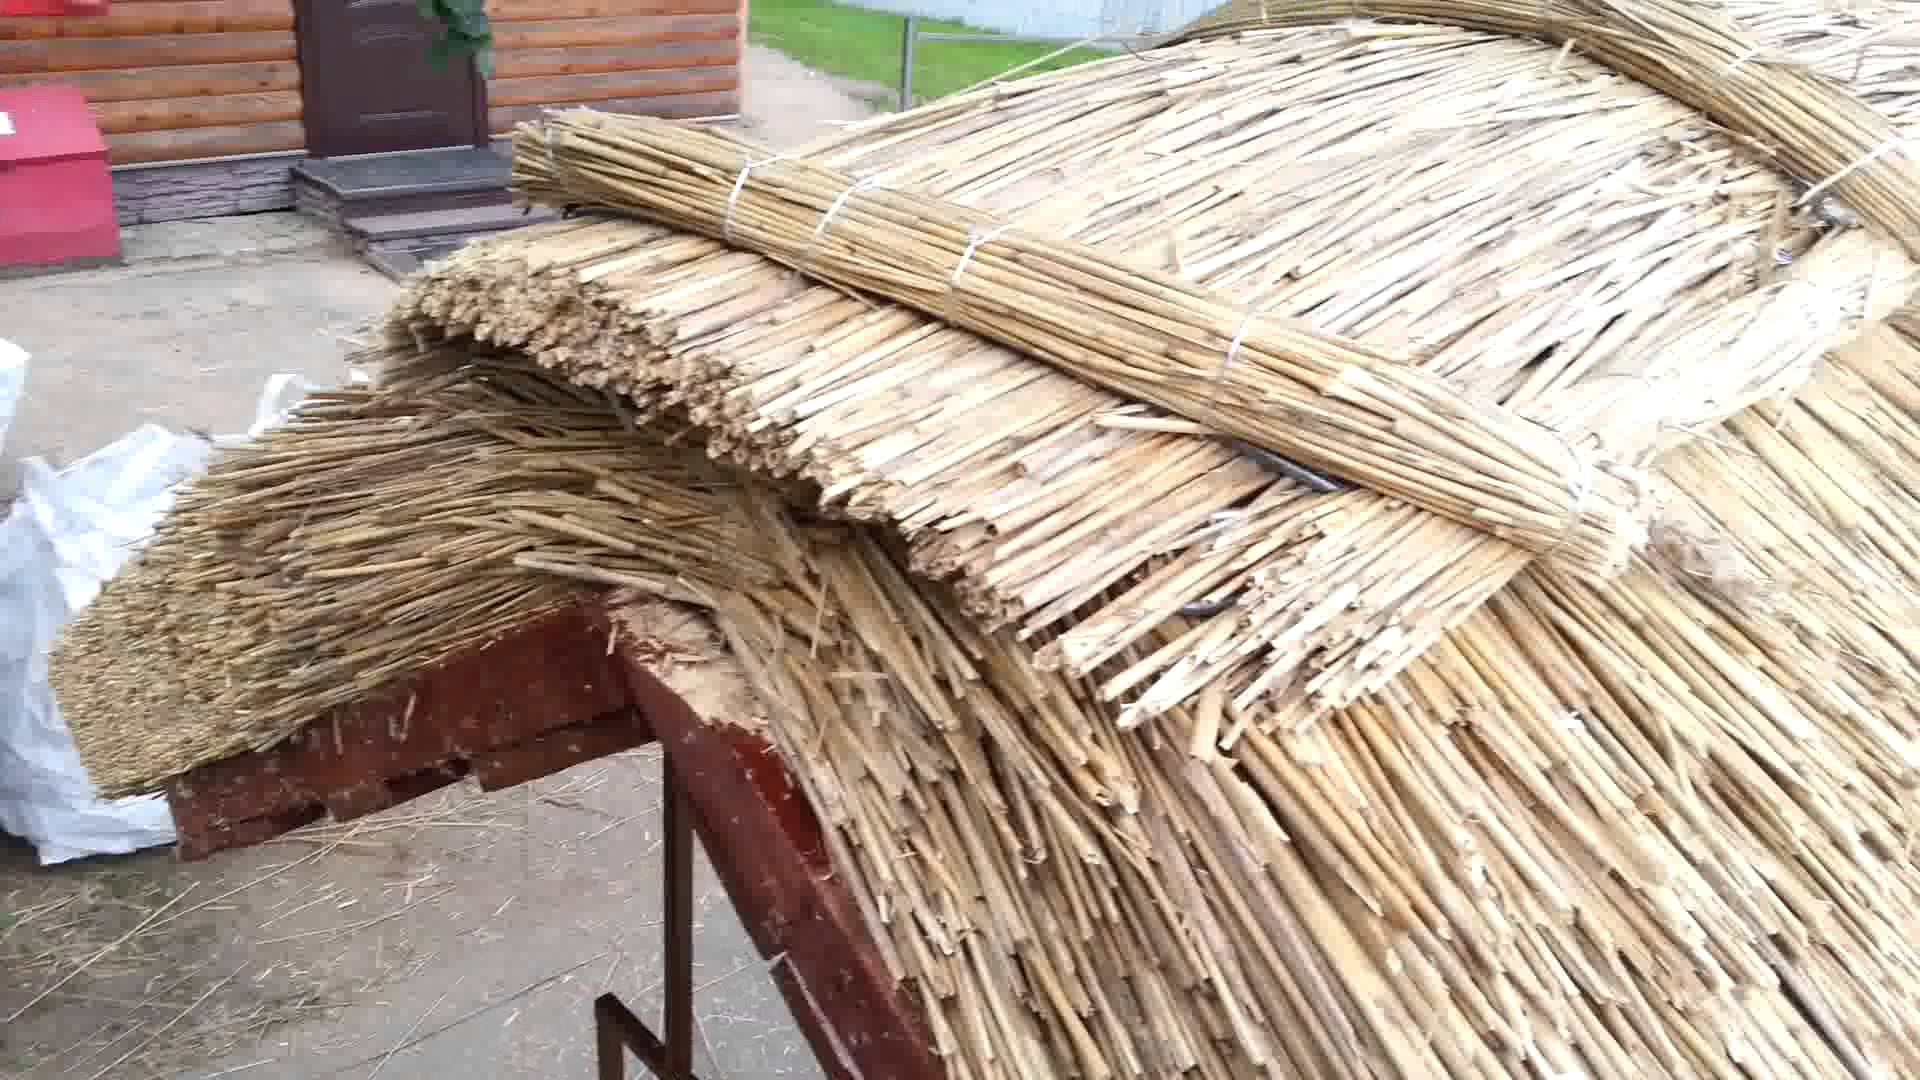
Before straw is used as a roof, it is pre-cooked. For this, the sheaf is laid out on a solid base in such a way that the butt part hangs a little, and then it is “combed” with a plate with nails stuffed with it. This treatment allows you to remove from the straw all the debris and branches that spoil the appearance and performance characteristics of the coating. Further, the sheaf knocks on the ends and leveled. Only then can it be lifted to the roof.

The first row must be laid out as smoothly as possible. To do this, you can mark the roof and pull the string along the marking lines. The second and all subsequent rows are laid already untied.It is important to press them as closely as possible with special slats and attach them to the frame bars with willow or birch rods. However, you can use aluminum wire.
If reed is used as a roof, then meadow grass cereals are recommended to be laid under the first layer of material. This gives the roof extra strength and durability.
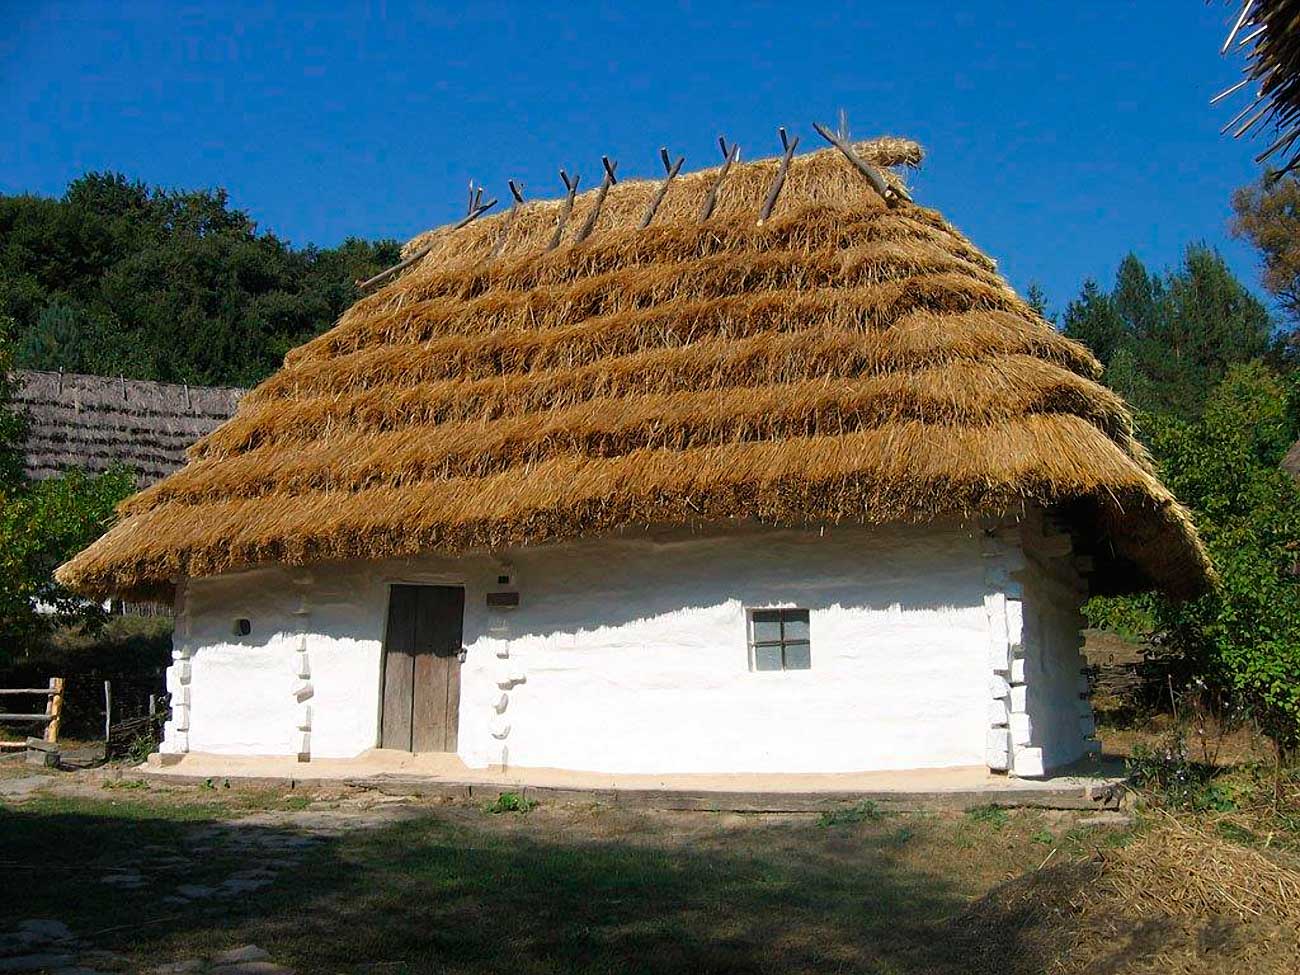
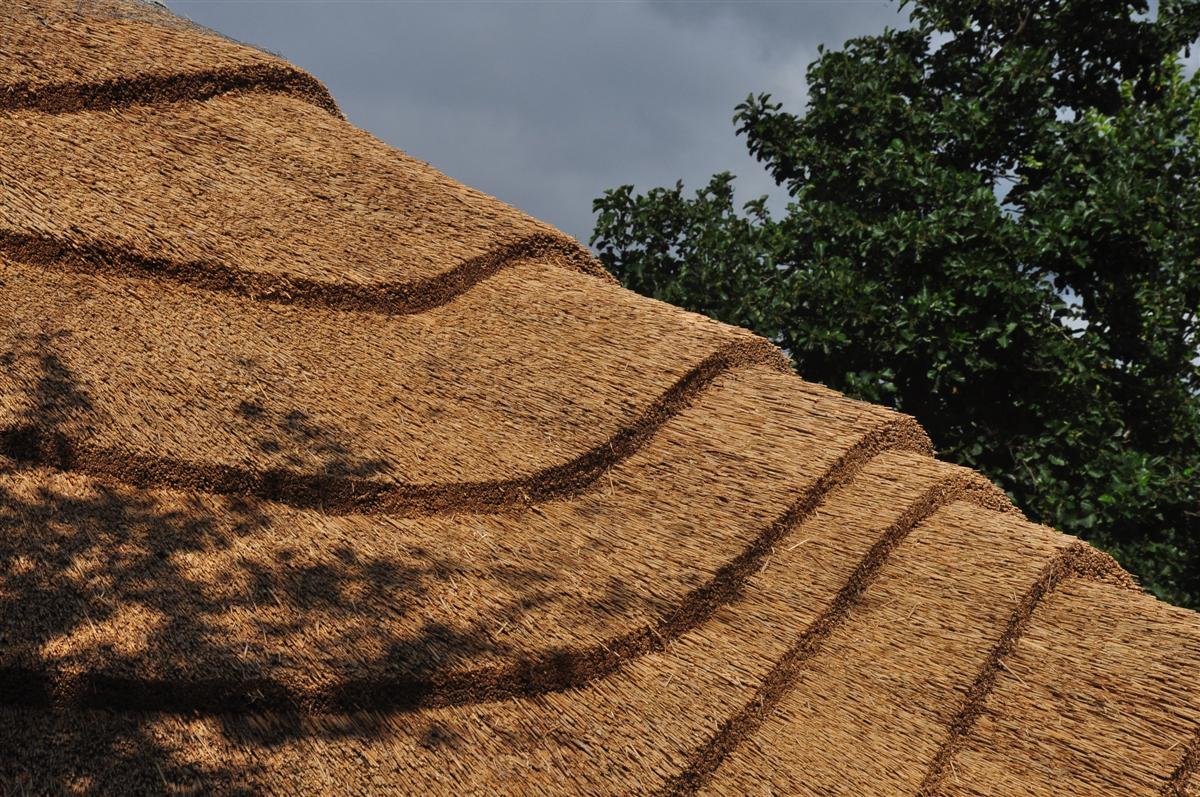
By analogy, all subsequent rows are laid out. As a result, the roof gets a not too aesthetic look with irregularities, since each row forms a small step. Many prefer to leave the coating in this form. The reasons may be different - someone thinks that it is stylish, and someone simply does not have the experience of leveling and shaping such differences.
Traditionally, these steps are smoothed using a comb, which is made from a board with special cuts from one end and nails from the other. With such improvised teeth, the roof is “combed out”, and the other part of the comb comb the ends. Processing is carried out until the surface acquires the necessary evenness and smoothness.
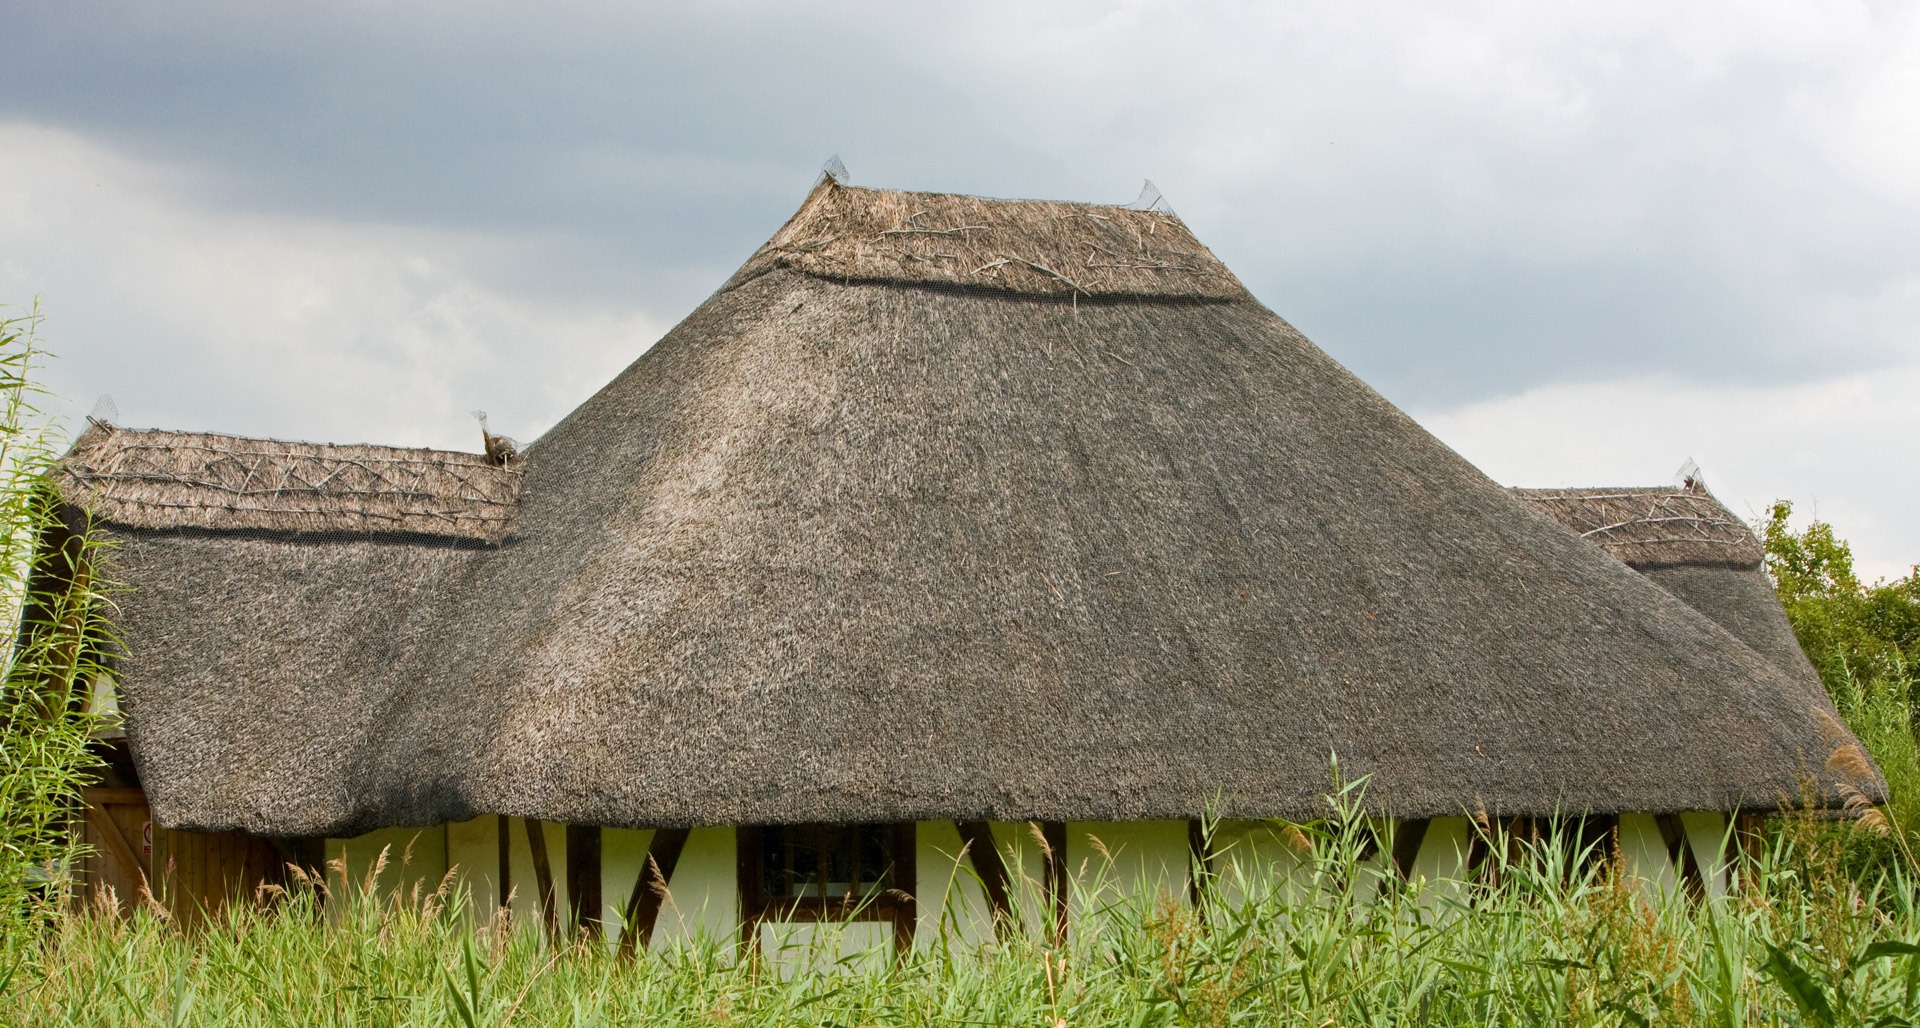
The finishing touch is the design of the top of the roof.If the roof is duo-pitch, then the straw is simply bent on both sides. Then fixed special chain of hammered poles, connected by pins. On top of the chain attached to the roof pritugami.
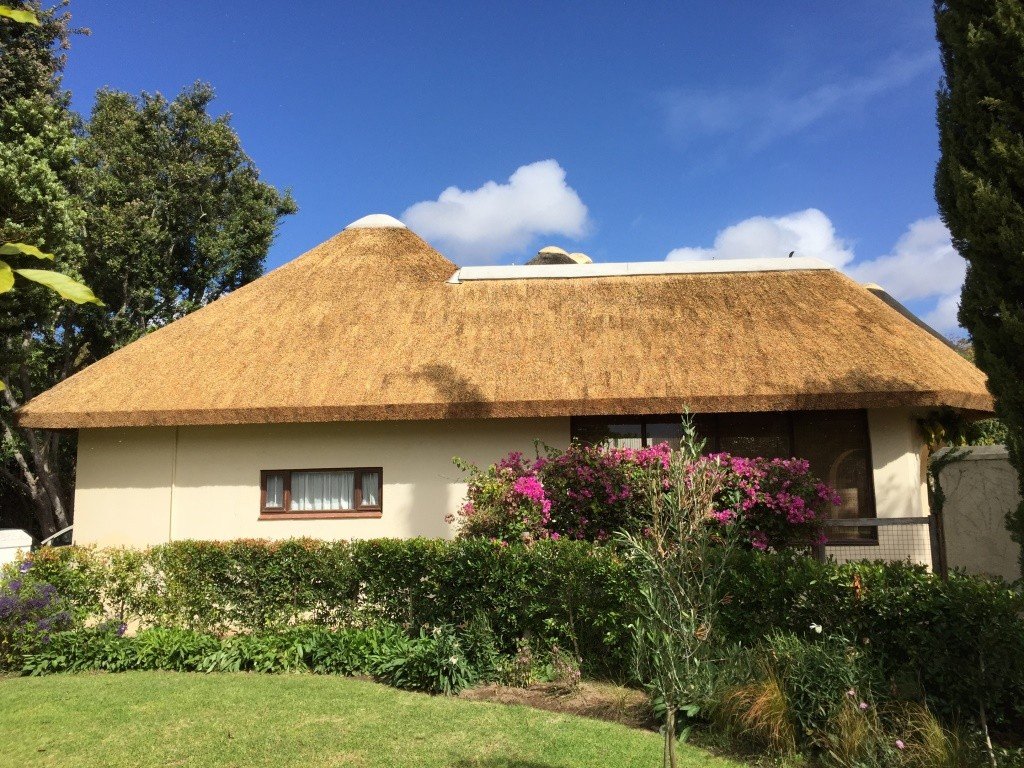
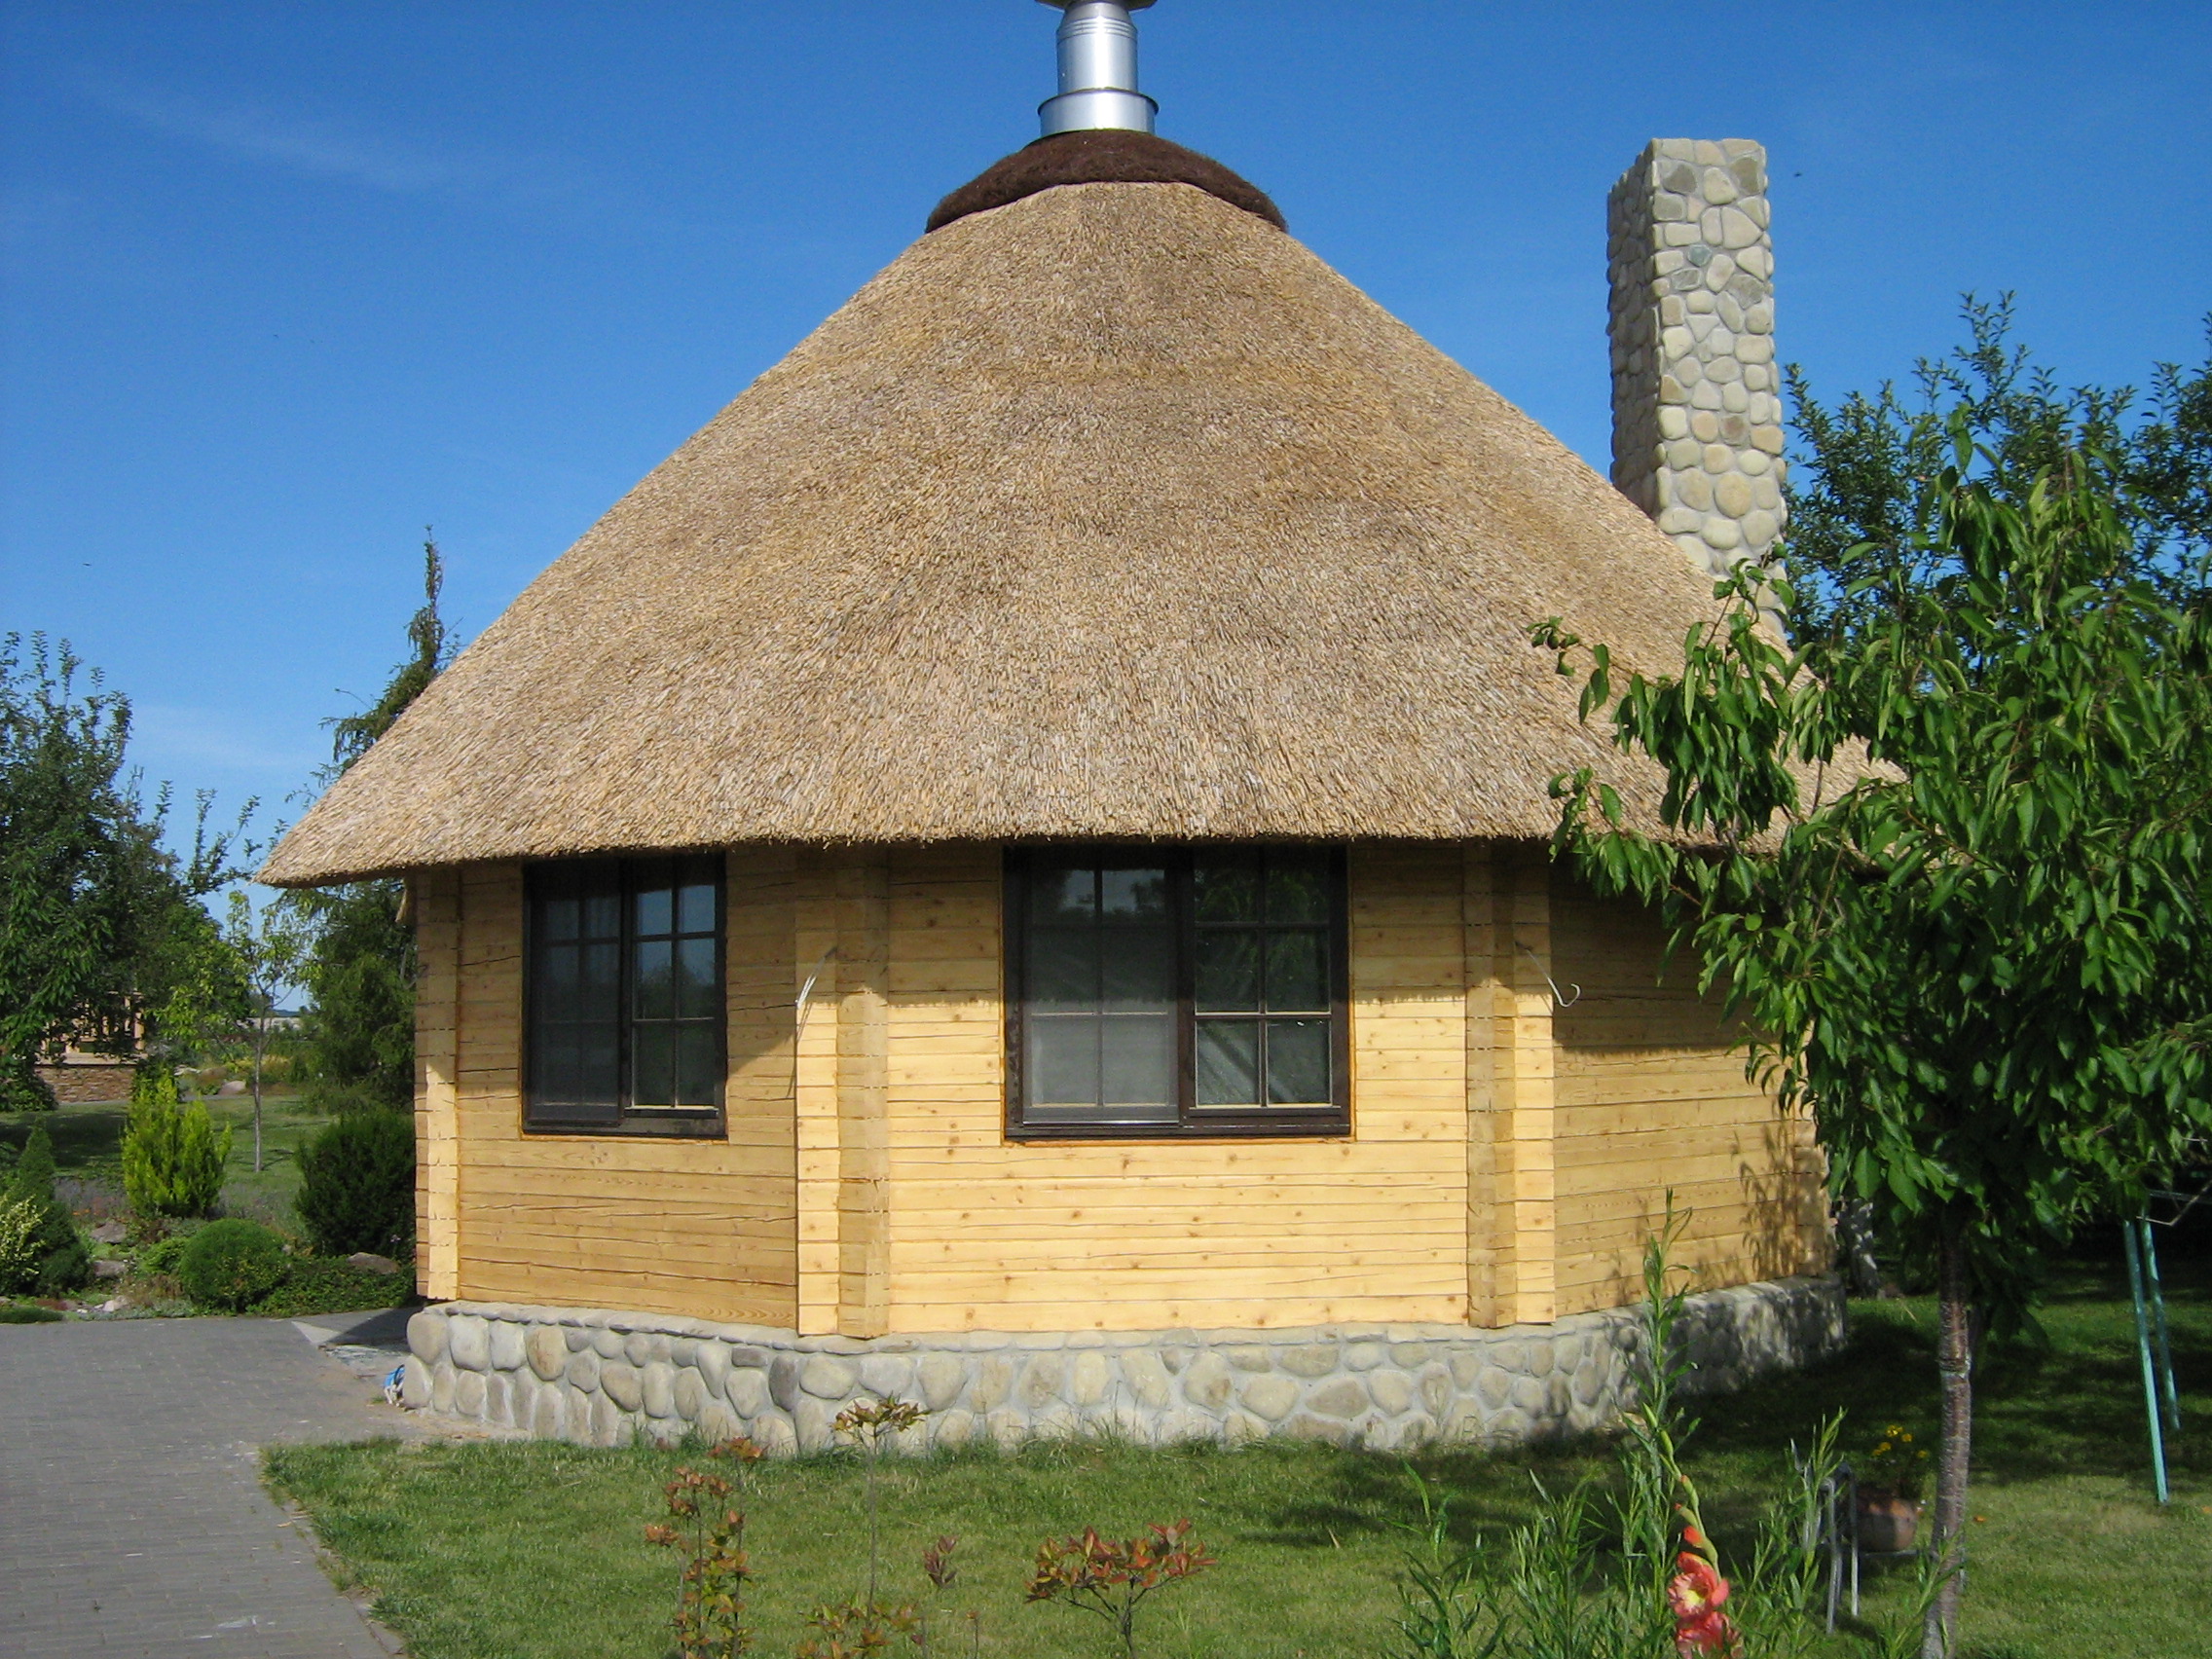
If the roof is made in a cone-shaped or pyramidal form, then a birch bark is put on the very top of the structure. If there is none, then you can make a big sheaf of straw with panicles pointing down. The top is tied with a hoop of flexible branches or wire and firmly fixed to the yoke.
To build a coating of reeds, reeds, cattails or rye with your own hands is easy. Even a person without professional experience and education can cope with this kind of work, and the toolkit requires the most familiar one available in the arsenal of any home workshop. However, if you met with straw for the first time, it recommends starting with small volumes - with covering gazebos and other farm buildings, and you can start building the roof of the house after acquiring the necessary skills.
Interesting examples
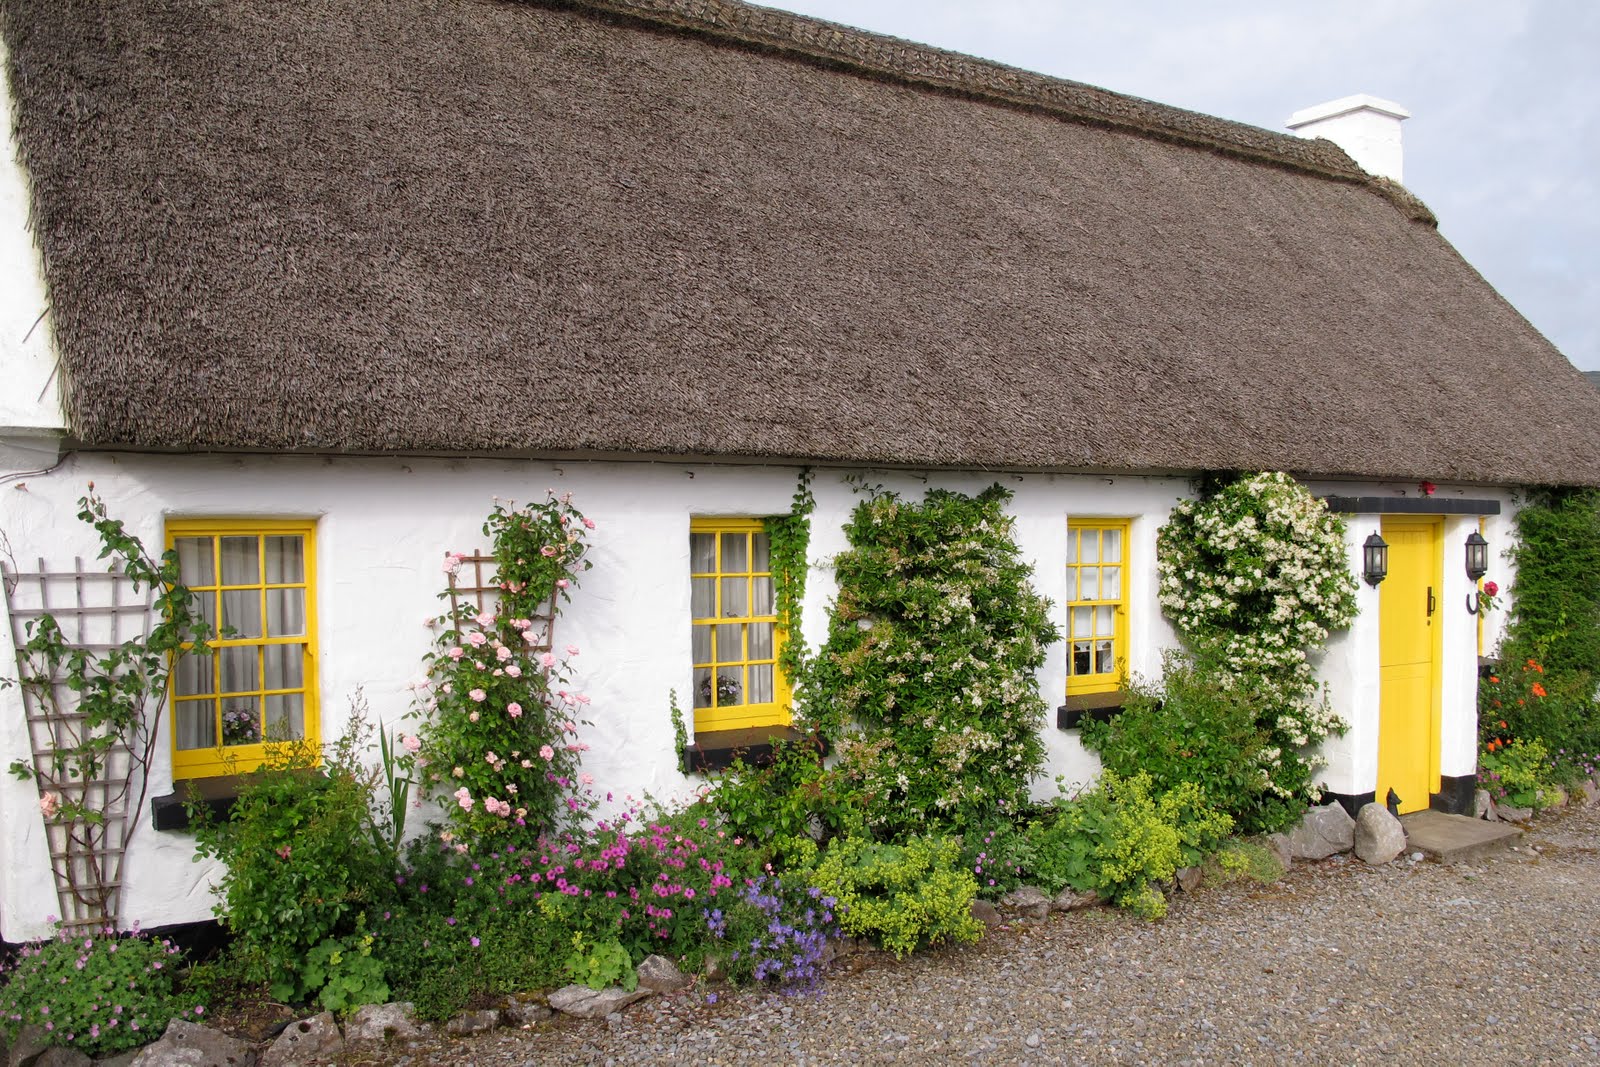
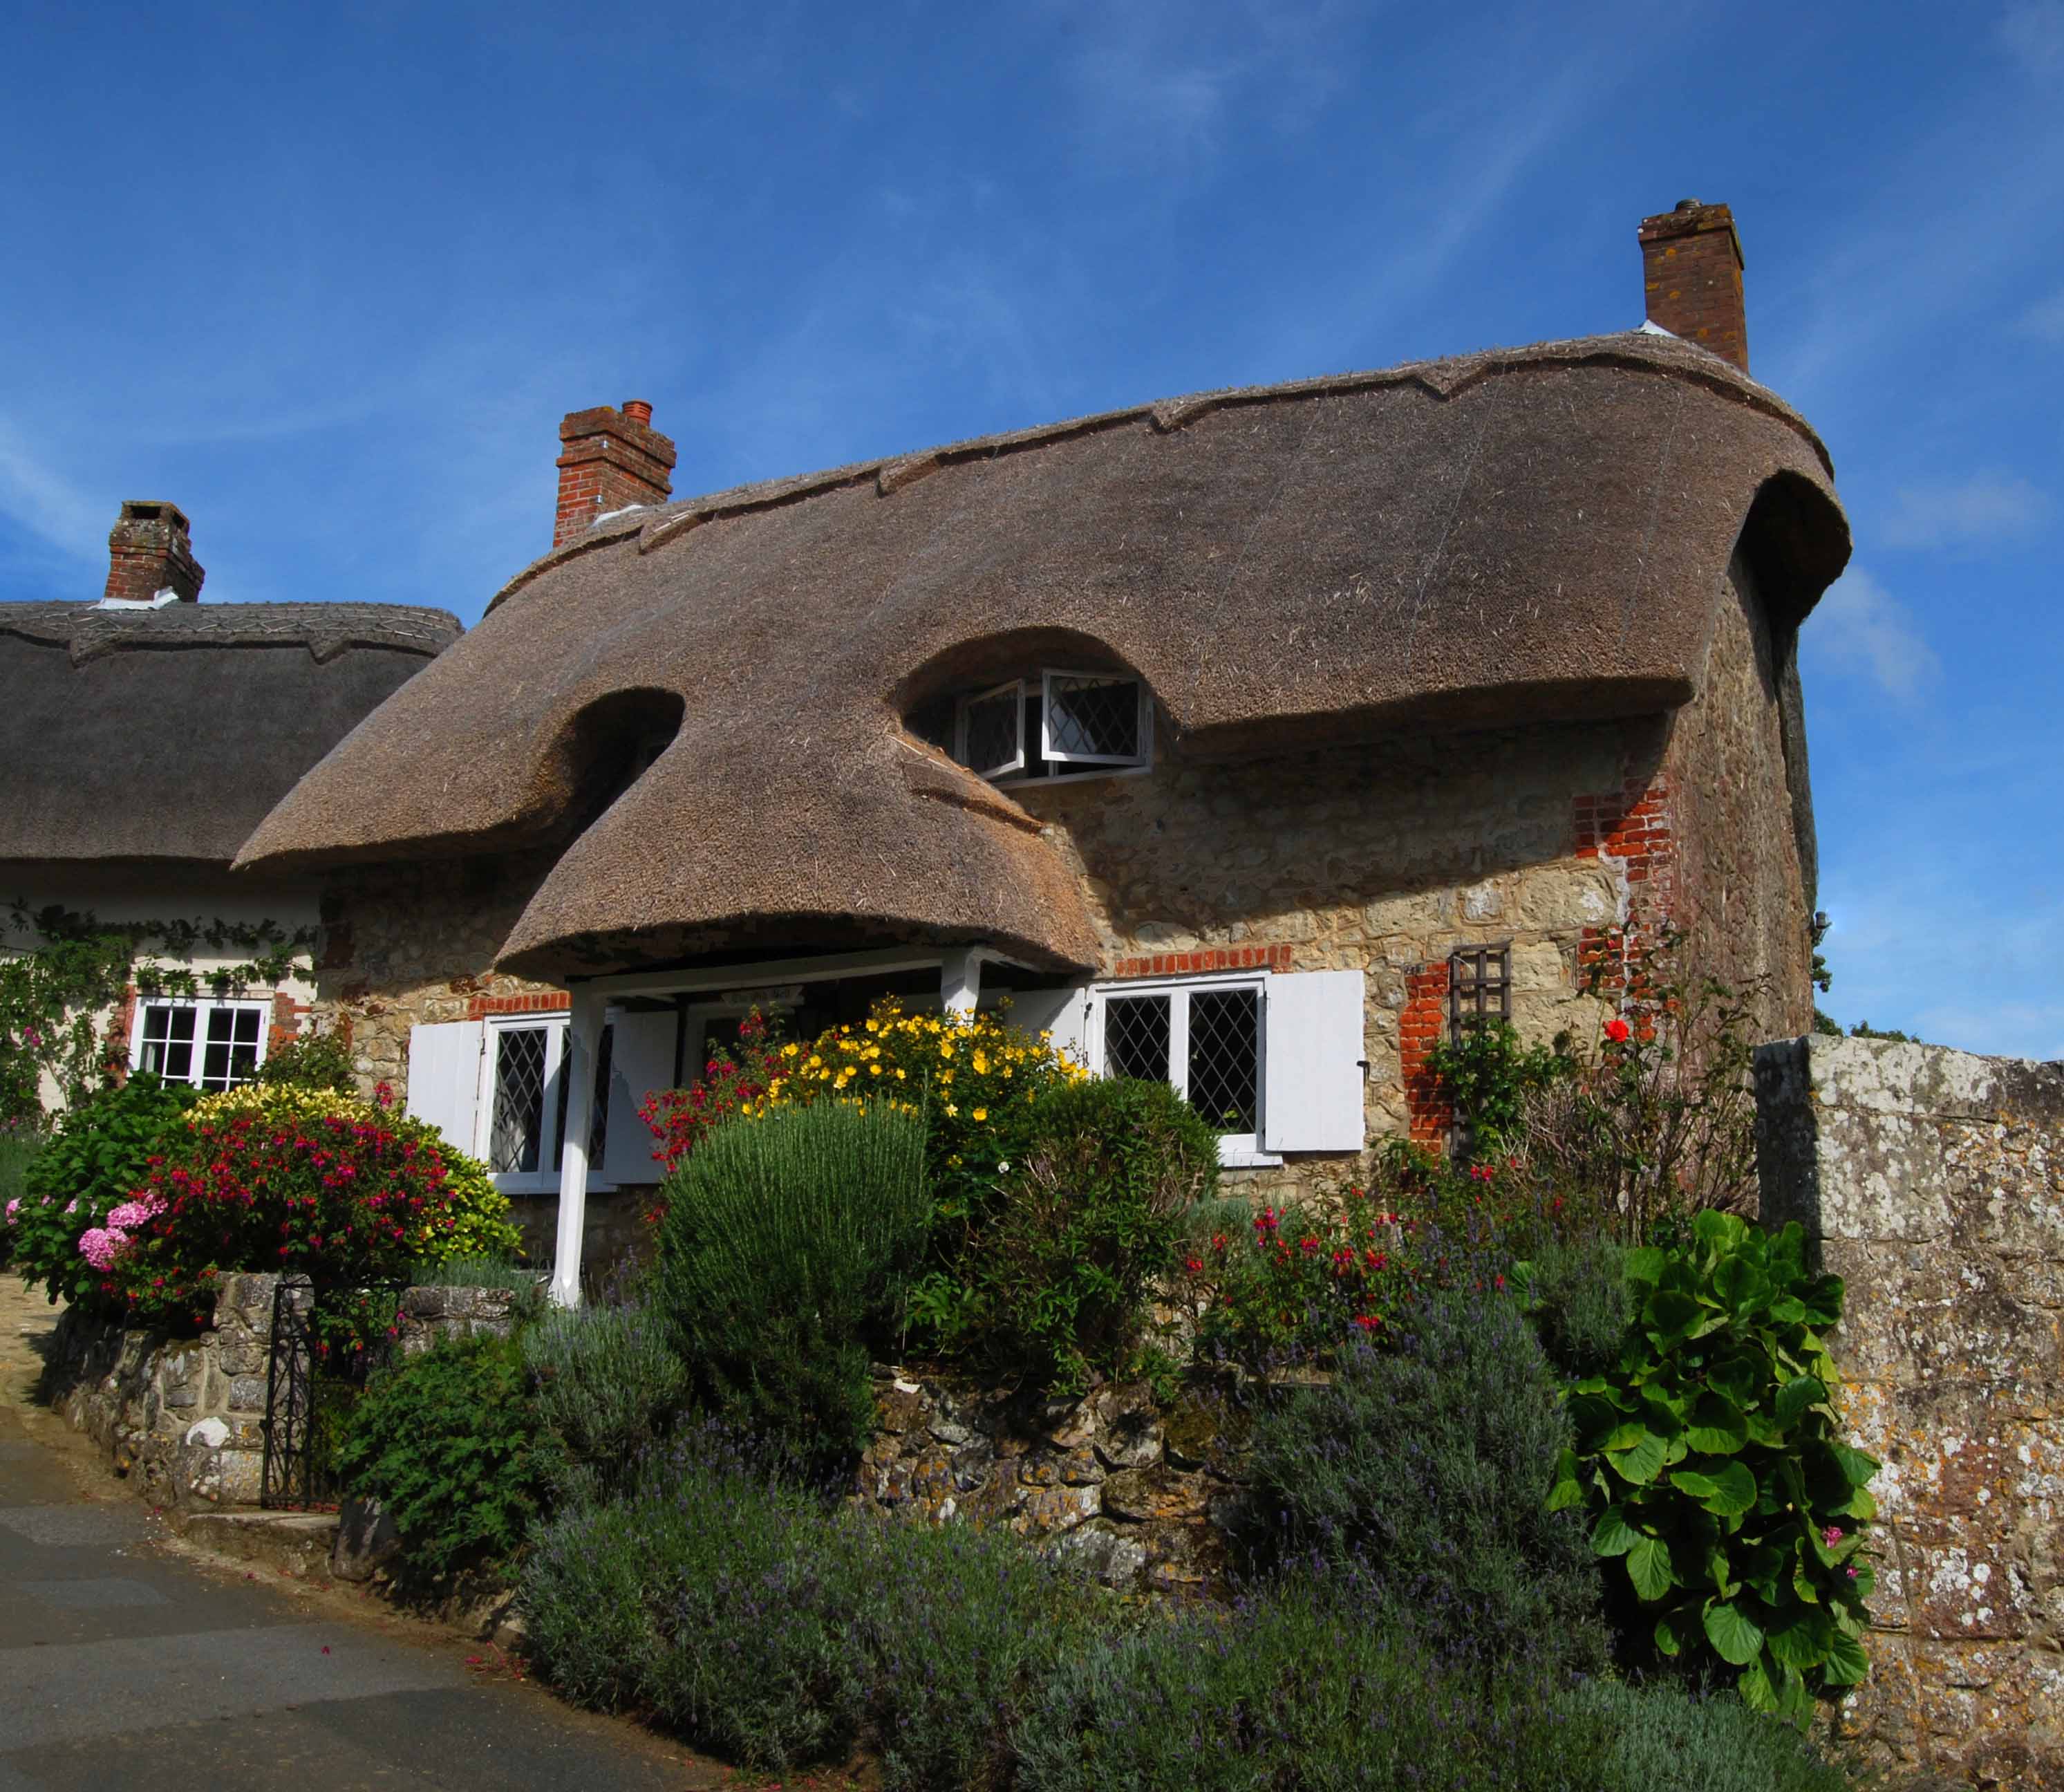
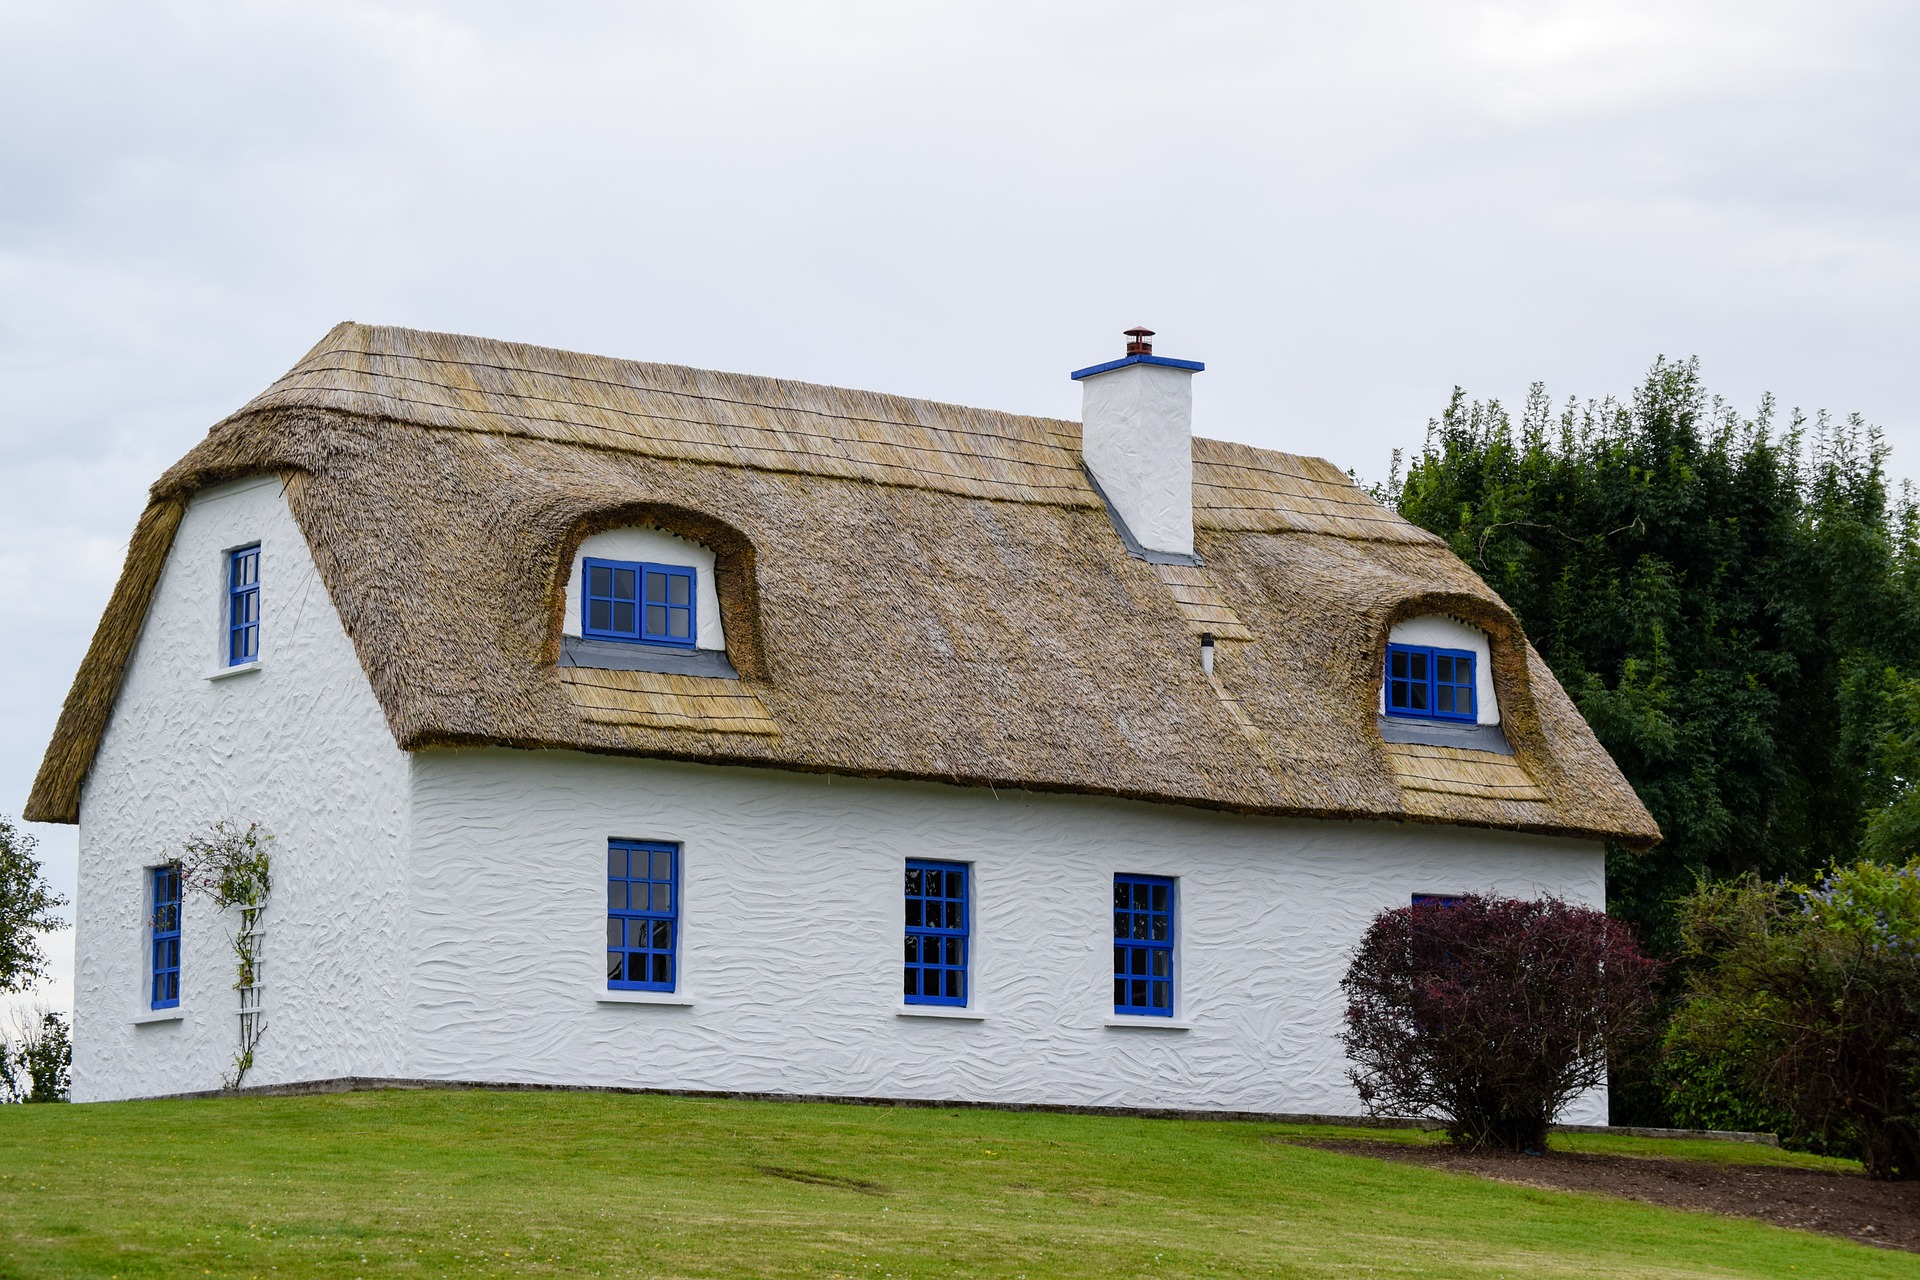
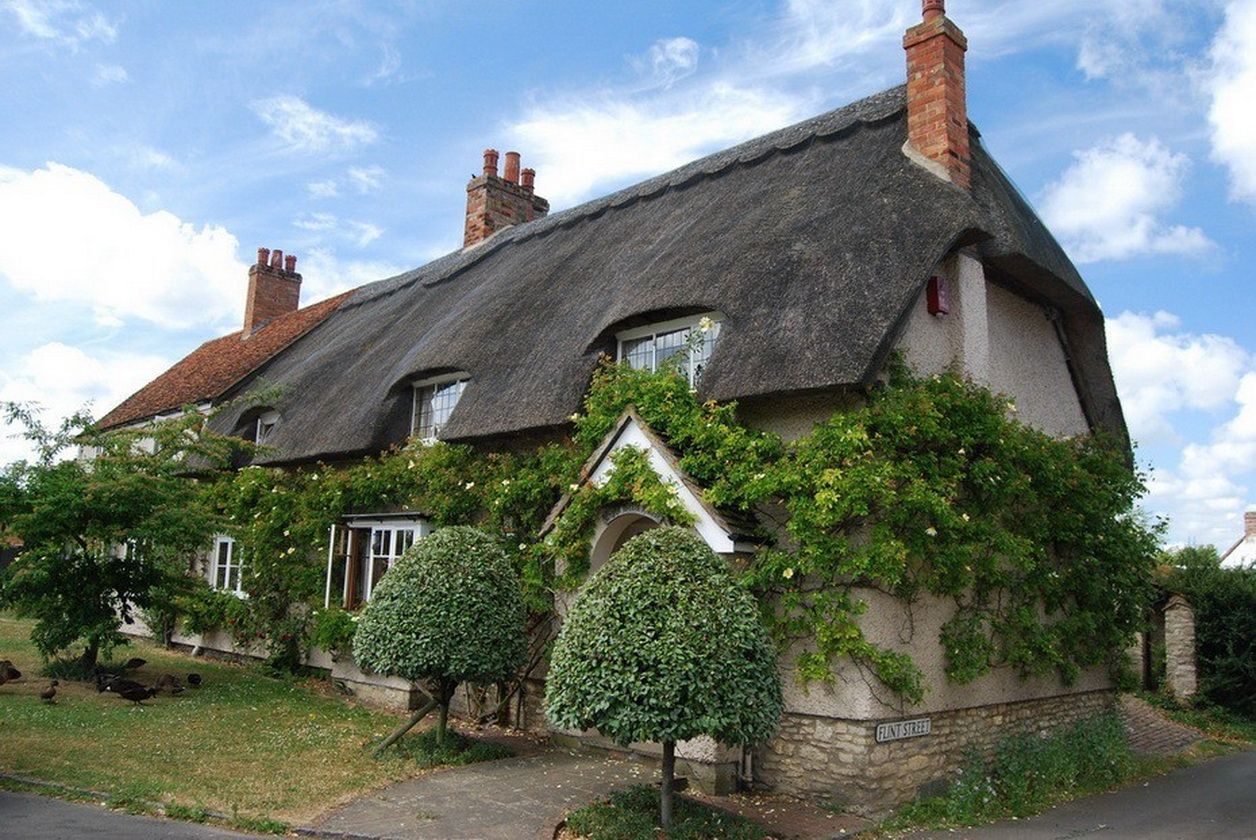
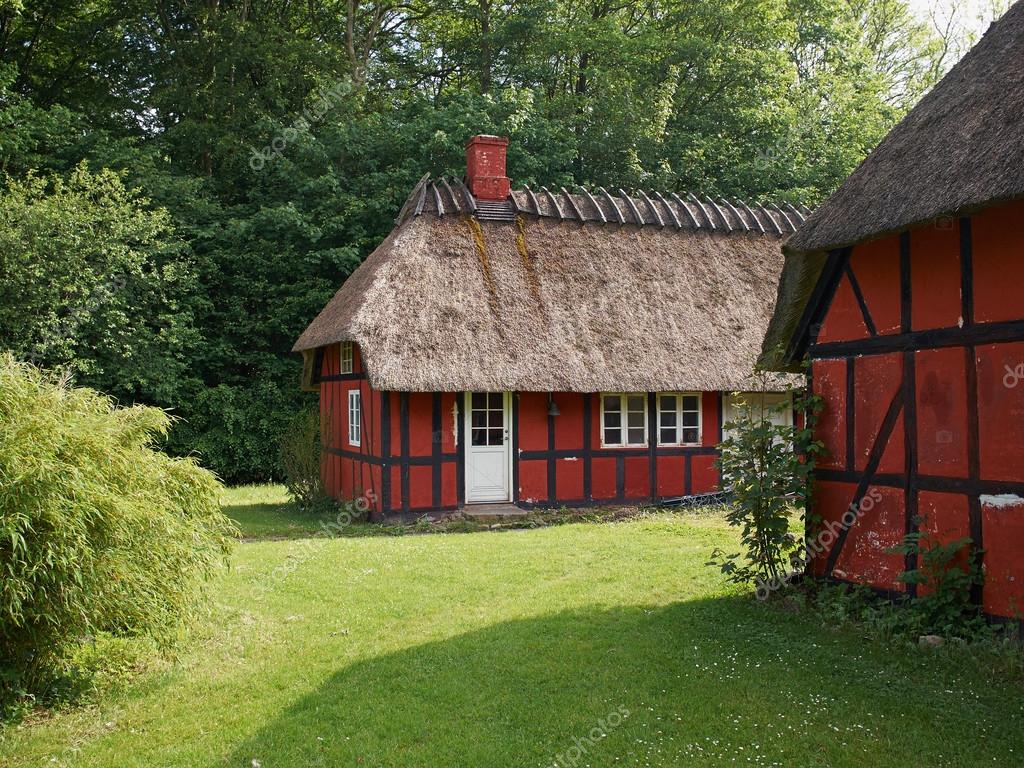
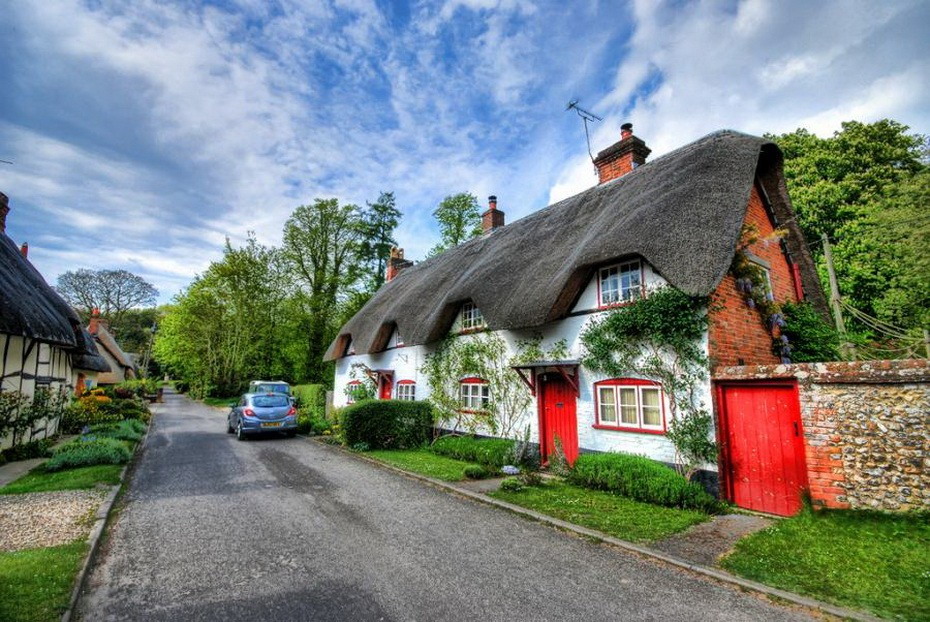
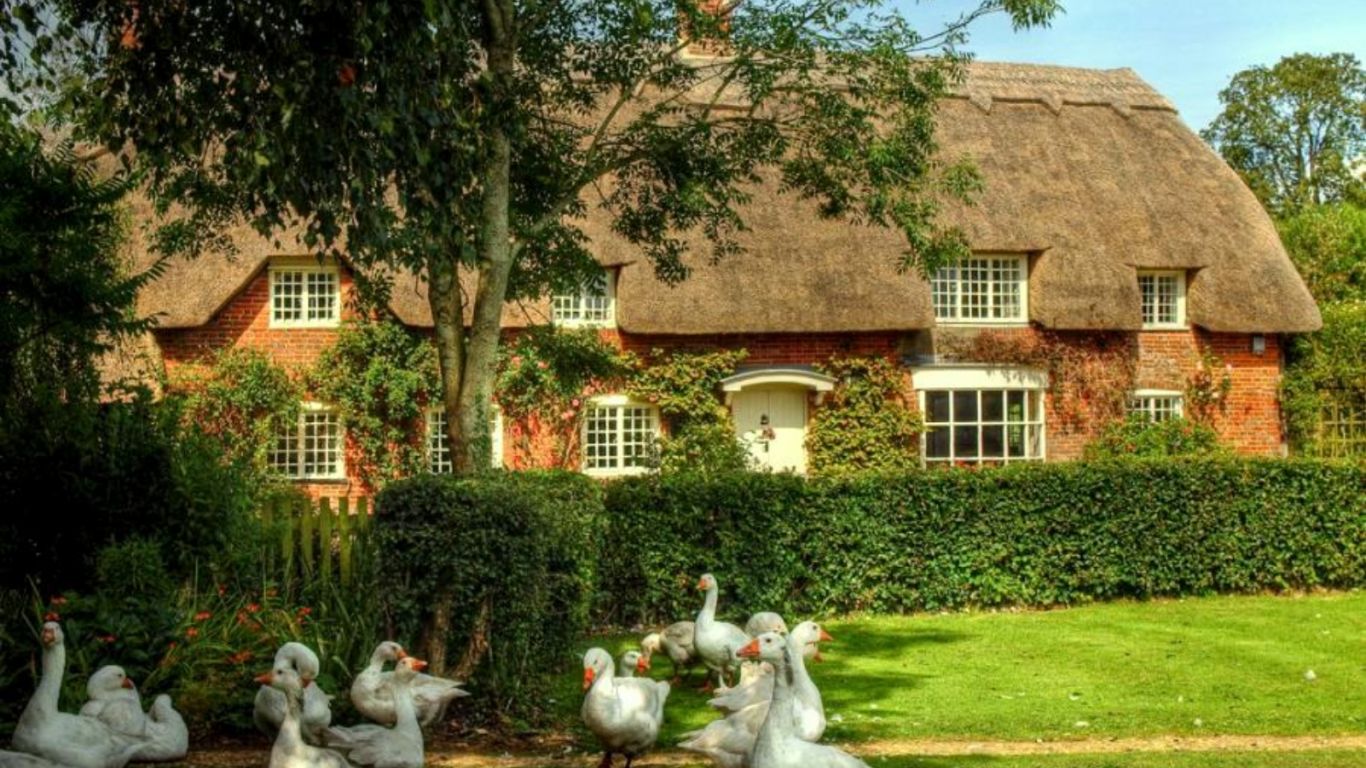
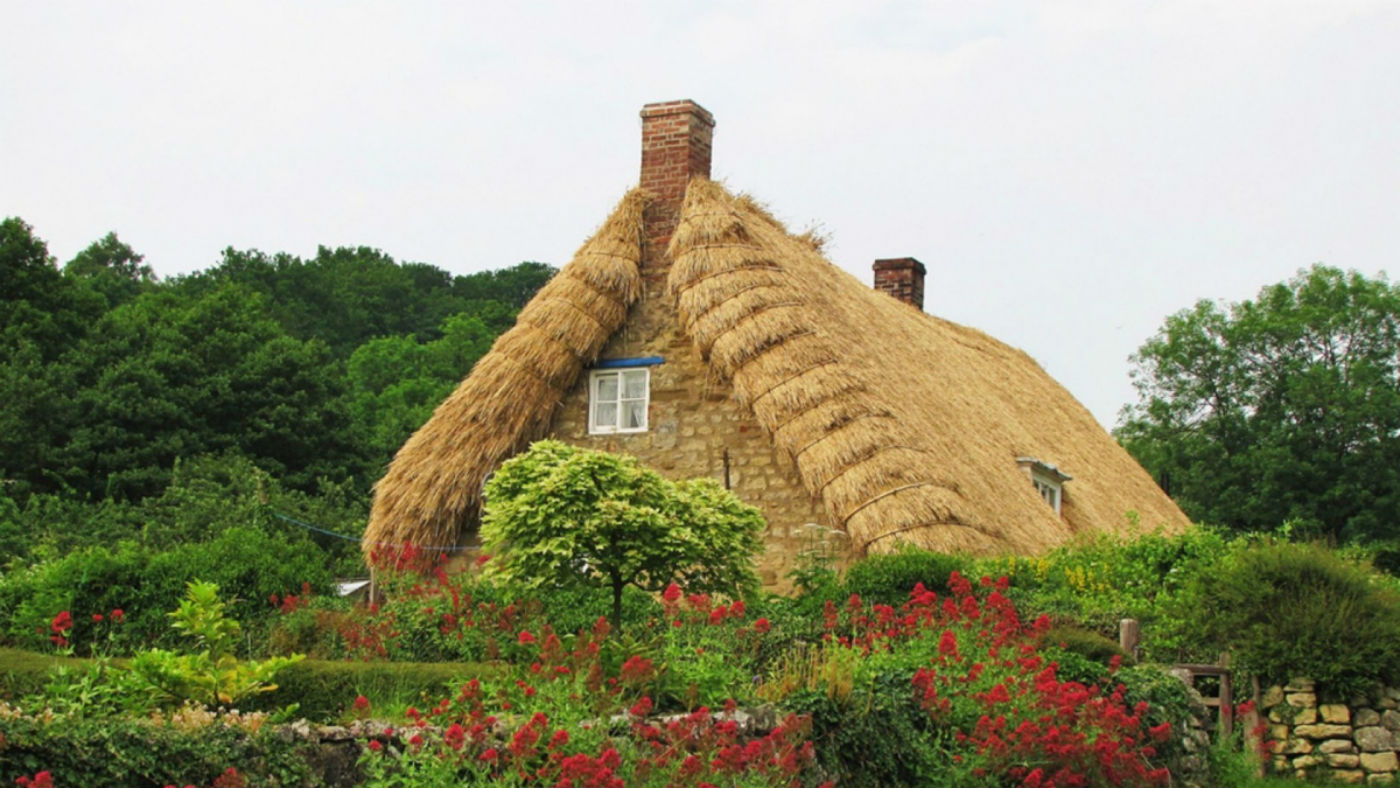
This is how the straw roof looks stylish in old-fashioned and prim England.
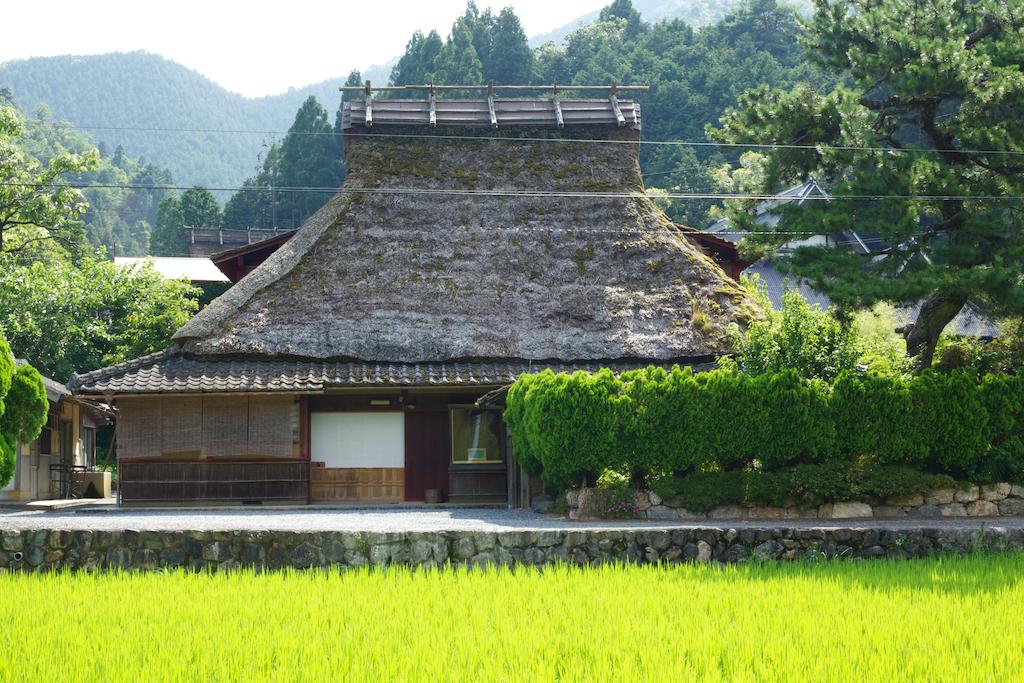
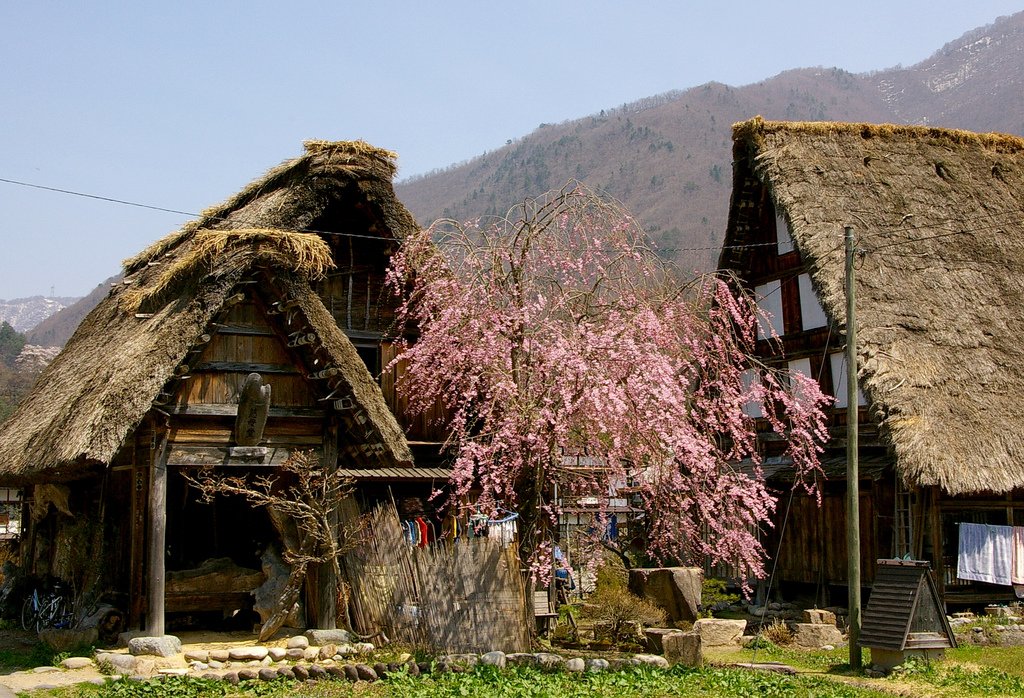
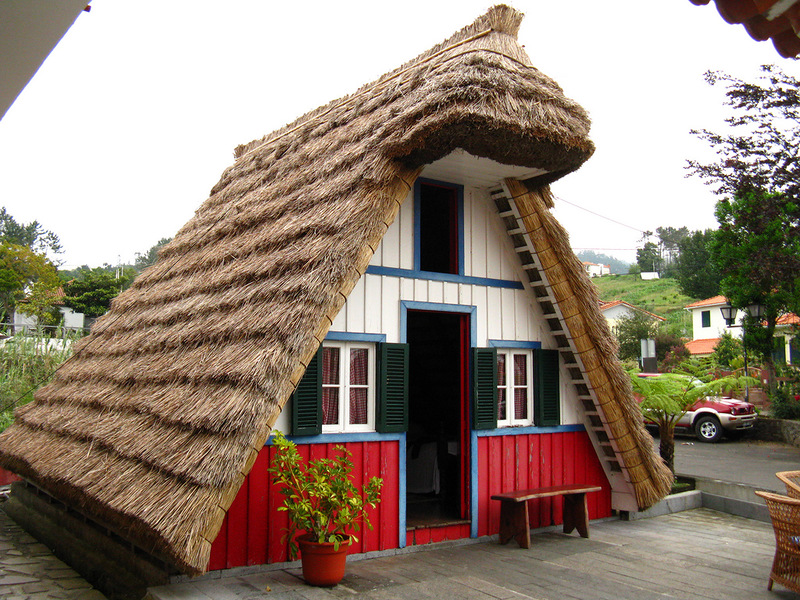
Houses in Japan amaze with their comfort.

Summer cafes with straw roofs look charmingly.
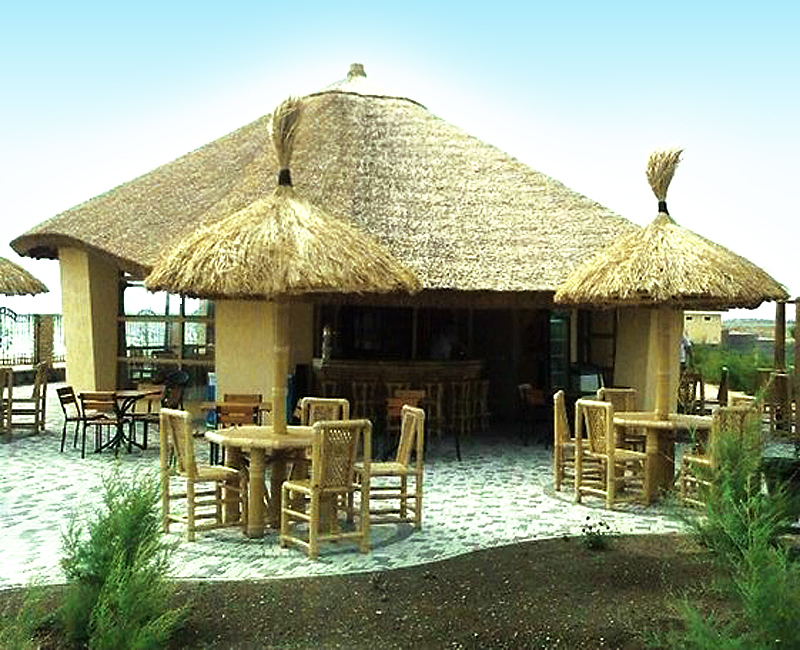
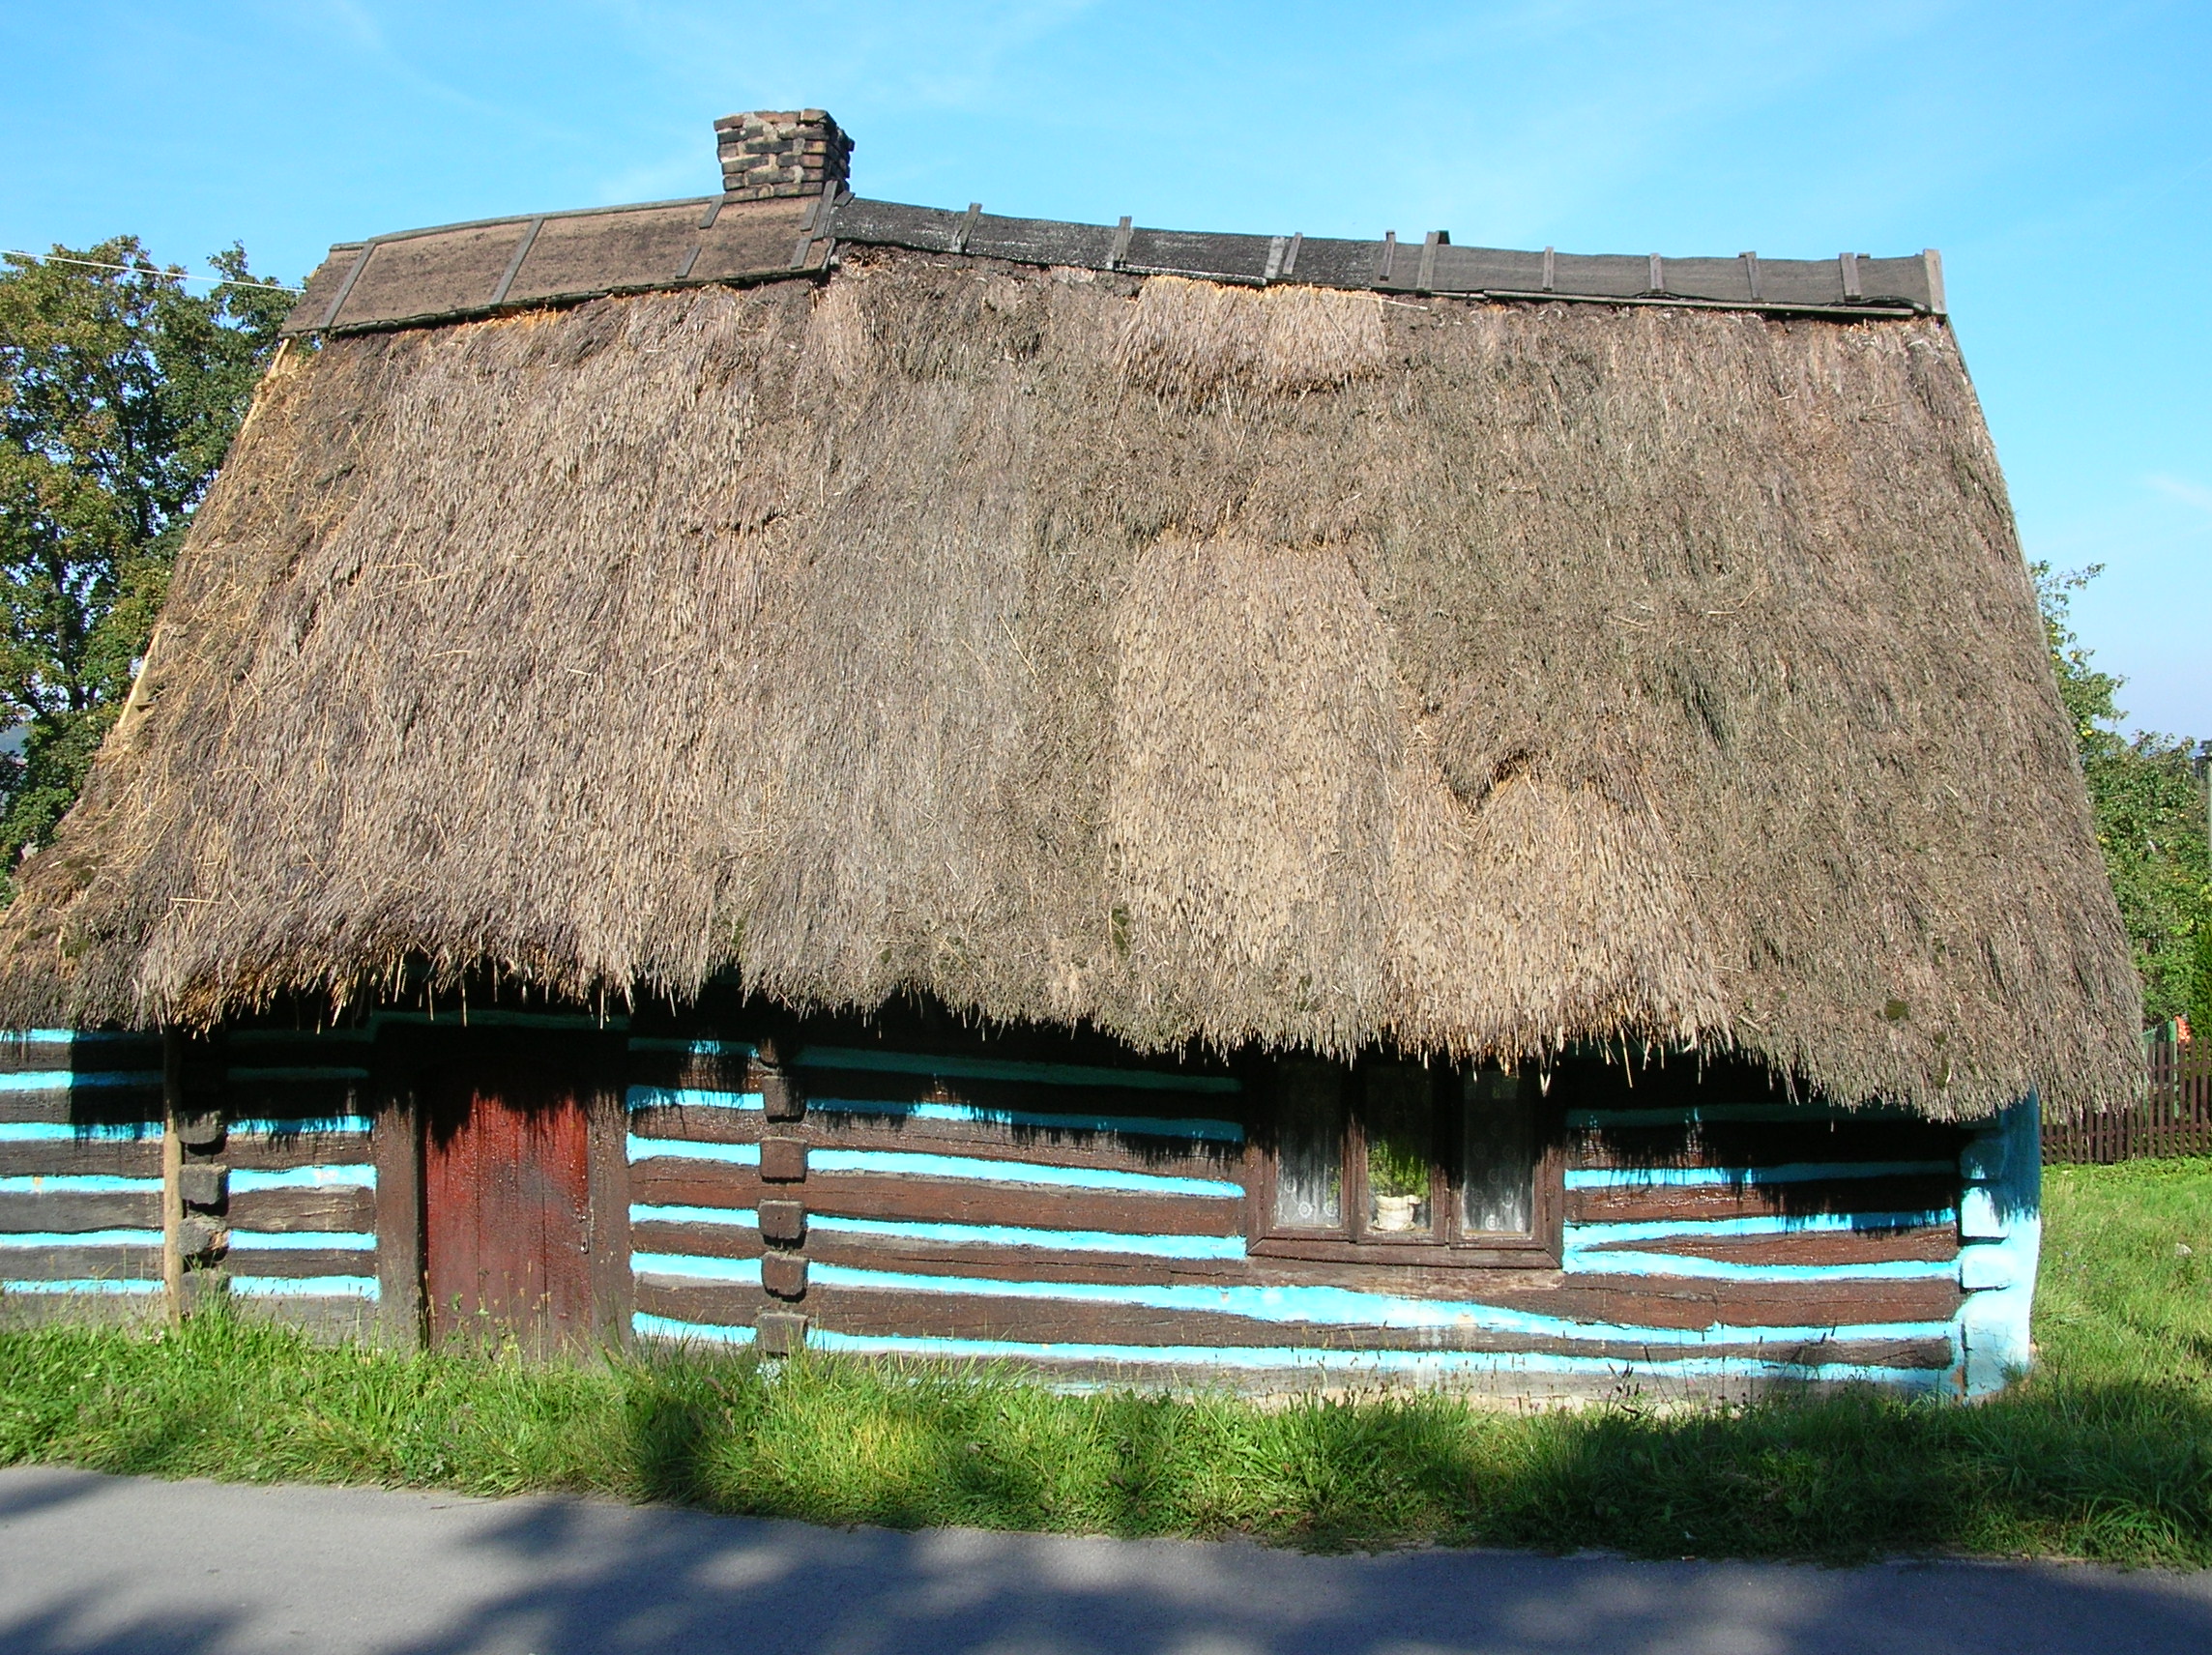
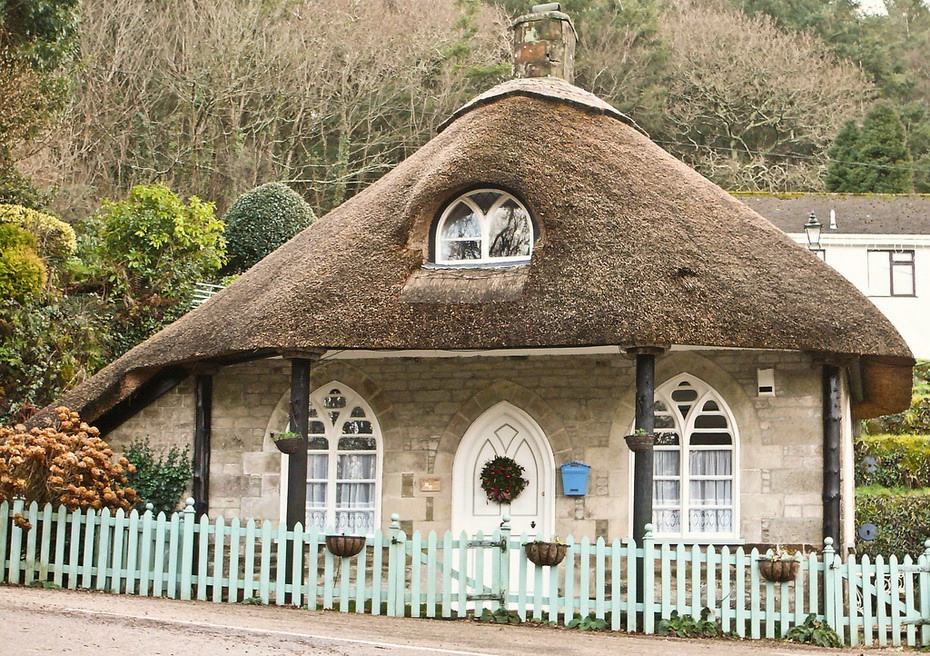
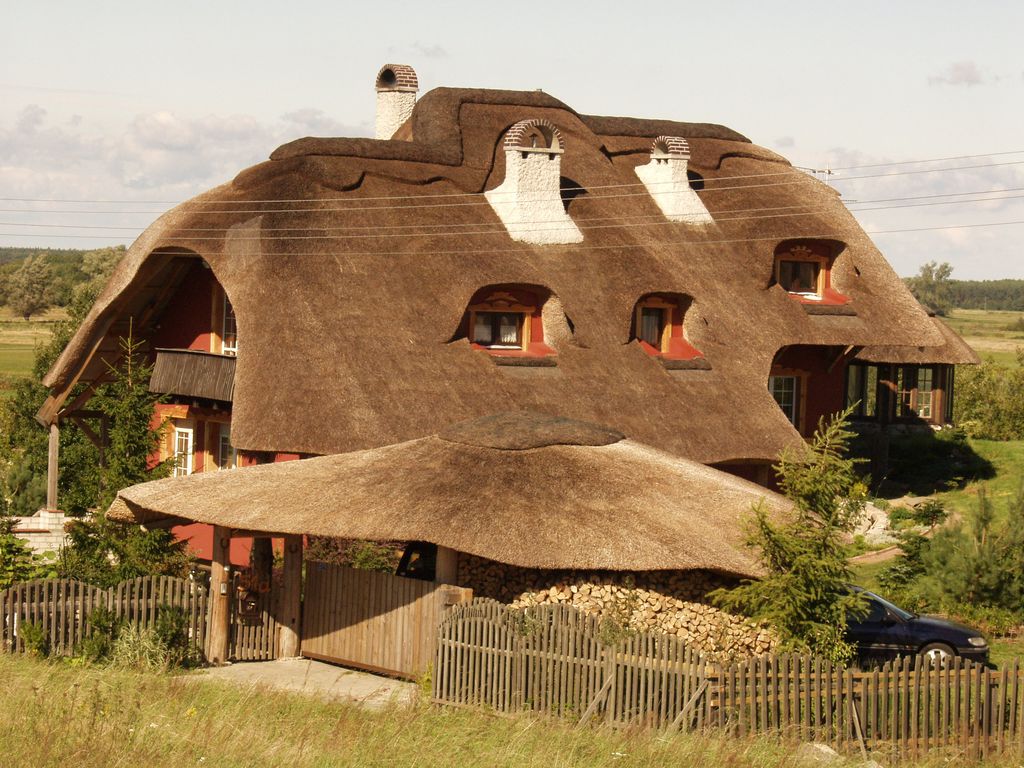
And a few more original examples.
For information on the types and features of laying thatched roofs, see the following video.


