DIY wood floor repair
The floor is subjected to significant stress every day, so from time to time it needs cosmetic or major repairs. When working in a household or an apartment on its own, it is important to comply with all technological requirements. The process of repairing the floor is quite laborious, it requires a lot of effort, time and material resources, because it is often necessary to remove the old flooring or part of it.
Special features
Wood is considered a practical material that is great for flooring, and this is true.Wooden floors can be found in office buildings and residential buildings. This is not surprising, because it is difficult to imagine anything better than a tree. Even in the 21st century, no ultra-modern building materials can replace it.
Like any material, wood is influenced by the environment: over time, it loses its functional qualities. Wood floors also need repair.
In order for the quality of work to be at the proper level, it is recommended to get some knowledge and acquire the appropriate tools. Cosmetic renewal of the floor should be carried out, on average, every 3-4 years.
Processed as the entire surface, and some areas:
- crack repair;
- the surface of the floor is leveled;
- the floor is primed and painted.
Sometimes you have to do major repairs, for example, in cases where the floor:
- began to fail;
- changed shape, deformed;
- began to squeak strongly;
- changed, and wide gaps appeared between the boards.
In these cases, the floors are overwhelmed, changing logs, insulation and waterproofing. Before starting any activity related to the repair of floors, they should be diagnosed.
Floor diagnostics
Before starting the repair, it is necessary to determine the degree of wear of the coating.To do this, conduct research.
This will make it possible to understand the following:
- what work should be done;
- what material to buy;
- how much time is required to perform a given amount of work;
- what will be the material and time costs.

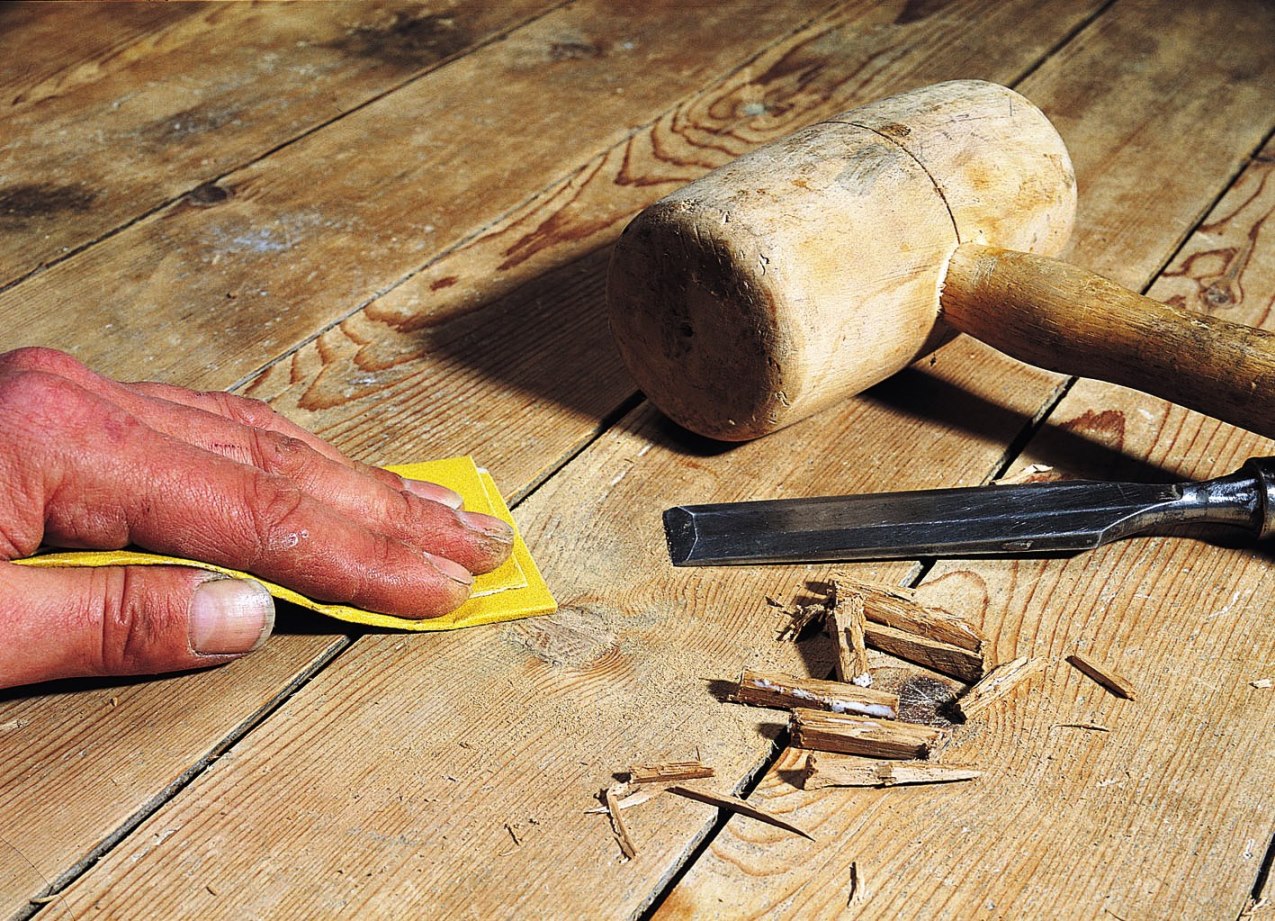
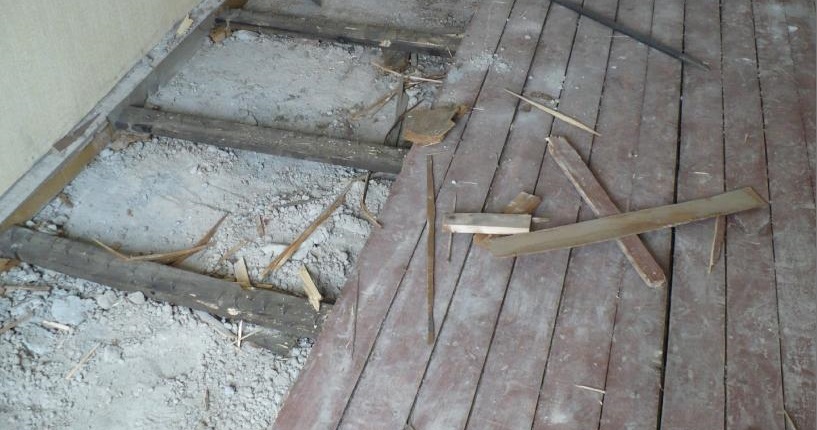
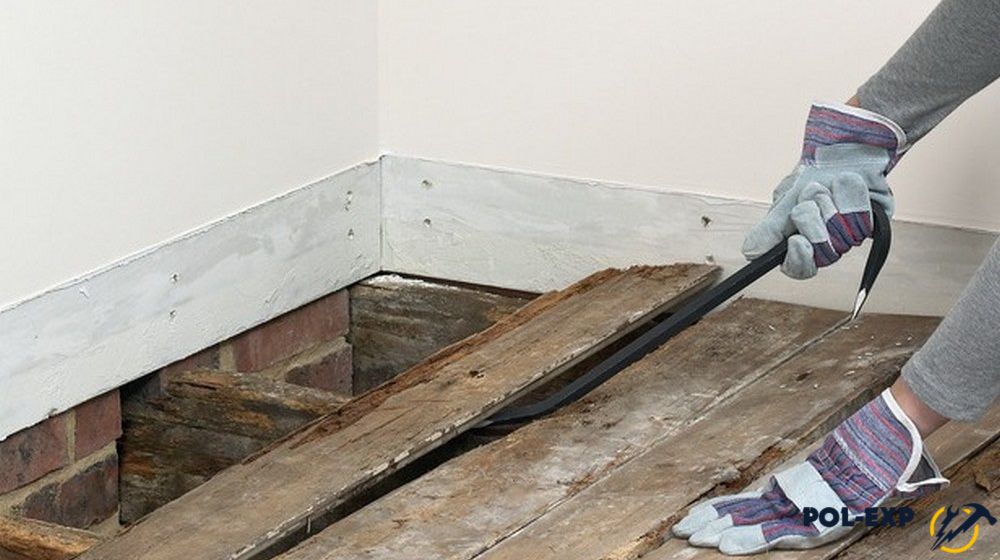
Diagnostics starts with hammering the boards. If a deaf sound is heard during impacts, then this is a sure sign that a cavity has formed in the tree, the site is rotten. Boards are dismantled, cleaned and inspected from the inside. After testing the boards, a lag check is performed. It often happens that the boards are in normal condition, and the logs are badly damaged. This phenomenon is most often found in rooms located on the first floors.
It is important to know indirect signs confirming the degree of deterioration of the floor. After all, every time to remove the board to check the lags is difficult. If there are cracks in the floor covering that are larger than 2 mm, it is necessary to dismantle the floor, as simply filling them with sealant or covering them with mastic will not work.
The activity of the bark beetle is also the cause of wood spoilage, especially in old houses and rooms in which there is an excess amount of moisture.
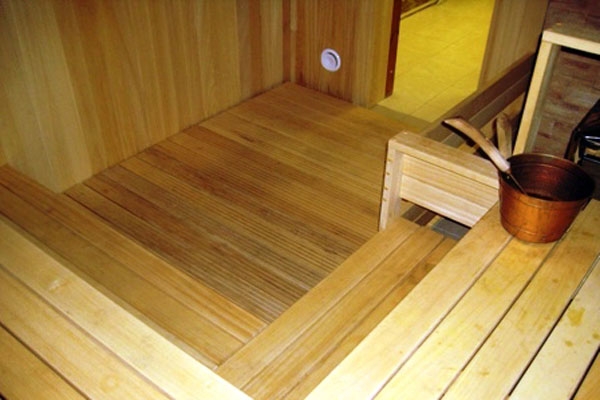
These include:
- baths;
- kitchens;
- bathrooms.
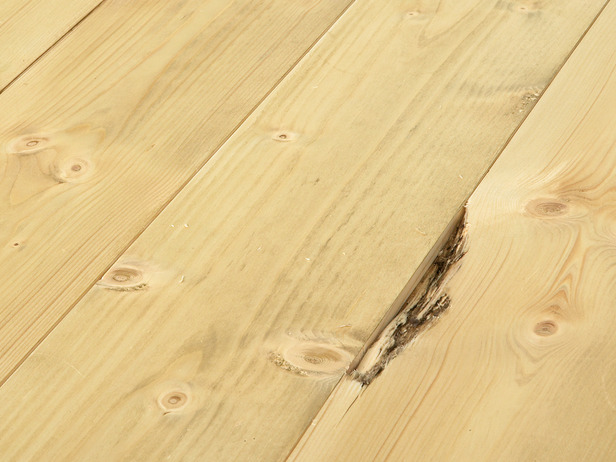
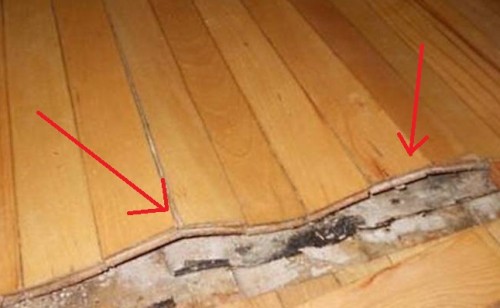
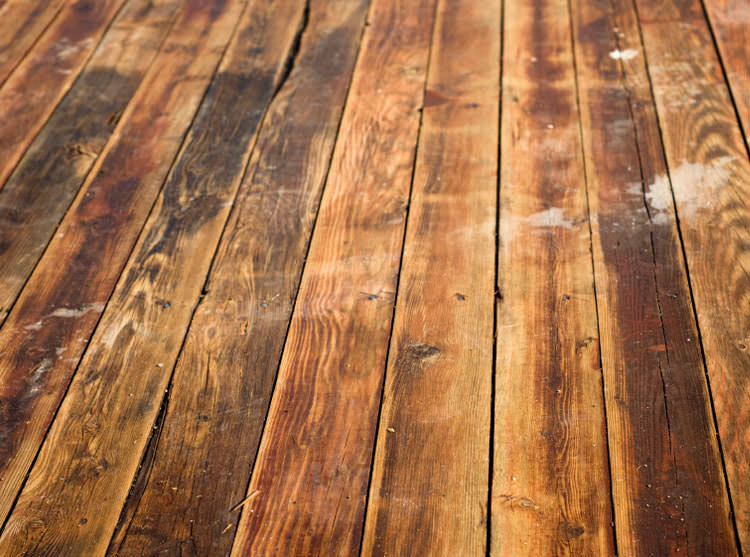
Sometimes damage to the floor can be determined visually: for example, boards are severely deformed due to the fact that the lags have served their time, and they need to be changed.
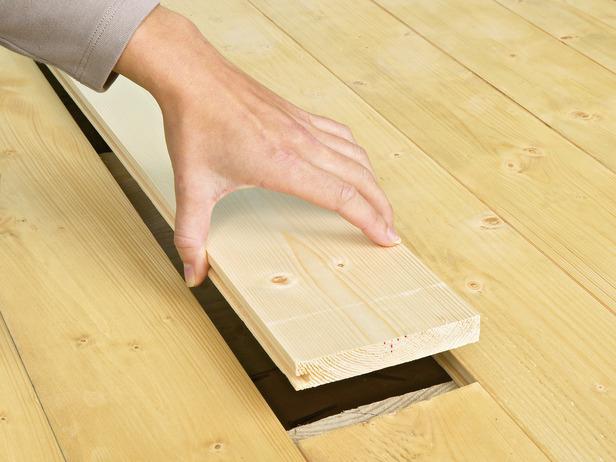
If floorboards are laid in the house, then each of them should be dismantled, carefully consider, check:
- Is there any damage?
- the amount of work required to repair damage;
- How much money is needed to buy a new material.
For a more objective study, be sure to remove residues of glue, mastic, and paint from the surface of boards and floorboards.
Ways to eliminate defects
Wood is a material that requires special care.
Defects in wooden floors arise for the following reasons:
- abrasion of the surface;
- warping wood;
- drawdown and layering of boards;
- decay lags.

In the event of defects, the following factors can play a significant role:
- substandard materials;
- careless attitude to the coating;
- lack of air in the interfloor space;
- abundant wetting of floors during cleaning.
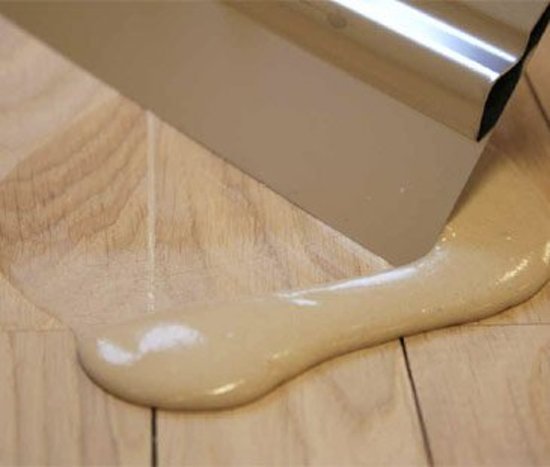
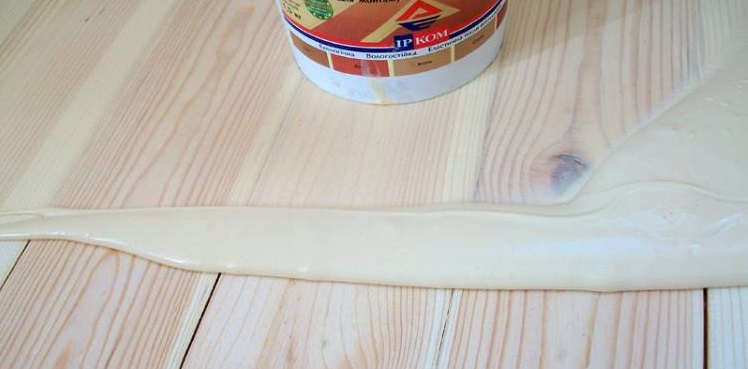
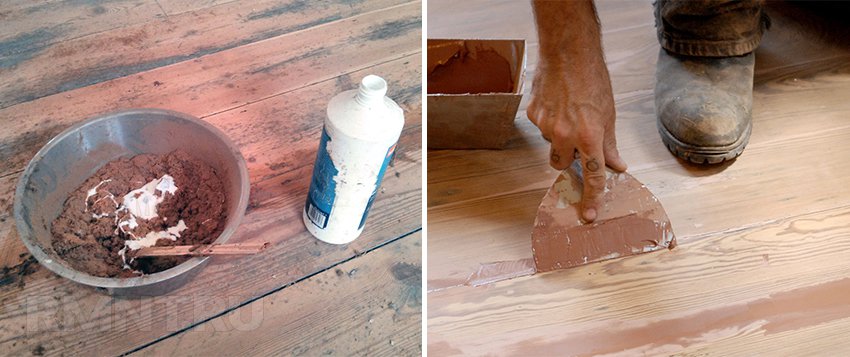
The most popular methods for removing wooden floor defects involve the use of sealants,putty or construction foam.
Often the necessary formulations are prepared with their own hands from the following ingredients:
- glue;
- paint;
- sawdust;
- gypsum.
How to seal the gap?
The cracks in the boards can occur in a variety of places. It is important not only to master the technology of their elimination, but also to be aware of which materials are best used for repairing different sections. For example, if the cracks are present between the wall and the boards, then this is normal, because there should always be small gaps.
There are several reasons for this:
- air exchange should take place around the lags (on the inside of the boards);
- walls change their parameters due to the temperature drop.
In case such gaps become more than 5 mm wide, it is necessary to process them with assembly foam.
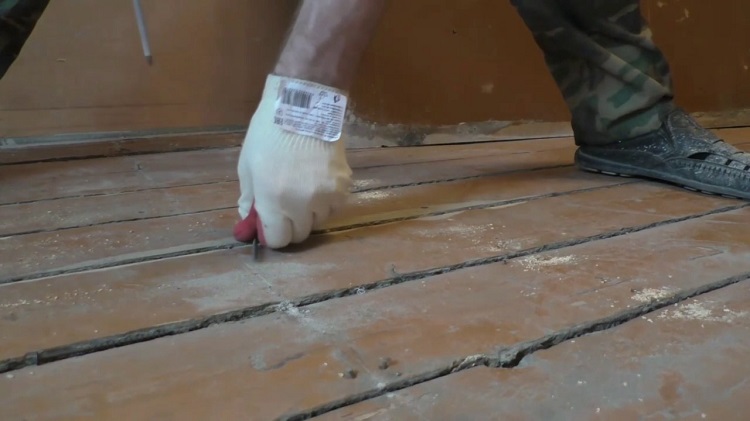
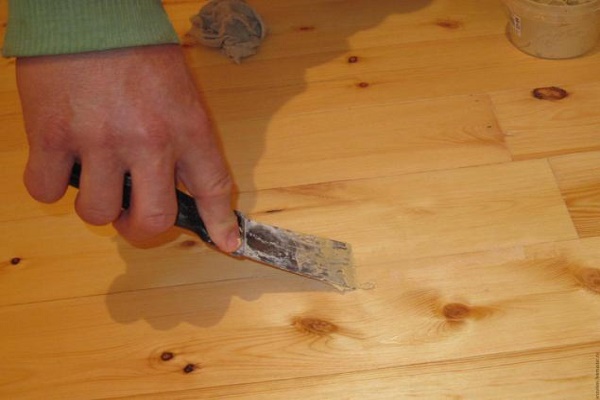
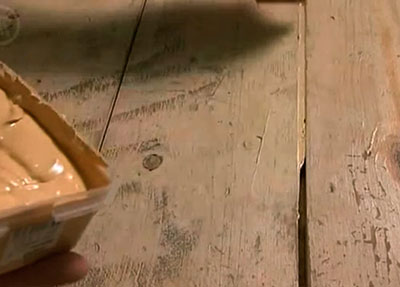
Planks in the floors are aging, wear out, voids are formed between them. Elimination of cracks in the floor - the most time-consuming way to eliminate defects. There are different ways to handle the slots. For example, they can be sealed with a special putty, which should be similar in color to the floor.
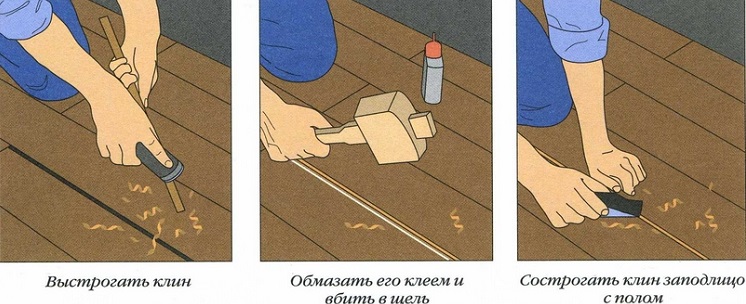
Such works are carried out with a small spatula, PVA glue is used. Large gaps can be filled with chips treated with PVA, and the excess after drying cut with a chisel. The seams are also treated with silicone-based putty.Fill and putty seams can be polyurethane composition.
This is done as follows:
- seams or holes are treated with a primer;
- then the gaps are filled with cement mortar;
- if necessary, cracks are filled with sealant;
- after drying the area is sealed with decorative putty.
Before filling the gaps between the boards or other defects in the floor, it is necessary to treat the working area with a bactericidal primer, otherwise there is a risk of material being damaged by a fungus or a bark beetle. Repairing a wooden floor with your own hands or covering up the cracks is not difficult, the main thing is to adhere to all technological regulations. Another method is to seal the gaps with mineral wool or special mastics, which reliably protect against moisture penetration.
Before you start work, you should understand:
- how big the damage is;
- what formulations are needed.
For example, in the "Khrushchev" is often required to seal the gaps between the base and the blind area.
The following materials are used:
- polyurethane composition;
- construction tape;
- extradited polystyrene foam;
- mastic based on bitumen;
- cement mortar;
- metal grid.
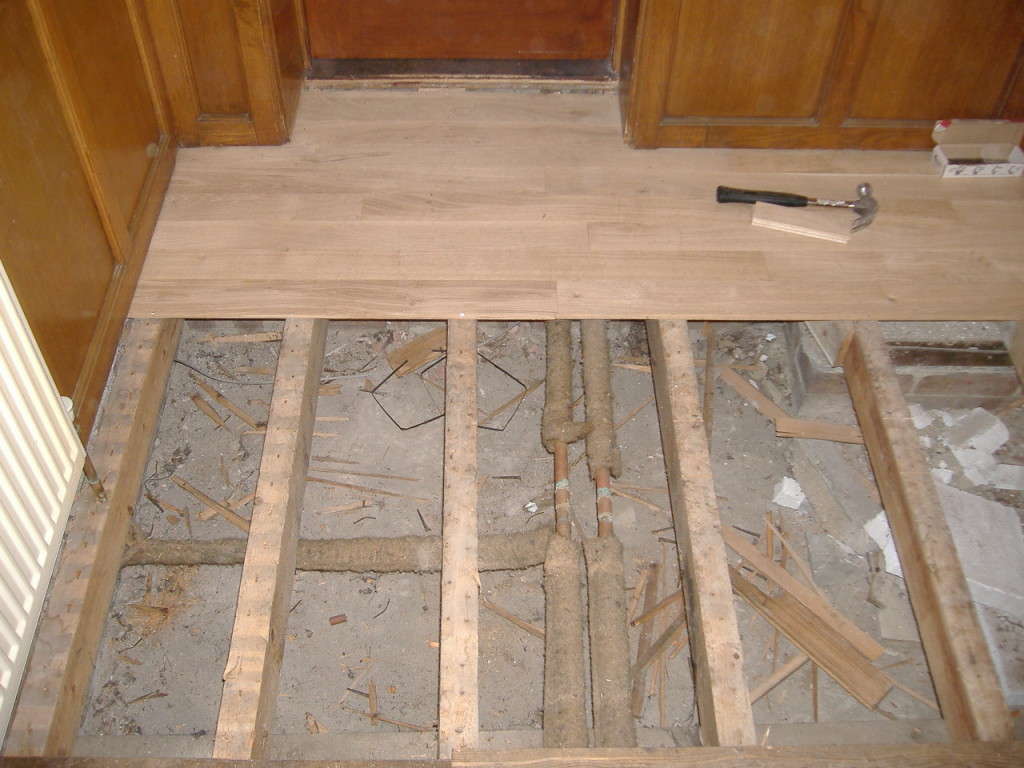
In old houses, floor restoration is often done.
Works are carried out according to the following algorithm:
- all boards are dismantled;
- each one is thoroughly checked;
- the material which has served the term is utilized;
- marking is done on new unwrapped boards;
- cutting off new fragments of boards that correspond in size to damaged ones;
- if the lags are in good condition, they remain and are primed with an antiseptic;
- updated boards are put in place.

There is a method for fixing the floor using reinforcement. Holes are drilled perpendicular to the boards. Cement mortar is poured into the cavity, fittings are inserted. This mount prevents the boards from diverging. Practiced and another way. Construction foam is pumped into the slot if the damage is significant. Additionally installed metal mesh or fittings. Instead of construction foam, hot bitumen or bitumen based sealant is sometimes used.
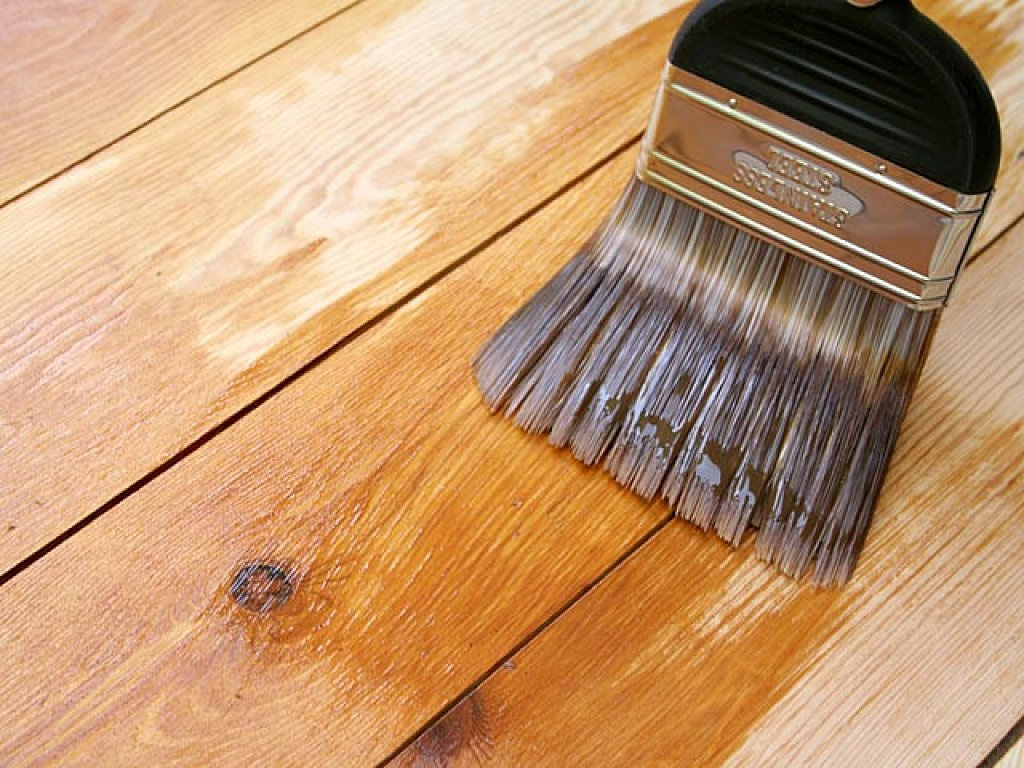
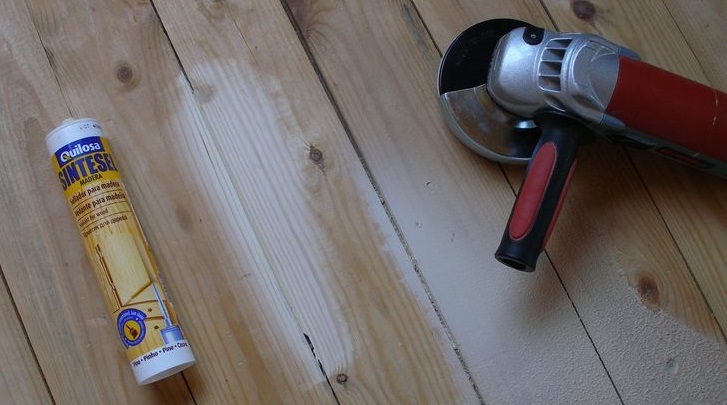
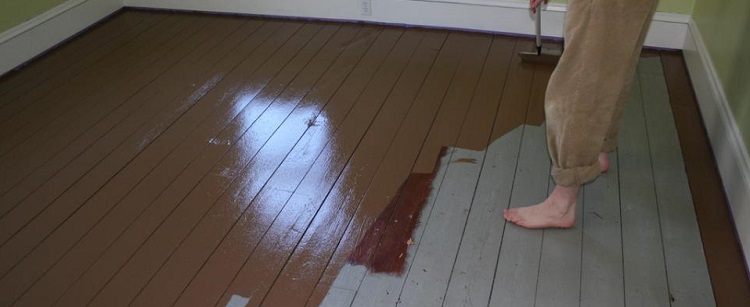
Then follows the stage of painting the floor:
- the surface is cleaned from dust;
- layers of old paint and varnish are removed;
- floors cycle;
- boards are fixed with screws;
- the gaps are filled with sawdust, filled with putty;
- the surface of the floor is once again ground, covered with linseed oil.
After the surface dries, the dyeing process is performed. Initially, the surface is covered with a thick layer of paint. After it dries, a thin finishing layer is applied. Often there are ideas to put an additional layer of color scheme. This is justified if the floor has a light tone. It is important to withstand time gaps, allowing the paint to dry well.

How to eliminate the creak?
The reasons for the creak of the floor are different, so the methods for leveling this unpleasant phenomenon can vary. To get rid of the squeak, first of all, you need to decide on the method of repair. Elimination of squeaking without disassembling the floor can be of several species. The first way is to wedge a wedge from the basement.
The “indiscriminate” technology is suitable for apartments, and for private houses, and for villas. One person walks on the floor, and the master at this time, carefully observing, notes the places where the creaking appeared. Then a small wooden wedge, treated with white glue, is driven in between the board and the bar.In the absence of a subfield or basement, work can be carried out from the front.
This is done like this:
- the points where the boards are behind the lags are determined;
- Screws 5 cm long are screwed on selected areas;
- heads of self-tapping screws sink into boards;
- the pits are puttied.
Sometimes the creak occurs when the friction boards together. In this case, between them should be poured graphite or talc. The floor becomes excessively creaky if deep cavities and cracks form in it.
To fix this, you need to take the following actions:
- old paint is removed with a spatula and solvent;
- floorboards are parsed, checked and sorted;
- if there are rotten floorboards, then new ones of the same size and shape are cut;
- floorboards are mounted back, fixed with screws;
- the gaps are filled with plywood or wood chips treated with white glue;
- all construction waste is removed;
- the floor is treated with a bactericidal primer and linseed oil;
- plinths are put on the places;
- then the boards are once again covered with antiseptic primer and linseed oil.
In such work, it is important to adhere to technology, then all operations will bring the maximum result.
How can I upgrade?
Before you start repairing floors, or before painting them in a “stalinka” or another house over 50 years old, you should investigate the condition of the floors. As a rule, the technical documentation contains all the necessary schemes. In the "Stalin", the overlap can be both reinforced concrete and wood (if the house was erected in the 30s of the last century).
After dismantling the floor, you can determine exactly what work should be done, how much material is required. If the boards are deformed due to lag damage, then special adjustable supports are necessarily installed, and a cement screed is made. If the height is insufficient, then trimming boards are put on the pole.
Sometimes pillars are laid out of the pillars of red or silicate bricks.
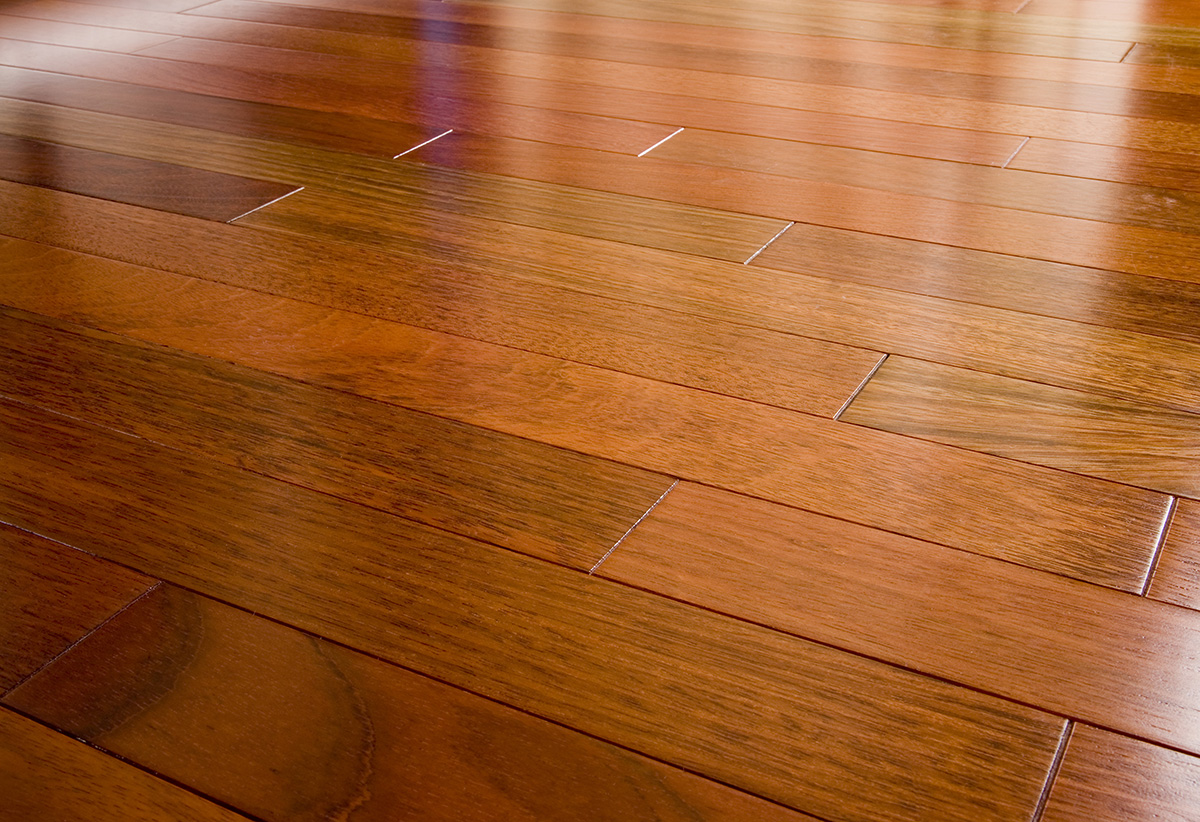
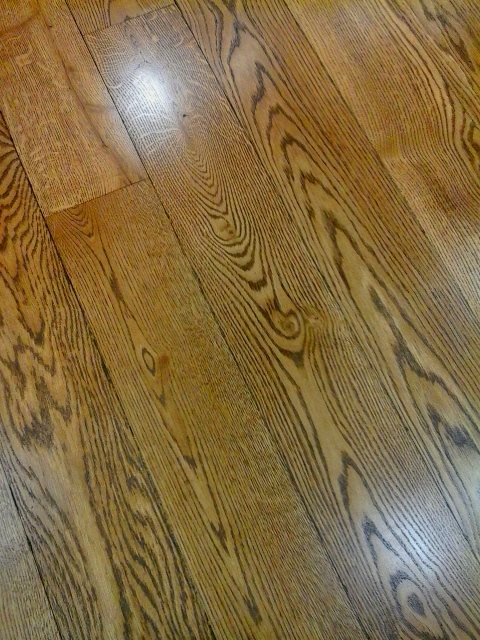
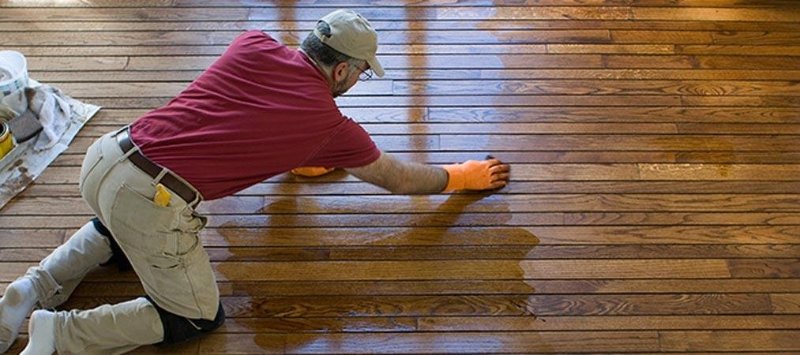
The floor is covered with colorless varnish. You can also use varnishes that mimic the colors of various types of wood. After the boards are dry, the floors are painted. Oil-painted floors will last a long time. This coating not only has an attractive appearance, but also strengthens wood fibers, which significantly increases the life of the floor.
How to translate?
Repair of a wooden floor in a country house or apartment means its dismantling and processing.
It is conditionally possible to differentiate the work into three stages:
- training;
- repairs;
- finish
Preparation of floors for repair is carried out according to the following scheme:
- skirtings are removed;
- paint scraped off the boards;
- boards are sanded and numbered;
- spoiled material is replaced;
- some boards can be restored;
- all wooden elements are treated with an antiseptic primer;
- trash and dust are removed;
- lags are checked;
- spoiled lags are removed, and new ones are mounted in their place.
It is better to carry out work with lags right away qualitatively than in a couple of years to begin the laborious process again.
If you do the repair again, then the entire floor will have to disassemble to find the damaged support. It will take a change of lags that have become unusable, after which all the boards will have to be re-cooked.
In order to properly mount lags, the wizard requires qualifications and experience.
The process is as follows:
- height is adjusted using a two-meter level;
- special wooden or plastic wedges are installed;
- at a distance of 2.5 cm from the wall, one more lags are installed;
- the step between the lags is maintained at approximately 50 cm;
- Anchor bolts are used for fasteners.

The first option is:
- the number of points at which the bolts are attached is determined based on the thickness of the lags;
- the space between the lags is filled with expanded clay;
- flooring is made of boards.
The gap between the boards and the wall must be left at about 1 cm, because the wood requires a certain amount of space to “breathe”. Screws are screwed as close as possible to the wall.
After laying the boards, another layer of primer is applied, then such materials can be made:
- laminate;
- plywood;
- Chipboard.
The second option is as follows:
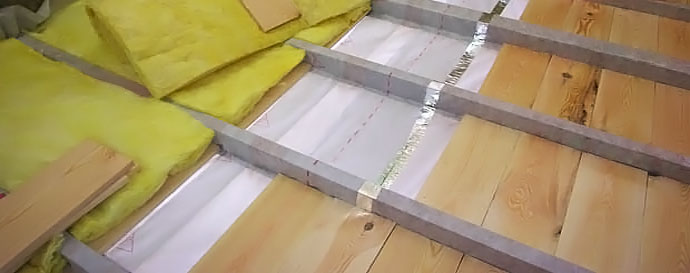
- Between the lags put insulation: expanded clay, foam or mineral wool.
- PVC film overlaps with an overlap, the spade must be at least 15 cm.
- The film is fixed with scotch tape.
- Boards are attached to logs with nails and screws.
- Boards are checked by a two-meter level.
- The surface must be pro-cycled to become flat.
- If there are drops, they should not exceed 1 mm per 1 m of area.
- Putty cracks, grooves, which were left with caps screws.
- Paul sweeps.

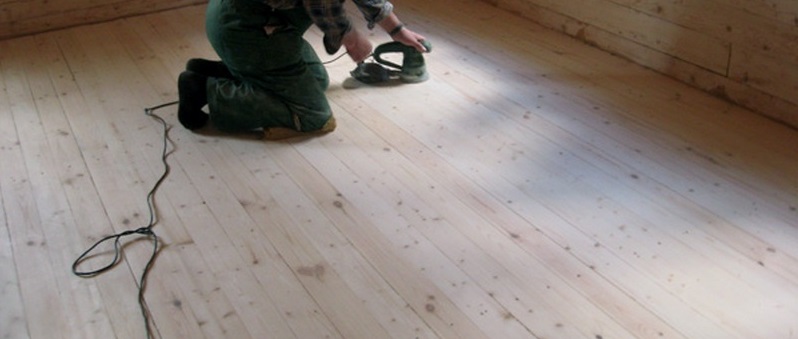
Most often, it is visually easy to determine where the floor should be relocated, because of the long use on it form deep grooves. For scraping using a special electric tool that does not necessarily purchase in the store. It can be rented at a specialized organization. Before the start of tiling work, you should drown all the heads of nails and screws in wood.
After their completion:
- primer coat is applied;
- boards are treated with linseed oil and paint.
In recent years, often use special self-leveling compounds. Such substances are technological, it is convenient to work with them, but they are expensive. The finishing coating can be an inexpensive special varnish, which perfectly protects the wood from negative influences and gives the floors an attractive appearance. The market offers a huge variety of decorative building materials.
If you plan your work correctly, think carefully about each item, you can achieve substantial savings.It is important to be able to consult an experienced master who can tell an important detail, to answer any question on the topic of interest.
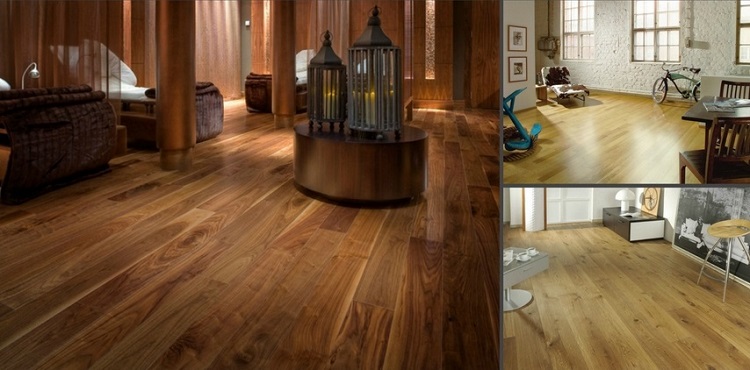
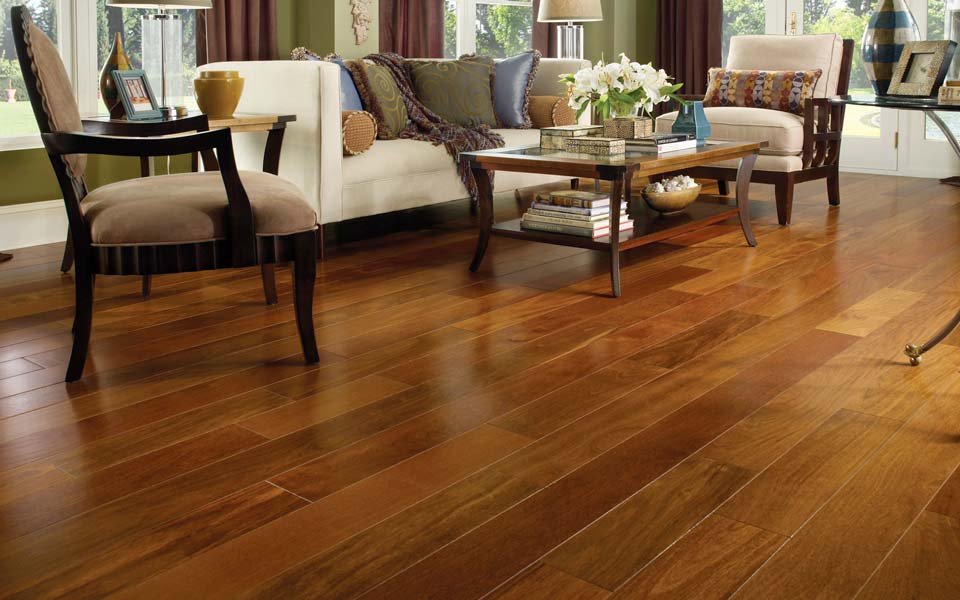
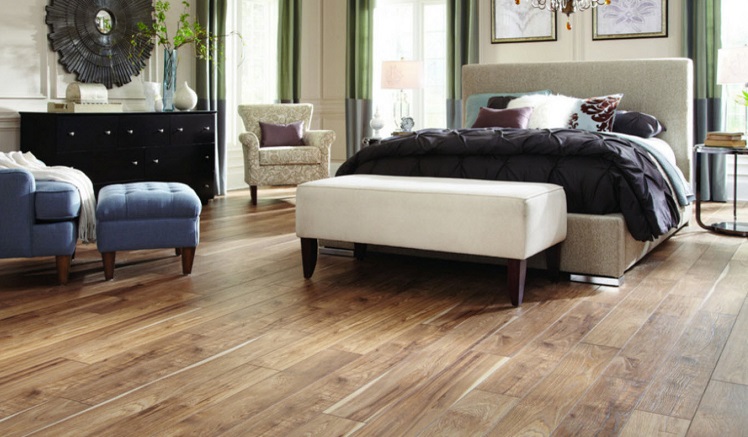
Successful examples and options
Sex is not only an integral element of any household and apartment. It performs important aesthetic functions. The task of choosing a wooden floor from a huge variety of proposals is not easy, but it has to be addressed. Thanks to the floor in the room there is a unique atmosphere that affects the mood of the owners and their guests.

The breadth of proposals for finishing materials is amazing. It seems that you can find any composition that will help create a unique floor. The problem of choice is one of the most difficult tasks that is difficult to solve on your own. You must have objective information about prices, about the advantages and disadvantages of primer, putty or paint. When carrying out repairs it is best to keep in touch with an experienced builder.

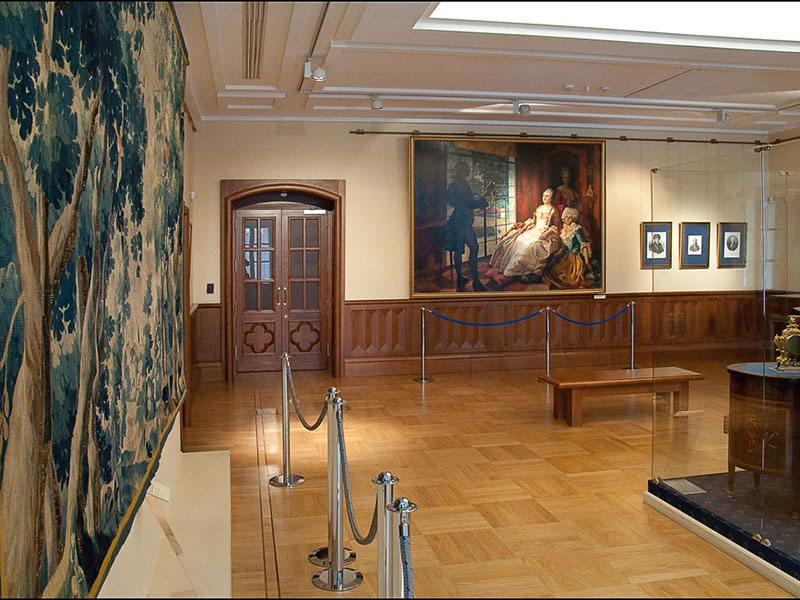
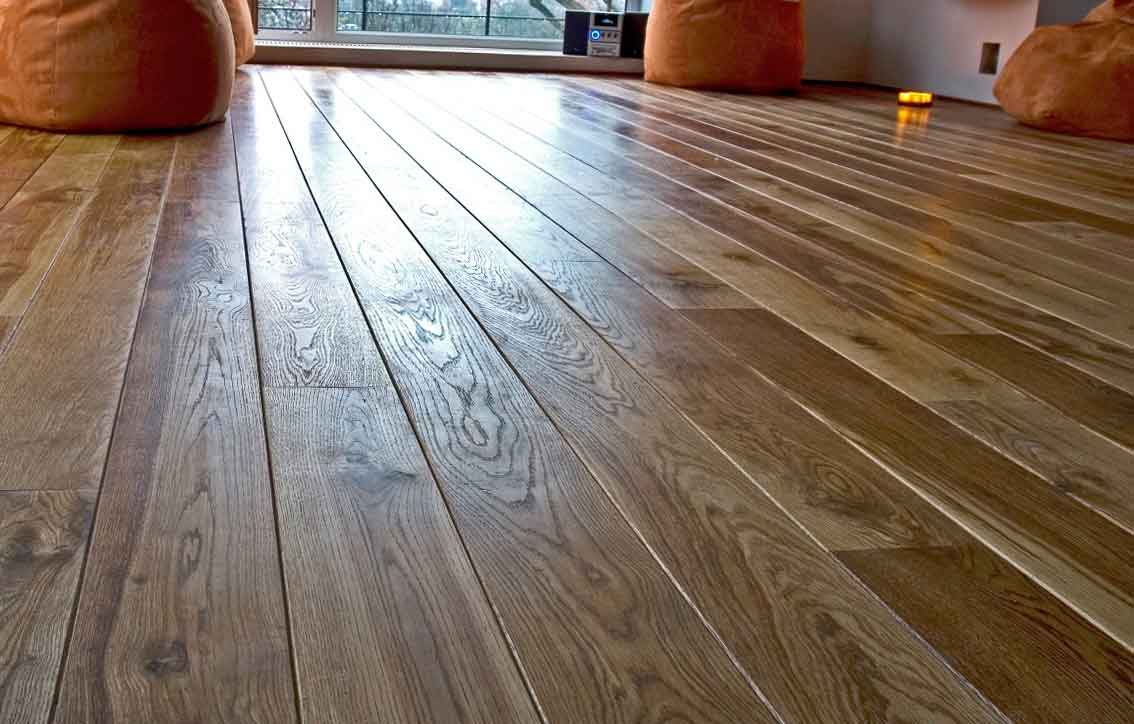
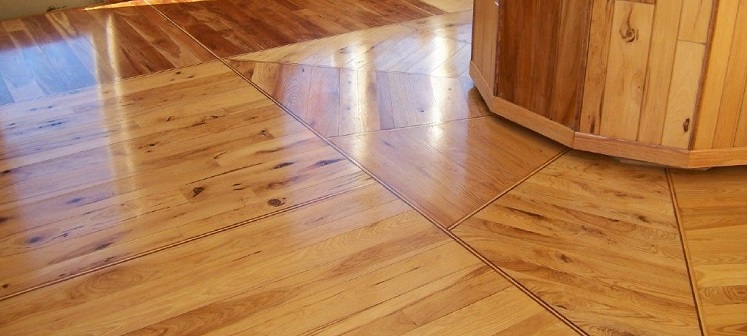
Modern impregnations and colors are able to make parquet a piece of decorative art. Such floors are not afraid of moisture and temperature changes. The combination of different colors sometimes gives an amazing effect.They seem to expand the space of the room, creating a positive creative atmosphere. Living in such houses is pleasant and comfortable. Environmental safety is in the first place, because in the XXI century this topic is considered to be paramount. Ecologically safe floor, not impregnated with chemical primers, is the current trend.
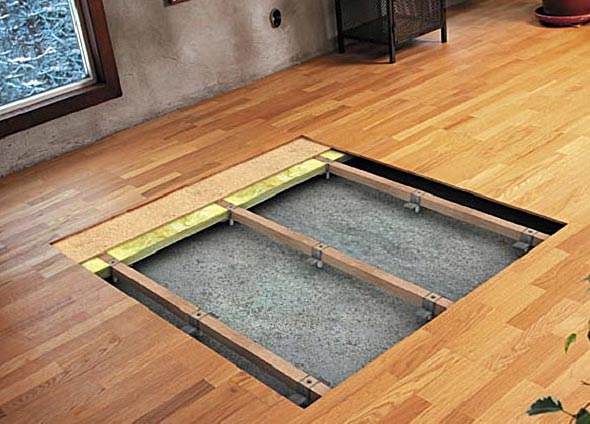
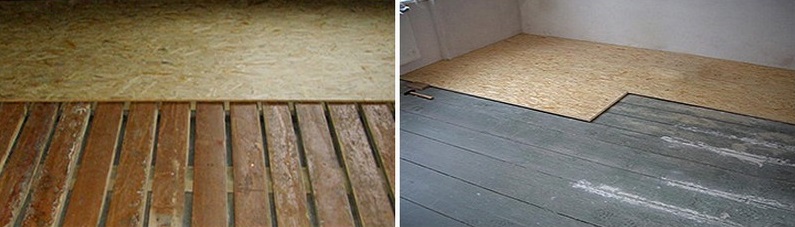
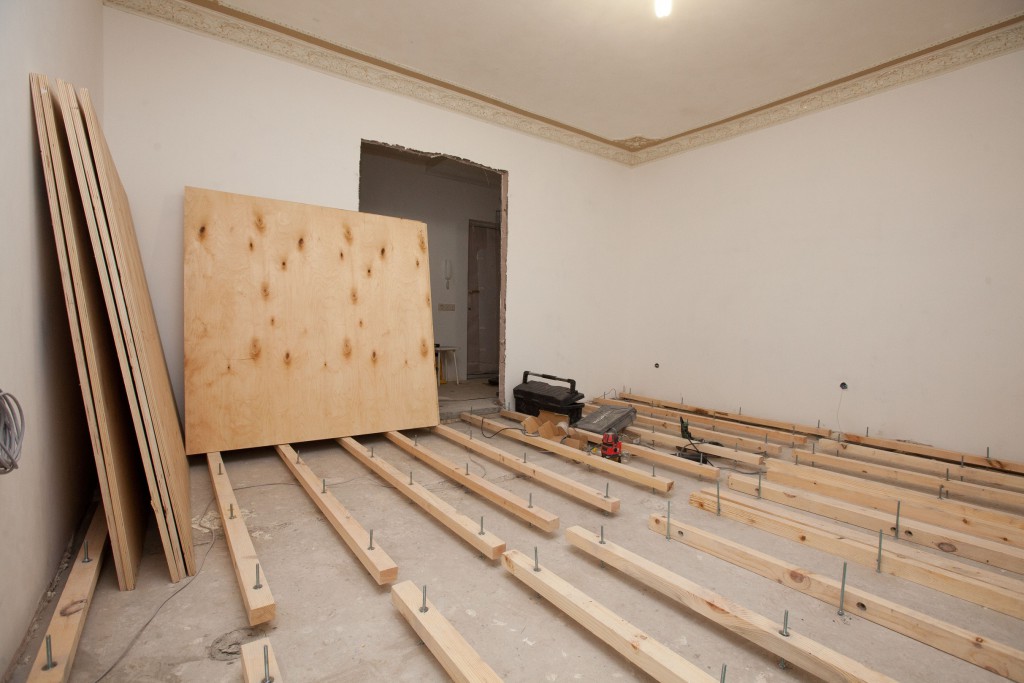
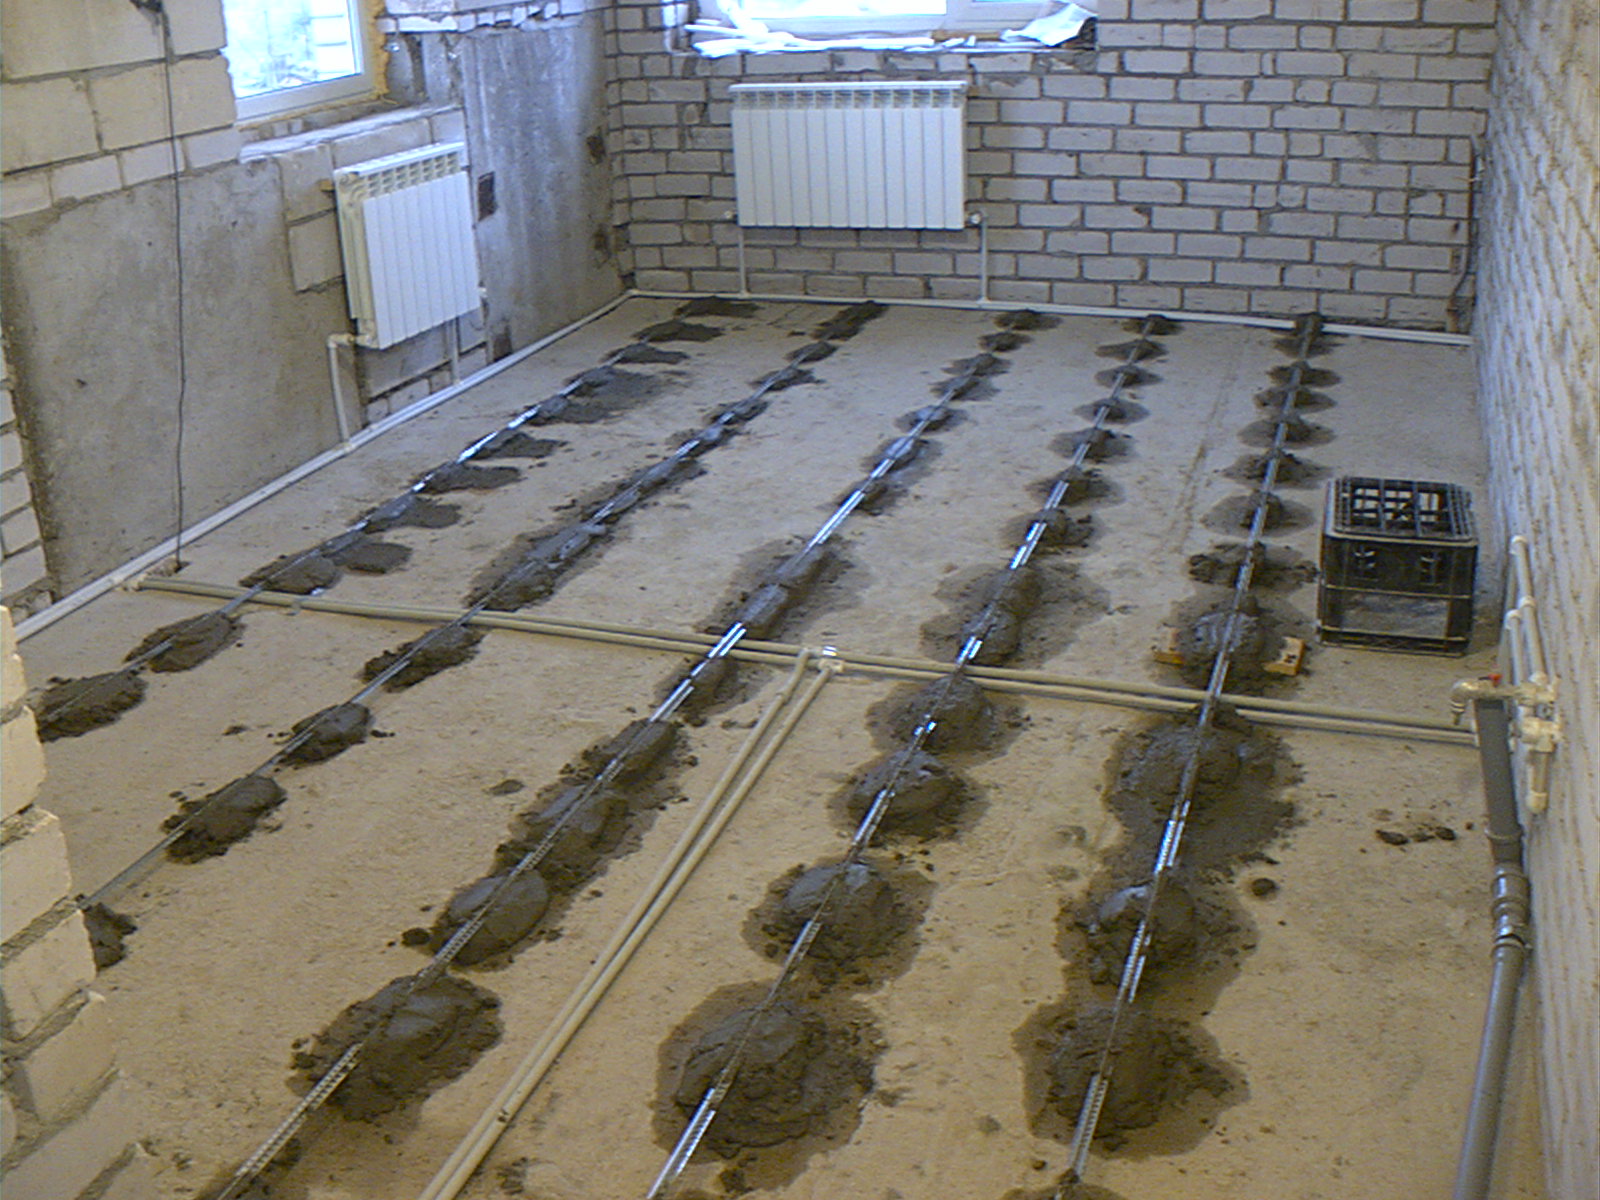
Preparation of lags and flooring plates chipboard. A good example of how best to cook lags. Installation of "beacons" for further installation of lags.
An error can lead to the fact that the floor will be “under a slope”.

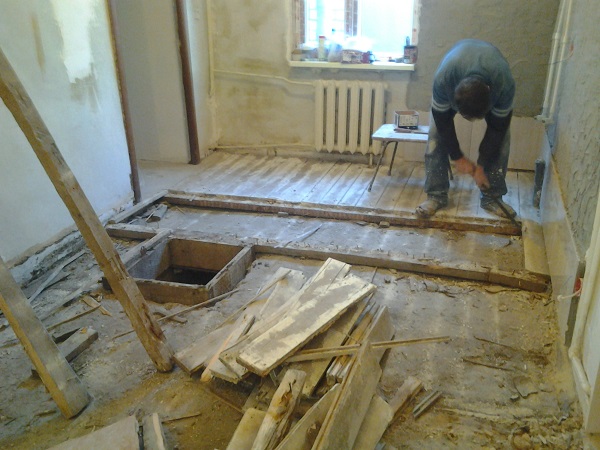
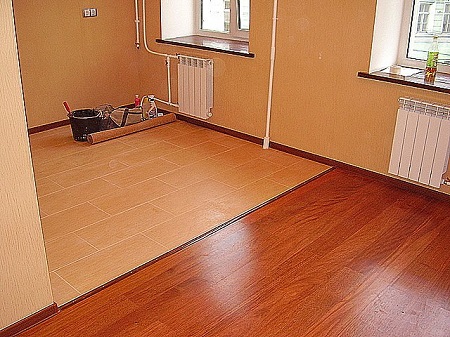
Dismantling and replacing boards is always a very important stage. Often have to change a significant part of the material. Properly laid insulation allows you to save money on utilities in the winter. Visual result of finishing.

How to repair a wooden floor, look in the following roller.


