Features and types of flooring in a wooden house
Wooden house, most people associate with comfort and harmony with nature. Such a dwelling has a special atmosphere, which differs by natural air exchange. But a house made of wood needs constant care. For example, floor construction deserves special attention.
Kinds
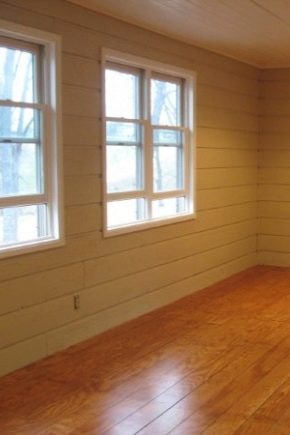
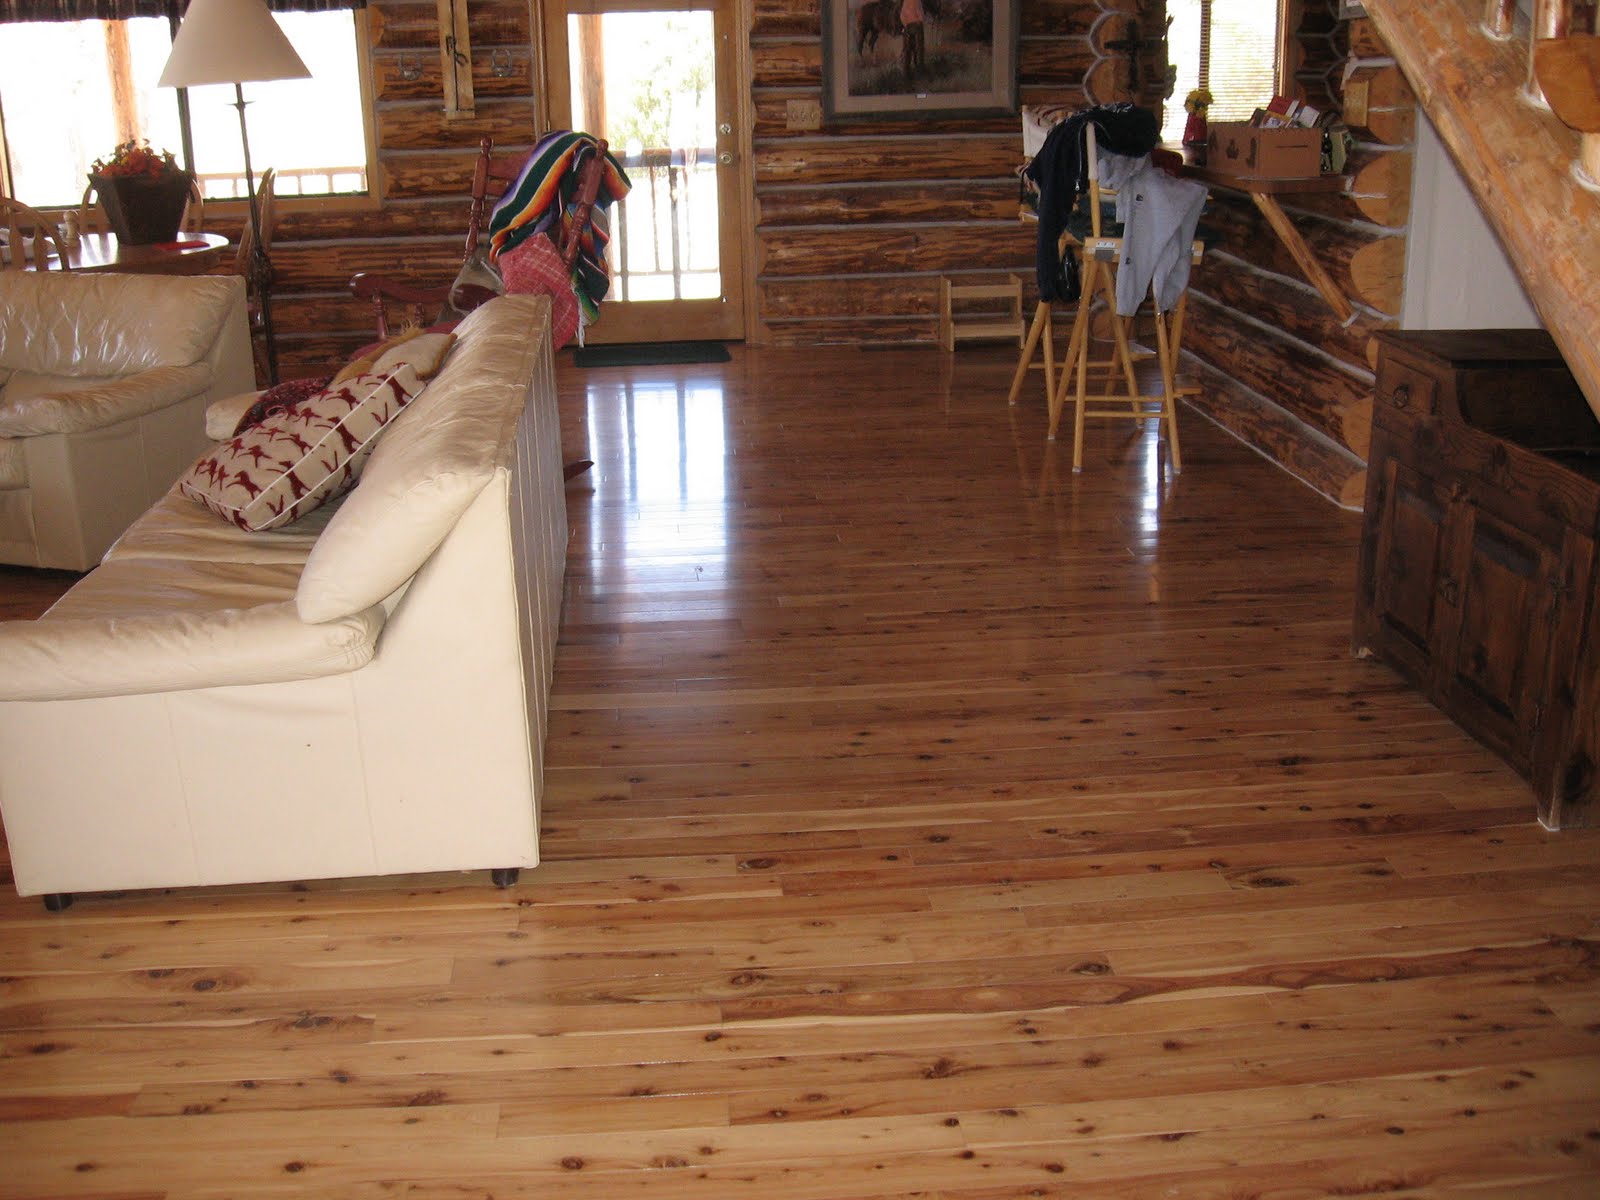
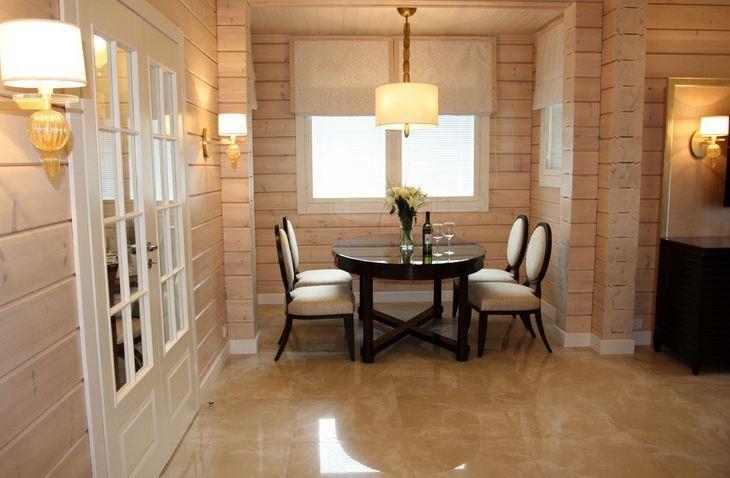
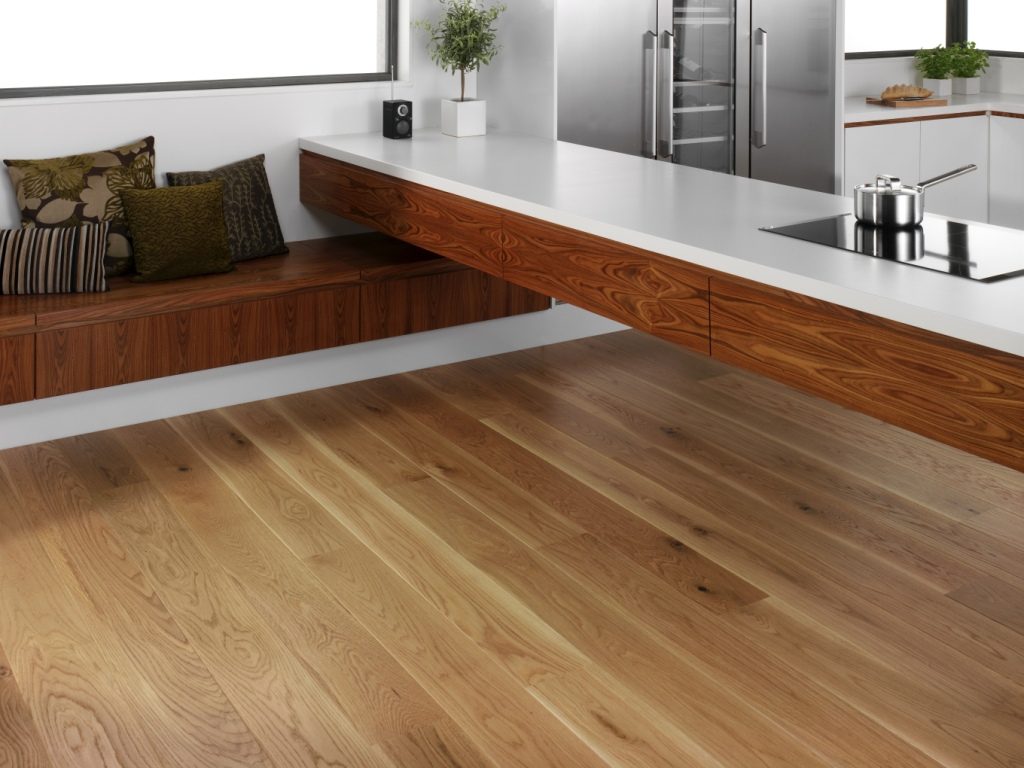
For a wooden house is best to make the floor of natural wood. This is due to the fact that the tree has an aesthetic appearance and a beneficial effect on human health. Wooden flooring keeps heat well and can highlight any interior.
In the market of building materials you can find many options for registration of a wooden floor.
Priority are two types:
- boardwalk to the ground;
- mounted on the logs boards, which are often kept on screw piles.
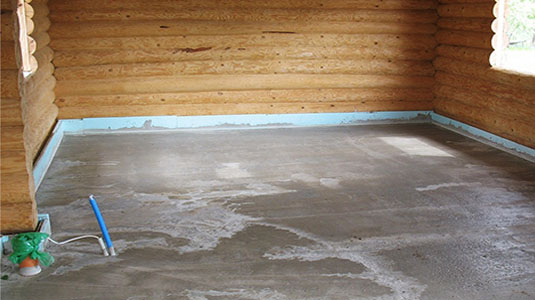
It turns out that in a wooden house you can make wooden or concrete floors. In this case, concrete can be poured independently. The main thing is to level the surface using a special level.
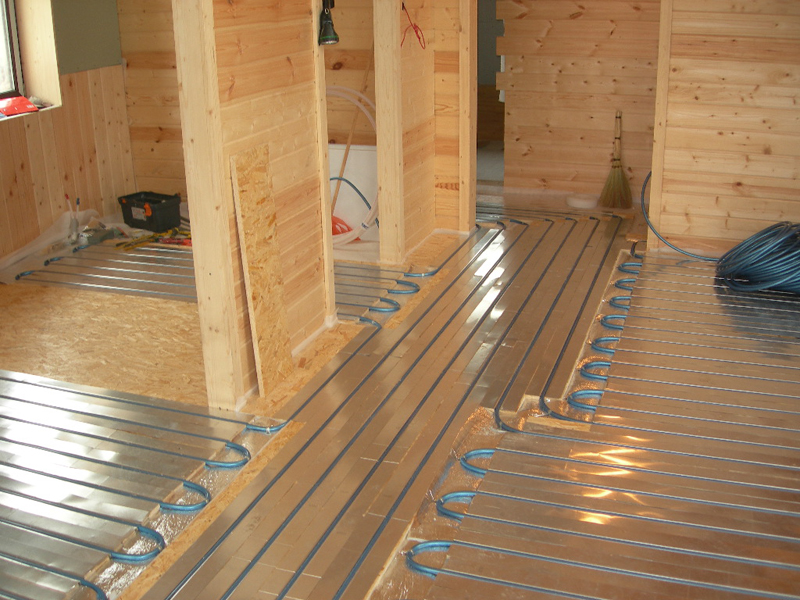
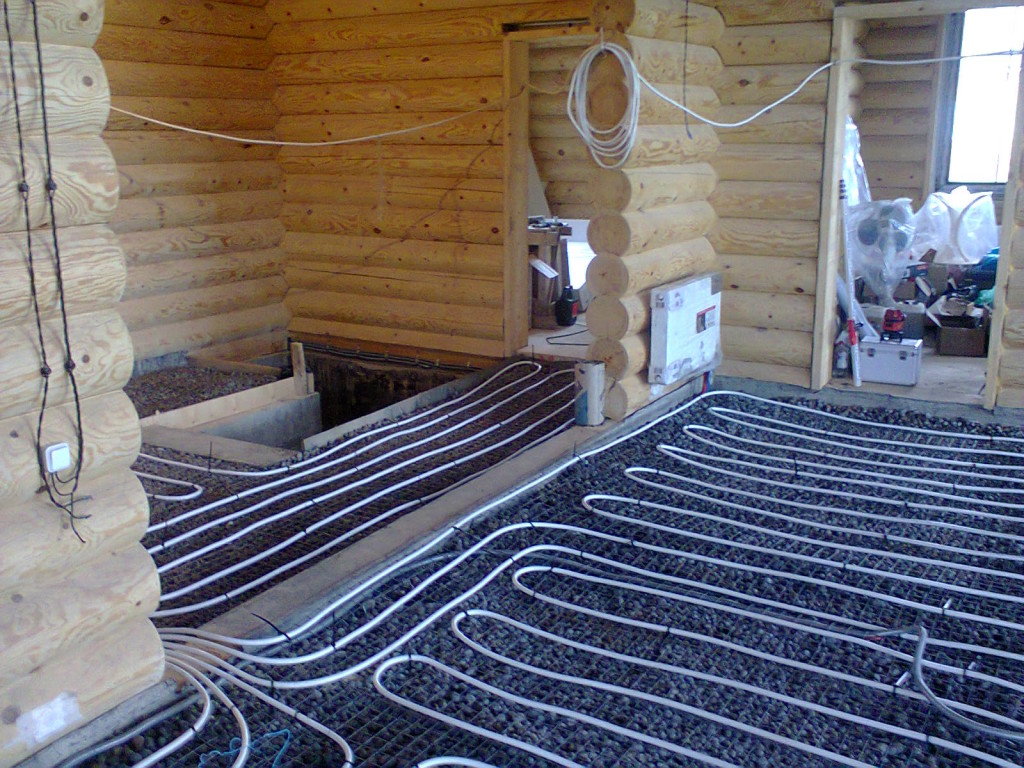
The device of a wooden floor consists of several layers: draft, insulating, finishing and final layer. Often in a private house install underfloor heating, which can be either water or electric. Thus, the heating system forms an additional layer.

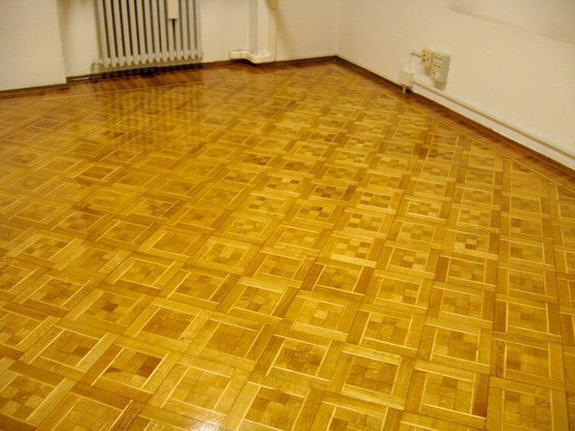
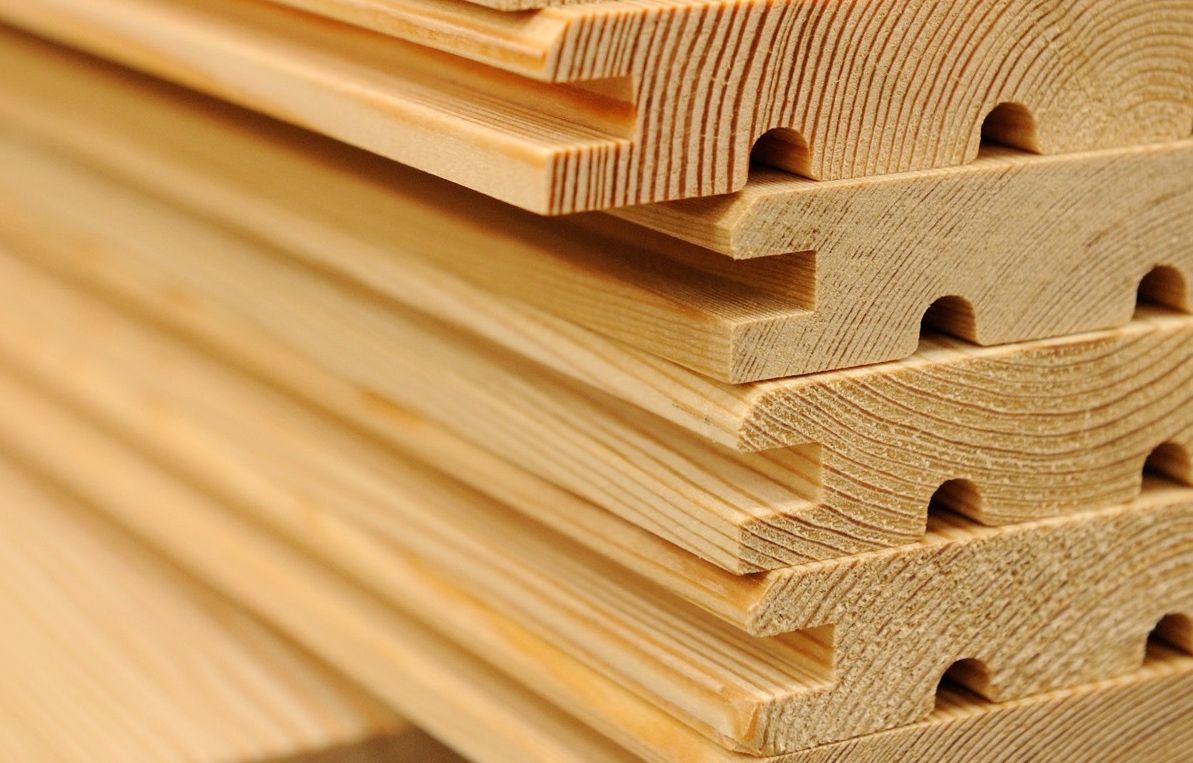
Flooring can be of several types of coatings that differ in the type of raw materials. These can be solid wood boards, parquet boards or glued parquet.
Materials
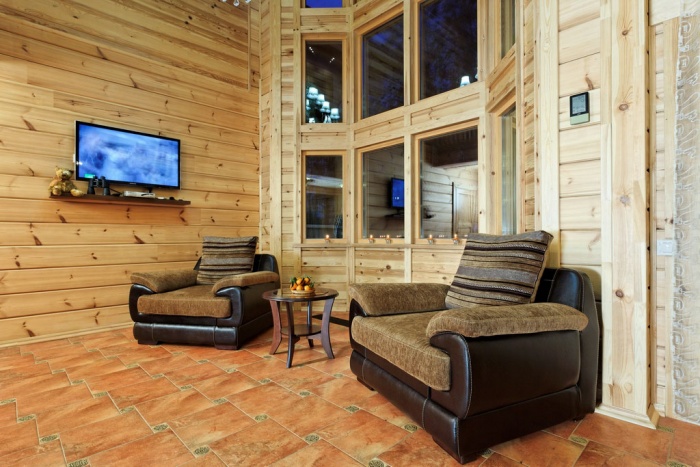
The flooring in a wooden house must meet sanitary and hygienic, operational and structural standards. It is best to choose natural materials for the floor, such as board, linoleum, laminate, parquet and ceramics (for laying in sanitary zones).
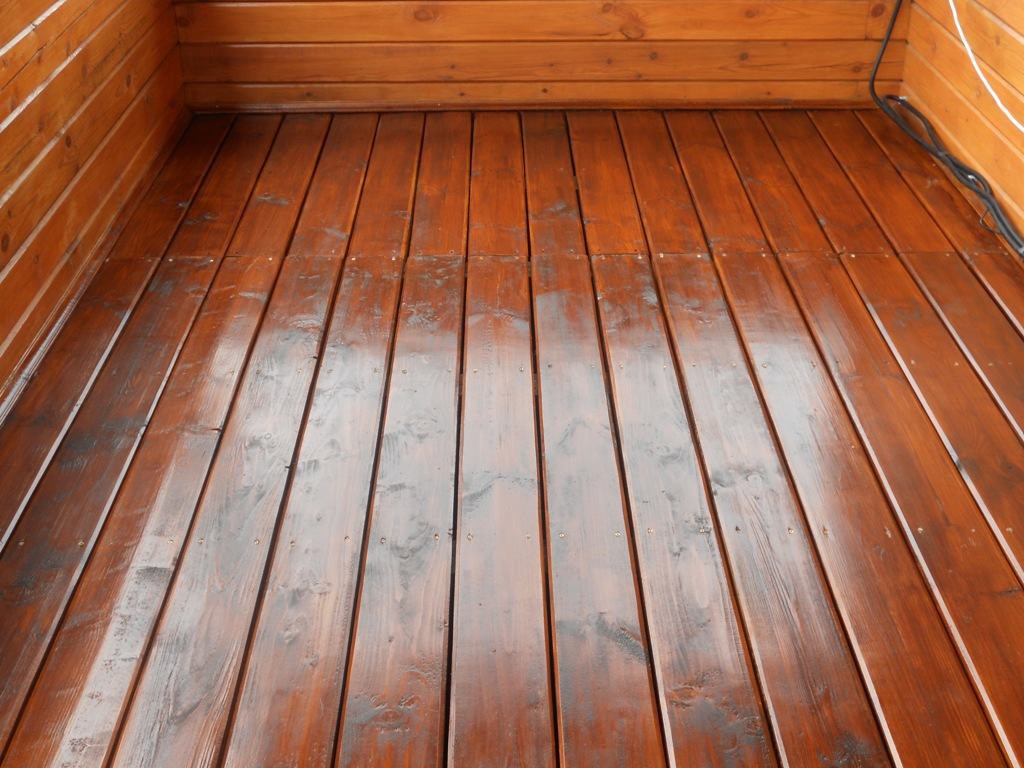
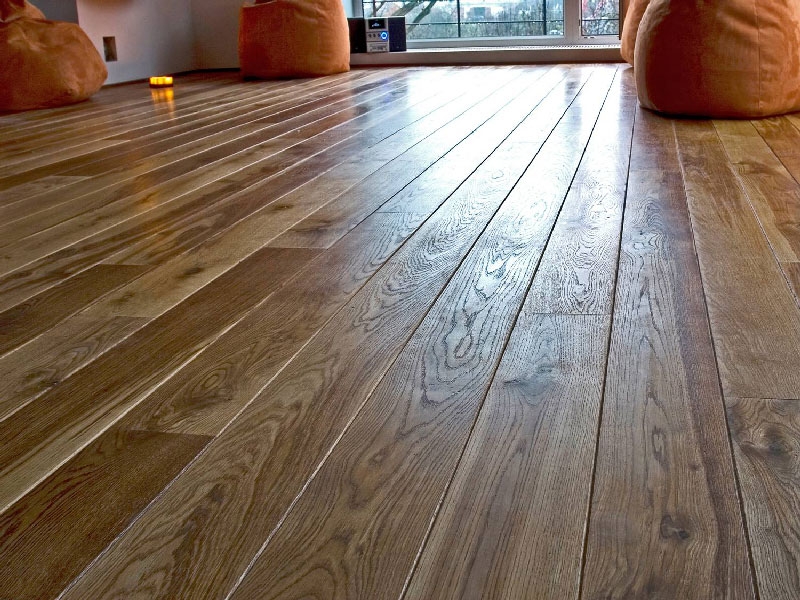
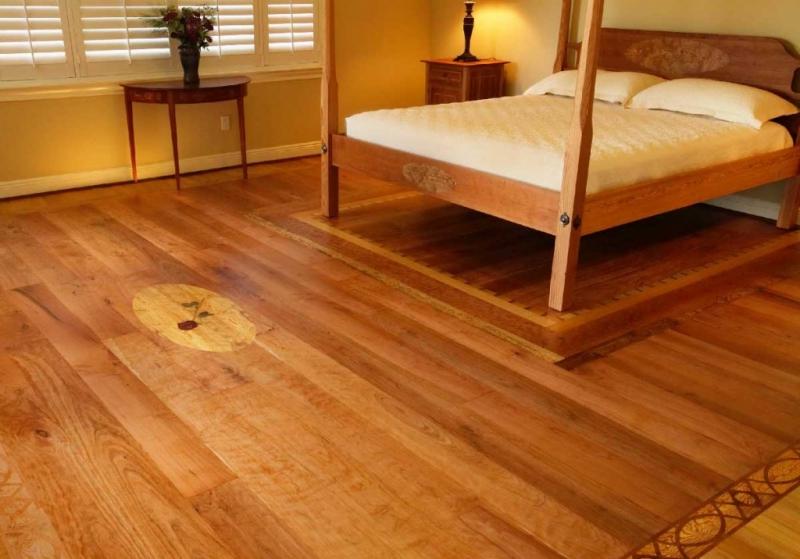
The board from the massif of a tree has the mass of advantages, the most important of which is an aesthetic appearance.In addition, plywood has good thermal insulation and sound-absorbing qualities.
The wooden surface is characterized by high strength and the ability to level the microclimate in the room.
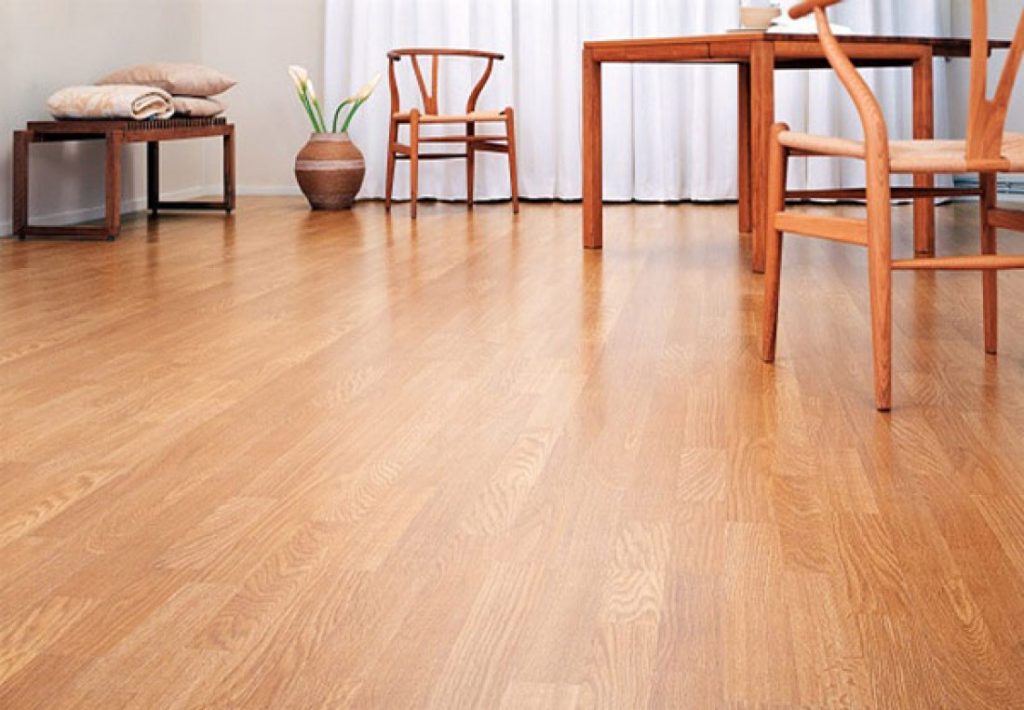
Laminate flooring is also made of natural wood, therefore, it has high performance characteristics. The surface of the laminated board can imitate any material, be it stone or wood.
Laminate is unpretentious in care and is quite resistant to mechanical stress, but has a limited service life and is not amenable to restoration.


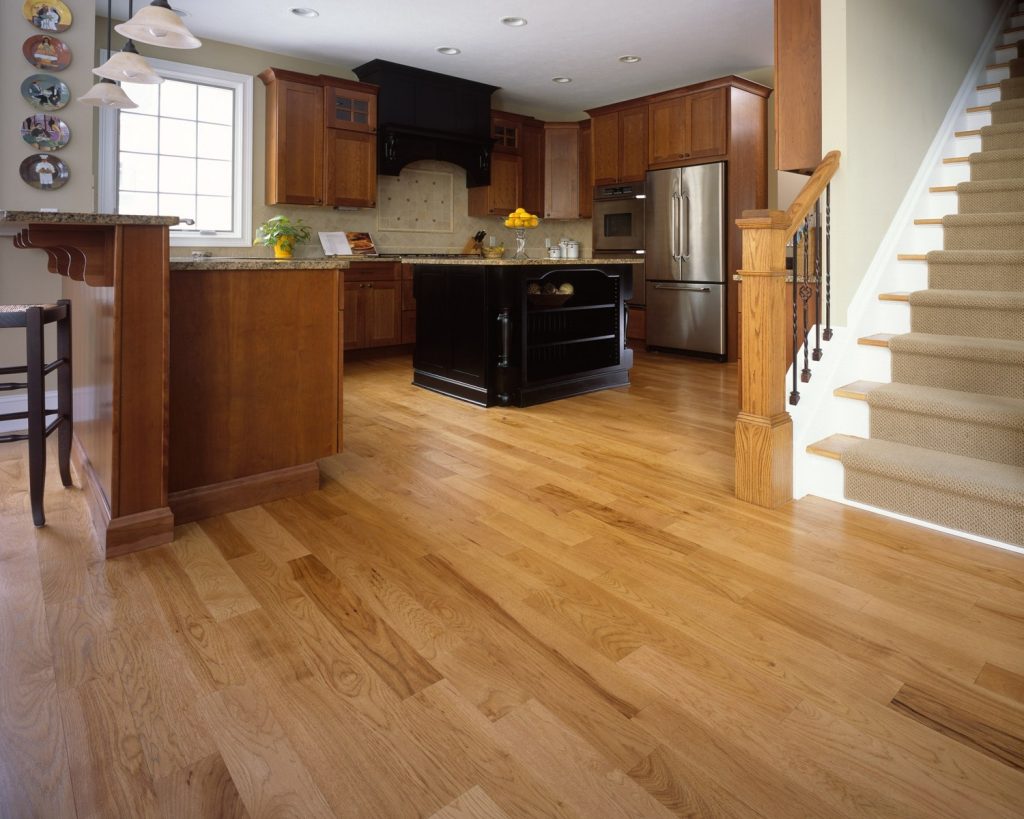
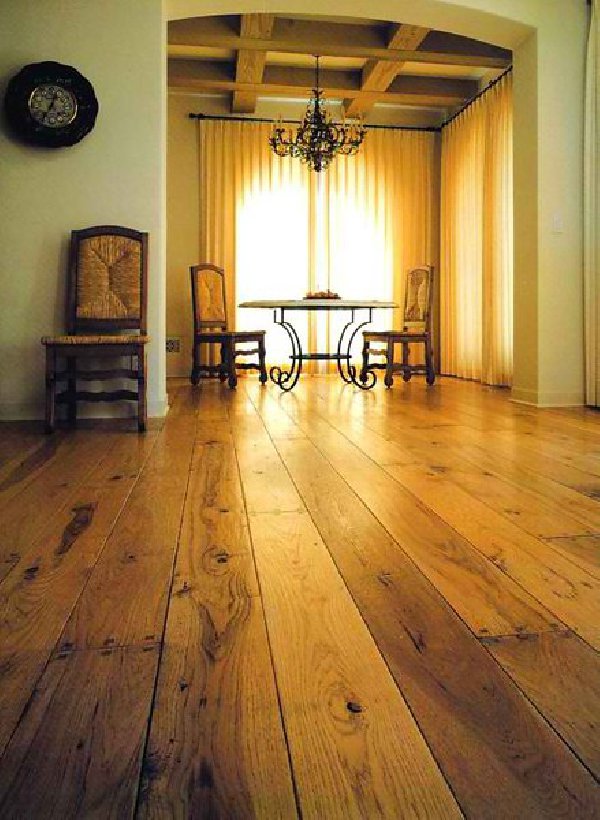
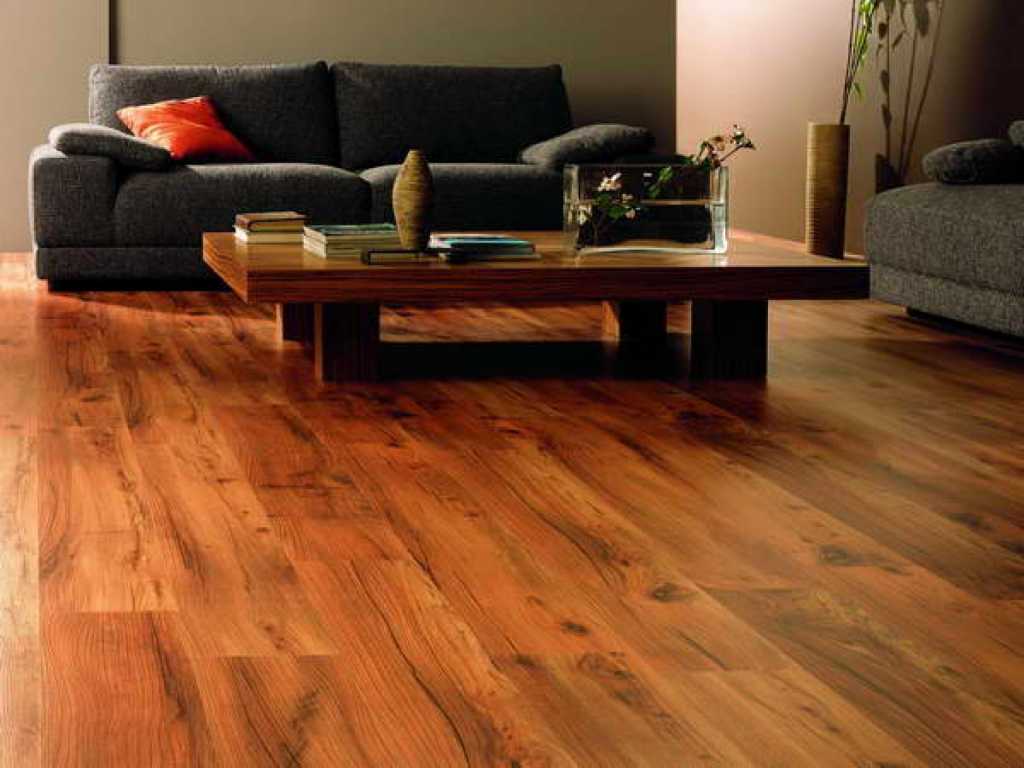
Parquet is often used as a natural flooring. This material retains heat well and absorbs noise. Parquet is able to serve for more than 20 years, due to the fact that it can be restored.
The main disadvantage of the floorboard is the high price, which often becomes an obstacle for its purchase.
Linoleum is made of polymeric materials, which provides it with high wear resistance and resistance to external influences. He is not afraid of water, but because it can be washed by various means.
The main advantage of linoleum is that it is easy to install, the main thing is that the laying should be done on a perfectly flat surface.

Constructions
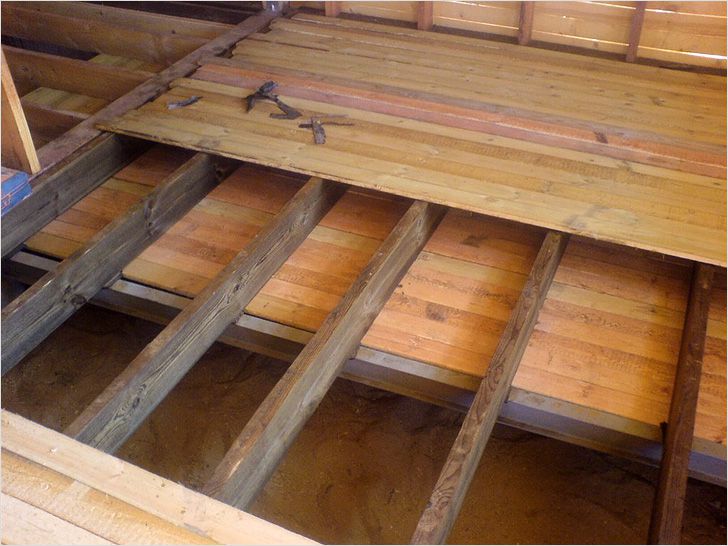
The device of a wooden floor can consist of one or several layers. The single coating is mounted without the use of lag and does not have a low thermal conductivity. For home insulation it is best to make several layers of boards that will provide additional waterproofing.
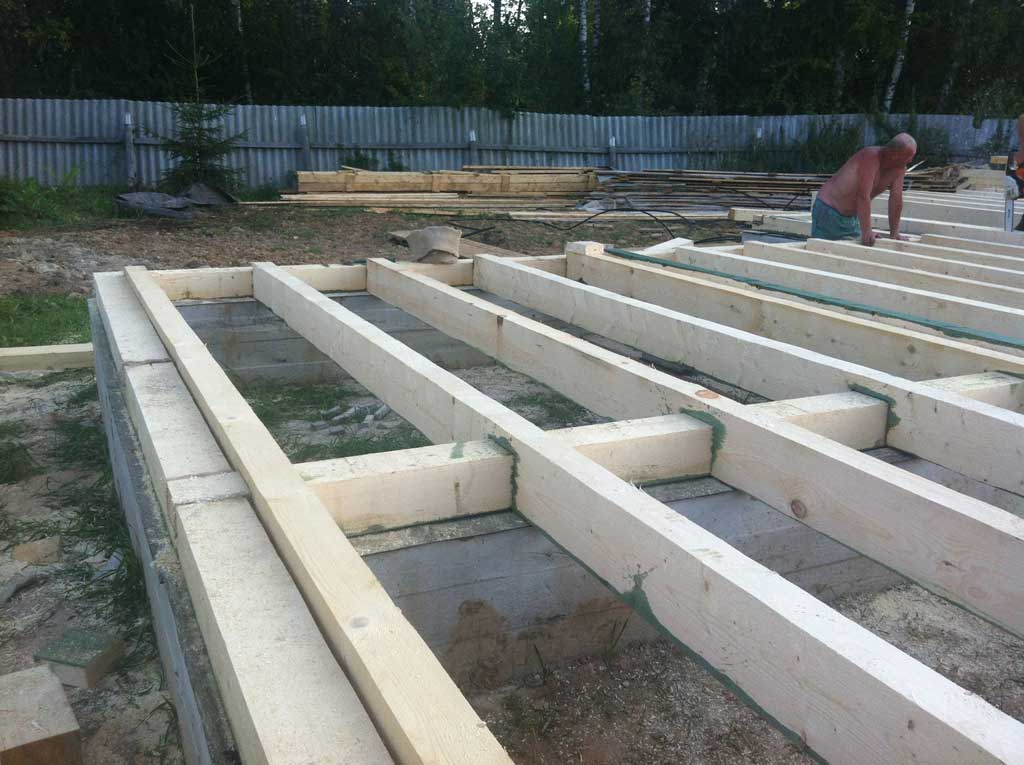
The floorboards are always laid on the logs, and they, in turn, are laid on the base of concrete or brick, the pillars of metal or on the ground. In rare cases, the technology is used, which involves the breaking up of a lag in opposing walls. This leads to the formation of wide spans that are quite difficult to block.
Lags are used only in cases where the walls of the dwelling are supported by beams or the flooring is supported by pillars. The distance between the lags and beams should not be less than 100 cm.
The device of a wooden floor on the basis from concrete looks the same as also installation of coverings in the apartment at which overlappings from reinforced concrete plates are involved.It is most difficult to install the flooring in the basement, as the underground room must be well ventilated and dry. The reliability and durability of the floor surface depends on this, especially if the structure is located in a zone of high location of groundwater.
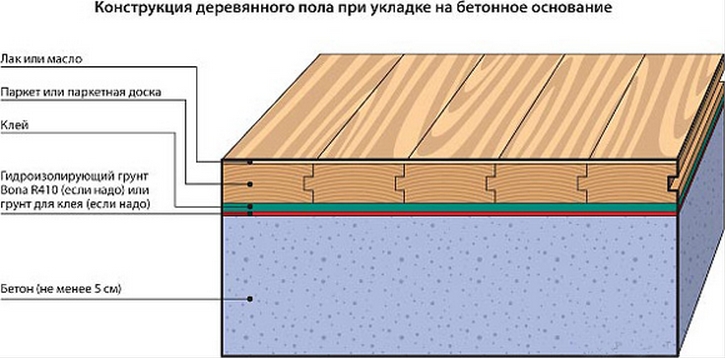
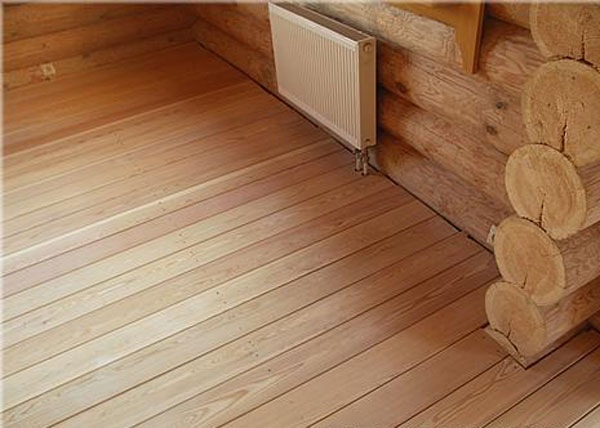
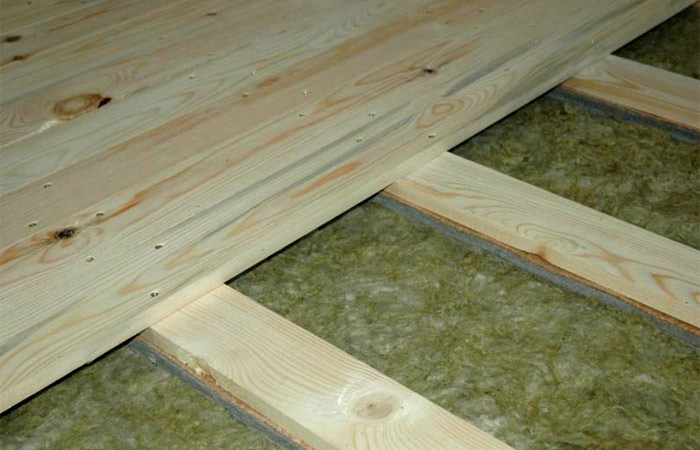
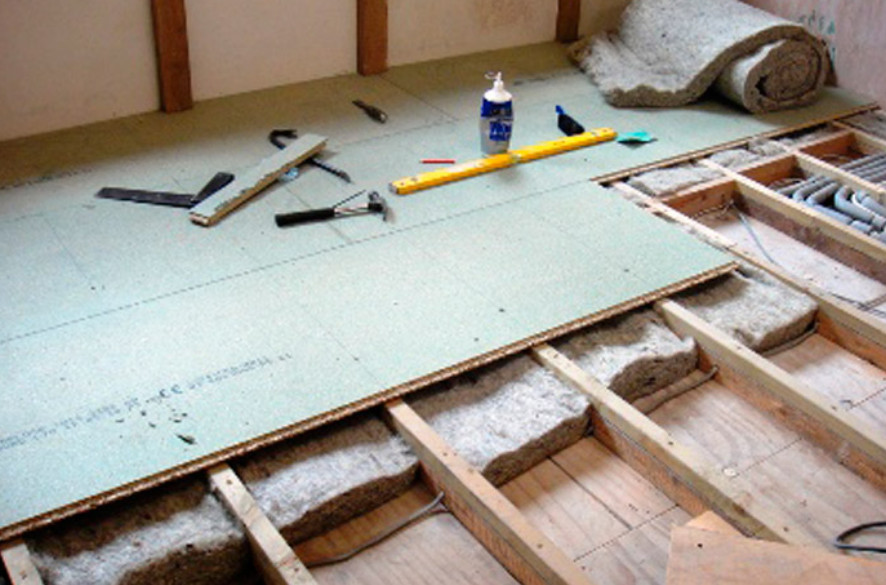
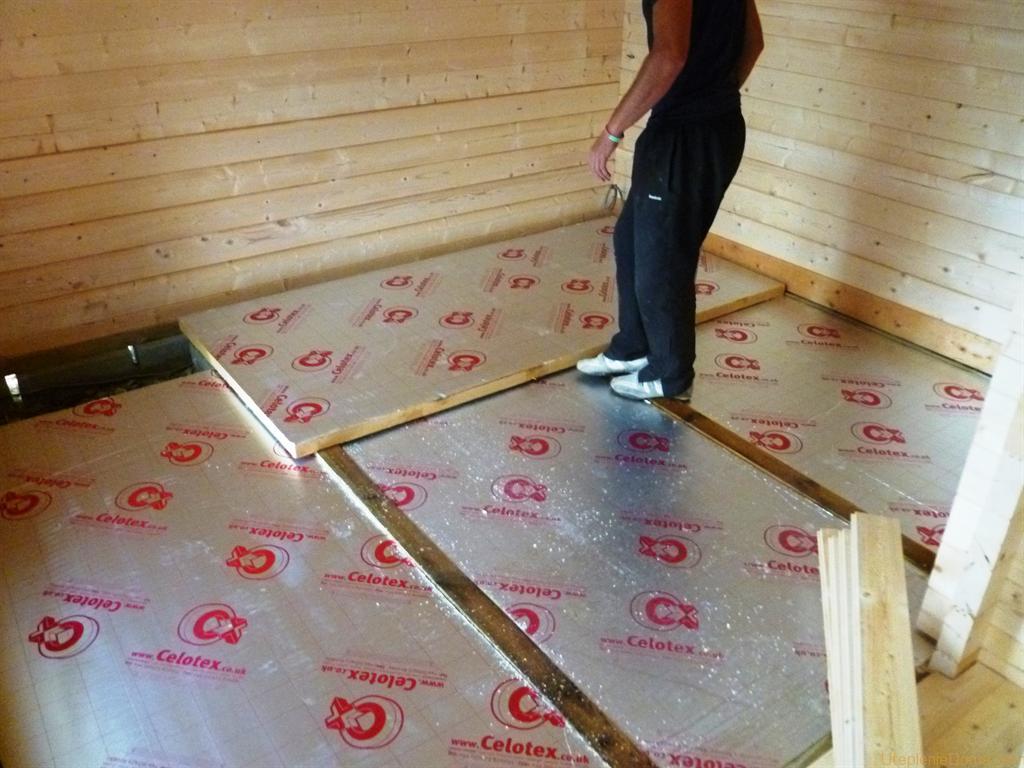
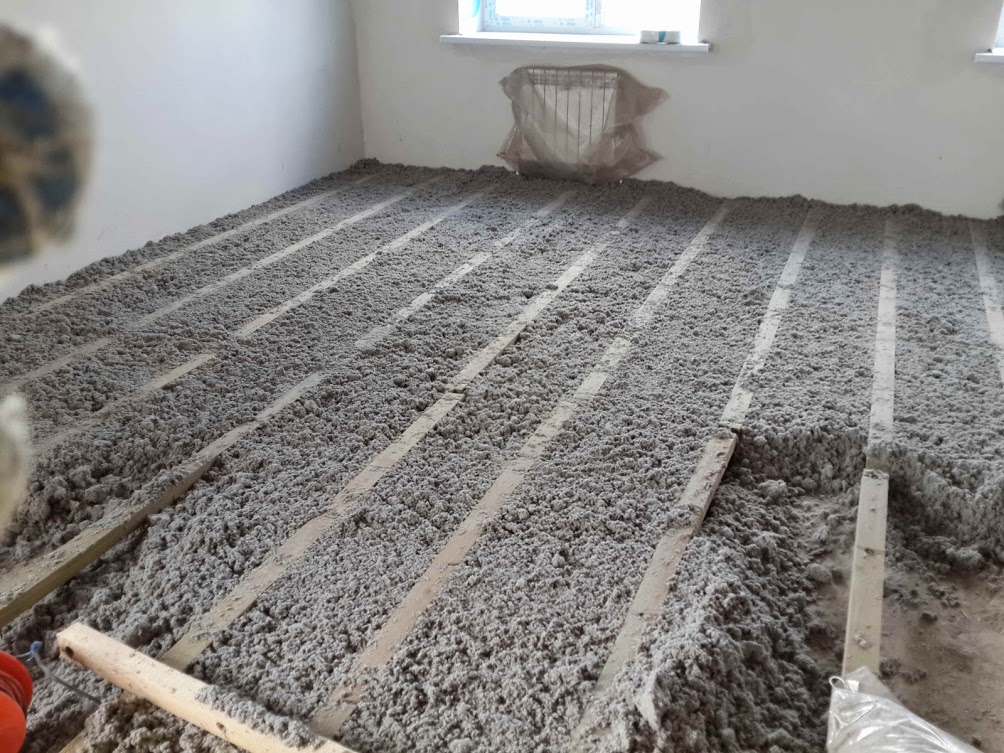
The floor in a wooden house consists of OSB-platesOn which put a layer of waterproofing and insulating material. The vapor-proofing film and finishing flooring fixes the design. In order to ensure natural air circulation in the dwelling, a distance of 2 cm must remain between the heat-insulating material and the finishing surface. For the same purpose, several centimeters are drilled in the corners of the rooms.
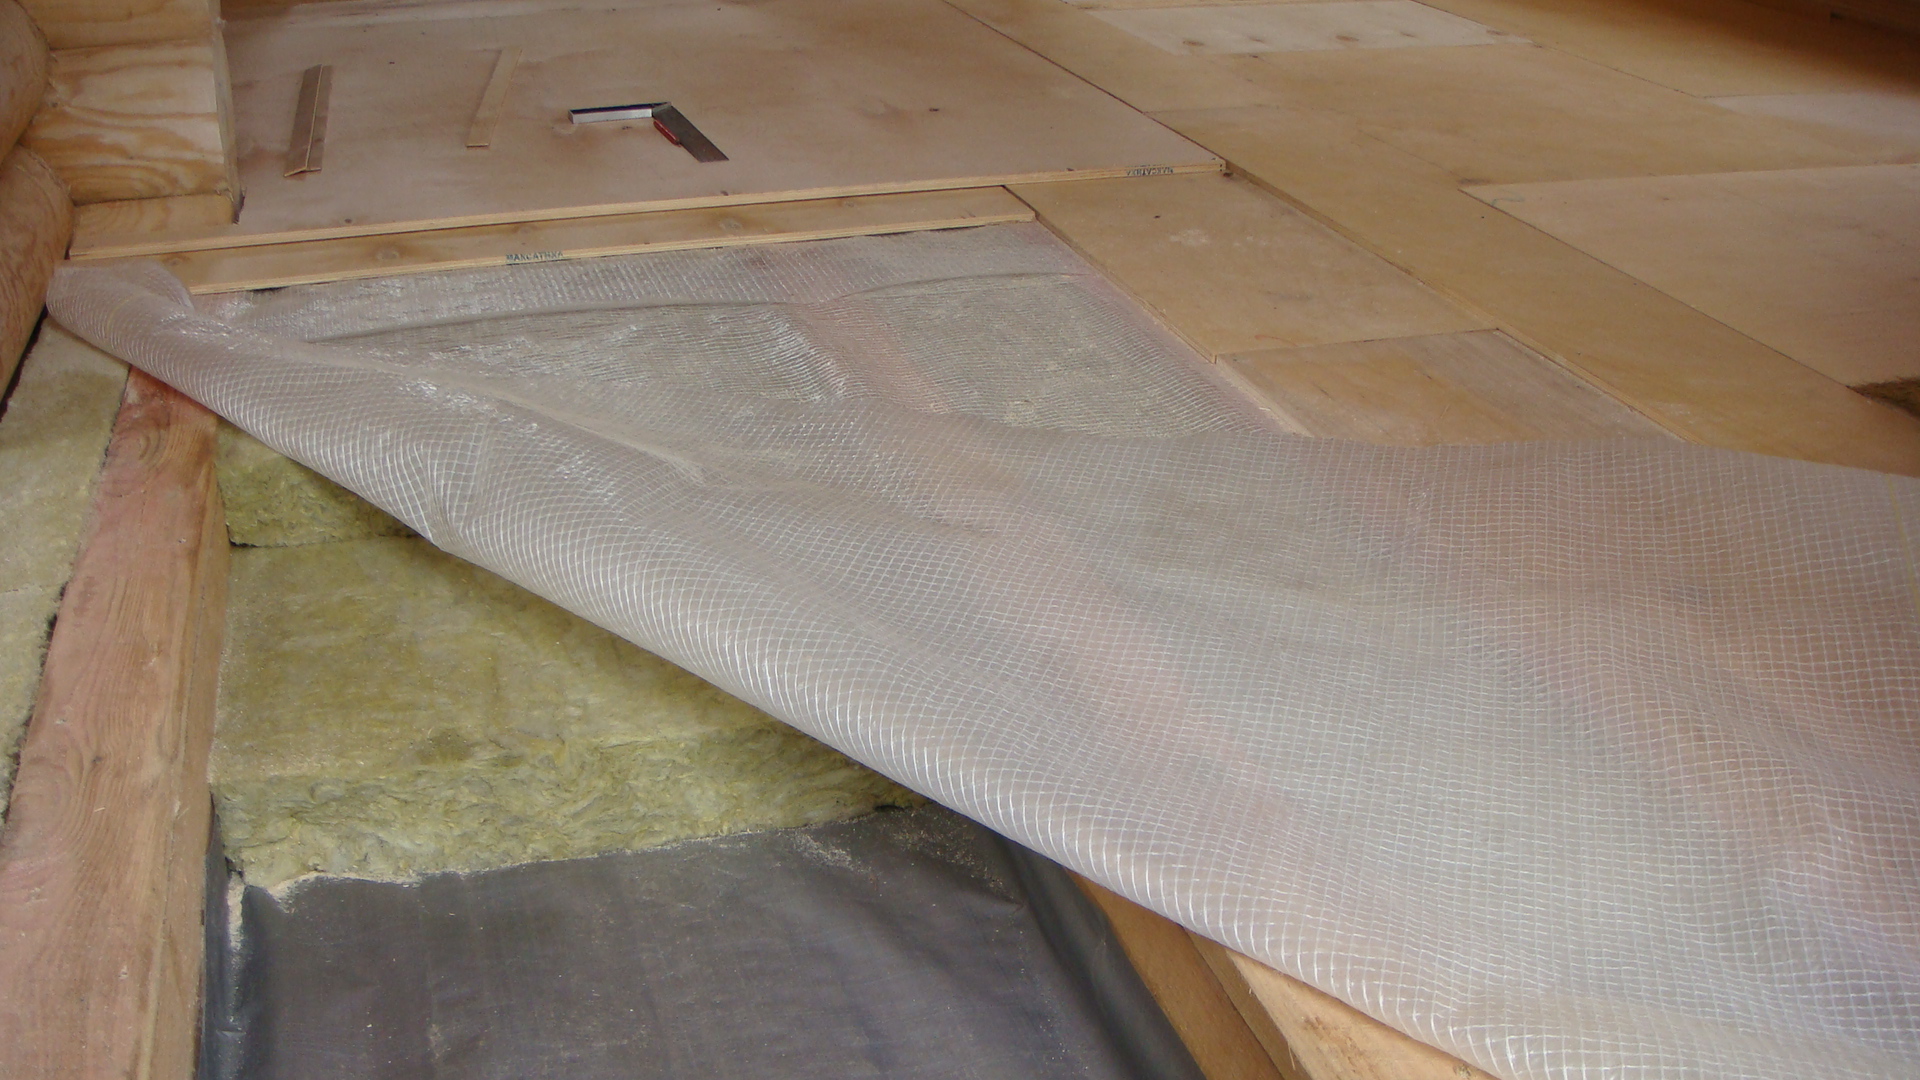
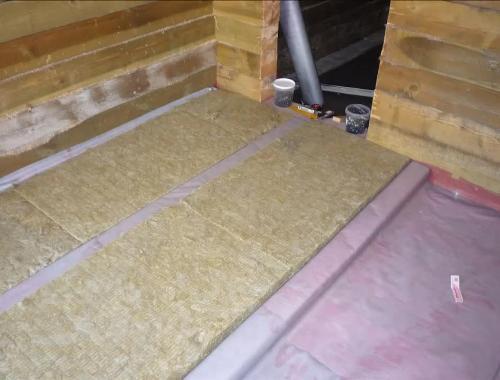
It is necessary to make a warming layer both at the wooden, and at the concrete basis. For maximum insulation, thick insulation material is often used, which is placed between the first and second layers of a double floor.
How to do it: walkthrough
In order to install the flooring with your own hands, you need to pick good wood. On the type of wood depend on the performance properties and aesthetic appearance of the flooring.The board must have a flat structure, which must be free from any defects.
To get to work, we get everything you need: boards, penofol, construction tape, logs or plywood, screws and a screwdriver. To install a subfloor, you need to stock up on bricks, metal bolts, corners, insulation and waterproofing material. In any case, the exact amount of building materials depends on the method of laying and floor space.

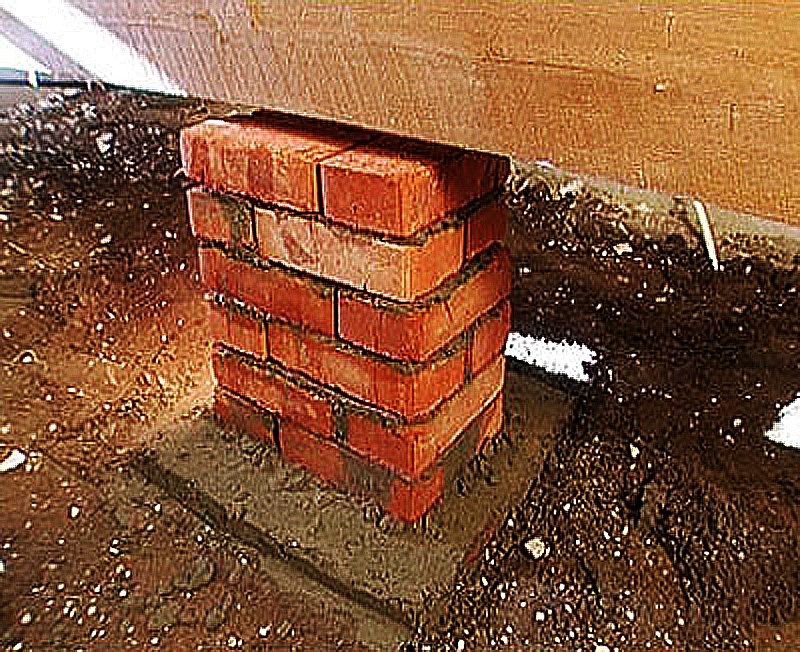
Preparatory work must begin with a tight lag. Then it is important to pay due attention to the heat and waterproofing of the underground. To prepare the foundation, it is necessary to remove the soil layer along the entire perimeter of the space. At the same time, its thickness should have a value that will allow to further dig a recess near the building 24 cm below ground level. After that, a layer of rubble is sprinkled over the ground, moistened with water, and then sand is poured.
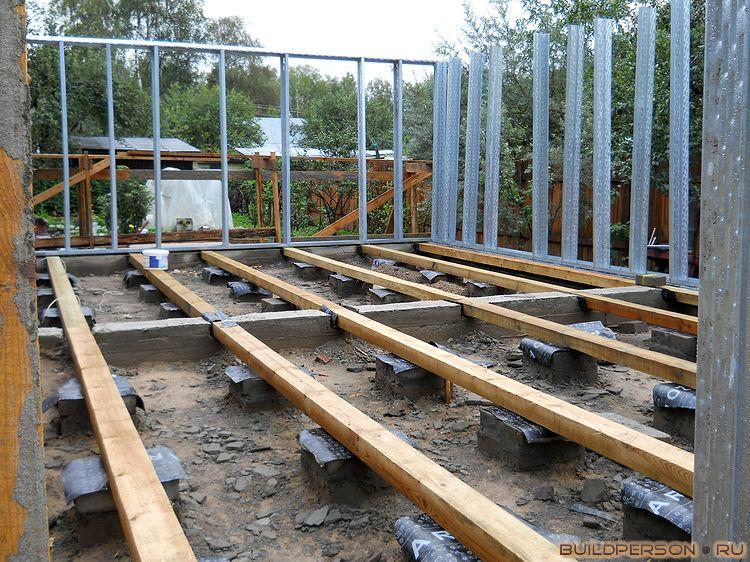
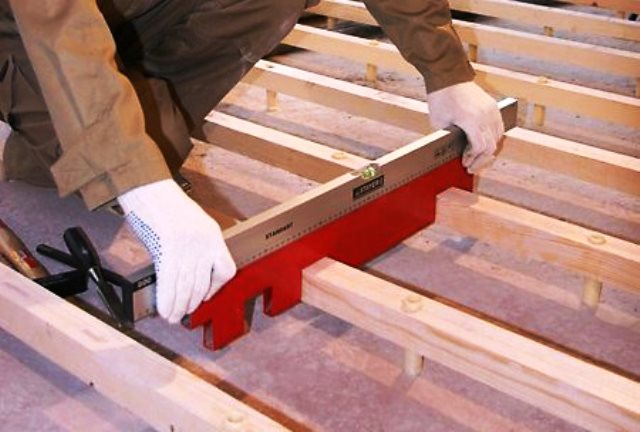
Brick pillars are erected on a sandy basis, which serve as a support for the lag. The bricks are placed at the same level along the top edge and fixed with cement mortar. To check the level, use a laser device or a tensioned grid.Each lag requires at least two pillars, so it is important to properly distribute them.
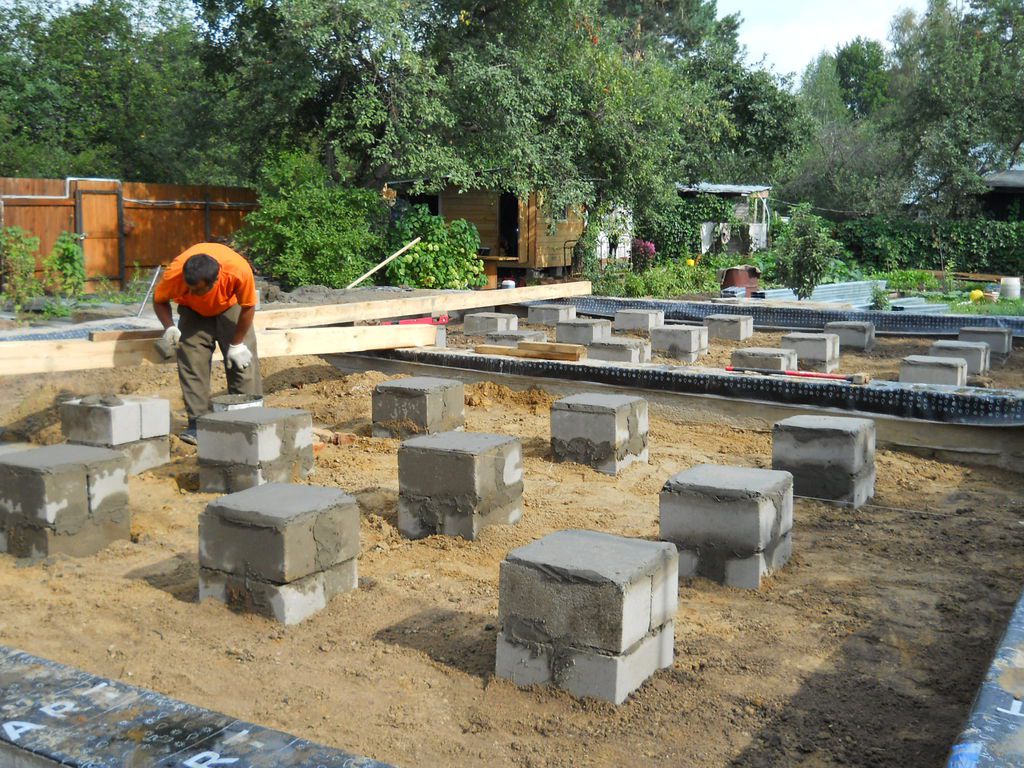
When preparing the base, you need to calculate the distance between the supports. To do this, you must compare the size of the board and the calculated weight, which will put pressure on it. You can make calculations yourself, and in case of difficulties there is always the opportunity to ask for help from the construction project organization.
Preparatory work will not be needed if the wood panels will be mounted on the floor beams. They are needed in order to strengthen the design. In this case, you can immediately make the flooring and put ruberoid sheets on top of it, which will serve as waterproofing. After that, on the plates you need to install logs and fix them with anchors on poles. Bowls are necessary to bring the face into a common plane.
If the arrangement of the wooden floor will be made on a concrete base, the preparatory work will take a little time. This is due to the fact that the design is ready for finishing work and lags can be fastened to it immediately. For their installation, you need to use studs with a diameter of 5-10 mm, which have a nut restriction below.
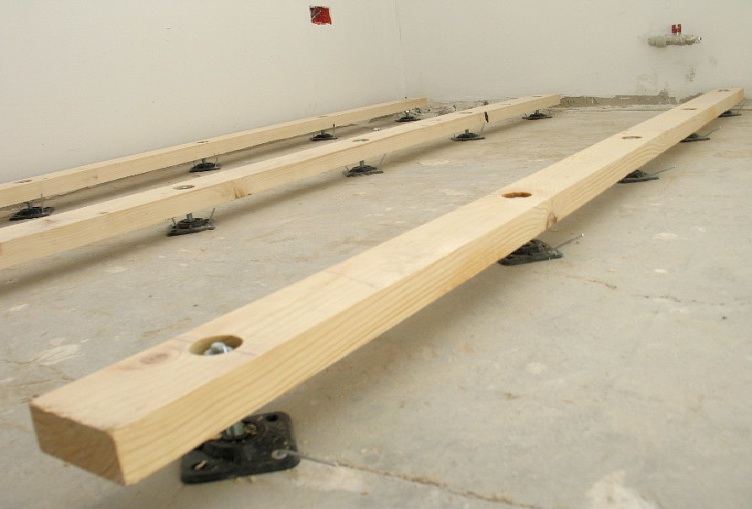
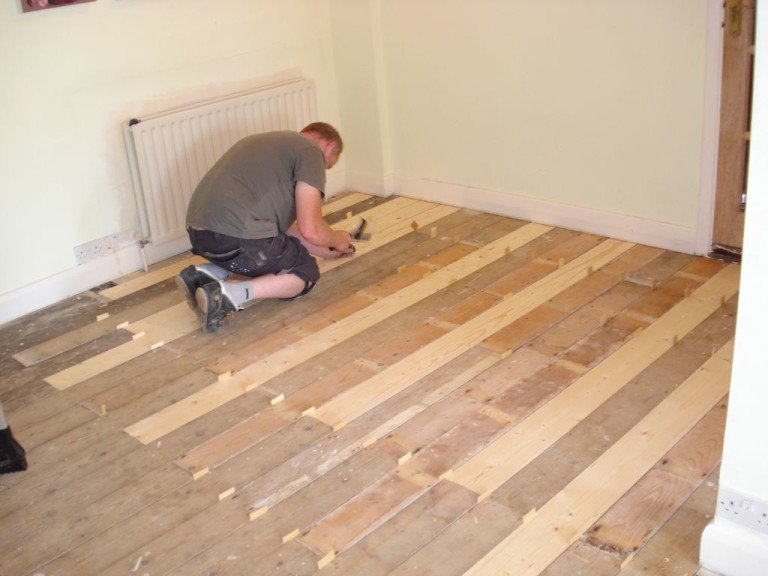
After careful preparation of the base, you can begin the laying process. Independently put the draft floor, you can either use the log, or using beams. Lags are necessary for raising the level of floors, so their installation is not appropriate in a room with a low ceiling. It is important to bring the material into the room in advance and keep it inside for several days so that it will acclimatize.
Step by step instructions for laying boards:
- We take two boards and place them along opposite walls. Then we connect them with kapron threads, which will later serve as a guide for fixing the remaining lag. The free space between the lags must be sheathed insulating material.
- If thick boards have been acquired for mounting, then we make a distance of 80 cm between the lags. When using thin boards, this distance can be reduced to 50-60 cm.

- Align the surface of the base and adjust the height of the lag using chipboard wedges. Fasten them with screws or long nails.
- If logs are mounted on a concrete structure, then you need to use dowels or anchors. It is important to treat the materials with an antiseptic.
- We lay and strengthen boards.The first row should be laid with a space of 1.5 cm from the walls. At the same time pre-drill holes for screws.
- At each lag we put the boards and fix them. To seal the cracks and crevices, we take the staples, connect them together and fix them with nails.

Production of a floor on the basis of DVP or a chipboard differs in the increased durability and reliability. These materials are resistant to external influences and can not be deformed. In addition, their installation allows you to raise the level of design.
To make the flooring as flat as possible, you need to use beacons. To install them, the whole space is divided into squares of 35 cm, at the corners of which screws are screwed.
To avoid sagging lags, you need to make a chipboard substratepre-lubricated with glue. Glue impregnation avoids cod. Between the layers it is necessary to make a layer of moisture-proof film.
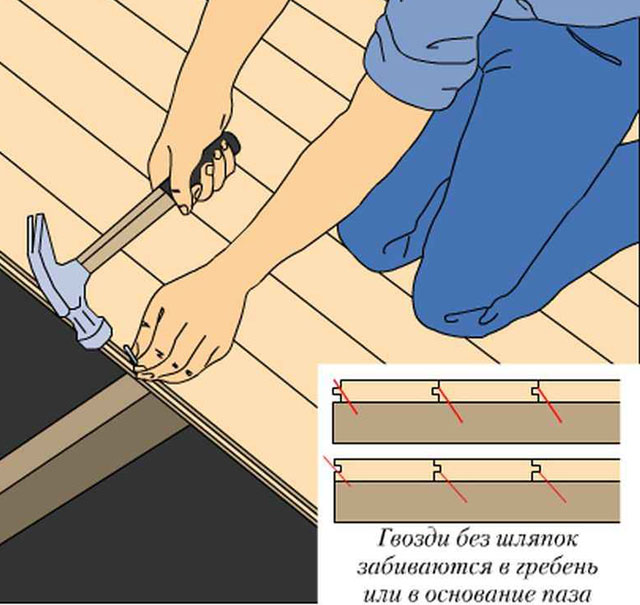
Finishing your own hands is the easiest to do with the use of grooved boards. They are easily interconnected, which greatly simplifies the task. The boards are adjusted using a mallet.If long nails are used to fasten the grooved sheets to the logs, then they need to be driven in at a slight angle. In this case, the cap should be completely immersed in the wood.

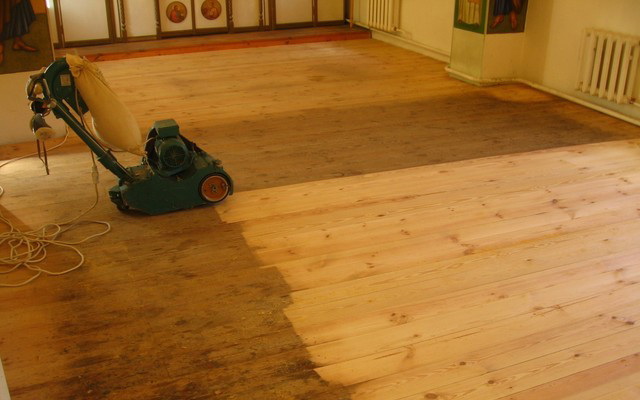
Upon completion of the work, the finishing floor must be sanded and coated with a paint and varnish.
Tips and tricks
Often, the owners of a private house are faced with the problem of low ceilings. To increase the space, it is not always possible to raise the ceiling, sometimes it is easier to lower the floor surface. The easiest way to do this is to remove the lags first and then build a new design. In this case, the logs are installed immediately on the foundation.
There is a second way to lower the floor surface. It requires complete removal of the beams. It is not necessary to do at the same time the depth below the edge of the foundation, otherwise the building may collapse. Reaching the desired depth, you need to strengthen the structure and insulate it.
When the time expires, any floor covering deforms. under the influence of various factors. For this reason, there is a need for its restoration. Depending on the nature of the breakdown, the process of restoring a structure can take a different amount of time and effort.
For example, if the floorboards creak, then opposite the lag you need to drill holes and fill them with cement mortar. After the cement hardens, a wooden cork, richly greased with glue, is driven into the hole as far as possible. The bulging part cut down and cleaned.
Sometimes floor defects may require partial or full replacement of floorboards. The construction of a new design requires tremendous efforts and resources, whereas the replacement of several floorboards will require only the selection of ideally suitable boards.
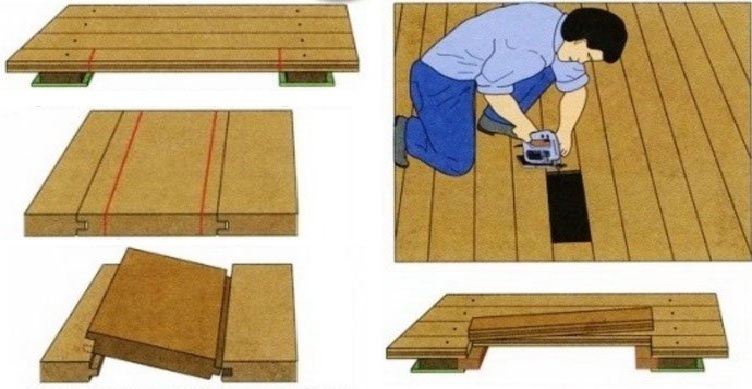
To replace a spoiled sheet, it is necessary to cut the screw, and then carefully remove it.
To fill the gaps, you can use a special putty. When it dries, it is desirable to paint the surface of the floor with water-based paint.
In a wooden house it often makes sense to make a warm floor. This may be water heating or electrical wiring. In any case, the thickness of the floor covering should be 2.5-3 cm. For final finishing, you can use tile, laminated parquet or linoleum.
A few floor repair tips:
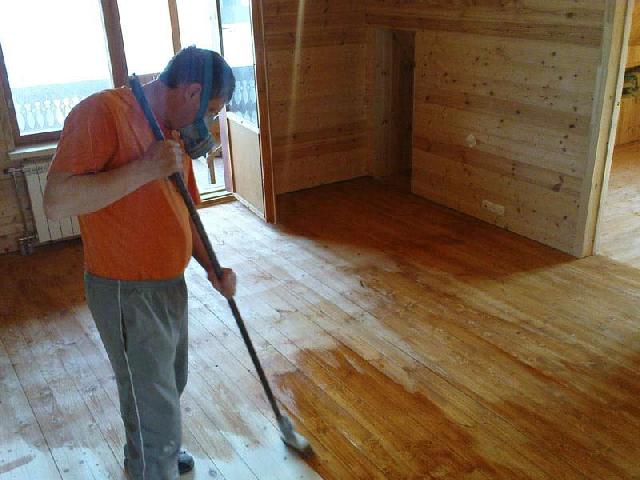
- If after laying the plan is planned to varnish, then first they need to be carefully polished, and then treated with liquid soap. It is necessary to cover the surface, moving parallel to the fibers of the tree.
- Adjusting and cutting out the material, it is best to number the wooden elements in order not to look for where their place is in the future.
- If concrete is poured in as the base, then the installation of plywood or planks is not earlier than in a month. During this time, the concrete hardens and becomes strong enough.
- The finish level in the shower should be slightly lower than the floor mark on the floor. It is desirable that the floor construction had a slope in the direction of the ladder, which goes into the sewer.
And in the next video you can see an error when we warm the floor in the house.


