Laying plywood on a wooden floor with your own hands
Both in new buildings and in houses commissioned several decades ago, the tenants are faced with the task of leveling the floor to change the flooring, be it linoleum, parquet or parquet, laminate or other. But the modern market offers such a wide range that it is sometimes difficult to give preference to one or another building material.
The purpose of this article is to dispel all doubts and help make a balanced, reasonable choice before starting repairs in your own house or apartment.
Features: pros and cons
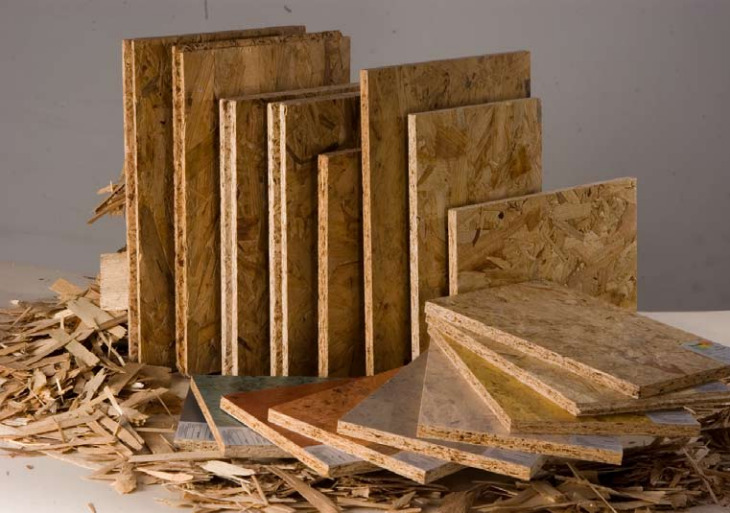
Of the variety of materials suitable for this purpose, the choice comes down to four of them:
- plywood;
- OSB;
- DSP;
- Fiberboard
When choosing a flooring for leveling the floor you need to take into account the characteristics of each.
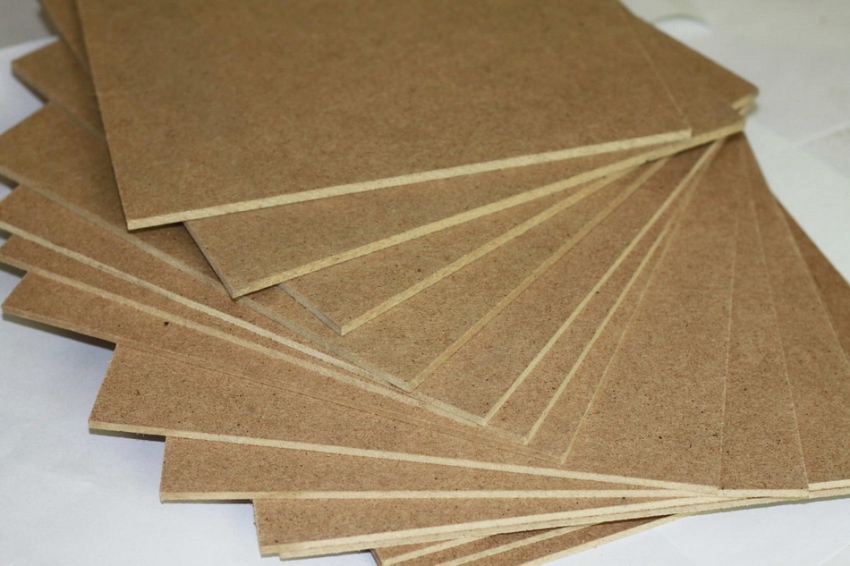

- Fiberboard - material from pressed wood fibers, pre-treated with steam. Synthetic resins or paraffin are used as a binder. The production technology does not allow making thick fiberboard, and the raw materials used (most often it is waste wood processing) - to achieve satisfactory strength. From the entire list of plates of this kind the most fragile. Moreover, if the rough surface has significant and especially local solid protrusions, for example, an influx of concrete or a fragment of reinforcement protruding from the screed, this type of material may be damaged even at the marking stage.
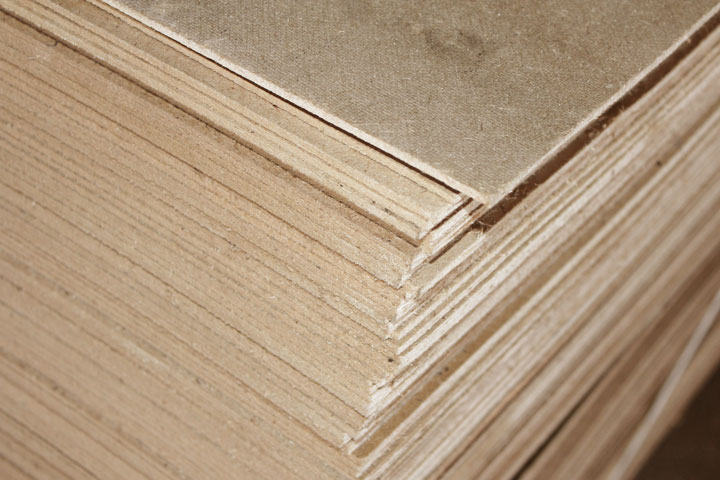
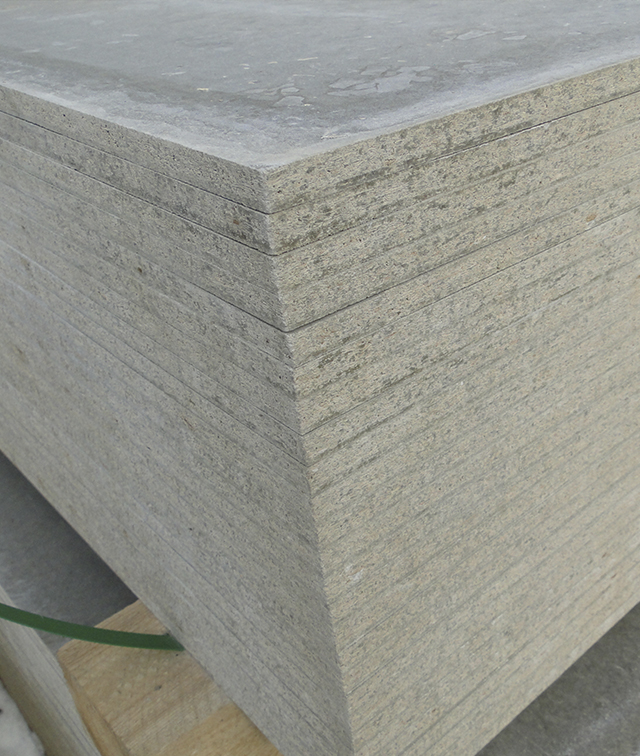
- DSP - slabs of shavings of small and medium fractions bound by cement. In addition, a number of chemical additives are added to reduce the negative impact of chips on cement. In this case, DSPs have a greater density, and therefore more weight with the same area. They are quite fragile at fracture, although somewhat stronger than fiberboard, moreover they are more resistant to moisture, heat, and much less susceptible to damage by mold fungi.

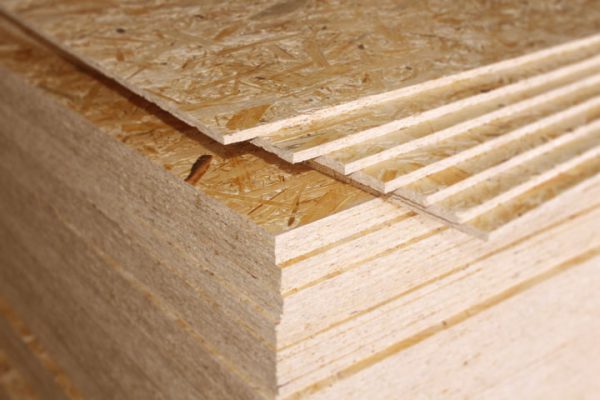
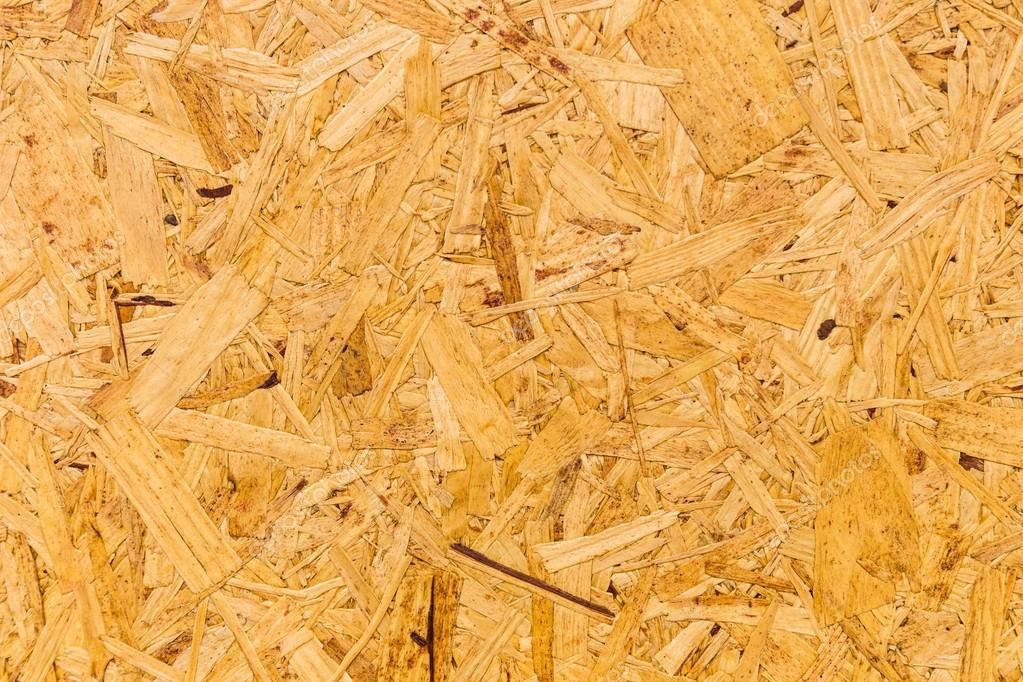
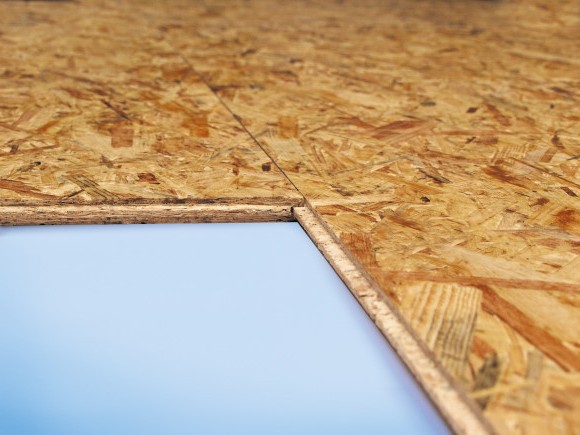
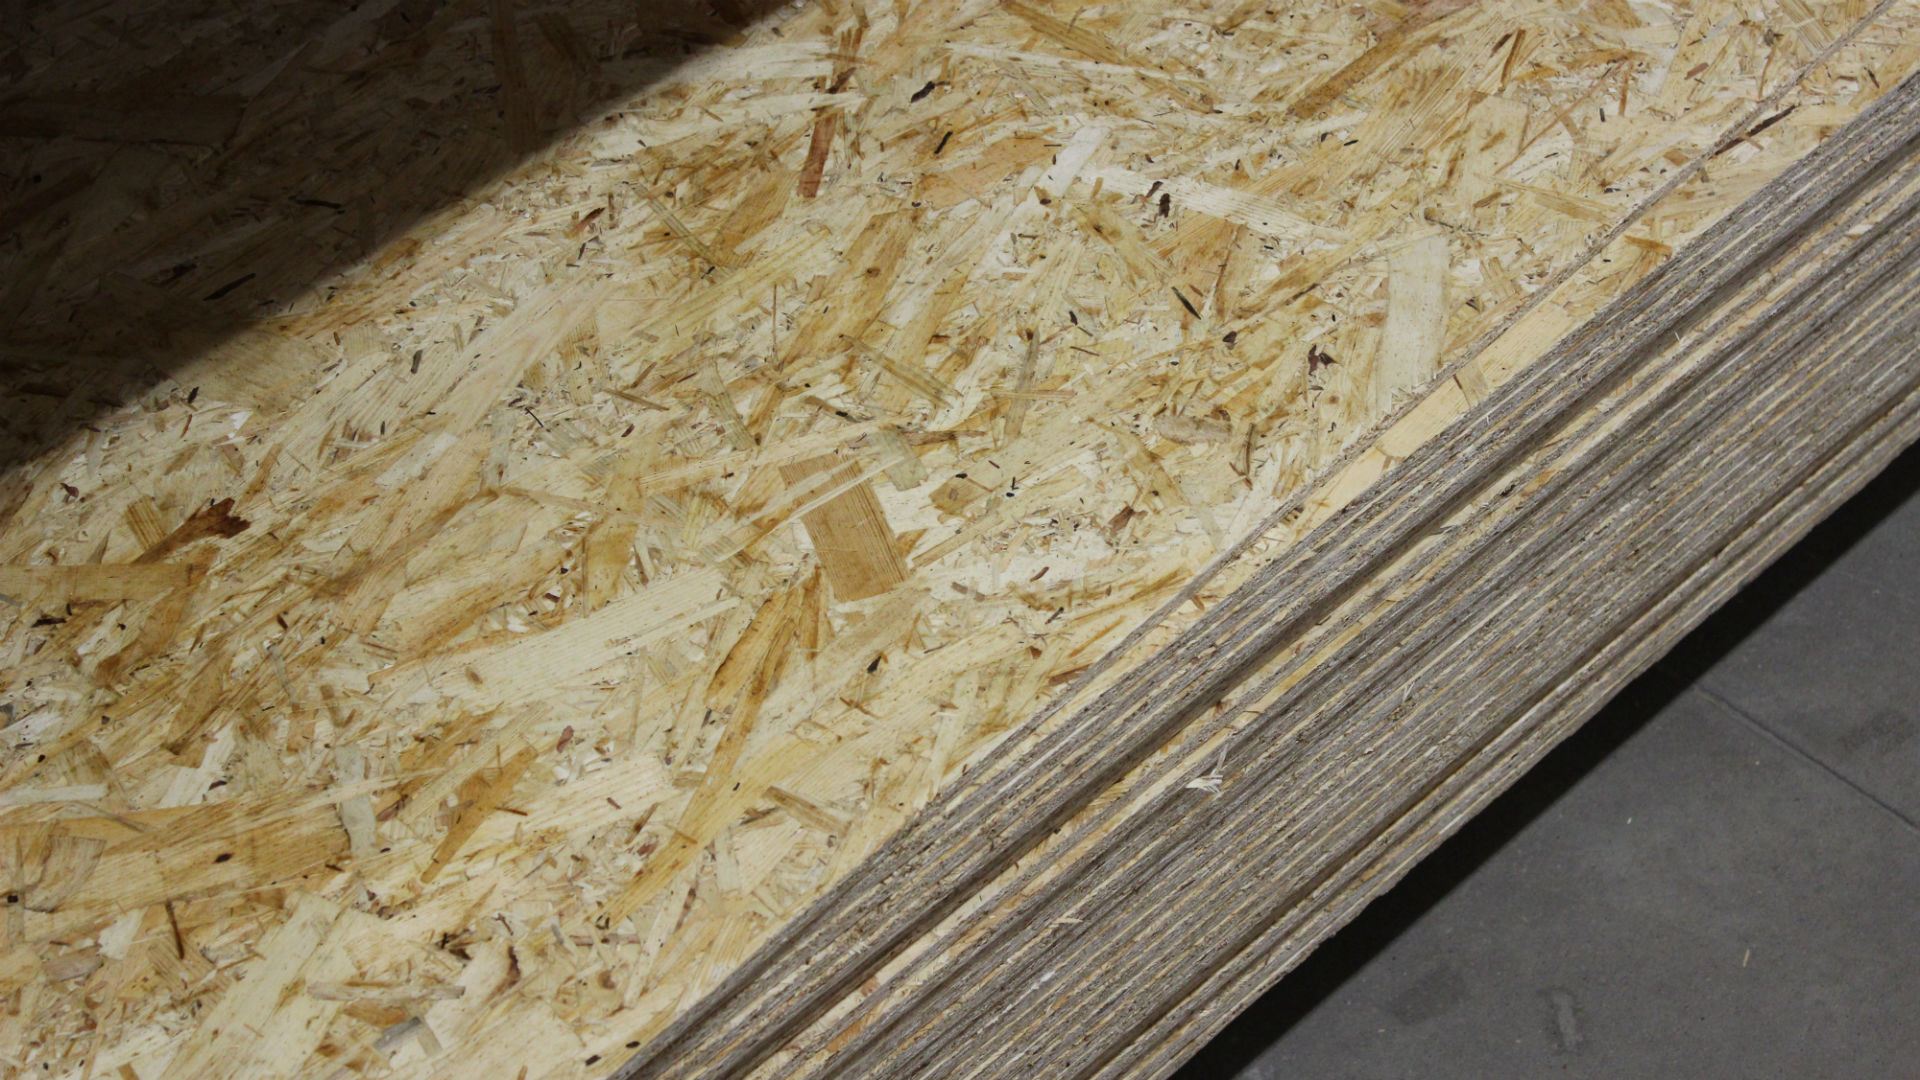
- Osb - a plate of coarse chips bound with phenolic resins.It is important to remember that in enterprises with incomplete quality control, production technology may be violated, then the release of phenols may exceed the permissible norms.
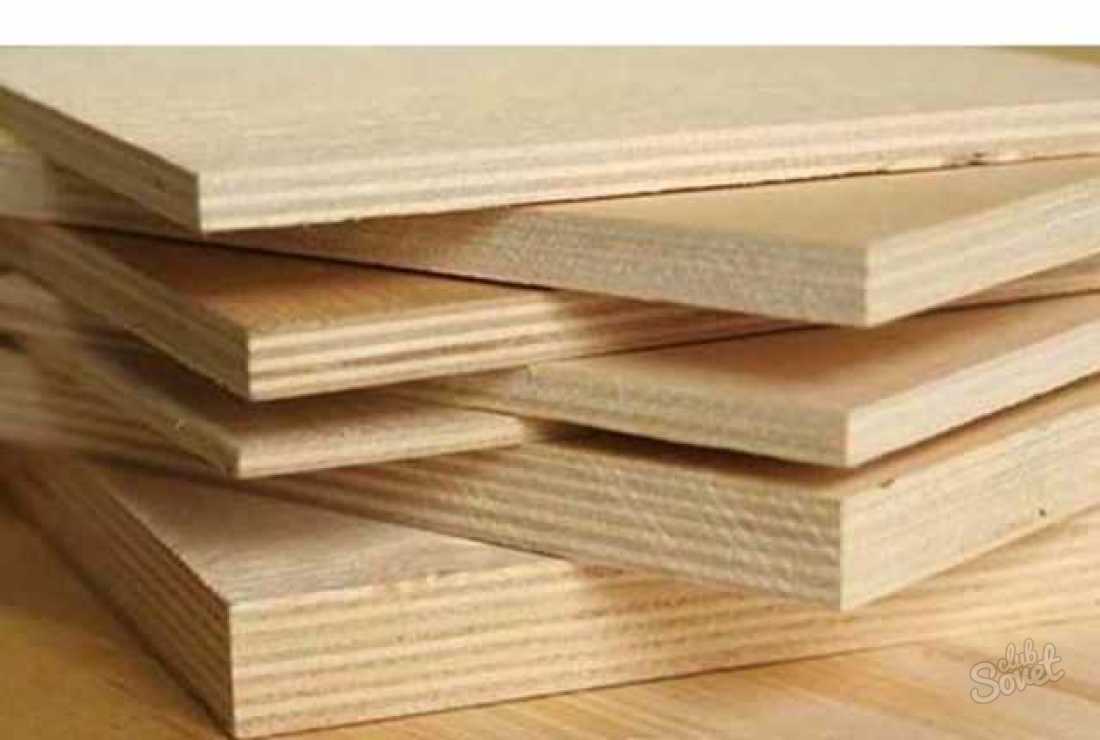
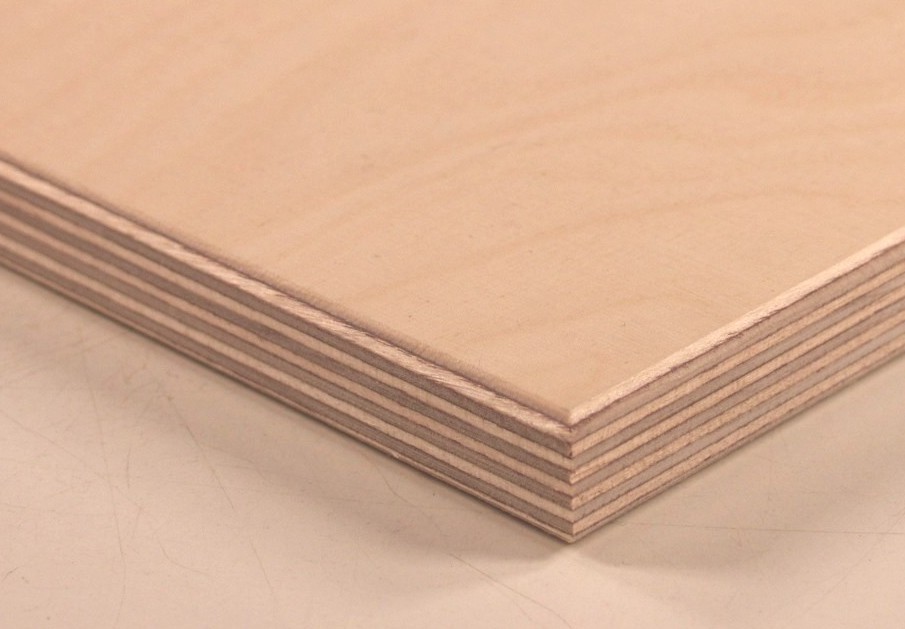
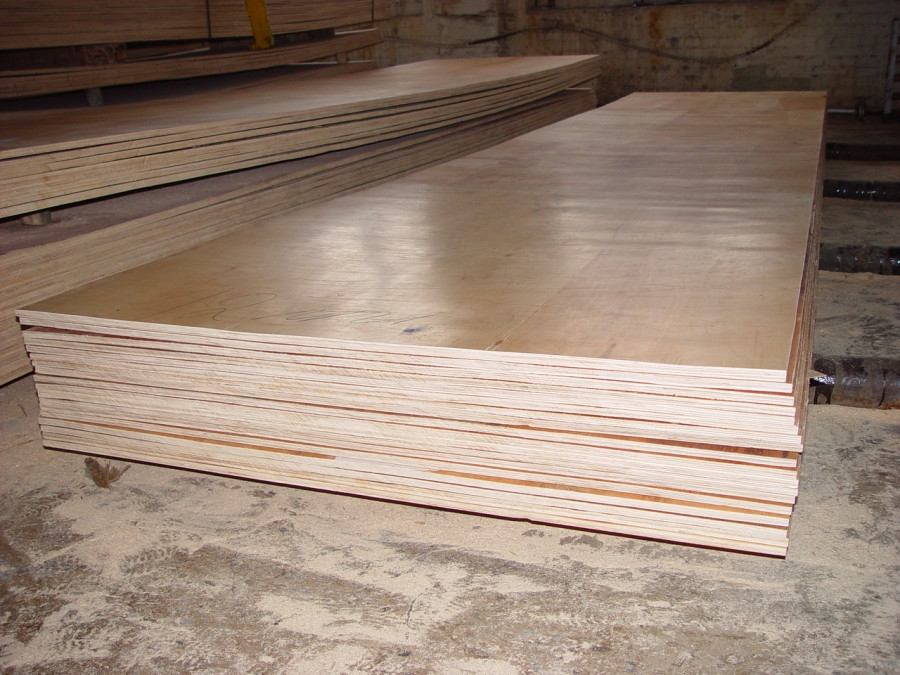
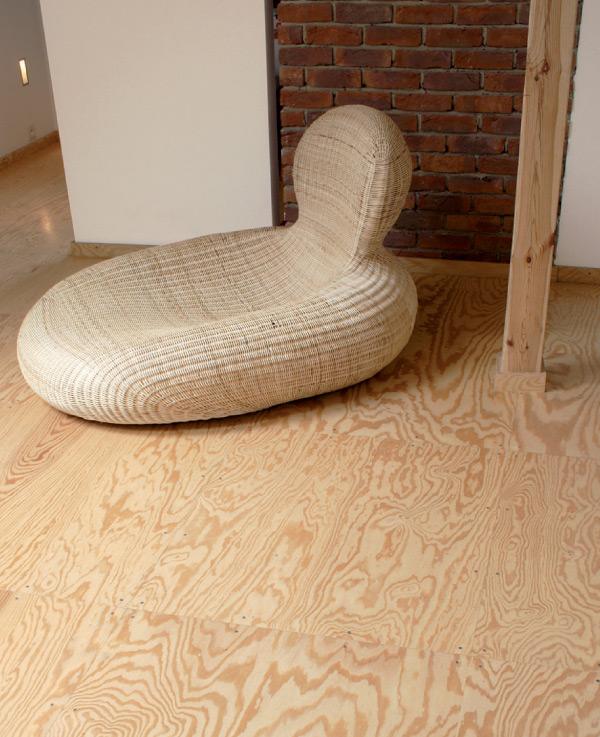
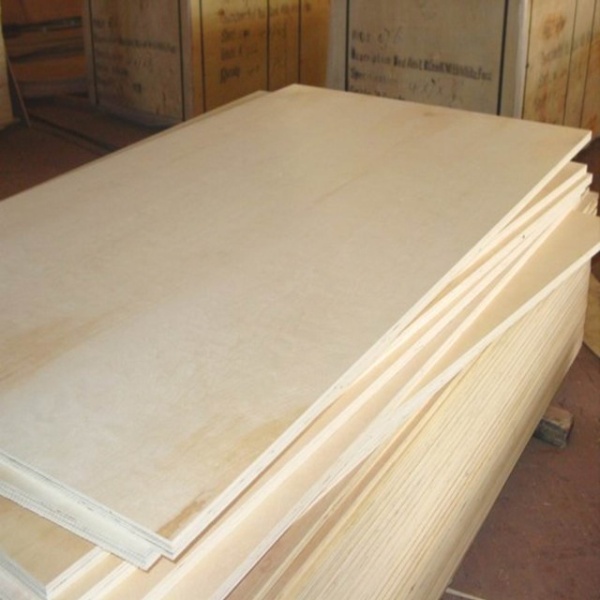
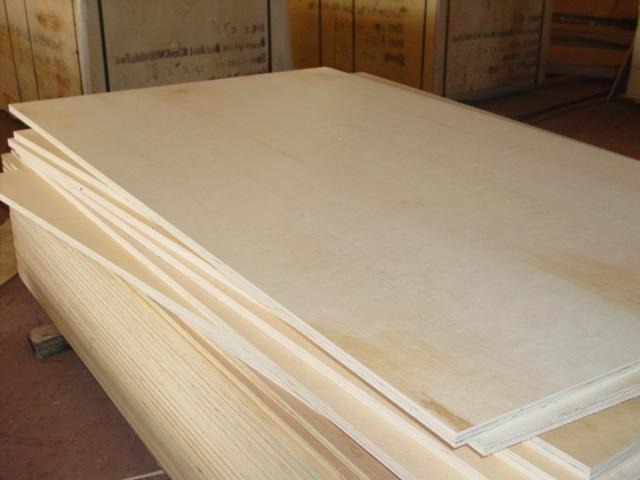
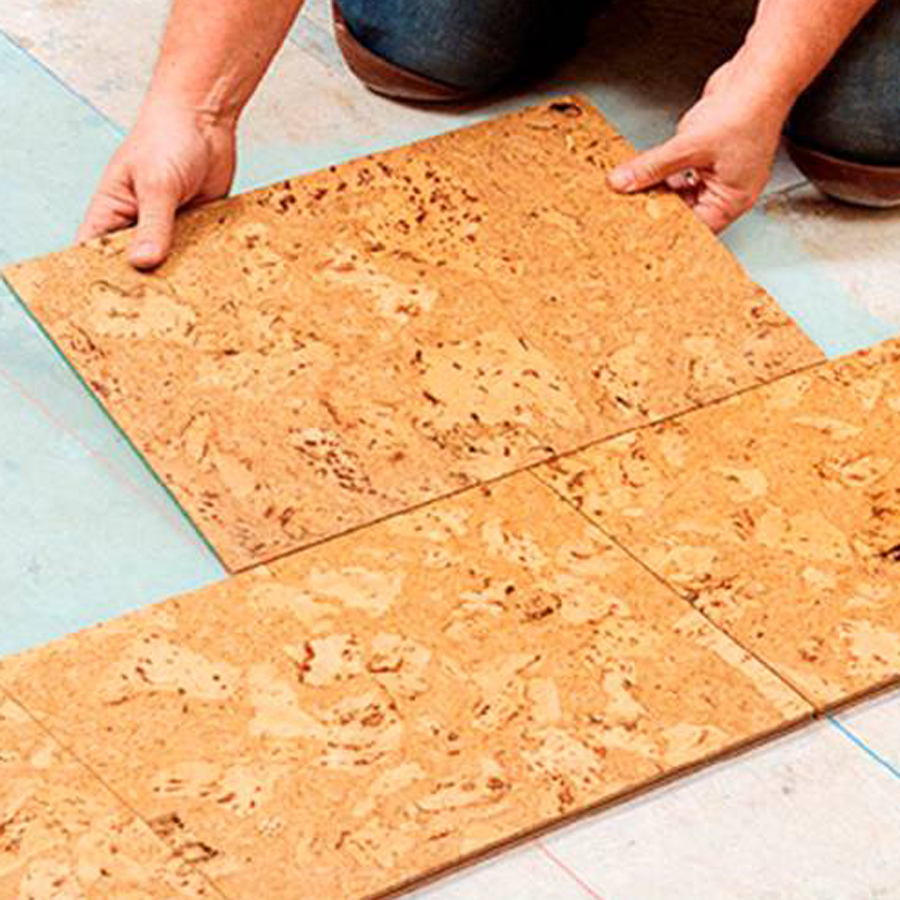
- Plywood - the most environmentally friendly from this list. Technically, it represents several layers of birch (less often coniferous) veneer glued together. It has a relatively low specific gravity, and surpasses all other materials from this list in strength.

For a number of reasons, it is much more convenient to use plywood for repairs:
- Save time. In addition to the usual formats of 1.5x1.5 meters, sizes of 2.5x1.25 meters and 3x1.5 meters are also made - a large area can be covered in one time.
- Saving effort. Even a sheet of large size can be transferred to one person.
- Elasticity. The adjacent layers of veneer are oriented perpendicularly, which provides strength in all directions. This quality will provide higher wear resistance both at installation, and at operation of a floor.
- Elasticity. In the presence of some local unevenness of the black floor in this place, the sheet will run through without special losses, and this section will remain flush with the rest.Due to its elasticity, the material will not crumble or crack, either during installation or during operation.
- Environmental friendliness. In most cases, natural resins or adhesives are used on a natural basis, which increases environmental and consumer safety.
- Porosity. Due to natural origin, this ensures ventilation, which will prevent the bottom surface of the finished floor from rotting.
These brief characteristics are quite enough to make an unambiguous conclusion: plywood floor is better than a floor made of OSB-board, DSP or MDF for a number of properties.

Which one to choose?
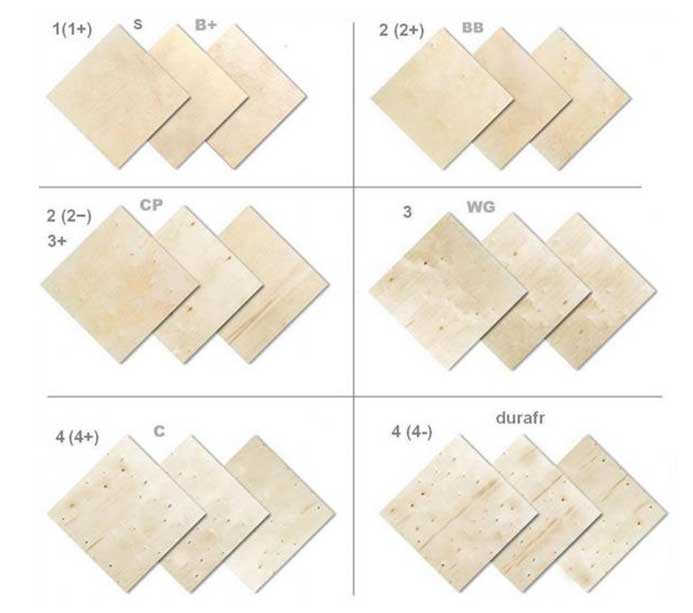
To perform rough work there is no need to choose the highest grade. Moreover, a third grade will be suitable for repair (by the current standards there is a fourth, but it almost never occurs on the market) - for the stated purposes this choice is optimal. Minor irregularities, roughness is required to be cleaned with sandpaper or cut with a knife.
Of course, if there are obvious geometrical violations, “screwed up” or, as builders say, “behaved”, as well as sheets with obviously no right angles, such options are not applicable.
When buying, it is also important to check whether there was any damage during storage - in the absence of chips, kinks, damp areas, traces of vital activity of rodents, insects or mold.
The quality of the sheet, many repairmen determine literally the smell - intact material has a noble woody smell with barely noticeable notes of glue.
It is often possible to hear the classification designation according to the international ISO standard from sellers (and sometimes, according to their own quality system, up to “T-class F-1”), so you need to clarify the grade according to Russian GOST, or, looking at the packaging, the grade of the product must be marked.
Perhaps some of the material will go to waste, so buy better with a small margin, about 5-10%.
As for thickness, builders are guided by a simple rule - the thicker the better. Indeed, a thicker substrate can hide larger defects. You should not overdo it, the minimum is 8 mm, recommended - from 14 to 22 mm. In any case, the substrate should not be thinner than the finish floor covering.
It is preferable to use sheets of large size, but if their transportation or laying is difficult, you can use smaller dimensions.
Some stores may offer cutting to more convenient for transportation.


What to process?
In order not to reduce the quality in the future, it is enough to carry out simple preliminary processing.
This step consists of a few simple operations.
- Drying Before repair, plywood should be brought into a dry warm room and kept for at least a week (ideally, from two to three weeks). This will save her from excess moisture that she could absorb during transportation and storage. Such a long period of drying is due to its structure - moisture that has penetrated into the deeper layers evaporates much slower than from the surface layers.


- Bioprotection To avoid reproduction of pernicious microflora, it is possible to soak at least the outer layers with antiseptic solutions. This will relieve residents of the moldy smell of moisture, if water leaks from the top or condensate will accumulate from the concrete.
- Ventilation. After antiseptic treatment withstand at least one day. Of course, while maintaining the minimum gaps.
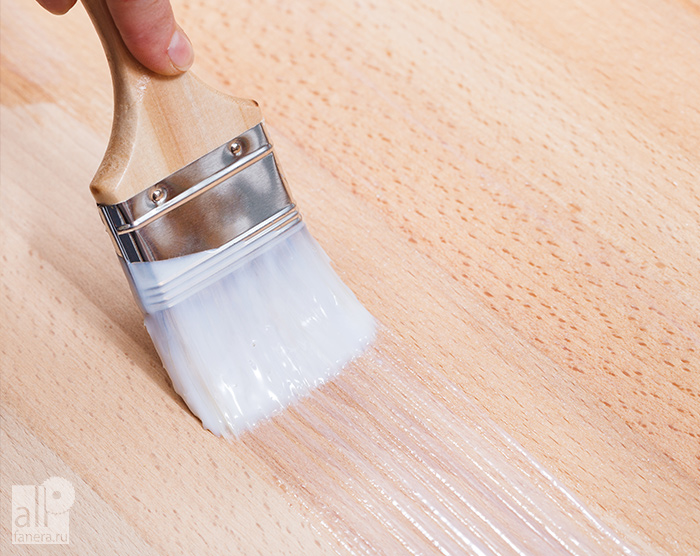
- Add moisture resistance can be applied in one or two coats of acrylic-based varnish.

Preparatory stage
At least two days before the start of work, plywood should be brought to the room where the repair will be carried out. The blanks must be laid horizontally, let them "lie down", remove excess stress in the structure caused by storage in an upright position.
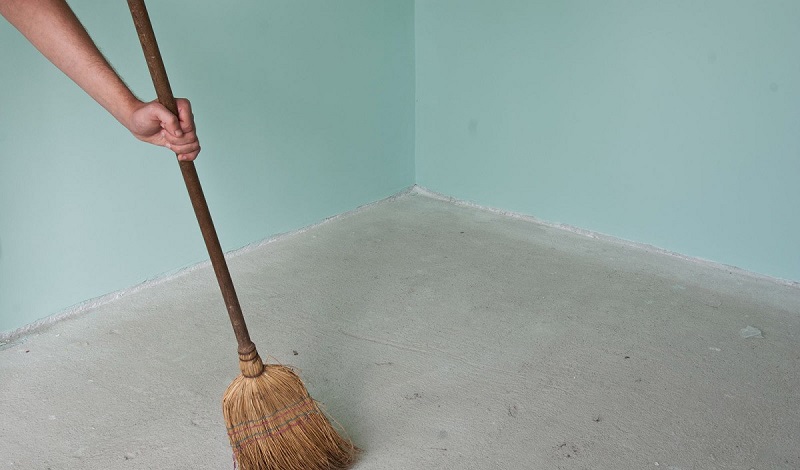
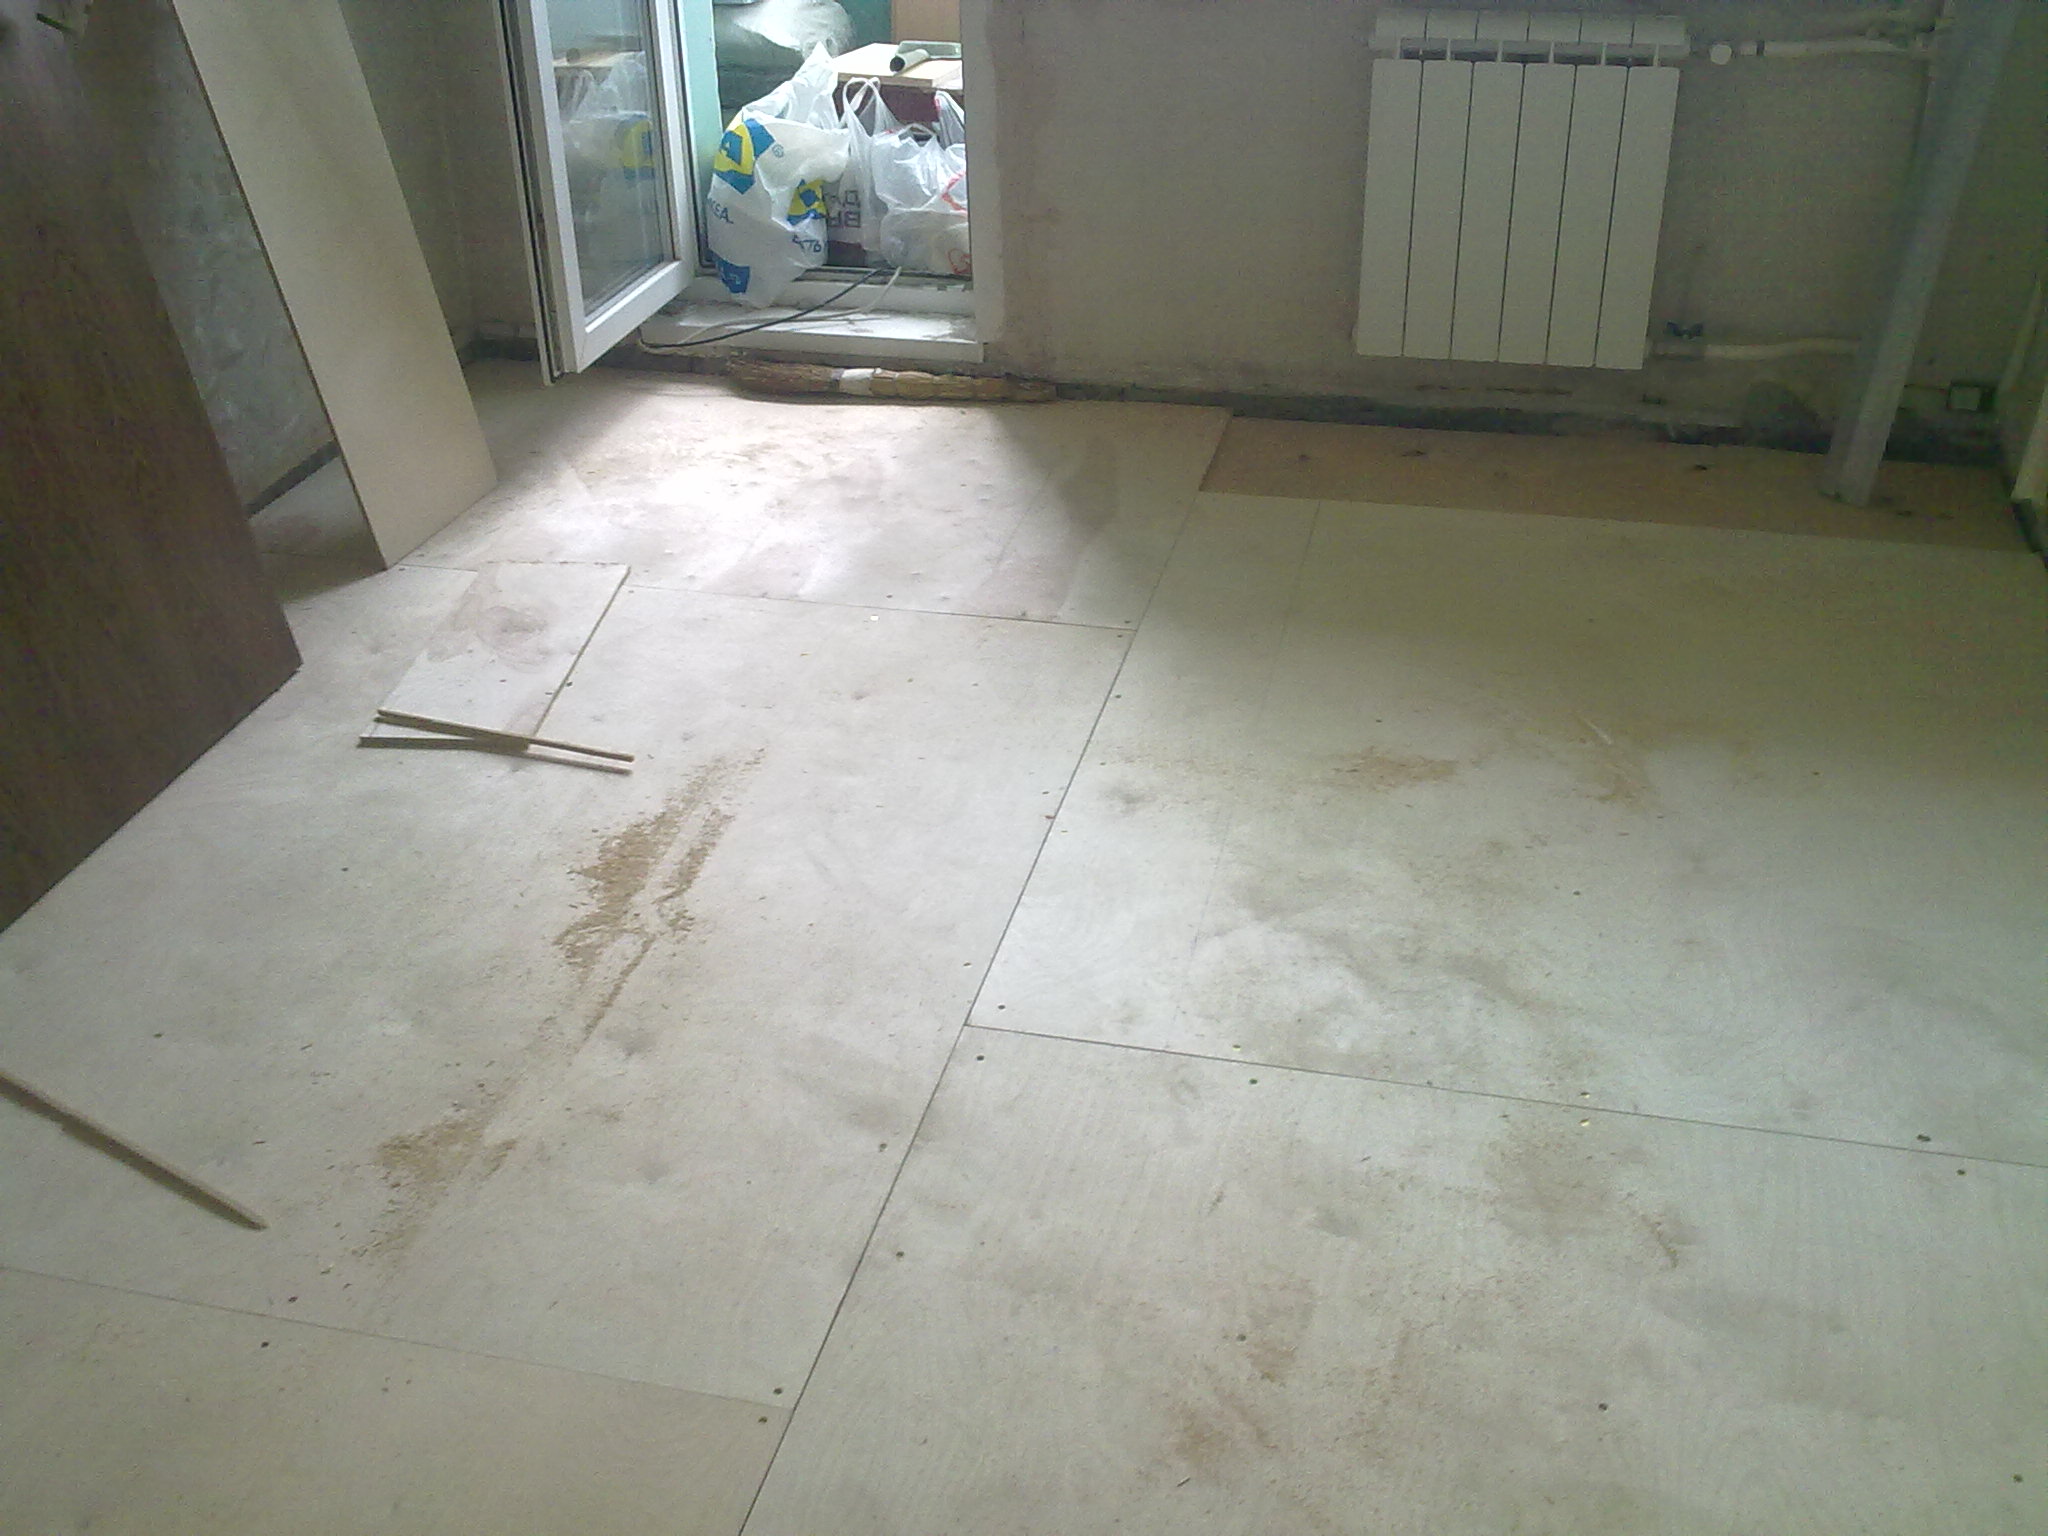
The floor should be prepared: remove the old baseboard, remove all debris, dust, knock down the unevenness of the concrete and cut off the protruding parts of the reinforcement, soak it in an antiseptic solution.
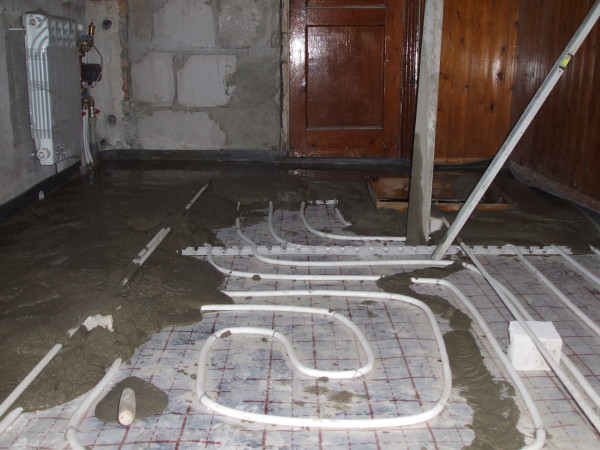
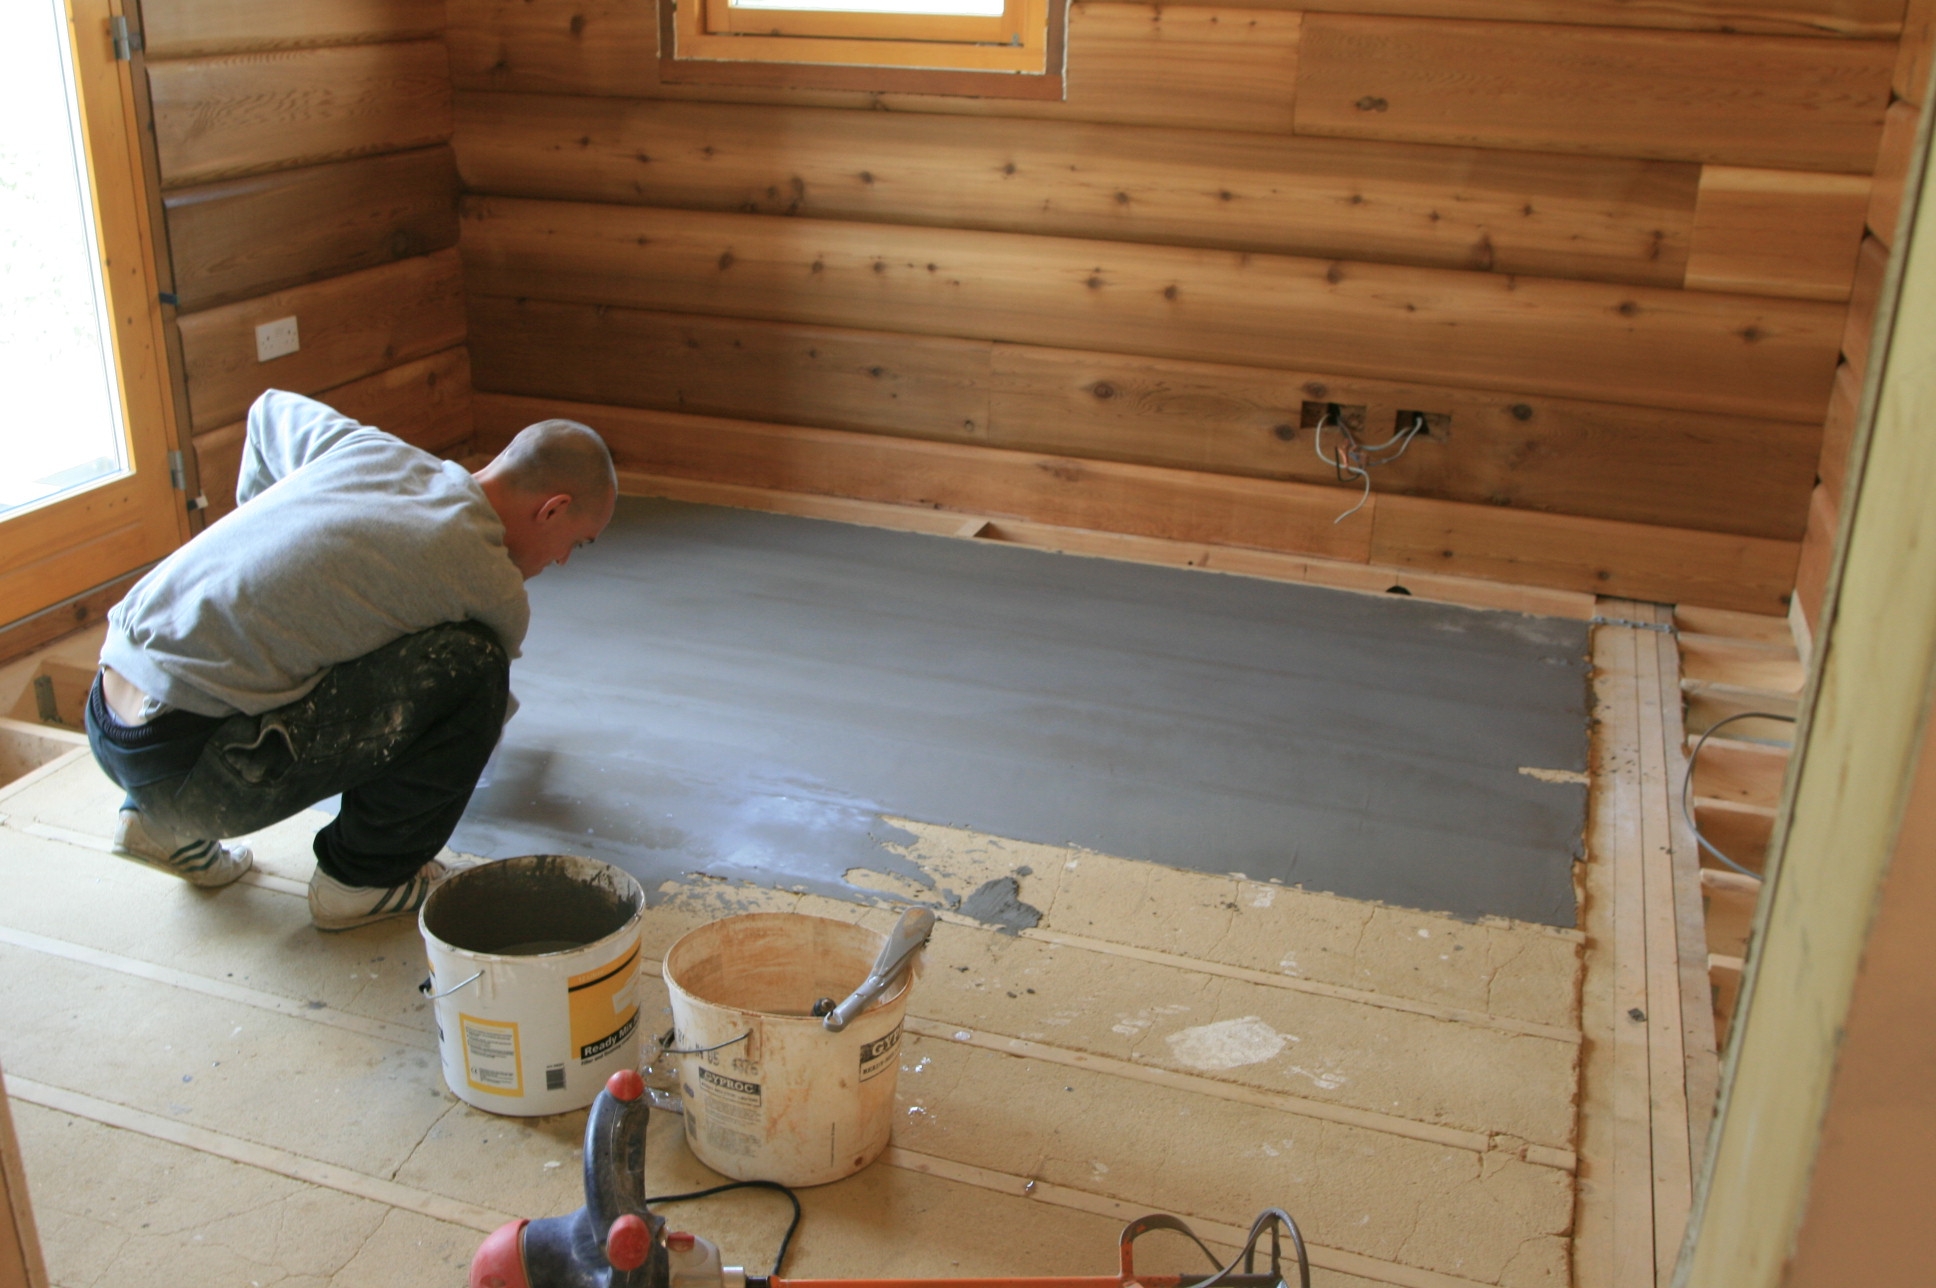
If the flooring is performed without a log, the concrete surface should be leveled with a cement-sand mortar, if possible, then apply the primer and allow to dry. The cement-sand mortar sets for several days, all the while releasing excess moisture into the environment, so it is better to start the preparation in advance.
If the height differences when checking the level turned out to be large, you must perform a tie or lay lags to compensate for irregularities.
If you are laying over old boards - to inspect their condition. The rotted or scattered areas are subject to replacement, creaking or staggering - to be fixed. On the wooden base also need to apply a primer, antiseptic and dry.

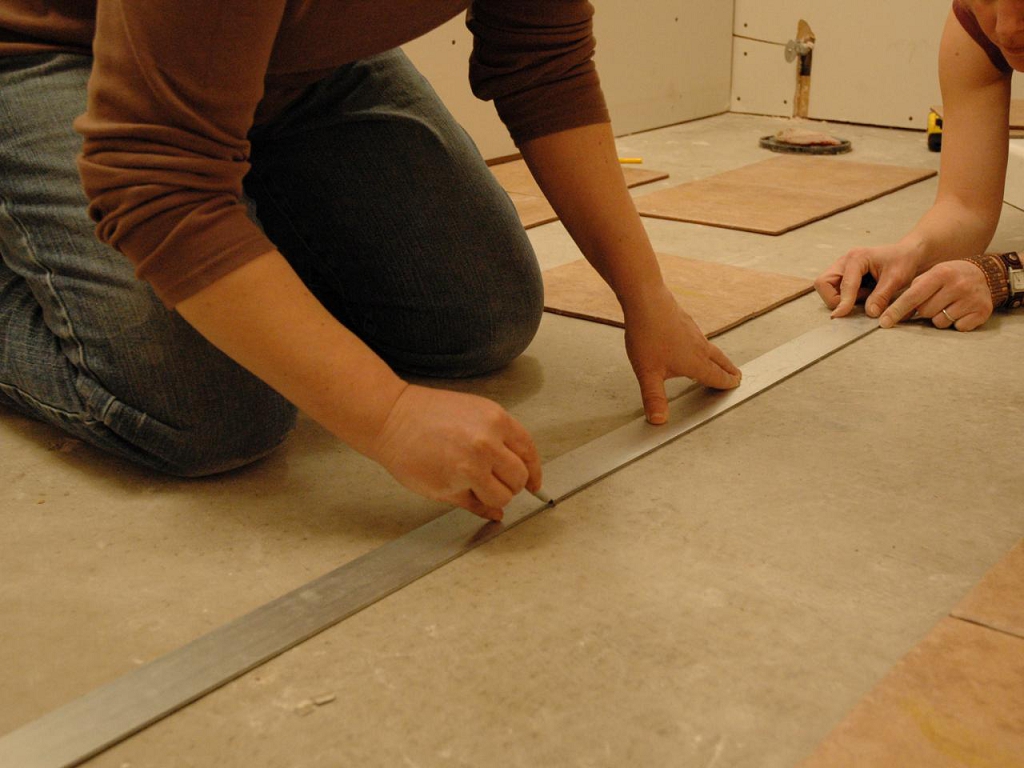
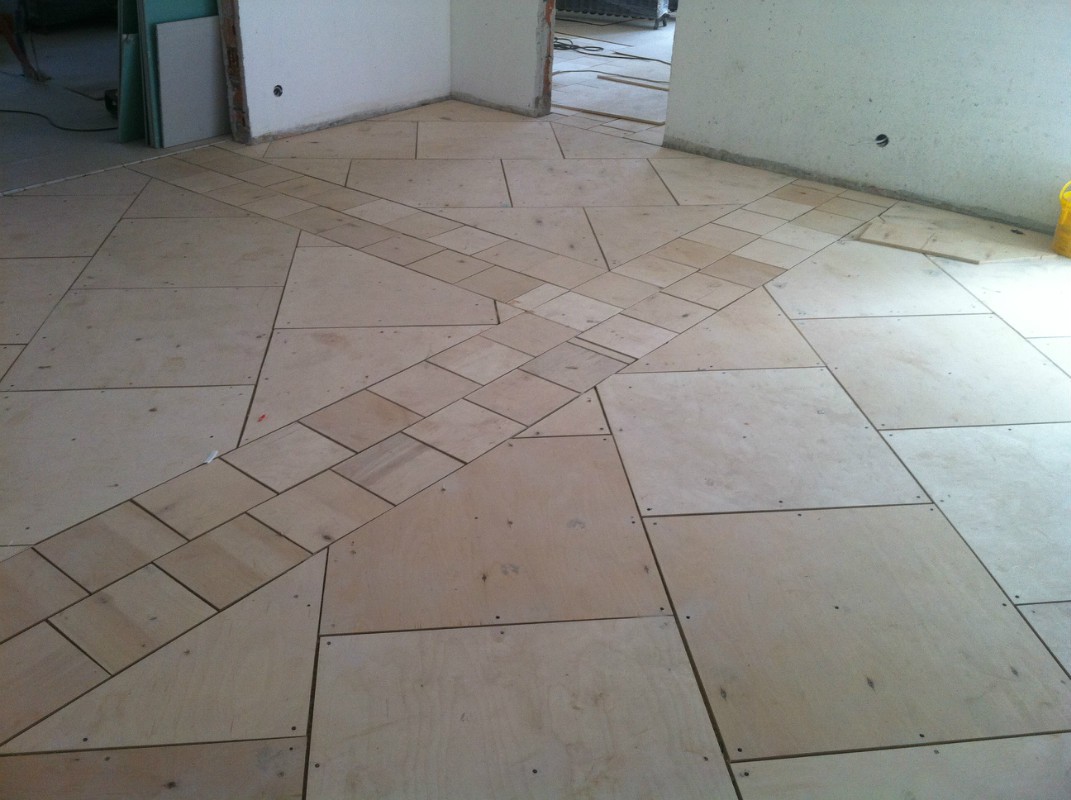
At the next stage, you need to expand the sheets as they will be subsequently fixed. It is necessary to provide compensating gaps: between the elements of 3-4 mm, from the wall of 8-10 mm, this will allow to avoid swelling, if the temperature or humidity conditions change.
In the process of cutting it is necessary to glue the ends of the sheets with glue in order to avoid their cracking in the future.
Mark the blanks, while indicating the orientation of the blanks in one direction either by the inscription or by the arrow. For example, indicate the row with a letter, number with a number, that is, A1 is the first element in the first row. This will further avoid confusion. For convenience, you can sketch on paper laying scheme.
It is necessary to avoid cases when the angles of four adjacent fragments converge at one point. In other words, lay out blanks "vzrazbezhku", as in the brickwork.
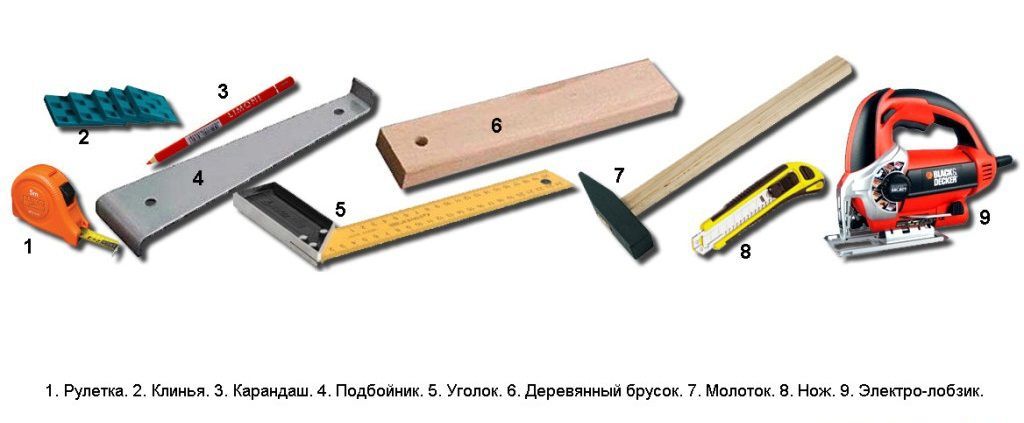
Materials and tools
For laying you need the following tool:
- Electric jigsaw. There is little chance that it will be possible to cover the floor with solid sheets, and, possibly, when the angle formed by the floor and wall is not perfectly flat, figure cutting may be required.In addition, you will need to bypass the pipe risers in the places of their exit. For these purposes, the circular saw fits much less, as it allows you to do only a straight cut.
- Building level. The preferred level is not less than 2 meters long, as a tool of smaller length will not allow to notice the unevenness at large distances.
- Tape measure and pencil. After pre-folding, carry out the necessary markings and markings before beginning to cut.


- Construction knife.
- A screwdriver with a bat that matches the fastener used.
- Vacuum cleaner or broom.
- Personal protective equipment: durable gloves, glasses, knee pads, if necessary - headphones (earplugs).

From additional materials:
- Self-tapping screws (self-tapping screws) - if laying on logs or an old wooden floor is performed. The fastener is selected by a simple formula - the thickness of the fixed element is multiplied by three. For example, if the sheet is 20 mm, then the length of the screw is not less than 60 mm. In this case, the screw should not be longer than the total thickness of the flooring and the wooden base.
- Dowels corresponding to self-tapping screws - if they are mounted on concrete or screed.
- Glue for wood (usually ordinary PVA is used) or “liquid nails”.
- Sealant (polyizol).
Mounting methods
Depending on the condition of the premises being repaired, different methods for the installation of the draft foundation are used:
- over the concrete floor (or screed);
- over old wooden floor;
- on the lags.
Based on this, one or another fastening technology is applied.


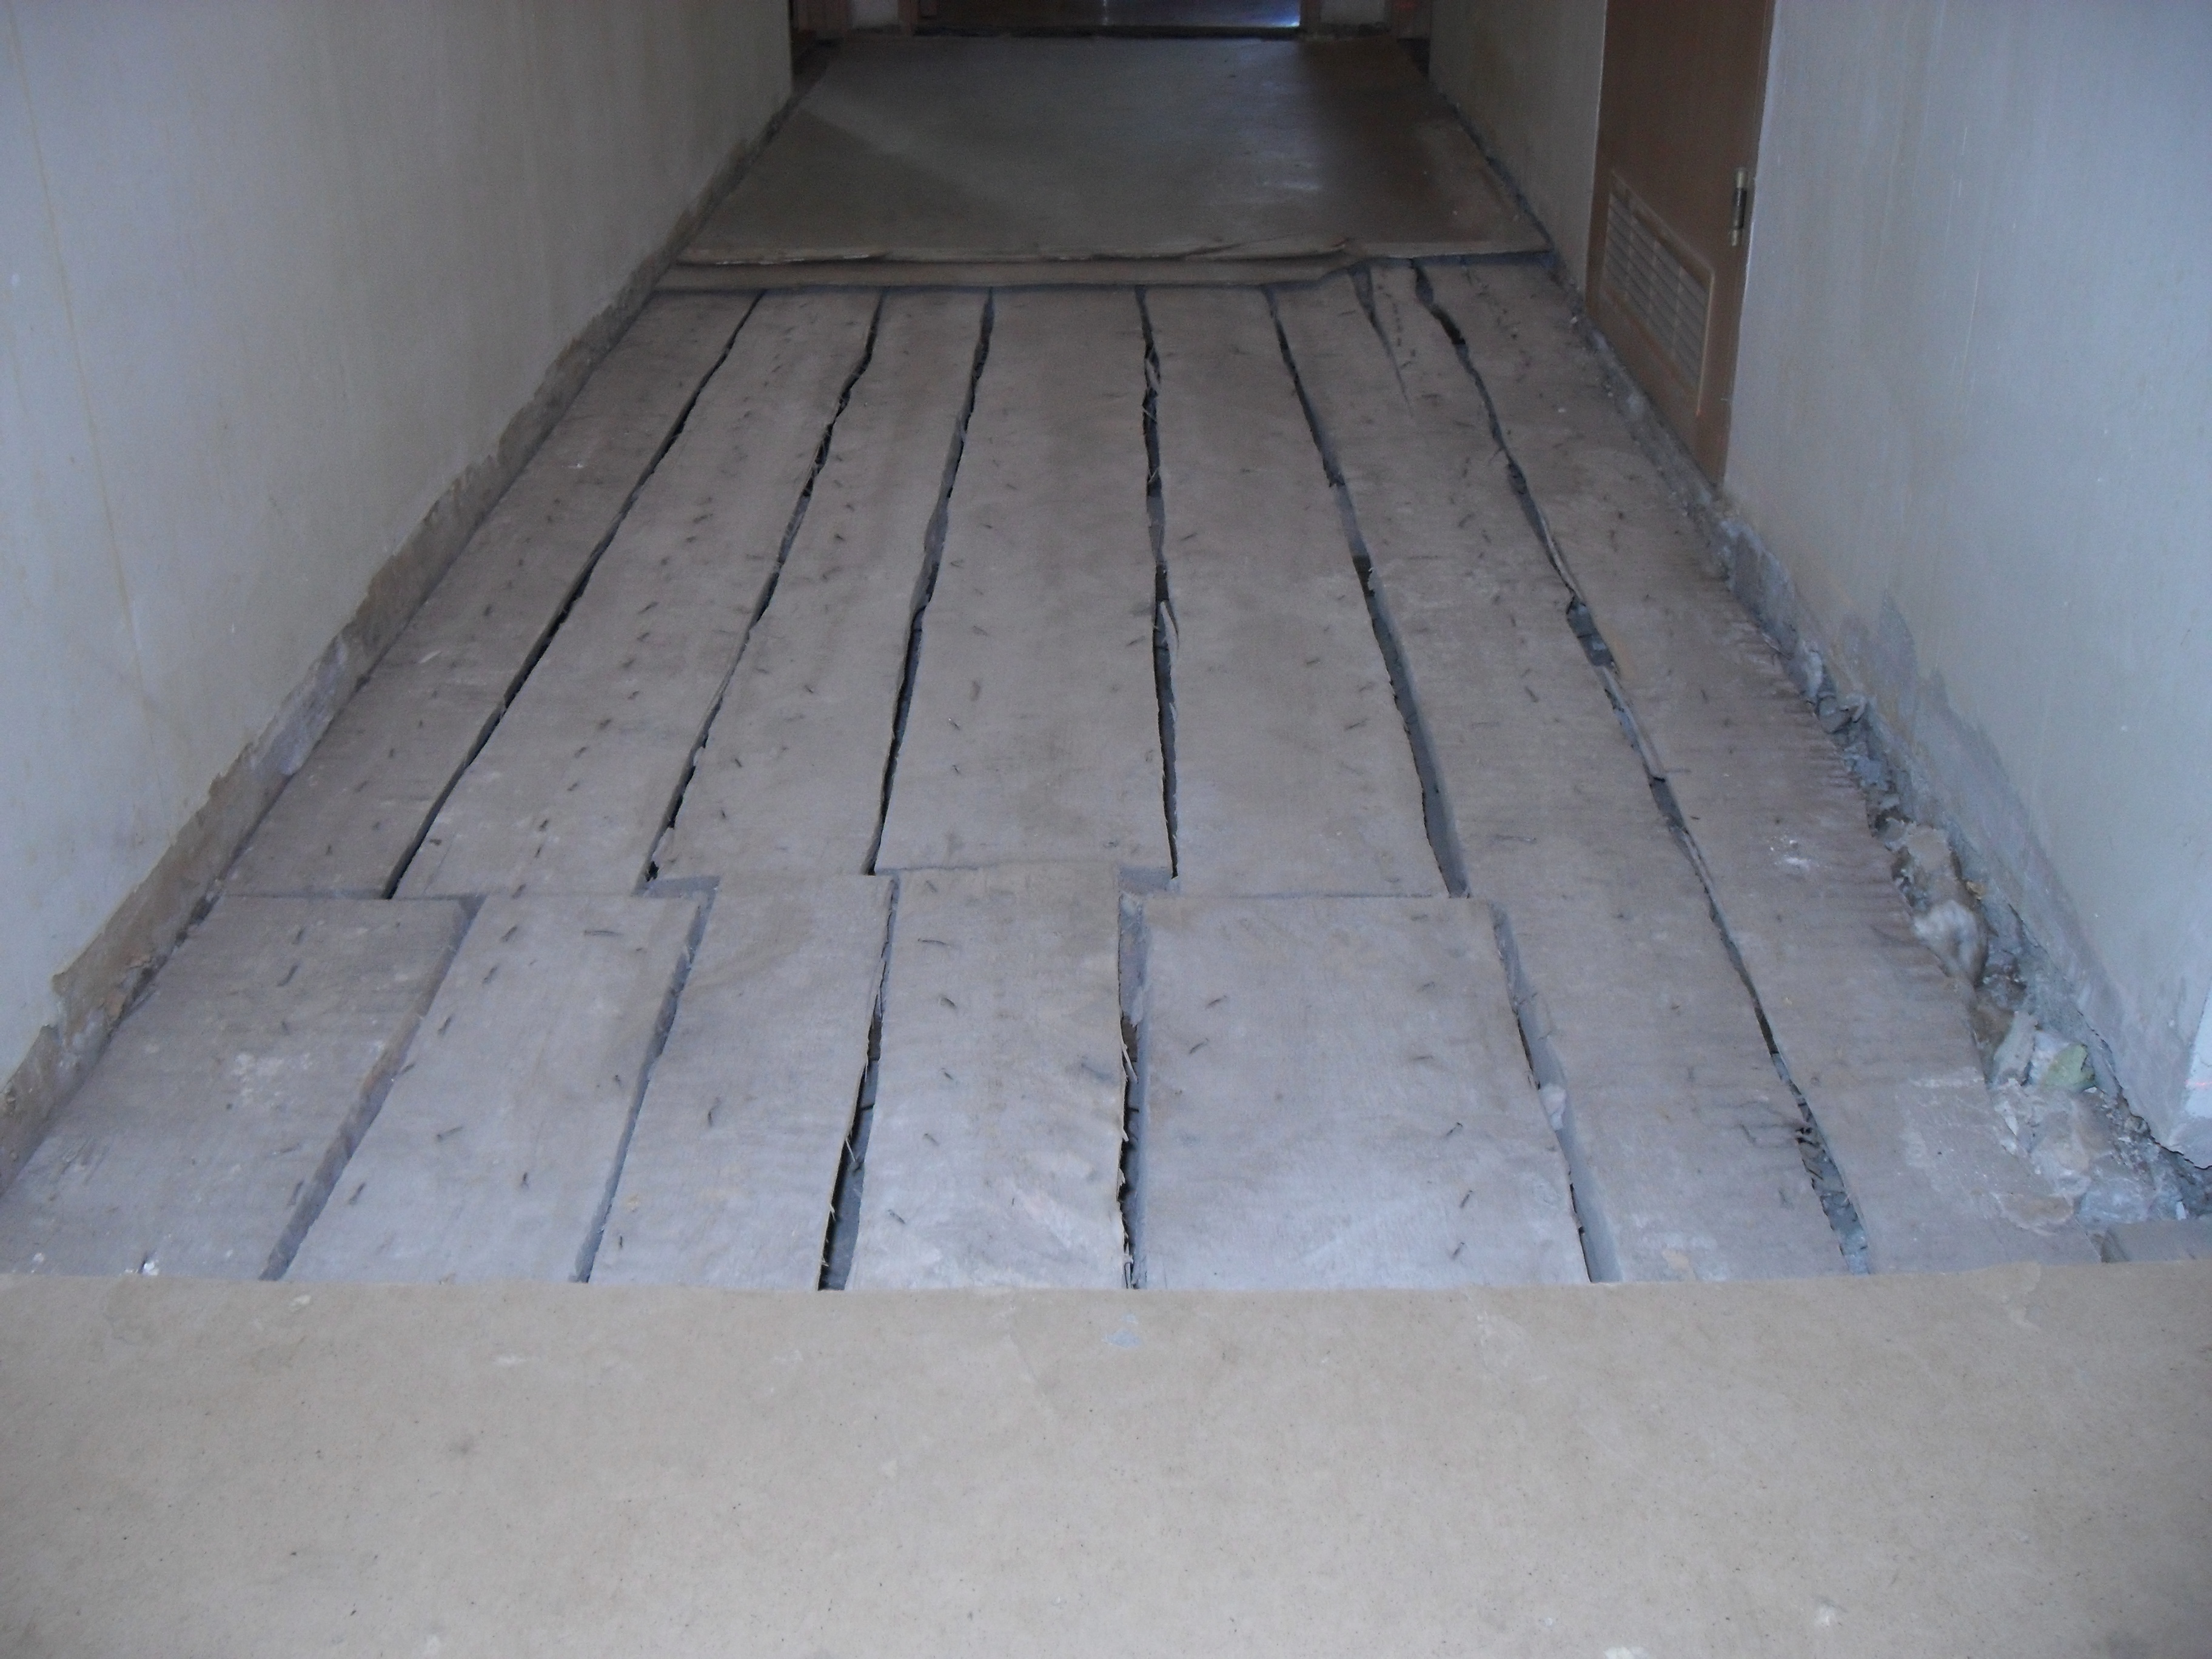
On the old floor
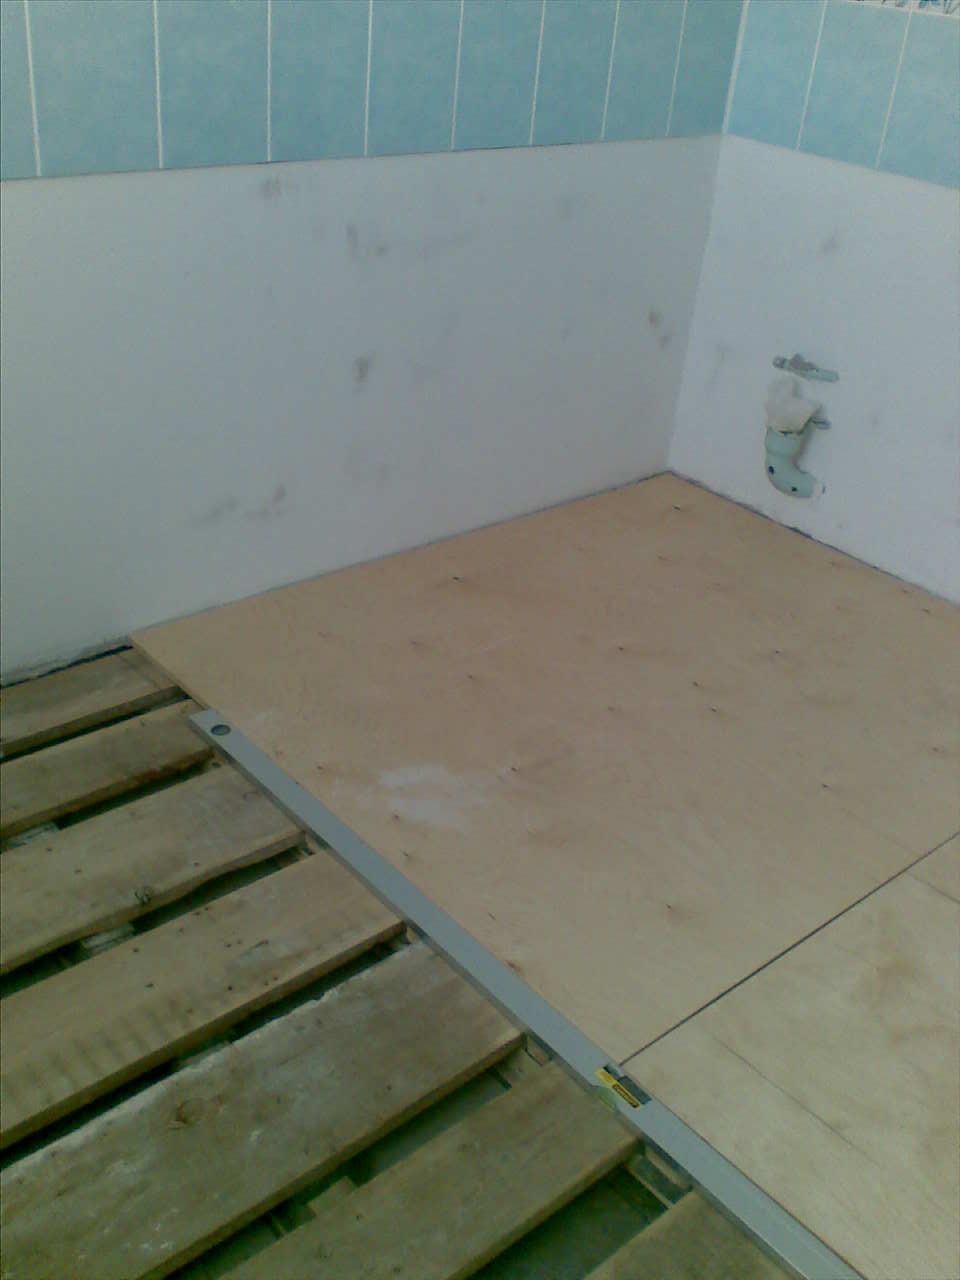
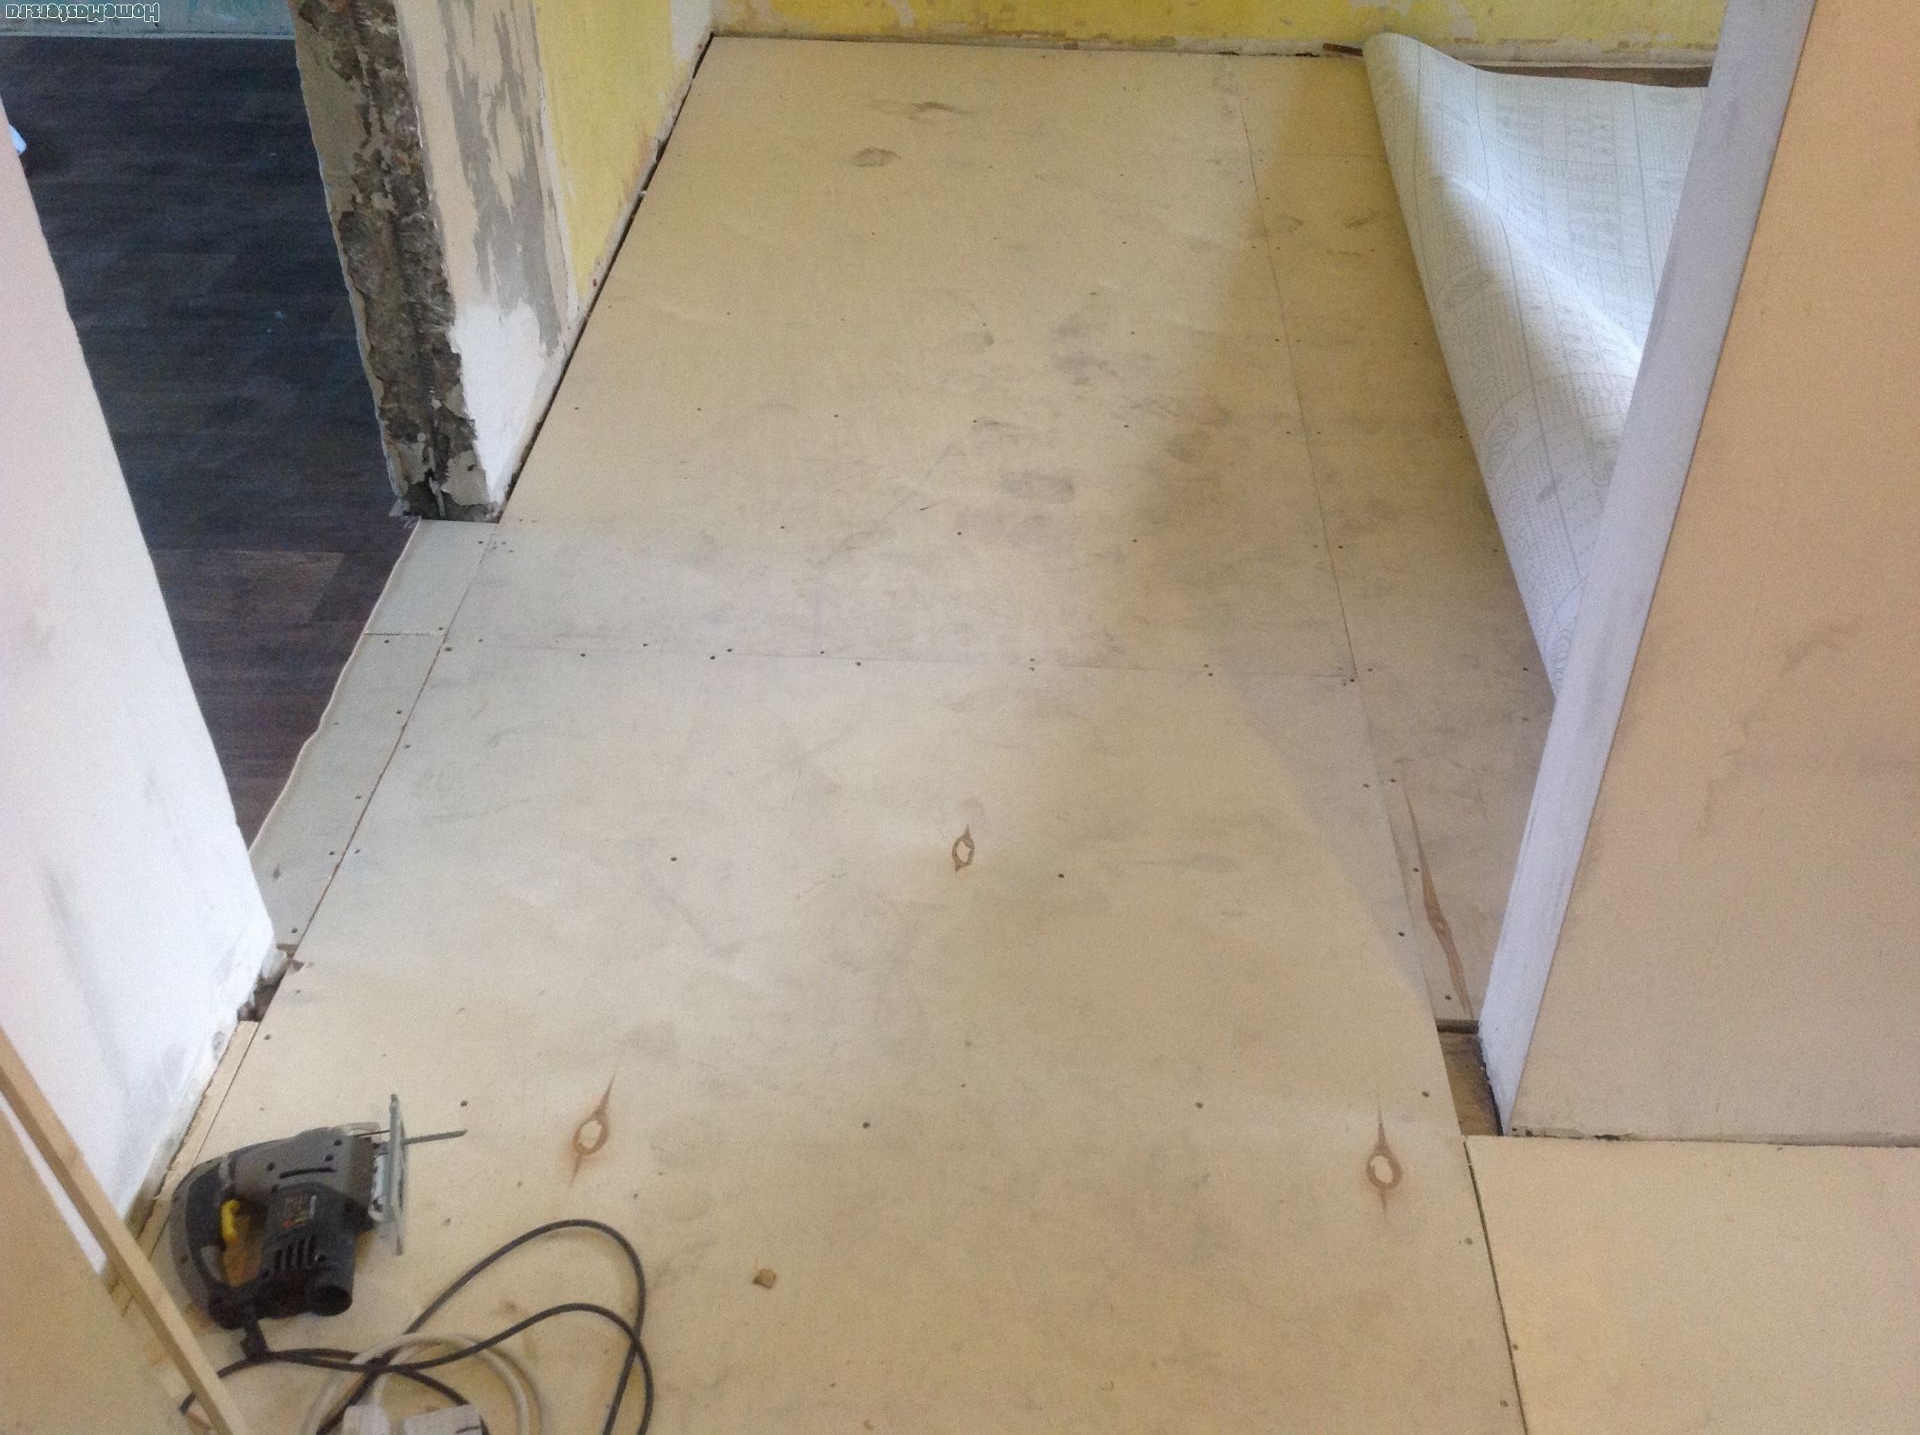
Technology laying plywood on the boards of the old floor is quite simple. In your own house or apartment, you can do this work with your own hands. After carrying out all the preparatory activities need to spread out and cut the substrate. It is important to avoid overlapping, preferring “butt” so as not to add unevenness. The joints of the seal should be fastened with wide tape, the excess cut.
Then proceed to the layout according to a predetermined plan, observing the marking. Start from the corner, gradually expanding the "spot" in both directions.
The elements are screwed with screws, retreating from the edge of at least 2 cm, and with a pitch between the attachment points of not more than 20 cm, dropping the cap.


How to lay on the logs?
For log, a timber of coniferous wood is chosen, with a cross section of at least 50x50 mm. Preference should be given to the dried timber without visible violations of the geometry (not twisted "in the screw" and without bends along the longitudinal axis), without chips and other mechanical damage.
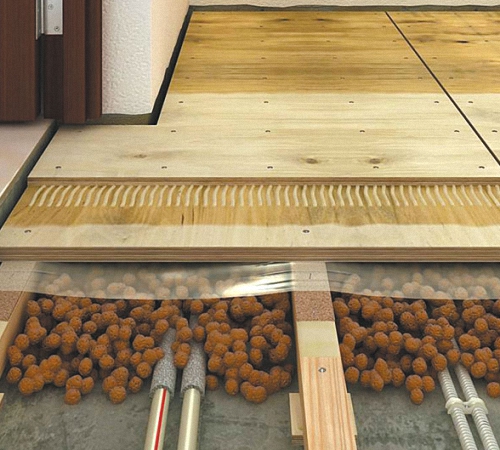
In order to isolate wooden elements from dampness from below, before laying them it is advisable to pre-insulate (polyizol) by fastening the seams with adhesive tape.
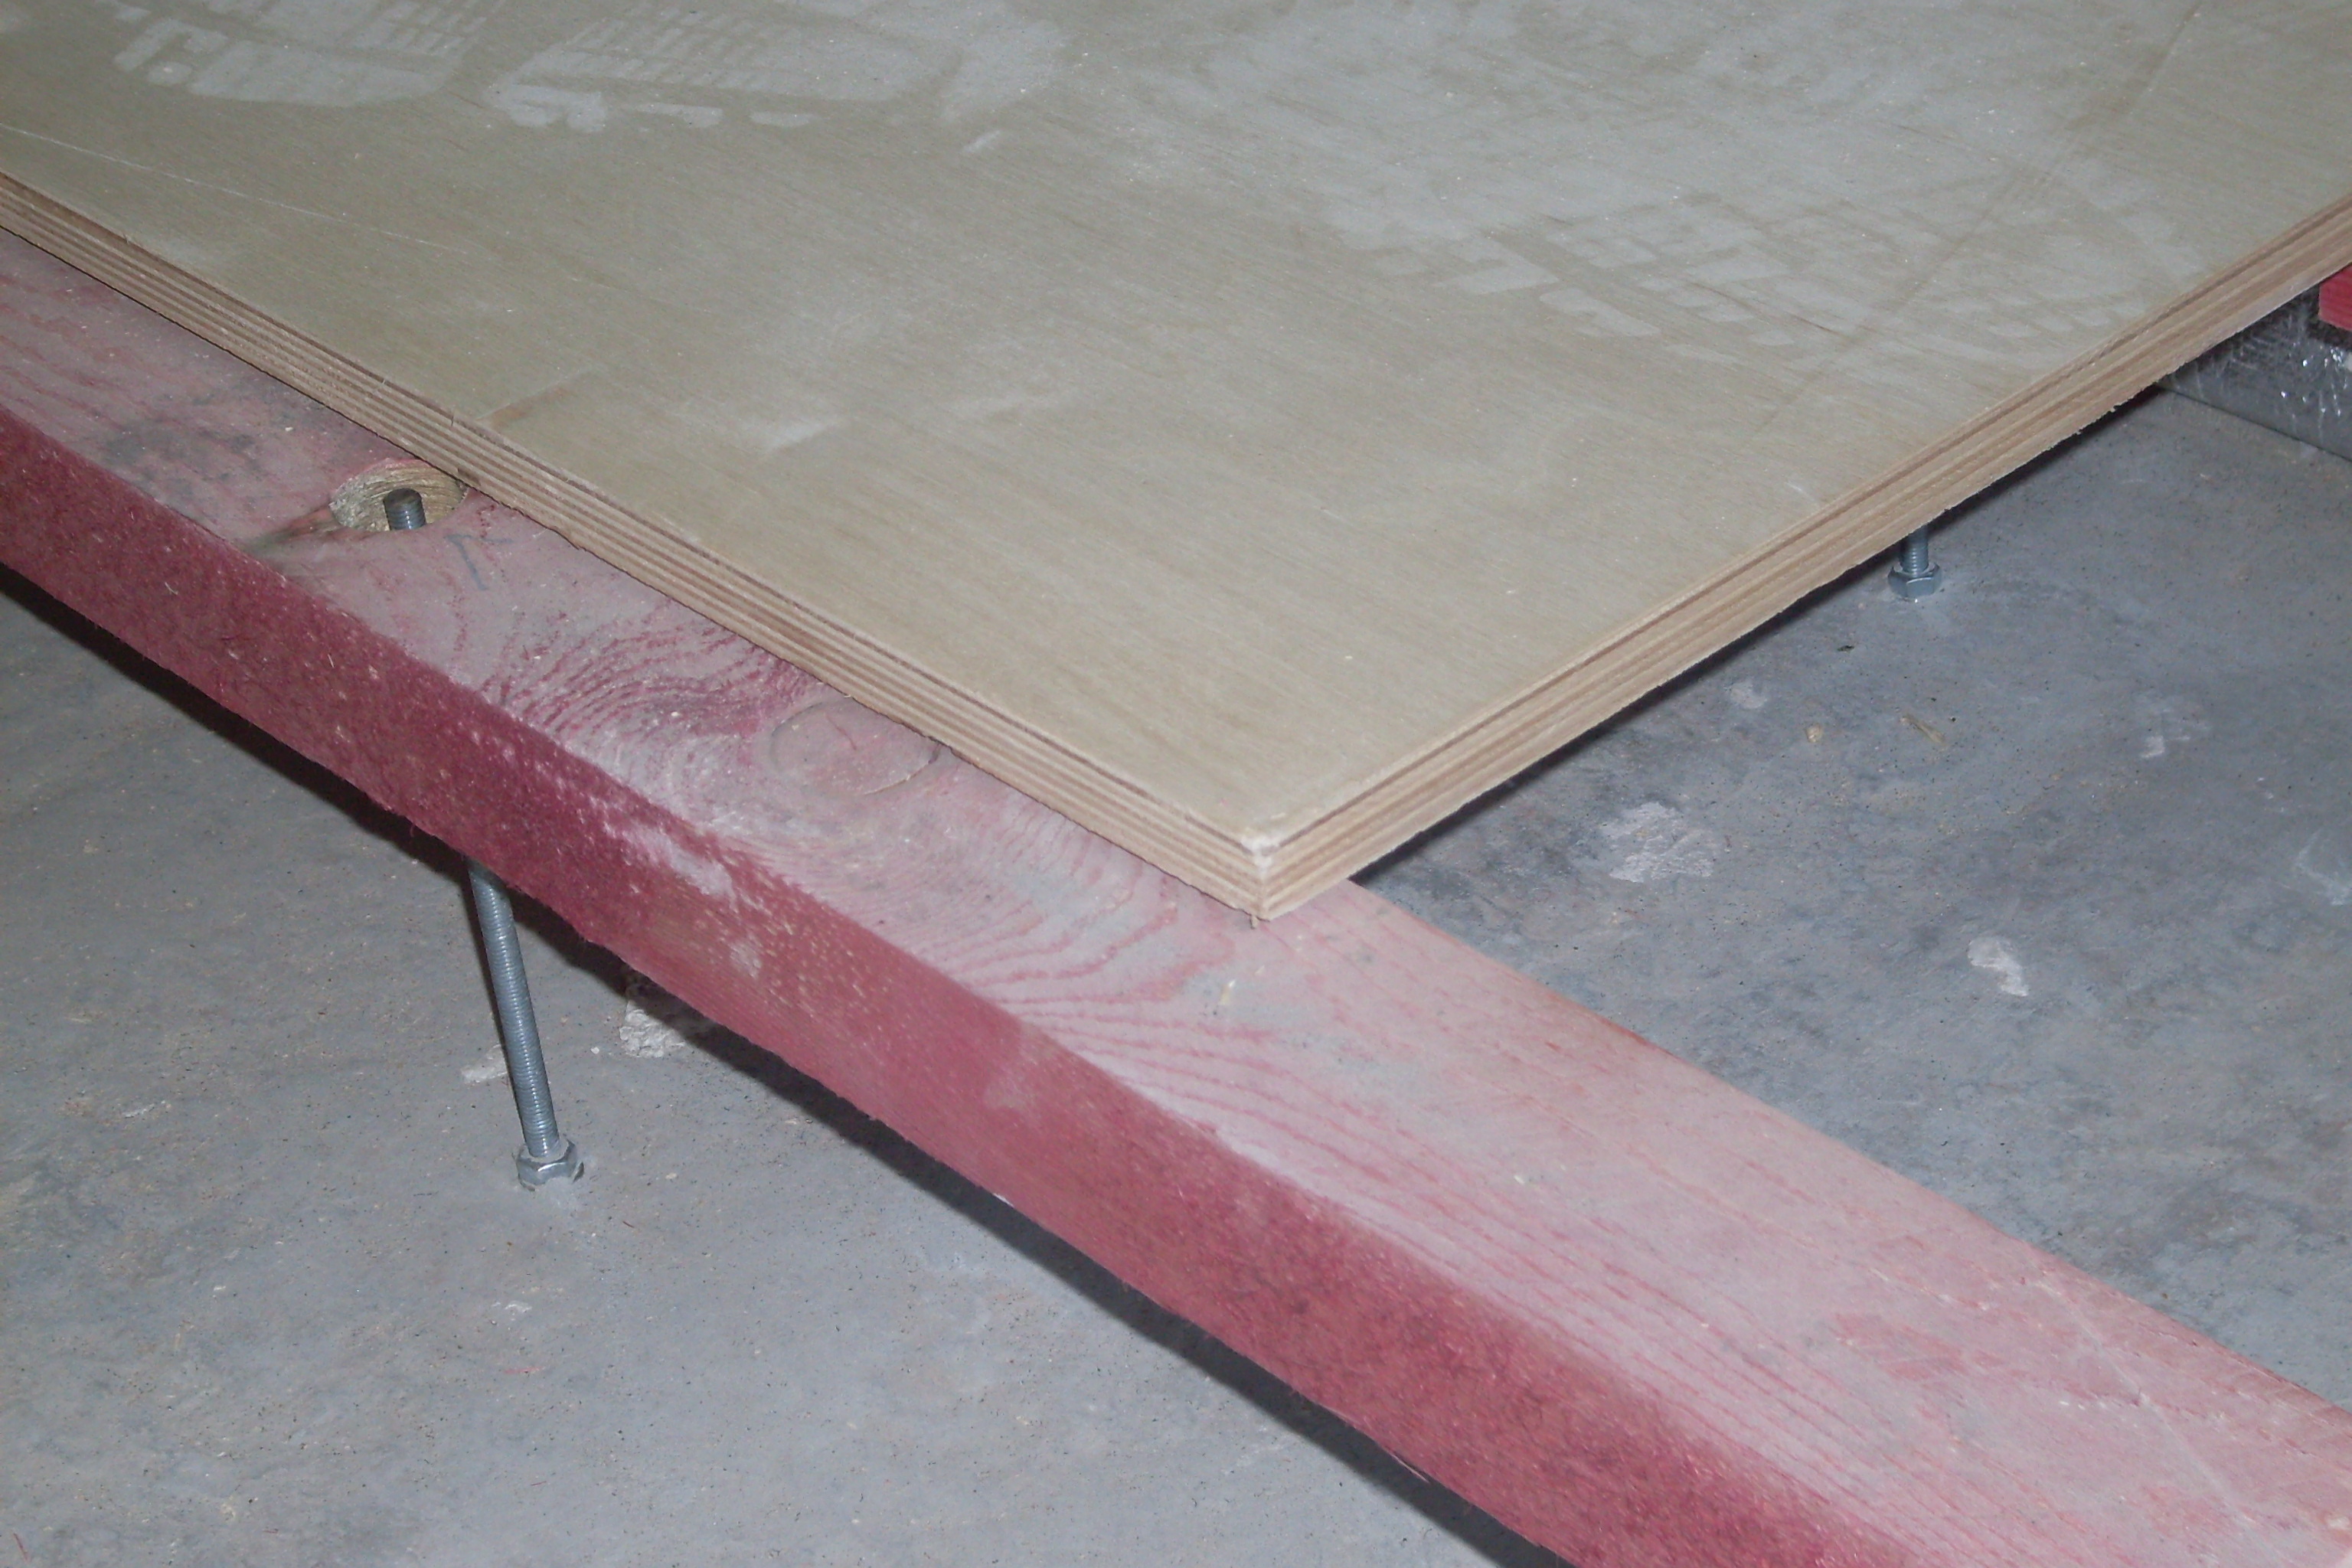
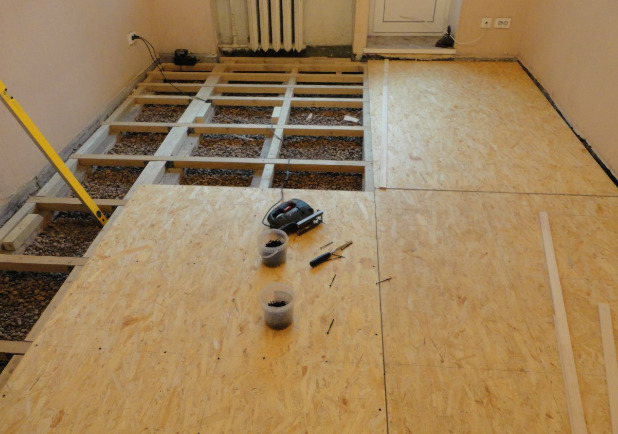
It will be correct to start laying lags from the highest point selected using the level. It is important to withstand the step of stacking a beam evenly, 50 - 60 cm, not more.

Laying rules require you to observe the greatest possible horizontal position, if necessary, placing the bottom of the same timber or any rigid inserts resistant to moisture and fungus from below, it is also permissible to attach them to glue or, if dimensions allow, to fasten logs to them with self-tapping screws.
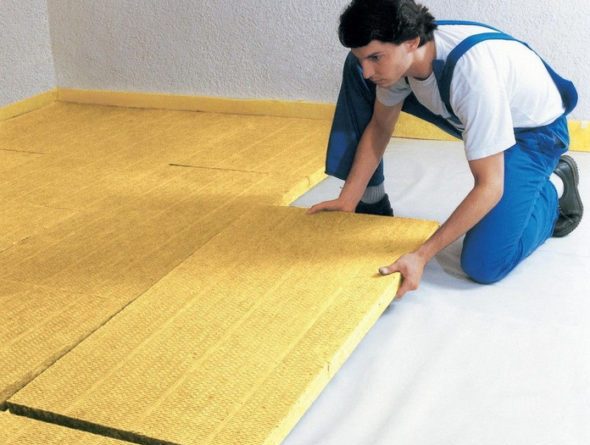
Mounting on concrete is sufficient to perform with glue or "liquid nails." To improve the heat and sound insulation, it is possible to lay penoplex or mineral wool between the lags.
Further, as with laying on the old floor, fix the fragments according to the scheme planned for marking.
Professional Tips
- It is important to choose the right plywood thickness, the golden rule: the base should not be thinner than the top, “front” coating.
- It is necessary to stack the fragments “in a run-up” - so that in one place the corners of four neighboring elements do not converge.
- Do not exceed the allowable lag increment to avoid sagging and damage to the finished floor.
- If thin sheets are used in two layers, avoid matching seams in the upper and lower layers.
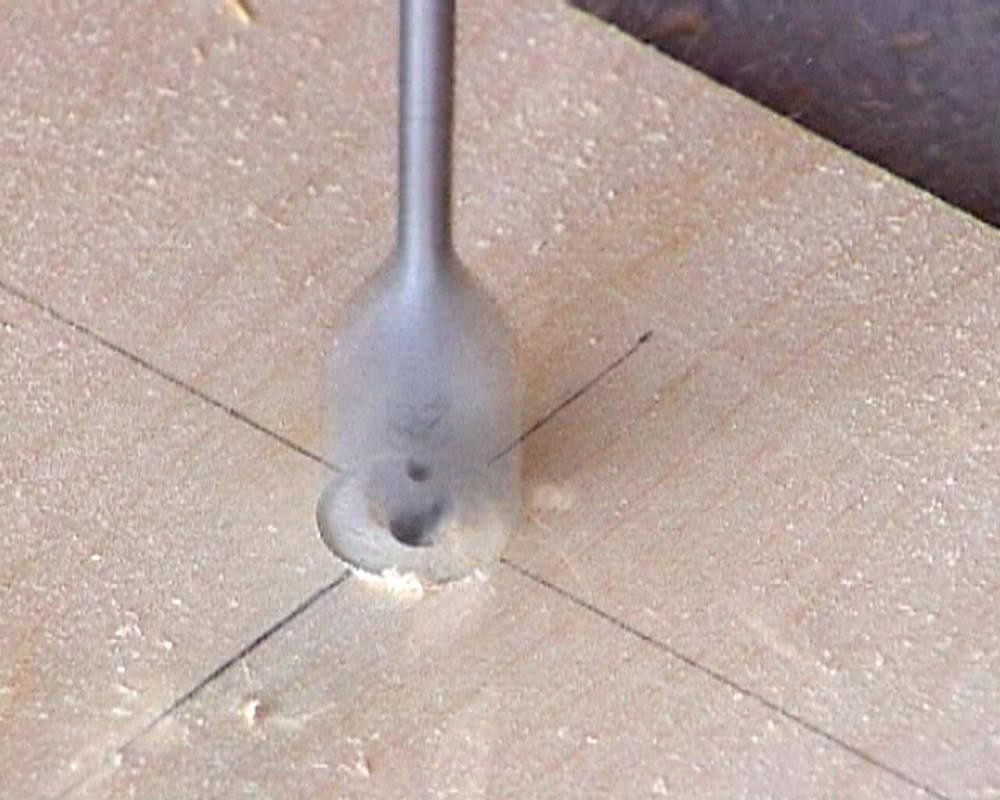
- So that the caps of the self-tapping screws are reliably recessed, you can pre-drill the attachment points with a drill, and then make a shallow hole of 3-5 mm shallow diameter.
- If ordinary, not moisture-resistant plywood is used, after its installation it will be useful to treat the surface with acrylic varnish twice.
Successful examples and options
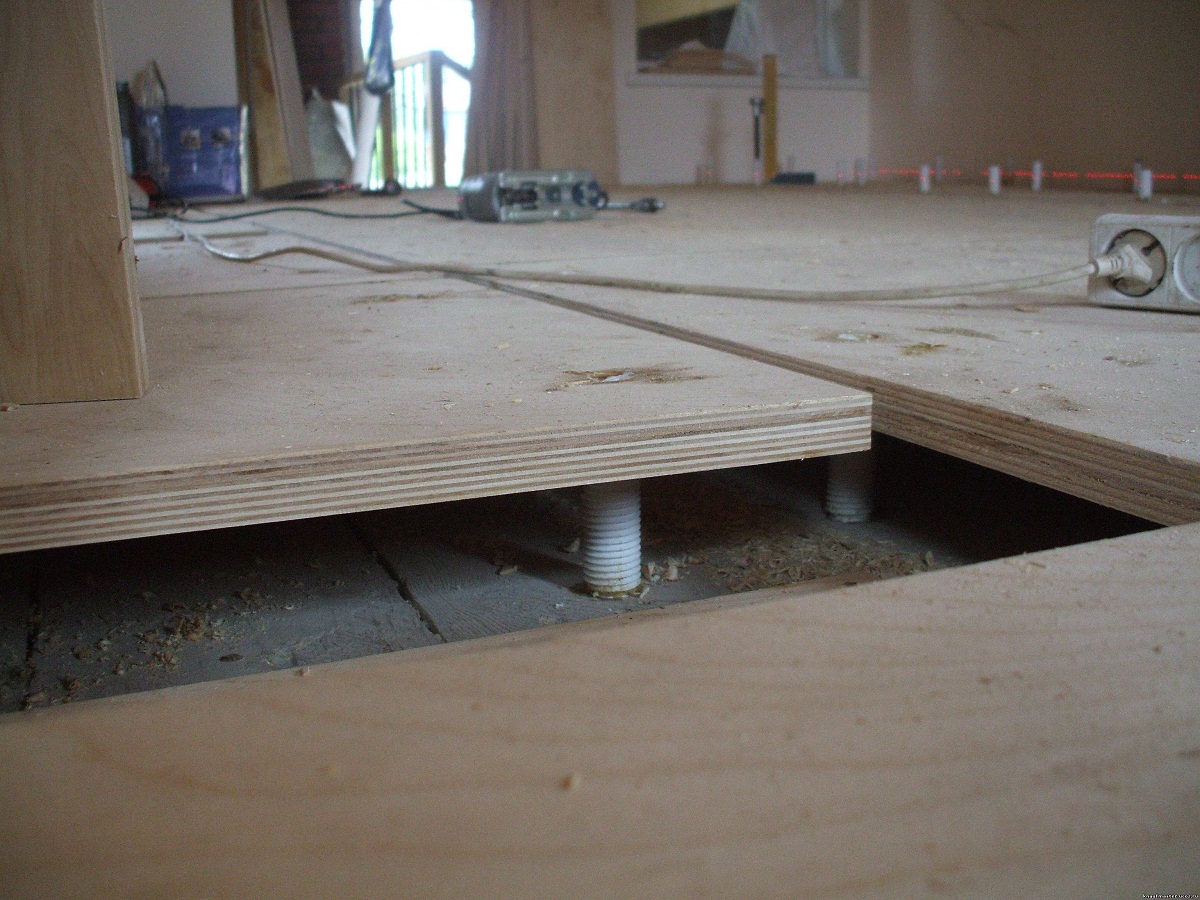
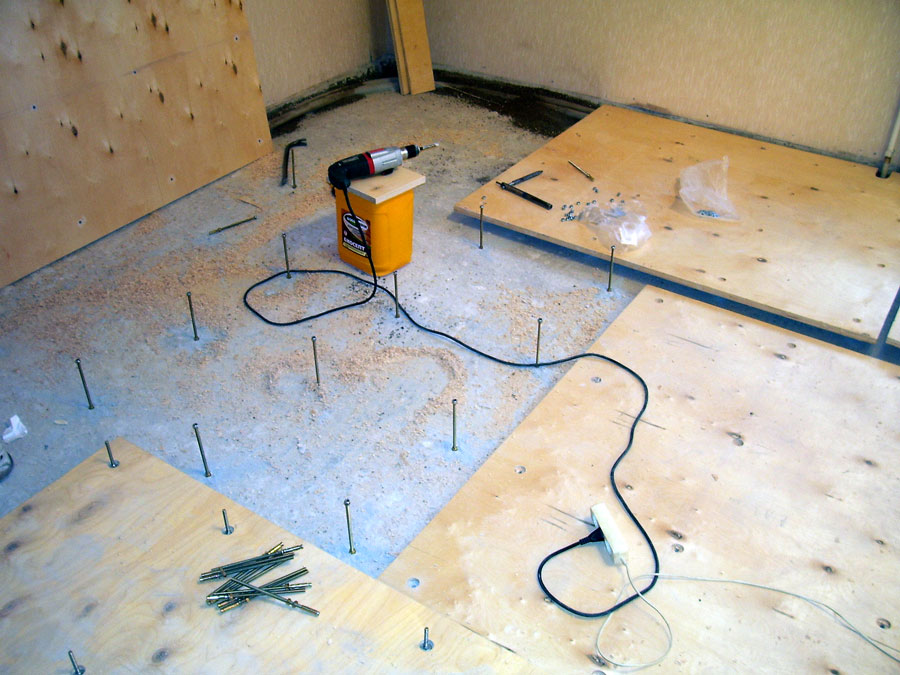
In this case, the flooring is made on the old wooden floor with the observance of horizontality, sections of a threaded rod, closed with PVC corrugated tubing, are used.
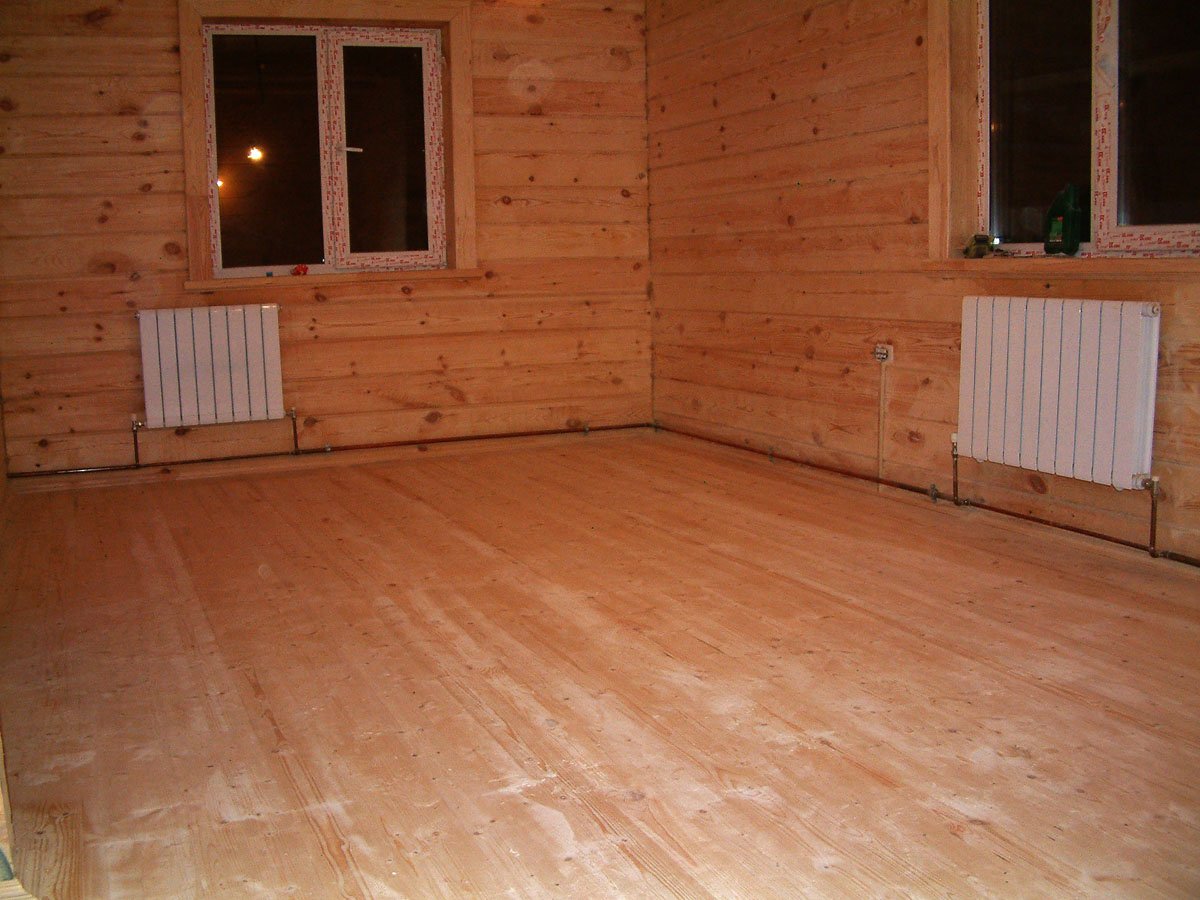
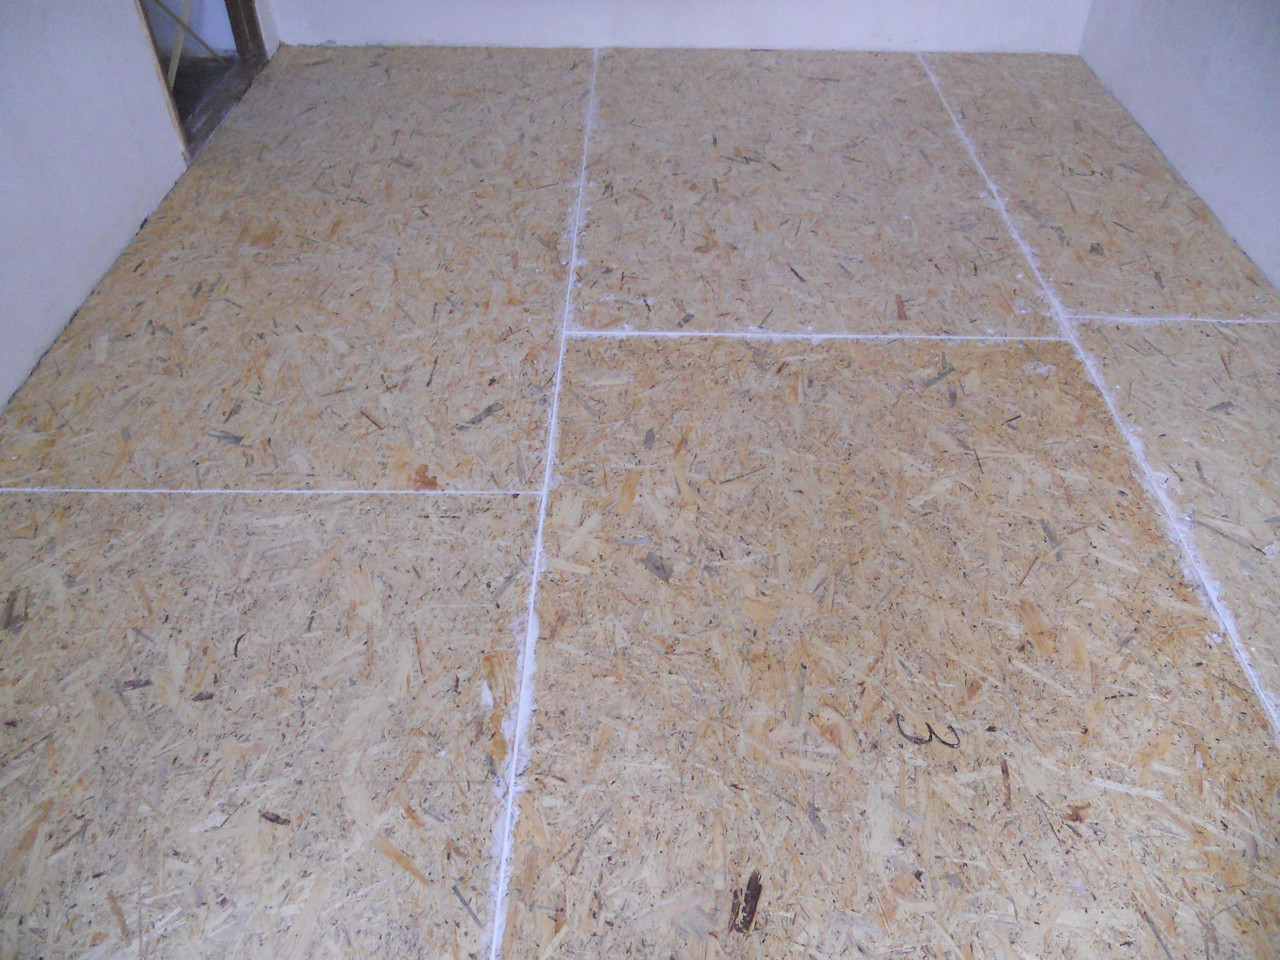
The floor is covered with plywood smoothly, the seams between the sheets are treated with sealant and putty.
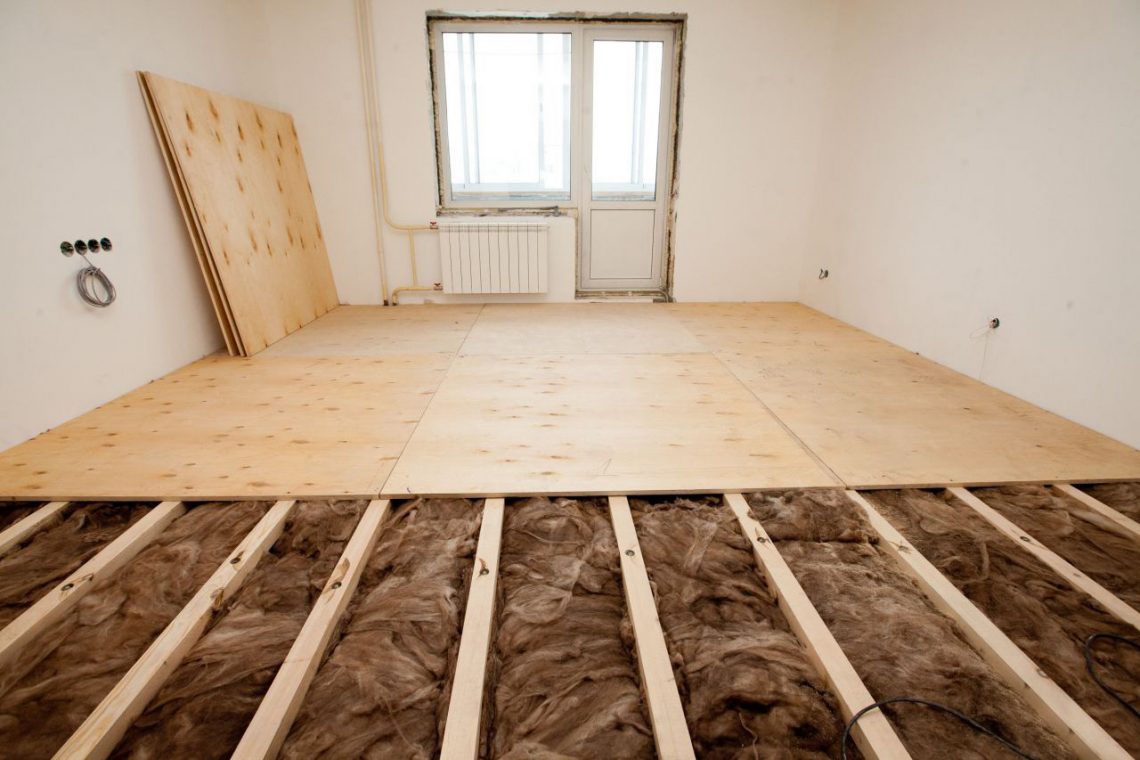
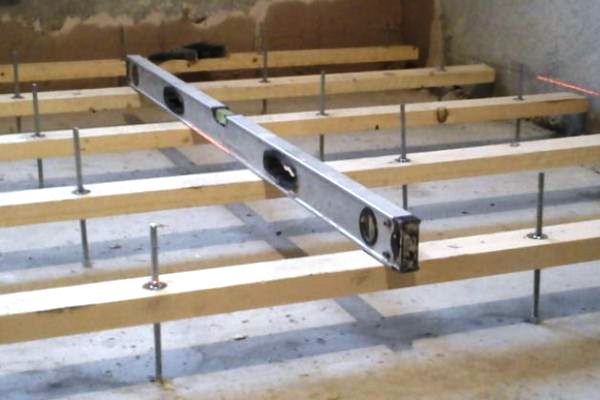
Installation on the lags is made of solid sheets with a minimum of cuts, compensating gaps between the sheets are taken into account. Mineral wool is laid between the lags as a heater and sound insulator.
Preparations are made for flooring in logs, the concrete floor is leveled, and plastic film is laid for waterproofing.
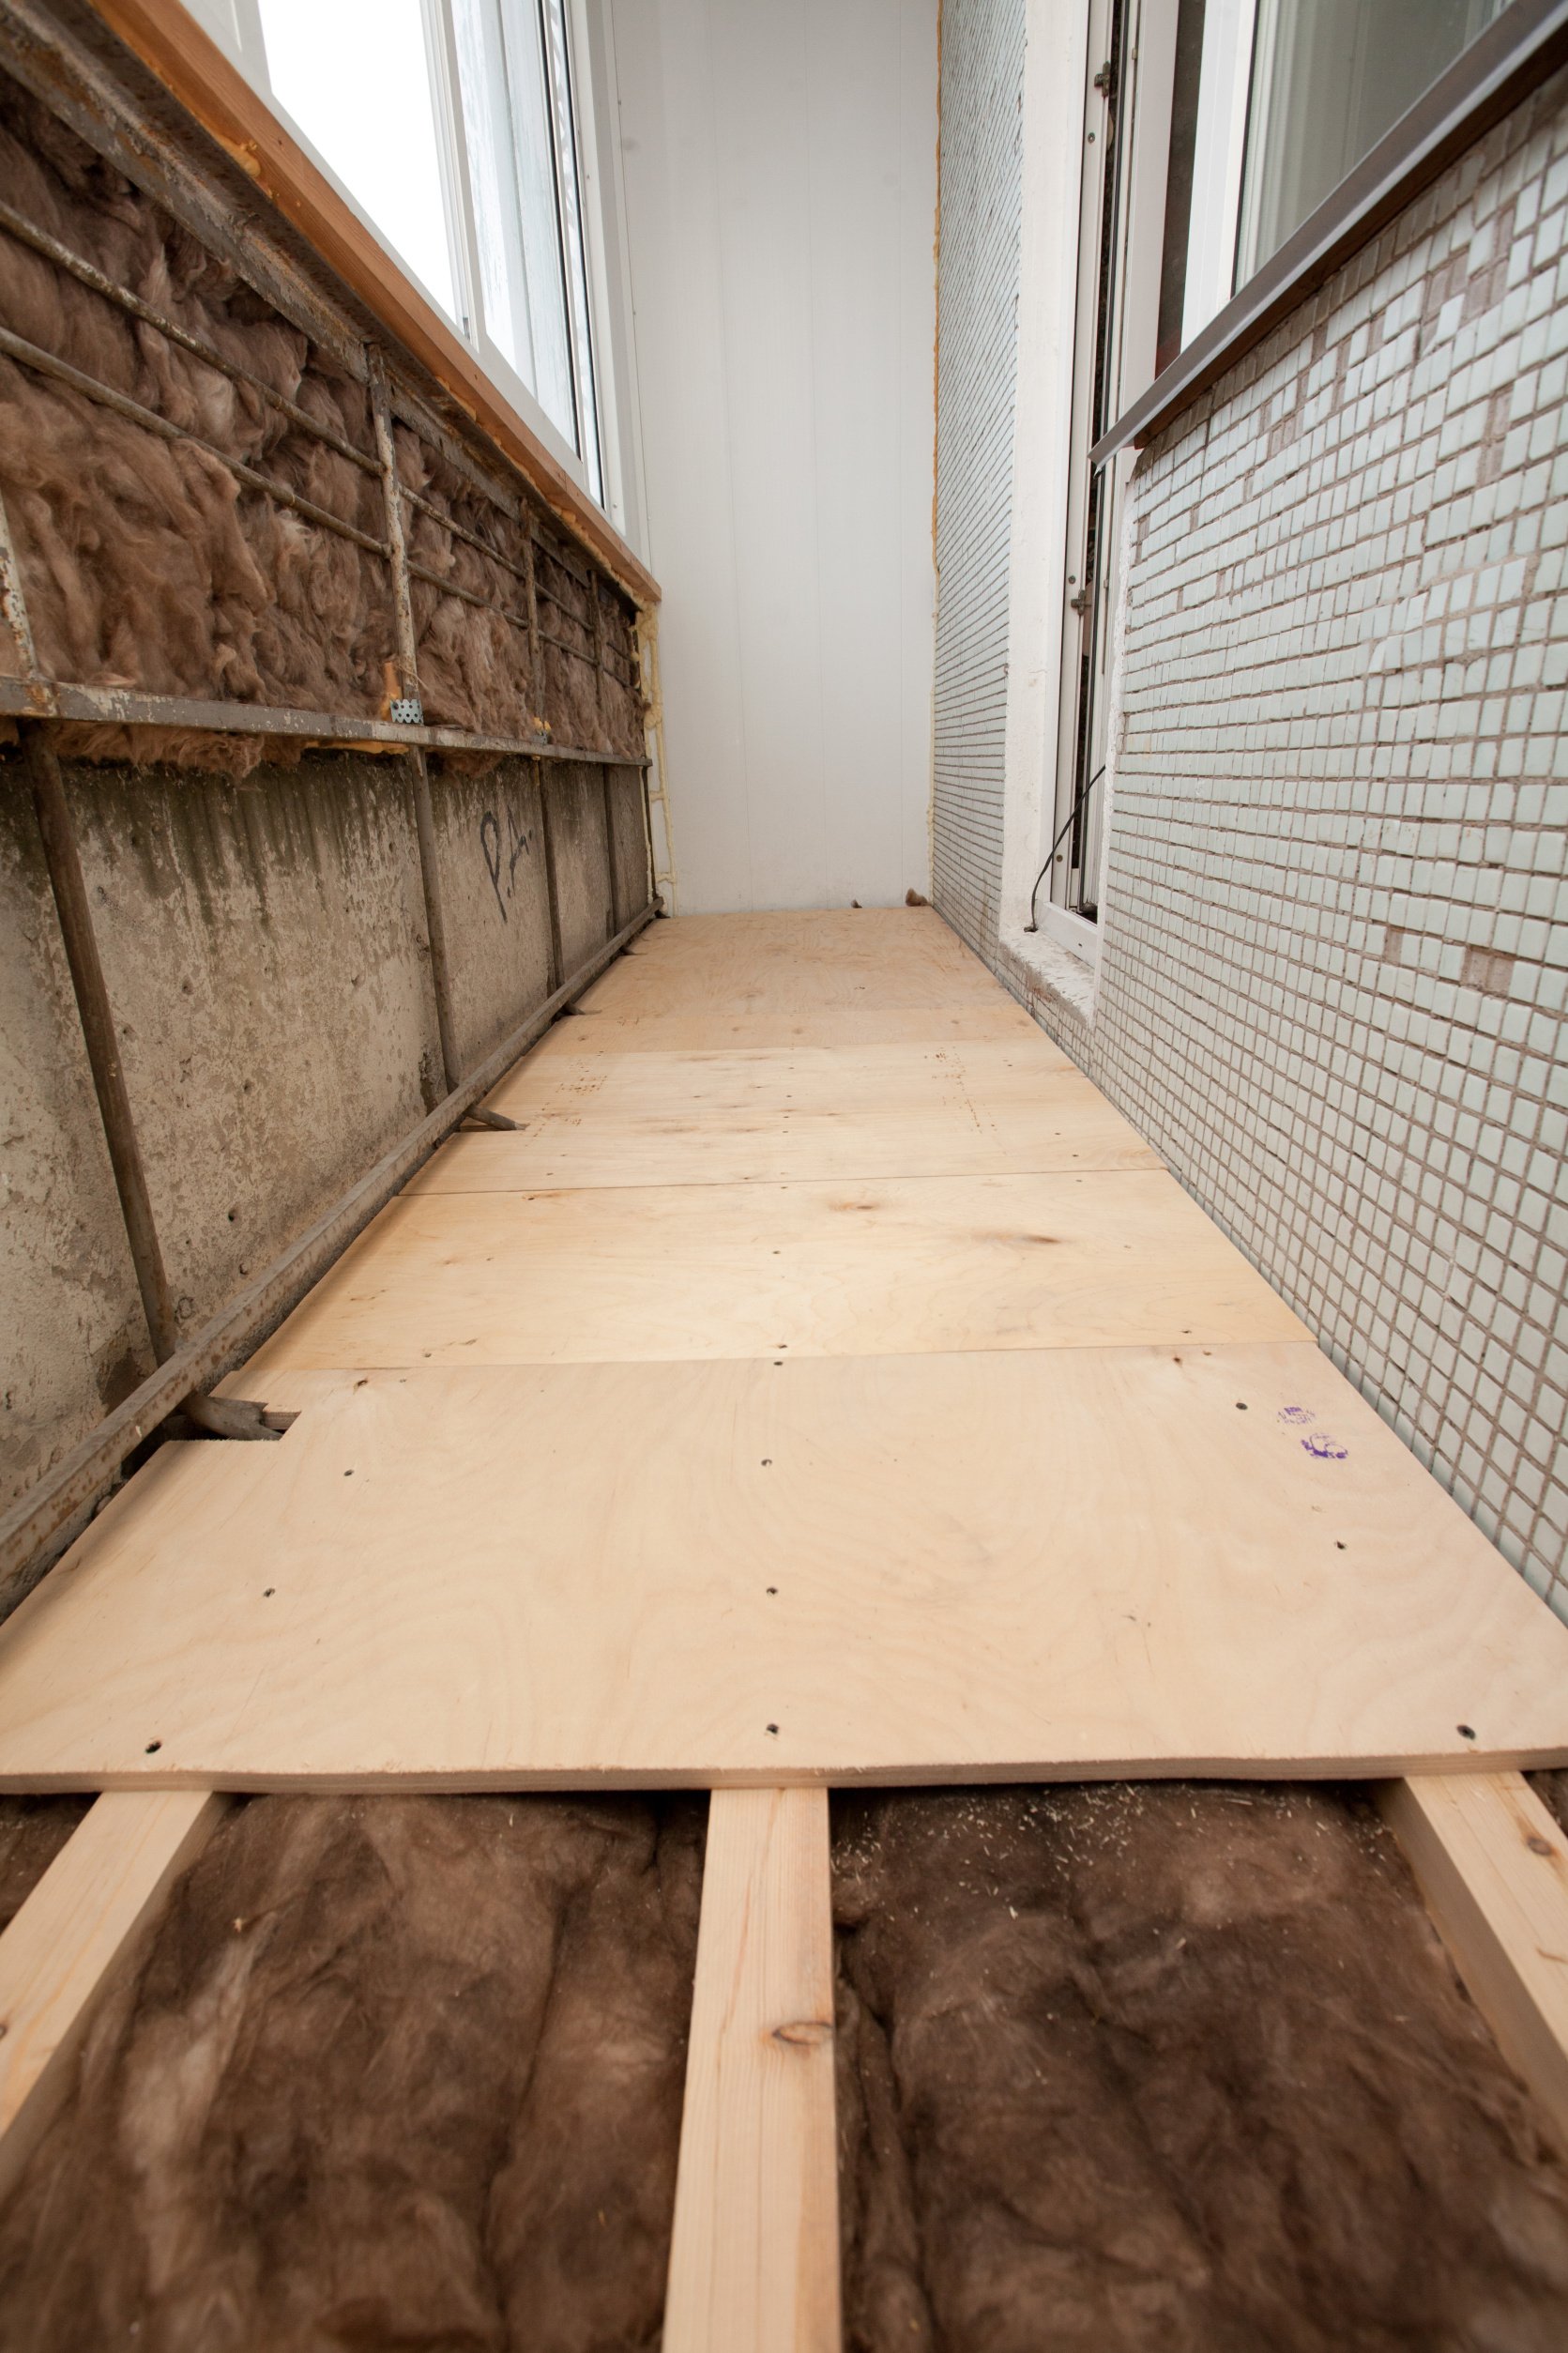
The case when the recommended clearance from the wall is allowed to be neglected - a narrow section of the floor covered with logs. For protruding at the edges of metal elements cuts are made with minimal loss of bearing capacity. Mounting on screws. Mineral wool in the space between the lags.
For information on how to level the floor with plywood, see the following video.


