How to level a wooden floor?
The floor is the basic element in the interior of the house. Along with windows and doors, furniture and lighting, the condition of the floor plays a key moment in creating comfort and well-equipped living space. Therefore, work on this important element in a house, apartment or in any other space should be carried out qualitatively and responsibly. And especially careful approach require wooden floors.
Features: pros and cons
The most popular at all times it used wooden products. First of all, because the tree is a symbol of warmth and reliability, besides, it is incredibly pleasant to the touch and as if “alive”. In itself, a tree is a durable material, however, and over time it is able to lose its attractiveness, to deform, bend, bend, crack and crack. But this is not a reason for stupor and perplexity.

Many owners prefer to lay down any modern coatings on a wooden base in order to hide the defects that have appeared over time. It can be laminate, tile or linoleum. To do this, of course, you need to maximize the characteristics of the floor, and more specifically, to level its surface, so that the new floor will fall on it without any difficulties and defects.
Even with minimal technical skills, the work on leveling the flooring can be done with your own hands, choosing the most acceptable from a variety of ways.
Assessment of the condition of the floor
Resuscitation and restoration of the old base of wood is much easier and cheaper than completely replacing the coating. The duration of its service depends on the curvature coefficient. Often the connection locks with time lose their strength, cracks begin to form, where dirt and moisture collect. Therefore, before you engage in the alignment and laying of a new coating, it is necessary to conduct a full analysis of the draft wooden floor.
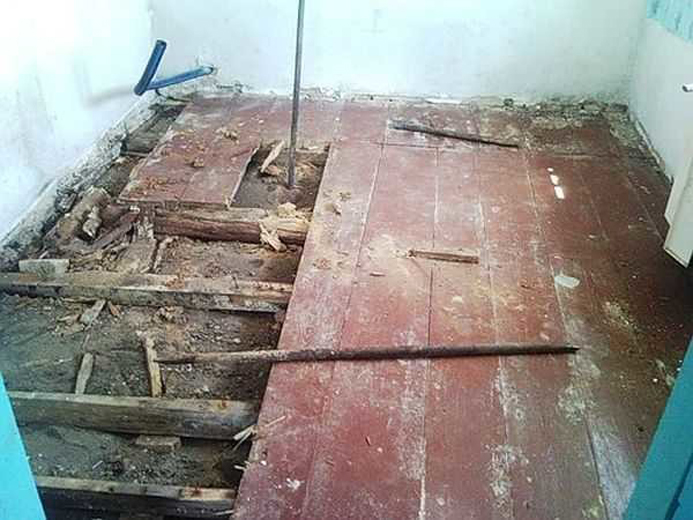


To determine the degree of damage, it is necessary to walk on its surface and examine in detail almost every centimeter.Perhaps remove some boards and check the status of the log. It happens that during the inspection found insect-sourced, rotten boards, in this case, most likely, you will need a full or partial replacement of the floor.
If, after verification, it is found that the problem lies only in the peeling paint, in the pits and bumps, if the boards and logs are in a tolerable condition, without rotten and cracked parts, if under load the floor does not bend under the feet, then the restoration work will pass with minimal costs time and effort.
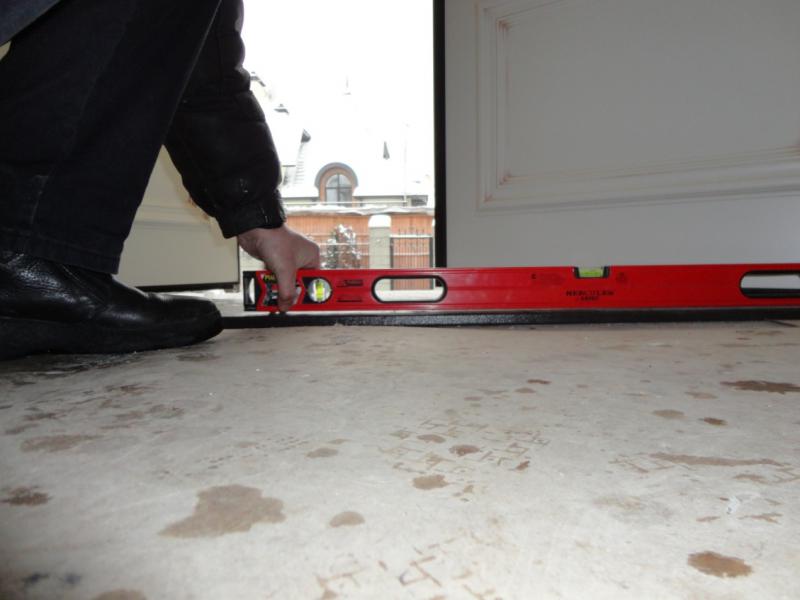
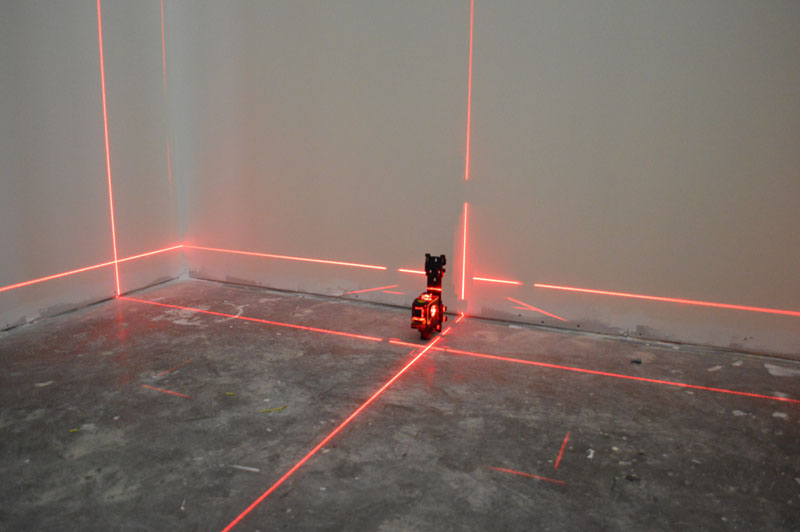
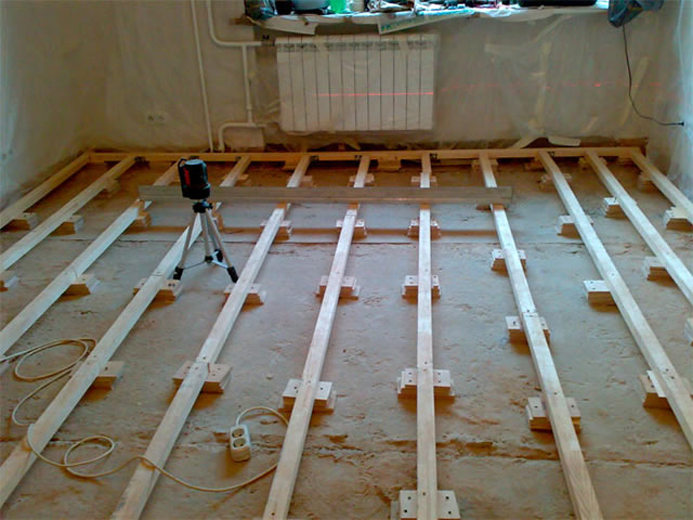
It is very important to determine how far the floor deviates from the horizontal. Usually the operation is performed using a laser level, which is set at the highest angle in the room and indicates the difference between the horizon line and uneven surface areas.
If the boards bend and stagger under your feet, you need to scroll the wooden floor.
If, upon inspection, gaps between boards wider than 8-10 mm were found, or the degree of inclination of the surface from a flat horizontal line is very obvious, the surface of a sagging floor must be laid with sheet material, for example, chipboard.

Materials and tools
First of all, for the implementation of the alignment of the floors it is necessary that all the necessary tools are always at hand. If the work is done in a large room, experts often recommend dividing it into several squares and individually aligning each of them. It is good when not one pair of hands is involved in the work. This will save time and nerves.
The selection of the necessary tools depends on the type of leveling job.
The standard set, as a rule, are:
- roulette (for measuring);
- levels (hydro and laser);
- steel brush (for cleaning the surface from flaking in hard-to-reach places);
- paint brush (for cleaning debris at the base of the floor);
- spatula (tool for leveling the solution on the plane);
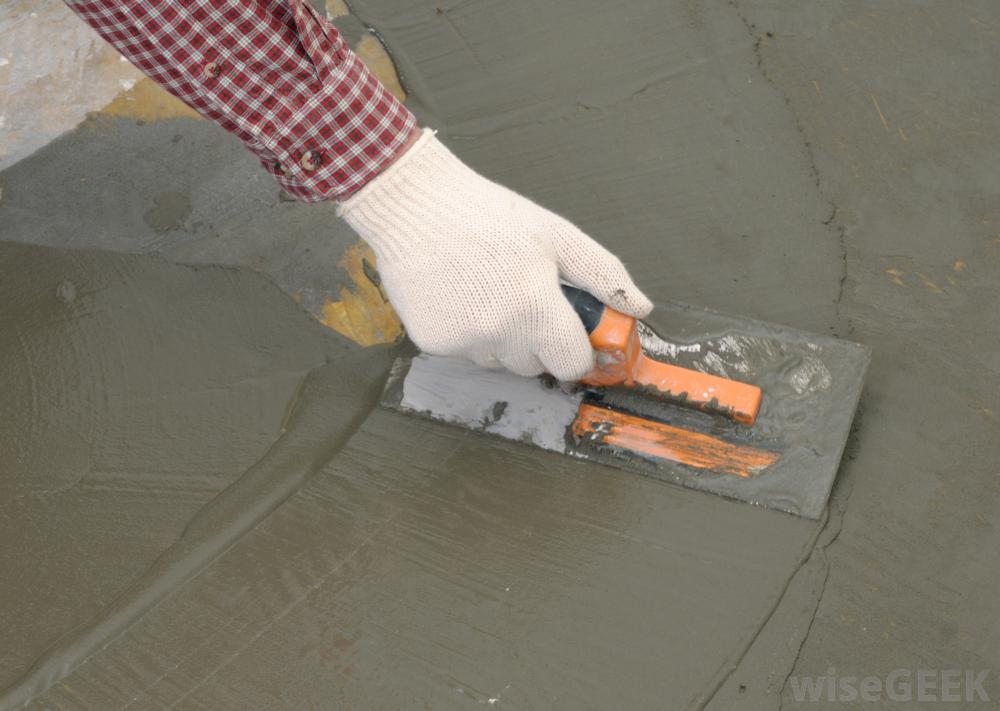
- trowel (for leveling the cement-sand mass);
- perforator (for drilling in wood);

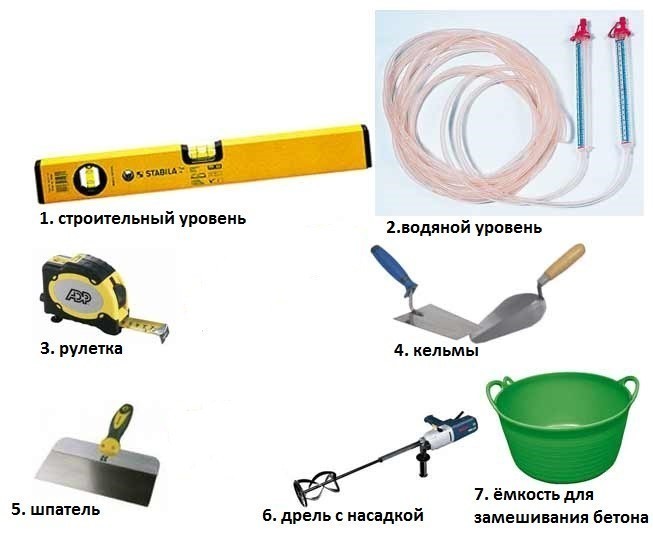
- electric drill (for making rover);
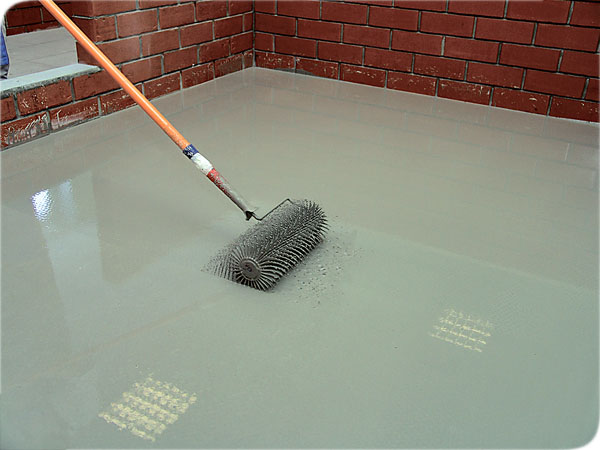
- needle roller (for rolling self-leveling material);
- hacksaw (for cutting wood);
- a plane (removes small wooden shavings, leveling an uneven surface);
- screwdriver (for screwing and unscrewing screws).
With the help of PVA and sawdust
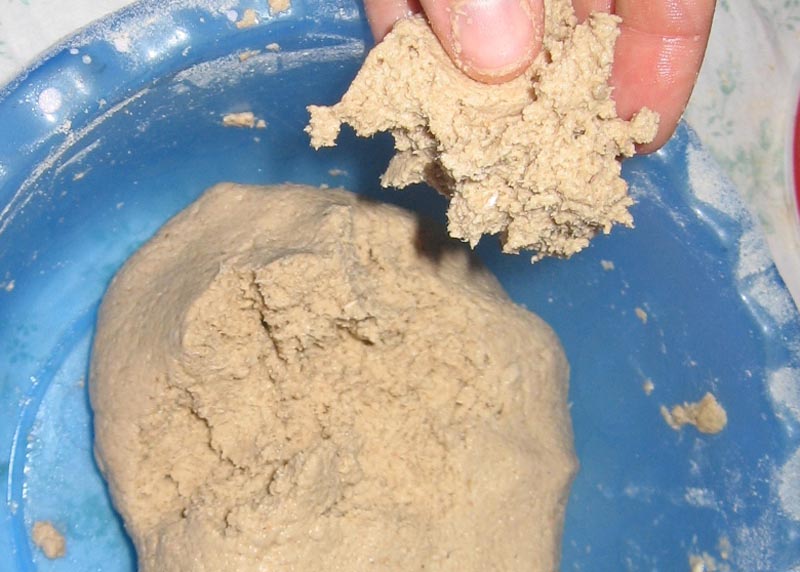
Leveling the surface with the use of PVA glue and sawdust is a modern and convenient method that does not require large expenditures and enjoys good characteristics and reviews among builders. Before starting the process itself, it is necessary to clean the floor and nail the beacons on a laser level. Next, sawdust needs to be slightly dampened and mixed with glue. The mixture should be of medium thickness (should resemble sour cream).
After that, the resulting mass must be poured between the lighthouses and leveled. If the surface does not come into a smooth state the first time, then it may be necessary to apply several layers of the mixture. The layer should not be less than 1-2 cm. Such layers can be any number, the goal is to make the height differences minimal. Before applying each new layer, it is important to wait until the previous layer is completely dry. As you can see, the method is simple and practical.
Putty
With the help of properly selected putty, you can hide all the cracks, wipe the seams and irregularities, as well as ensure long service to the wooden floor.This method of leveling is applied not only in the case of a desire to lay a new floor covering, but also for the purpose of cosmetic repairs. To date, there is an extensive selection of putty mixtures that have a color that matches the color of this wooden coating.
Putty may differ in its composition, but there are a number of general requirements, which include:
- Elasticity. This will allow the mixture to evenly fill all the gaps and holes in the surface.
- High adhesion rate (clutch) putty material to wood. This will eliminate the option of delamination coverage and guarantees him a long-term service.
- Uniformity. The composition should be completely homogeneous, without the presence of impurities.
- Fire resistance This property of putty mix ensures wood floor safety when ignited.
- Antiseptic properties. Protect the surface from the emergence of fungi and mold that harm wood and human health.
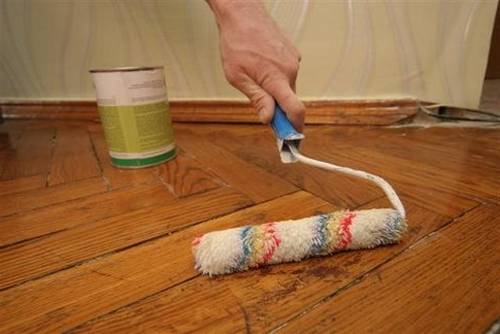
Mastic
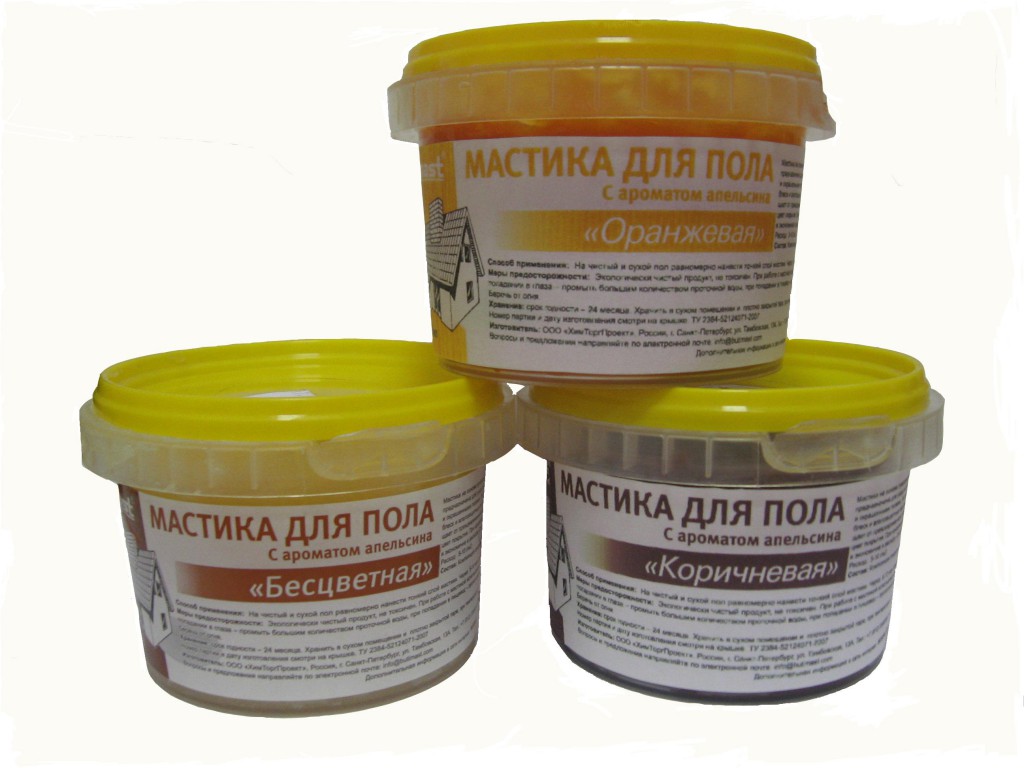
Mastic is a material that is applied over a wooden floor. Carries out both leveling, and protective function.One of the advantages of this material is its antibacterial property. Mastic is applied to the surface in several layers and gives it a glossy shade. If the task of the owners is the restoration of wooden flooring and restoration, improvement of its appearance, then one of the best means to achieve this goal is to rub the floor with mastic.
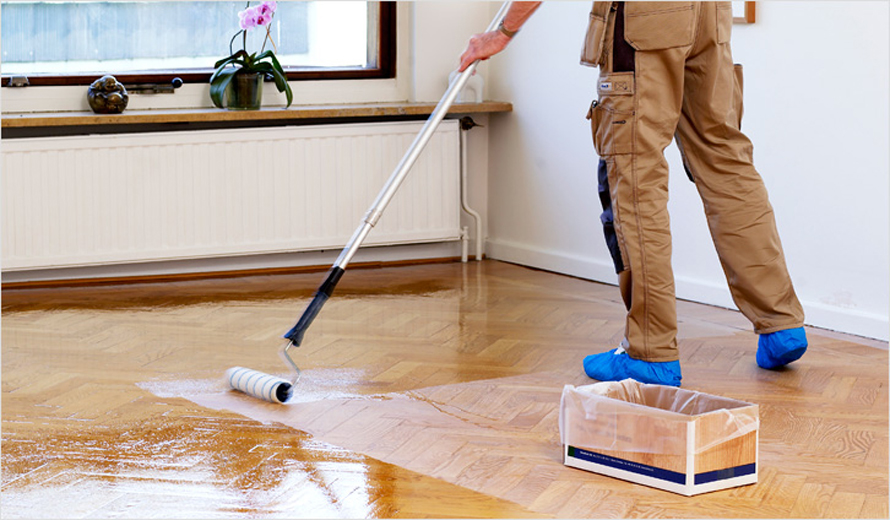
Now in the construction market can observe a huge variety of this product. Mastic can be sold in finished form, and may be in the state of the workpiece, which must be stirred with other ingredients and, for example, with warm water. Also, the material can be of different colors, and can be transparent. The composition distinguishes wax, water-emulsion, turpentine and water-soluble mastics.
To apply the material to the floor surface, you will need a paint roller, which will help the solution to evenly distribute throughout the floor space. The composition can be applied in several layers, so its protective properties will be higher.
Of course, the product based on the natural composition has the best qualities. For complete drying of such mastic will take only 2-3 days, besides, it is much easier to update it.
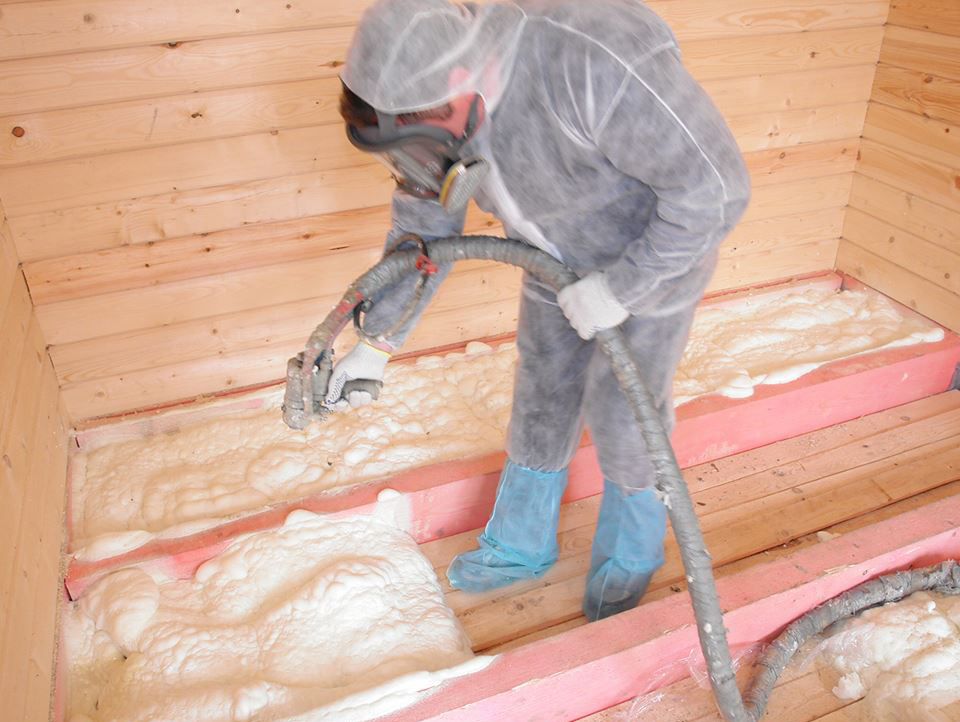
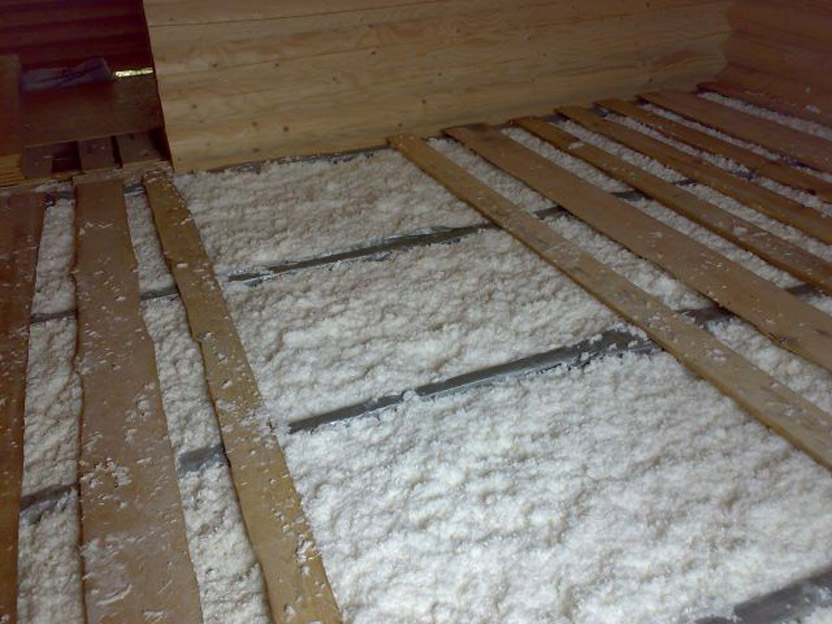
Polyurethane foam
Polyurethane foam is a great way to deal with the problem of creaking floors.The tree, as mentioned above, is exposed to the environment. The change of temperature, humidity - all this, over time, contributes to the fact that the boards of wood begin to creak under their feet. The use of foam will help not only get rid of the defect, but also will warm the wooden floor in the house.
To do this, after the general cleaning of the surface and fixing the boards to the logs, it is necessary to drill holes in those places where there is most of a squeak. Further, through this hole, with the help of mounting foam, the empty space of the above-ground is filled, which contributes to the secure fixing of the boards from below. It is worth noting that the drilled holes should match, and better be slightly wider than the diameter of the nozzle of the mounting foam.
The important point - do not overdo it with the injection of foam, so that the surface does not rise so-called hump.
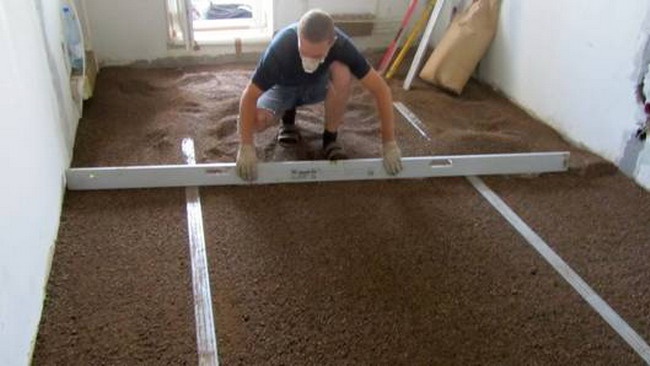
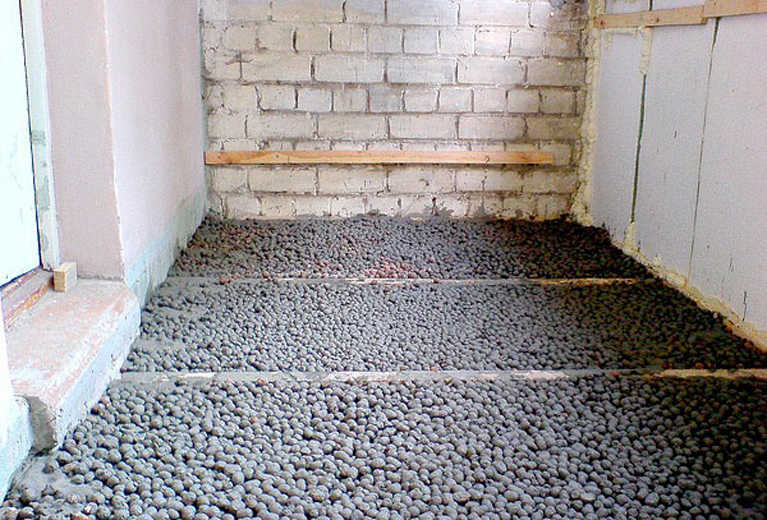
Expanded clay
Expanded clay - material based on natural composition. It is capable of not only leveling even the most hopeless variants of an uneven surface, but also soundproof and warm the floor. Expanded clay is an eco-friendly material with fire resistance, durability, strength, resistance to temperature changes,antibacterial and affordability.
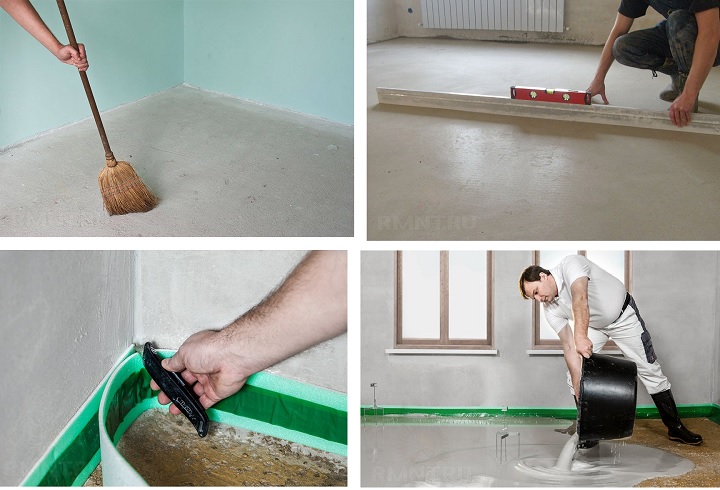
To properly lay the material, it is necessary to carry out the preparatory work:
- The first is to clean the room from debris, seal gaps and strengthen boards.
- Next, it is necessary to waterproof the base to prevent leakage and damage to the screed.
- Along the walls directly on the waterproofing is attached damper tape, which is necessary to compensate for the possible expansion of materials in the process.
- To maintain an even level of tie, beacons are installed.
- Now it's about laying claydish.
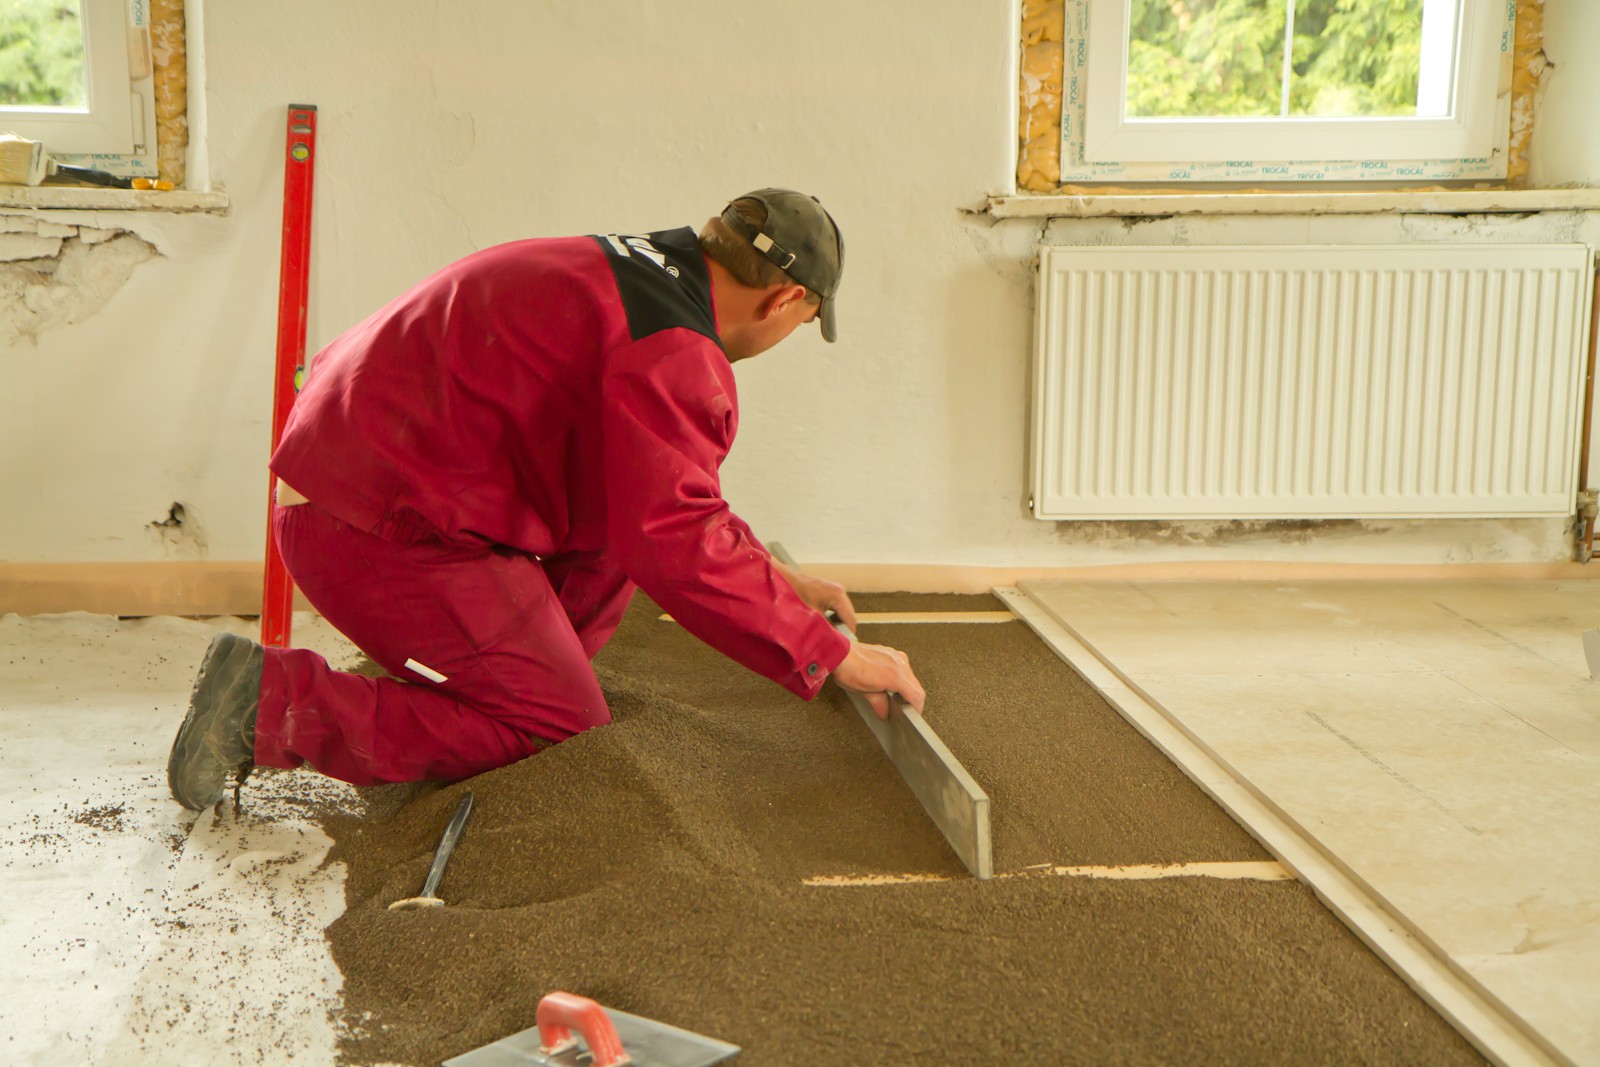
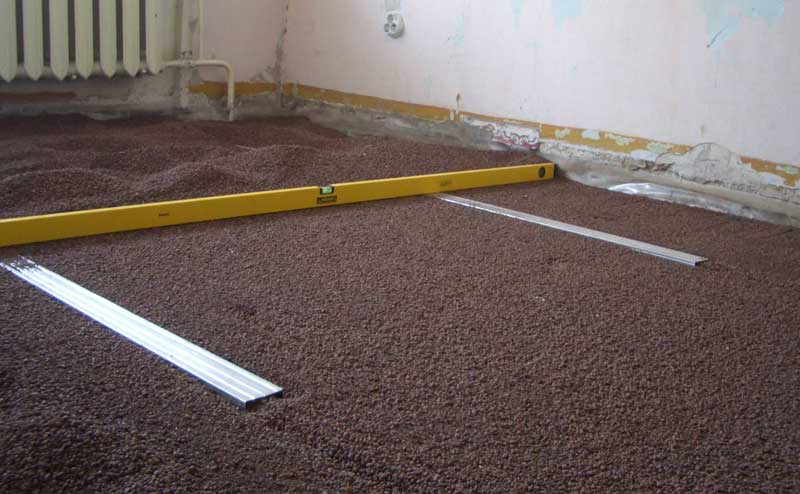
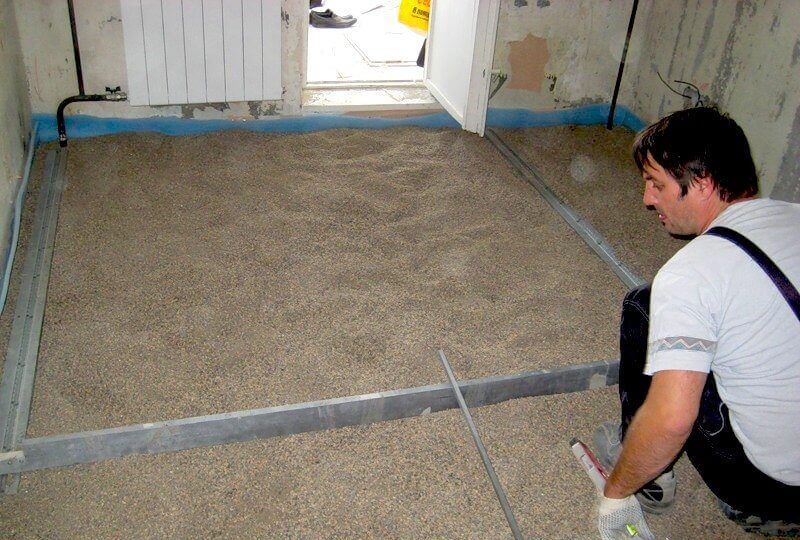
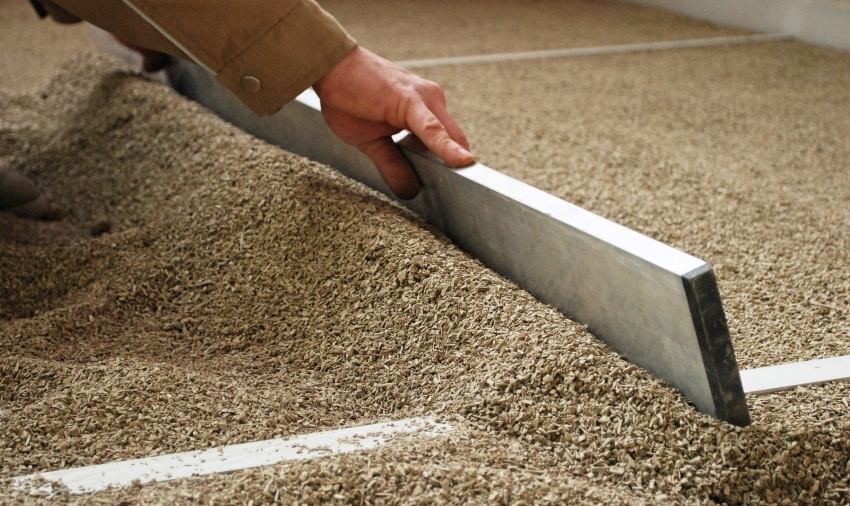
Expanded clay is laid on the prepared in advance basis so that the layer does not reach the top of the lighthouse. The layer is leveled and well compacted. The evenness of the resulting layer can be checked by level. If the result satisfies you, a solution can be applied on top of the insulation.
Sometimes, in order to avoid shifts and deformation, the masters of repair work pour the clay onto special cement milk and leave it to dry for a day until it hardens, after which they cover the “pillow” of claydite with a solution
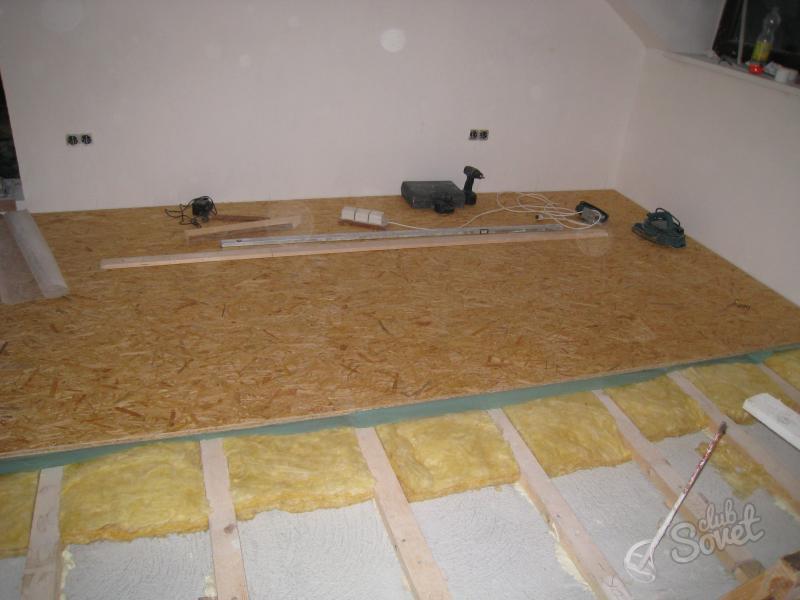
Another method is dry leveling the floor with expanded clay.This method is probably the easiest and does not require much time. Dry clay is laid on the level of lighthouses and is evenly distributed. A layer of 3-4 cm is enough to make a stable coating. The sheets of the chosen material (OSB, chipboard, plywood sheets, etc.) are laid on the formed claydite “pillow”.

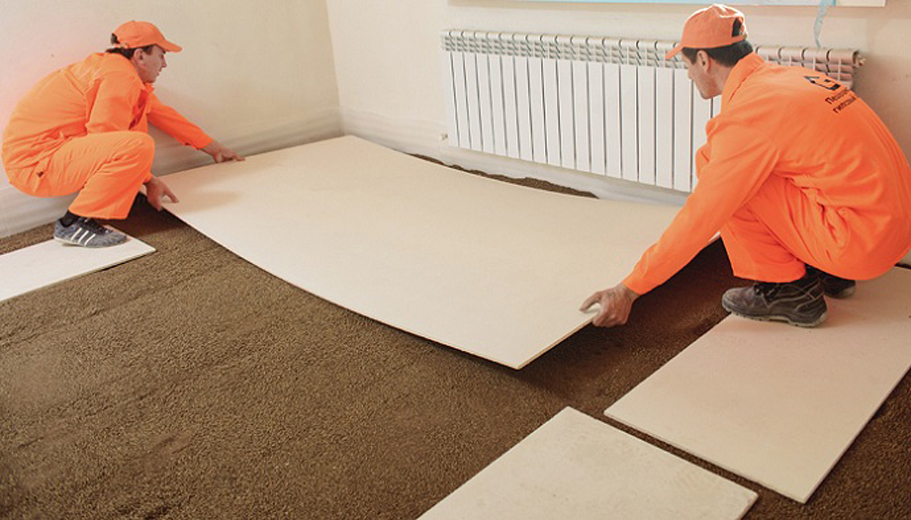
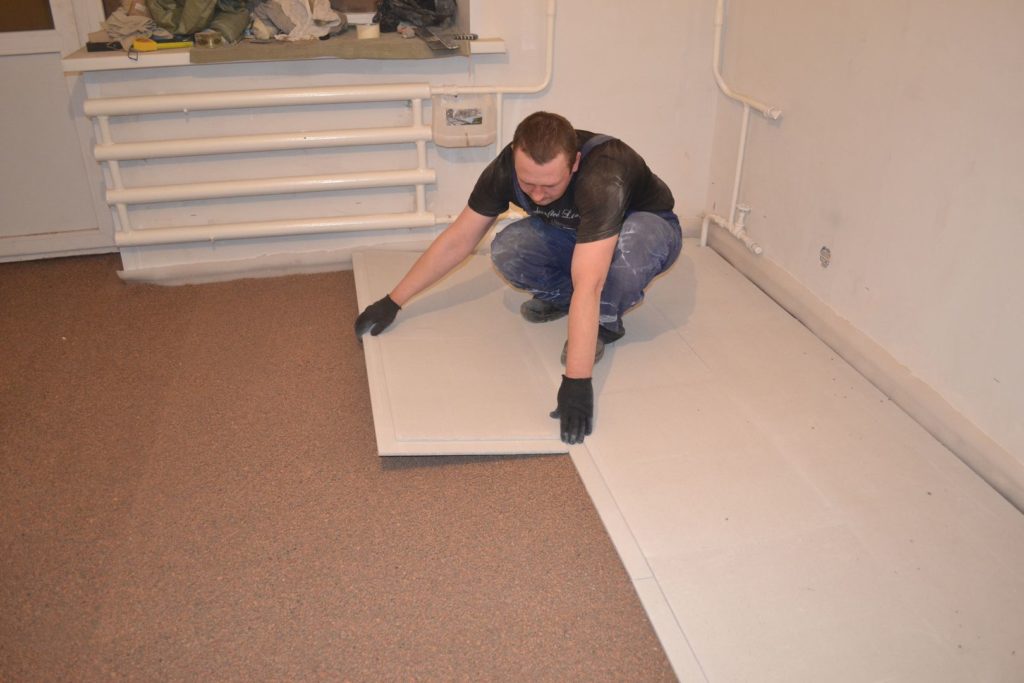
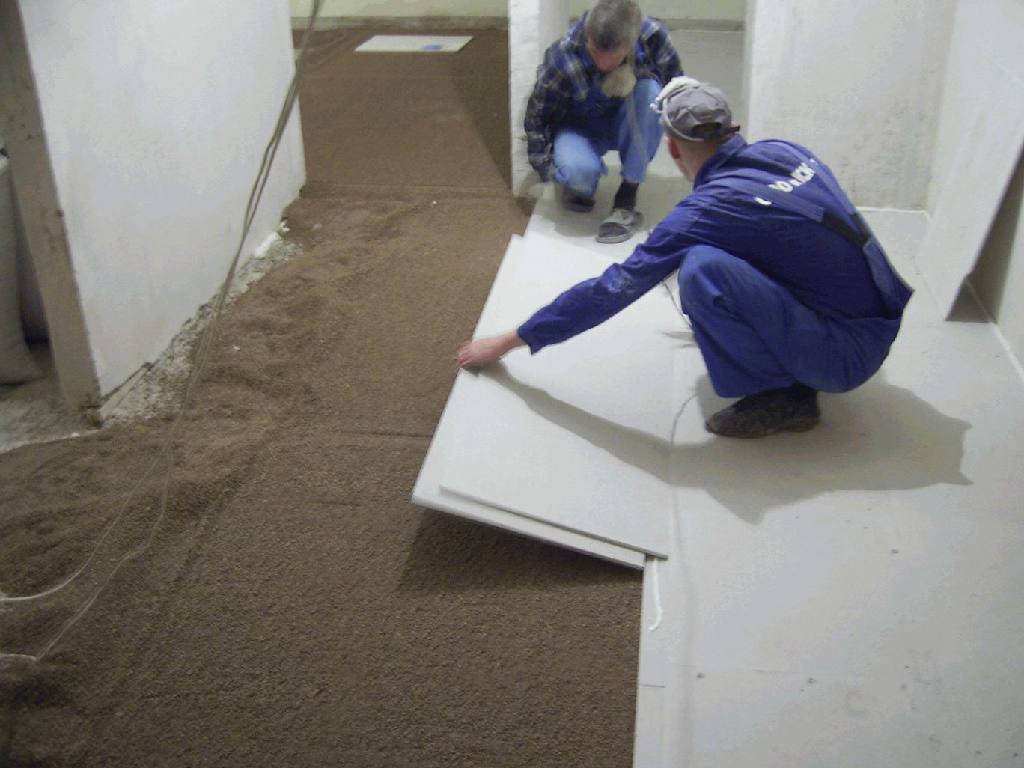
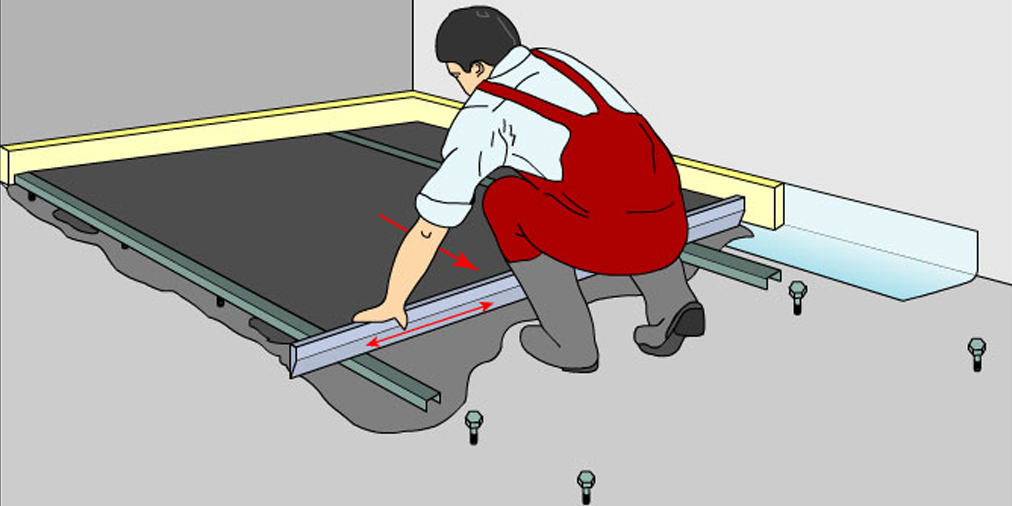
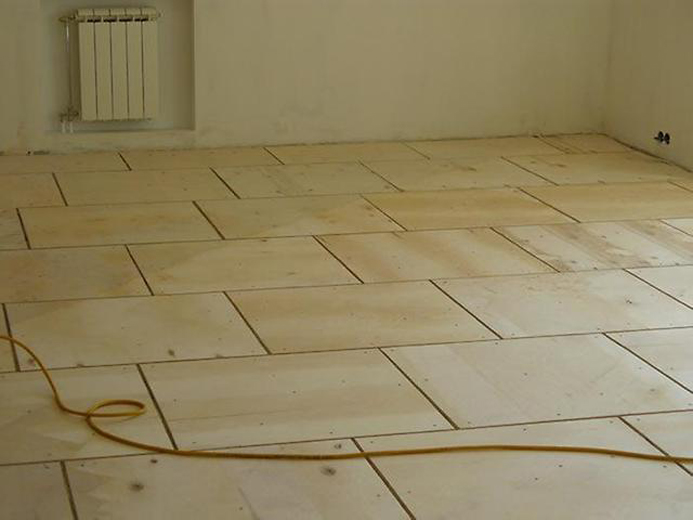
Slabs
In this case, the alignment of the floor is due to the laying of special plates on a wooden surface.
OSB-plates are sheets formed from compressed wood chips using an adhesive mixture. There are 3 types of chipboard: OSB-2, OSB-3 and OSB-4, each of which is intended for use in certain conditions, has a different thickness and properties. It is important to determine which of the materials fit in your case. It is worth noting that, in comparison with chipboard, OSB boards have a high percentage of strength and differ in maximum thickness. The material also guarantees heat and sound insulation.
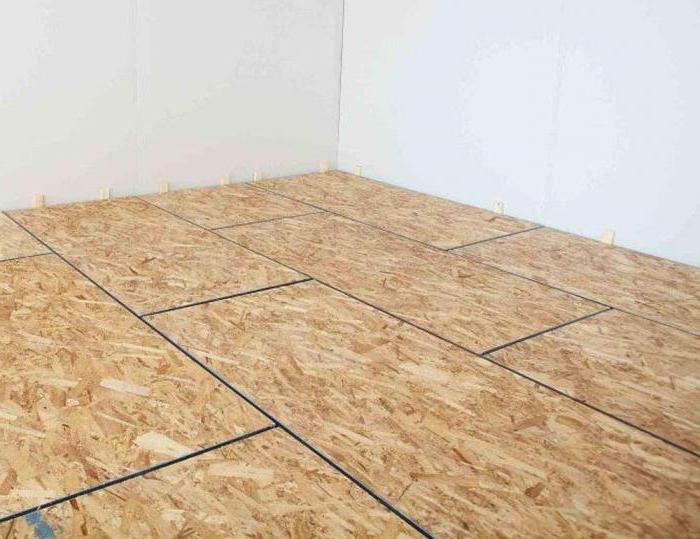
The material is fastened by nailing it with the nails of the desired length to the supports, located at a distance of about 30 cm from each other. OSB can be laid on the logs themselves or with the help of a point support.In the second case, the more often the supports are located, the more resistant the surface will be to the operation. It is imperative to eliminate the gaps at the junction of the paintings and canvases with walls.

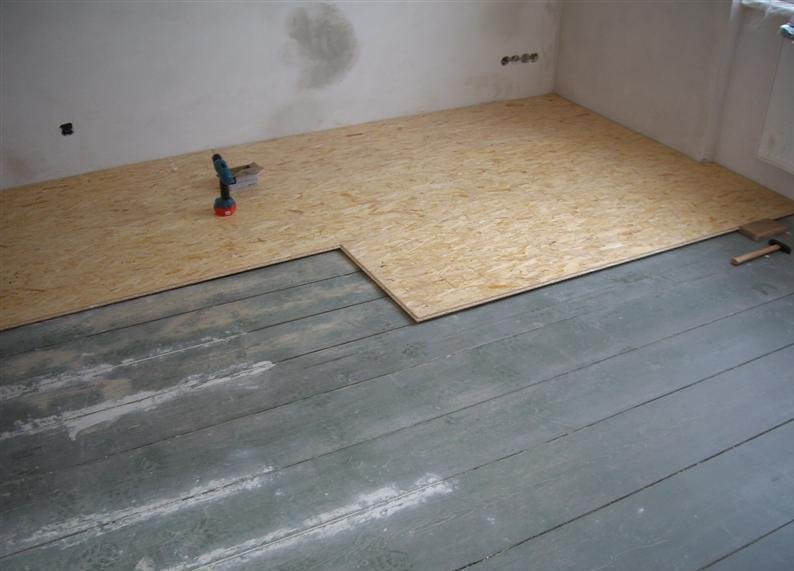
GVL-coating is often used to obtain a solid and even surface. GVL-coating is a technology for leveling the floor by covering board surfaces with gypsum-fiber sheets. The product contains reinforced gypsum and cellulose. This composition ensures high density and strength of the finished product, the ability to withstand severe mechanical loads. The material has a moisture resistance and retains heat well.
The method of laying gypsum fiber depends on the quality of the base. Most often, additional material is used for leveling. Sheets are put in 2 layers, where the first is attached to the slats, and the second is glued on top of the first.
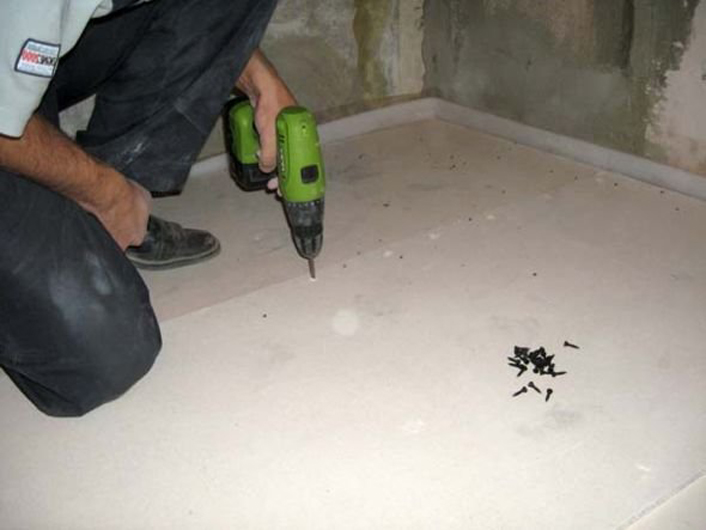
For reliable fastening of a board to the basis apply special self-tapping screws. Working with screws provides a long life for a wooden floor.
And in the purchase of such a tool should be extremely careful. Savings in this case - a guarantee that in the near future there will be a need again to repair the wooden floor.
The size of the screws can vary considerably.Choosing the right size depends on the thickness of the floor covering.
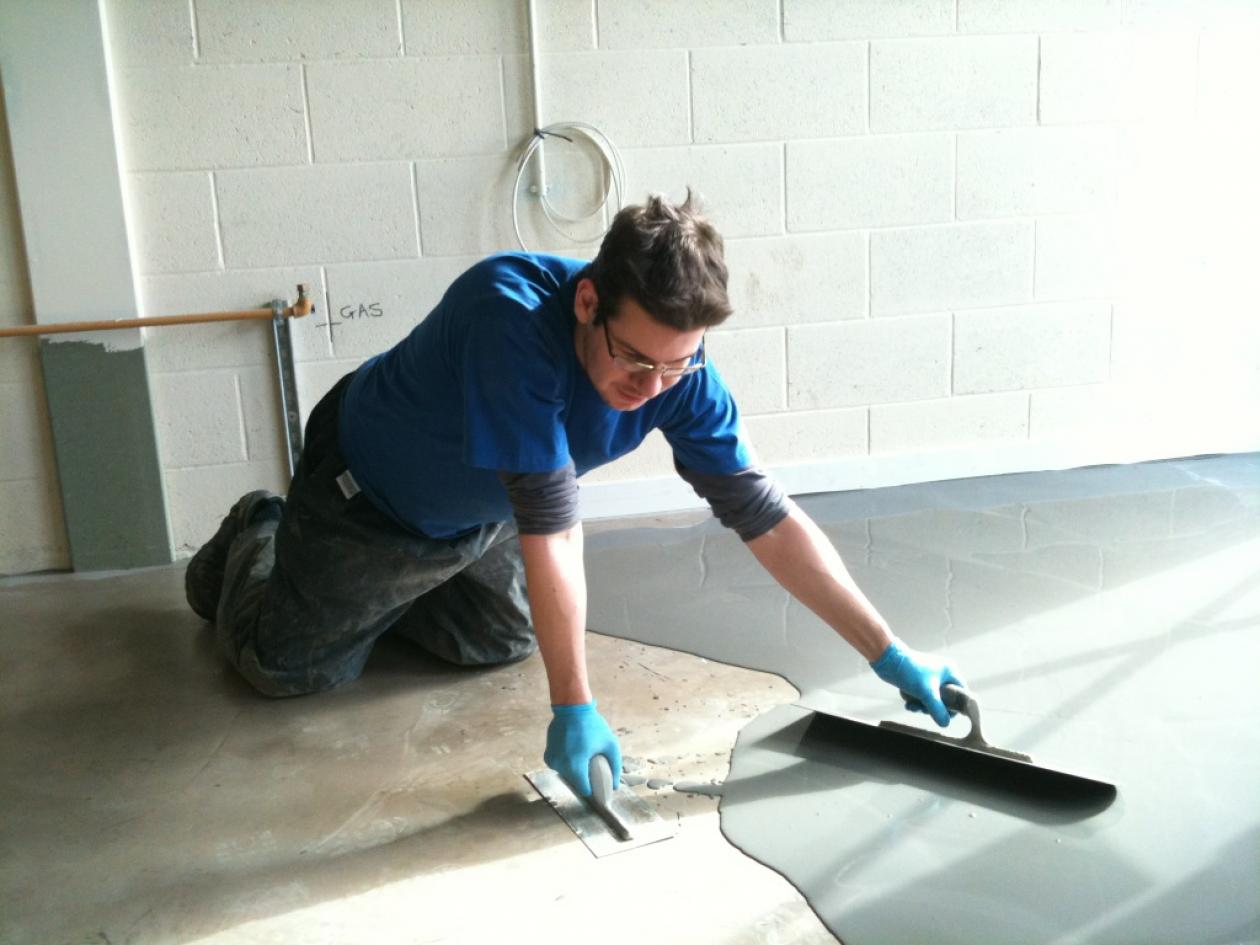
Self-leveling compounds
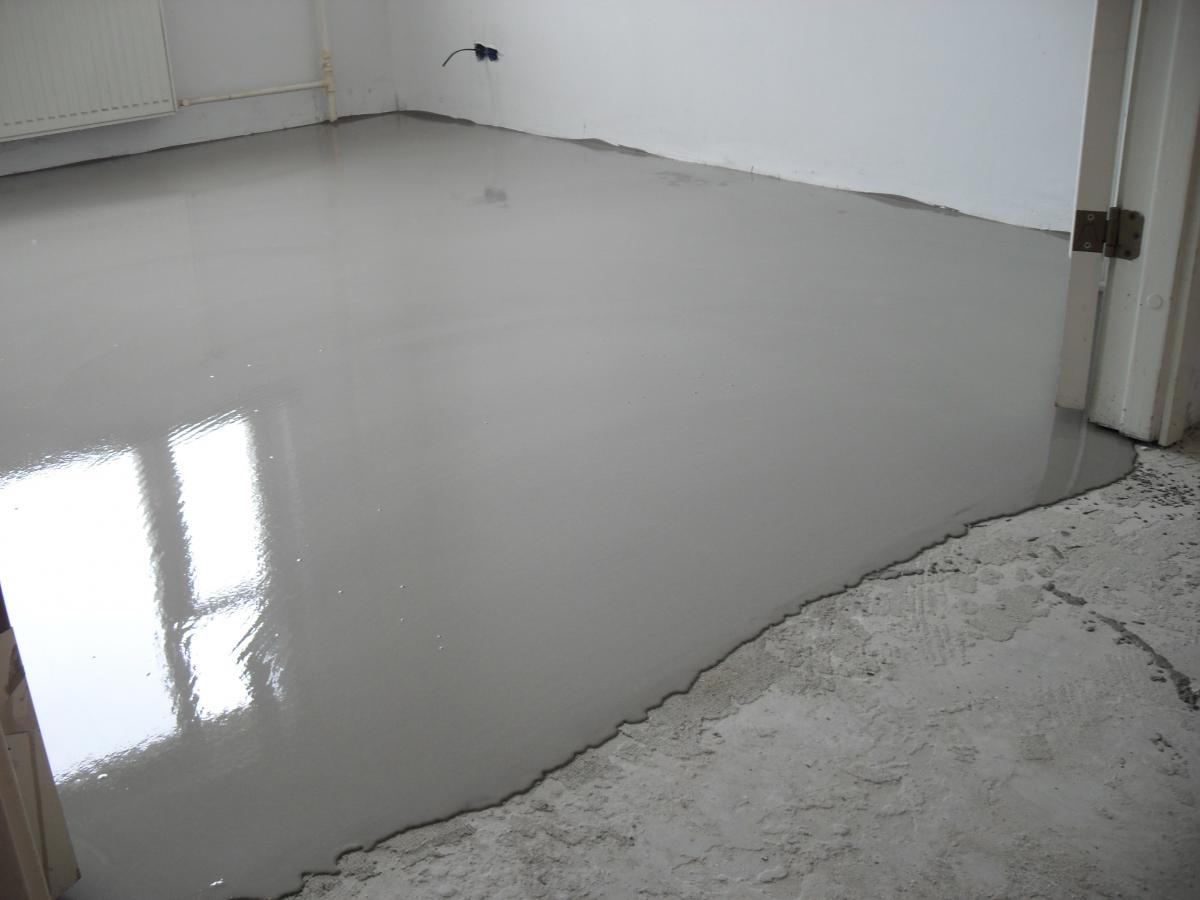
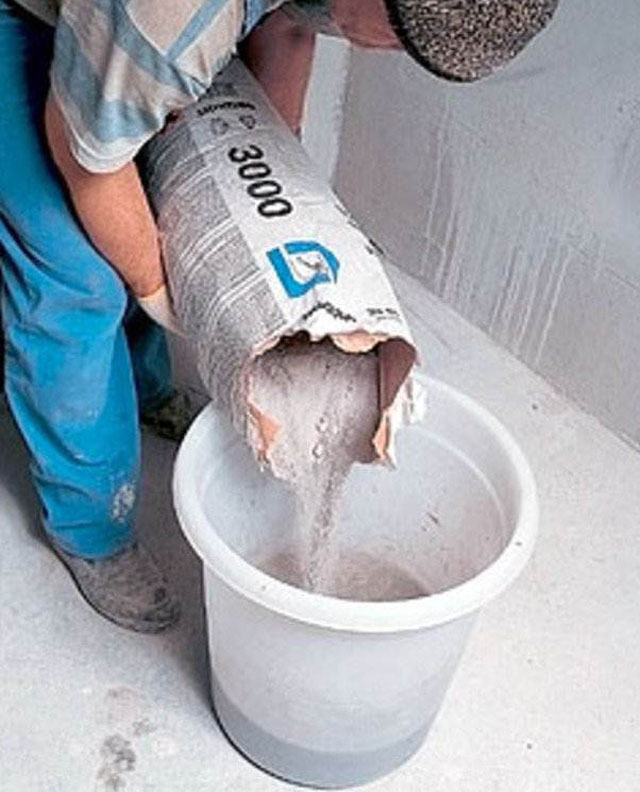
Self-leveling compounds are solutions that are designed for floor flooding, and are also among the best and fastest levelers.
There are several types of equalizing mixtures:
- Quick hardening. It is applied in case of need fast hardening of solution. It can be applied in both thin and thick layers.
- Finishing. Used upon completion of the work, immediately before the finishing of the floor. The thickness of the applied layer should be no more than 5 mm. It is worth paying attention to the fact that the complete drying time of the solution is much less than the drying time of the screed.
- Thick-layer. Here the name speaks for itself. If a thin layer of a solution of this type is applied, then the effect of the application will hardly be noticeable.
- Special. This solution has the greatest strength and is used in small quantities to putty cracks and crevices. The mixture includes special elements that increase the percentage of wood adhesion to the base.

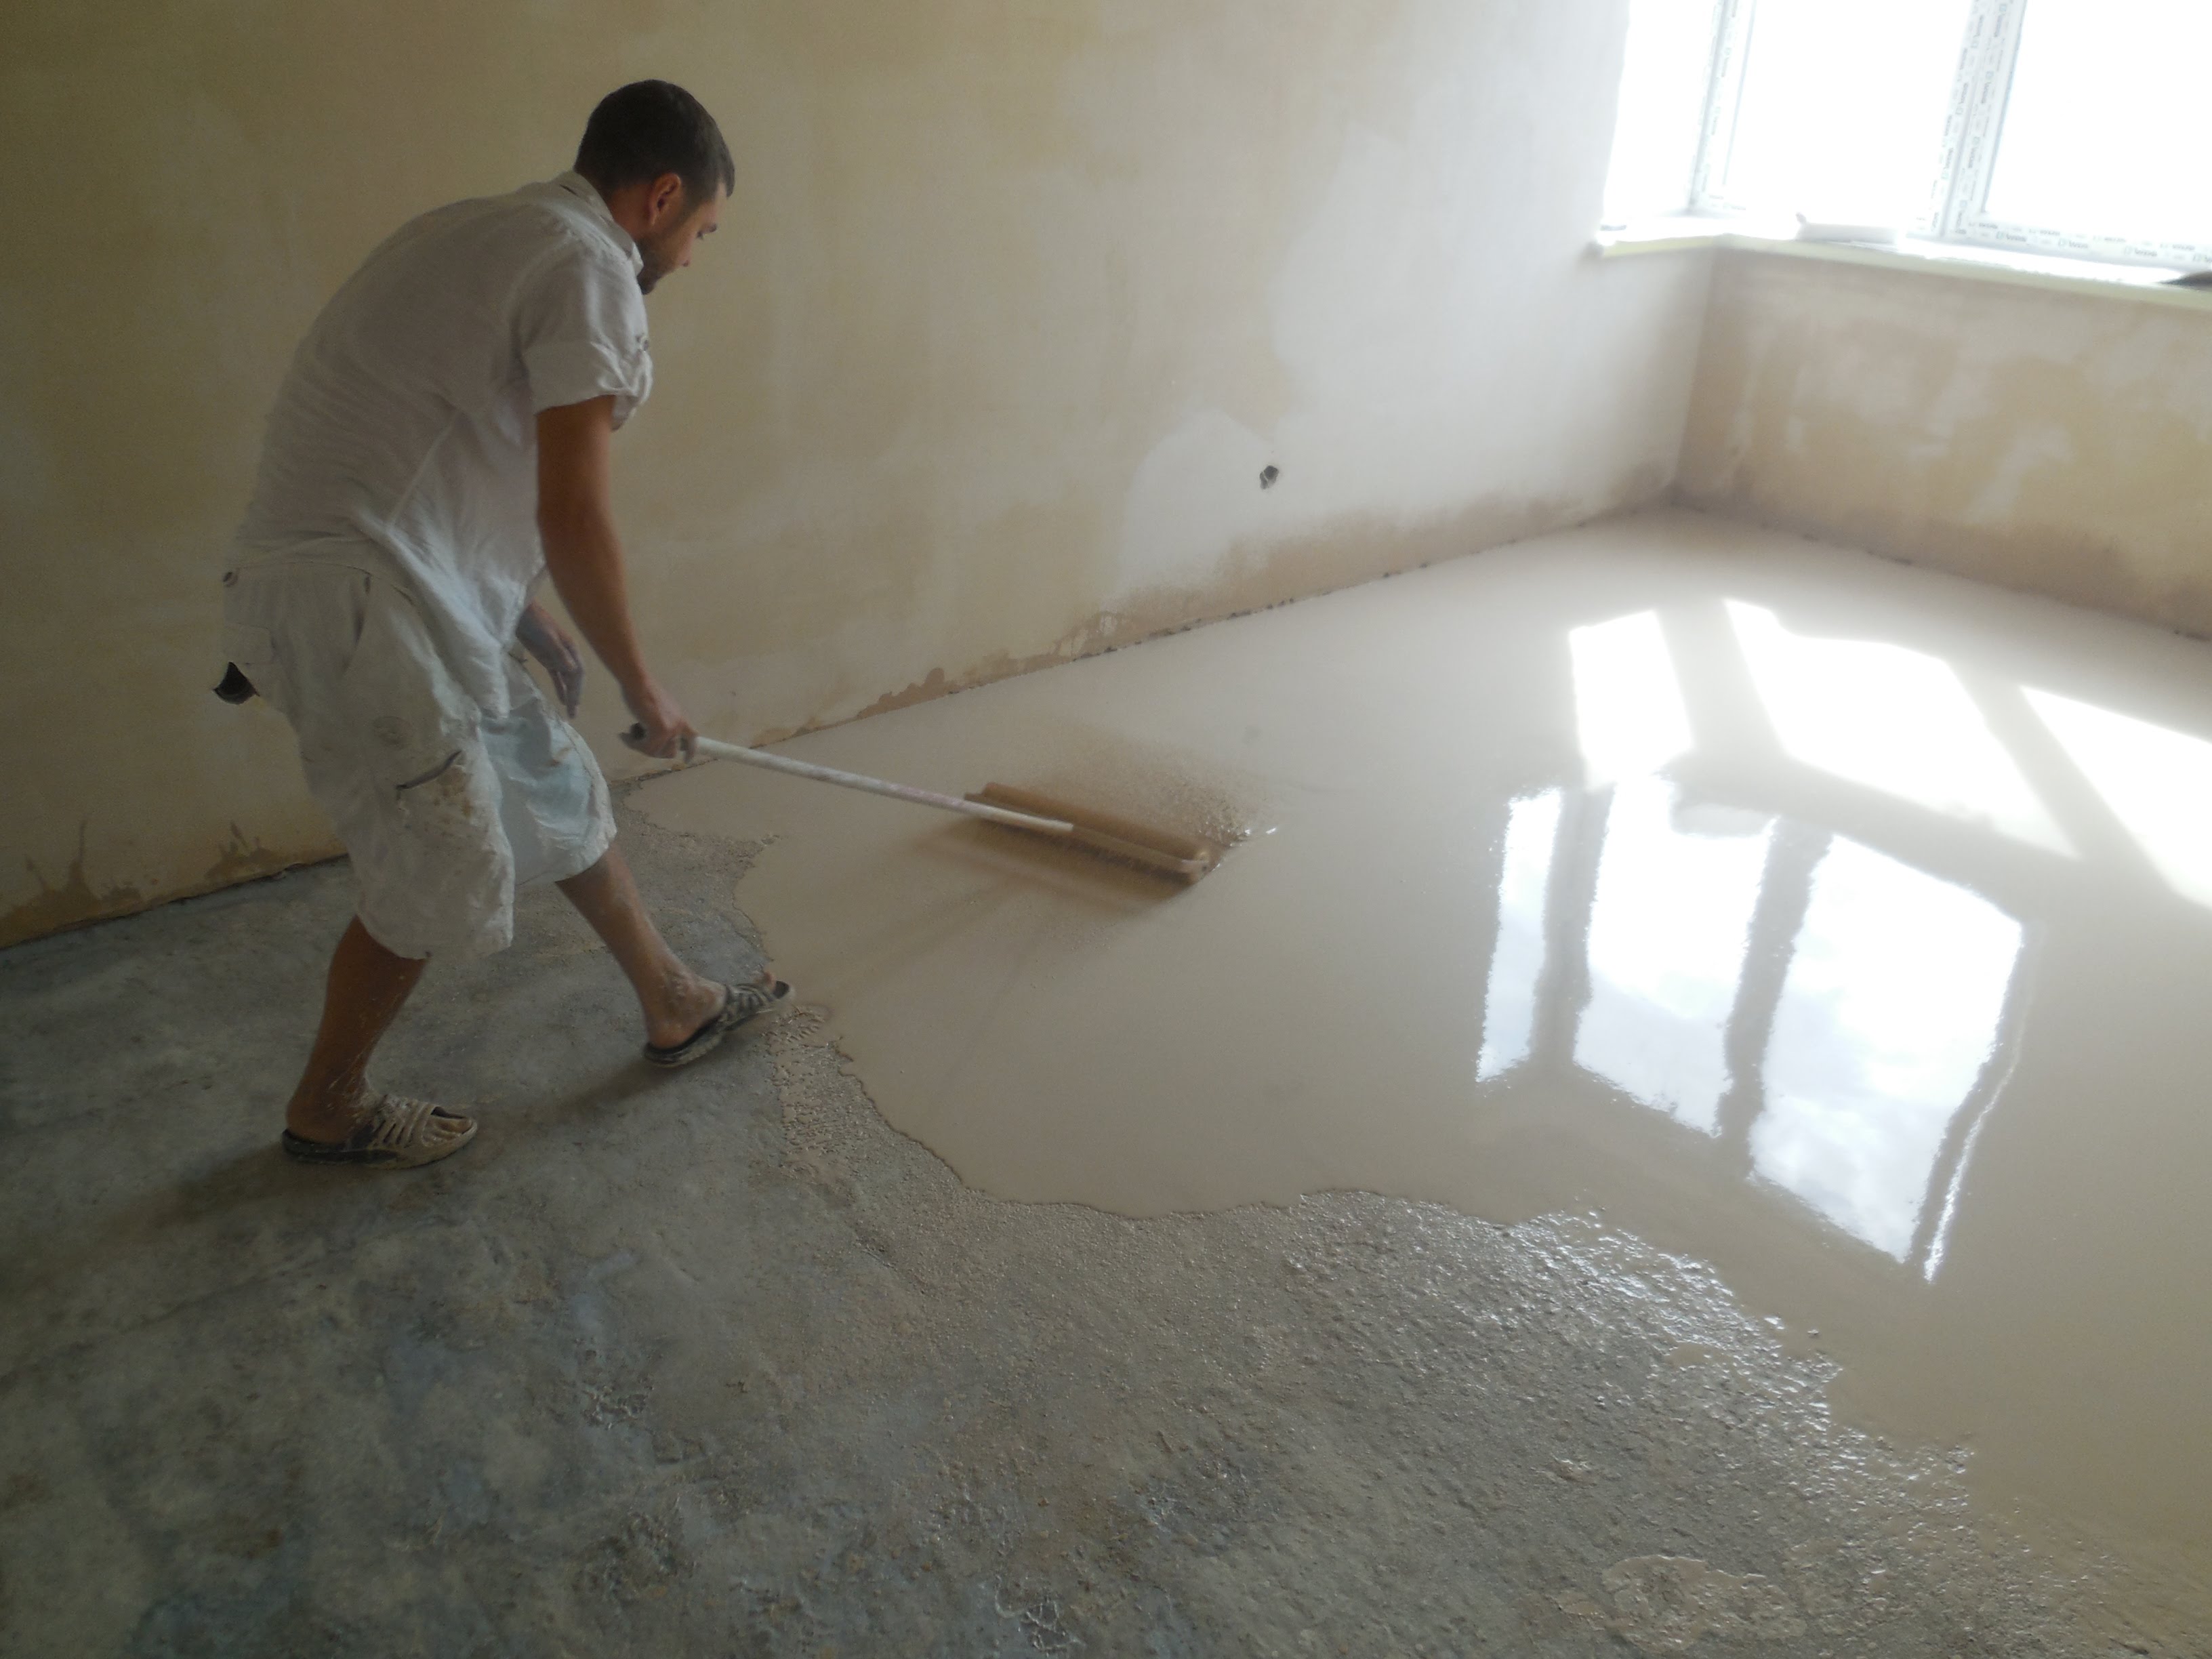
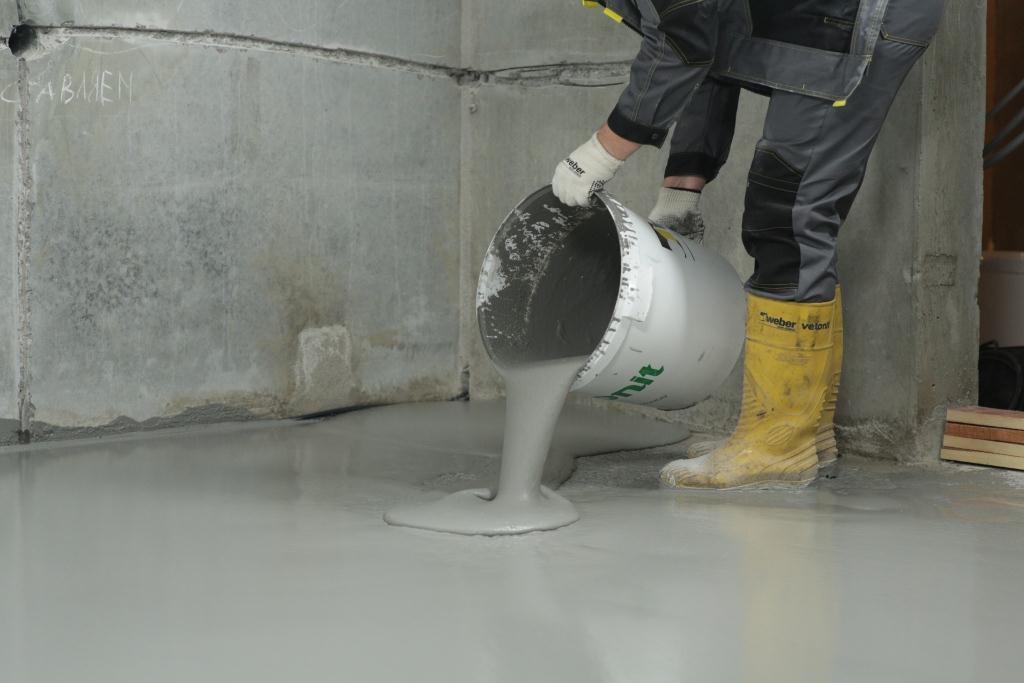
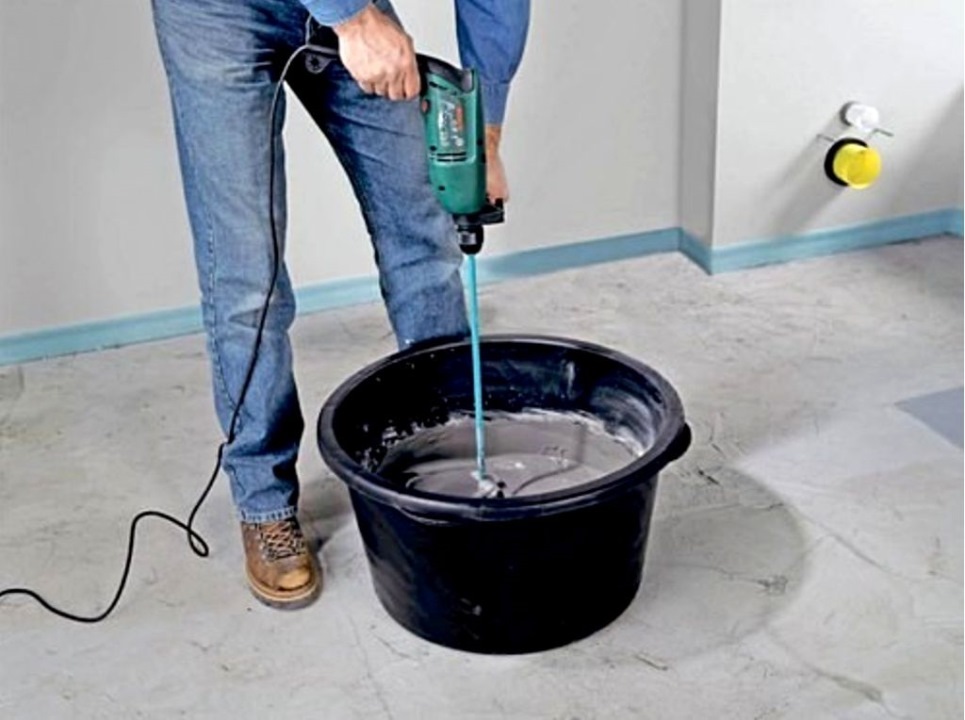
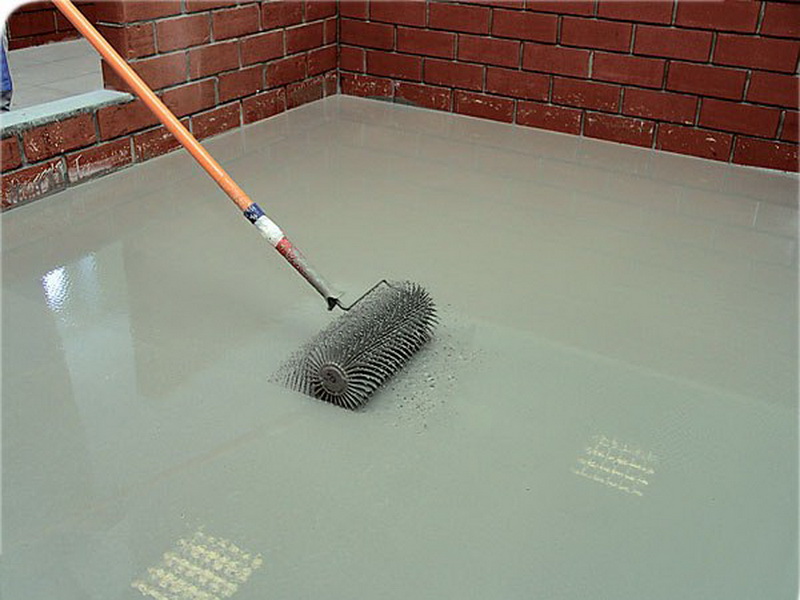
The process of pouring floor self-leveling mixtures is quite simple and lasts no more than half an hour.You must follow the exact instructions on the product packaging to avoid brute force and water shortage. It is better if the process will be carried out by several people who have distributed the duties among themselves: mixing the solution, pouring the solution on the floor curve, and evenly distributing the mass around the perimeter with a roller.
Pouring with a self-leveling liquid on a surface is possible while the mass is in a liquid state. It is important to understand that the thickening of the mixture occurs quickly, so you need to have time to fill the floor before this time.
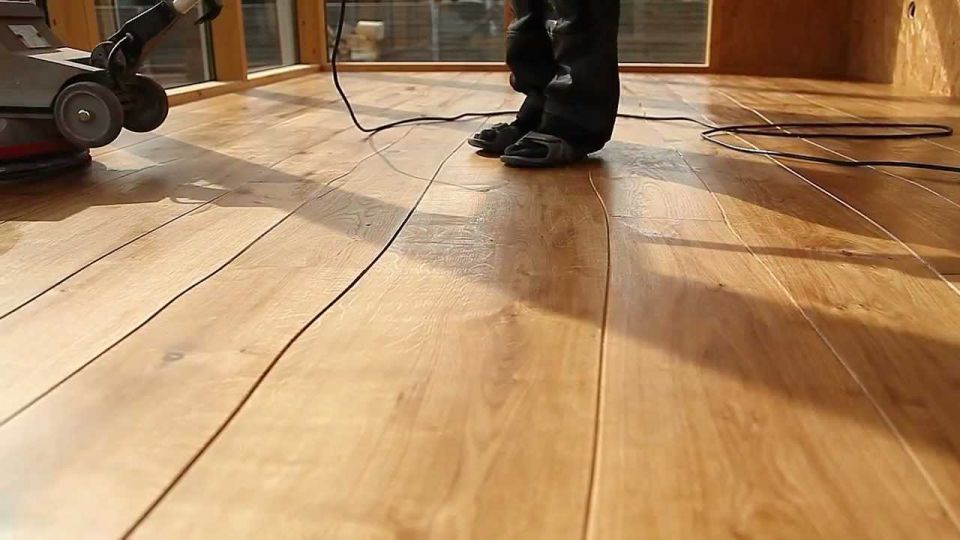
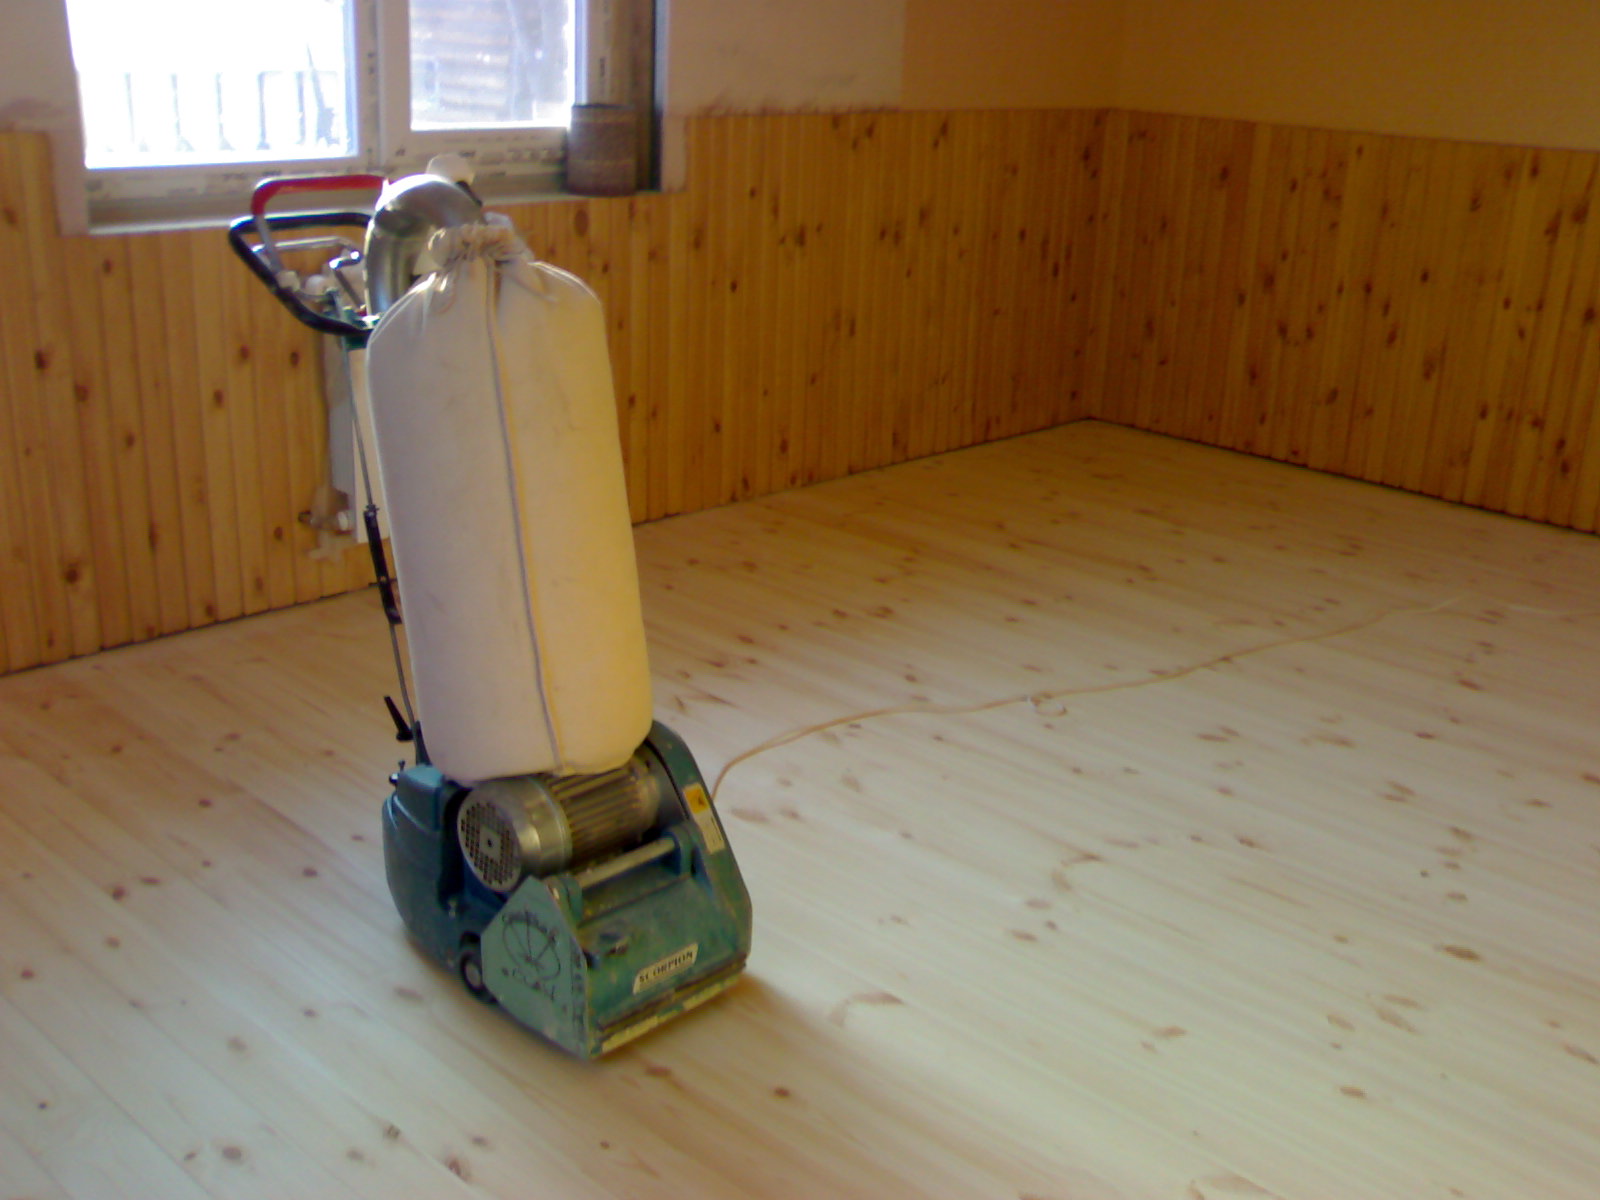
Mechanical method
In another way - mechanical scraping of the wooden floor. The process is quite time consuming. Possessing elementary skills, scraping a room of 20 square meters. m can be held in one day.
To carry out this work are necessary:
- Cleaning space from furniture.
- Remove any nails and knobs that may damage the scraper machine.
- Check the machine itself for performance. Preparation of special work clothes, gloves, respirator
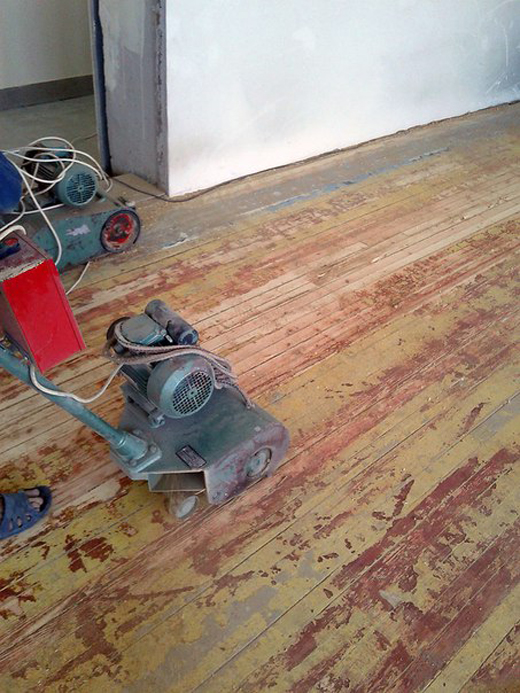
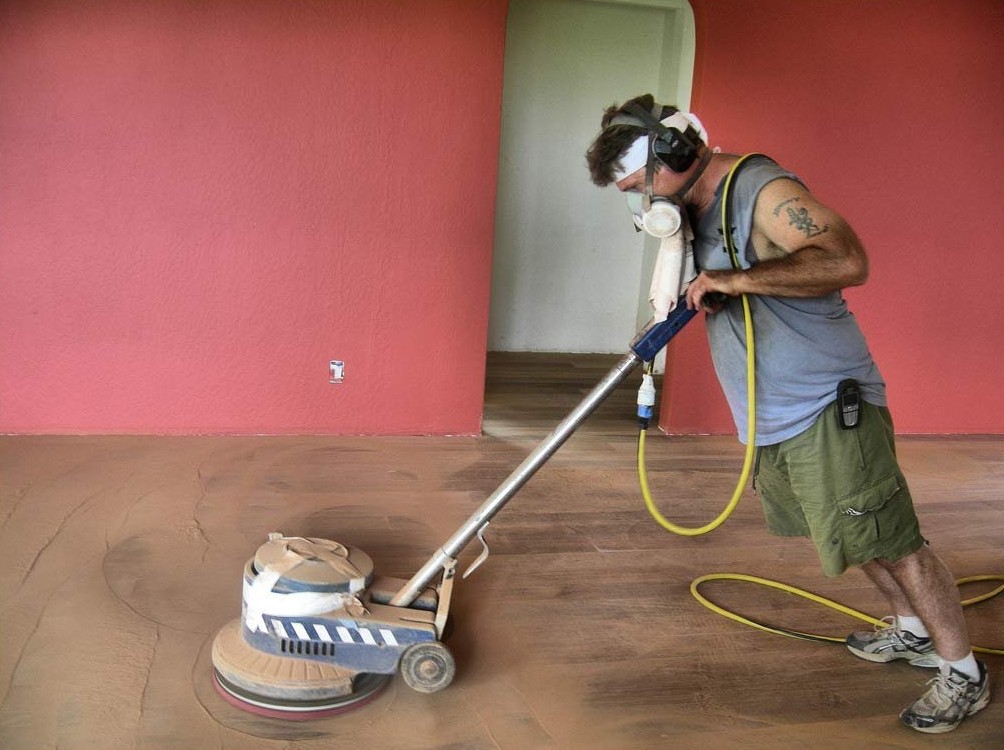
Work should begin at the corner of the room.
The color of the putty is often matched to the color of the wooden surface.Hard to reach places are handled manually. After complete drying of the putty, it is worth re-polishing the room.
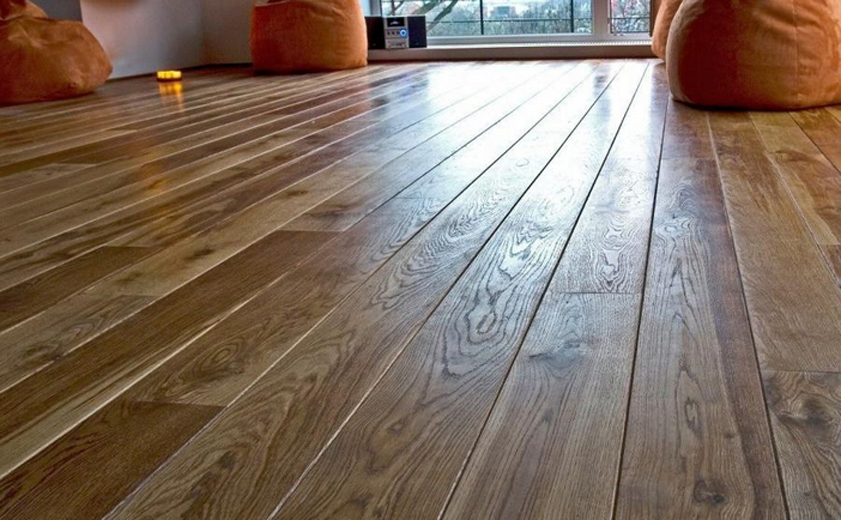
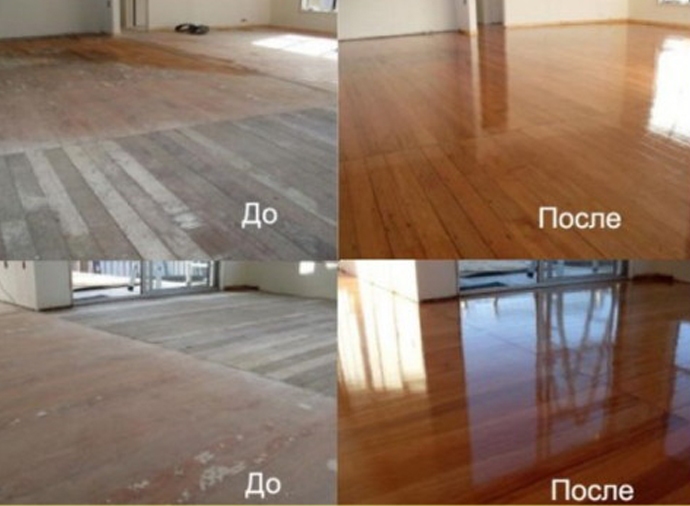
Successful examples and options
In conclusion, I would like to summarize what was said and highlight several stages for successful work on leveling the wooden floor:
- Inspection of the surface. Elimination of defects, such as board loosening, weak fastening, bending and creaking. The boards themselves are inspected for the presence of rot, insects, mold and mildew. In the case of one of these factors, the boards are removed and shifted.
- The state of the lag is checked. If necessary, strengthen and process.
- Sanding the surface and checking its level.
- Depending on the level of unevenness of the wooden floor, use one of the above leveling techniques.
- Laying the floor surface with modern plastic materials.
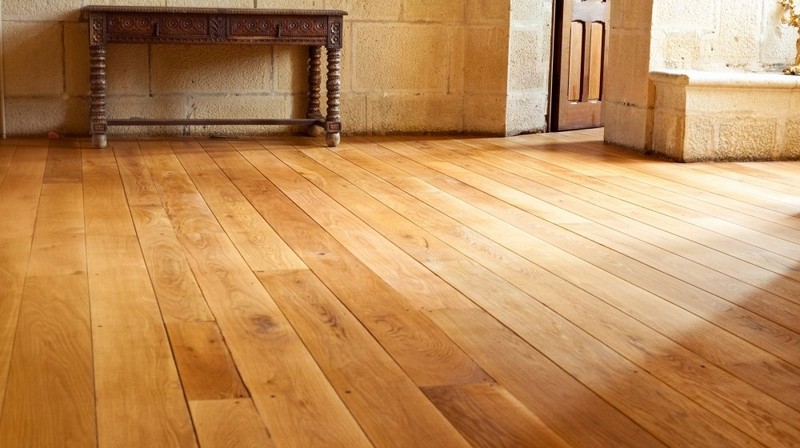
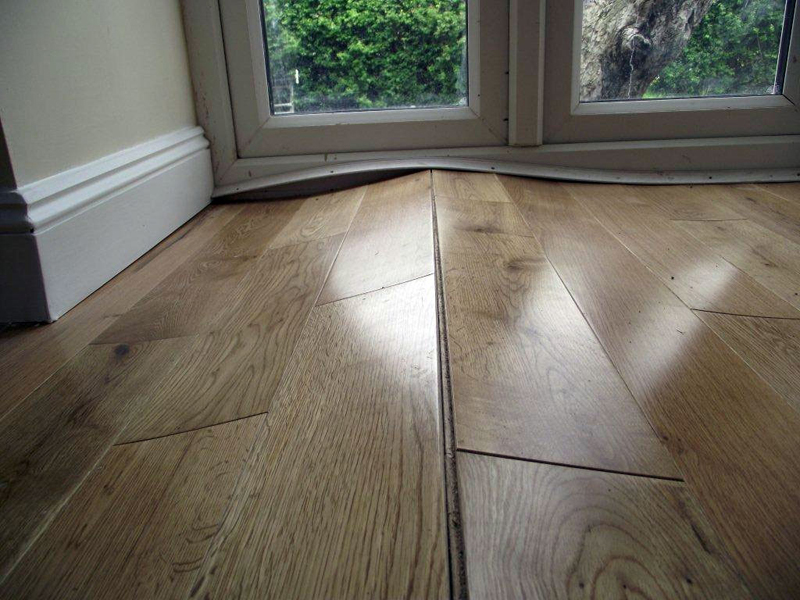
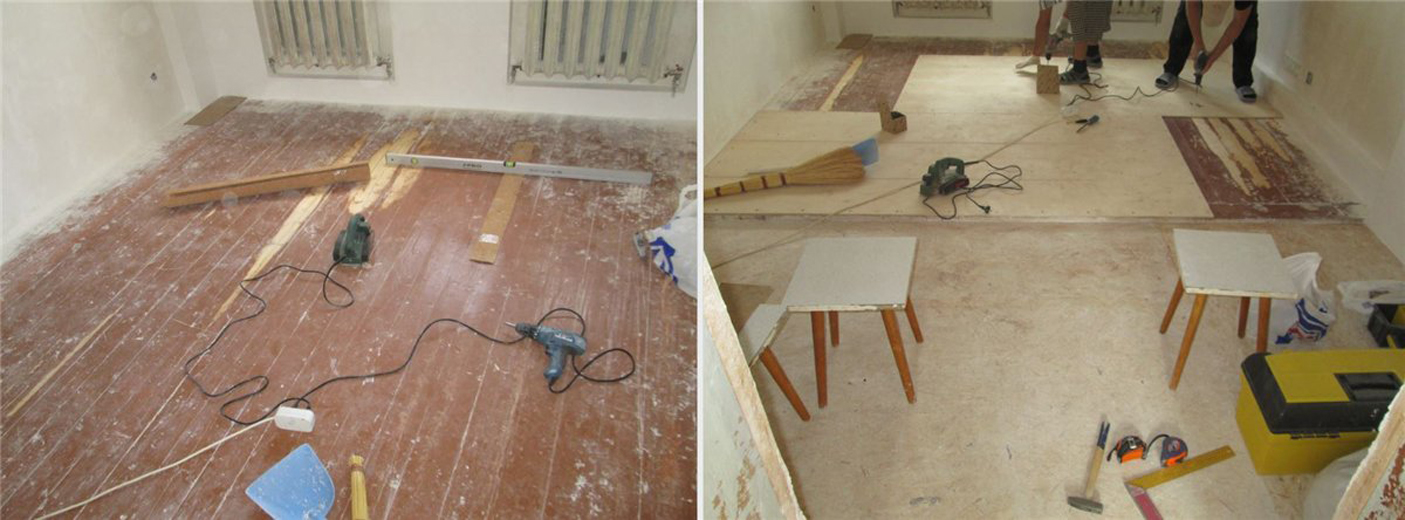
Below are photos of apartments and private houses with successfully completed work on the restoration and improvement of the floor, taking into account the above steps.


How to align the floor, see the following video.


