Ridge for roofs: types, purpose and installation

Owners of private houses should take care not only of the attractive appearance of the roof, but also of its protection. To do this, roofing canvases should be provided with reliable sealing - protection from moisture penetration into the space under the roof. An important element of the structure to help in solving this problem will be the ridge for the roof. There is a huge variety of choice of these parts, so it is important to consider in advance the peculiarities of the roof, roofing material and many other nuances, which will be discussed in more detail in this article.
Special features
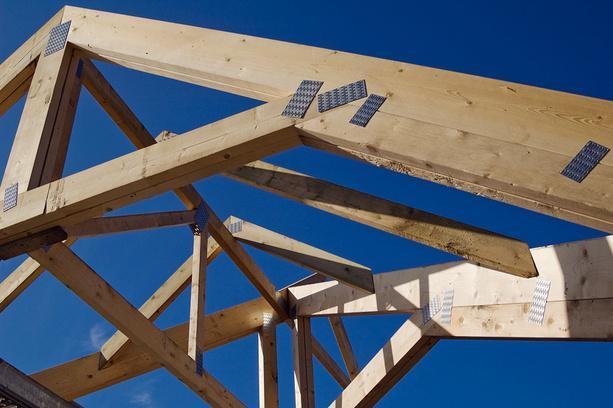
Ridge of the roof is the element of the roof, which protects the joint formed between the two slopes from moisture. This is its main function. Without a skate, it is difficult to manage any private house, because at the junction of the slopes, a gap is inevitable, into which moisture will subsequently penetrate.
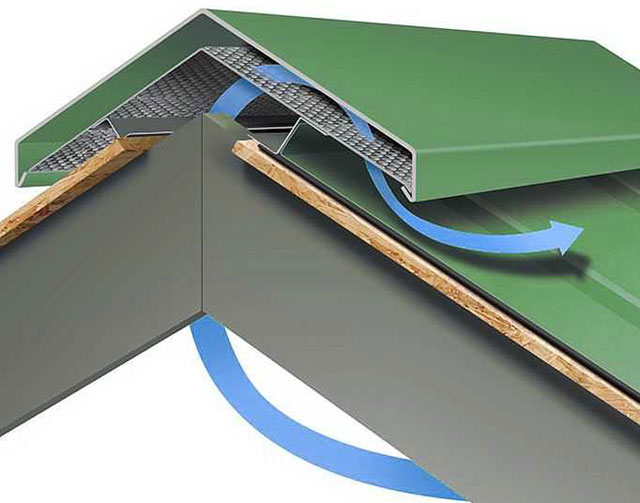
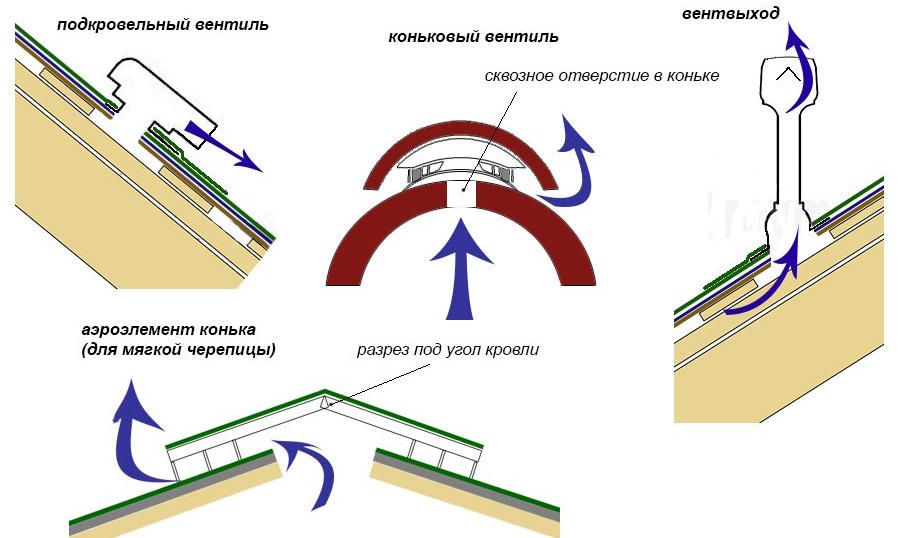
The ridge is an extension that reliably overlaps the area. It may have a different appearance and structure. In addition to protecting against the ingress of water under the roof, this device performs another function - the creation of a gap to help in the ventilation of the space under the roof.
Design
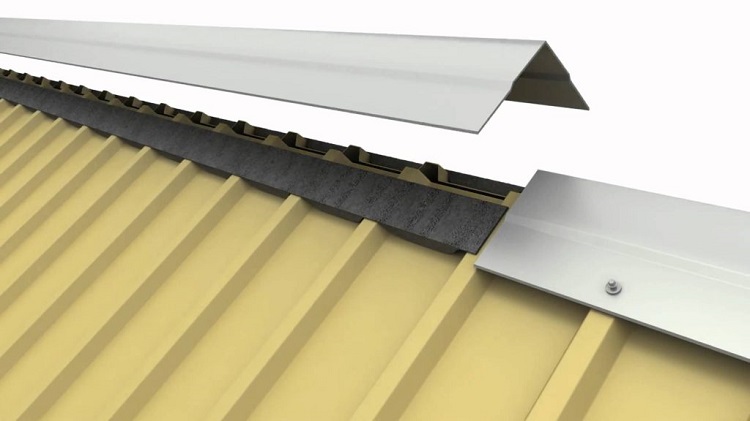
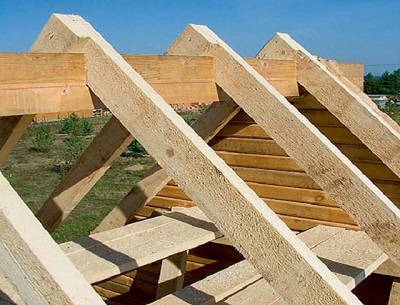
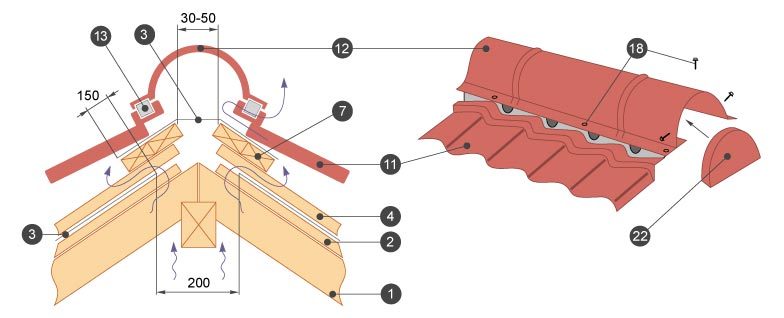
Ridge profile for the roof has a rather complicated device. In order for a profile to function normally, you need to take into account various nuances and schemes when installing it. This detail consists of the following elements, each of which is of particular importance and may be more or less necessary depending on the locality in which the house is located.
The following components are distinguished:
- The top layer, the raw material for which is selected according to the material of the entire roof.
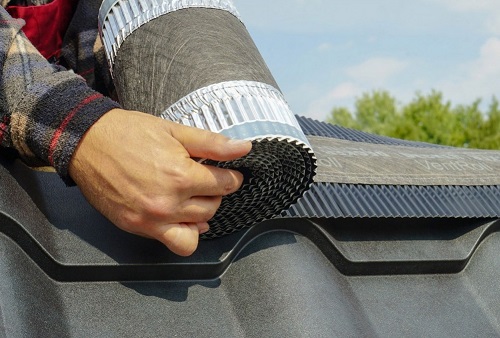
- Sealing detail - it creates a stronger coupling between the ridge and the ramps and prevents some elements of the roof from breaking down by the wind.
This detail is especially important for houses located in areas with frequent gusts of wind.
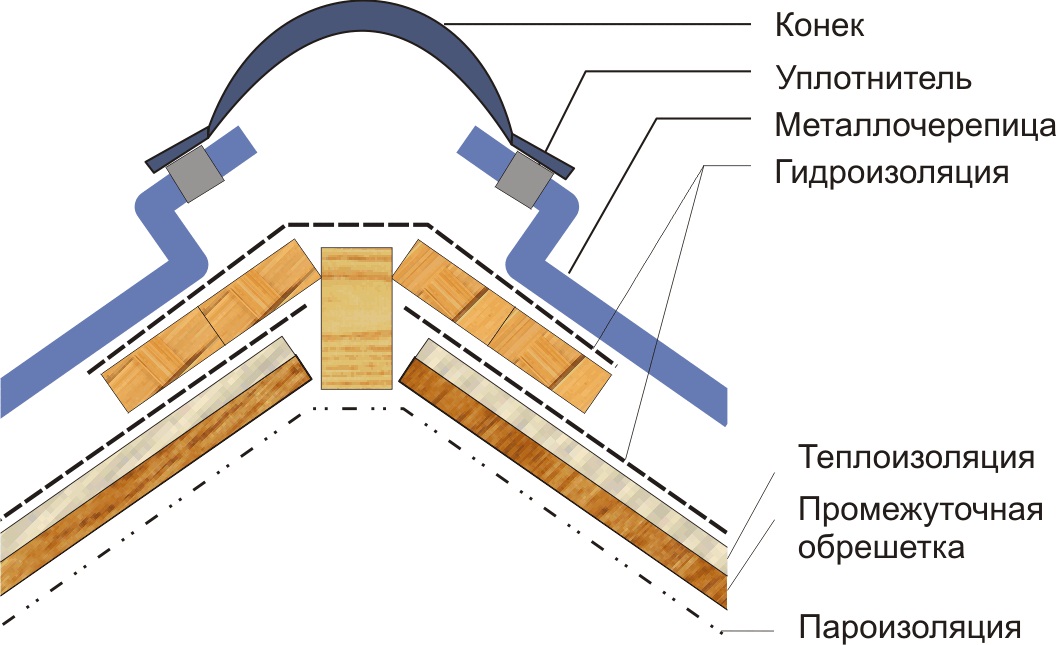
- Next comes a layer of battens and counterbrids.
- After laying out waterproofing roof.
- Between the layers of waterproofing must be left ventilated gap.
- Mandatory element of the roofing ridge is a cap that closes the open end of the structure.
To make the horse a complete and multifunctional design, it is best to provide it with a number of additional elements:
- lightning rod holder;
- tape for ventilation;
- ridge tiles for ventilation;
- with the holder - an element that reduces the load on the roof surface in the winter season, when the roof is covered with snow, this part must be able to withstand a significant load;

- To close sloping joints, you can use a chamfer;
- from the front side, a wind strip is fixed on the slope sheets, the purpose of which is to protect the material from various atmospheric phenomena;
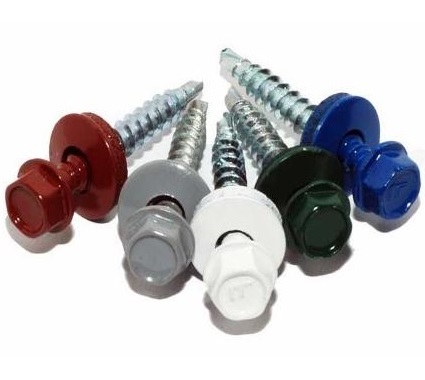
- as fasteners used special screws for the roof;
- to create a more durable knot between the ramps and the ridge, corners can be used as additional fasteners.
Having at hand all the necessary components, you can easily transform the appearance of your roof and protect it from the influence of weather.
Advantages and disadvantages
Before you install an element such as a ridge on the roof, it is necessary to take into account that such a construction has both positive and negative sides.
The advantages of ridge structures on the roof include:
- protection of space under the roof;
- giving the roof greater strength;
- way of finishing - skates can be an interesting detail of the roof and decorative element;
- such structures prevent the harmful effects of precipitation on the roof of the house.
Among the negative qualities can be noted some difficulty in installing certain types of structures, for example, figure. Some materials have a fairly large cost, which causes additional costs. Also, installation work that takes place at a considerable height is a rather risky and dangerous process for non-professionals.
Species
Classify the types of skates on several grounds, each of which is important when choosing a design. The first sign - design features truss.
They define 2 types of skate structure:
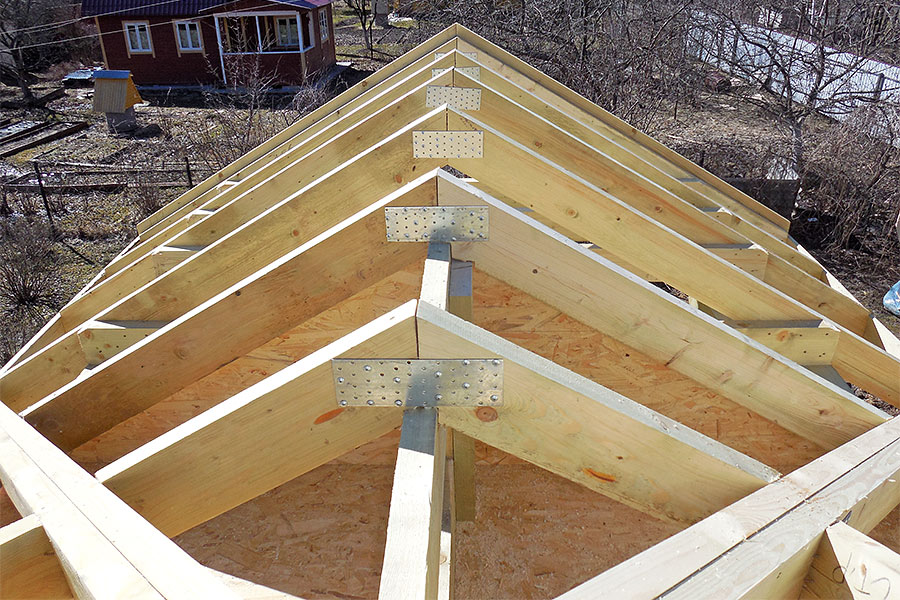
- Rafter legs are connected to each other by jumpers and then connected in pairs, forming a rigid structure of triangular shapes. They are directly exposed to the base of the ridge, which is used as two boards with a thickness of 50 mm or a log of a ridge structure with a wide section. Such a structure is called a girder.
- Vertical posts are installed on ceiling beams, gables or inlays. They are already installed timber, which is a support for the upper parts of the truss system.
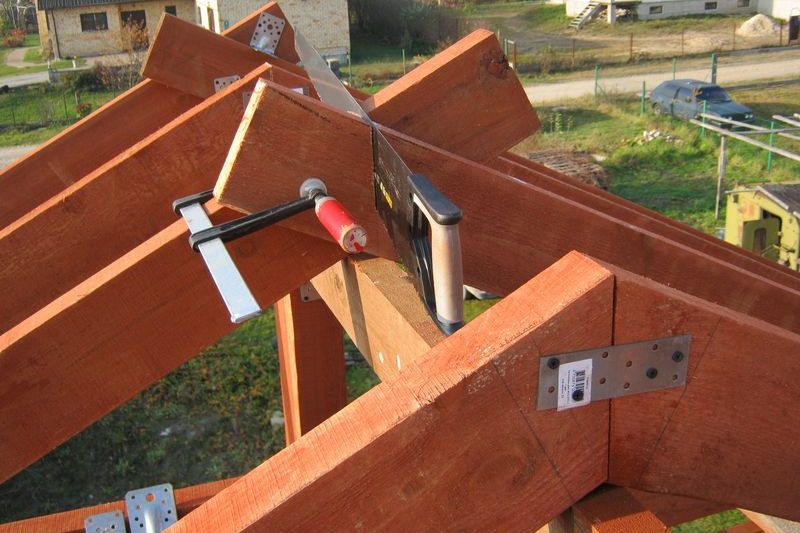
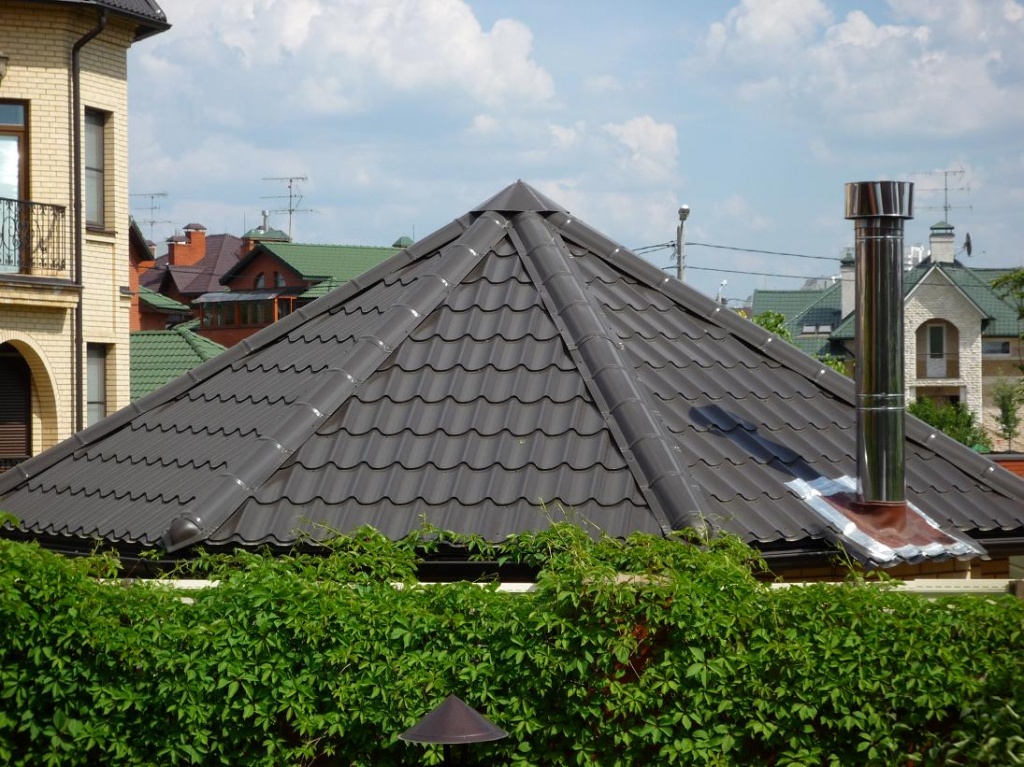
Most often the design is characteristic for installation on a gable roof. But modern roofs can have different unusual forms, for example, broken or raznozatnye. For such structures, displacement technology is usually used when installing the ridge.
Another sign in the classification of types of ridge roofing structures is the place of installation.
There are skates:
- Straight lines They are set horizontally by level.Such elements are most characteristic of gable roofs.
- Mortise elements are fixed on the internal tension of the slopes, which are located slightly below the main one.
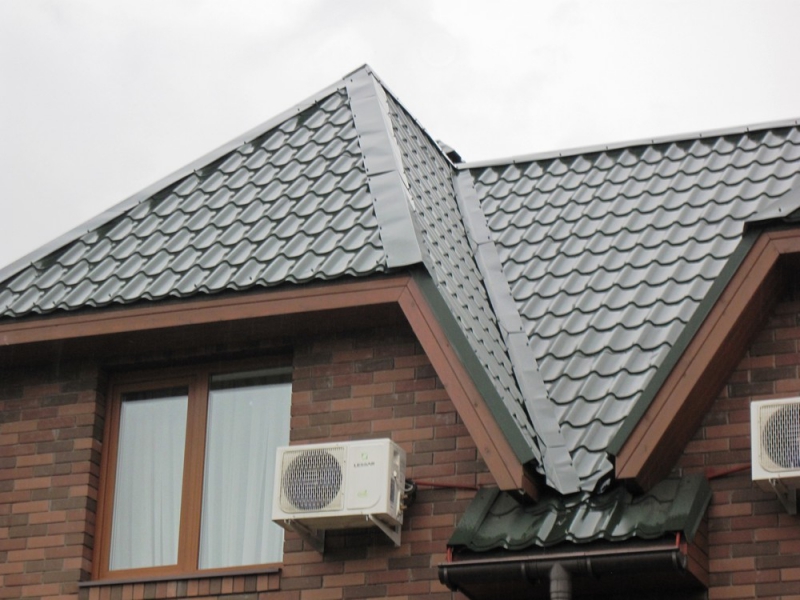
- If there is an intersection of planes embedded in the main roof, then it is better to install crossed variations of the ridge.
These designs are quite convenient for multi-skid roofs.
The forms distinguish the following types of skates:
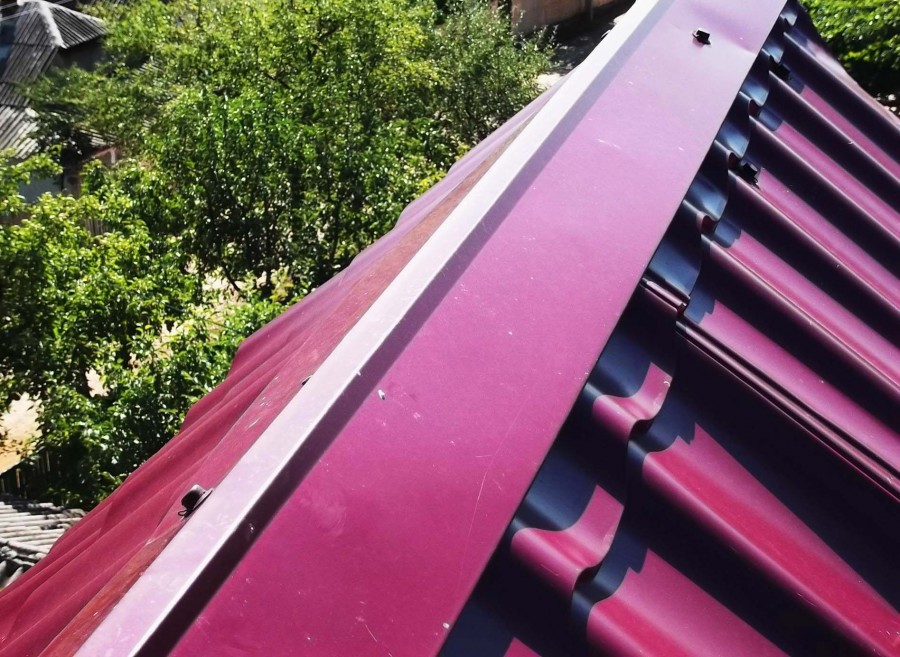
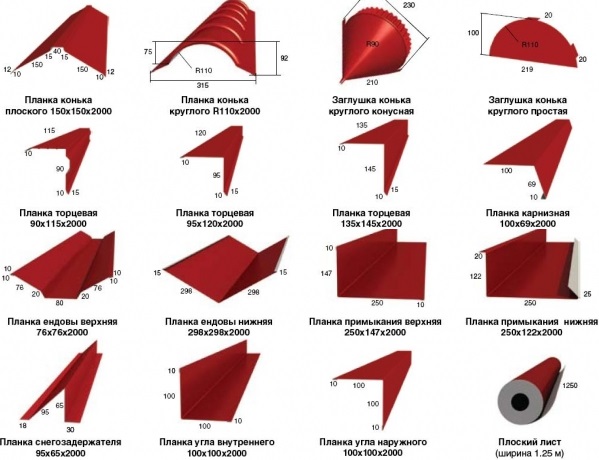
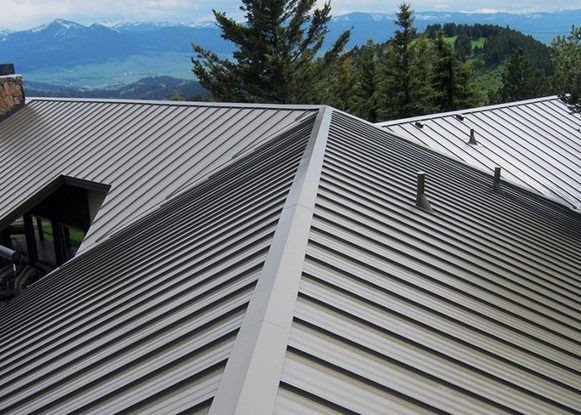
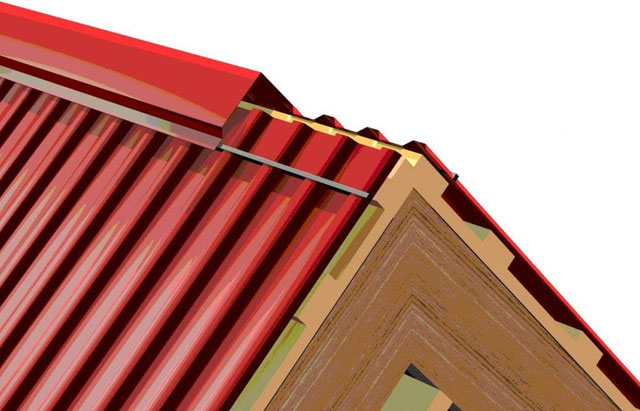
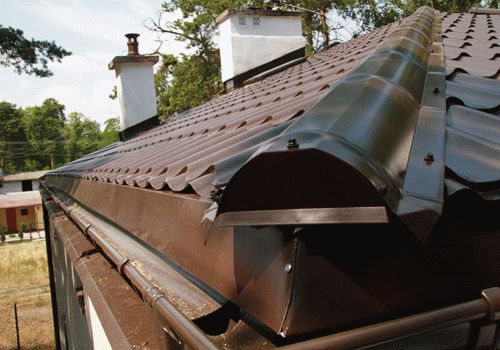
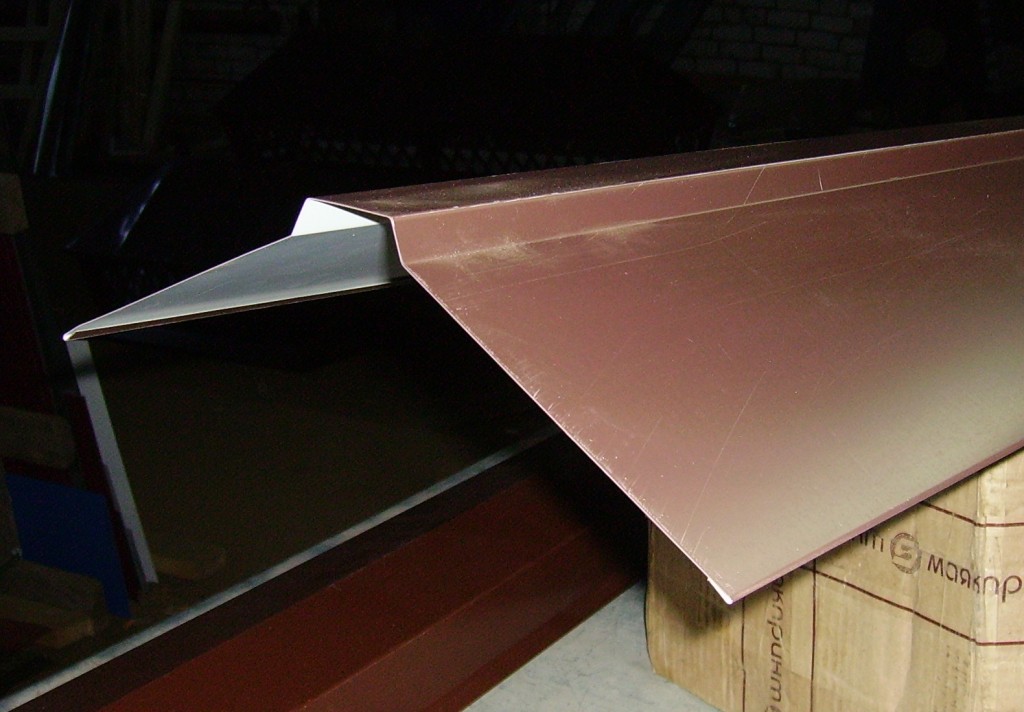
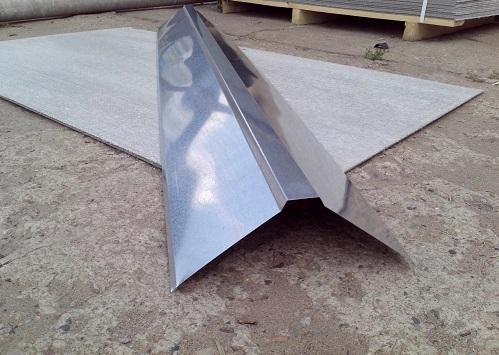
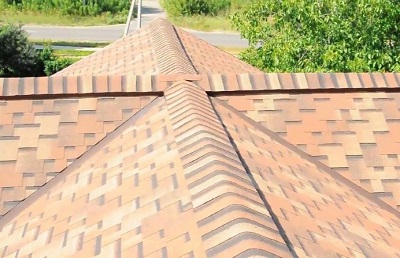
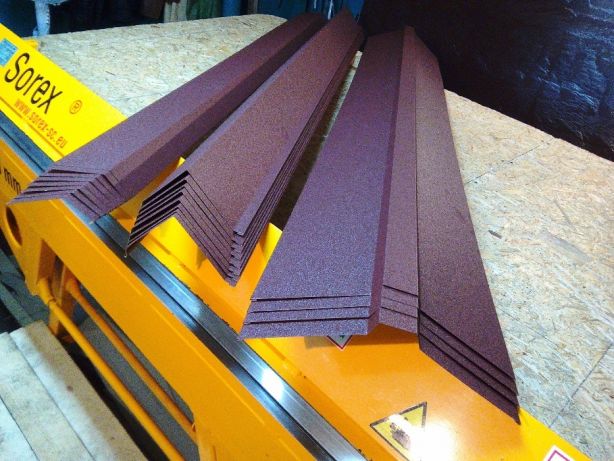
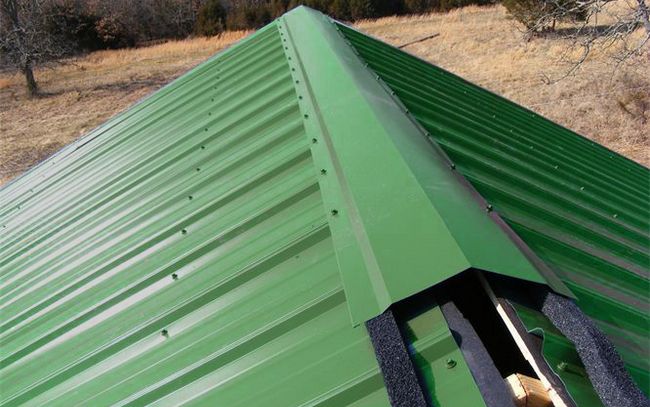
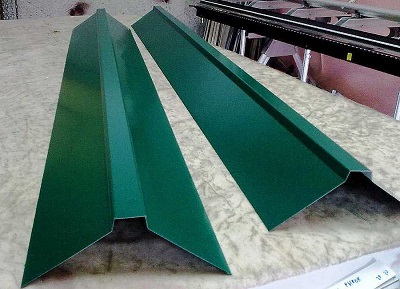
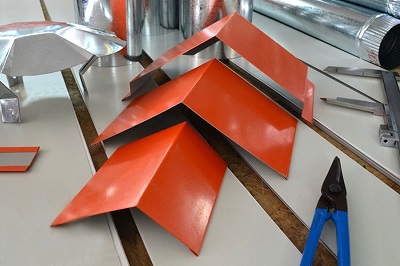
- Direct is the simplest type, which when installed does not require such an additional element as a stub. They have a very aesthetic appearance, also have enhanced roof protection properties. You can often see these skates on the roof of metal. So that when joining skates of this type there is a stronger profile transition, T- and Y-shaped parts are used.
- Semicircular shapes do not have such clear lines as straight lines. Inside these elements, a small air cushion is formed.
Such forms necessarily require the installation of plugs.

- A narrow ridge is often set as an element of decor.Their functionality is small, but such products are perfect for decorating arbors and other small buildings on the site.
- A special type of products - figure skates. This accessory has a more complex structure, it provides better ventilation.
It can be freely adjusted in size.
Material
Ridge construction can be made of various materials, but the list of most preferred is limited.
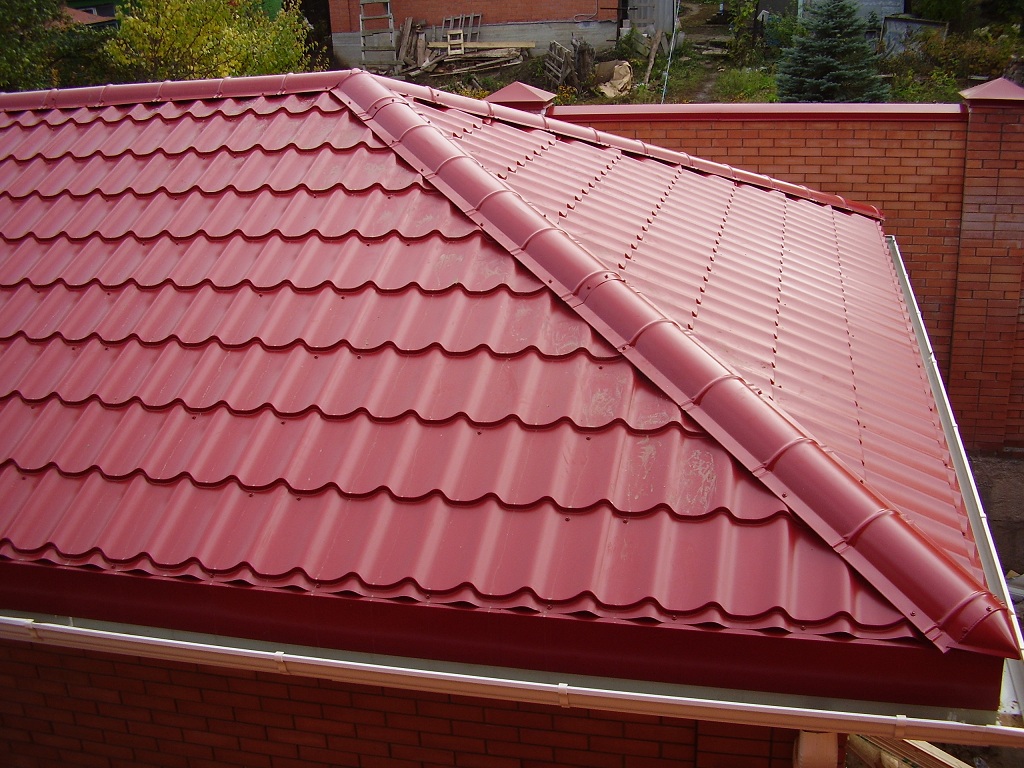
- Popular galvanized structures of standard sizes: two-meter long and a shelf width of 250 - 300 mm. Skates of this metal are usually installed on a slate roof.
- In addition to galvanizing, asbestos cement is also used, but at the present time this material fades into the background.
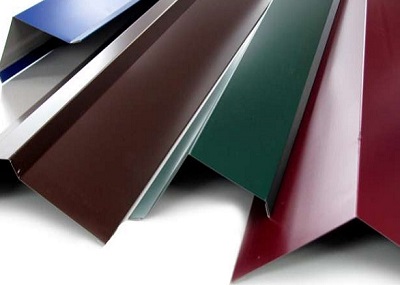
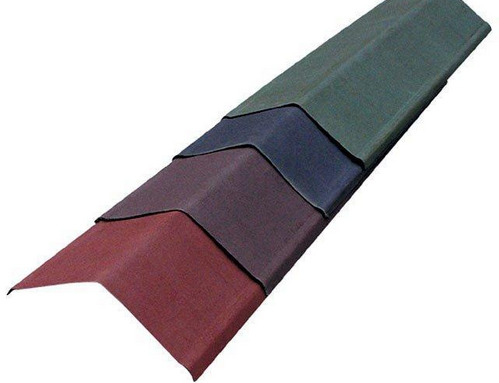
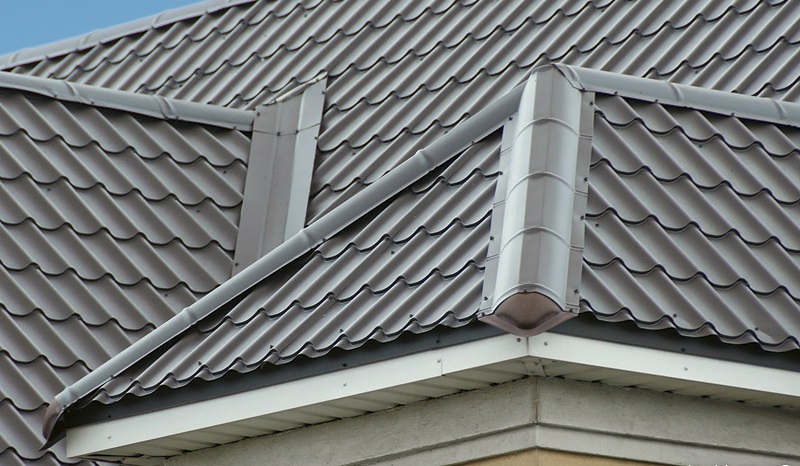
- The ridge of thin-sheet polymeric metal is chosen for the metal tile roof.
- Iron elements from more expensive material - composite metal - are used for roofing from composite tile.
- For the connection of ramps of ondulin and similar materials used skates from similar raw materials.
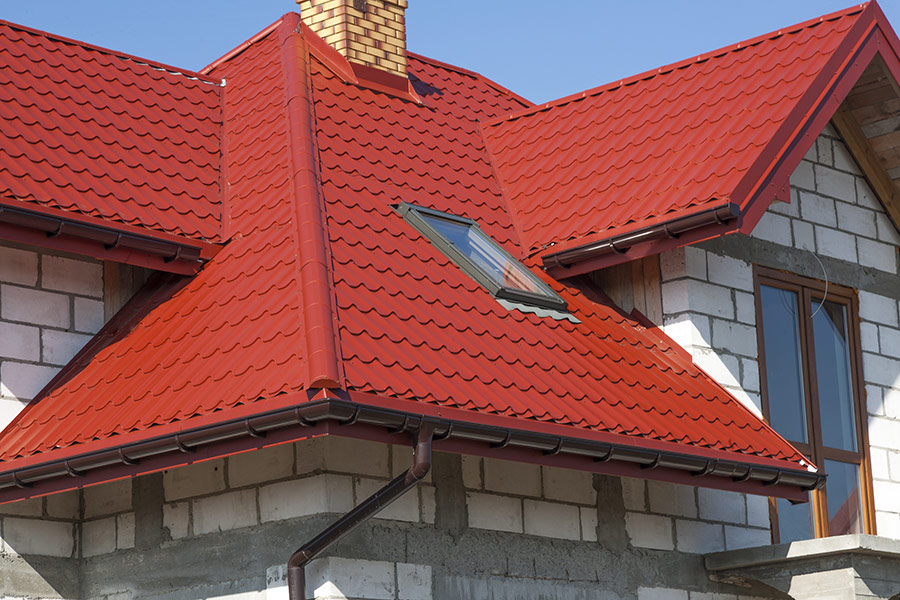
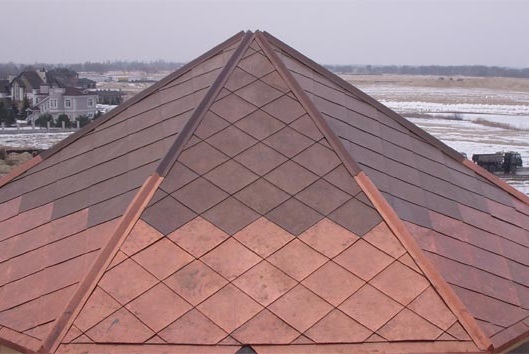
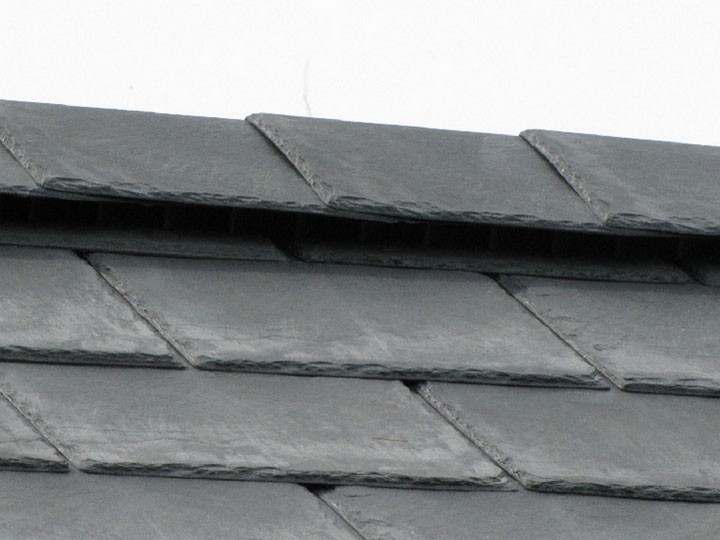
- Special ridge tile is used in case the roof is covered with shingles.
- For the roof of corrugated board you can use the ridge of the same material, which is not even difficult to make with your own hands.
- Even for skates of unusual roofing, for example, from slate or reed, close material is selected for what is used for ramps. There are even ridge elements of clay tiles.
How to choose?
In order not to be mistaken in the choice of such an element of the roof as a ridge, you need to take into account a number of nuances:
- Pay attention to the design of the truss system. They can connect the ramps in different ways, directly determining the version of the ridge profile (run or cant).
- Important parameters are the size of the roof, its height. They directly determine the required length of the skate and the presence of some additional elements.
- Roofing material must be combined with the appearance of the ridge element. Some are based on the contrast of colors, but most believe that a harmonious color ensemble is more relevant. It is also important to choose a suitable combination of materials of the main roof and the ridge element, to pay attention to the features of the accompanying roofing parts.
- The shape affects both the function and the appearance of the skate. When selecting this option, it should also be borne in mind that the shape determines the complexity of the installation process of the ridge on the roof.
- An important sign is the presence of ventilation in the under-roof room. This figure depends on whether the attic is used as a room for housing.
Payment
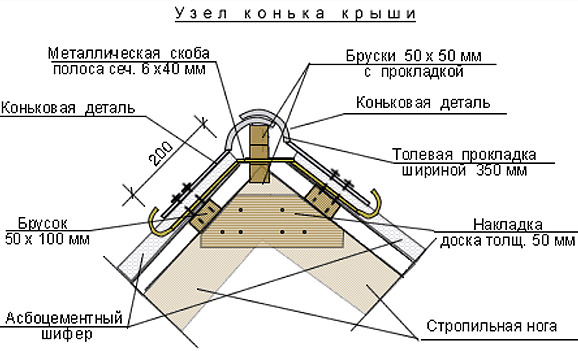
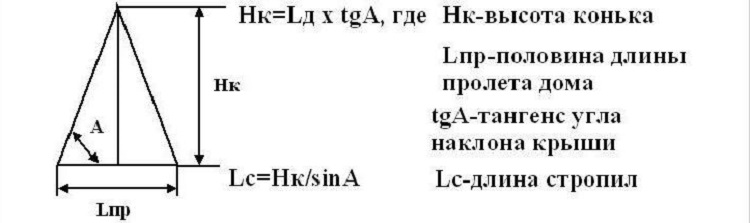
To successfully install the structure, it is necessary to correctly calculate its height. This indicator to a large extent depends on the ridge run - the main element on which the ridge of the roof rests.
It is also important to take into account the material of manufacture of slopes, as well as their height. It is necessary to lay out two parts of the ridge tile on the upper edge. Remember that they need a support, which is used as the roof slopes.
From the narrowest end, one should calculate the distance between the edges of the element above and inside.
The next important value is the segment between the point at which the fastening line is bent and the upper part, on which the beam of the ridge element is held.
To calculate the height of the product accurately, you should use a special table of coefficients.To do this, you need to know the indicators of the angle of inclination of the roof and the width of a private house. The formula for the calculation is as follows: 1⁄2 the width of the building should be multiplied by the coefficient.
How to install?
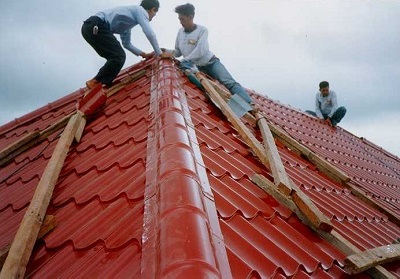
Installation of the skate on the roof is quite possible to do it yourself. The nuances of the installation works and their order will depend on such factors as the presence of a residential attic, features of the "pie" of the roof, complexity of the shape of the roof and other individual characteristics. But the installation process itself in a general sense is a definite algorithm of actions.
It includes several stages that allow you to provide the roof with the most suitable option for the ridge:
- After the calculations, it is necessary to make drawings. They will significantly simplify all stages of further work.
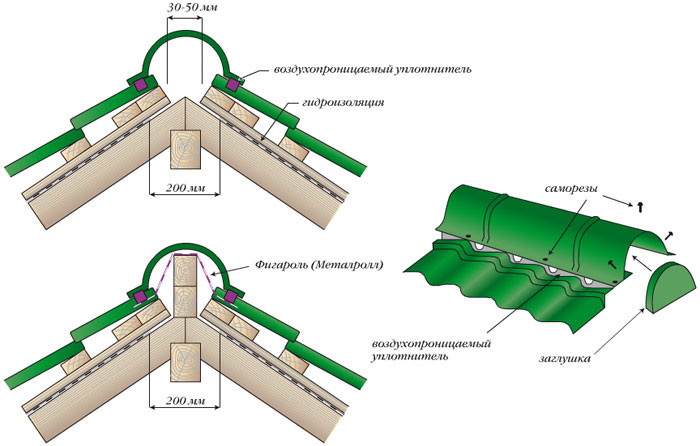
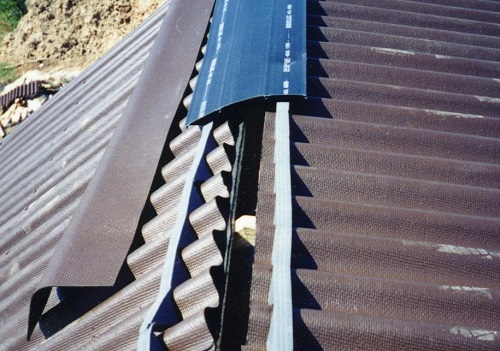
- The first stage is envisaged in the process of laying the roof itself. It is necessary to leave a gap in the space between the canvases of stingrays. Remember that this gap should not be very wide, so that it is easier to close up with the help of the ridge.
- Then along the butt line you need to lay a layer of waterproofing.
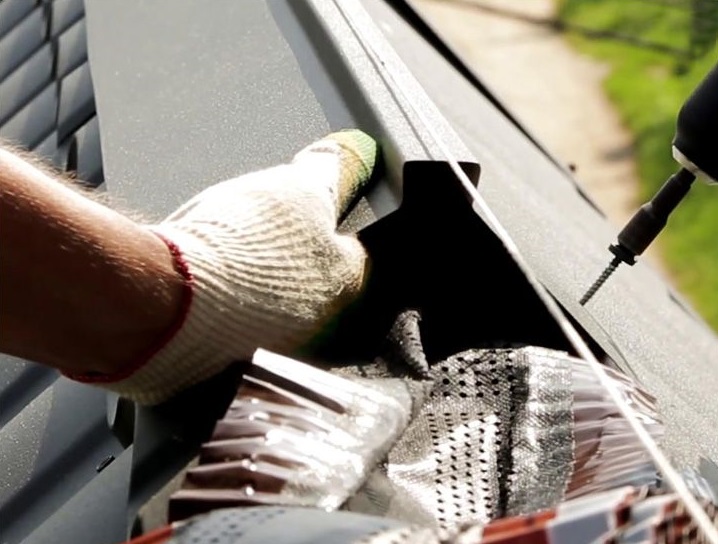
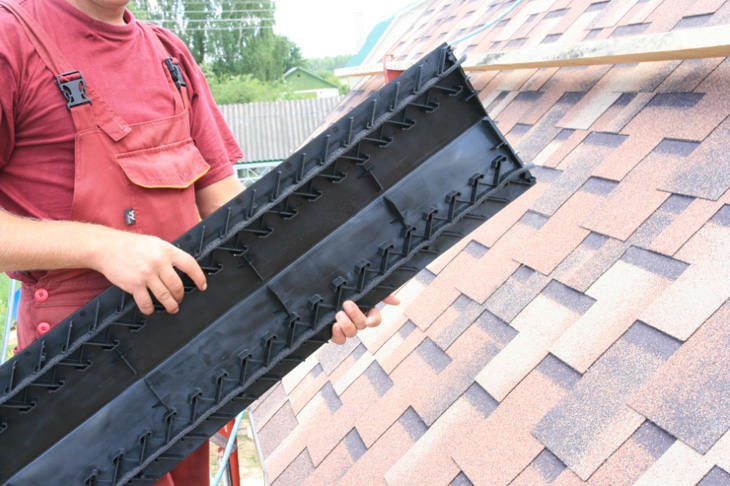
- The cavity between the ends of the slopes should be filled with glass wool.This will help against the formation of snow drifts under the ridge in winter. Instead of glass wool, other materials that are resistant to rotting processes can be used. It is not recommended to closely clog the space so that there is room for air ventilation.
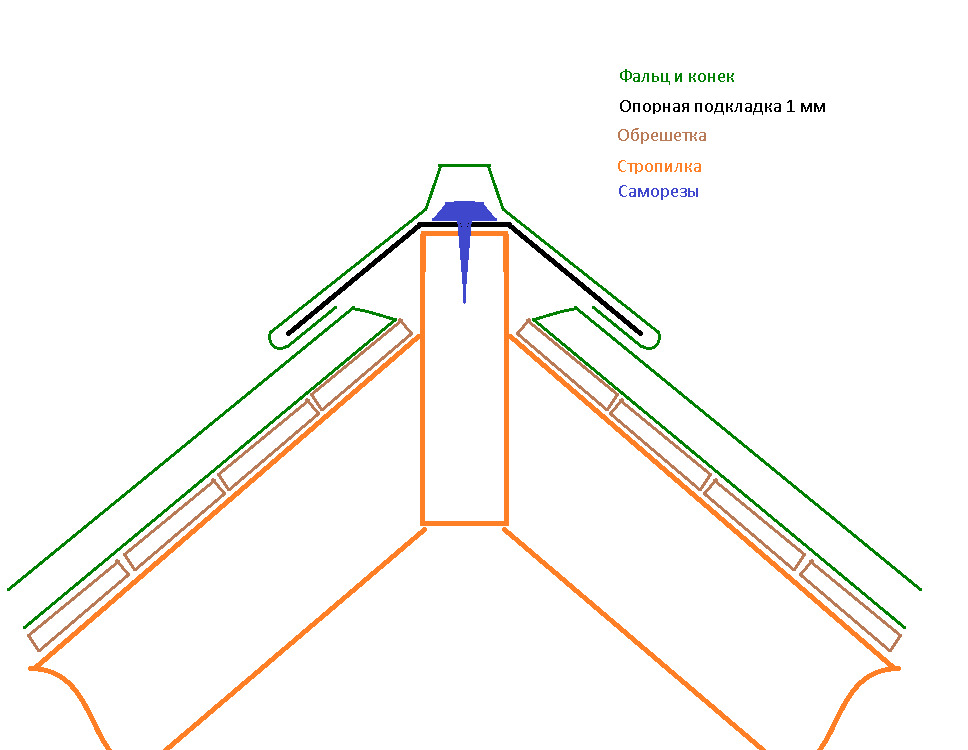
- In case the snow flakes blow under the roofing ridge, it is necessary to install a sealing layer. The sealing tape is laid using roofing felt on the junction line of the roof planes. On the one hand, these strips are attached to the bar that forms the height, and on the other hand, they are fixed to the truss lath through the material of which the roof is made. With overlap to the bar another strip is attached absolutely also. As a result, an additional layer of insulation and insulation is created from the inside, which protects the space under the roof from the effects of precipitation.
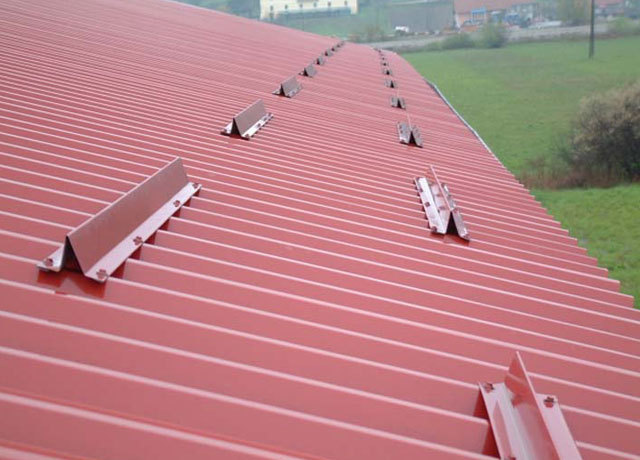
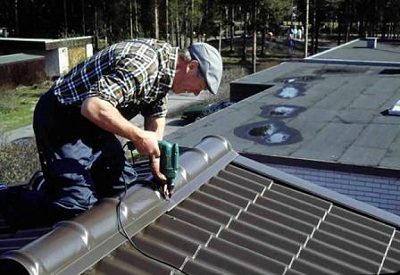
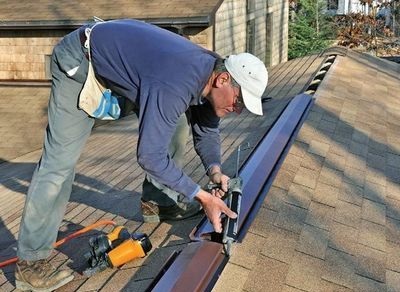
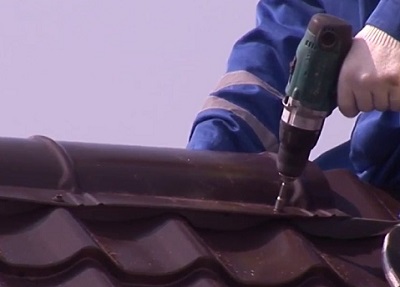
- Installation of slats by using special roofing screws, which are equipped with special rubber pads with a protective layer.
- After installing the first plank, stretch the cord along the line of the future structure. With it, you can easily adjust the line of the skate so that it is set at the required angle.
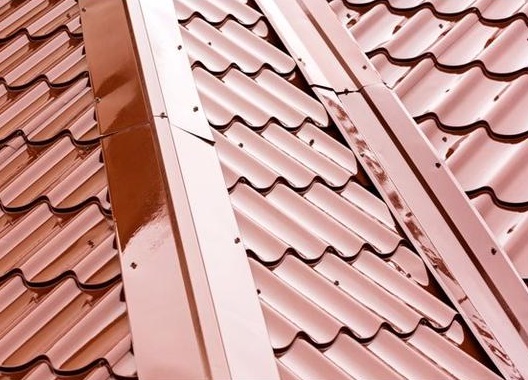
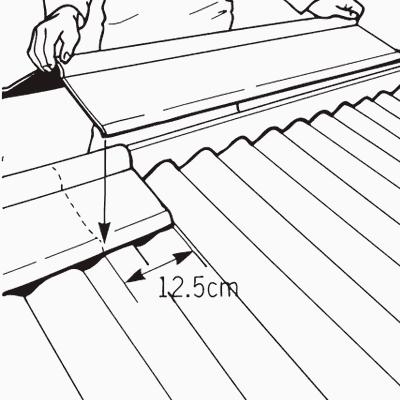
- In the future, the corners are installed with an overlap of not less than 50 mm along the lines of the wave stamp. The direction of laying depends on the prevailing direction of the winds.
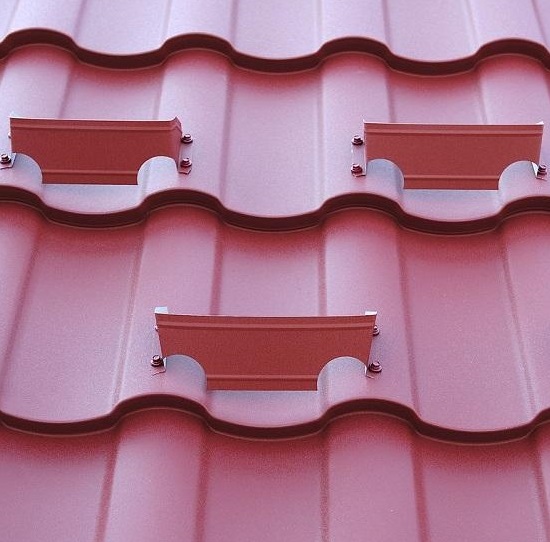
- So that the wind could not deform and bend the finished structures, for the ends of some of them, for example, a round ridge, plugs are provided, which are installed at the last stage of installation.
How to make yourself?
To make a skate yourself, you will need to use a number of tools:
- To create a rectilinear bend, a workbench with steel from a steel corner is used. The size of one shelf should not exceed 50 mm.
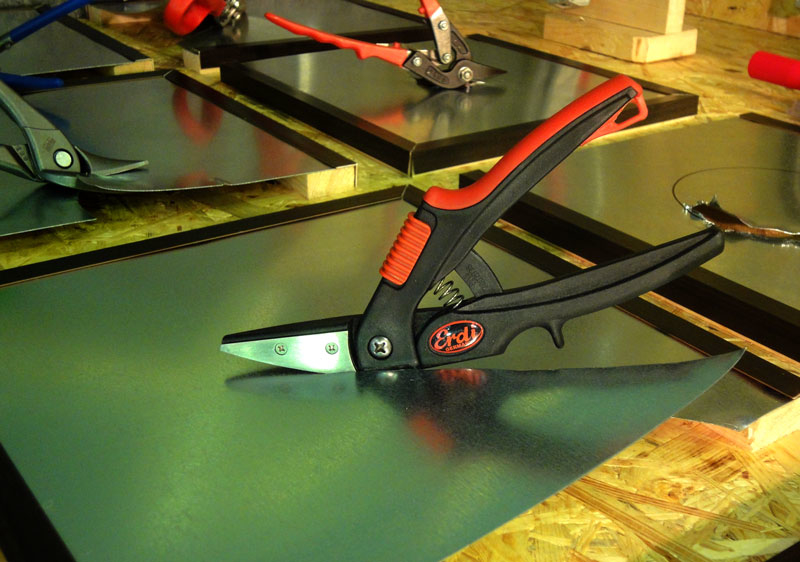
- Ordinary scissors for plumbing or electric shears to cut from the sheet the workpiece of the required length.
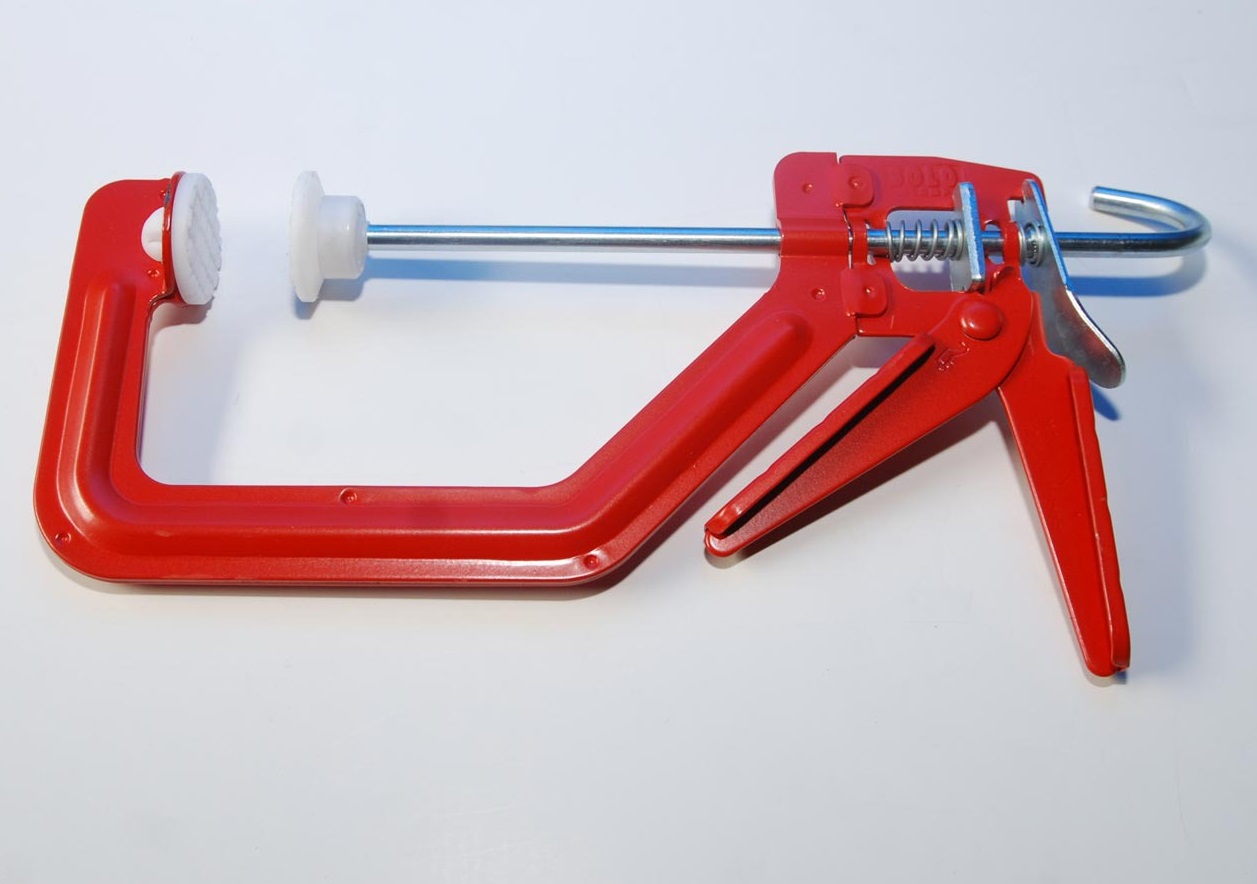
- To secure the workpiece on the workbench, the necessary clamps.
Such tool is useful both when cutting, and when bending sheets of metal.
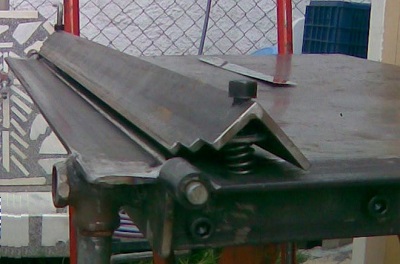
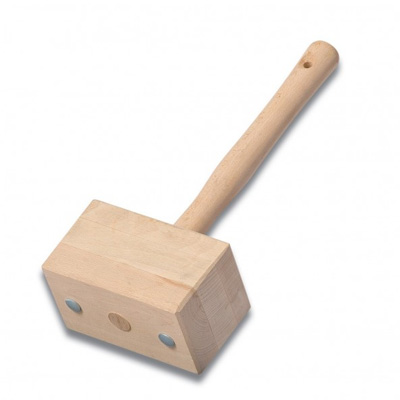
- For kinks also suitable kiyanka made of wood.
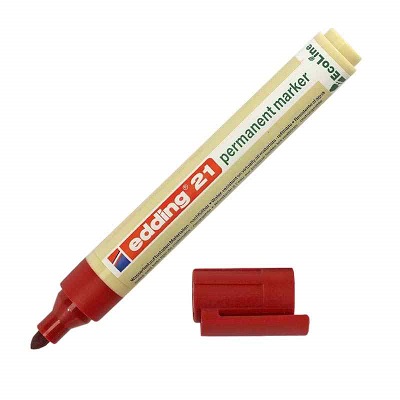
- To implement the markup should use a marker.
- The size of the angle of the axial bend must be fixed and transferred very accurately. To do this, use a special template.
- Wooden spacers should be used to prevent the formation of uboin when working with a mallet.
The manufacture of the skate itself is as follows:
- cut the prepared form from the sheet with the parameters of 2 m by 43 cm;
- use a marker to apply a longitudinal axis;
- using clamps, secure the workpiece on the workbench, leaving the release of 2 centimeters;
- the marginal fold of 15 mm should be made at an angle of 180 degrees;
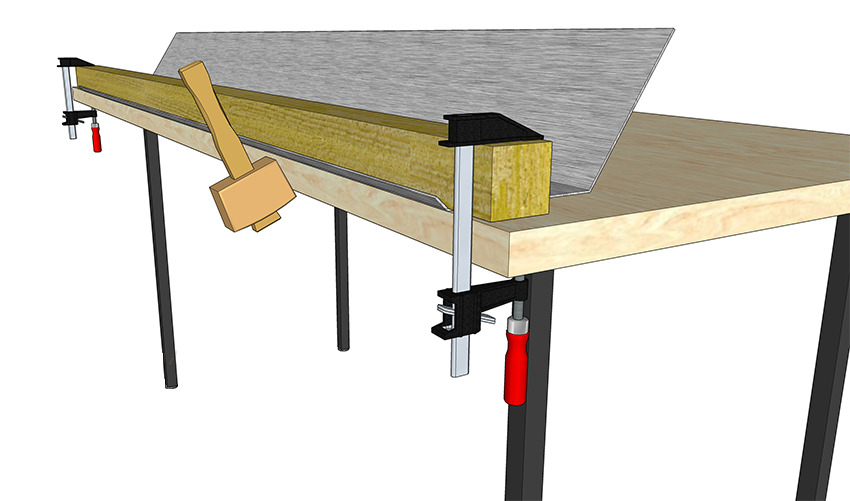
- after removing the workpiece, rotate the part by 180 degrees;
- re-clamp it with a twenty-millimeter release clamps;
- likewise make a second margin fold;
- according to the marking of the central axis, you need to reinstall the workpiece;
- fix the part with clamps and, with support on the finished template, fold to the outer corner.
Useful recommendations
When choosing a skate on the roof and its installation, it is necessary to take into account the useful tips that can significantly facilitate the entire process.
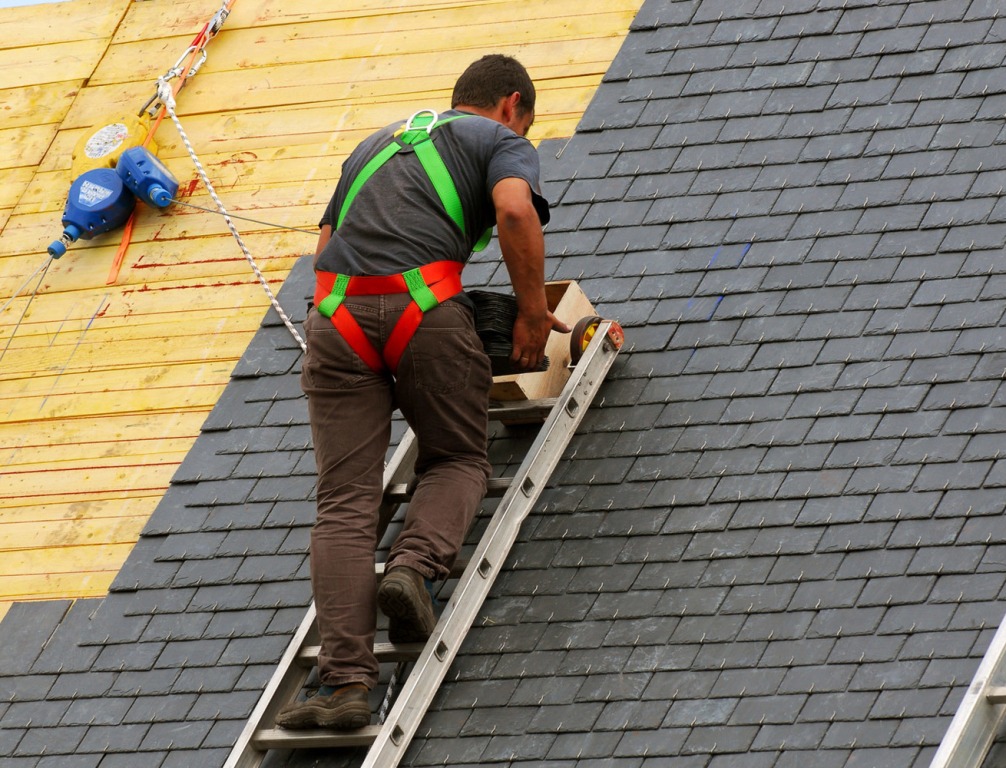
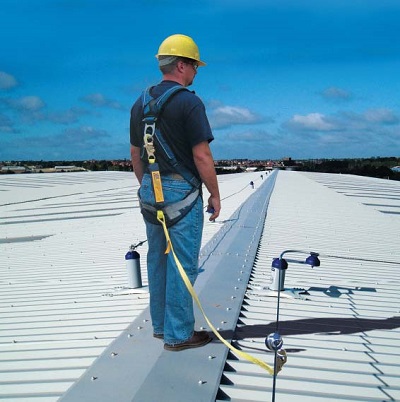
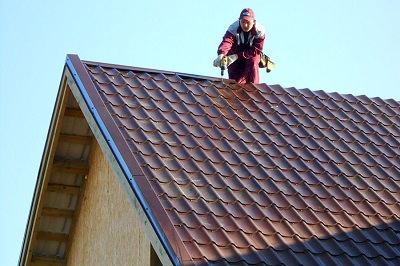
- When installing the skate be sure to use insurance. Often the work takes place at a rather high altitude, the fall from which can be dangerous to life and health.
- To avoid the unexpected gathering of masses of snow from the roof,it is advisable to install snow barriers.
- To make the correct calculation of the slats, do not forget to take into account the five-centimeter overlap.
- It is necessary to take care of ventilation only if there is a layer of insulation in the roof, in other cases air exchange will be done well.
- The joints of the slopes must be completely sealed, otherwise it is possible that during operation of the roof the wind will blow and snow will be swept away.
- Special openings can be made in the lower part of the eaves so that air masses can flow under the roof for additional ventilation.
- When making a drawing, it is important to ensure that the details and performance with respect to all the slats are the same.
- The width of the shelves should not be less than fifteen centimeters. Otherwise, the design will not be so securely fixed. Also increases the likelihood of accumulation of snow under it.
- Do not use ordinary nails as fasteners for the roofing ridge.
If you want your house to have a beautiful finished look, and also to be reliably protected from natural disasters, be sure to install the horse on the roof of the building.This element will extend the life of the roof of your home, give it aesthetic beauty and protect the room, located directly under the roof, from the penetration of precipitation and unwanted drafts.
How to make a roof ridge with your own hands, you can learn from the video below.


