How to fill the floor with your own hands?
Leveling the floor in our country began to use recently. Smooth flooring has high performance: it is characterized by compressive and bending strength, flexibility, environmental friendliness and increased resistance to fire.

Special features
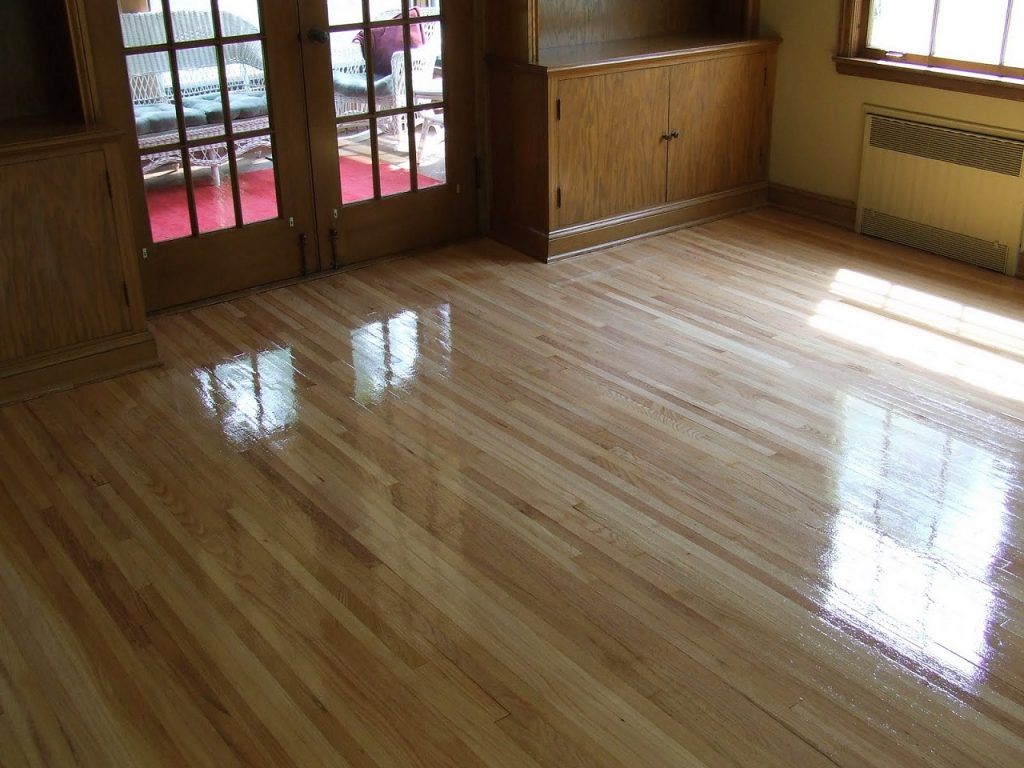
The flat floor in the room is one of the main aspects in creating beauty, coziness and comfort. It depends on the leveling of the floor, how well the coating will lie, how integrity and geometry will be preserved, and how the interior will look like.
The quality of the floor works depends on how the furniture will stand. After all if the surface is in bumps and irregularities, the furniture will begin to wobble, deform, crack, in a word, deteriorate.
If you decide to make repairs in the apartment, then definitely it is necessary to evaluate the type of flooring and if his condition leaves much to be desired, think about over-tightening.

To date, you can find a large number of proposals for the provision of services screed floor. It is possible to do it yourself, saving money at the wizard. At first, this will seem like a long and laborious process, but over time, speed and skill will come.
However, few can make a tie in the correct version. Technologies are often violated and gross errors are made. Improper floor screed can no longer be used. The life time of flooring is being questioned, as bubbles and cracks cannot be fixed and you cannot conceal with cosmetic repairs.

Before you start work, you must fully understand the process. First of all, it is worth noting that the floor should be poured after the completion of the preparatory work with the walls and ceiling and only when all communications have been made. Only after pouring, complete drying and leveling the floor you can begin the finishing work.
Wet cement screed is suitable for use in any premises and does not depend on climatic conditions. A pleasant moment can also be considered the fact that a screed system can be installed in the screed.

Floors in the room should be poured sequentially from one room to another. So it will be much easier and faster to repair. Screed floor is one of the most common types of repair work.
Types of screeds
Consider the main types and methods of leveling the floor and their variations. The floor tie is divided into dry, wet and semi-dry. Screed can be mechanized or made by concrete pump.
Wet screed
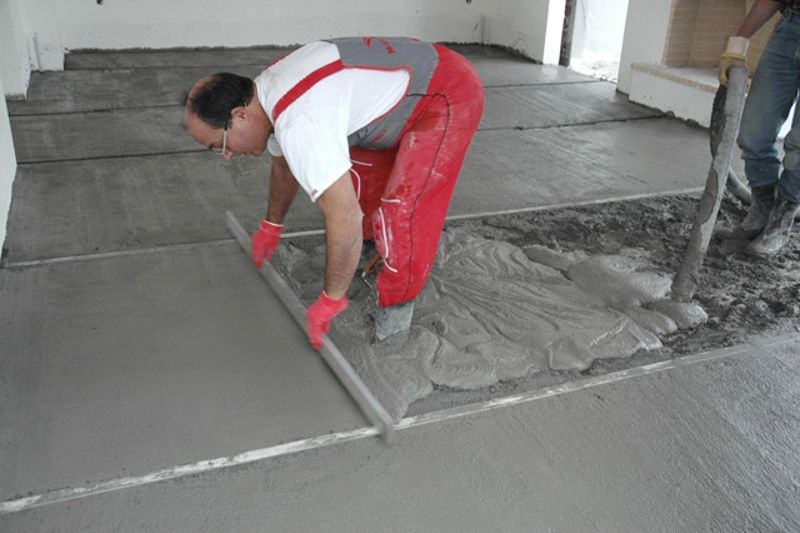
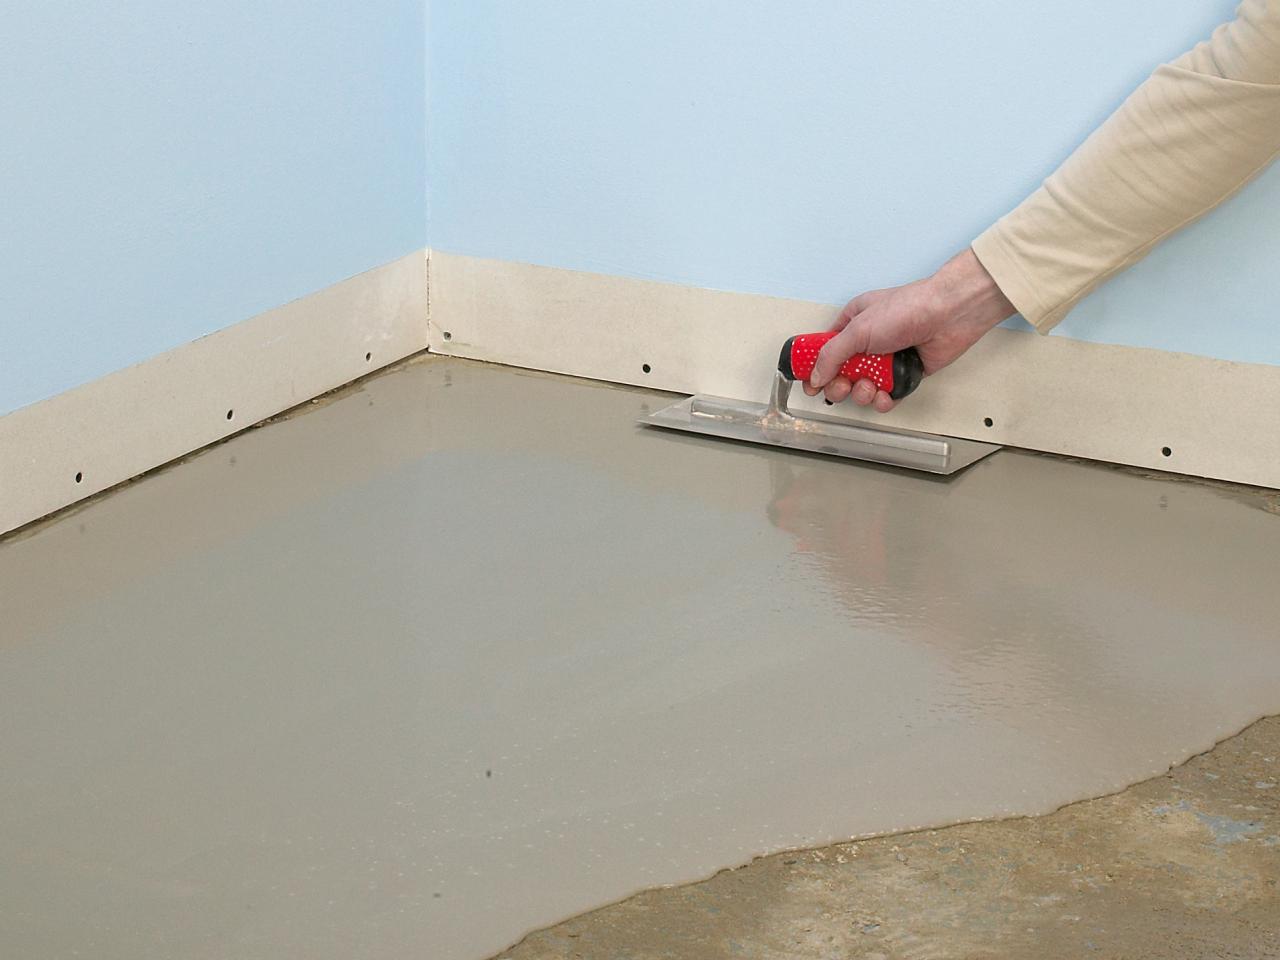
It is one of the most common types of floor leveling. The basis of this method is the creation of a liquid coating of concrete or cement, which, after pouring, fills the space, spreading around the perimeter. But despite the fact that such a coupler has the property of self-leveling, when using it there is a need for additional processing.
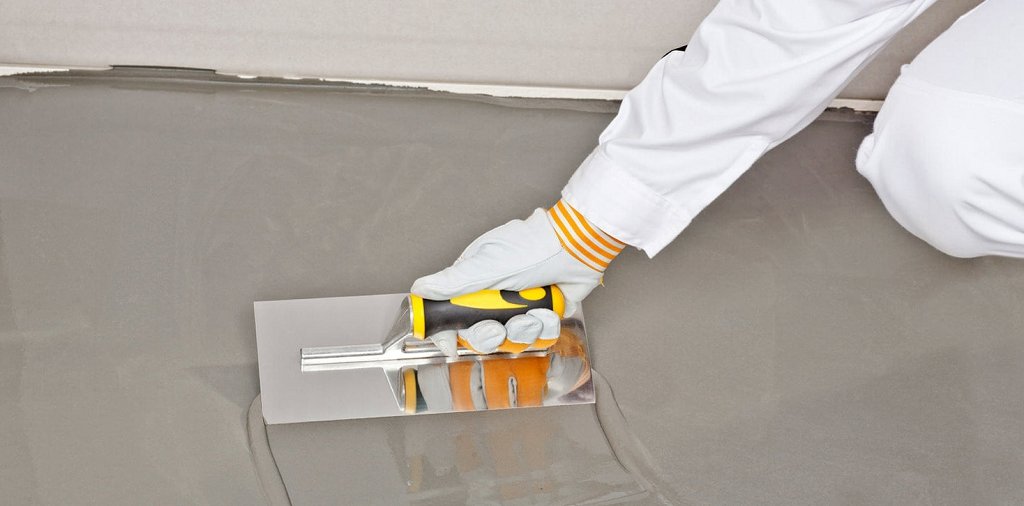

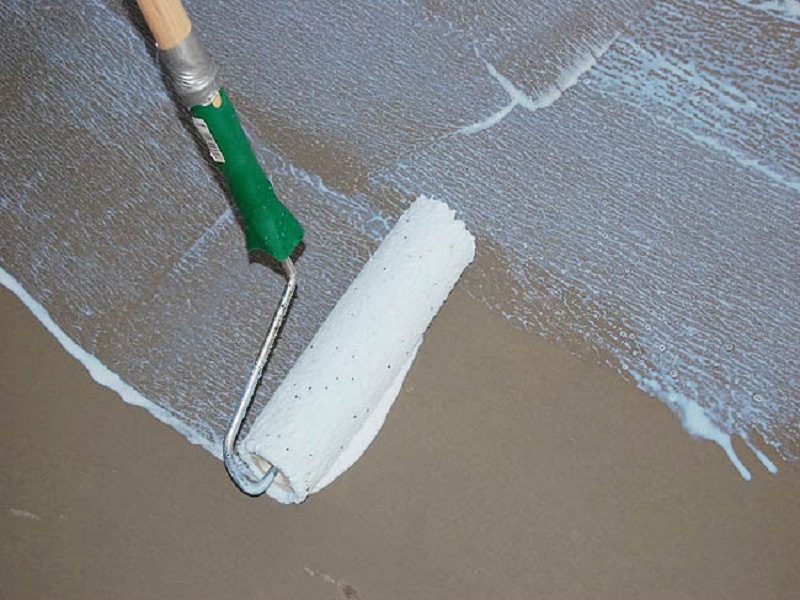
In order not to form air bubbles, use a roller, and for a more even result, after drying, pass over the surface with a spatula.
The mixture hardens for a long time, therefore there is a risk of cracking the surface even if the reinforcement equipment is used. Indisputable advantages of this method are its strength and fire resistance, moisture resistance and relative budget. Mounting mixes must be selected carefully.

Conditionally wet screed is divided into 4 categories, which by their structure have different types of formation of the final layer, and also differ in the process of surface preparation:
- Knitted. The floor is formed from the layer of the screed itself, laid out on the base, and waterproofing, which is placed on the finished screed. The following are finishing materials.
- With a bulk coating. Combined screed, which is based on the draft layer of concrete or cement mixture, then the layer is poured with a self-leveling coating. Thus, a perfectly smooth surface is created for finishing coatings.
- On waterproofing. First, a layer of waterproofing is formed, and then the screed is laid out.
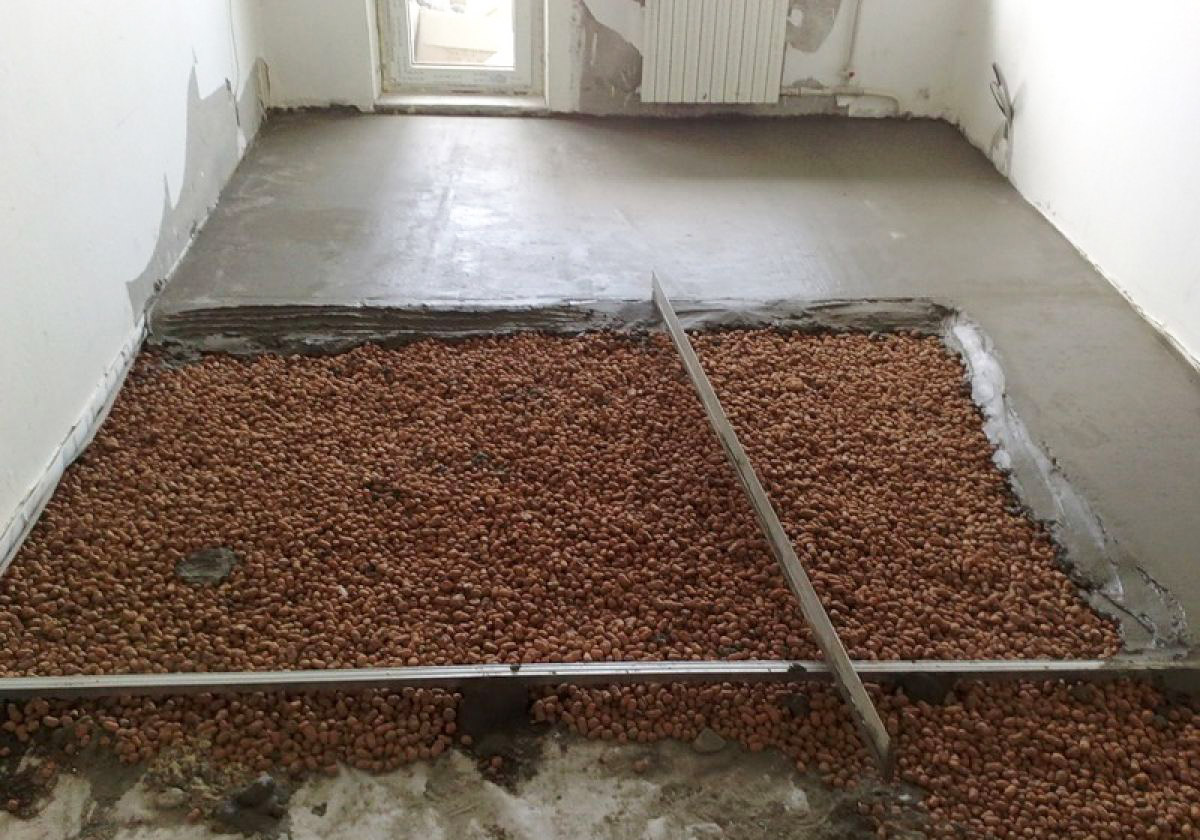
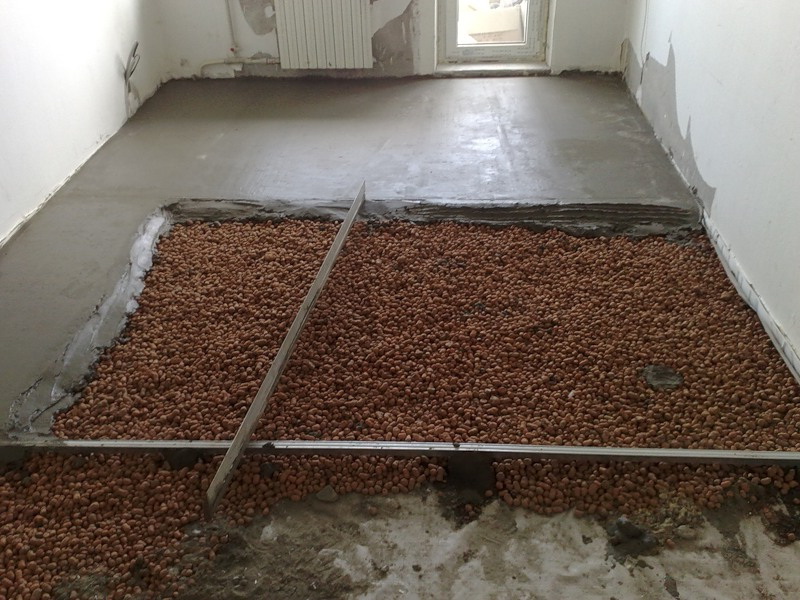
- On thermal insulation. This screed is suitable for work on a soil base. The first layer is rammed sand, on which insulation is put. It is possible to warm the room by applying expanded polystyrene, cotton wool, expanded clay or polyurethane foam. The next layer is waterproofing, and then the screed itself.


Since the solution is laid out on the insulation, the screed must be reinforced without fail.
Depending on how much load the base will be subjected to, a metal frame or a reinforced mesh may be required.The welded frame can tolerate more impact, while the mesh is more suitable for the less loaded floor. In the case of laying insulation on the stove, you can do without sand bedding.
The classic version of the wet screed is described in more detail below.
Dry screed
It is considered “fast” because it does not require drying of the surface, does not depend on the temperature conditions and has a good sound insulating ability.
The basis for creating a floor in this way is parchment or polyethylene, on which a dry bedding is laid, for example, made of expanded clay or perlite, leveling the base. Then plasterboard moisture resistant boards, chipboard or plywood sheets are laid on an even embankment. But such a screed is afraid of moisture, therefore, to carry out repair work of such a plan in wet areas is not recommended. Moreover, screed materials are loose and dry, which may contribute to uneven shrinkage.
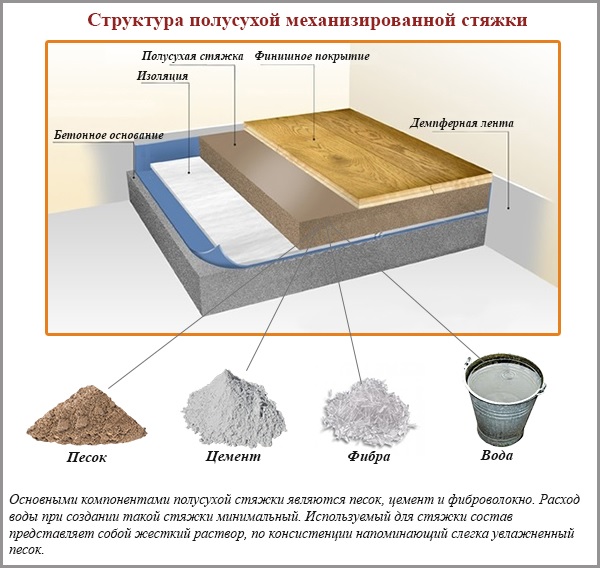
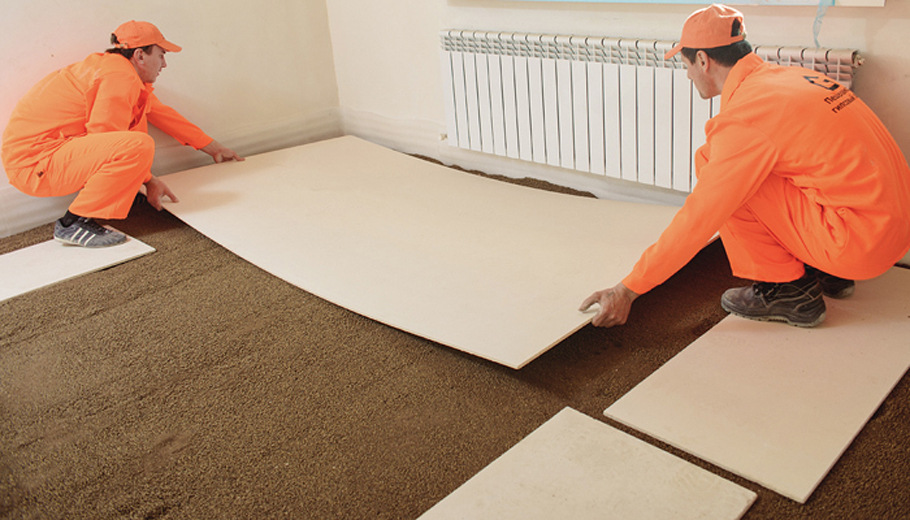
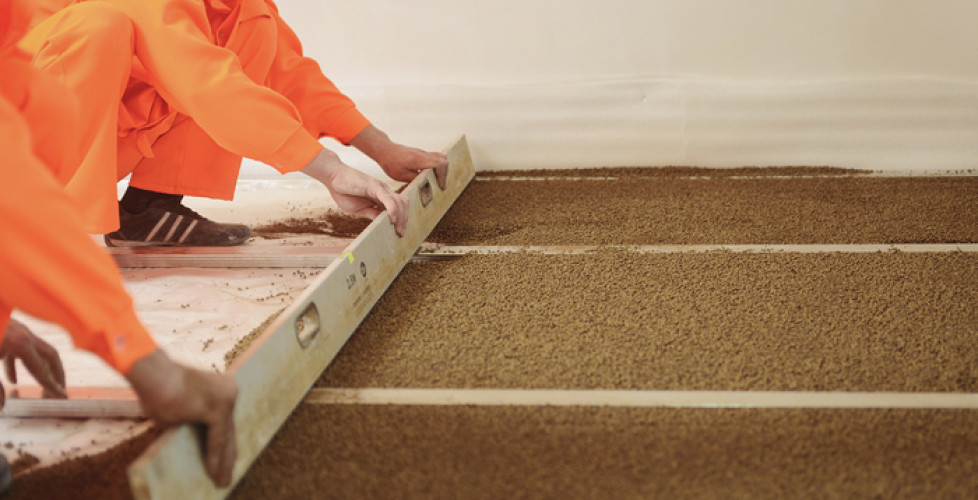
Semi-dry screed
It is an alternative option and contributes to the accelerated formation of the base of the floor.
The technology of laying the floor in a semi-dry way is in many ways similar to a wet screed.The use of water in this method is reduced or even limited, and the presence of sand in the solution is increased. Such proportions allow the material to quickly harden, but reduce the strength characteristics.

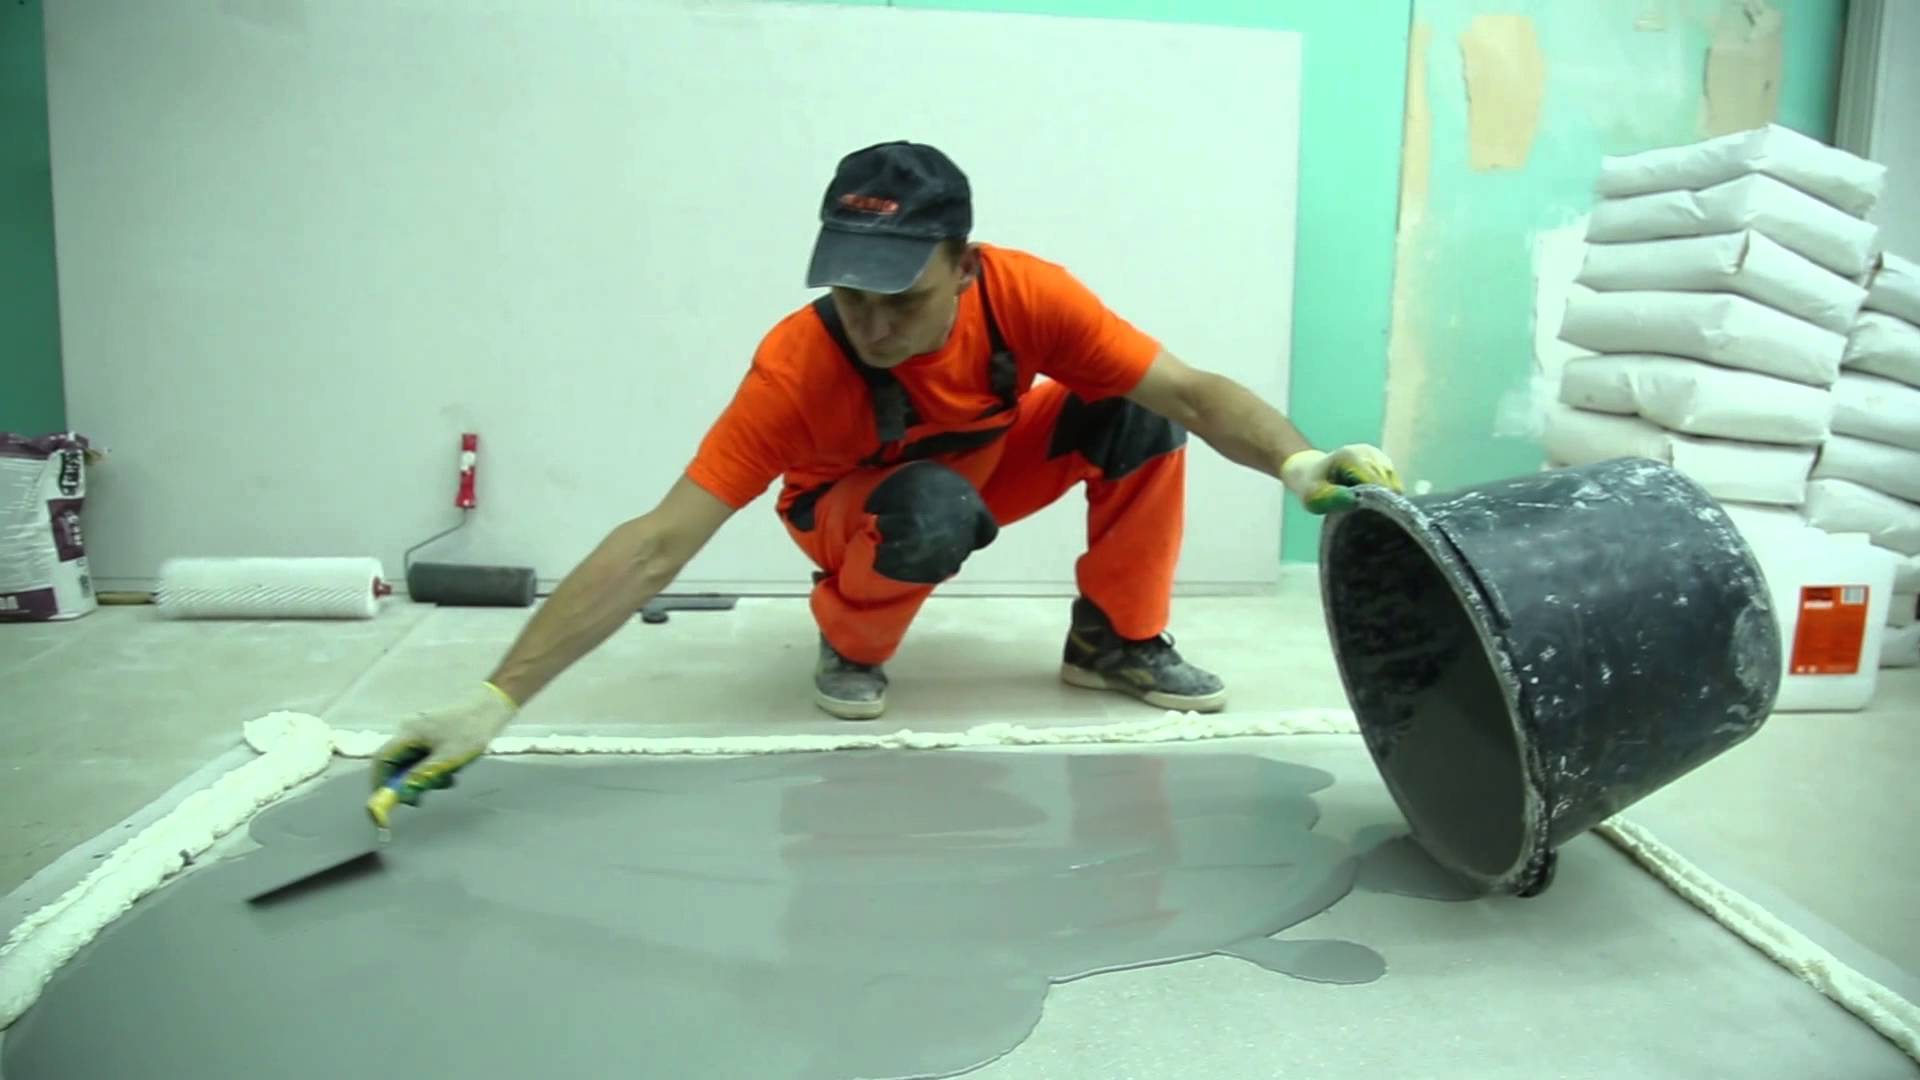
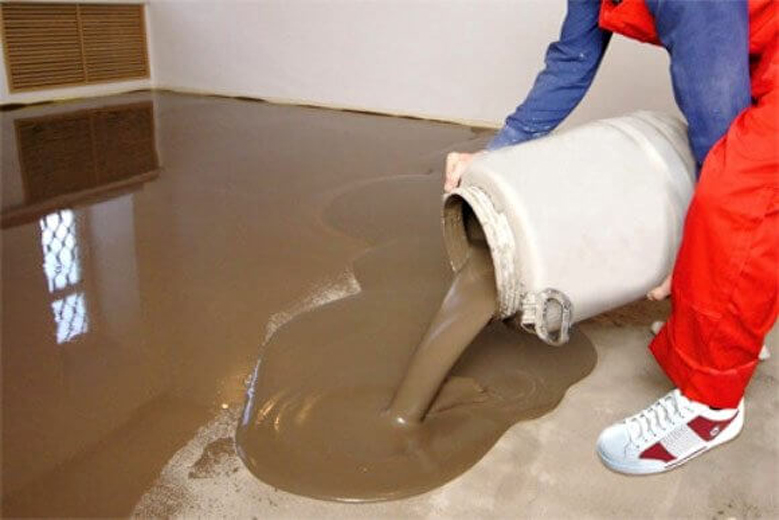
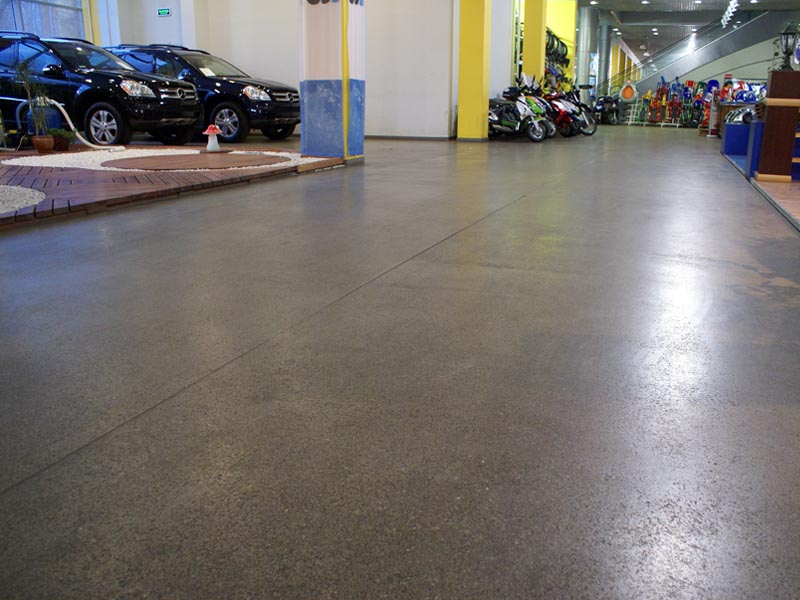
Self-leveling floors
Selected in a separate category. This type of floor laying uses self-leveling compounds made of cement-sand component and polymers. As an option, the mixture can be completely polymeric.
When filling the floor, the material spreads in a thin layer along the surface parallel to the level of the horizon and fills all the irregularities. The main advantage is that there is no need to spread the coating in any way; you just need to get rid of air bubbles with a roller. Most often bulk floor use together with other types of couplersthat due to its fluidity it provides a perfectly flat surface.
other methods
You can also identify several other, less common ways of laying the floor:
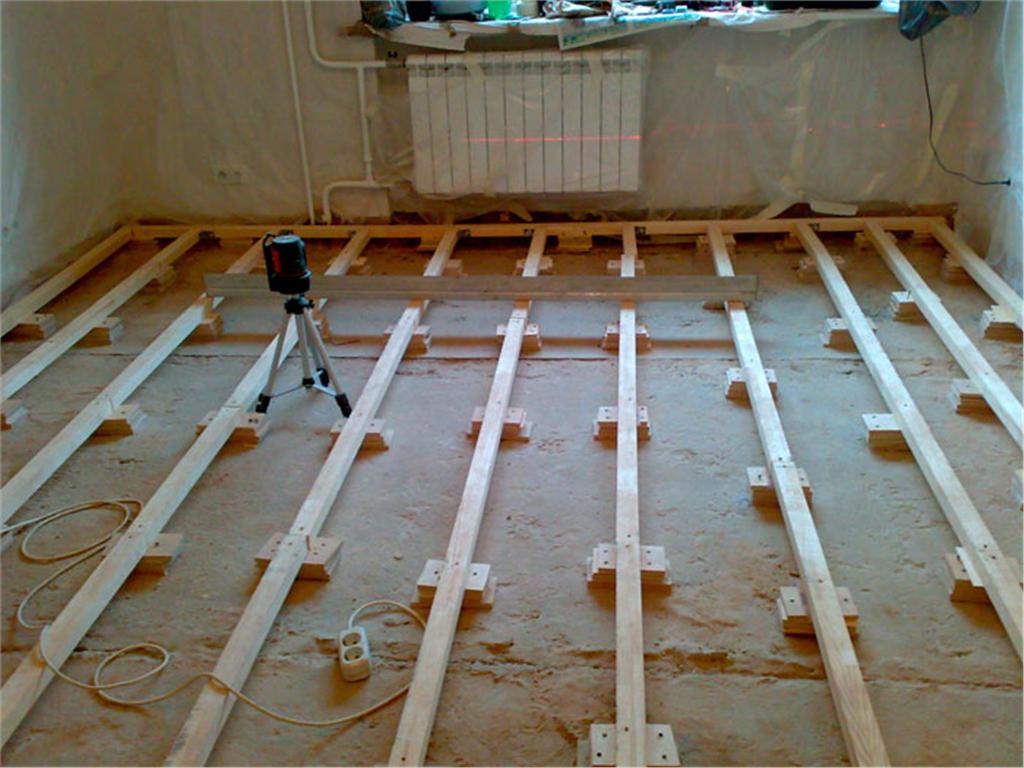
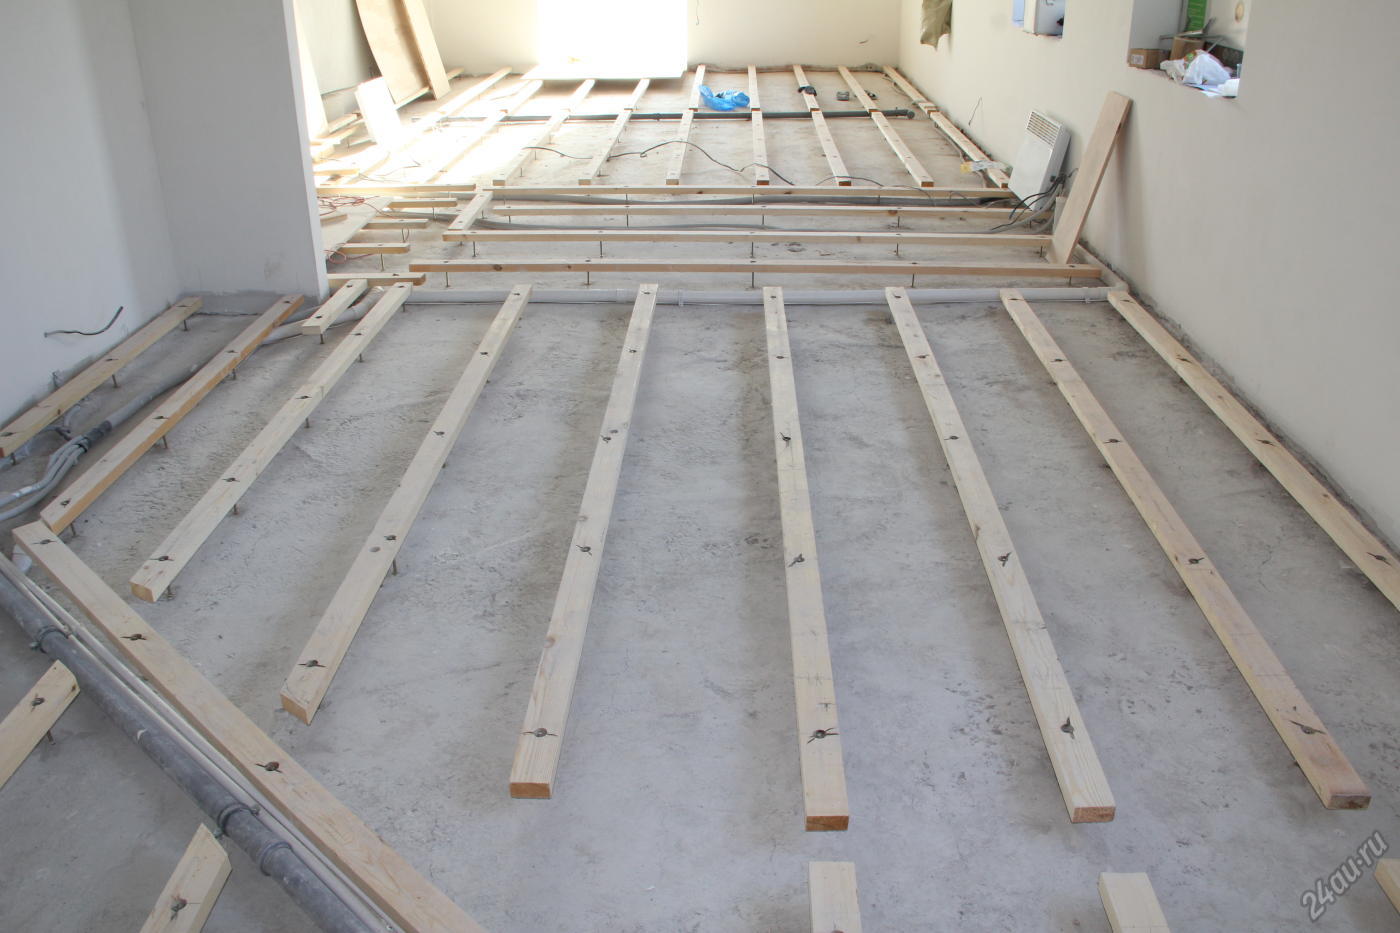
- Leveling on logs. For this method, at first, a framework of wooden logs is specially designed, and then the chipboard or plywood canvases are laid out on the prepared system.This process of leveling the floor should be trusted by professionals, as this is a technologically complex event.


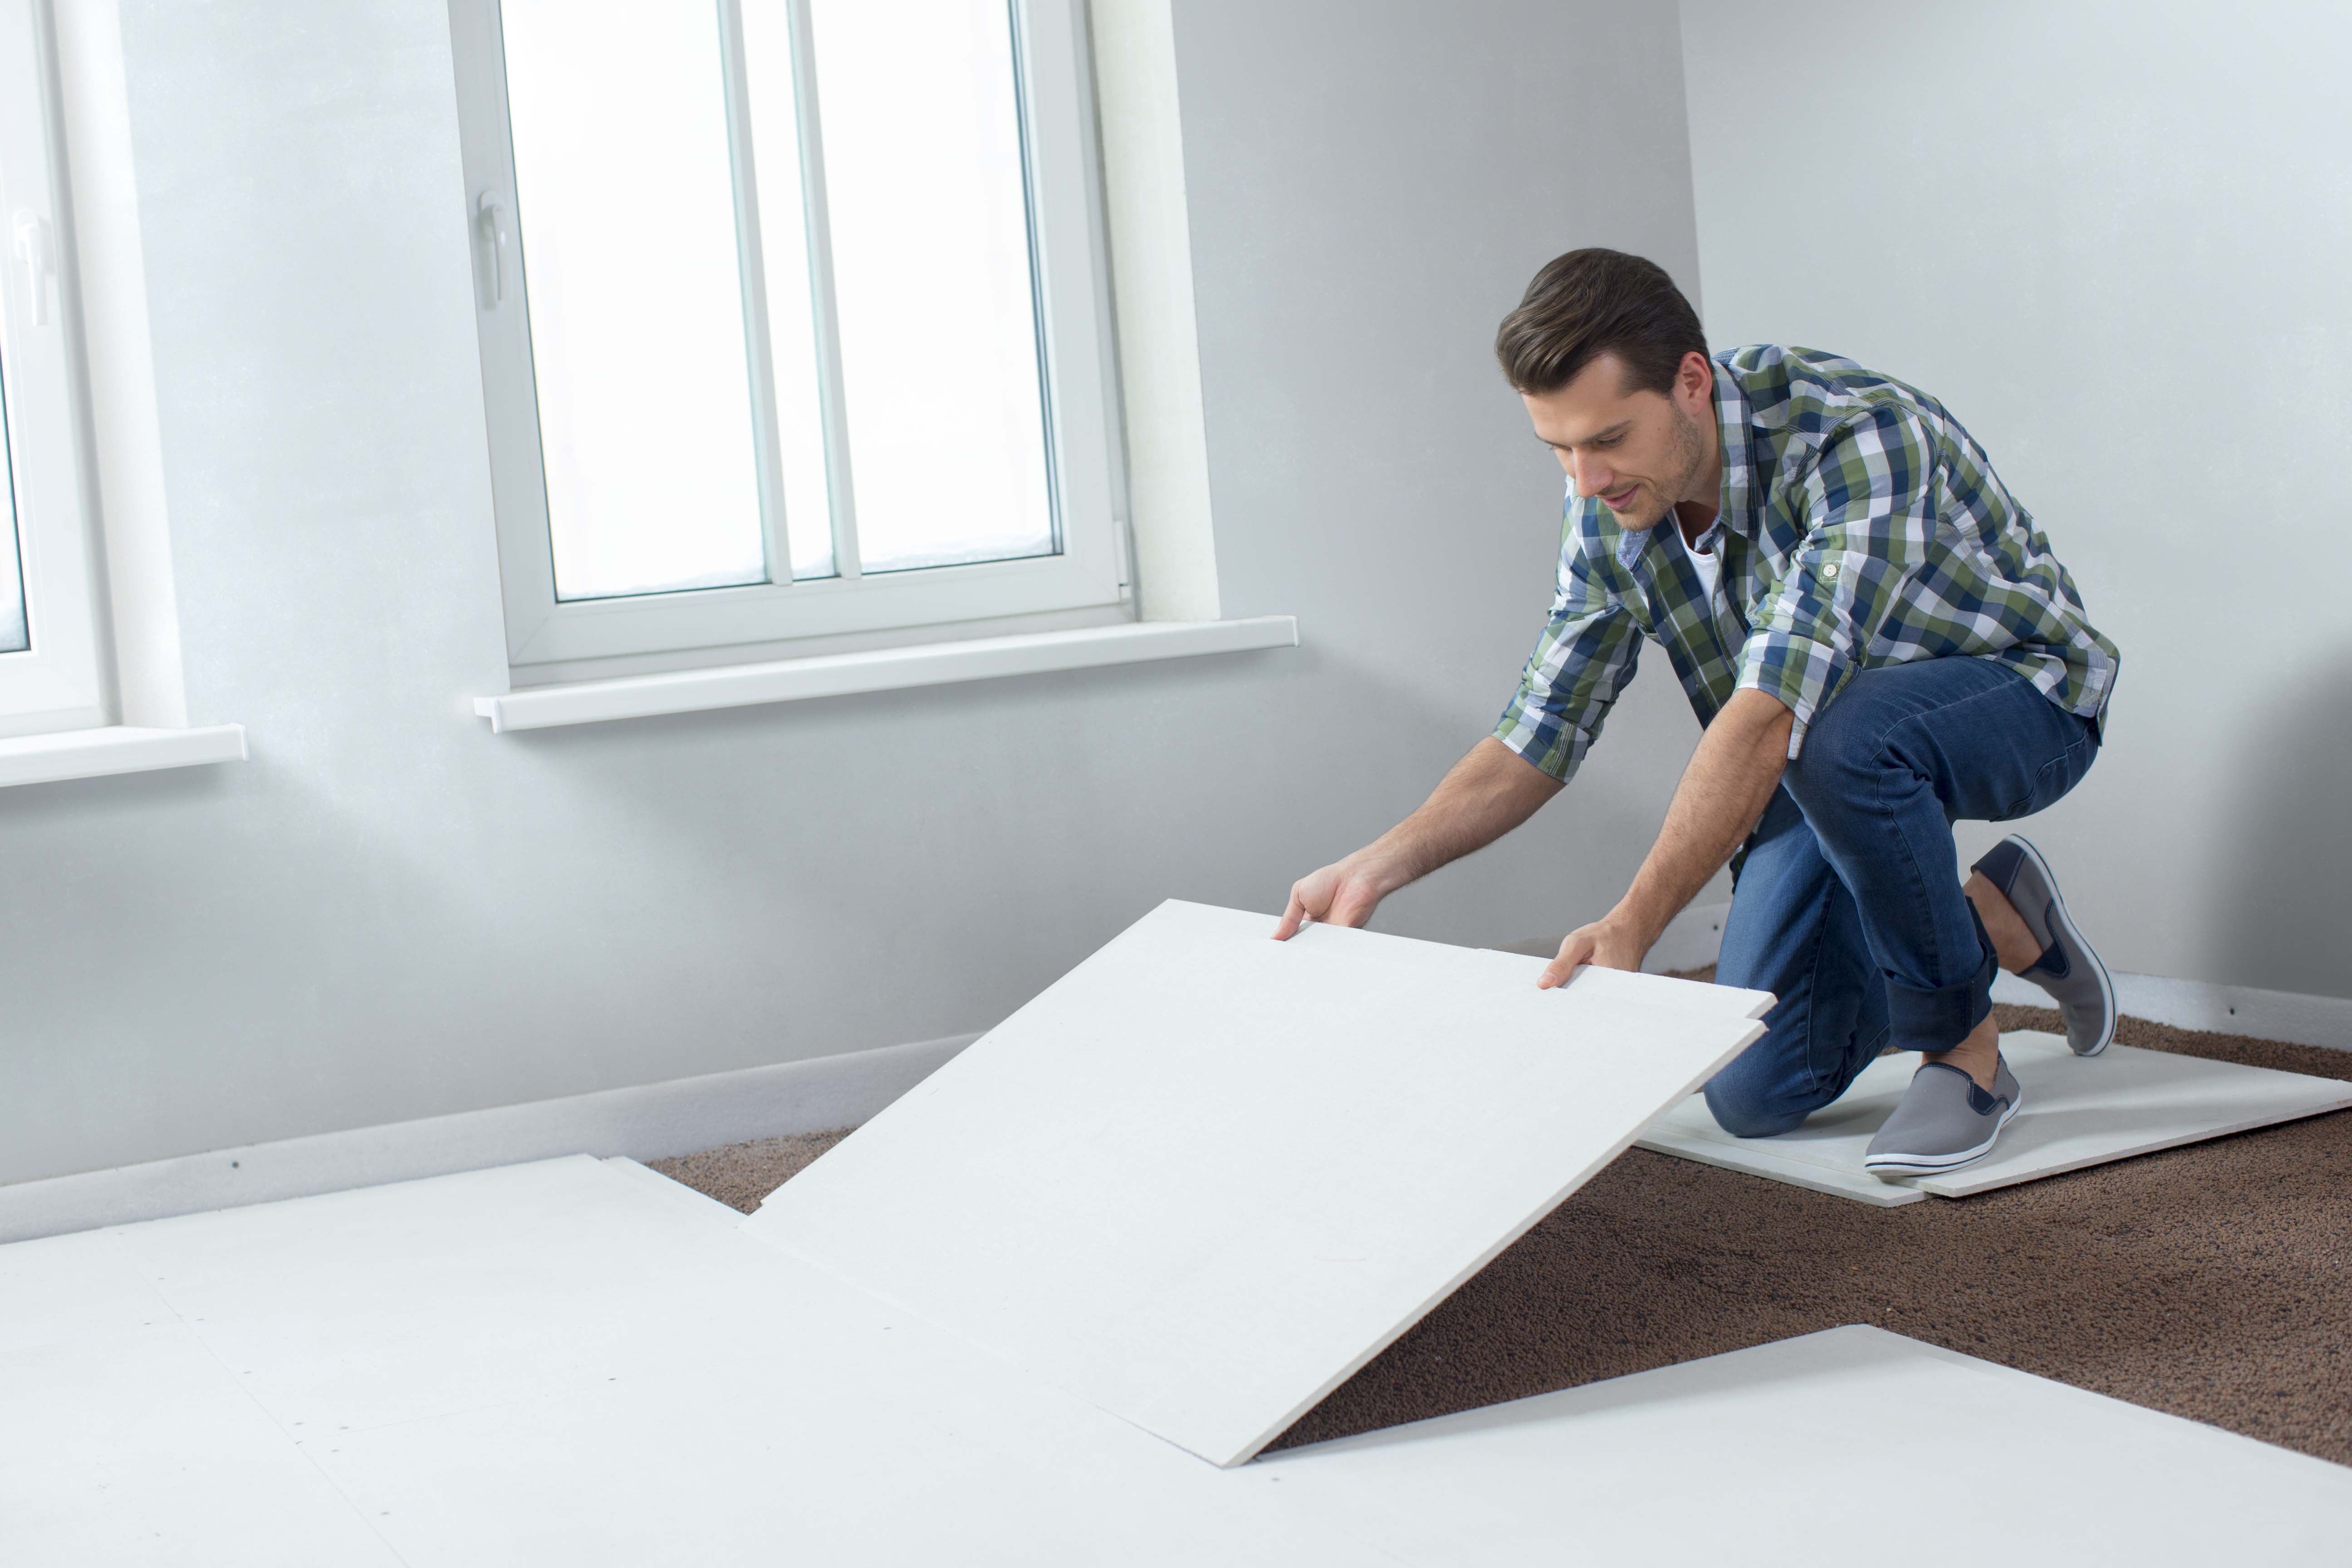
- Alignment with gypsum fiber sheets. With this type of work there is no need for mixing the solution, since a dry filling is laid on the base. Then everything is leveled and sheets of gypsum fiber are put in two layers. The method is quite expensive. Such floors can not withstand heavy loads and can subside with intensive exposure.
The better to pour?
If the decision is made in favor of a wet screed, you should find out which solution to use in the work.
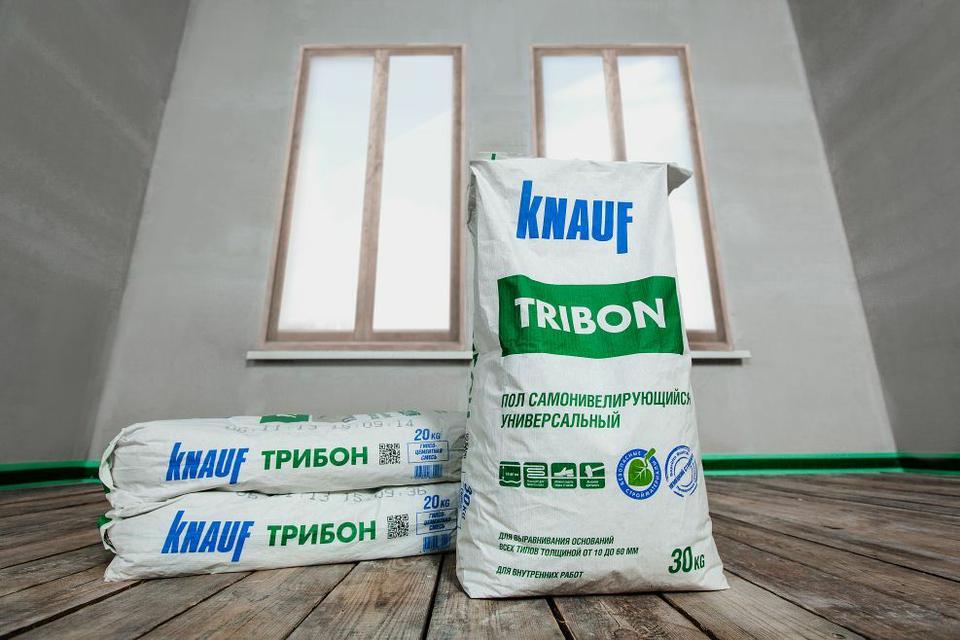
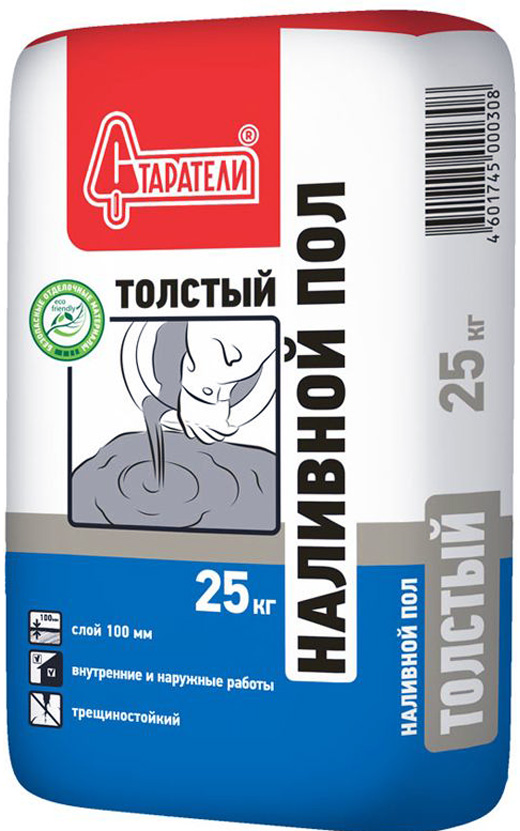
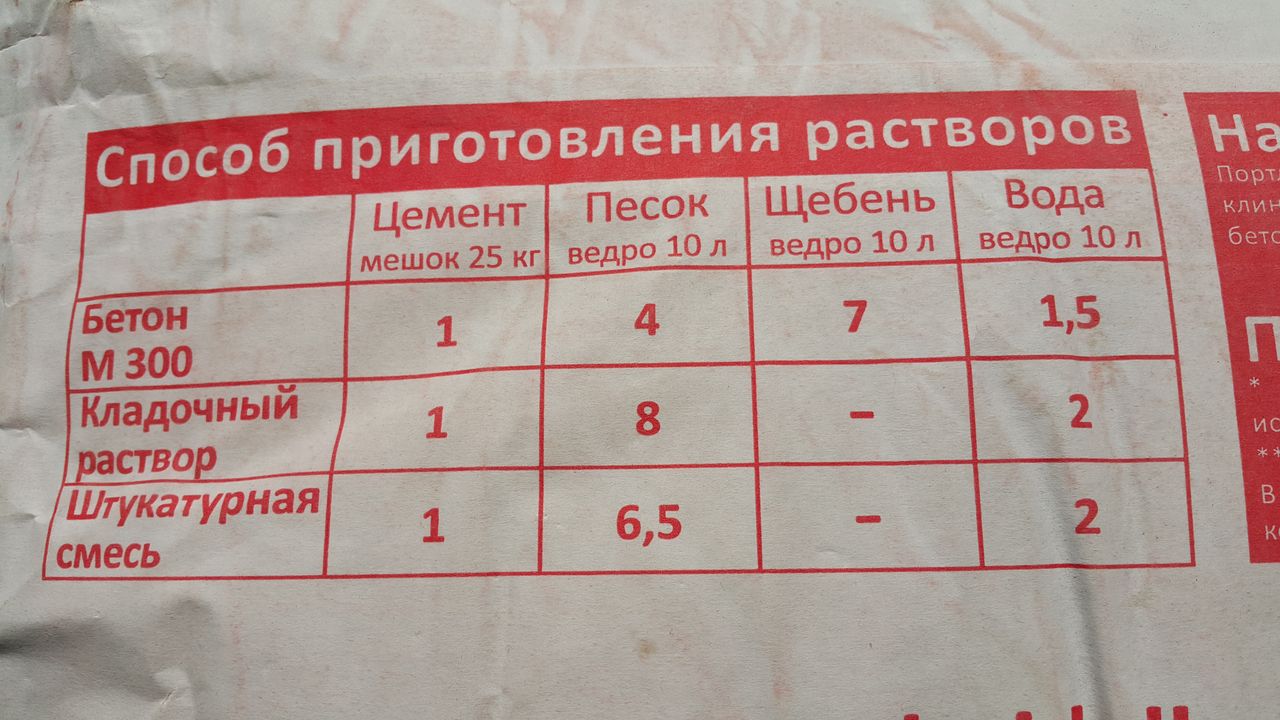
In the building stores there is a large assortment of ready-made mixes for the floor with mixing instructions. For example, today the Knauf self-leveling mixture is very popular. But you can prepare a solution of all its ingredients yourself.

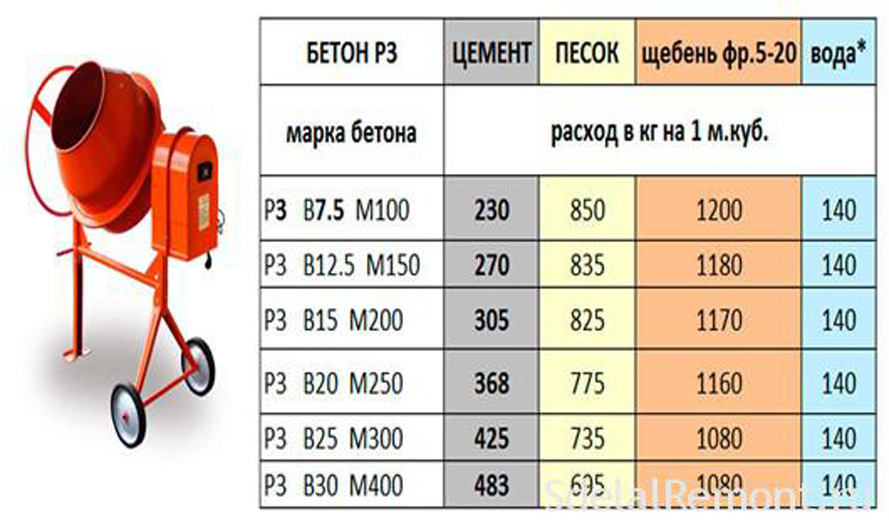
The basis of the most popular wet screed is concrete. This building material is obtained by mixing binders (for example, cement), fine-grained fillers (sand or rubble) and water. In some cases, special additives (plasticizers) may be used.

Concrete is chosen by its brand.This is an indicator of strength, which is measured by compressing the material. For this, small cubes of 150 mm are poured on each side and allow the product to harden for 28 days. Then the samples are tested by compression.
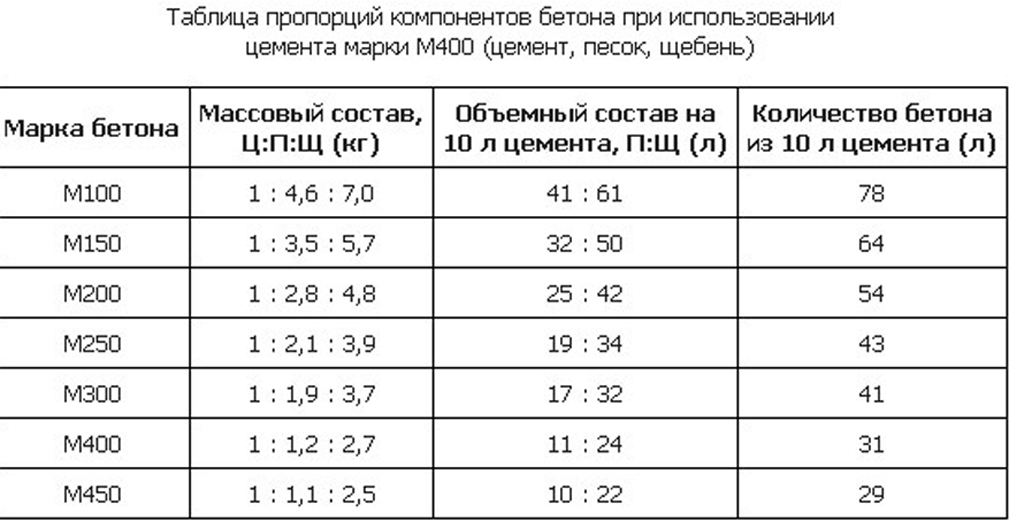
The letter "M" denotes the brand of concrete, and the number next to it - the tensile strength, which is measured in kg / cm2. Values from 100 to 500 are most common. The following are the types of concrete based on the averaged value of maximum strength:
- M150 - this brand is well suited to screed the floor of small rooms, it can be a preparatory layer. Such concrete should not be used when the load on the floor will be significant;
- M200 - stronger concrete. High strength allows the material to serve for decades. A good brand for individual construction;
- M250 - For this brand, any mechanical effects and loads do not care. It has high moisture resistance.
With a value from 300 to 500 is used to create structures of special strength, such as bridges. Such mixtures quickly harden, so working with them requires certain skills.
The selection of suitable concrete is also based on the use of filler in the mixture. The filler improves the technical properties of the material and saves cement.The technology of preparation of the solution and the method of its installation depend on the type of filler.
There are many types of filler with different characteristics and fraction. The most commonly used are sand concrete and lightweight aggregate..
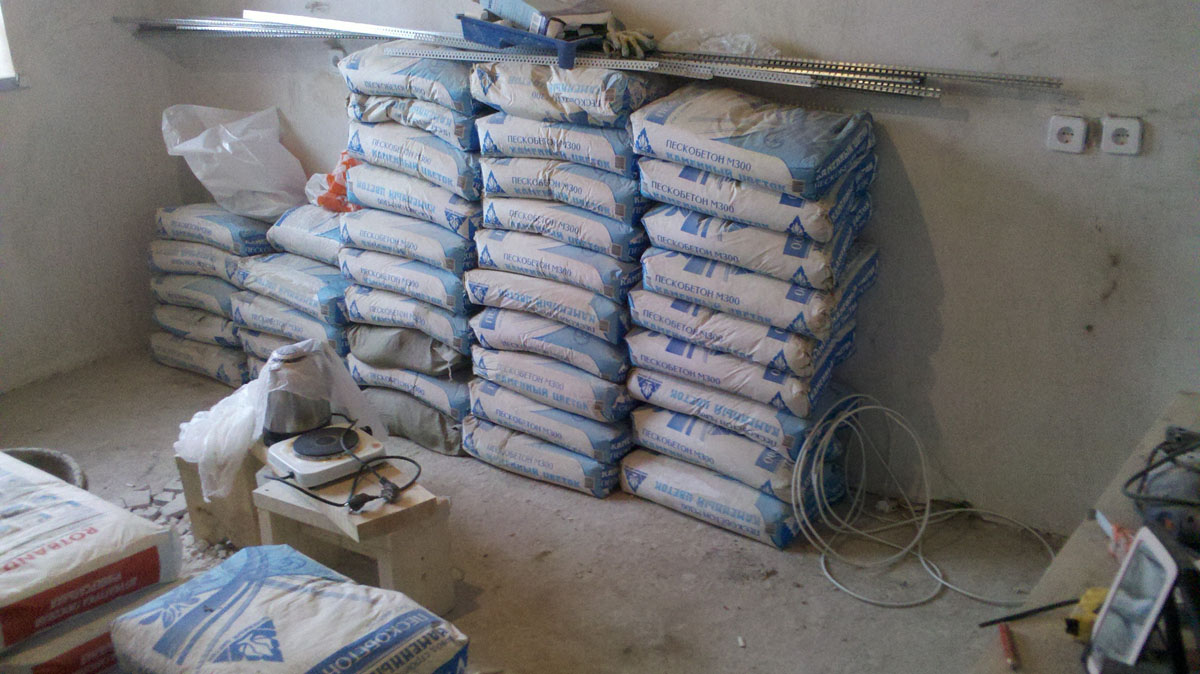
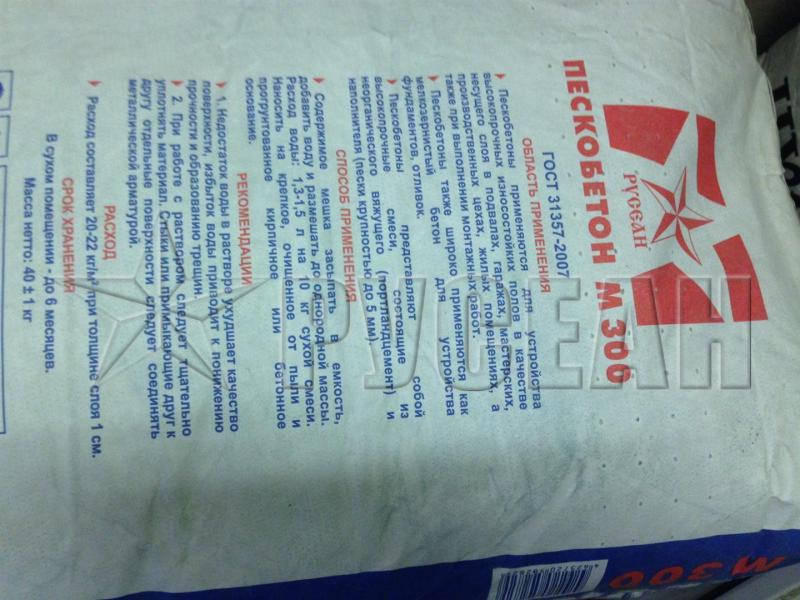
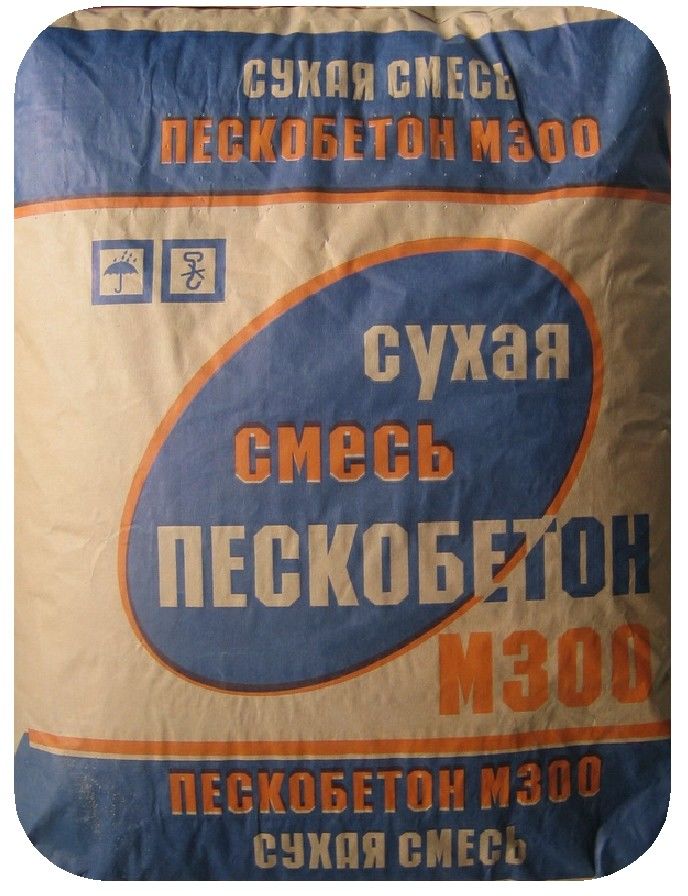
Peskobeton is used in creating floors with high wear resistance. Peskobeton is considered a non-shrink mixture, which is distinguished by its high strength and is widely used in construction. Screed with the involvement of such material ensures durability of the result.
This is a fairly plastic type of concrete, and its curing time is short. Peskobeton is not afraid of frost, corrosion, does not pass moisture and has a high density. Perfect for sealing cracks and faults at the base of the floor. Most often used for screed sand concrete M300.
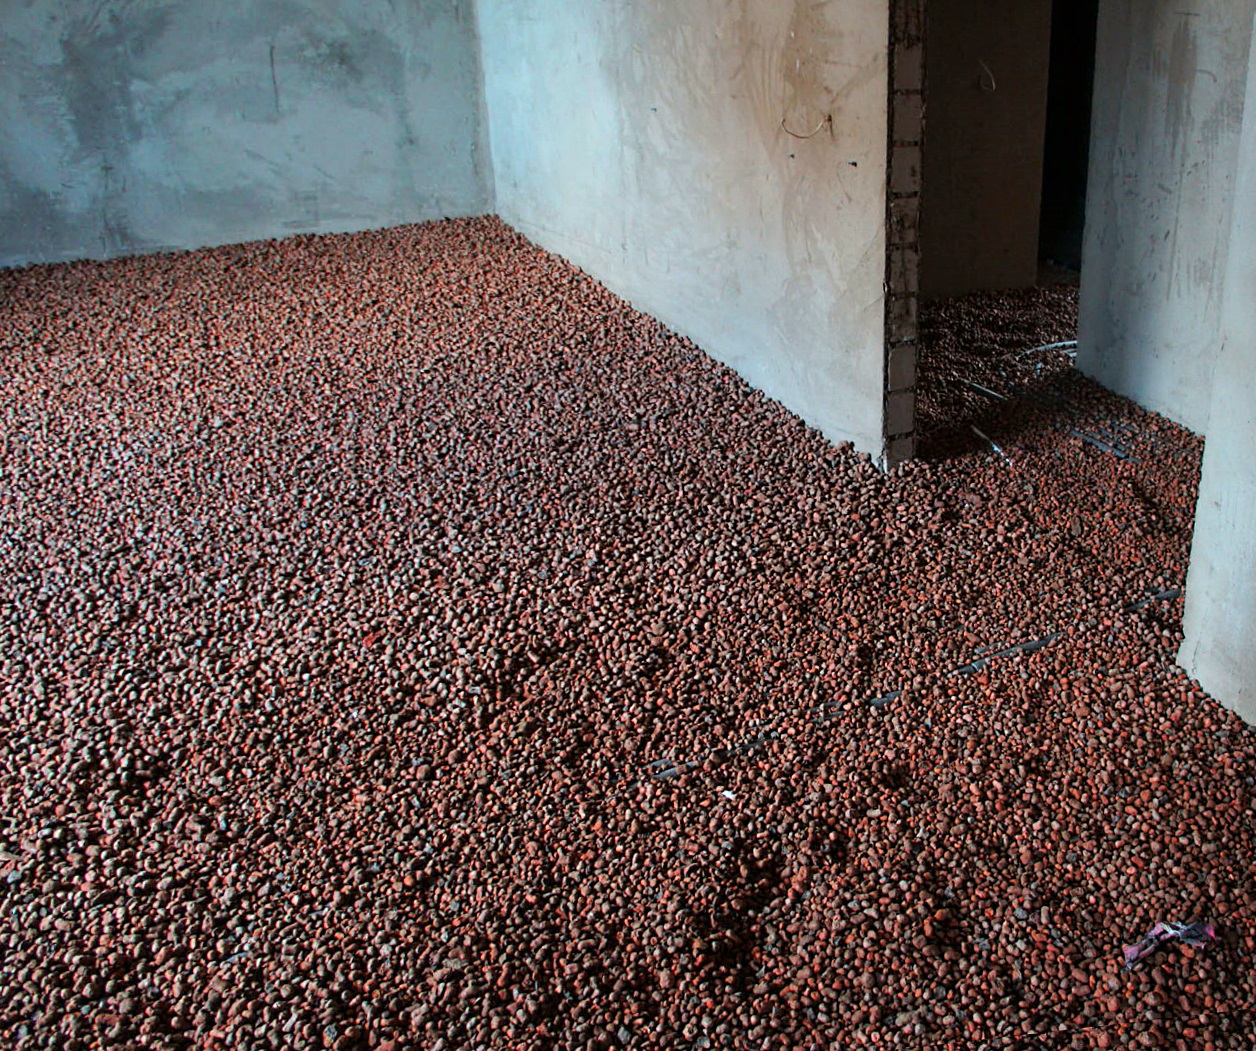

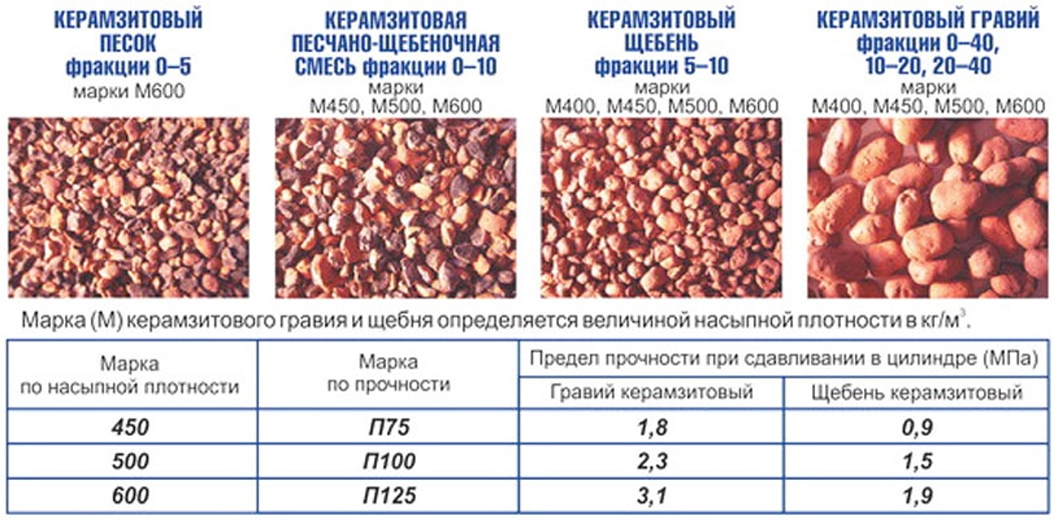
Claydite is considered a "light" concrete. Its filler - expanded clay, is granules of foamed, baked clay. Many masters prefer this option to sand concrete, and this is why:
- This is a chemical resistant material. It is fireproof, not afraid of rust, resists fungi and rotting.
- The material is light and has heat and sound insulation characteristics.
- Large drops are easily aligned and allow you to create surfaces of any kind.
After hardening, the claydite concrete must be sanded to obtain a smooth coating. Screed of this material is a reliable and durable foundation for the floor.
The choice of additional ingredients to improve the properties of concrete depends on the unevenness of the floor:
- Plasticizers. They are used if the unevenness of the floor reaches 20 mm. In this case, the screed is 10mm higher.
- Peskobeton. It is used when the level drops to 60 mm. Recommended screed 0.15 m.
- Claydite. Aligns drops in 16 cm.
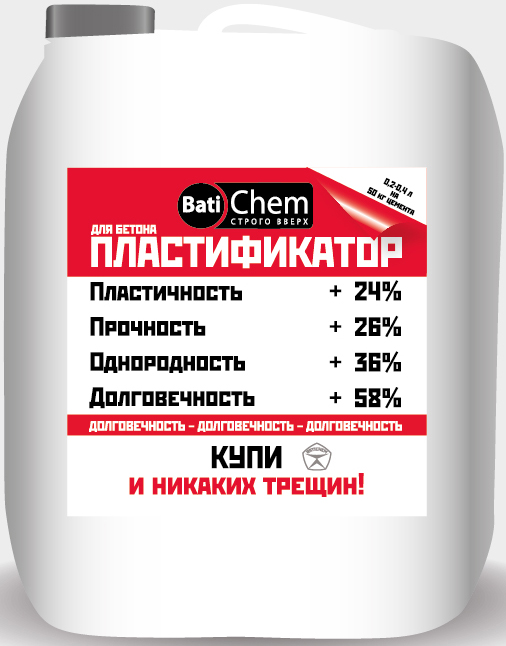
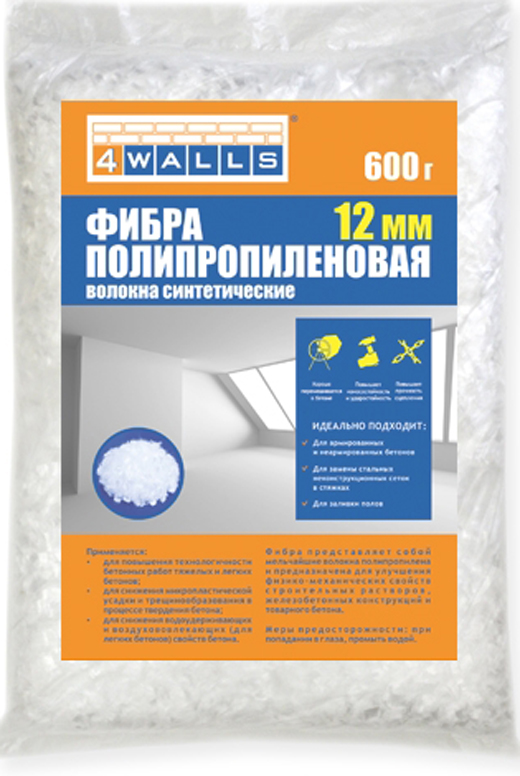
Polypropylene fiber can also be added to the formulation. It eliminates plastic shrinkage, which is the main drawback of all cement mixes. The fiber extends the service life of the screed and gives an absolute guarantee for getting a flat floor without cracks.
The cost of work will also increase.
The choice of concrete and its additives should be based on the functions that the floor design carries, the type of room, the load on the floor.The convenience of using ready-made dry mixes is undeniable, but costly in finance. The budget option involves the manufacture of a solution of the basic components: cement and sand.

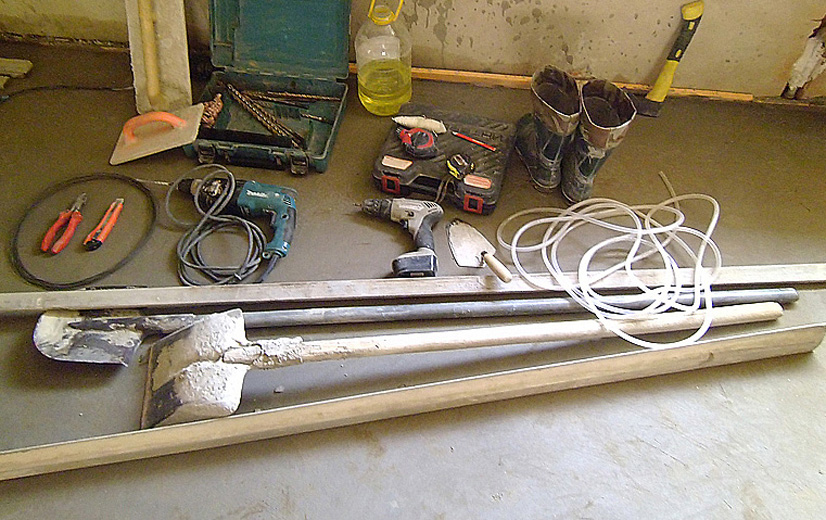
Tools and materials
Choosing a wet screed, you should stock up with the right tool that will serve for a long time, save time and money. After consulting with a specialist, you can choose the best tool.
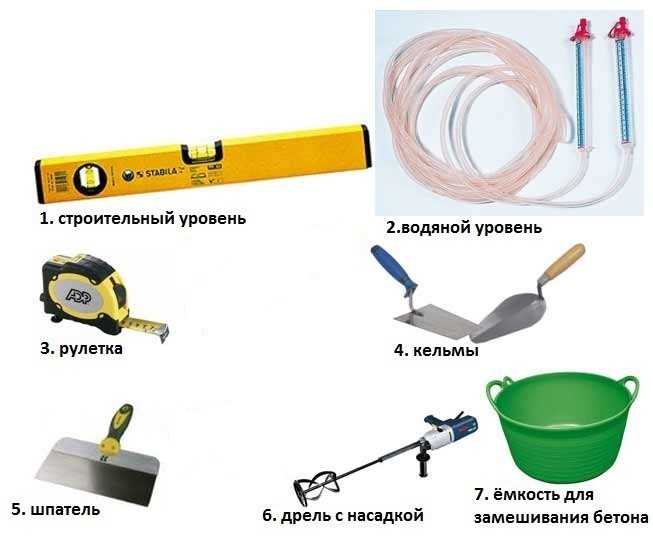
Below is a list of the most necessary materials that will be required for self-leveling the floor:
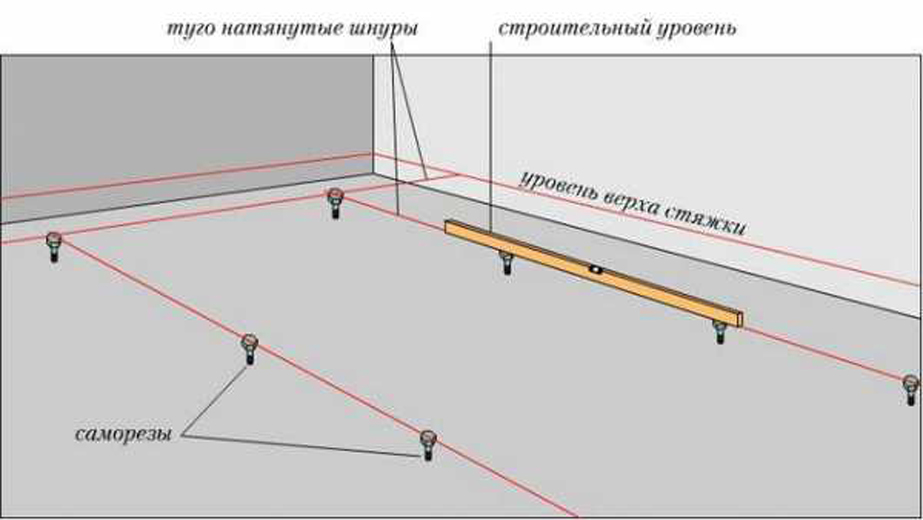
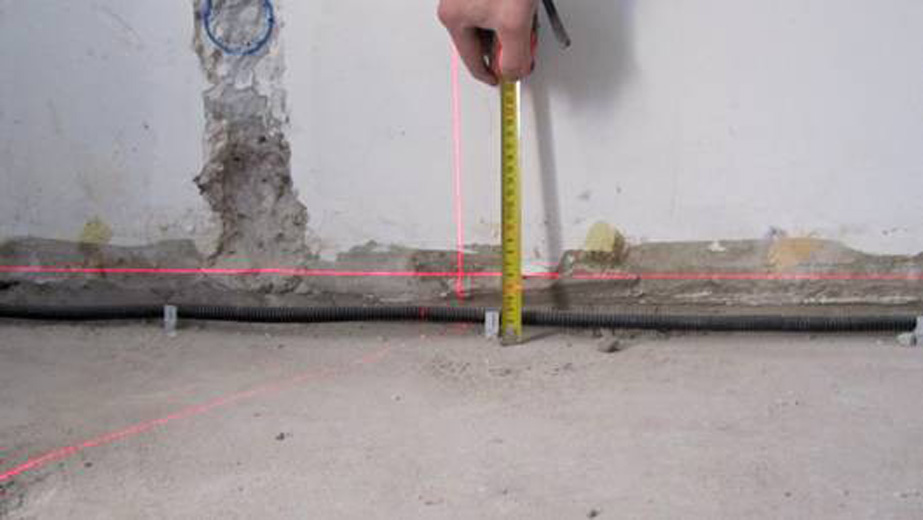
- Water or laser level to determine the height of the screed. The water level, although considered an outdated unit, is still held in high esteem by the builders, as it is almost always stable in testimony, it has an advantage in price and availability. The laser level is distinguished by its speed and ease of use. Such a plane builder clearly demonstrates the situation with an uneven surface and clearly projects the lines with a laser.

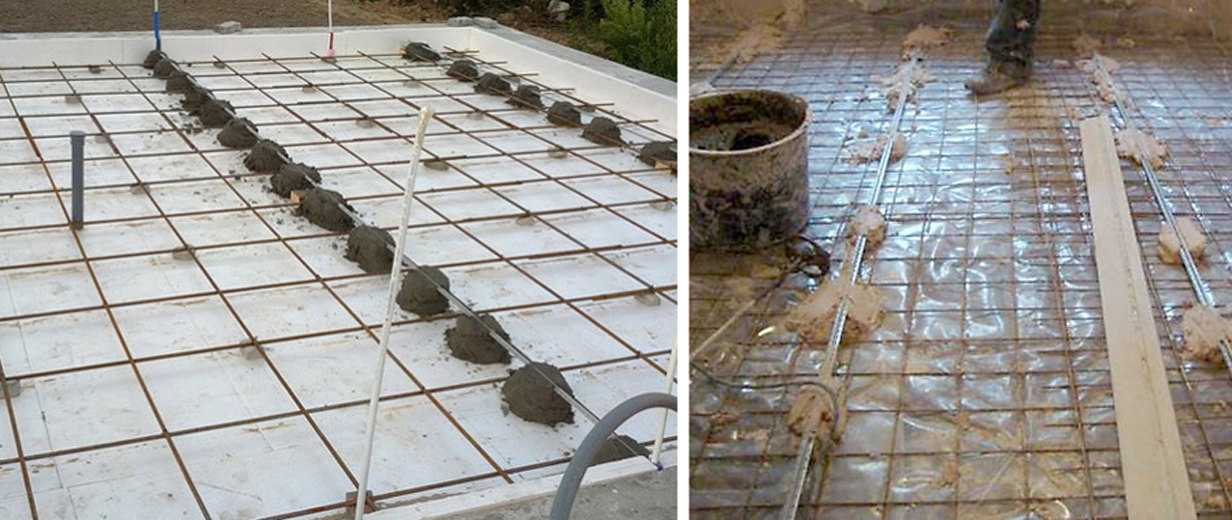
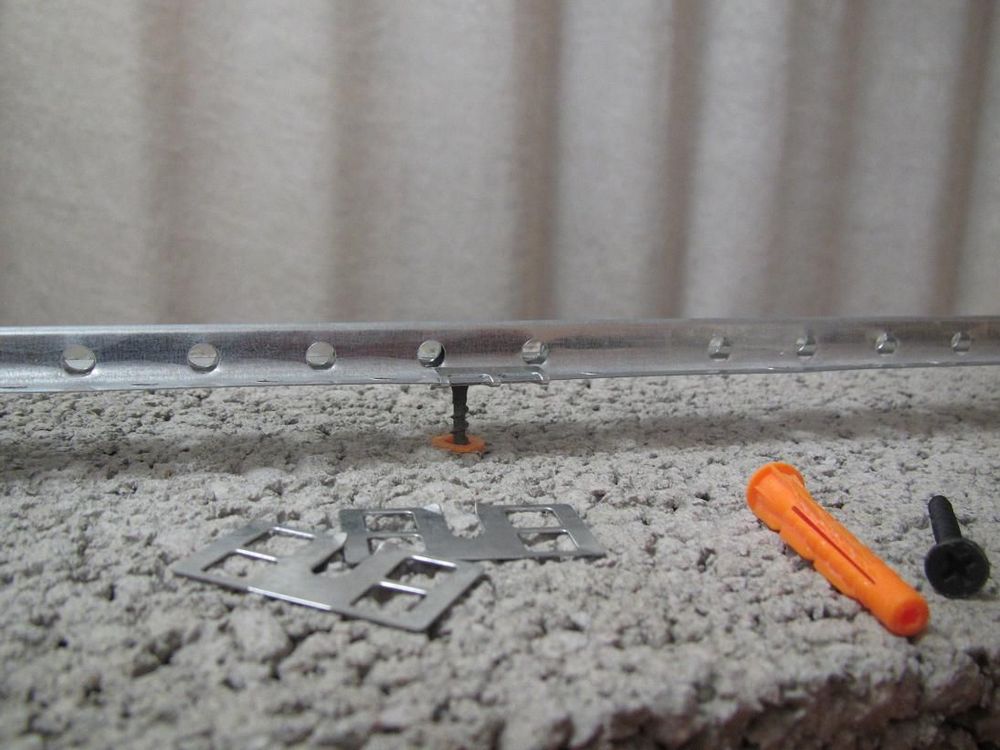
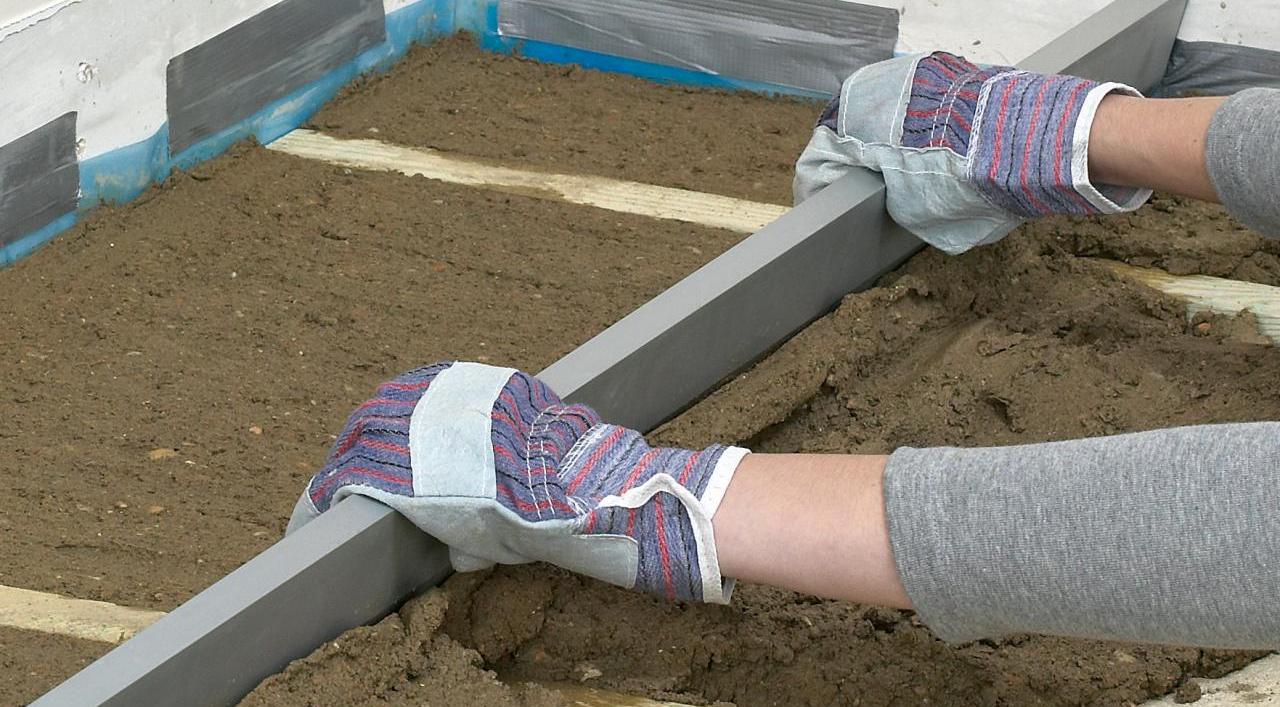
- Beacons. To avoid deviations from the markup allows the installation of beacons. By their nature, beacons are horizontal guides and have the appearance of a linear structure.Beacons can be made from scrap materials. Since a wet screed implies the use of "heavy mixtures", the guides must withstand heavy loads, therefore, most often in construction a strong metal is used.
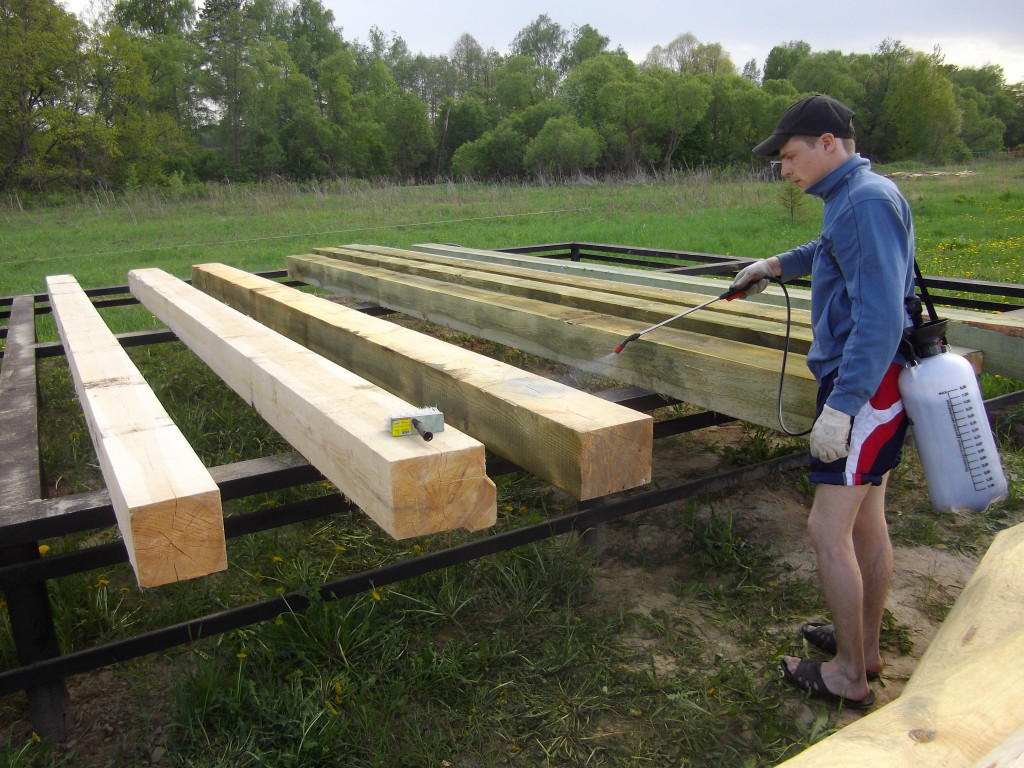
It is common to use a U-shaped metal profile. But it is possible to use a wooden bar that is soaked before laying. Lighthouses are set about 20 cm from the walls. For smoother laying of beacons, lines are drawn with chalk on the floor along which the installation takes place.
Such an installation of beacons is also possible: a thread or a fishing line is stretched between the screws screwed at the required level. Over the entire length of the tension laid out a solution for fastening beacons. Then the guides are pressed into the slides from the solution to the level of the tensioned cord.
The installation process of beacons is quite lengthy and meticulous. Measure their level in all directions and up and down. The choice of beacons depends on the thickness of the coating, on the quality of the base and the material of the casting.
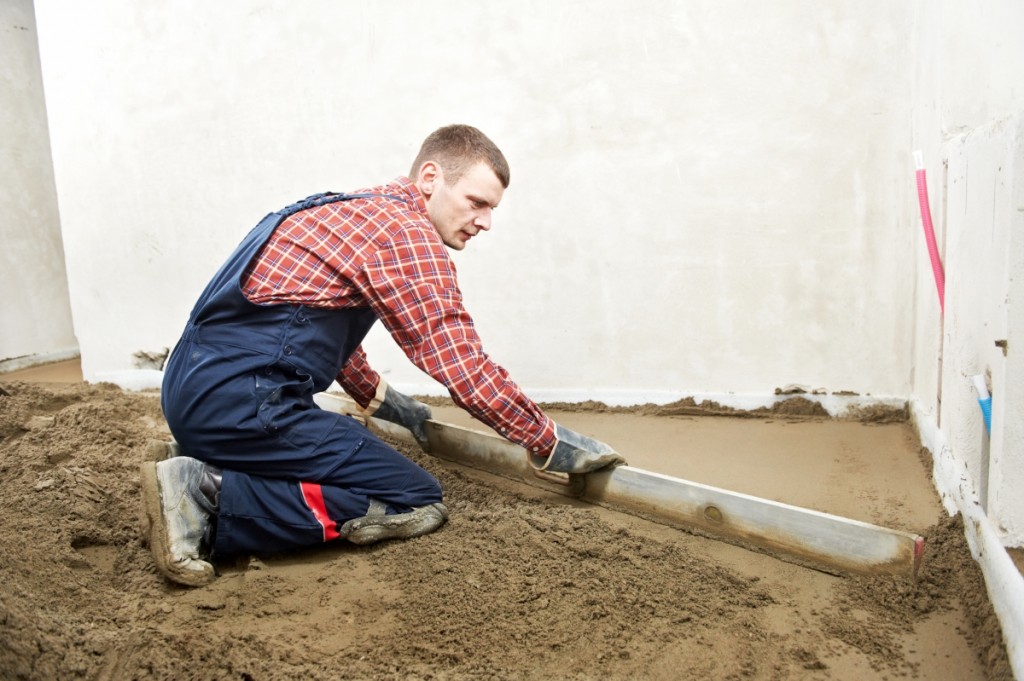
- Rule. Smooth the concrete mix on the beacons will help this aluminum fixture.Most often, the rule has the shape of a rectangular trapezoid, hollow inside. The longer the rule, the less often you can install beacons, which will save time.
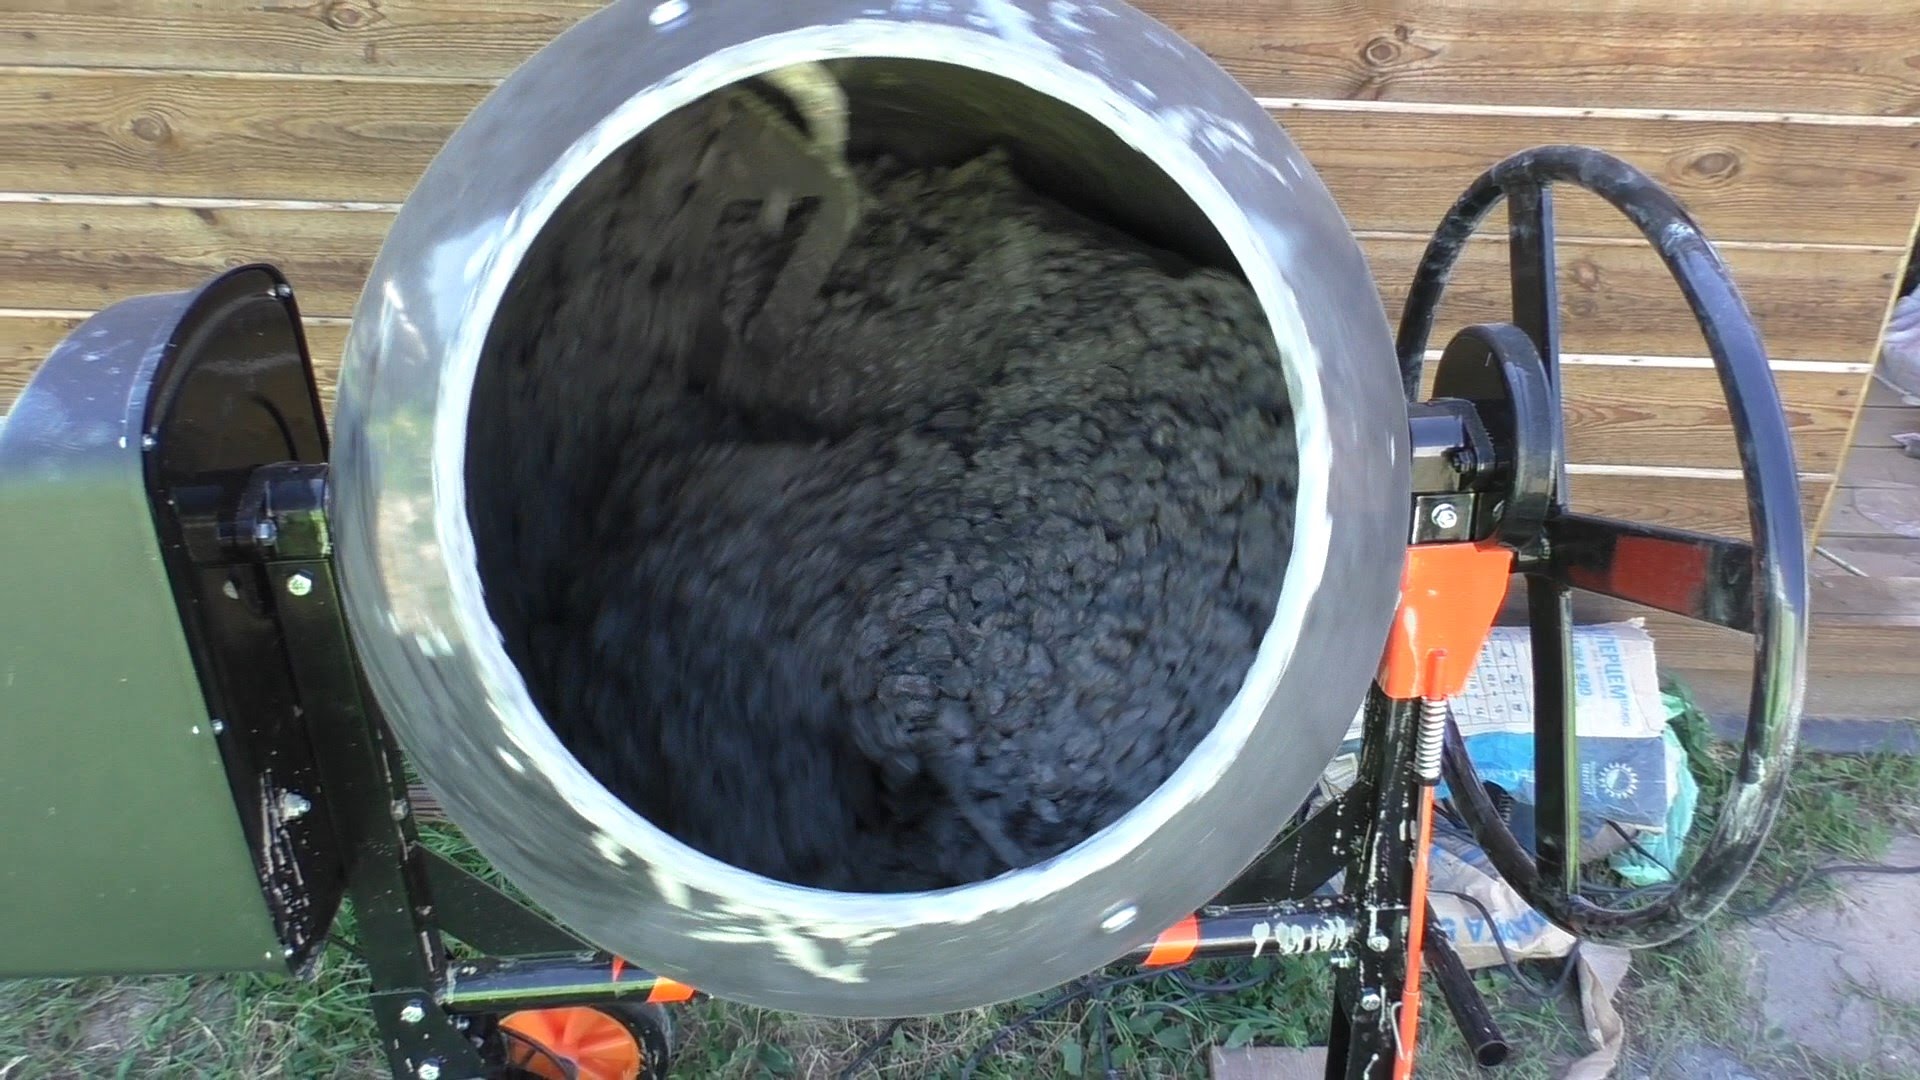
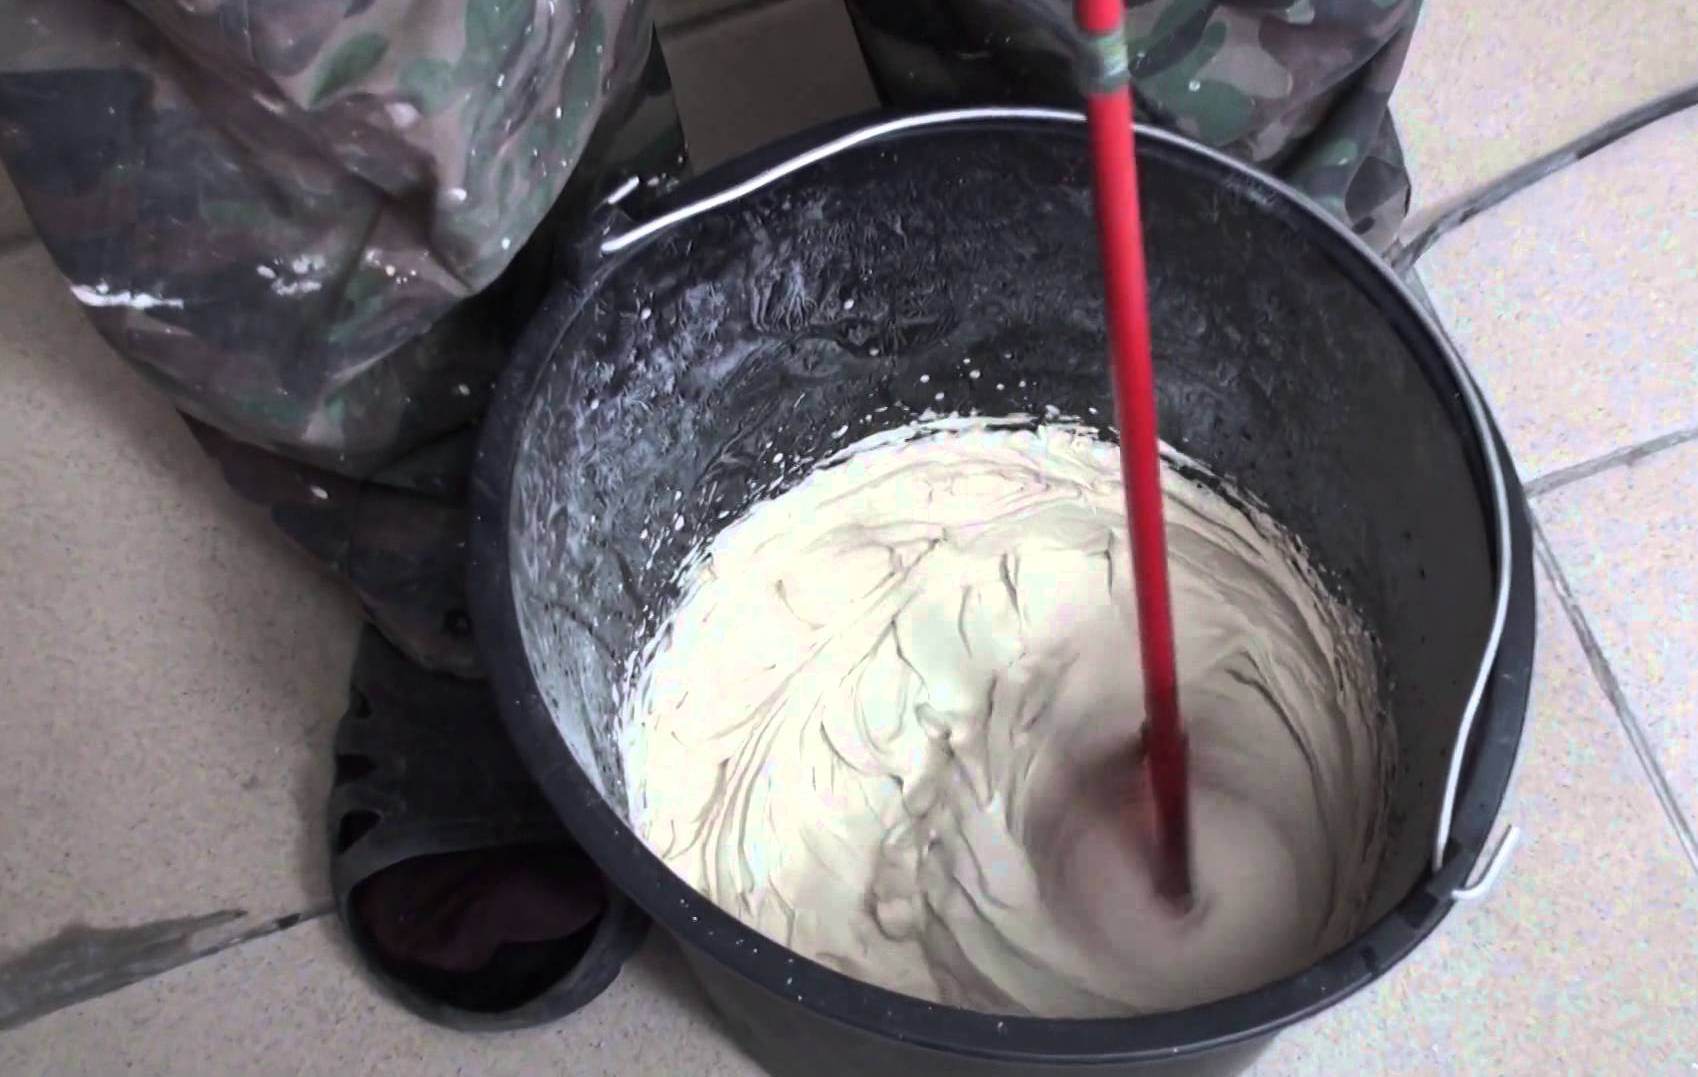
- Concrete mixer mixer allow you to quickly mix the solution. The choice of equipment depends on the scope of work. Concrete mixer in its dimensions can be a problem, as it does not always fit in an elevator, is heavy and uncomfortable during transportation. Of the benefits, you can select an independent kneading and unloading the solution with a lever. But when unloading cement, you can slap the walls.
When using a mixer working hands are constantly involved. The mixer is more mobile. The kneading time is generally the same.
- Buckets. Approaching the choice of buckets is meaningful, even though it is a consumable item. The choice of a reliable bucket largely depends on the strength of the handles. In zinc metal and plastic buckets fastening handles do not allow these products to serve for a long time and become unusable by the second week of intensive use.
High-quality plastic construction bucket can withstand the load, the attachment of the metal handle is almost no problem.
But finding such buckets can be a daunting task, as they are increasingly being replaced by low-grade plastic, which bursts from impact.
Same good at using rubber bucketsin which rubber is added. Experienced repairmen are advised to take buckets from under imported paint. This is free and convenient, as the design is thought out, the mount maintains weight and the handle is comfortable.

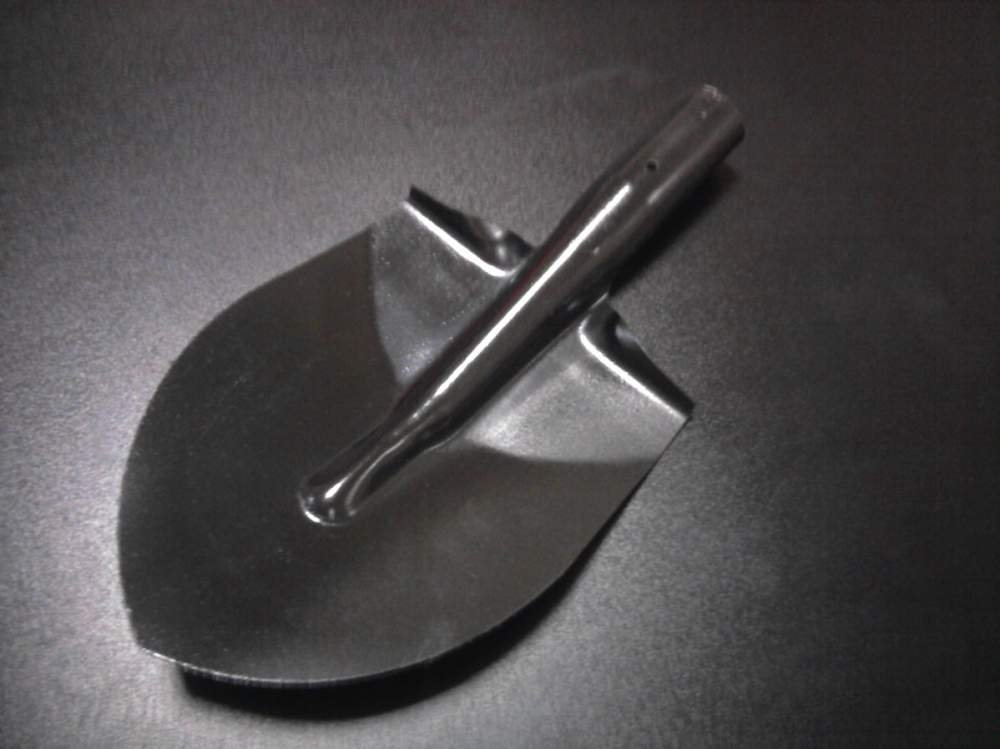
- Shovel. In the work has well proven itself a spade "American" with a pointed end.
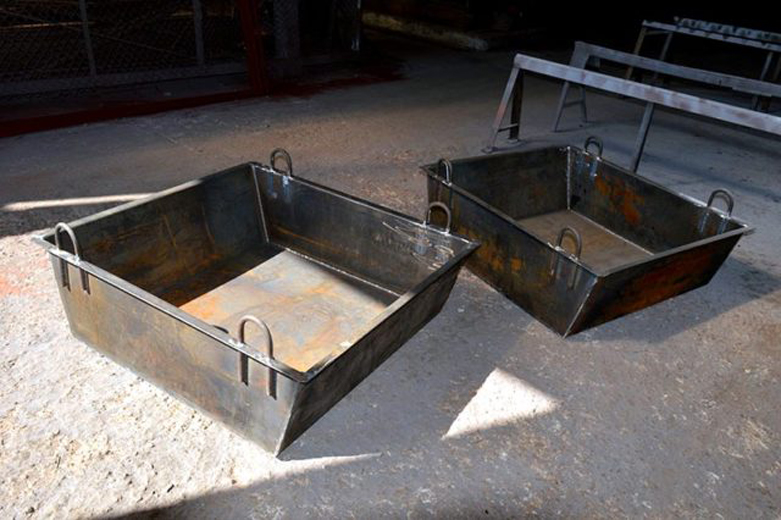
- Mixing tank. For a small amount of work, a galvanized bath with a capacity of 100 liters is well suited. Thanks to its rounded edges, the mass is well mixed and does not get stuck in the corners, such as, for example, in a trough. Moreover, the trough is less durable. An ordinary bath is easy and convenient during transportation.
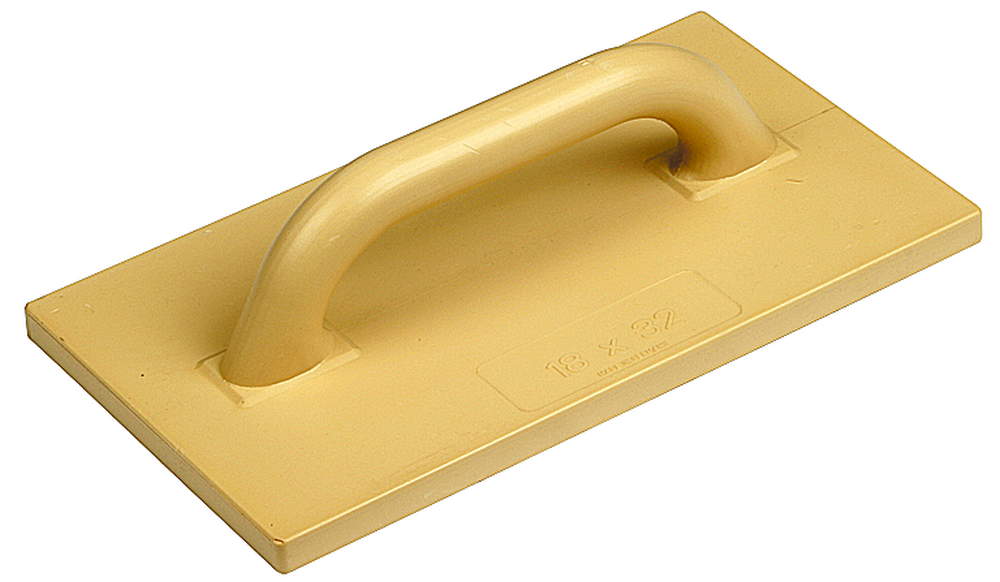
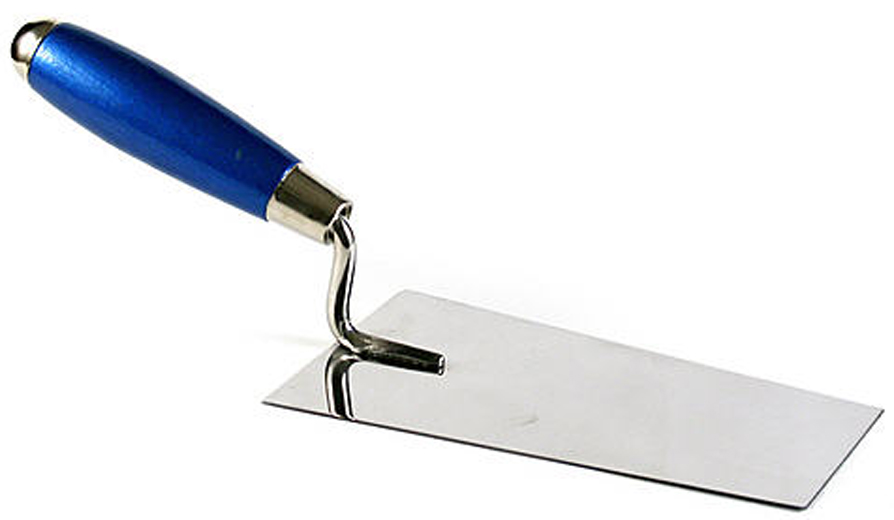
- Plaster grater, trowel. It is very convenient to smooth the defects after the completion of all work on laying the floor float. A trowel is more suitable for more advanced specialists with experience; a grater is more convenient to use for beginners.
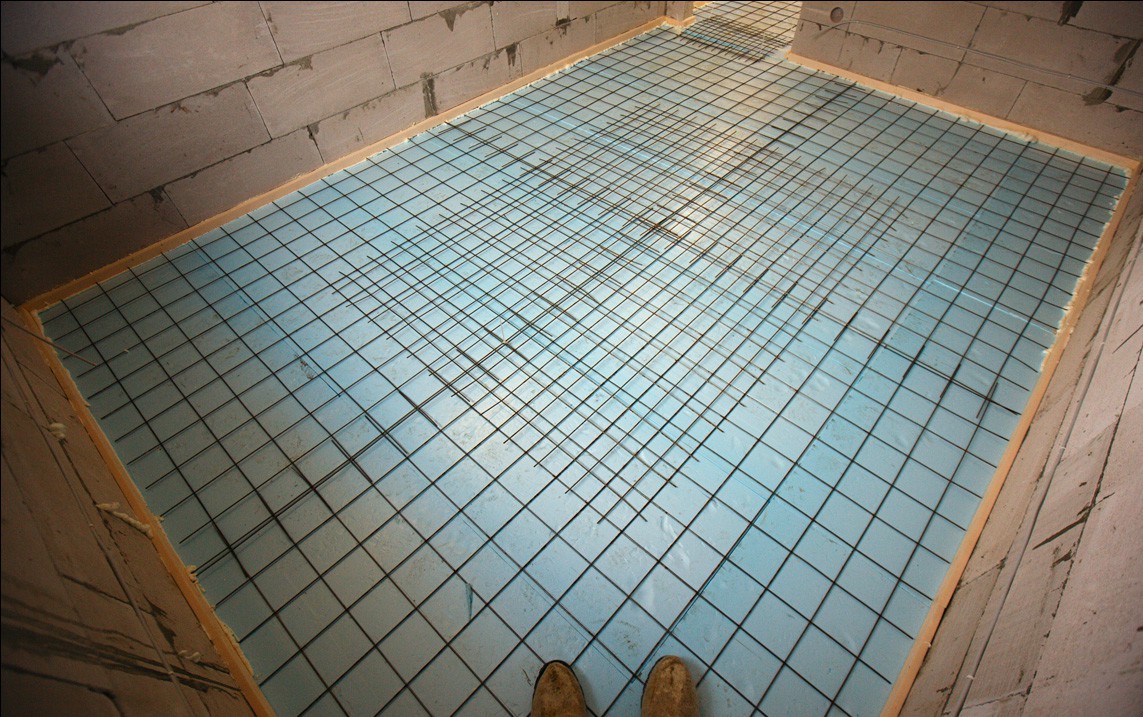
- Reinforcing mesh. It is used to achieve the strength of the screed. The best thing is to use the net in places where the floor will be subject to special loads. In the apartment it can be an entrance hall, kitchen or utility room.Also, the reinforcing mesh is installed in places where the thickness of the screed is of great importance.
Typically, the grid is set at a height of 3 cm from the base, fixed and poured coating. Grid "buried" in the solution.
The grid is made of various materials, mainly wire, which is welded or twisted. The most common option is the finished mesh, rolled into a roll. Any hardware store will offer you this option. Laying such a grid is simple, fast, and the material is reliable.
Reinforcing mesh divided into two main classes:
- extended reinforcement can be made of materials such as polypropylene, fiberglass, and dispersion reinforcement;
- When choosing a plastic mesh, you can be sure of its resistance to corrosion, and it costs much less. It is possible to combine several types of mesh in operation.

- Roller.
- Cord or fishing line.
- Stationery knife.
- Roulette.
- Pencil marker.
- Solution.
- Primer.
- Waterproofing material.
Here are the basic devices that are worth using when leveling the floor.
There are a diverse number of ways to place beacons, so additional materials may be required.Above are the most common and basic tools for successful floor screed.
Consumption
In order to have an idea of the proportions in which the mixture should be prepared and the exact ratio of components, it is necessary to carry out the procedure for calculating the consumption of the screed per square meter. From the correct calculations depends on the durability and strength of the created base. The calculation of the flow will give a complete picture of the finances that will be required to purchase materials.
The main influence on the flow rates have selected components of the screed. It is also worth determining the purpose of the screed, since the following factors may affect the material consumption:
- Coverage is created in the garage, basement or in any other technical room.
- The coating is created "from scratch", on the ground and is draft. The thickness of the screed starts from 80 mm. In such cases, it is recommended to use concrete with a large fraction in the composition. If it is necessary to achieve a result with lower indices, then it is quite possible to do with a cement-sand mortar and a reinforcing mesh or structure.
- The floor covering procedure requires a finishing option with a thickness of 5 mm or more.This layer will be the basis for finishing.
For a more accurate result of the calculations, a number of preparatory works are carried out. First, the base is released, the old floor covering is dismantled and cleaned. Then the damage is evaluated. After preparation, they proceed to setting the zero level.
Height differences affect the rate of final coating thickness. This indicator is a decisive guideline for calculating the use of materials in the wet method of pouring the floor.

The numbers depend on the materials chosen for optimal repair work. Preferring ready-made mixtures, you can not think about the calculation of additional components, since everything is already taken into account in the composition.

It is worth spending your time getting acquainted with the composition of the products, since the characteristics of the finished mixtures are very different. The packages already contain all the necessary information for the calculation of consumption. Usually indicate how much material is required per 1m2 with a screed thickness of 1 or 10 mm.
In case you need to get a value that takes into account a specific thickness, you can calculate as follows:
- Calculate the area of an apartment or house, multiplying the length by the width.With a non-standard layout, you can resort to the plan of the room.
- The area multiplied by the estimated thickness of the screed, the system of calculation should be in meters.
- The value obtained by multiplying in paragraph 2 is divided by 0.1
Example: Room area - 20 m2, the thickness of the screed - 0.08 m, the consumption of the finished mixture according to the composition specified on the packaging for 10 mm of the screed -12.5 kg.
20*0,08=1,6
1,6/0,1=16
16*12,5=200

In the end, it turns out that 200 kg of dry matter is required to fill 20 m2 at a thickness of 80 mm. The required amount of water for dilution of the solution is indicated by the manufacturer on the packaging individually.
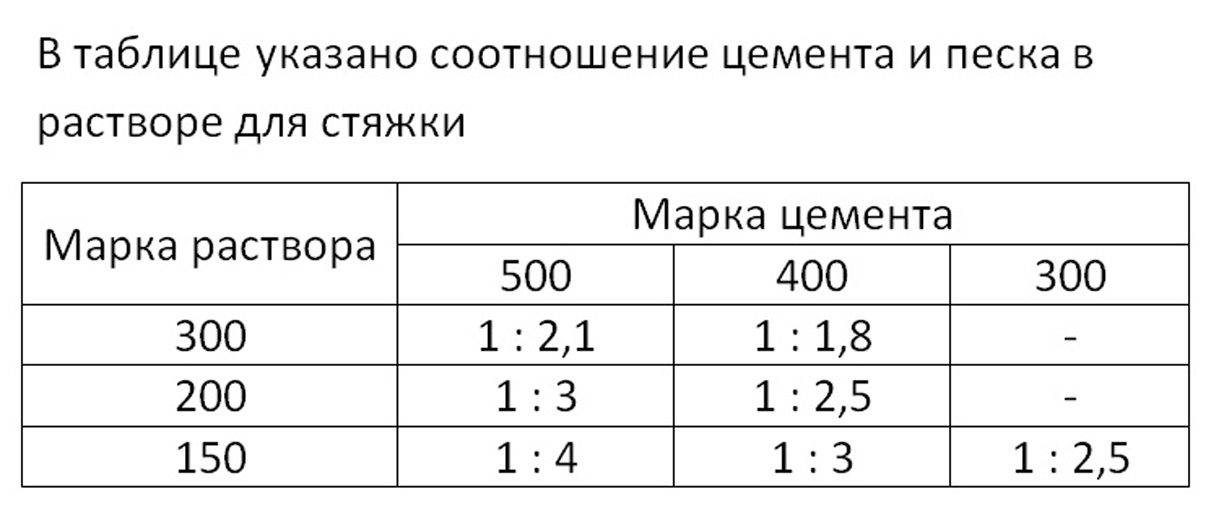
Traditional cement mortar for the screed implies proportions of 1: 3. This ratio suggests that 3 buckets of sand are taken for 1 bucket of cement. These are the most optimal proportions used in many types of work.
Quantitative calculation of the mixture, which will be prepared personally, is carried out according to the following algorithm:
- The thickness is multiplied by the floor space. Thus we will define the cubic value. For example, 40 m2* 0.06 m = 2.4 m3
- If the calculation is carried out from proportions 1: 3, then the composition is divided into 4 parts, 2.4: 4 = 0.6 m3. Value 0.6 m3there is portland cement - pure material required for an area of 40 m2 and with a fill thickness of 60 mm.The remaining components accounted for 1.8 m3in the traditional version is sand.
- Considering the approximate data that a cubic meter of cement is equal to 1300-1400 kg, we calculate the required mass. 1300 * 0.6 = 780 kg
- One cubic meter of sand is equal to 1625 kg. 1625 * 1.8 = 2925 kg.
- The flow rate of water added to the dry mix can vary from 0.3 to 0.5 liters per kg of cement. 0.3 * 780 = 234 l
The result was the following when the original data: an area of 40 m2 with a coating thickness of 60 mm, we need 3,705 kg of dry mix and 234 liters of water. Thus, we obtain that for 1 m2 93 kg of dry ingredients and about 6 liters of water are required.
If a plasticizer-type filler is added to the solution, the weight of the filler is subtracted from the total volume, and then the volumes of cement and sand are calculated from the result.

Fillers used in the dry mix will be able to reduce cement consumption per screed. Accordingly, material costs may be reduced. Expanded clay, crushed stone or polystyrene can be contained in the total mass of the mixture by 40-60%, thereby reducing the proportion of cement.
Claydite consumption is based on the characteristics and thickness of the base. The density of this additive varies from 250 to 600 kg / m3. The solution, in which the content of expanded clay is about 50% of the total mass, is considered the best in terms of strength to thermal conductivity.

For greater convenience and accuracy of calculation, you can use the flow calculators that can be provided by mix sellers.
How to make a screed?
Different types of screeds require their own specific material and device, but the technological requirements for all works are the same. The sequence is different, and step-by-step instructions will certainly come in handy. Next step is considered the method of wet screed.

The preparatory stage takes a little time. As in any other repair work, for a quality result, the foundation should be carefully prepared using extruded polystyrene foam.
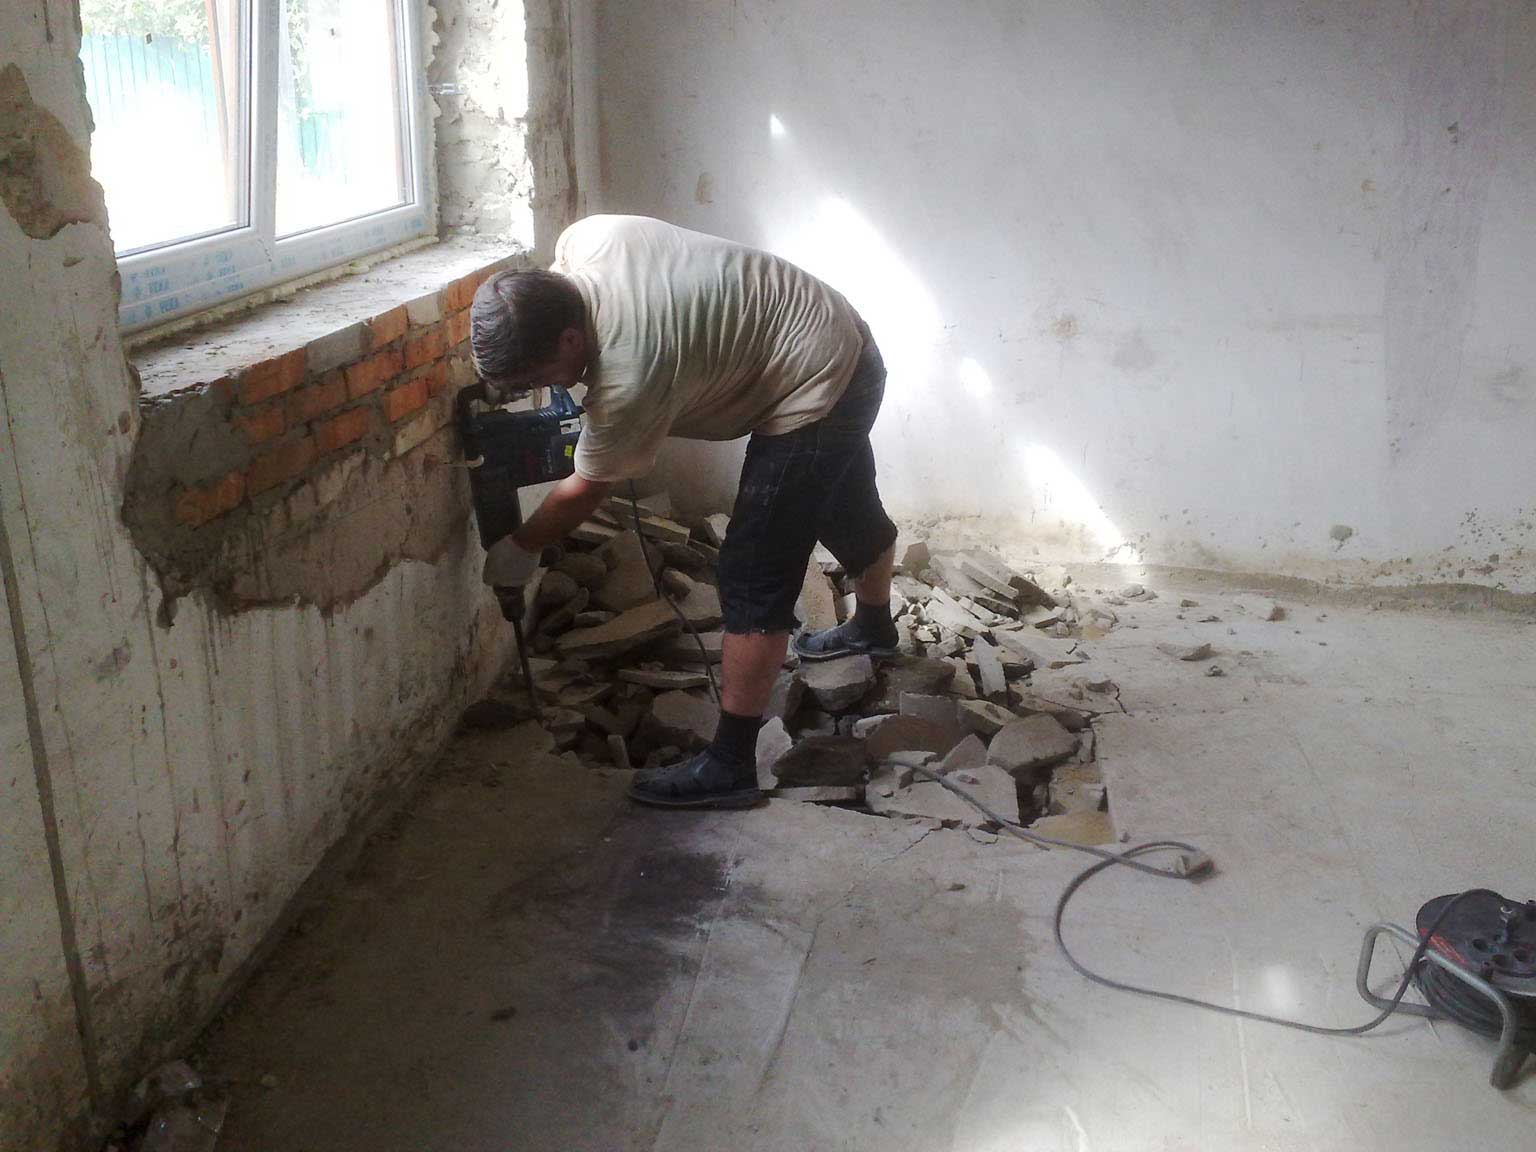
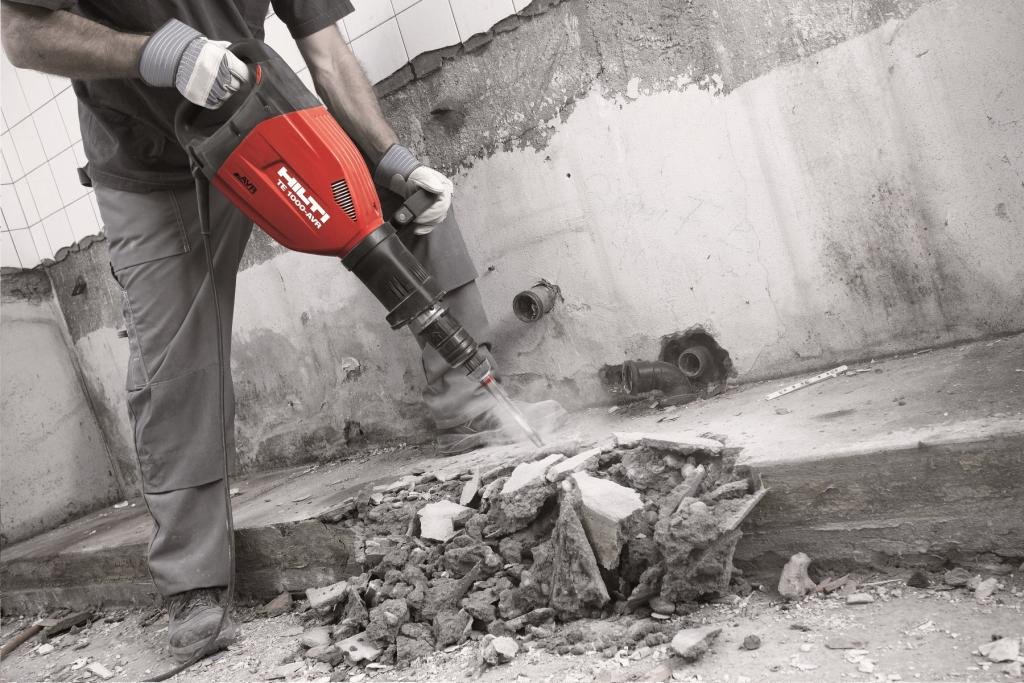
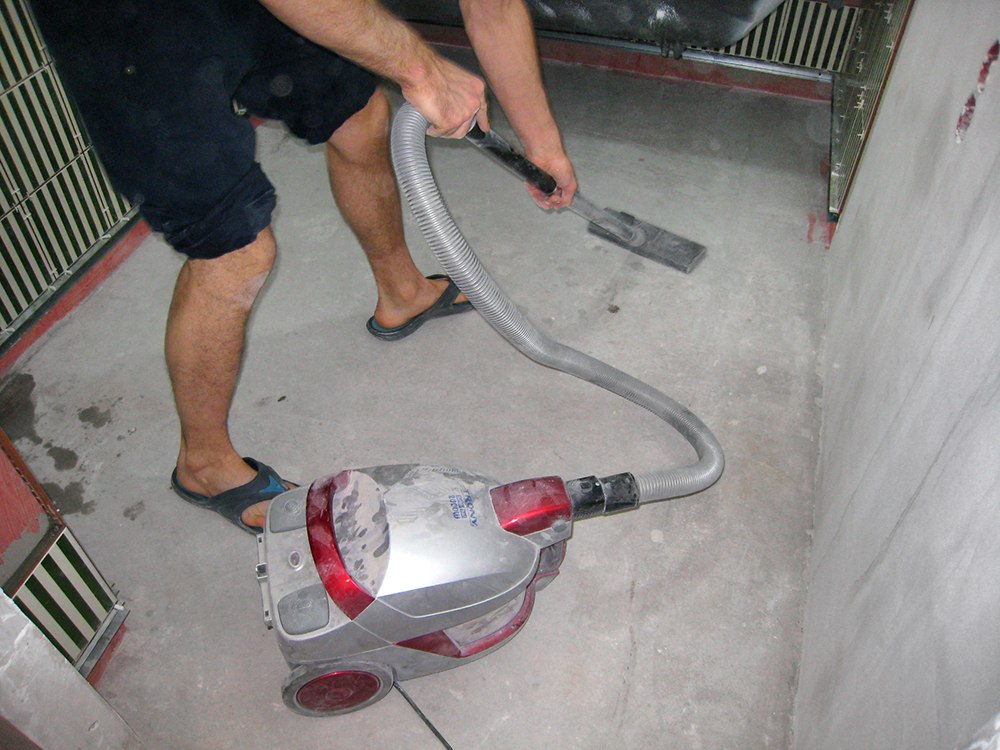
The first thing to do is to evaluate the condition of the base. It is necessary to clean the floor from the remnants of the previous screed and floor covering. For productive work on dismantling the old floor is recommended to use a punch.
Vacuuming removes dust, which can degrade the "setting" of the solution with the base web.
The vacuum cleaner can be used both construction, and household.
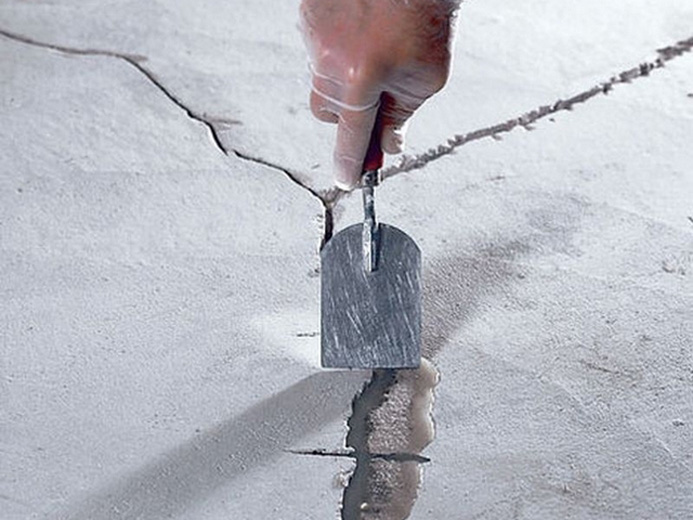
If cracks are present in the coating, they should be repaired.. For such purposes, you can mix a thick solution of cement or the same mixture that will be used for casting.
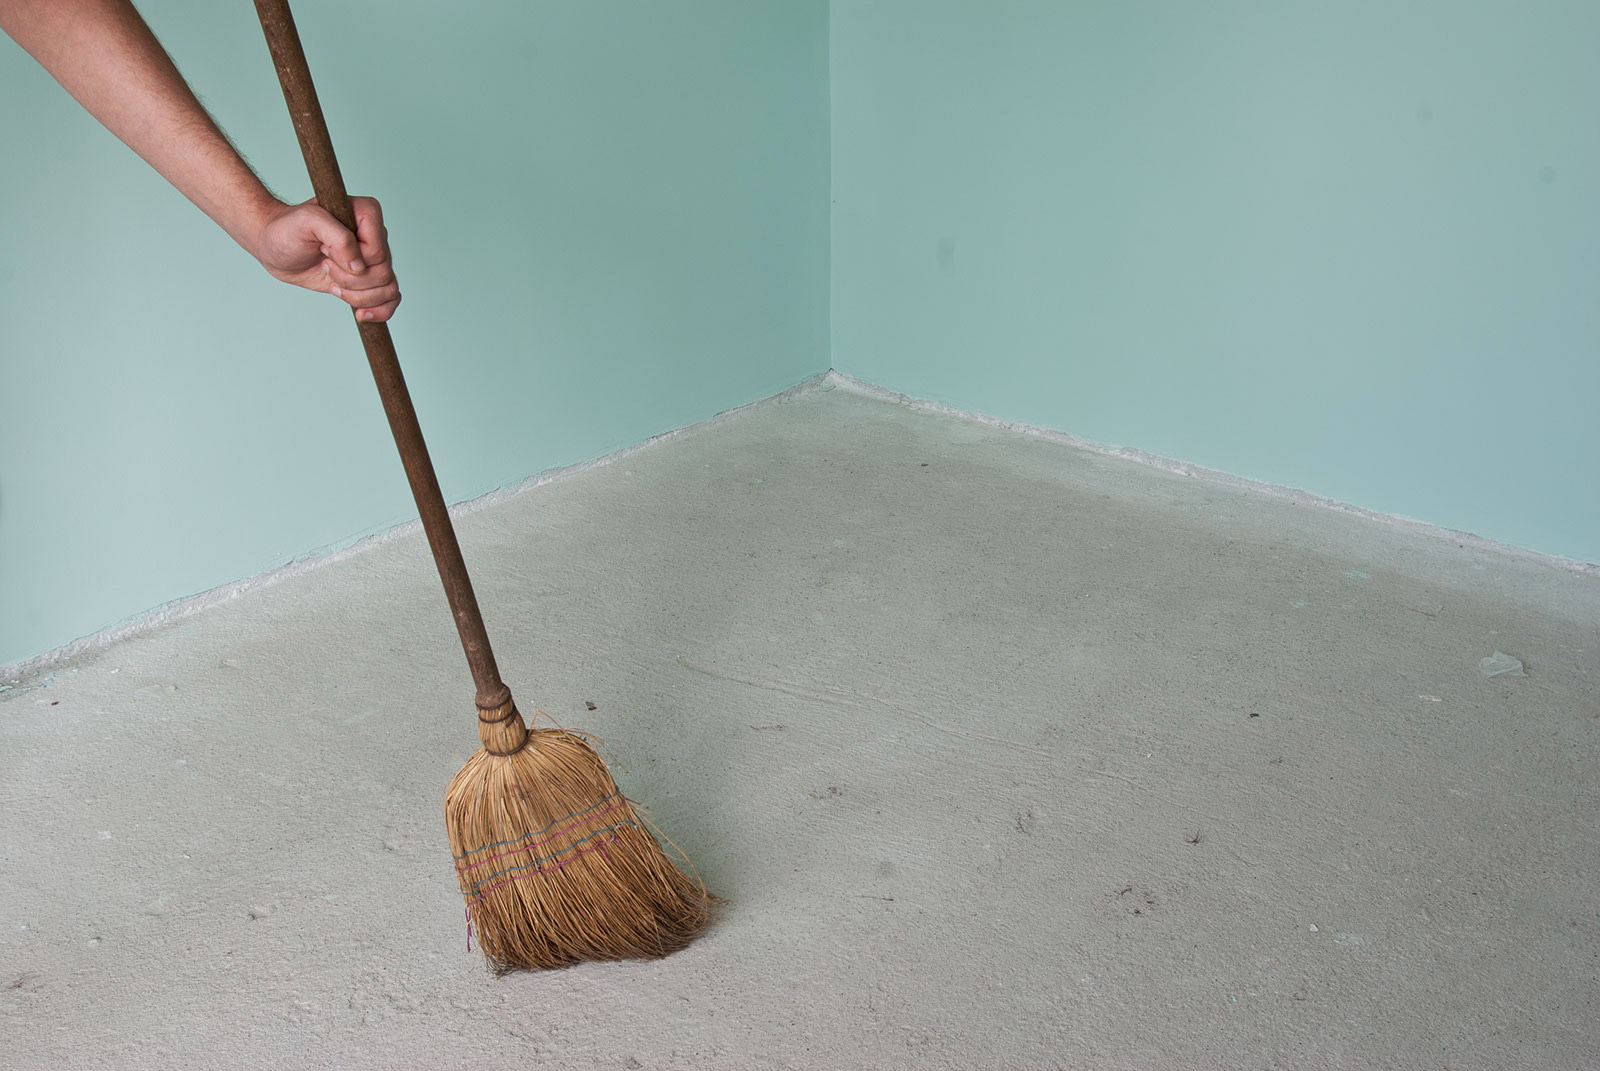
If the floor is clean, even and without significant defects, then you can proceed to the next stage - primer.

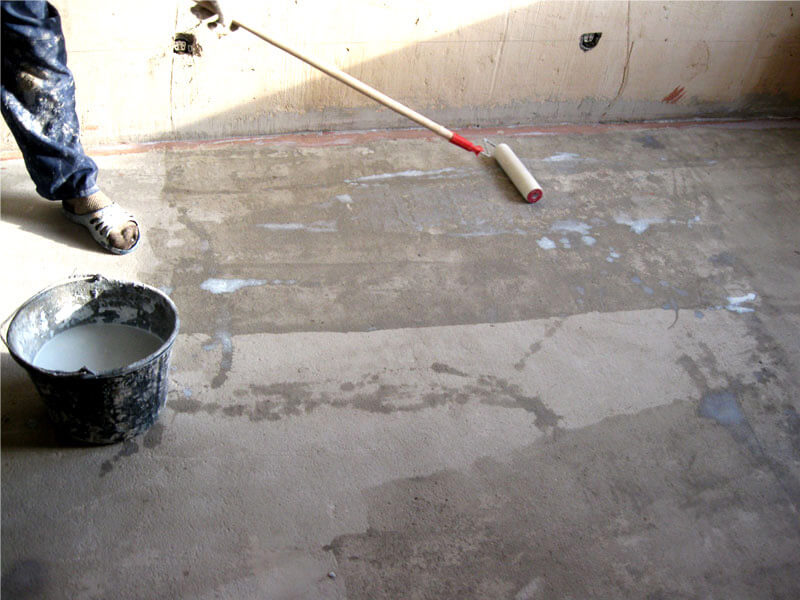
The primer is one of the most important stages in creating a durable floor in an apartment, but, unfortunately, the masters underestimate its positive qualities. To improve adhesion, it is appropriate to treat the base with a primer.
Adhesion refers to the adhesion of two dissimilar materials. The primer improves the “sticking” of the tie to the base.. Due to the fact that the primer layer removes dust from the surface, reduces the negative impact of microparticles, thereby increasing the quality of adhesion of materials. Moreover, this material seals pores and fills various voids, increasing the strength of the rough coating.
After using the primer, the base structure is monolithic. The use of a primer affects the waterproofing, the base does not absorb moisture, so with this coating the consumption of mixtures is reduced. It promotes uniform drying of the coating, thereby reducing the possibility of cracking.
Moreover, the advantages of applying a primer can be distinguished reinforcing properties and the effect on vapor permeability. The undeniable advantage is protection against the occurrence and spread of fungus and moldwhich so likes a wet environment.
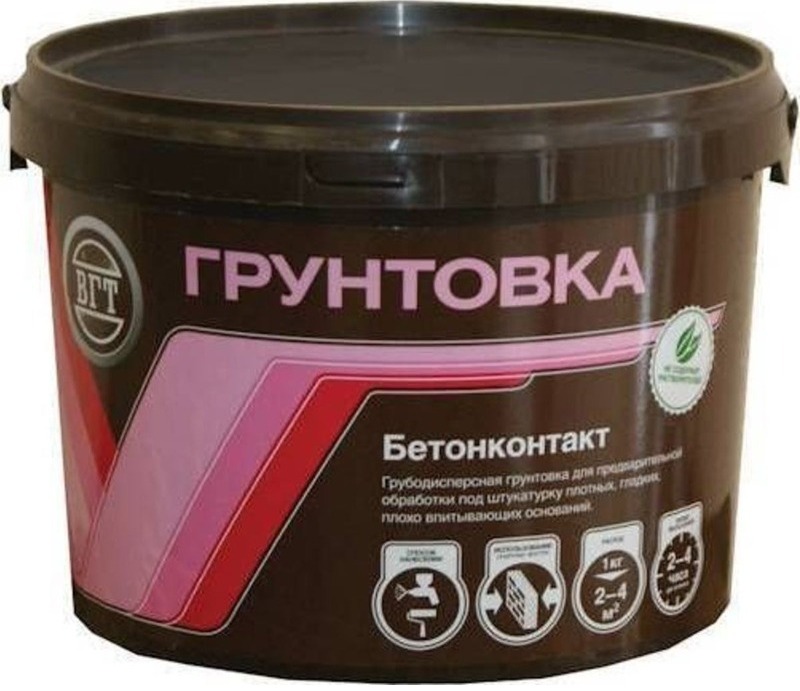
The most common type of primer for the floor can be considered "Betonokontakt." Such a primer is universal for walls, for floors and for weakly absorbing surfaces, such as solid concrete. The basis of the primer includes glue, acrylic and quartz sand.
Before applying it is recommended to stir the mass, because the fine sand, which is part, tends to settle. This primer dries quickly, which speeds up the repair cycle. The time of complete drying depends on the brand, since it is different for different manufacturers. The primer is applied with a foam roller or brush. The use of primer at times increases the strength of the screed and is guaranteed to reduce the possibility of the formation of delaminations and cracks.
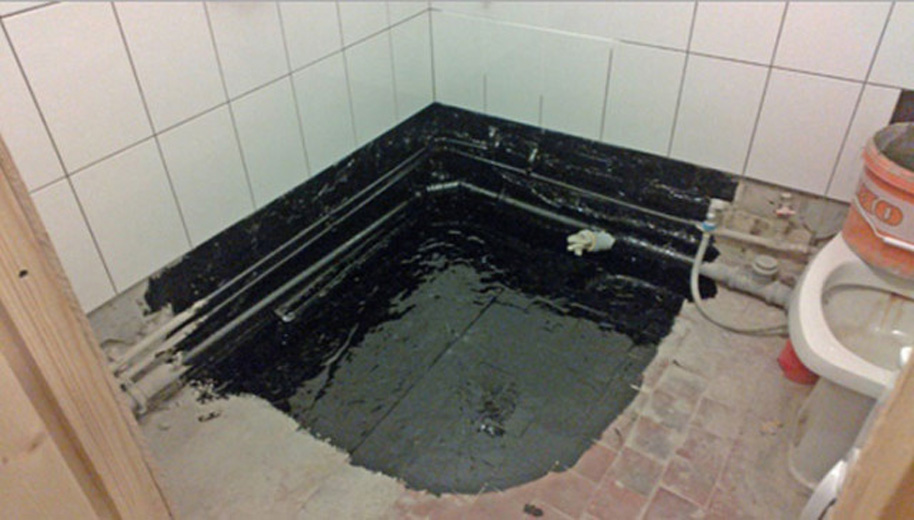
If the screed floor is done in the bathroom or in the kitchen, then you should definitely think about waterproofing. It will not be superfluous to do this in the rest of the premises.
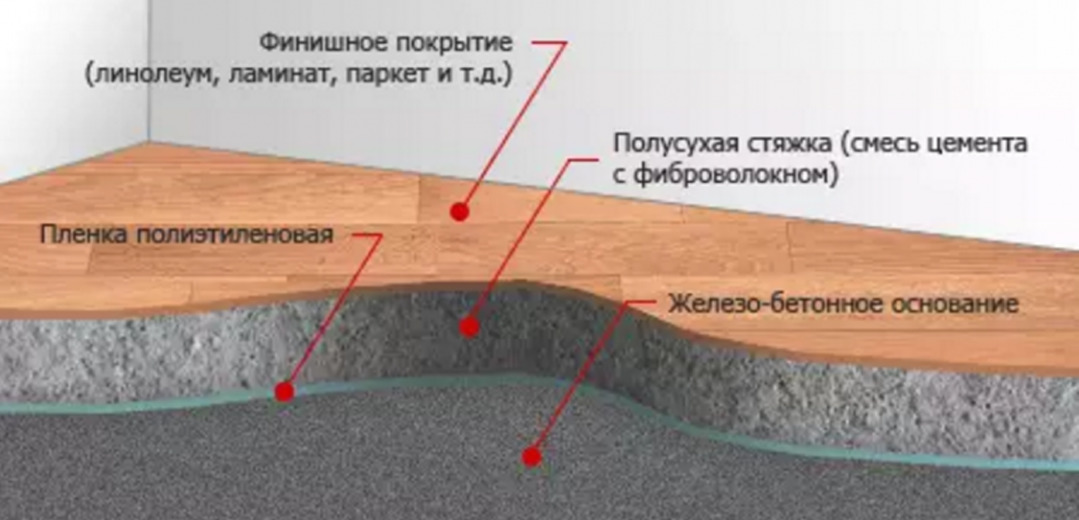
Waterproofing is used for uniform drying of the screed so that water does not flow out of the cement mortar. For this, in private houses and apartments, roll material is more often used, including simple polyethylene film. When covering, the layer should be lapped on the wall by 15-20 cm, and overlapped.

Popularity is gaining polymer mastics, which are easy to use and are sold ready for use. The range of coating polymer mastic is wide and they are used on almost any surface. Dries quickly, is expensive.

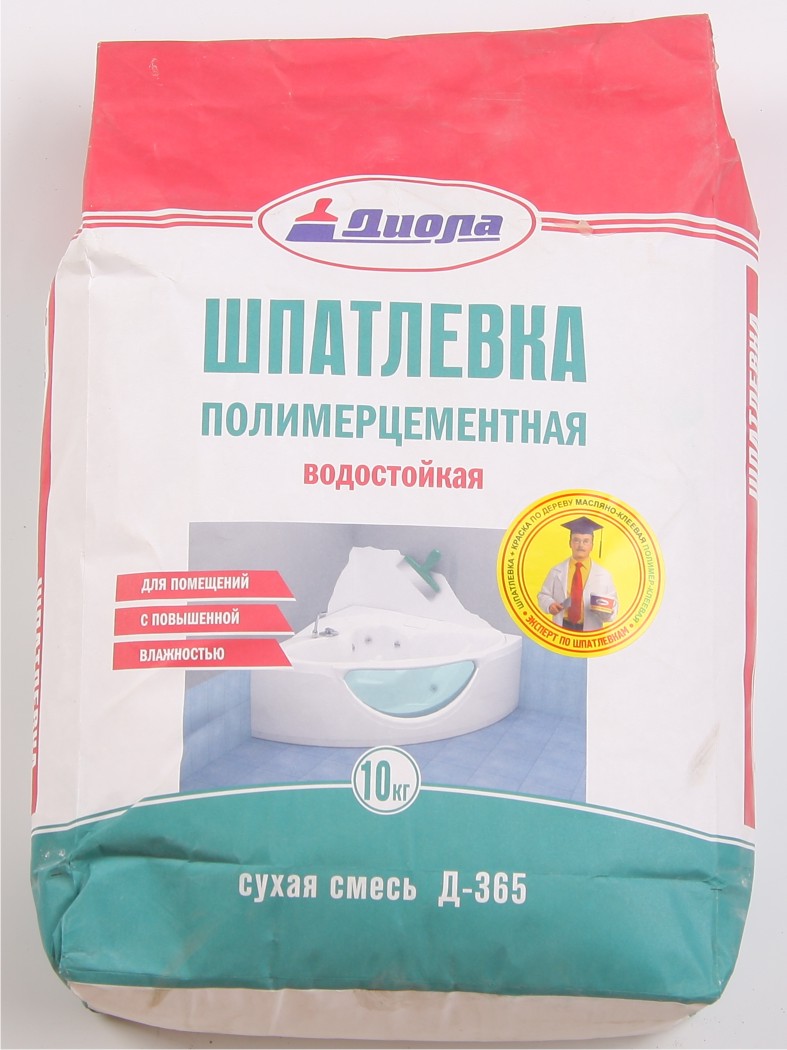
You can increase the moisture resistance of the room by using polymer-cement dry mixtures. These are, in fact, one-component plaster mixtures diluted with water. This solution is highly elastic and in a frozen form does not pass moisture.
Properly laid waterproofing floor protects the room from moisture and to avoid leakage from the room.

In order to determine the level of fill, first you need to measure the floor level and set it. This procedure allows you to identify the highest point of the floor. Before you mark the level of fill the floor in the room and measure it, you need to draw the horizon line.This line is applied around the entire perimeter of the room and must necessarily close, allowing for an error in connecting the lines per millimeter. The horizon is marked at a height of 1 meter from the base.
For drawing the horizon line wizards choose the most convenient device for themselves:
- Laser level.
- Hydro level.
- The spirit level.
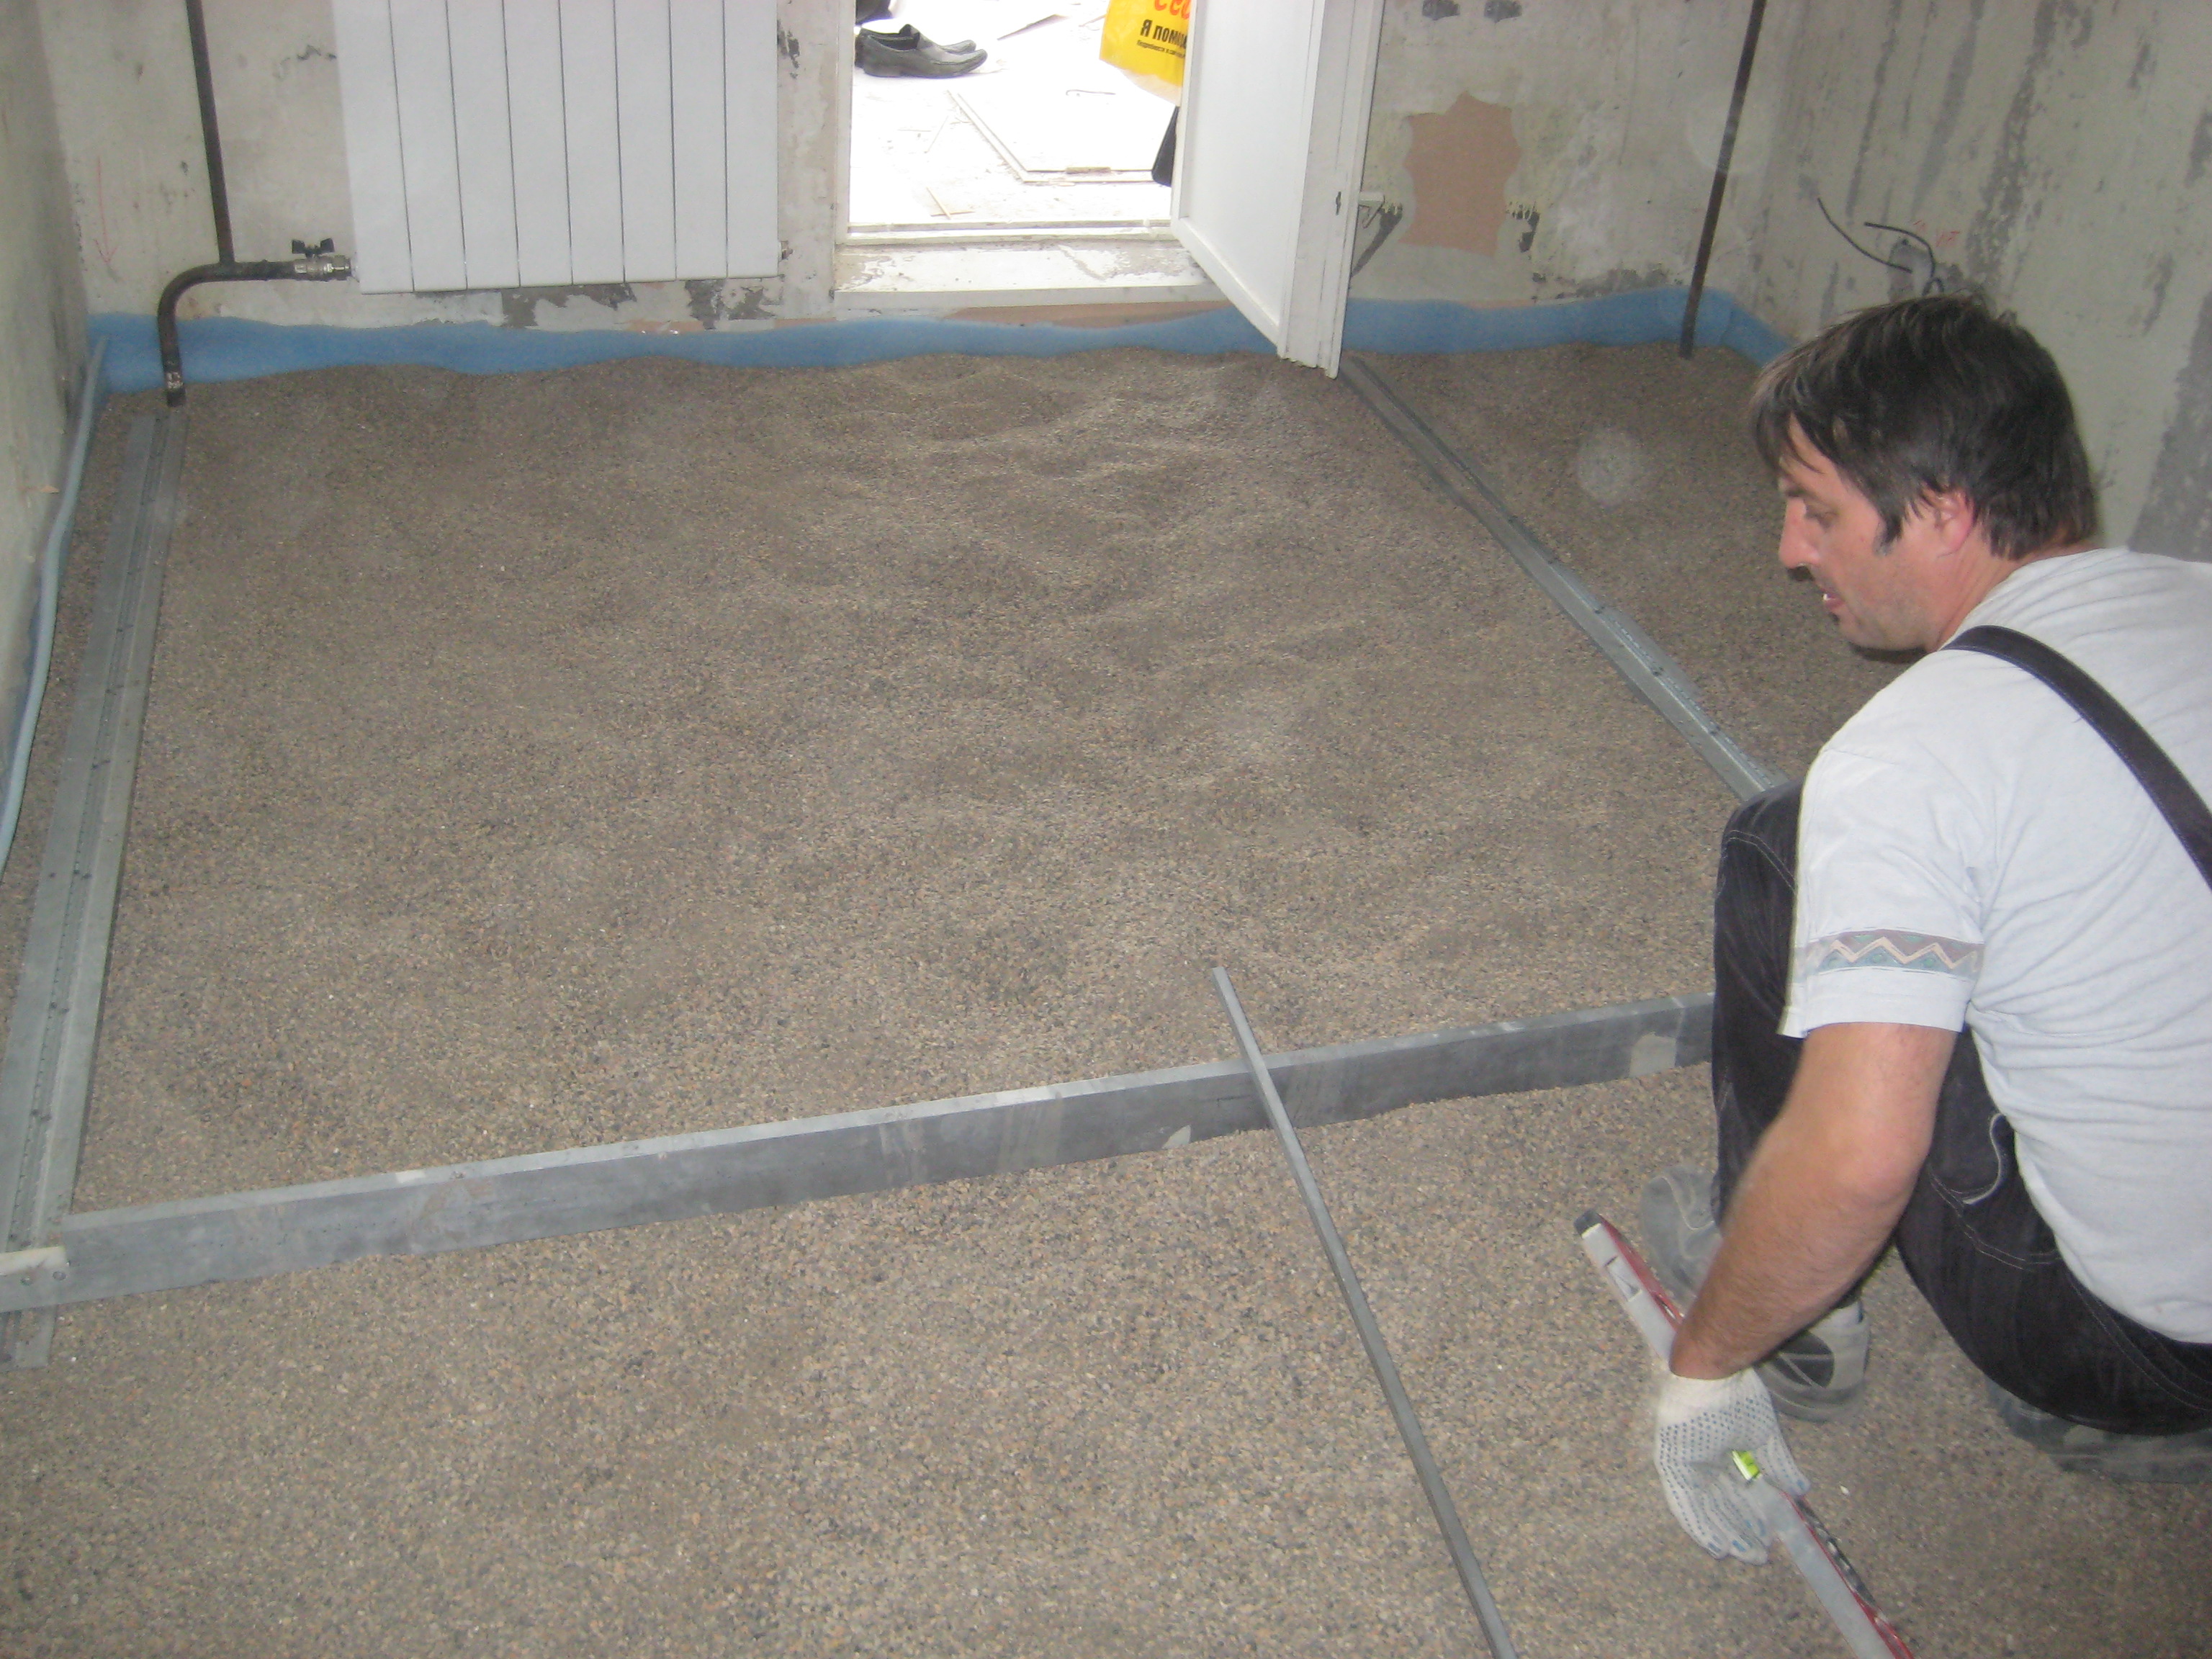
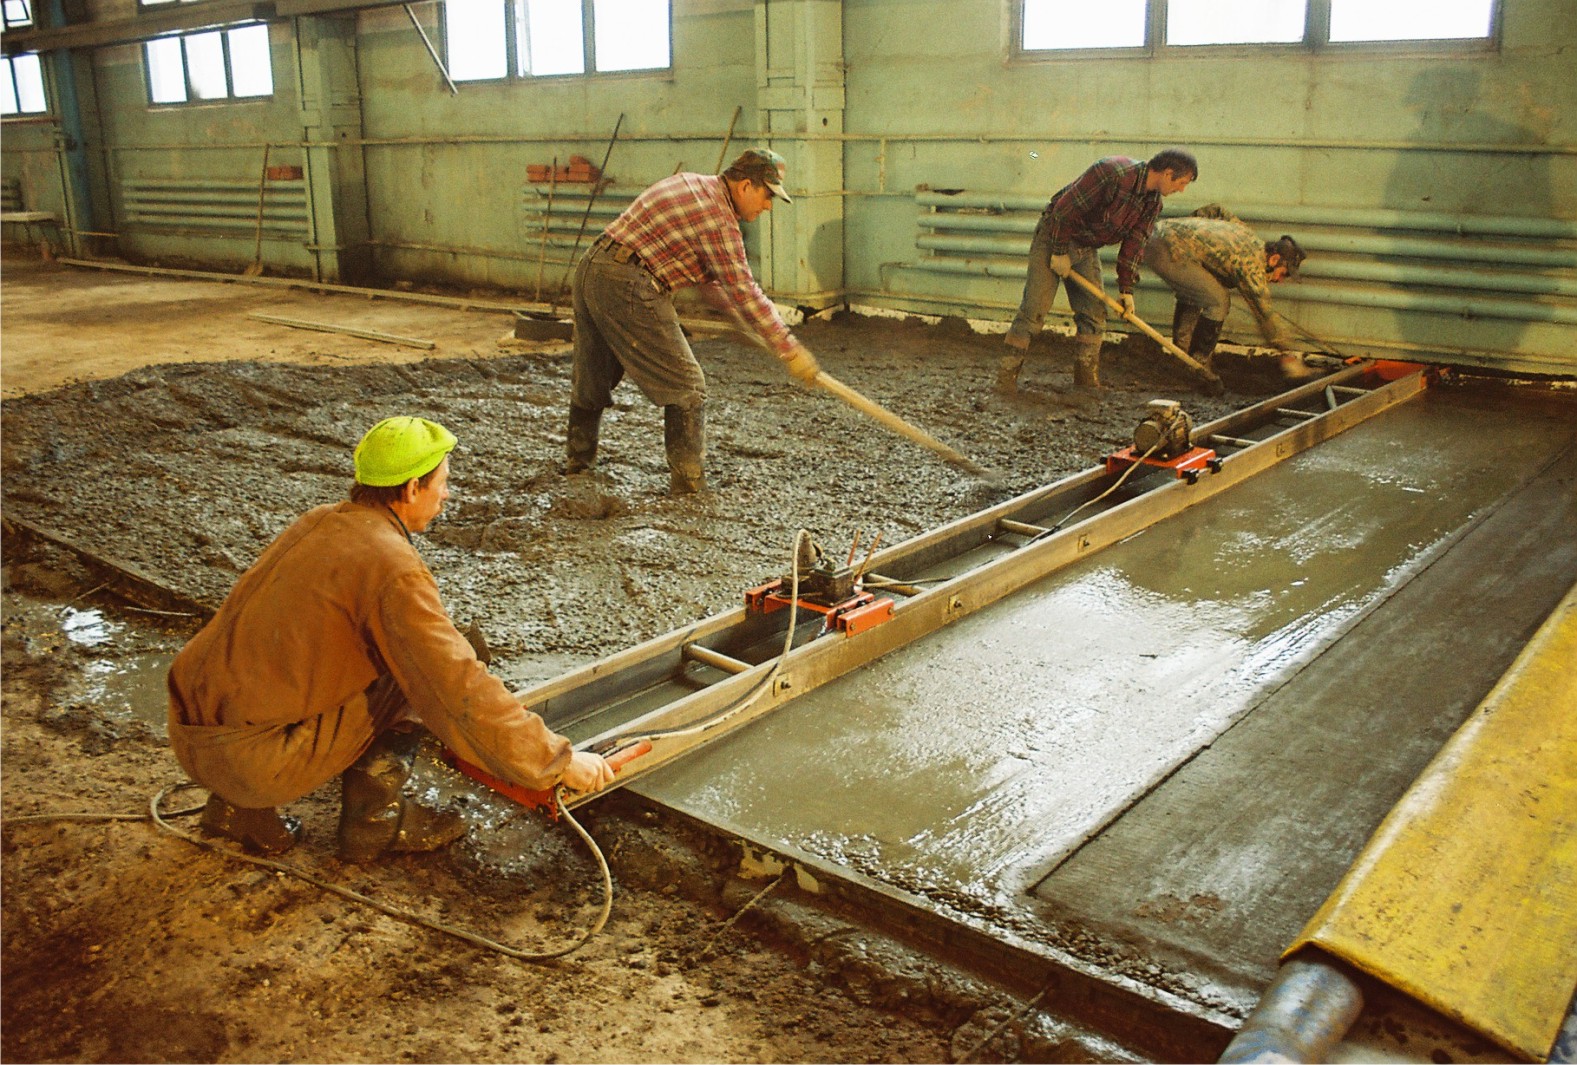
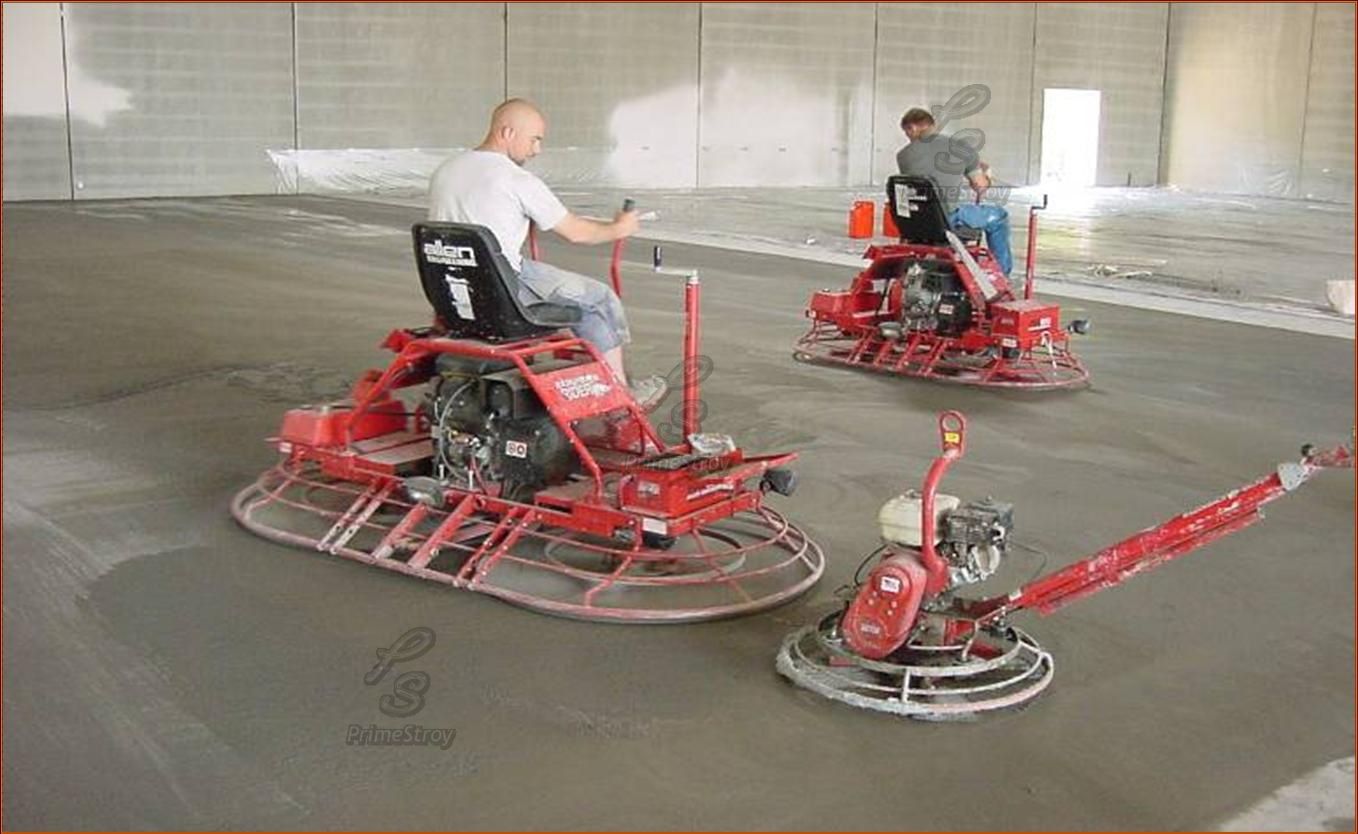
Before pouring the floor, its base is moistened with water and passed through by a rover. Begin the pouring process from the corner farthest from the door and gradually pull it toward the exit. The solution needs to be laid out between the beacons and then distributed over the entire surface evenly. The mixture must completely fill the leveling space and voids. For pulling a rule is used. Touching at least two beacons, they are slightly led in different directions, moving towards themselves. The surface of the rule must be flat, there must be no defects on it. Only such a tool achieves a perfectly even coating.

The laser level or level gives a clear laser outline of lines that are visible even in the far distance. The quality of the markup of this tool depends on its correct location.It is necessary to take care of a suitable place for the device and its correct installation.
For proper operation of the device, remove all obstacles in the path of the laser beam to avoid refraction. In order to avoid errors, the device is placed at an optimal distance from the walls and securely fixed on a flat surface.
Reel and shake of the laser level are unacceptable, as the accuracy of measurements depends on it. Bubble level, built-in most models, will align the level on the horizon. The task is simplified by the self-leveling function. After completing all the requirements, you can get to work.

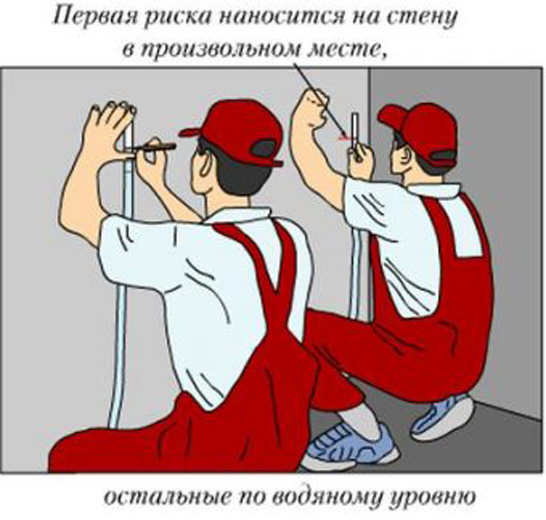
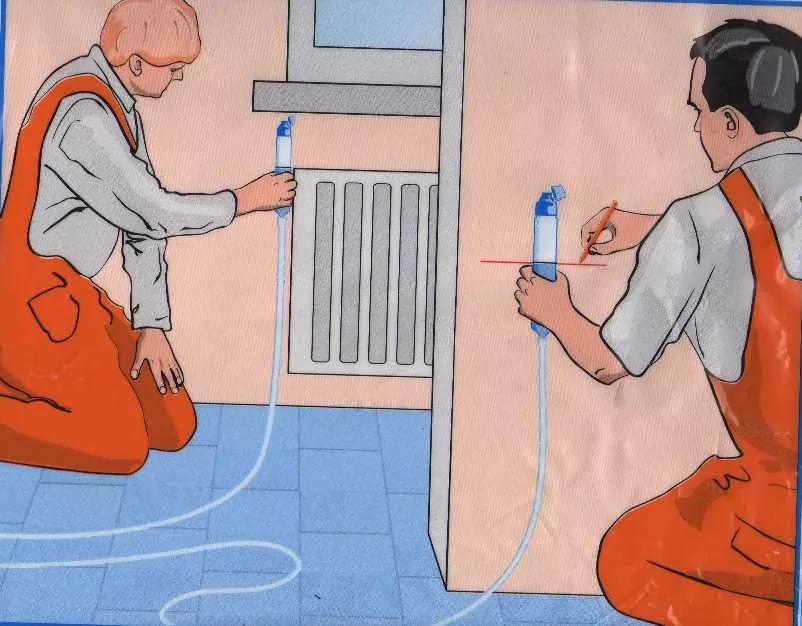
The water level (hydro level) works on the principle of communicating vessels. The device consists of two flasks with measuring scales, which are interconnected by a long hose. To the middle of each of the flasks and water is poured into the hose. It is important to get rid of all bubbles when filling the hydro level..
Two people are involved in the measurement process. Marking a height of 90-100 cm in one corner of the room, the participant puts one scale on the mark. The second person puts the vessel to another corner. It is necessary to achieve the same indicators on both scales, for this the flask is moved up and down. And so the second person moves around the perimeter of the room.After marking marks in the corners of the room, the horizon line is drawn with a building cord.

The spirit level is the simplest device to check the horizontal planes. It is a unit with a glass tube with water, mounted in the middle. In the tube is a bubble, which is located in the middle, if the plane is level with the horizon.
When the horizon line is drawn around the perimeter, the distance to the floor is measured from it. The zero level of the screed is determined by the minimum distance from the horizon to the base.
Further, there are more simple actions. The total thickness of the screed is noted from the top level of the coating. The distance from the horizon line to the mark is measured and transferred to the entire perimeter of the room. Next, we connect all the marks with a building cord. A screed will be laid along this line.
In the same way you can apply a line of layers of insulation, bedding, top coating used in the floor screed.
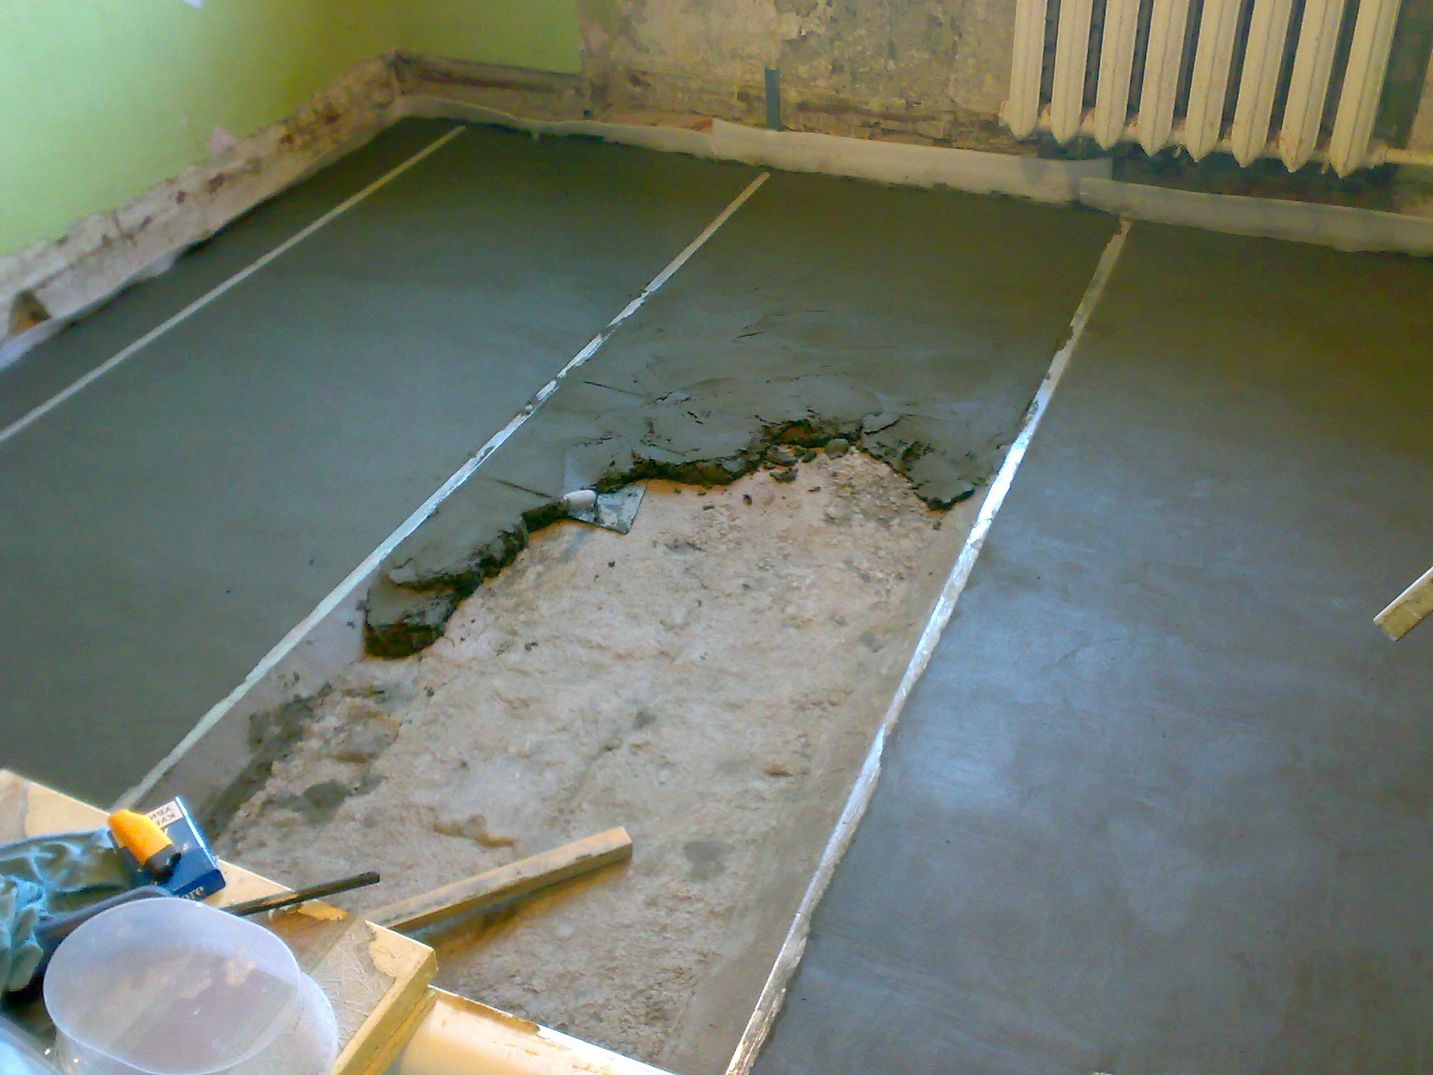
When the marks are made, you can begin to put beacons. The distance between beacons should not exceed the length of the rule.which stretch the mixture. The quality of the fill depends on the guides supplied.Most often use metal profiles or wooden slats.
The vacated space is filled with screed solution. The use of beacons is recommended even on small work sites. The correct application of the technology of placing beacons guarantees a flat surface of the flooded floor.
Preparation of the solution
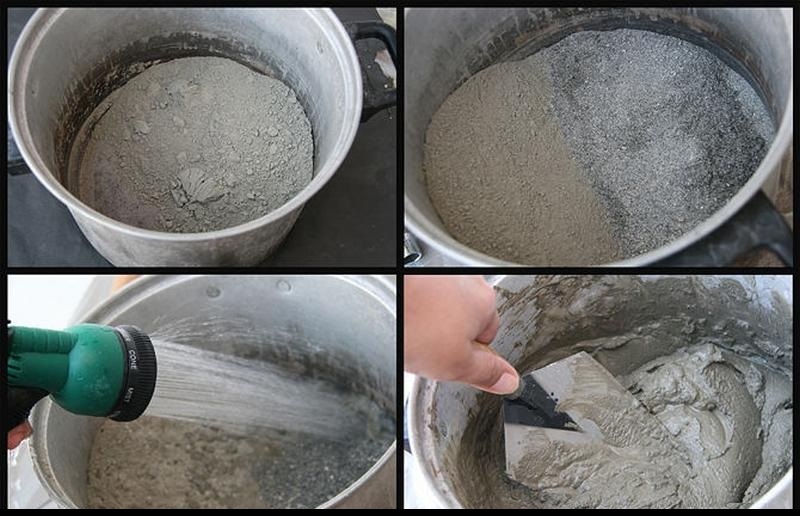
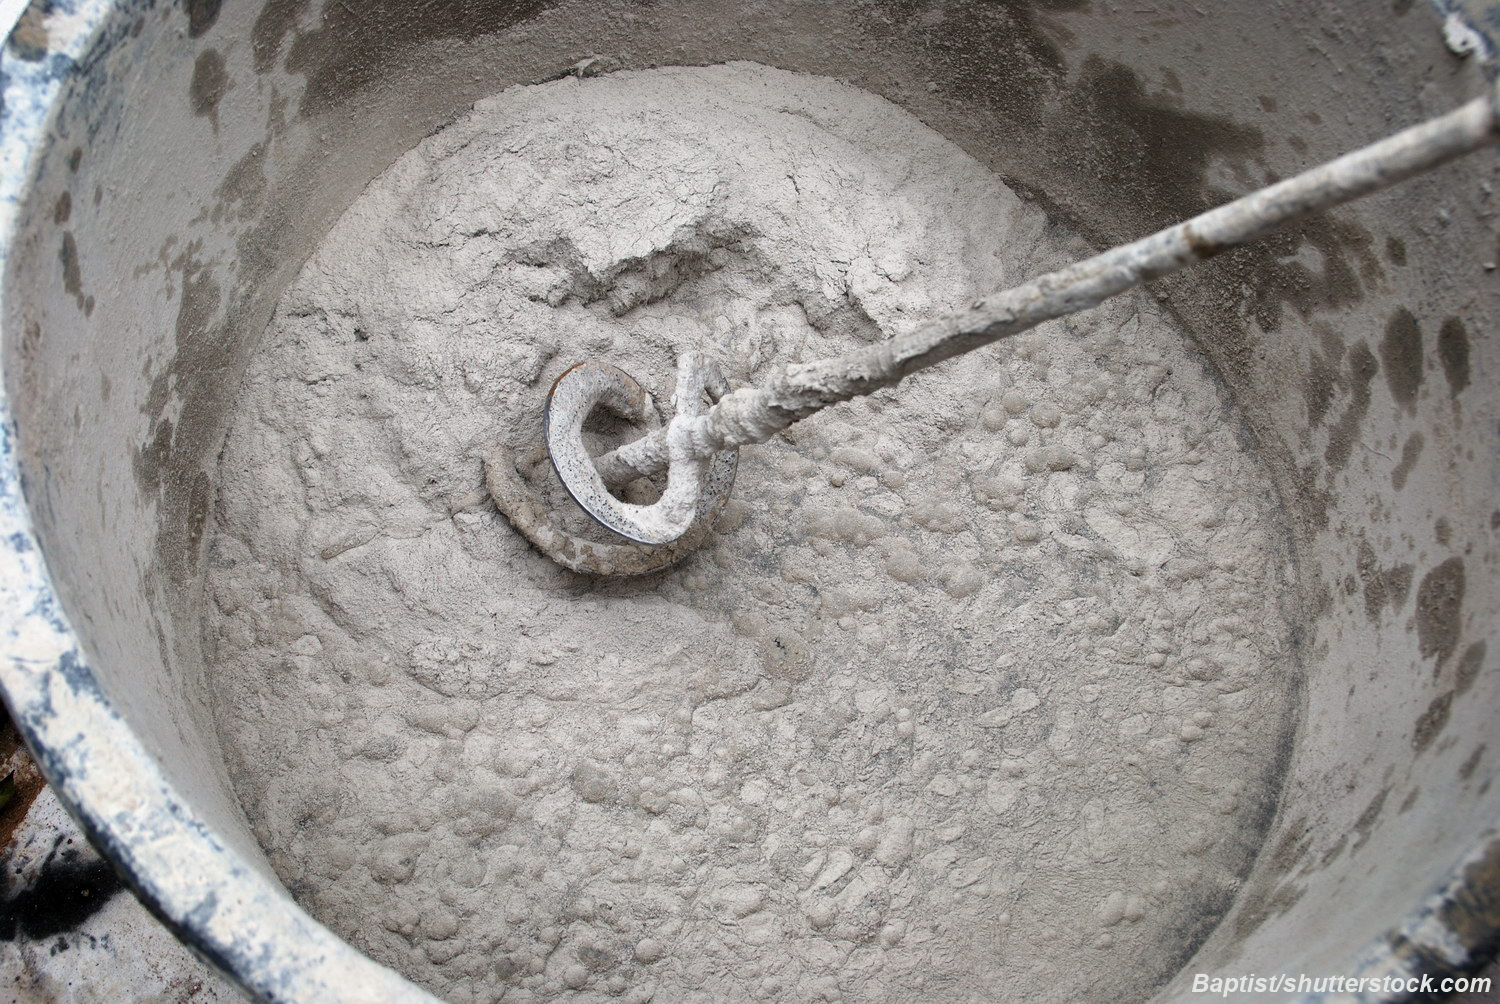
After calculating all the necessary proportions and determining the desired volume of ingredients for the solution, you can proceed to kneading. It is worth remembering that the mixing of dry ingredients occurs separately from the liquid. The process uses different capacities. Using a mixer or by hand, the cement is thoroughly mixed with sand in selected proportions.
Liquid components are mixed in another clean container. To achieve the plasticity of the mixture, a plasticizer is added to the water in the amount specified by the manufacturer. Most often, 200 g of plasticizer is diluted with 50 kg of cement mixture. Thanks to this component, the screed becomes more durable. It is recommended to knead the solution in portions so that it does not lose its plastic properties. Water is one third of the weight of cement.

Dry ingredients are added to the slurry.This is a slow and gradual process. It is important to constantly stir the solution. In no case can pour liquid into the dry mixture., it is fraught with the formation of dense lumps, which are not subject to stirring.
When the mixture becomes viscous and thick, like dough, and there are no lumps in it, you can proceed to the screed. In the application of such a mass may be difficult, because it is easier to distribute the liquid solution. But with such a consistency, the possibility of cracks is significantly reduced. In order to avoid cracking, specialists recommend periodic wetting of the surface with water during drying.
The distribution of the solution should be carried out in a short time, so that its properties do not have time to change.
Fill
In a new building, you can pour out the solution on penoplex, on the ground, laminate, under a tile, etc. The leveler in the “Khrushchev” can be walked in the toilet, on the balcony, in the kitchen and in other rooms. It is desirable that in this case the heating pipes were not included to the full capacity.
It is quite possible to put a liquid floor with glass or foam on the German technology on its own. It will be a good basis for an electric floor, which will help to fix the heat in the house.
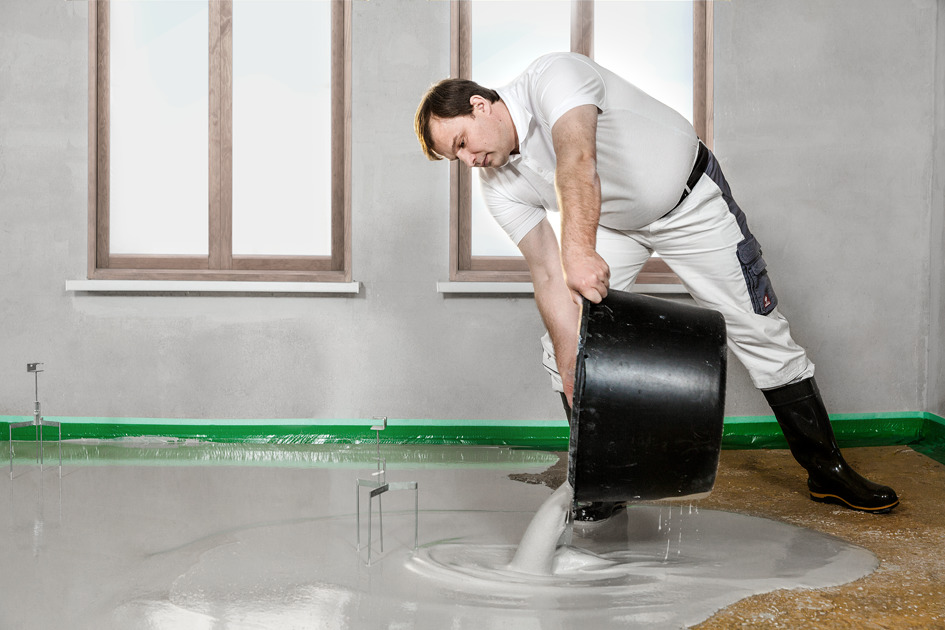
Before pouring the floor, its base is moistened with water and passed through by a rover. Begin the pouring process from the corner farthest from the door and gradually pull it toward the exit.. The solution needs to be laid out between the beacons and then distributed over the entire surface evenly. The mixture must completely fill the leveling space and voids. For pulling a rule is used. Touching at least two beacons, they are slightly led in different directions, moving towards themselves. The surface of the rule must be flat, there must be no defects on it. Only such a tool achieves a perfectly even coating.
To minimize the appearance of air bubbles during laying the floor solution slightly shake. It is possible with a wire to pierce the flooded floor in the event that you can not get rid of voids. Beacons cleaned after 24 hours.
Professional Tips
In addition to all the above, the masters give some useful tips so that the self-leveling floor is made qualitatively and reliably:
- You should not use a solution of the brand below 150, because of the low strength indicators, the coating may not withstand the load.
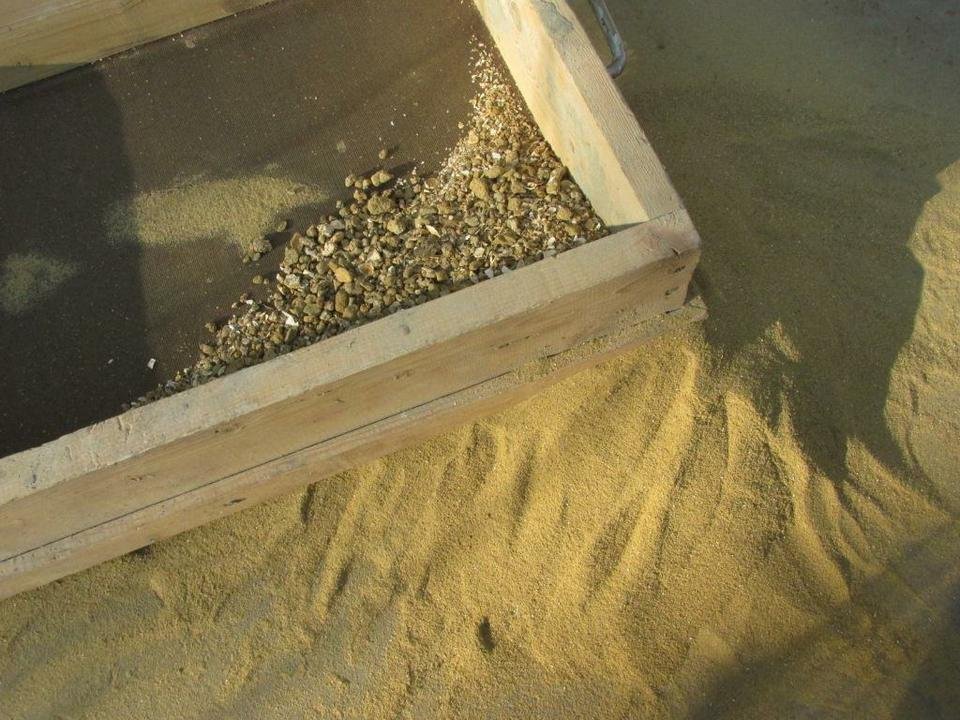
- Finding clean sand for a cement-sand mortar in a city can be a difficult task.Therefore, choosing sand, look at its construction characteristics, and if it is not possible to purchase the sifted material, do it yourself.
- When choosing a wet screed, do not use cardboard, fiberboard or plywood as beacons, as they can easily become deformed under the weight of the mortar.
- If the leveling of the floor occurs in several layers, the layers should be primed at each stage of the filling.
- Rolled material for waterproofing is suitable only for a wet screed, but when using a self-leveling mixture, this cannot be done, since such mixtures do not adhere well to the surface of the rolled materials and defects such as cracks may appear.
- Cement mortar is prepared after the installation of the beacons, since its useful life is less than an hour, and after solidification it will be impossible to work with the mortar.
- It is necessary to knead the cement in portions so that it does not harden.

- To find out whether the floor is dense enough, press it when it is wet. If a hole with a liquid of decent depth has been formed, then it is worthwhile to pay attention to the viscosity of the mixture and make the solution thicker.
- The rule will help to check the sharpness of the horizontal line in all directions.
- It is only possible to attack the floor that has been filled in, provided that there is a special shoe in which the weight is evenly distributed over the entire surface of the foot. The topcoat can be applied no earlier than 40 days, while walking on the dried floor can be done in a week.
- After the main work should be carefully monitored the process of drying the floor. Sometimes the solution is covered with a film so that no cracks form on the surface.

- During the week after completing the work with the floor it is moistened for a stronger coating. This prevents the possibility of detachment and crumbling. Do not do puddles, you only need to evenly distribute moisture.
- It is not recommended to open the windows and allow the air temperature to drop. This can adversely affect the result.
- Harmful exposure brings direct sunlight, so care should be taken to prevent them from entering the room.
With proper observance of the technology and algorithm of work, making the floor in an apartment or a cottage with your own hands will not be such a difficult task.The main thing is to approach the issue with all seriousness, to observe the recommendations of the manufacturers and to choose the right materials. Remember: self-made repairs are the pride of a skilled owner.
How to fill the floor screed with your own hands, see the next video.


