The subtleties of the process of grinding timber inside the house
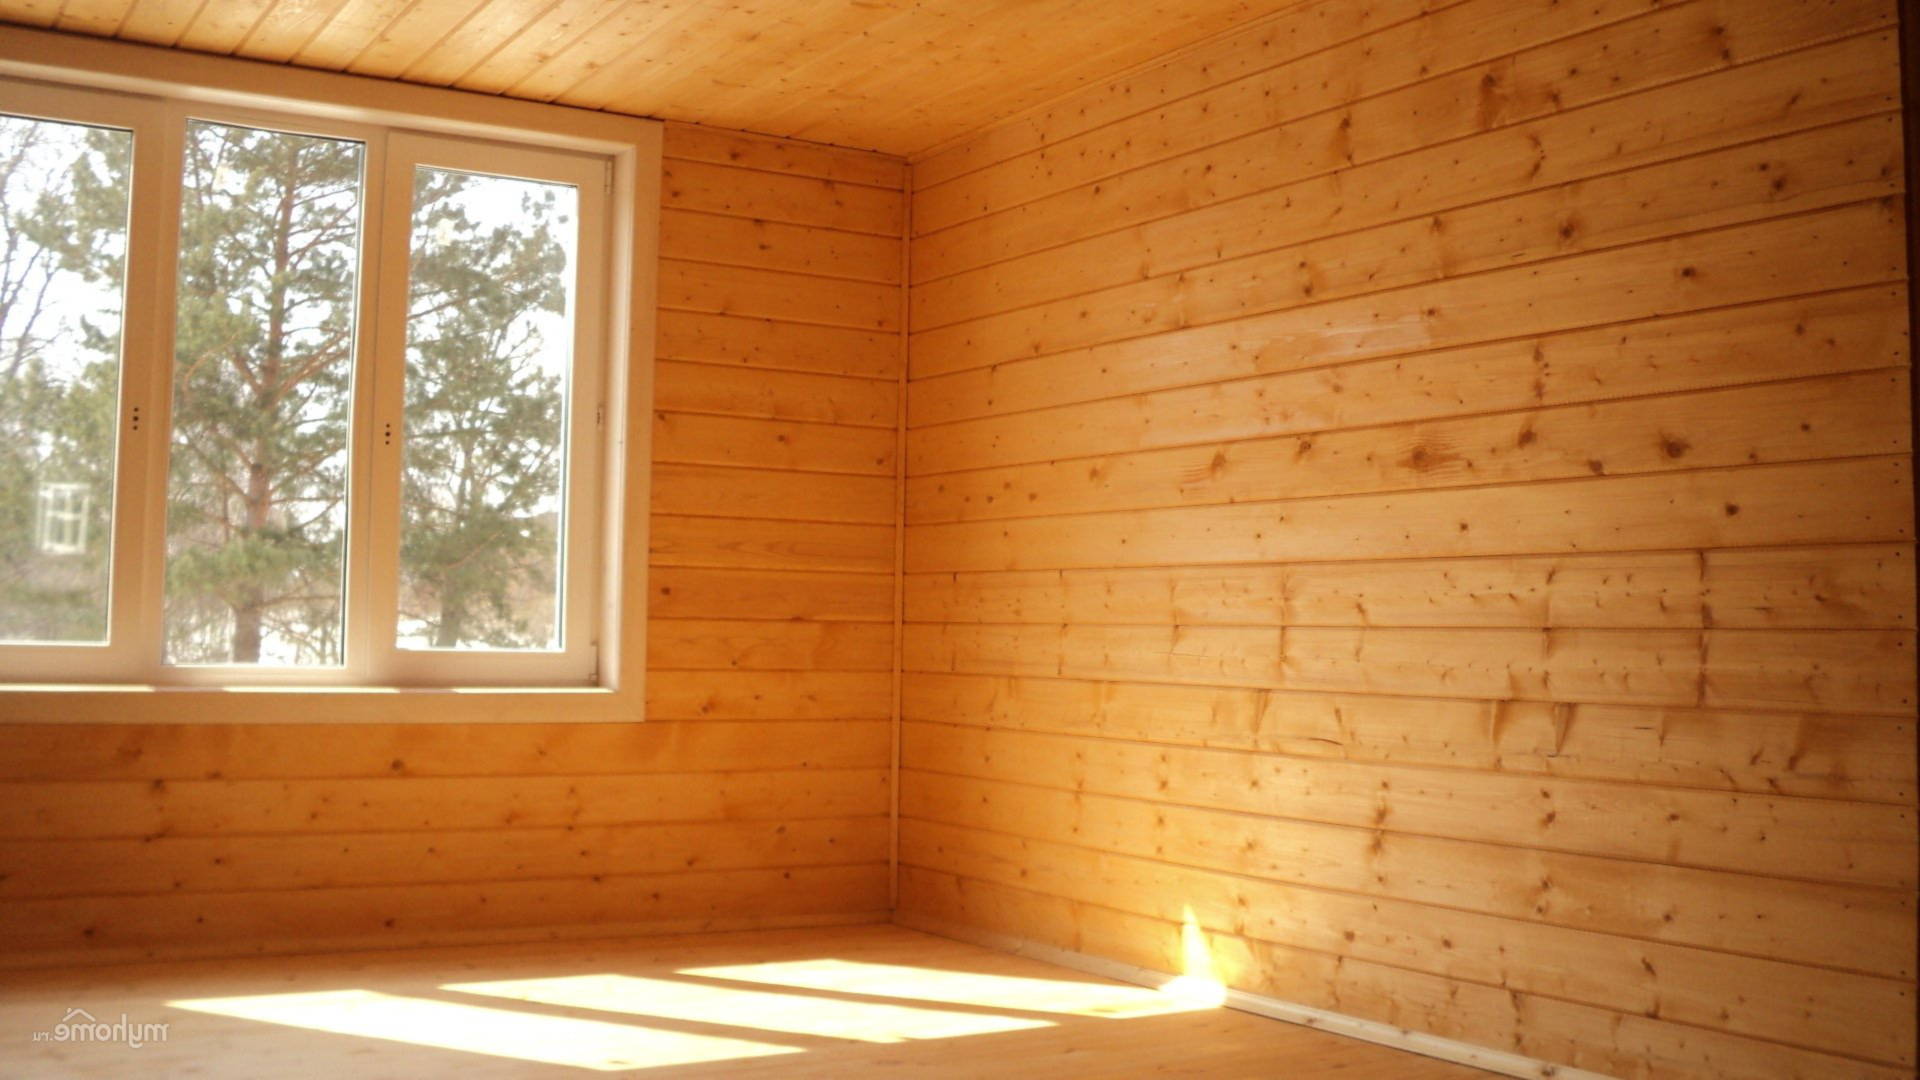
Grinding is a time consuming process that requires some experience and a good tool. Knowing the subtleties of this important work, you can do it yourself to transform the wooden walls of your house. Due to the high-quality processing of the timber, the interior will not darken with time, will be protected from dampness, decay and will retain its unique texture for a long time.
Special features
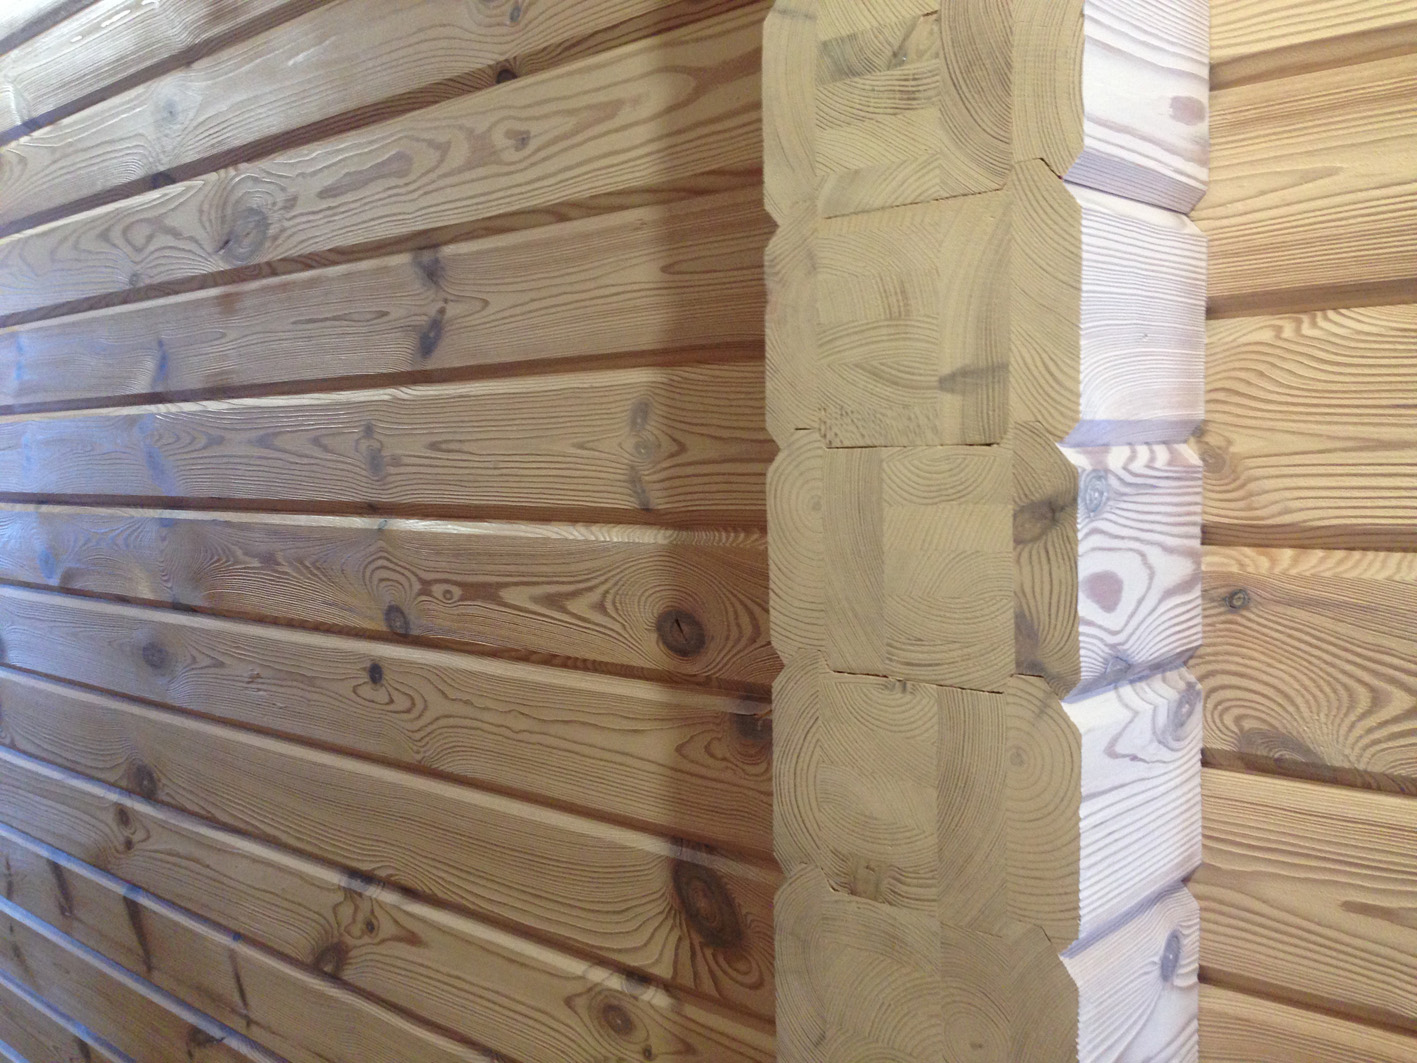
Despite the high-quality professional assembly of wooden buildings, the individual rows of bars of the structure may protrude by 1-2 mm, making the walls uneven. To achieve a perfect smoothness of the walls inside the house, it is necessary to grind the timber, although such work has other goals.
This process solves several tasks:
- removing mold and mildew stains;
- the elimination of minor damage to the timber, received during laying;
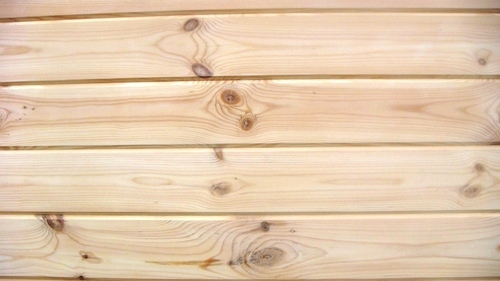
- lightening wood surface;
- removal of villi after application of antiseptic impregnation;
- giving freshness to the pattern and texture of wood.
Polishing also provides for the removal of a layer damaged as a result of external influences, updating after several years of operation of the premises. In addition, the old lacquer coating and antiseptic impregnation, which are no longer relevant, are removed from the surface. Grinding helps to return to the bar the look and color of fresh wood.
Required tools
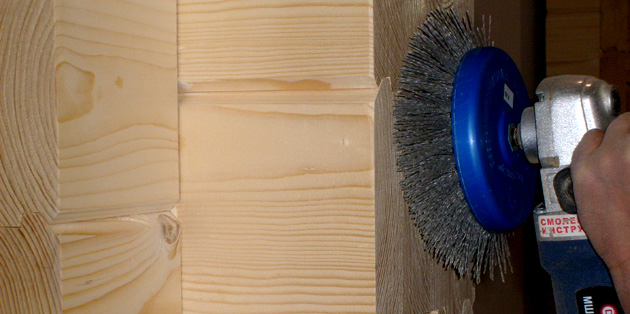
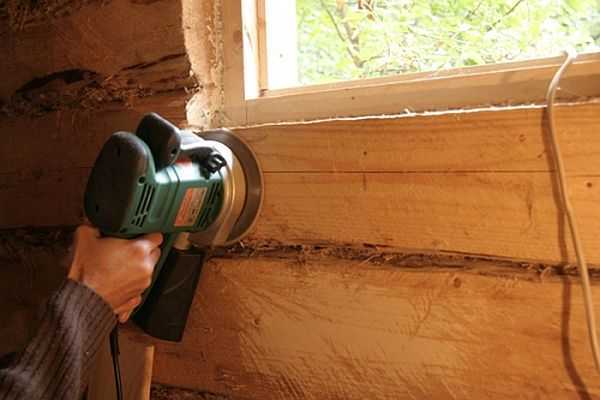
For such works, only a quality tool is suitable, which completely excludes Chinese disposable products. The main criteria by which to make a choice are the ease and power of technology. Depending on the type of timber used grinder with special grinding nozzles or belt grinder.

Also need:
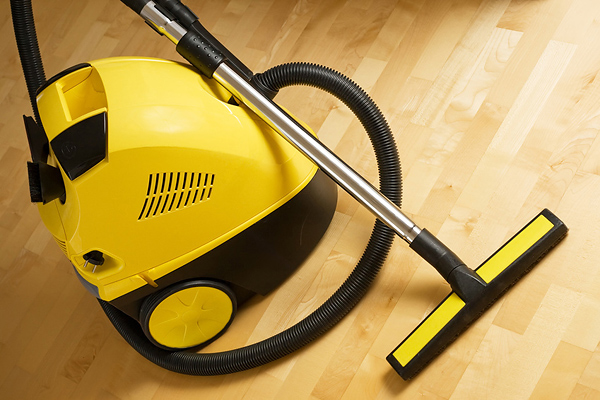
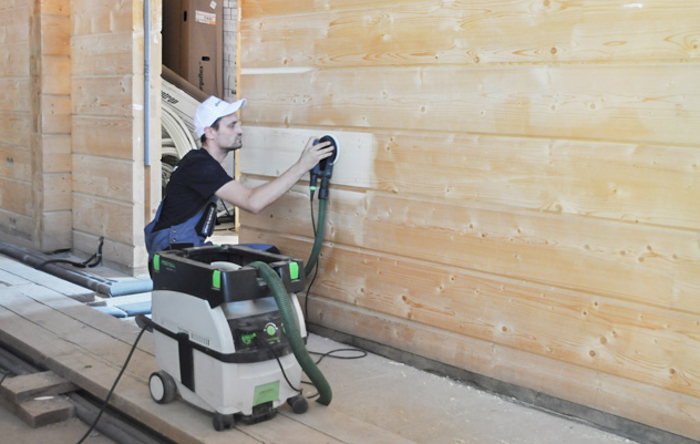
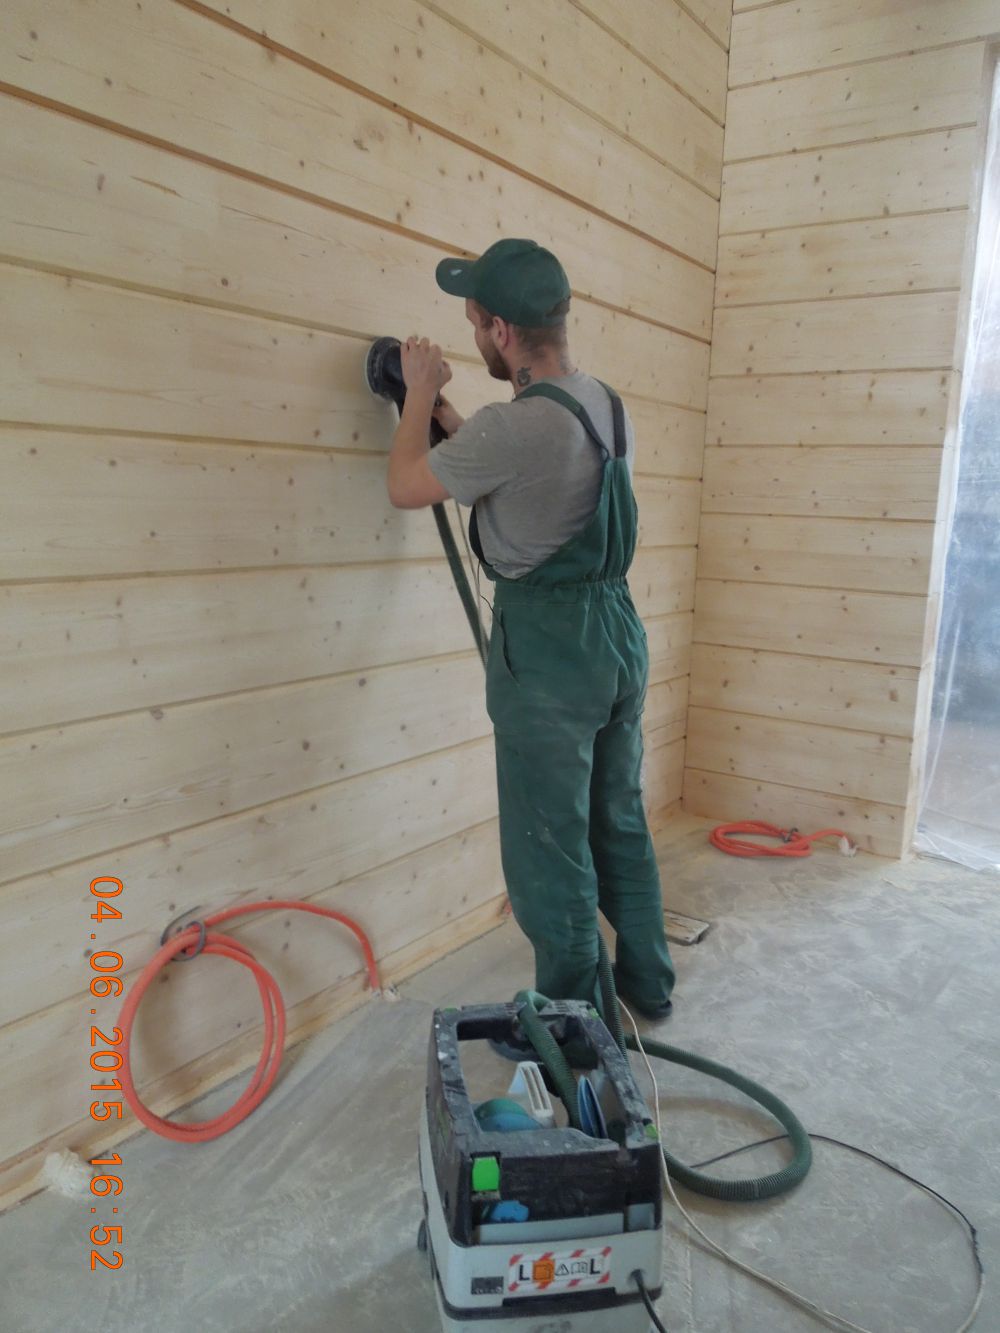
- a vacuum cleaner;
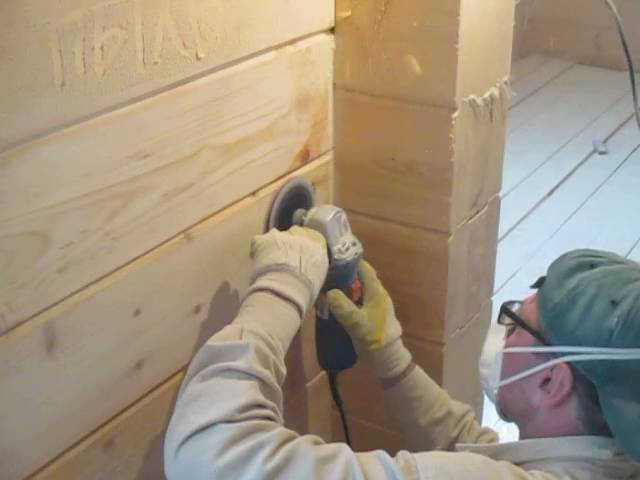
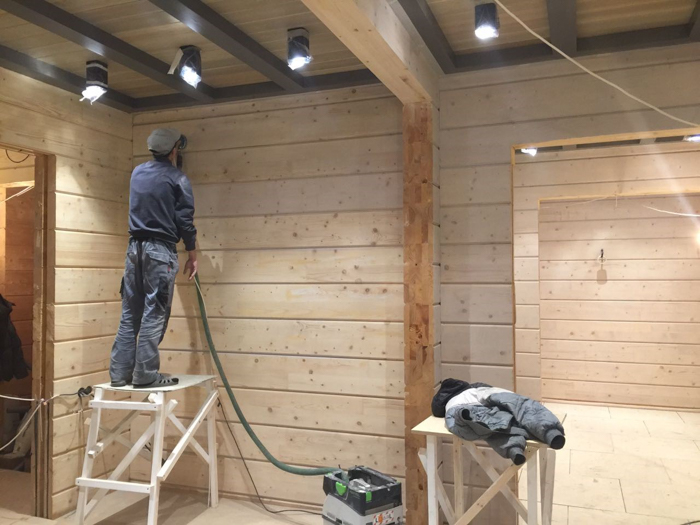
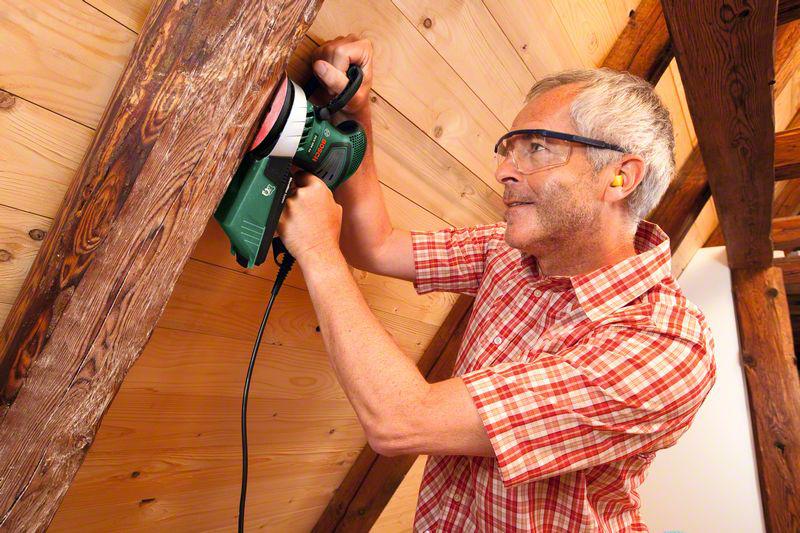
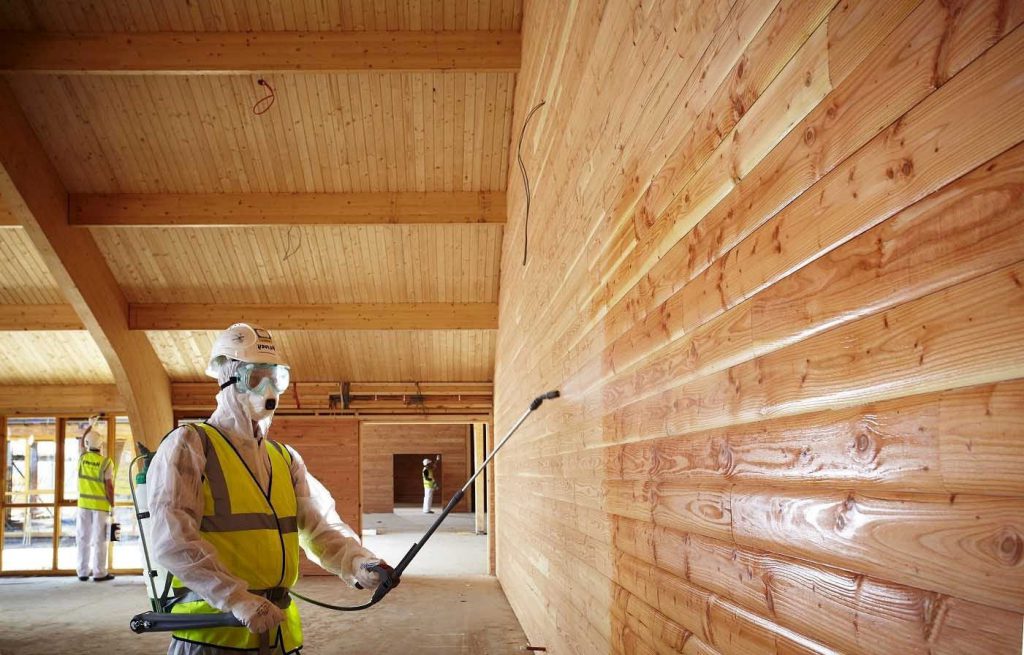
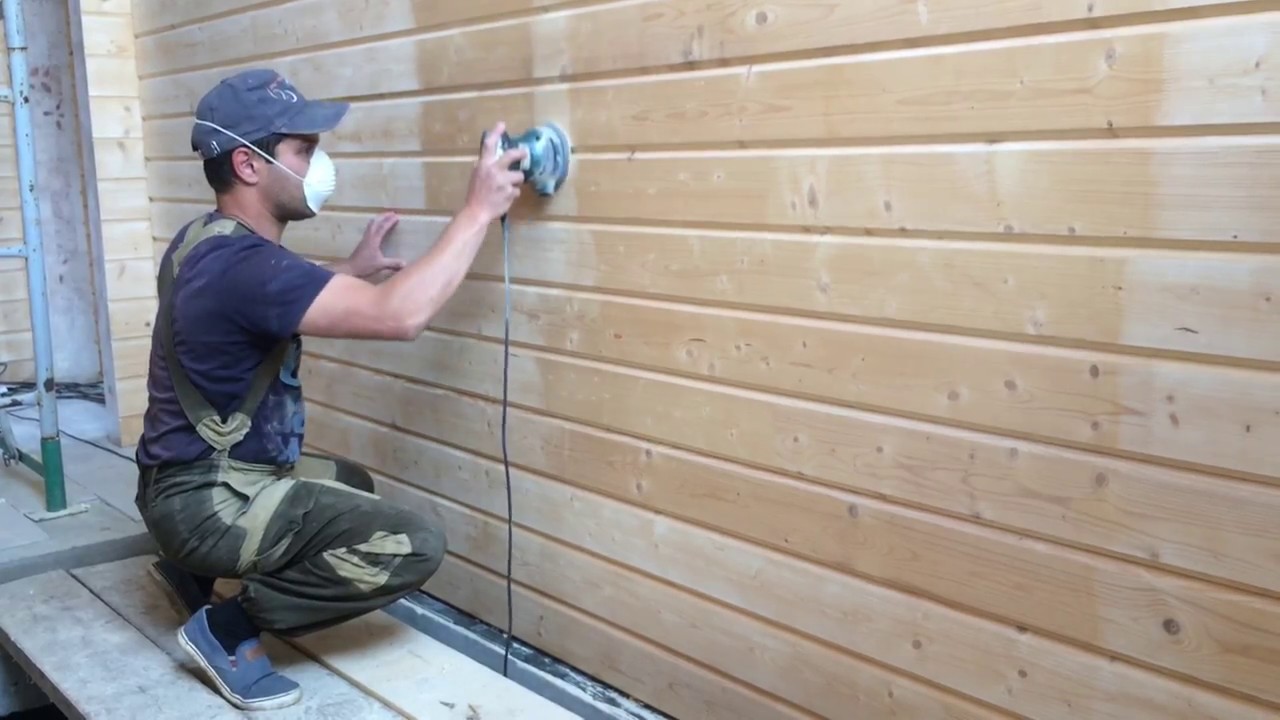
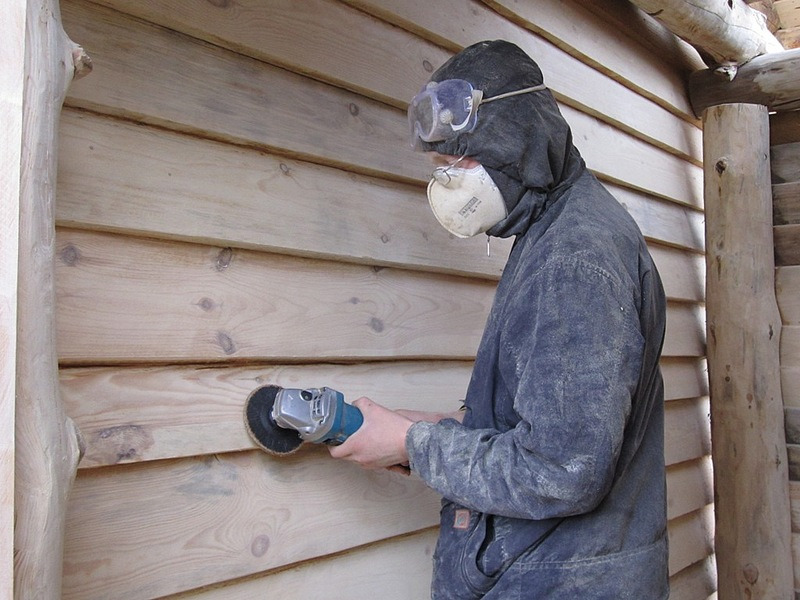
- protective clothing, unbreakable plastic goggles, respirator;

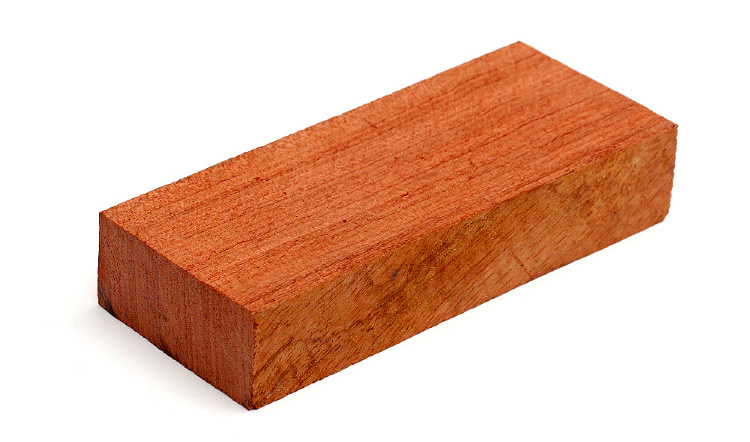
- small rectangular wooden block;
- stand, ladder or stepladder.
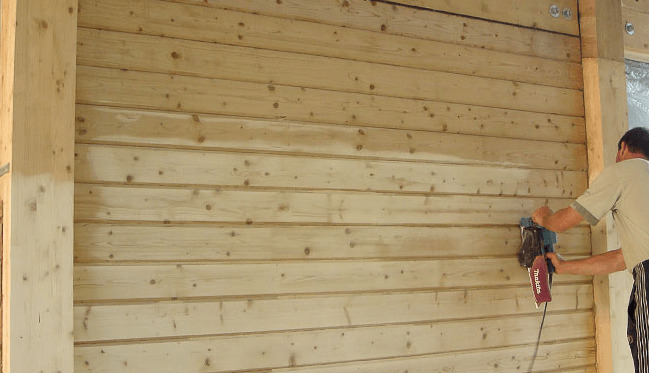
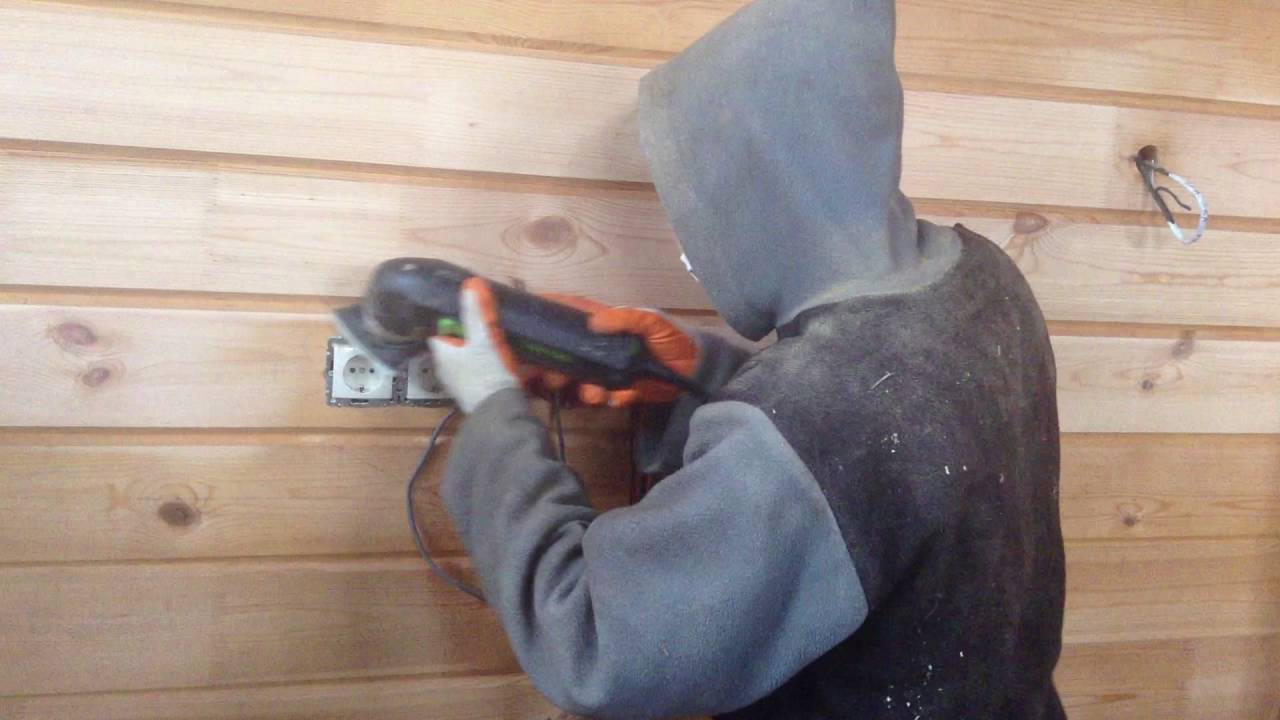
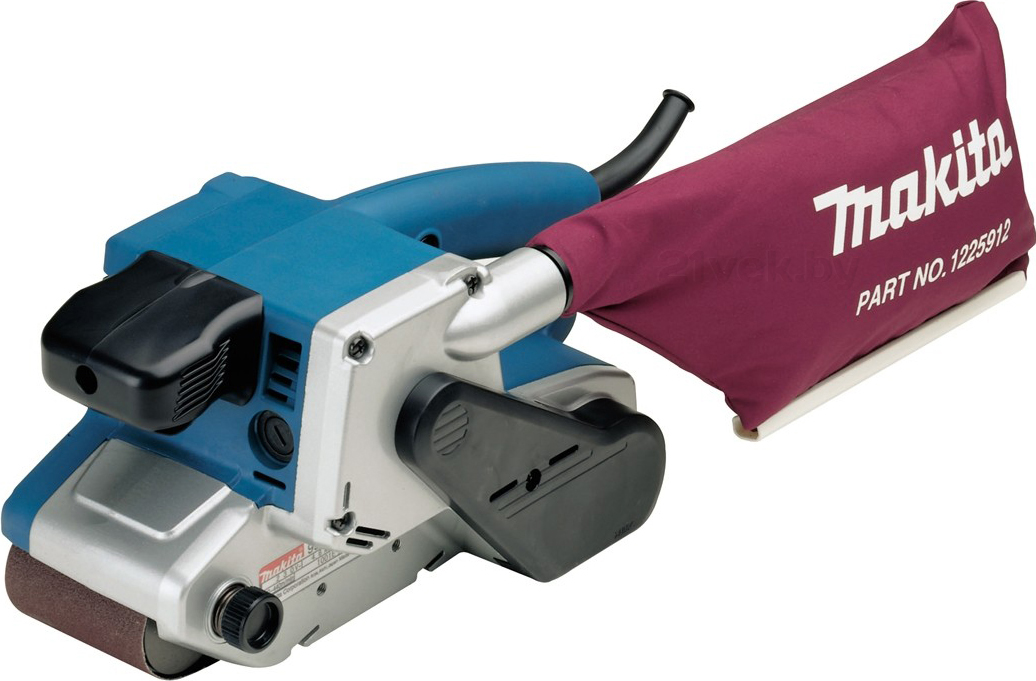
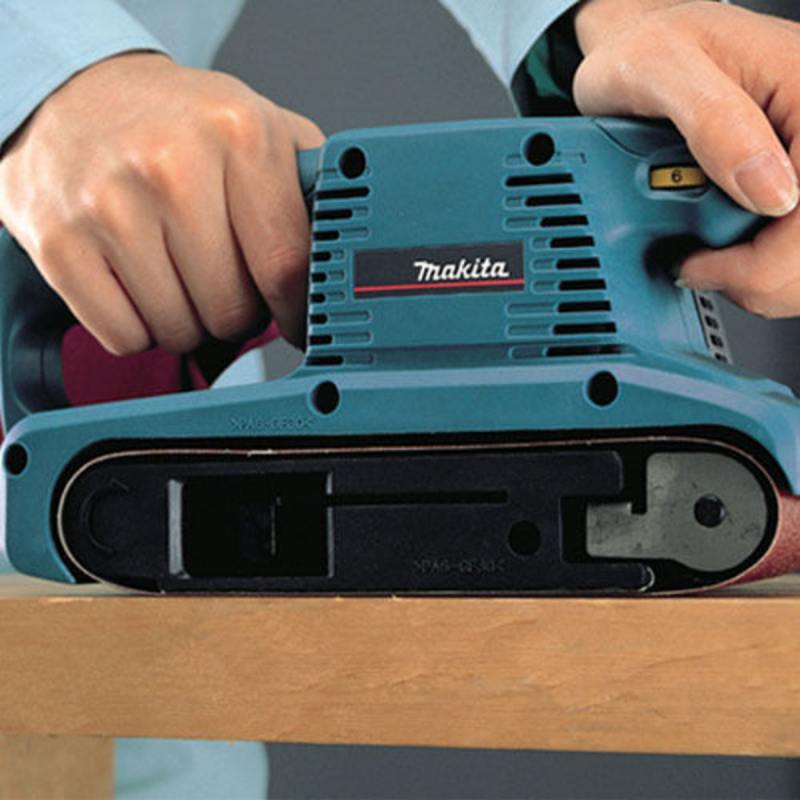
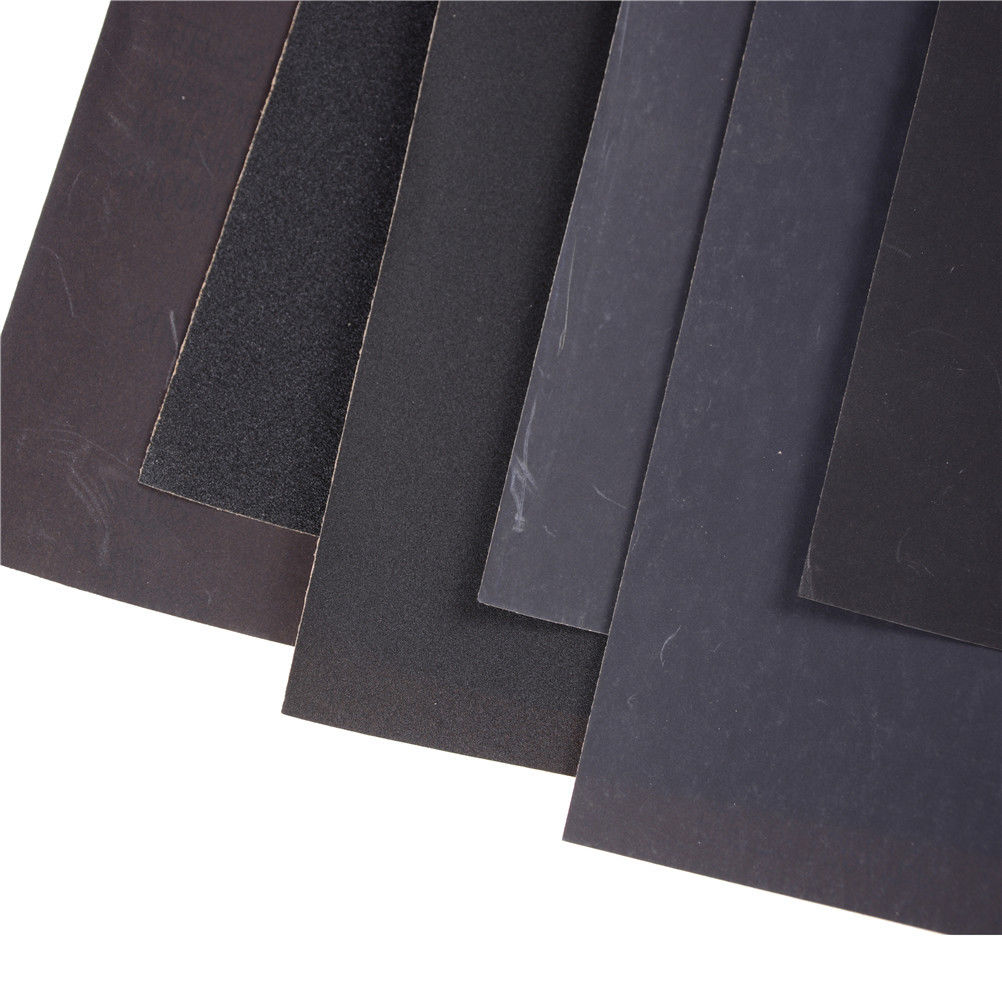
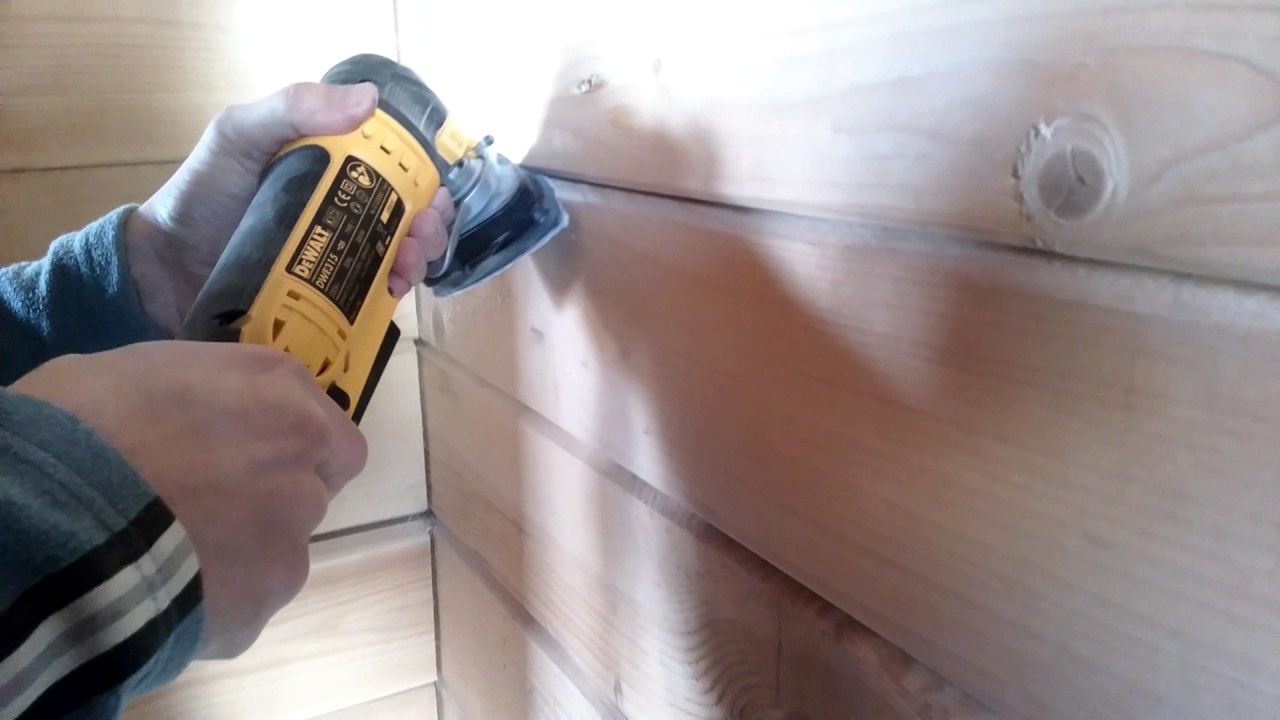
A belt sander is usually used for first polishing, while vibration equipment is suitable only for re-polishing.Professional masters advise to use the device "Makita". This tool is convenient, equipped with a special dust collector, suitable for interior work.
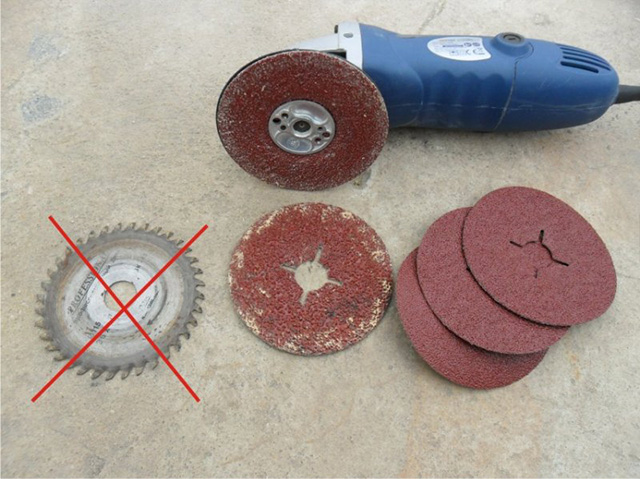
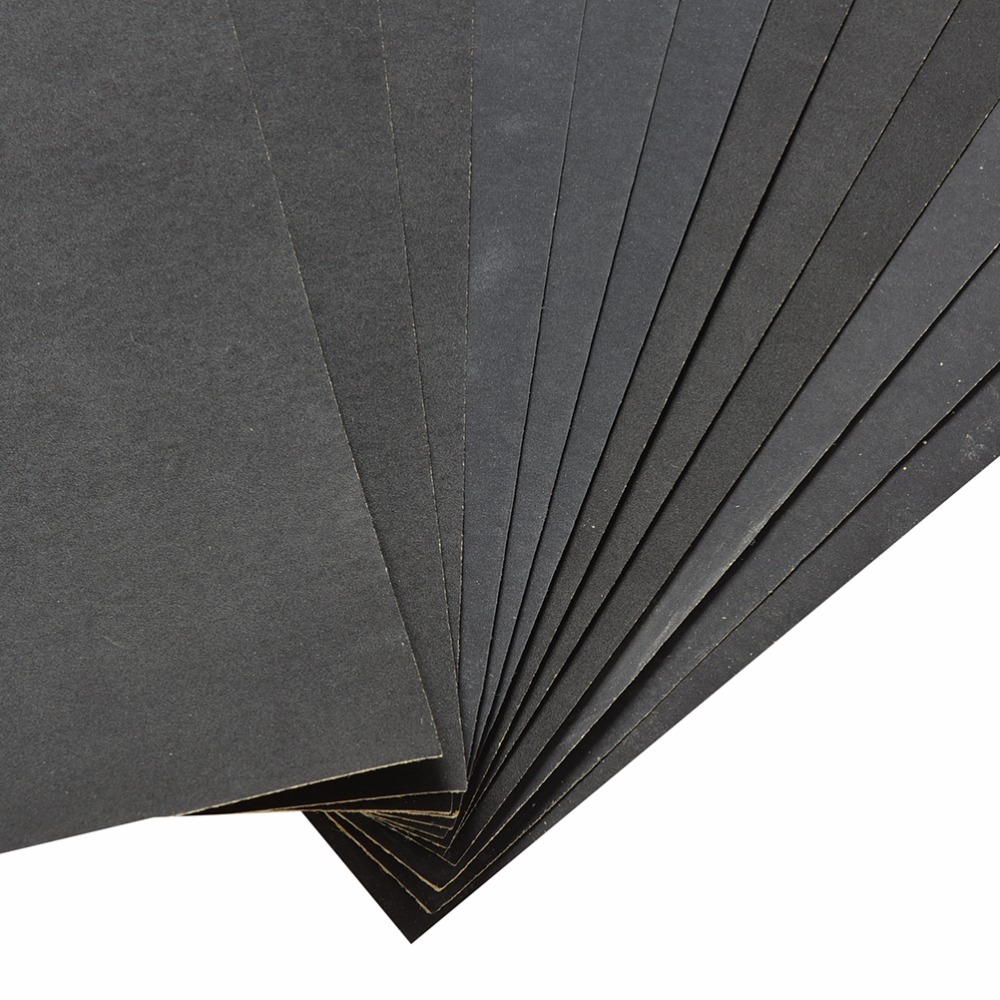
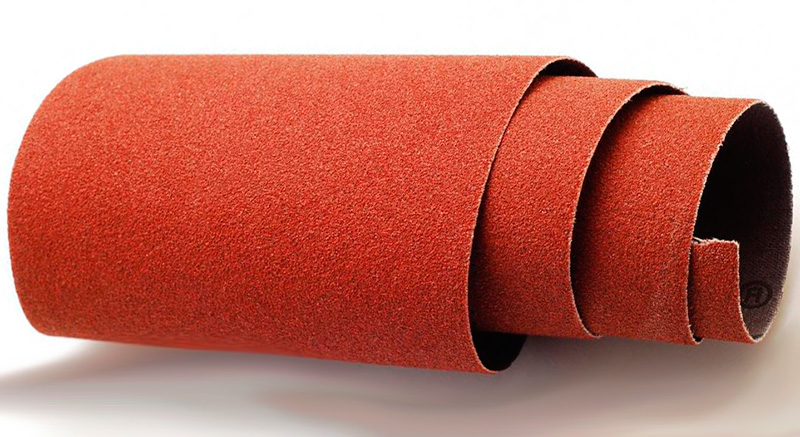
The size of abrasive paper is important. It depends on the type of operation. In order to remove the nap, numbers 160-220 are used, 40-60 are used for leveling, 100-140 are used for removing paintwork.
When choosing an angle grinder should pay attention to its weight. It is undesirable to use heavy grinders, as this will complicate the already painstaking work. As for power, you need to focus on 850 watts and more.
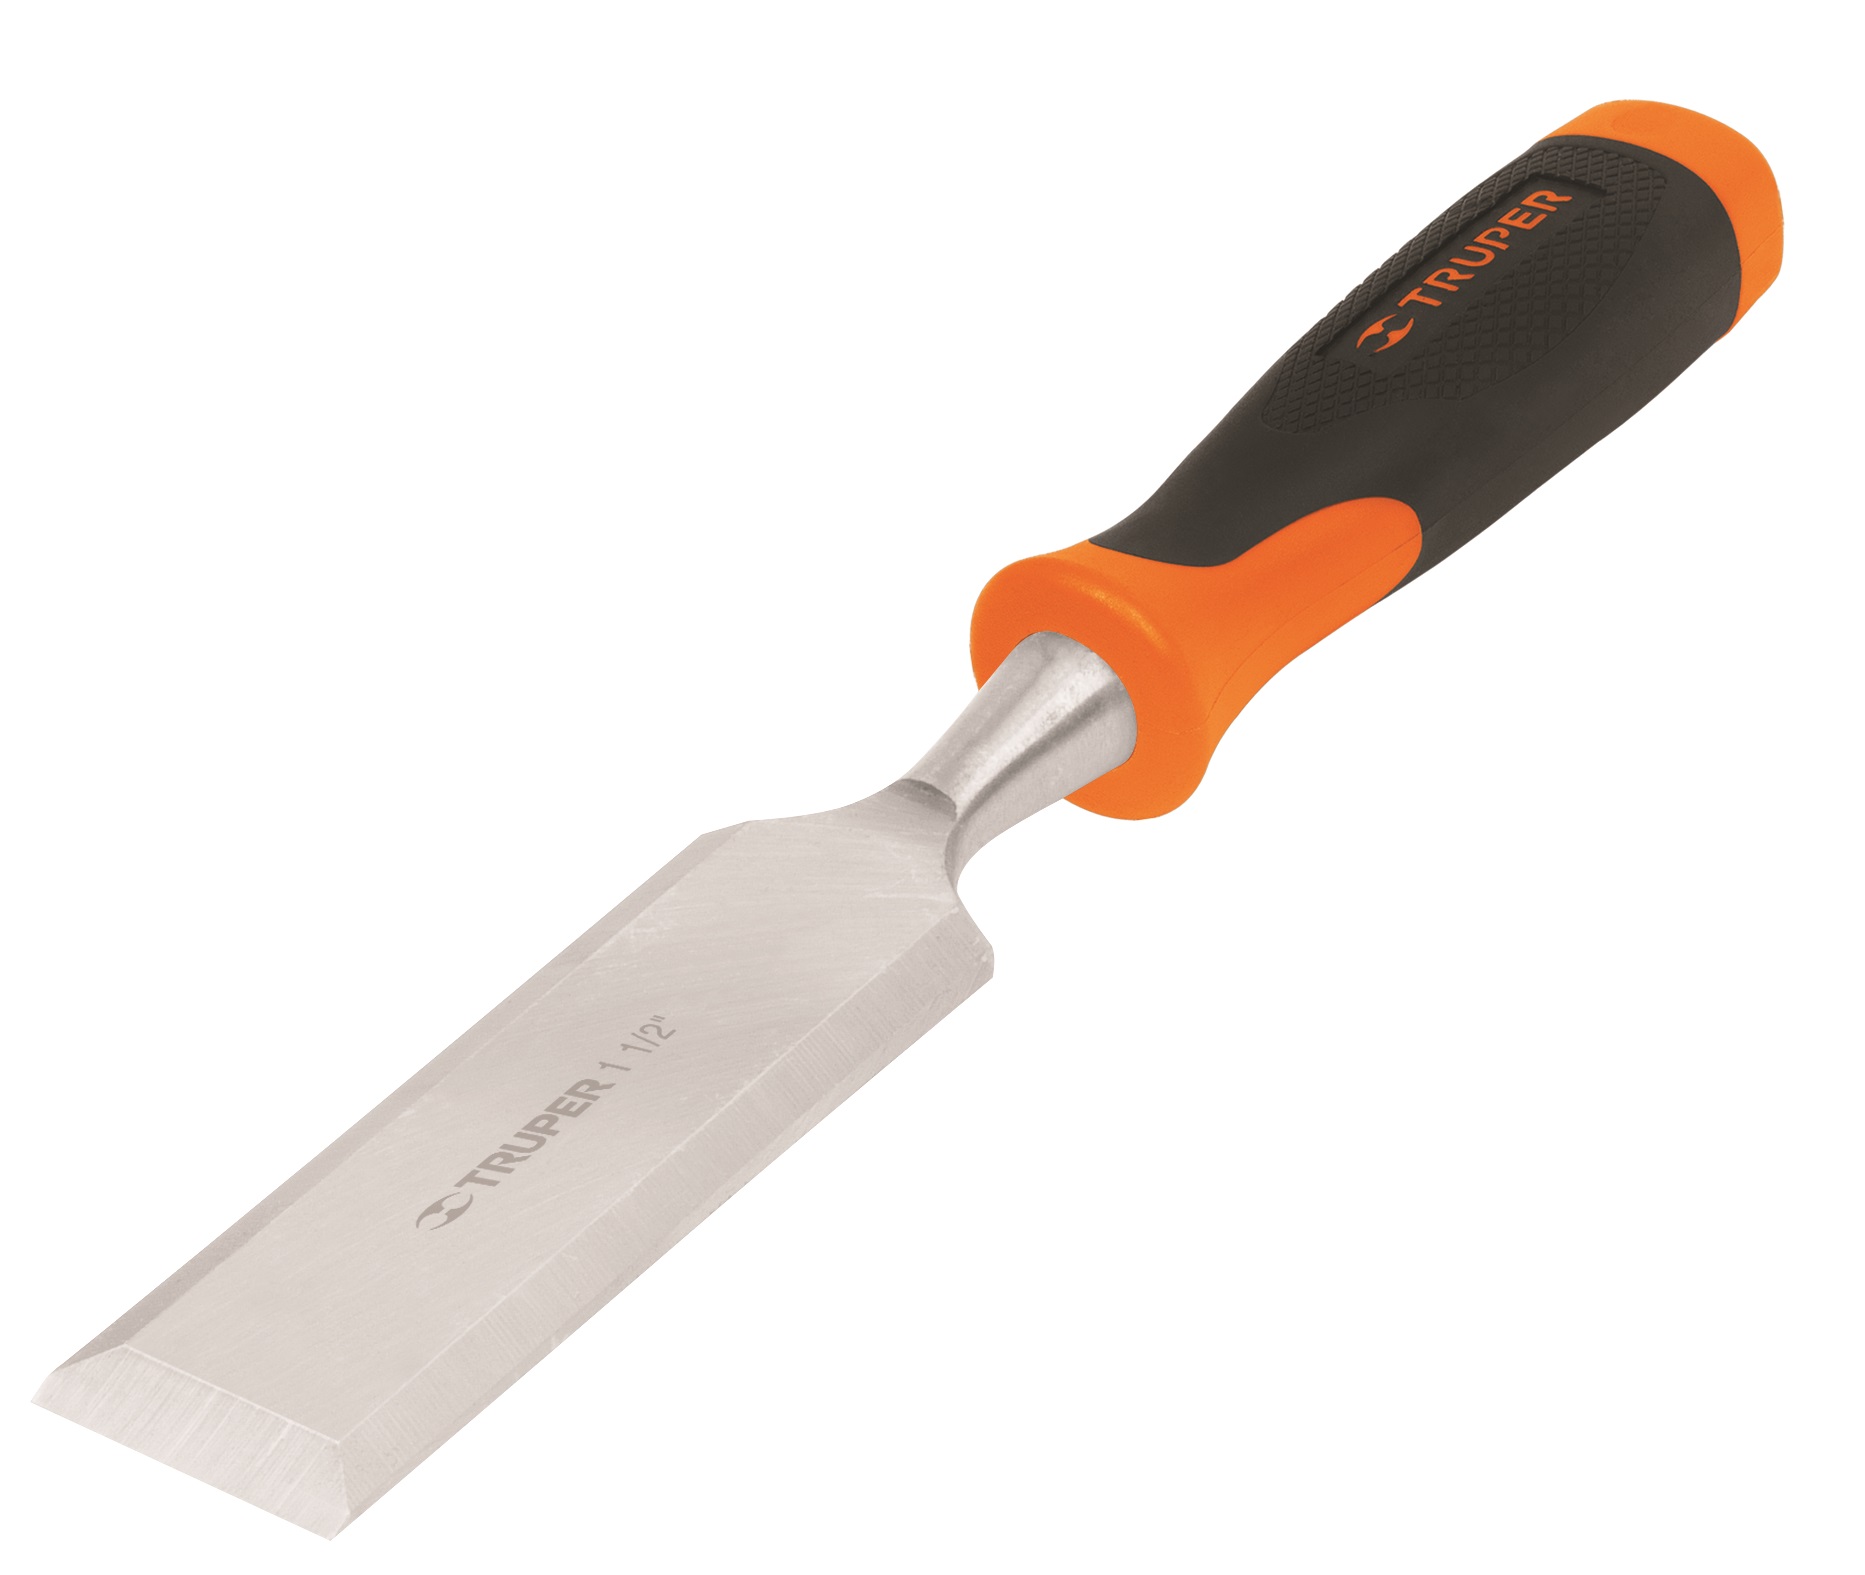
Corners and joints are hard to reach. To polish these areas, it is better to use a conventional chisel or wooden block.
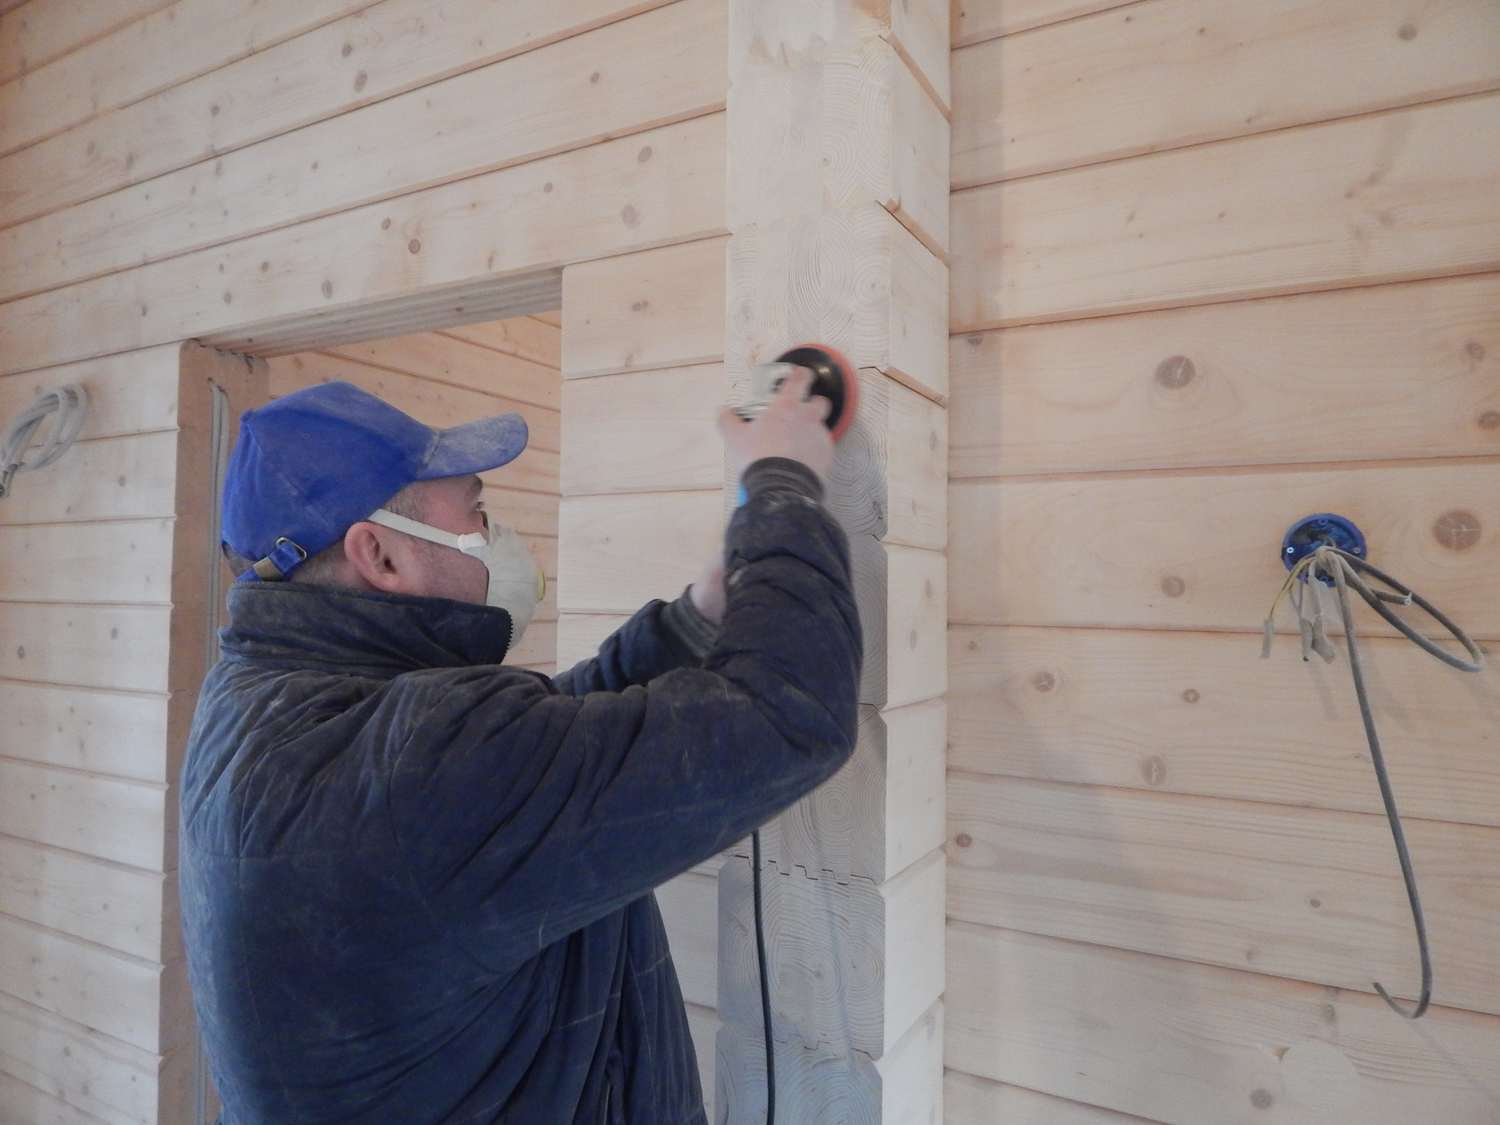
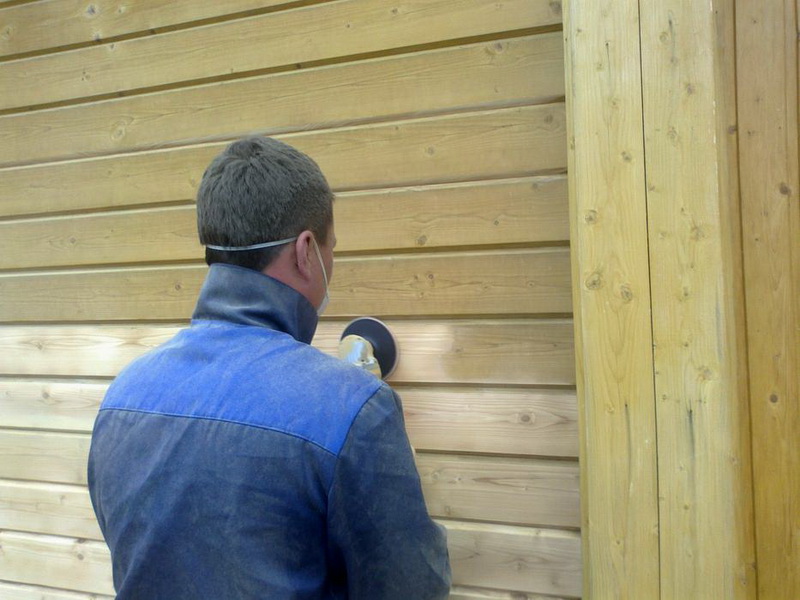
During the work process, many small particles of wood dust are produced, therefore, in accordance with safety rules, it is important to reliably protect the respiratory system. This means that the respirator must be of high quality.

Preparatory stage
During planing, a so-called radial structure may form on the timber, which threatens to exfoliate the wood.Therefore, the first task is a thorough inspection of the tree.
The solution must be completely dry, for this you need to wait a day. As a result, small particles will no longer be “ruffled”. This will help to prevent the failure of grinding wheels and to protect normal sections of the timber from defects.
If such a defect is found, it is necessary to treat it in a special way (apply glue in several layers to these areas).
To cope with this problem at the ends can be using a blowtorch. With it, the pile is burned and removed. In addition, it makes wood stronger and more durable. Since the ends are the weakest link in the structure, this approach provides a higher quality subsequent polishing and additional polishing with fine sandpaper.
Proper preparation and grinding of the ends will result in:
- the tree will dry out slowly enough, so that shrinkage will be uniform;
- painting and processing lacquer wood will take much less material, which will make their consumption more economical.
Useful recommendations relate to other important points.
- Starting grinding works only makes sense after the construction of the roof. After that, new bumps and defects may appear.
- It happens that the timber is blue. Then before sanding, you must first clean the walls with sandpaper, and then polish.
- Bars may darken 6–7 days after treatment, if they were not previously missed with protective agents.
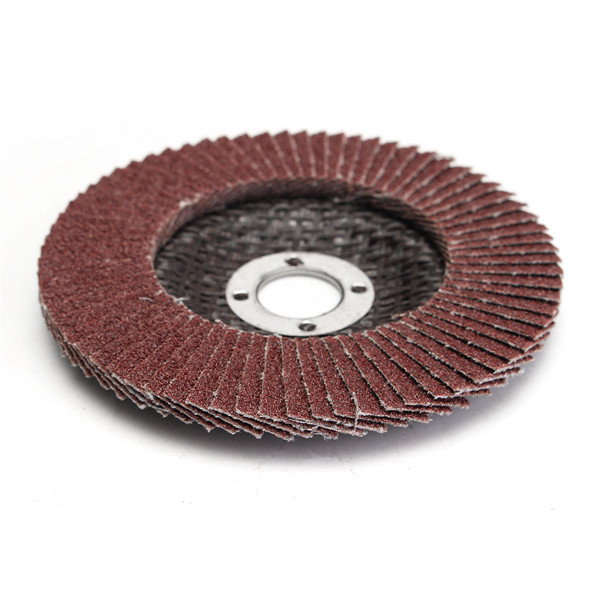
It is impossible to polish fresh lumber material, as the nozzles of the equipment can get clogged. In this case, you can use a plastic abrasive disc, but the tree should be collected during the cold season.
Phased work
The sanding is carried out in strict sequence and includes several basic steps.
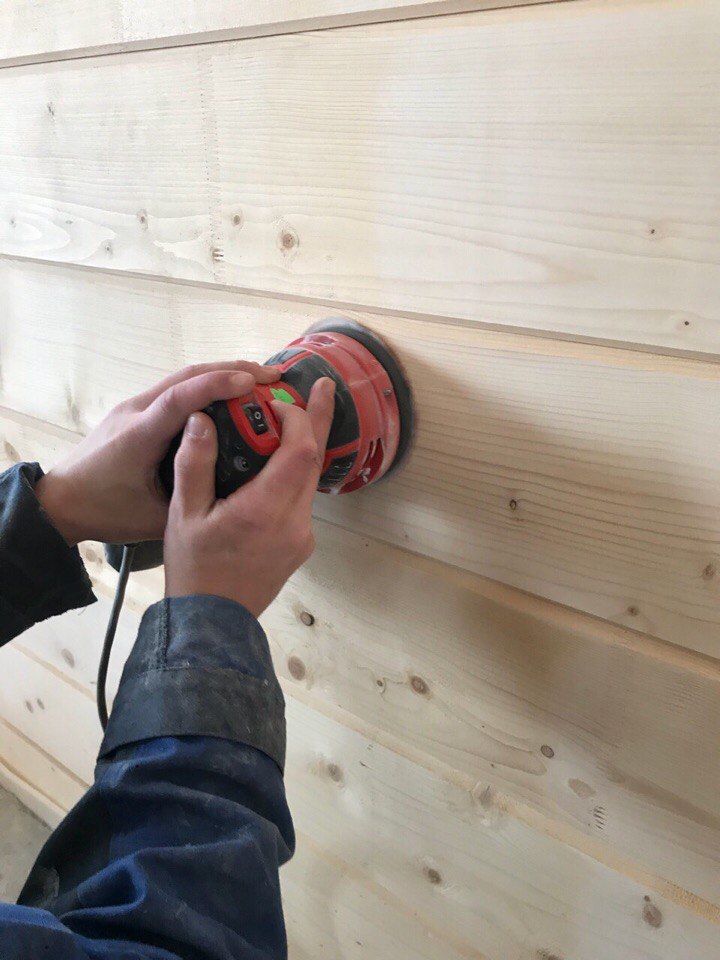
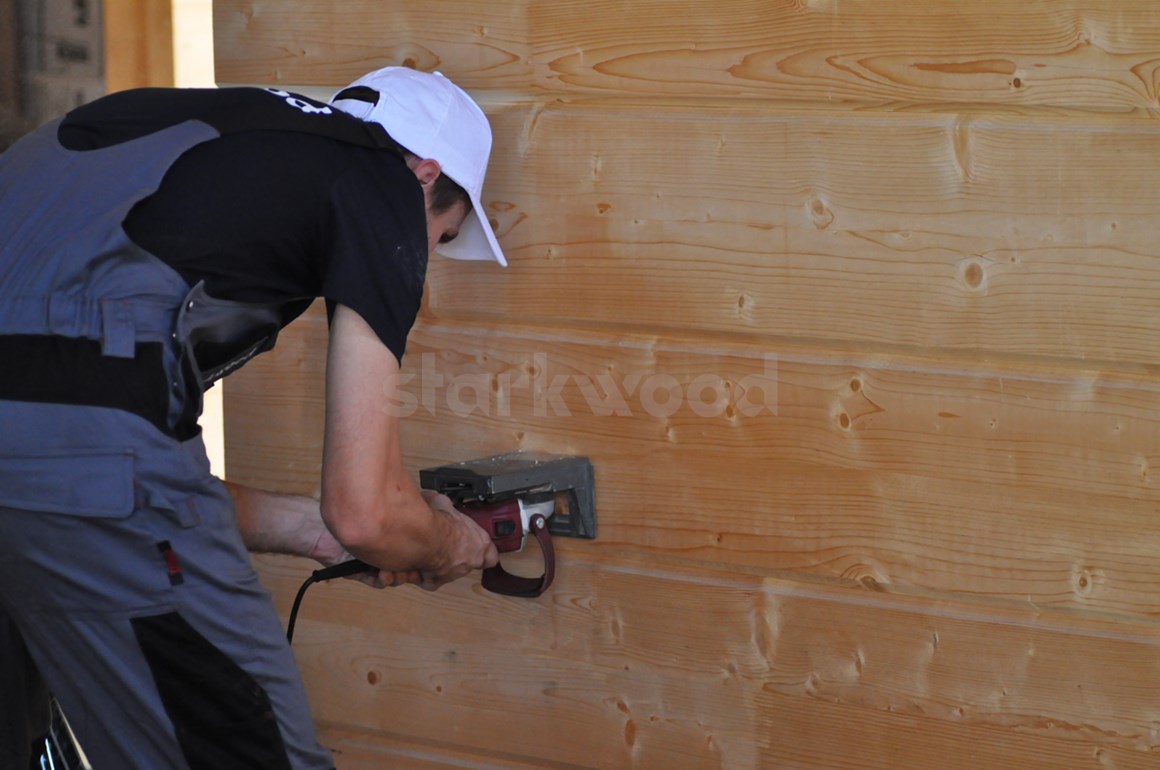
- First, it is necessary to make the treatment with coarse abrasive. with a grain size of №40. This helps eliminate unevenness and roughness. You need to be prepared for the fact that the nozzle will quickly become clogged with small particles of wood, it will have to be constantly replaced. The main thing is to properly position the grinding tool. The machine should be at an angle of 45 degrees to the direction of motion.Strongly or sharply press it should not be, it is necessary to work without delays in one place. With rough processing, you can remove up to 1 mm thickness at the most prominent areas.
- Thinner polishing, which removes the pile and precedes the painting, is done with emery wheels in sizes 80-120. Ideally, the surface of the boards should be leveled with the general plane of the wall. For a beginner in this business, the treatment process can be delayed, since in 10 minutes you can polish only about 60 cm of area. But speed depends not only on skill and experience. Often it is influenced by the type of timber, the resinous wood, the power of the grinding technique.
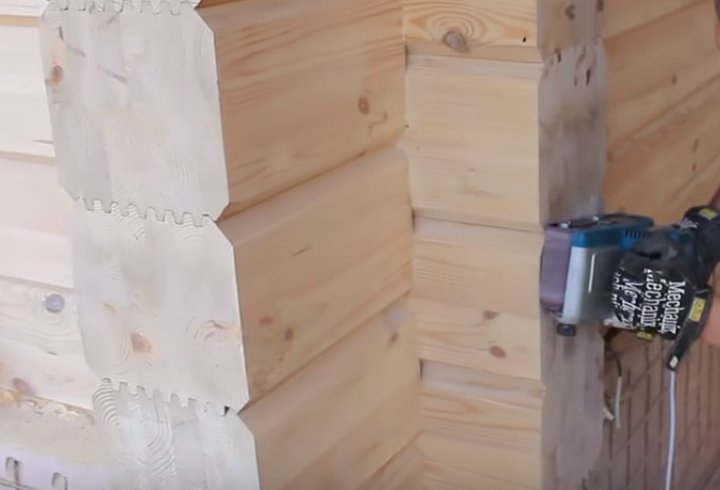
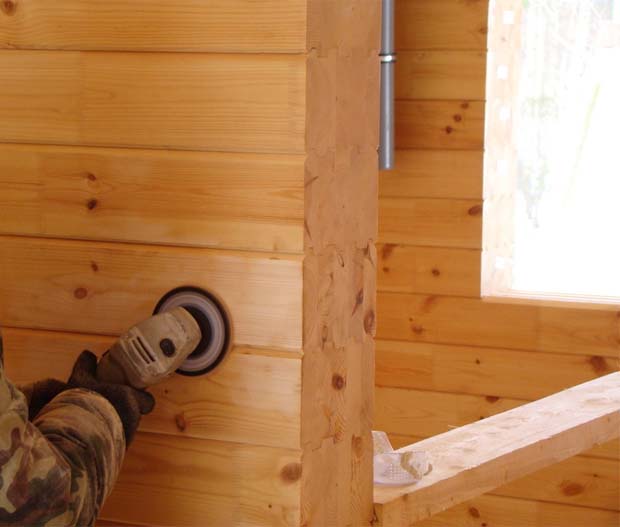
- Then using the grinder polish the ends and grooves up to the most deeply recessed bars, eliminate all remaining errors of the previous work. For these purposes, used abrasive №180. The task is to make the wall as flat and smooth as possible.
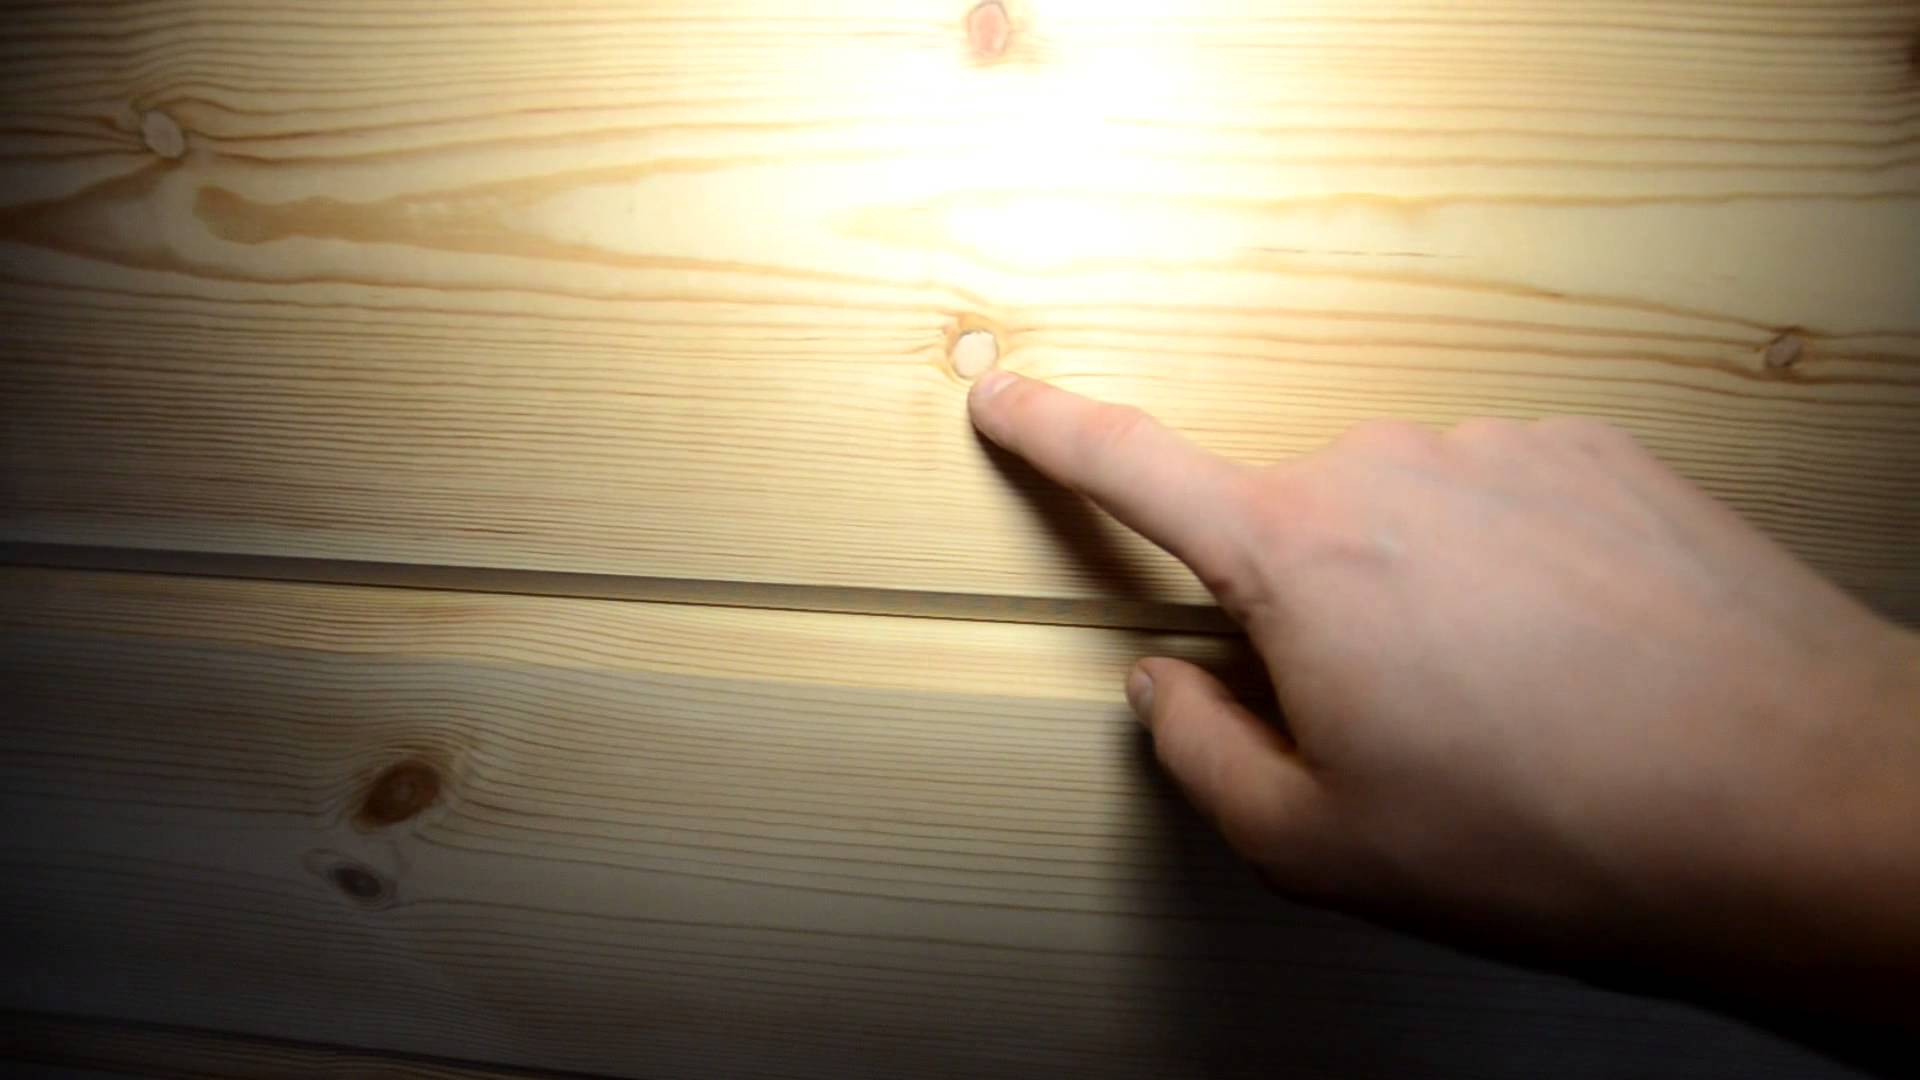
When grinding with a belt sander, it is necessary to alternate vertical, horizontal and diagonal movements. Indoor cleaning with a vacuum cleaner should be carried out after each step. It is also recommended to periodically check the walls for smoothness by turning on additional lighting.
If it is necessary to remove the old coating, the grinding process should also include a rough cleaning with coarse sandpaper until the fresh color of the wood appears. All roughness should be smoothed, and the natural color of the tree - restored.

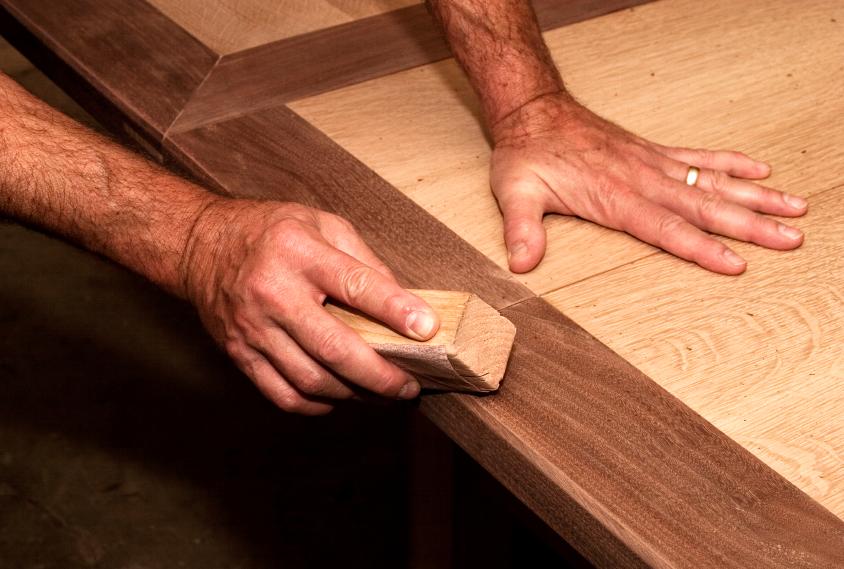
Corners and inaccessible places are handled at the very end. To do this, leave a strip of the desired width (from 3 to 10 cm). Work is carried out by means of a chisel or a wooden bar with abrasive paper wound on it.
At the final stage, the surface is already ground with a “vibrated” vibrating profile in order to eliminate defects that appeared during work. Also, it is mandatory to process the walls with special impregnations (this applies to all types of wood material). To check the quality of the surface, enough to hold her hand - it must be perfectly smooth.
It should be noted that working with a coniferous profiled bar is the most difficult because it requires a lot of time due to its hardness and high resin content. Grinding of glued material should be carried out immediately after the construction of the house, because compared to a solid product, it is more susceptible to weathering.The main disadvantage of such a timber is the appearance of fibers that are pulled up after drying, which complicate and sometimes completely eliminate high-quality polishing.
Grinding, despite the apparent ease of the process, has its own subtleties and requires some effort. Therefore, in some cases it is better not to carry out the work independently, but to use the services of qualified craftsmen.
For information on how to grind timber inside the house, see the following video.


